Home>Home Appliances>Cleaning Appliances>How To Make Mop Solution
Cleaning Appliances
How To Make Mop Solution
Modified: September 1, 2024
Learn how to make an effective mop solution for cleaning appliances at home. Keep your floors spotless with this simple and affordable cleaning solution. Ideal for all your cleaning needs.
(Many of the links in this article redirect to a specific reviewed product. Your purchase of these products through affiliate links helps to generate commission for Storables.com, at no extra cost. Learn more)
Introduction
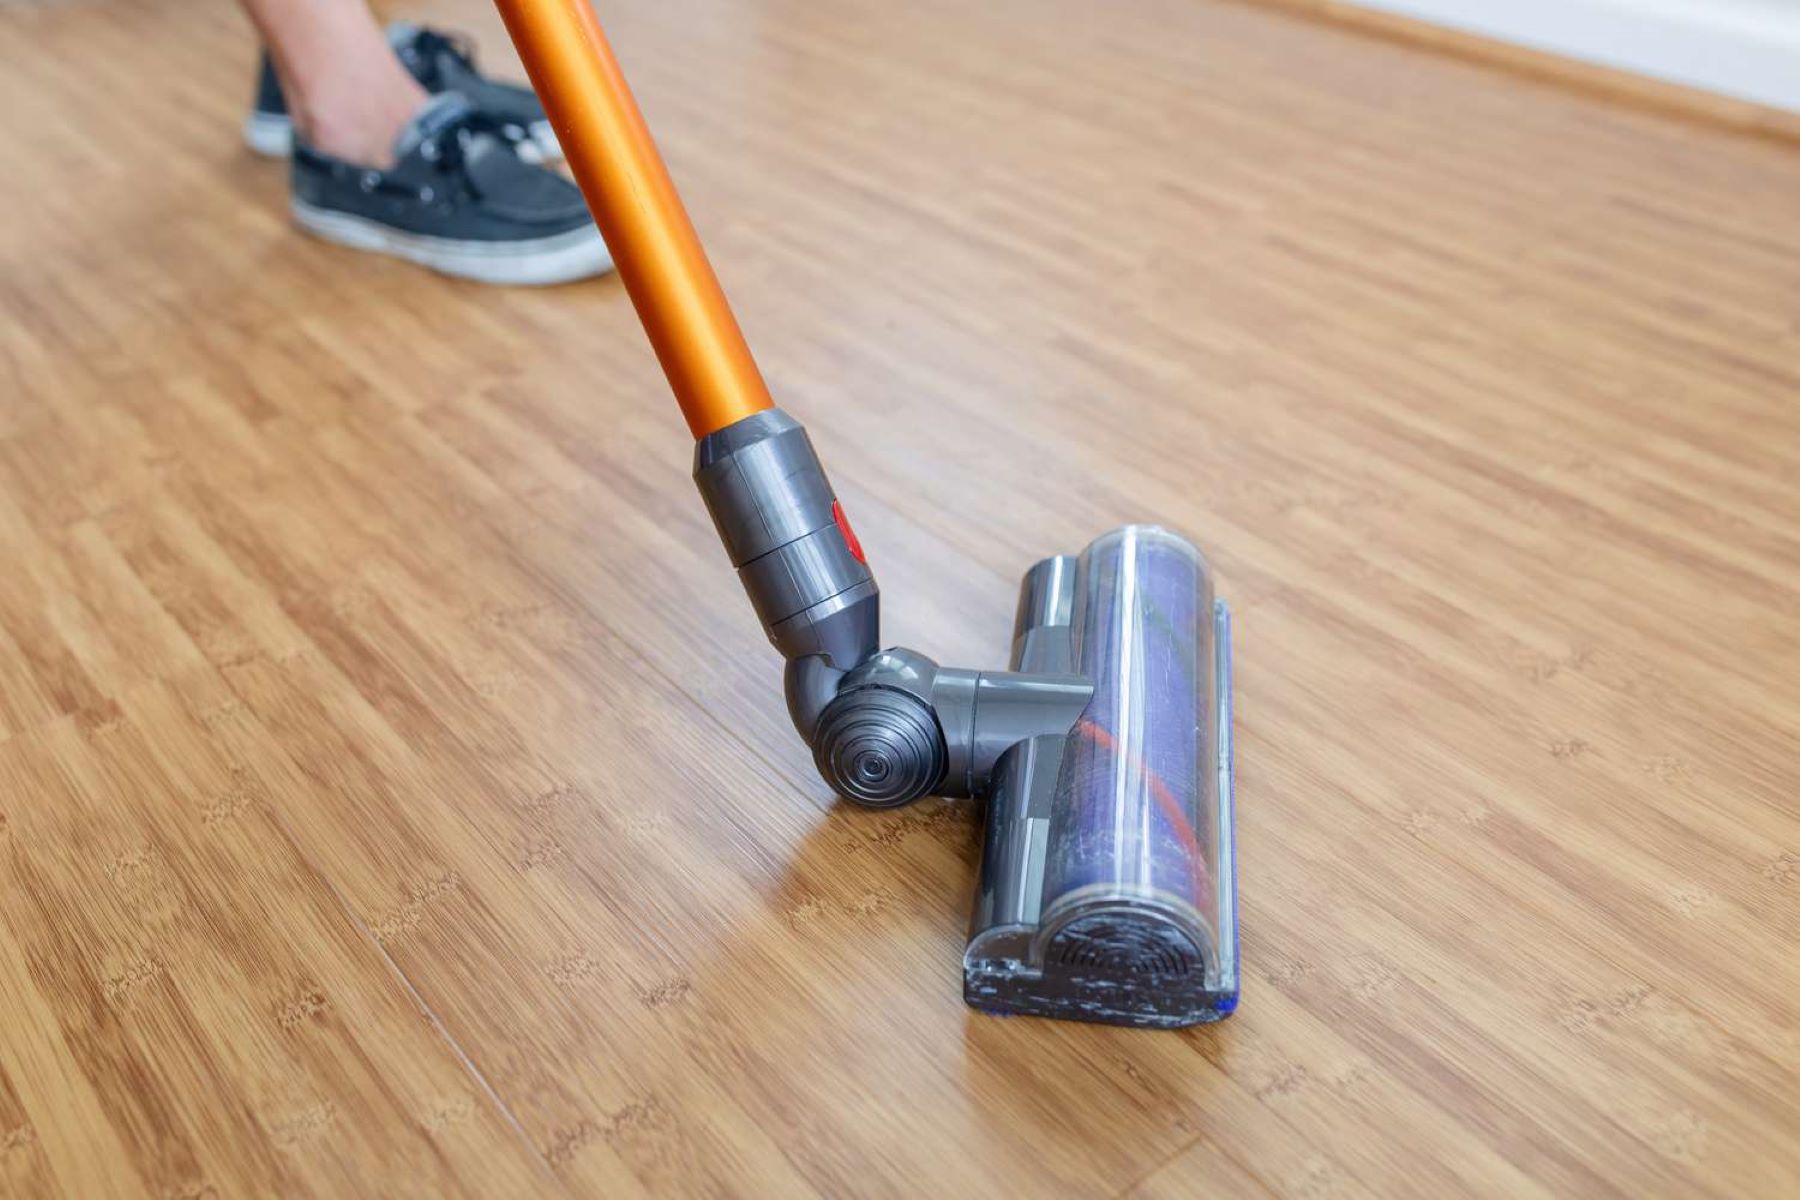
Cleaning your floors with a mop is a simple and effective way to maintain a sparkling clean home. However, using the right mop solution is essential to achieve the best results. Whether you have hardwood, tile, laminate, or vinyl floors, creating a homemade mop solution can be a cost-effective and eco-friendly alternative to store-bought cleaners. Not only does it save you money, but it also allows you to control the ingredients, ensuring a safe and non-toxic cleaning solution for your living space.
In this comprehensive guide, we will walk you through the process of creating an effective and versatile mop solution using common household items. By following these simple steps, you can achieve a spotless and sanitized floor while contributing to a sustainable and environmentally friendly cleaning routine. Let's dive into the materials needed to get started on creating your own homemade mop solution.
Key Takeaways:
- Create an eco-friendly mop solution using vinegar, warm water, and optional essential oils. Test it on a small area before use to ensure it’s safe and effective for your floors.
- By making your own mop solution, you save money, customize the ingredients, and contribute to a healthier, more sustainable living space. Enjoy the refreshing, clean floors without harsh chemicals.
Read more: How To Make A Mop
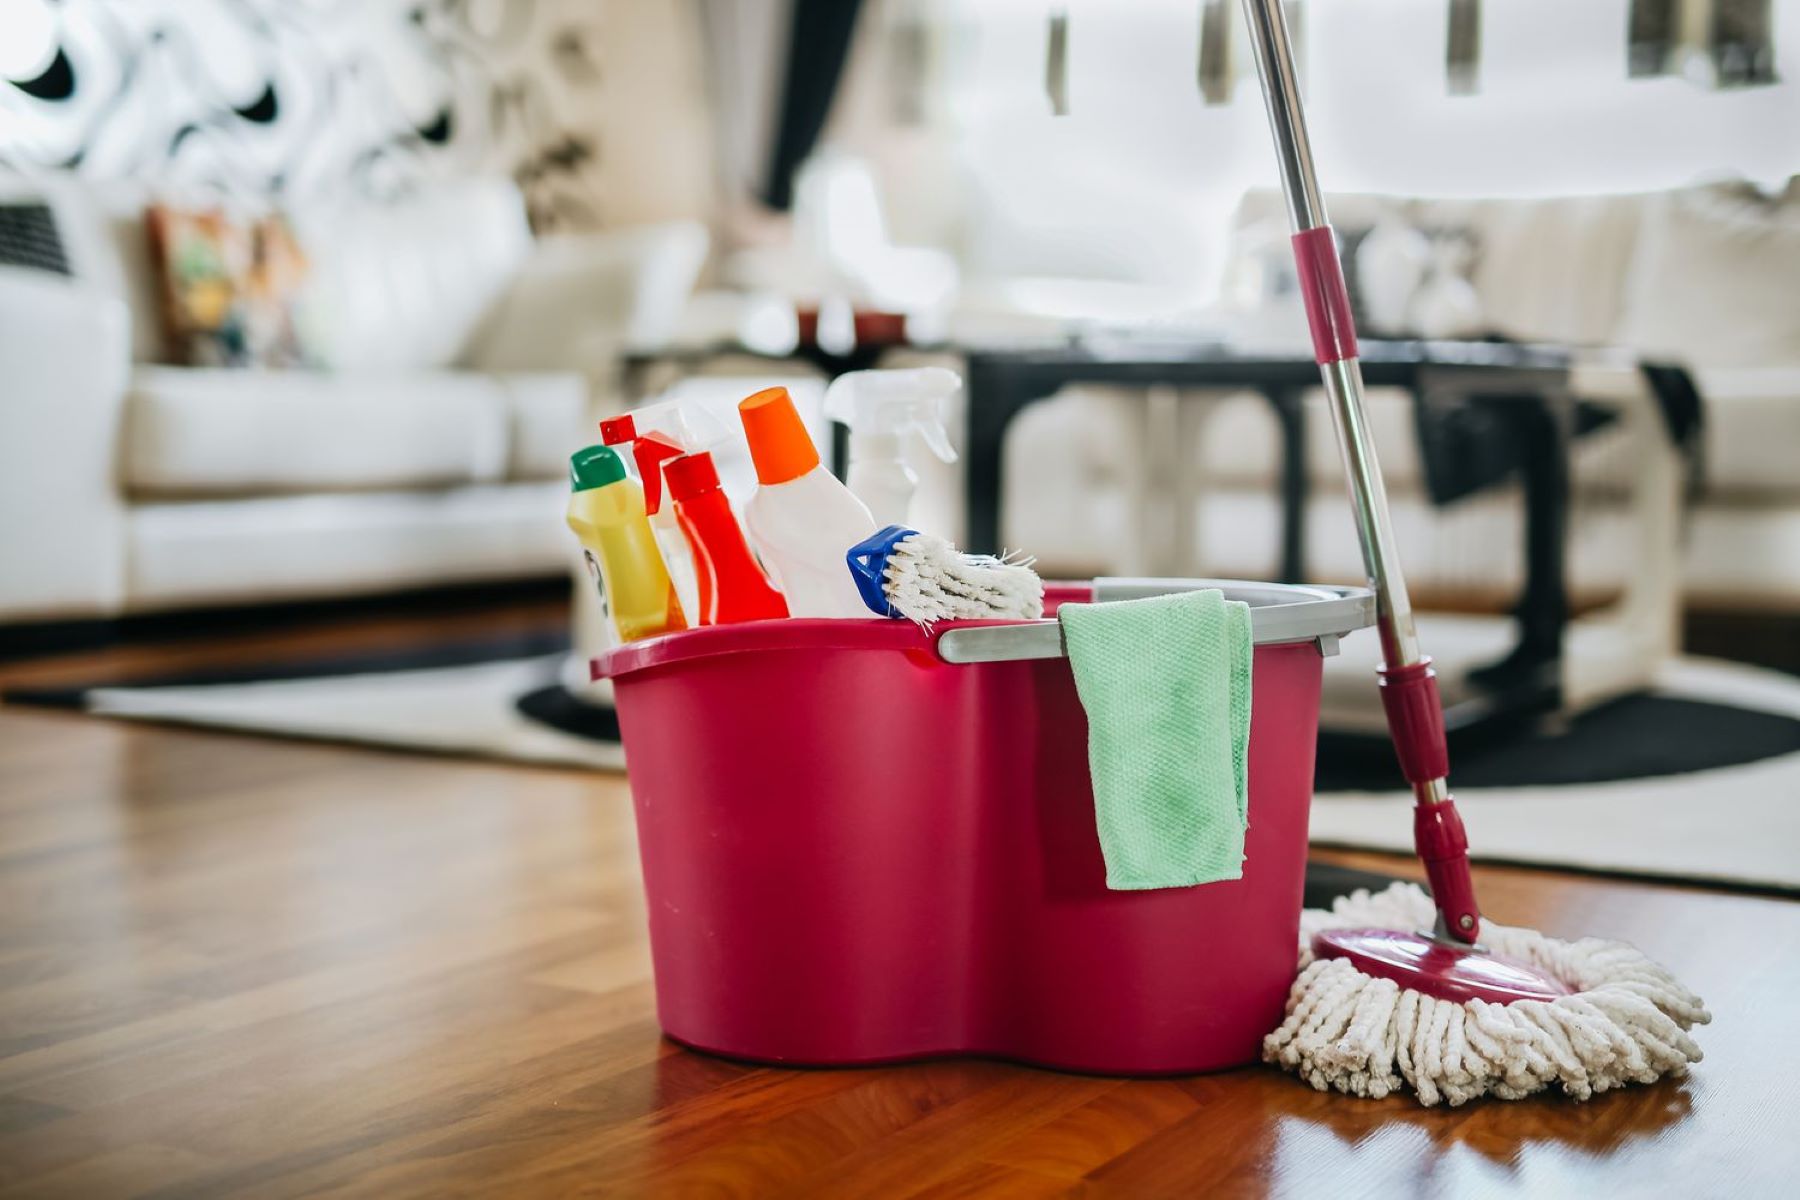
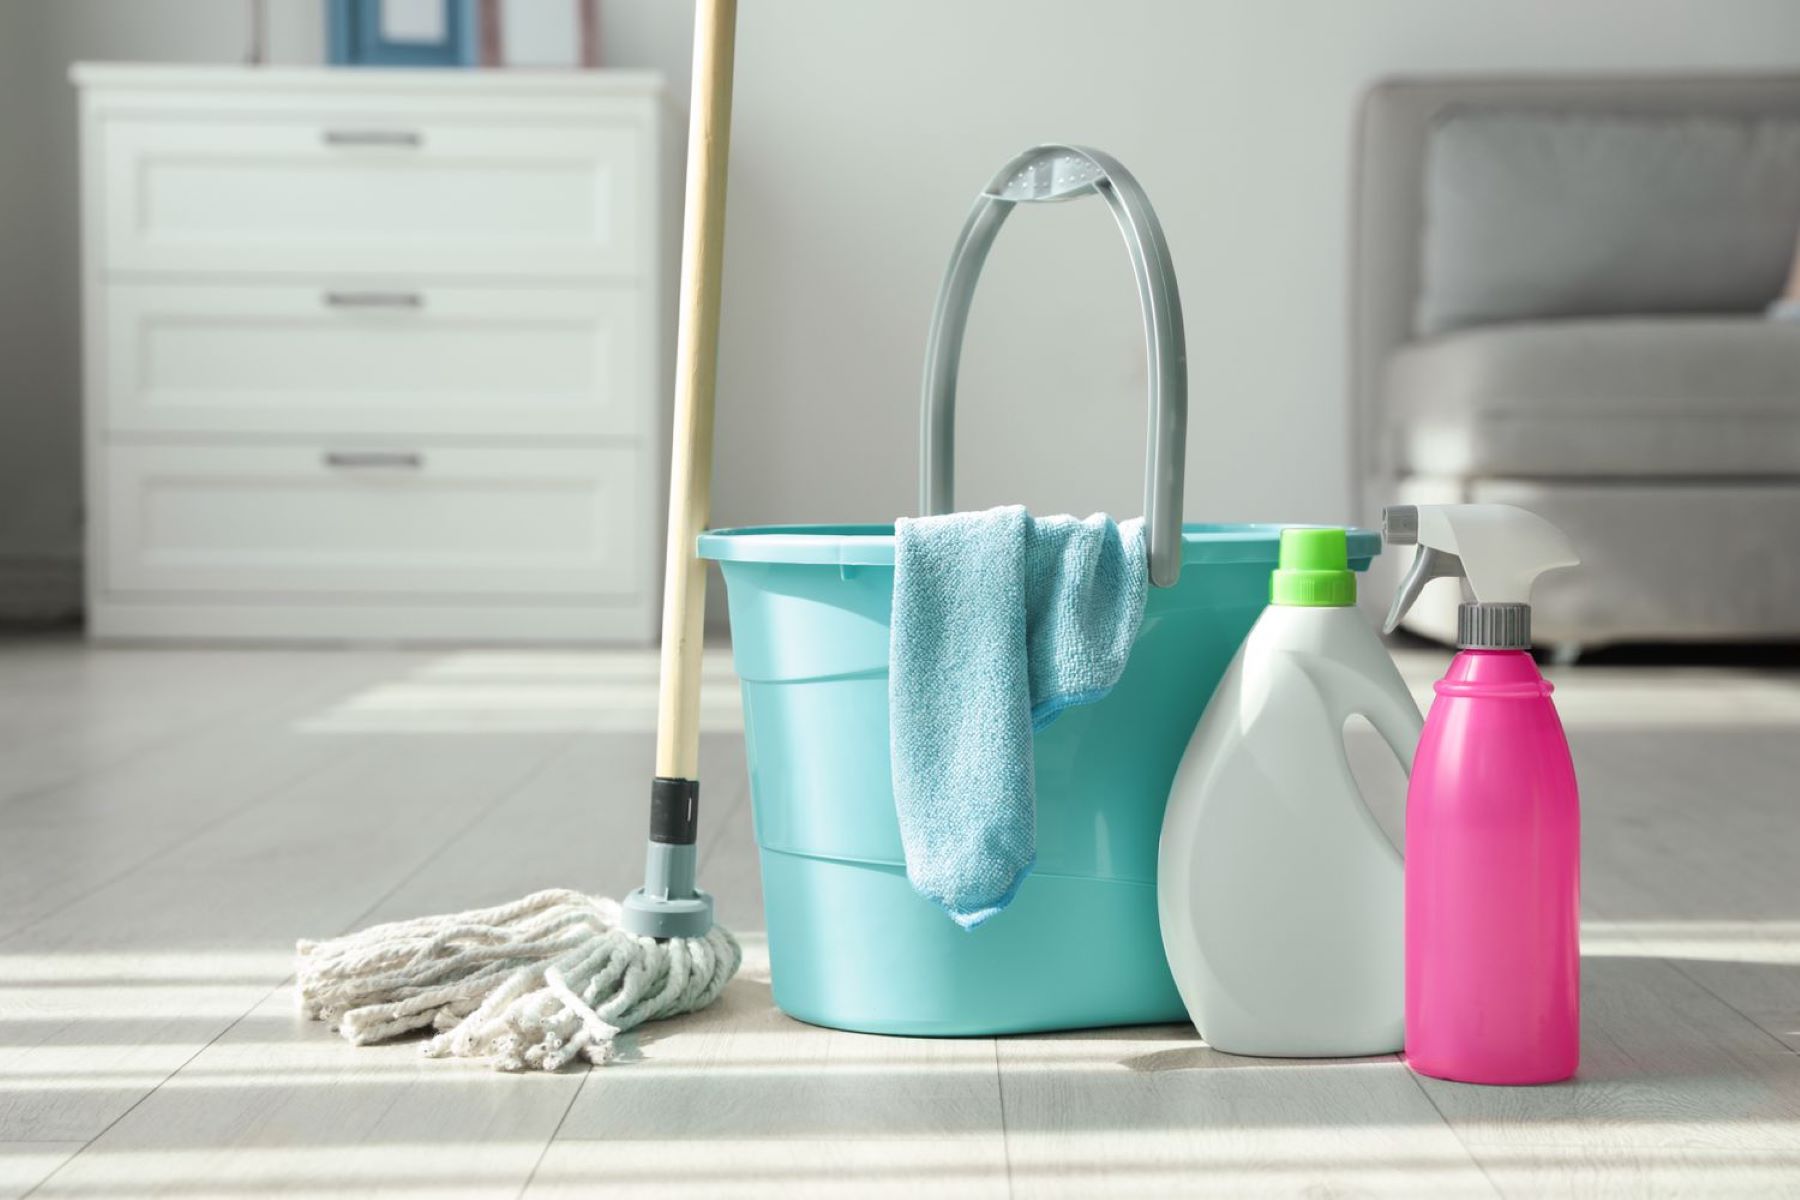
Materials Needed
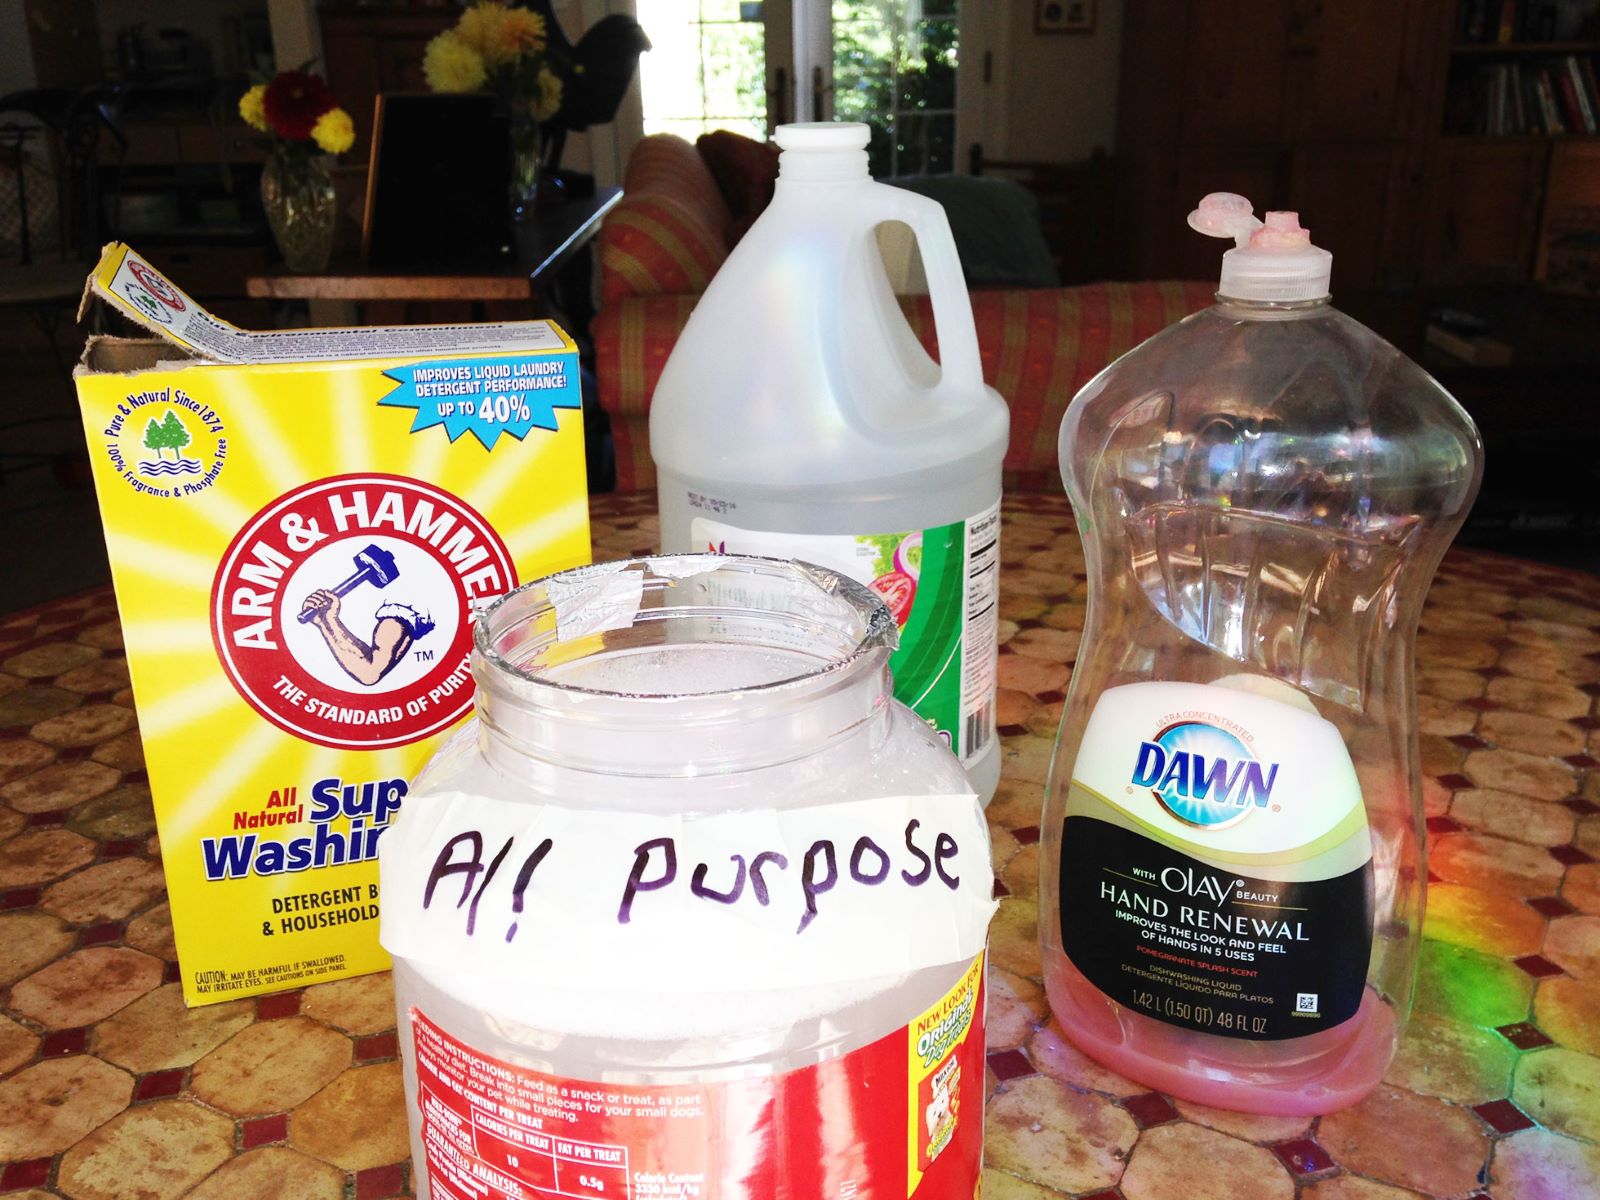
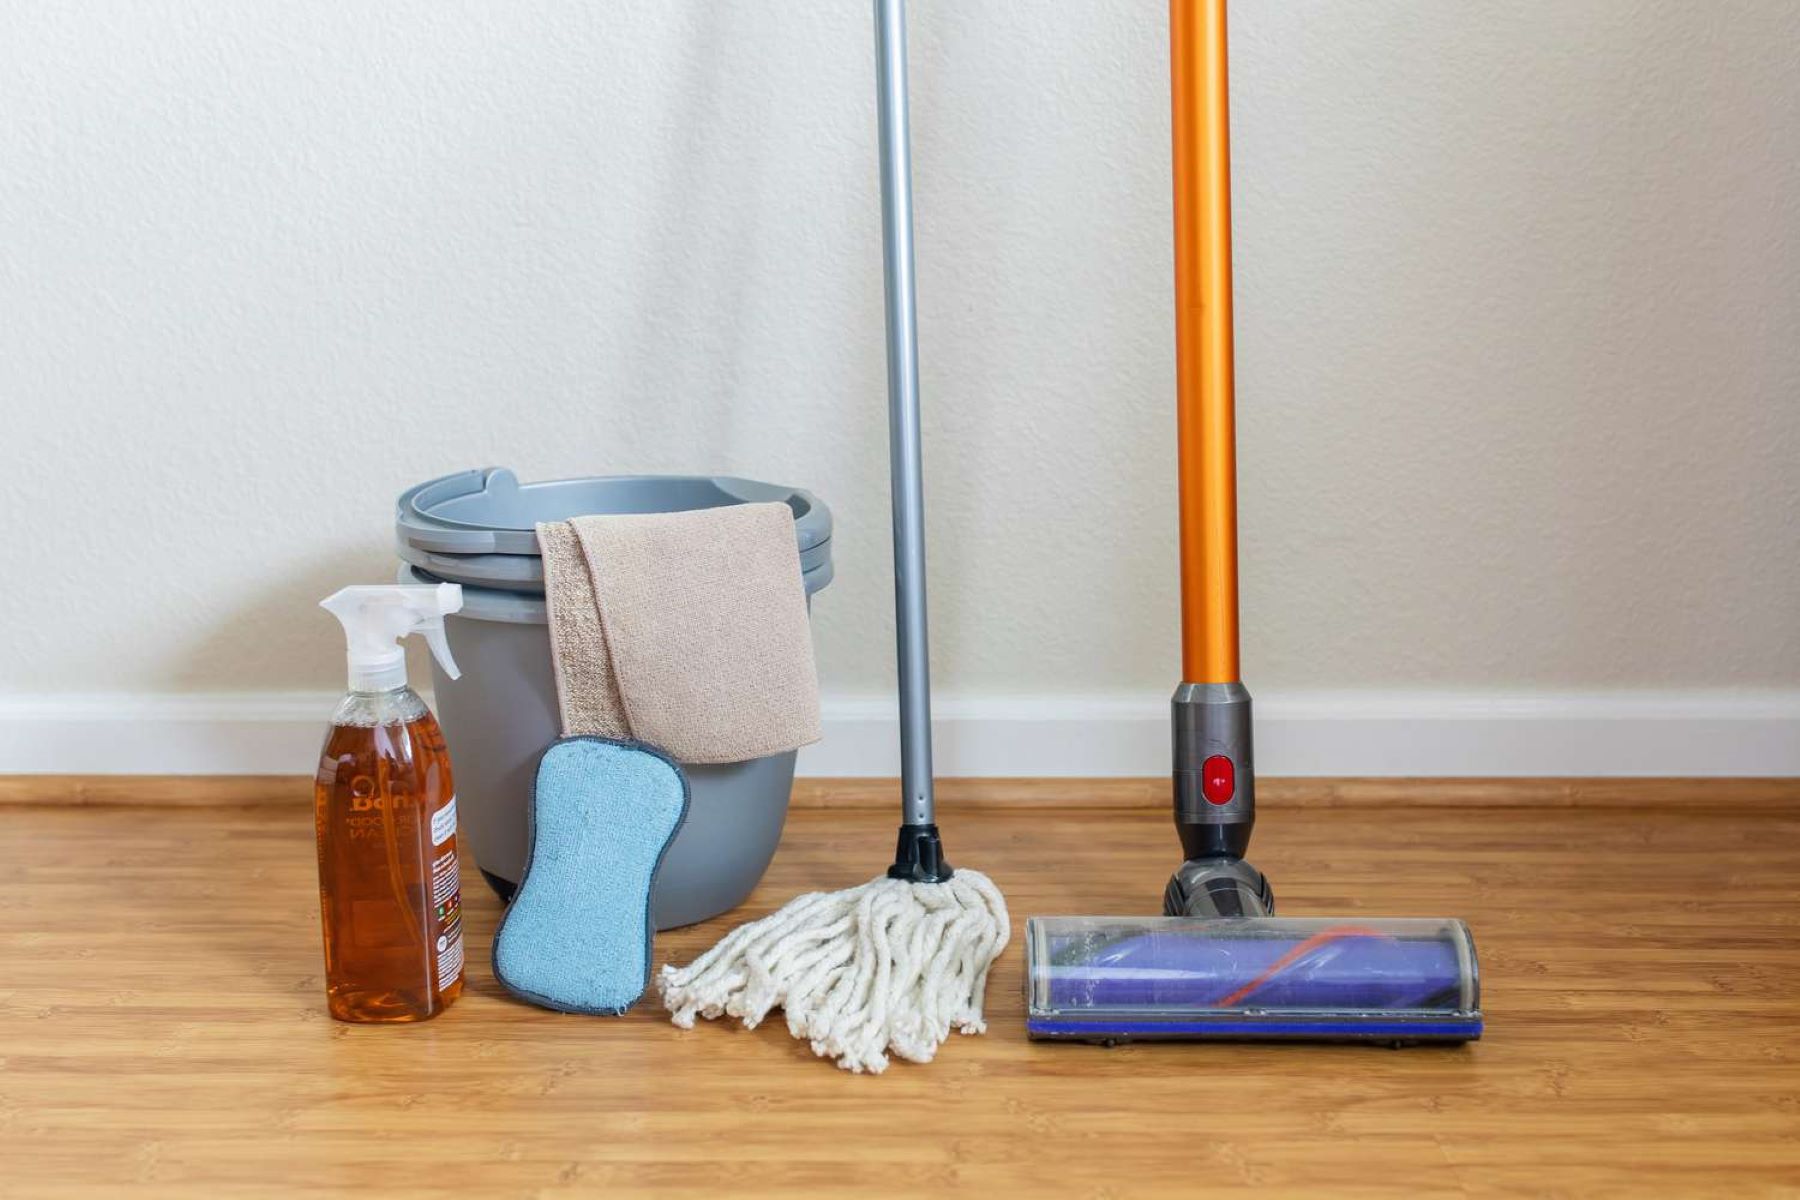
Before you begin creating your homemade mop solution, it’s important to gather the necessary materials. The beauty of this DIY cleaning solution is that it requires basic household items, making it accessible and cost-effective for everyone. Here’s what you’ll need:
- Warm water
- Vinegar
- Essential oils (optional)
- A spray bottle or mop bucket
- A measuring cup
- A mixing spoon or whisk
- A clean mop or microfiber cloth
These simple and readily available materials are all you need to create a powerful and versatile cleaning solution for your floors. Once you have gathered these items, you’re ready to move on to the next step: mixing the ingredients to create the perfect mop solution.
Step 1: Gather Your Supplies
Before you embark on creating your own homemade mop solution, it’s essential to ensure that you have all the necessary supplies within reach. By taking the time to gather your materials in advance, you can streamline the process and avoid any unnecessary interruptions during the mixing process.
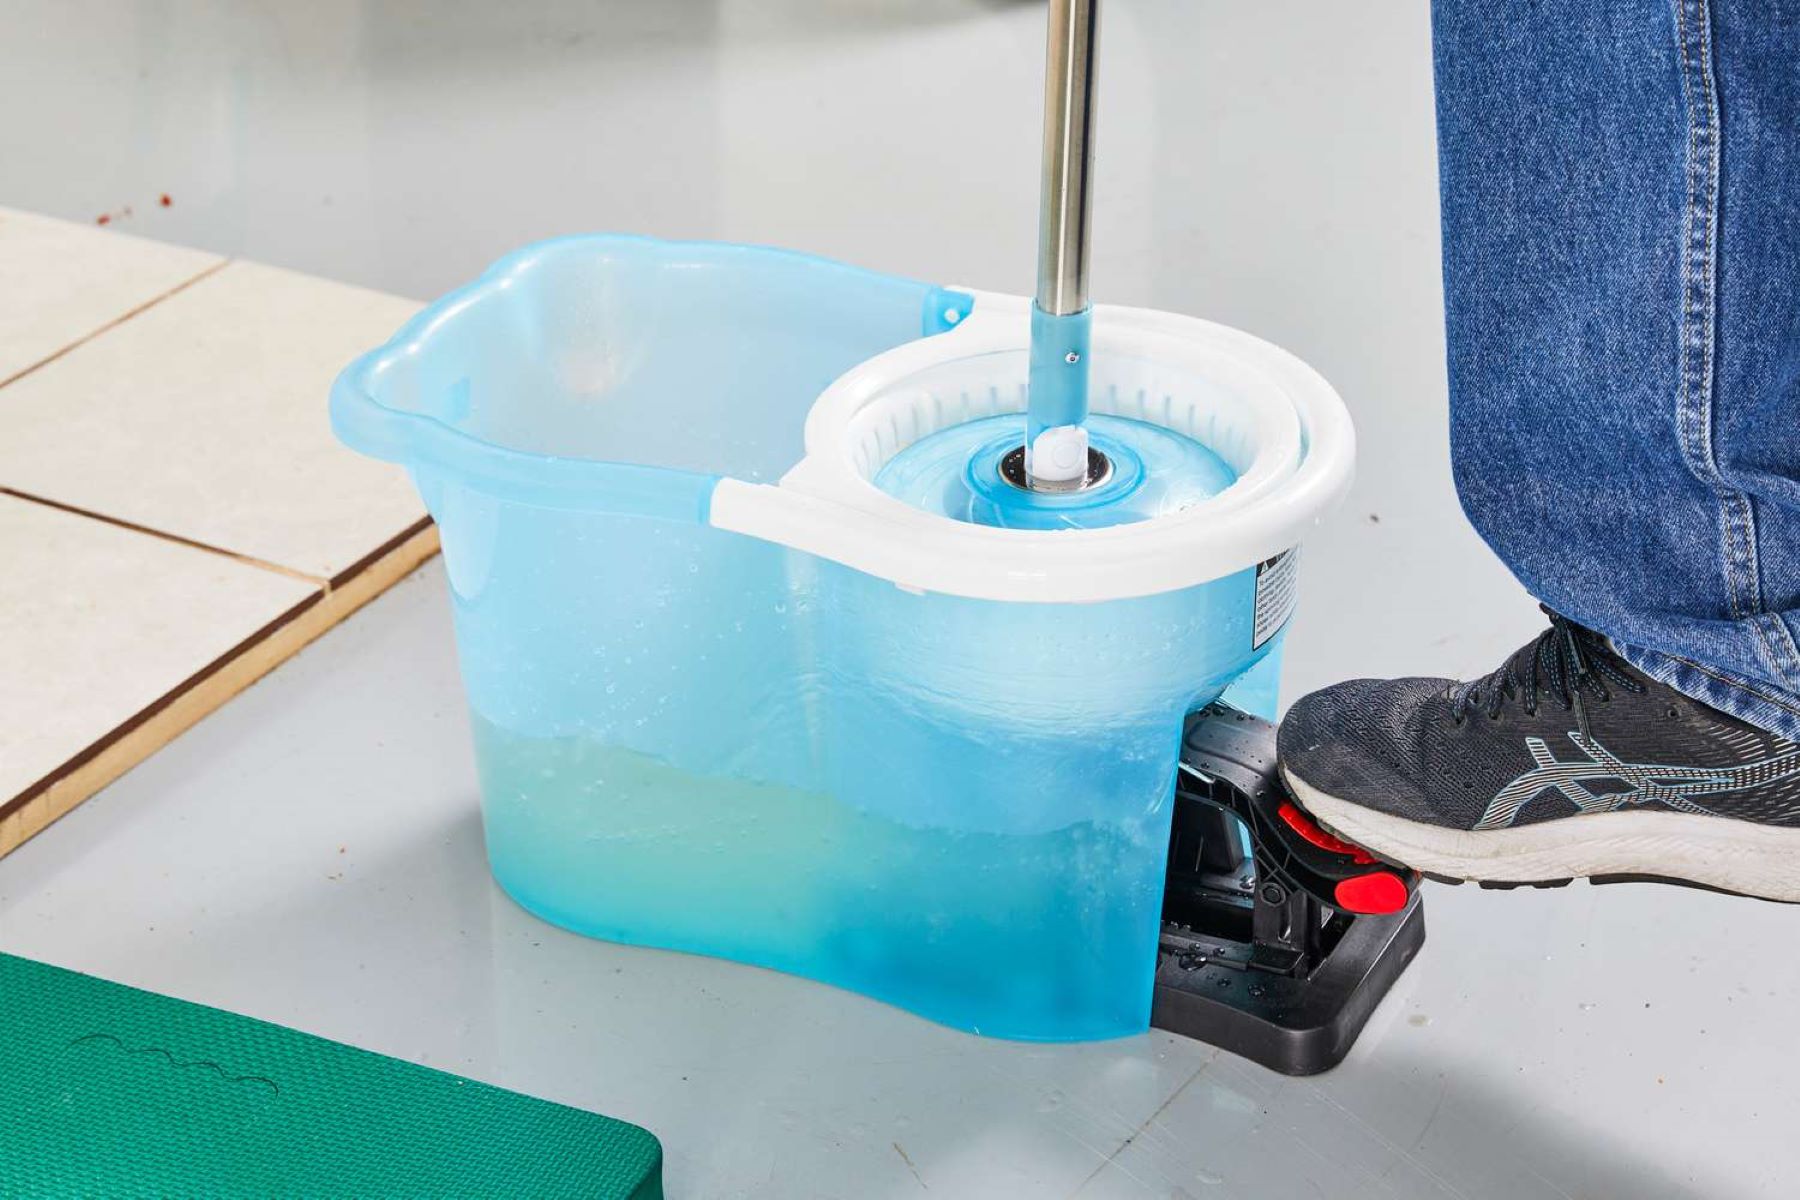
Start by locating a clean and empty spray bottle or mop bucket, depending on your preferred application method. If you’re using a spray bottle, ensure that it is in good condition and capable of holding an ample amount of liquid. For those opting for a mop bucket, make sure it is clean and free of any residual cleaning agents to prevent contamination of your homemade solution.
Next, locate your measuring cup, which will be used to accurately portion the ingredients for the mop solution. Having a dedicated measuring cup ensures precision in mixing the solution, allowing you to achieve the desired cleaning potency without wastage or dilution.
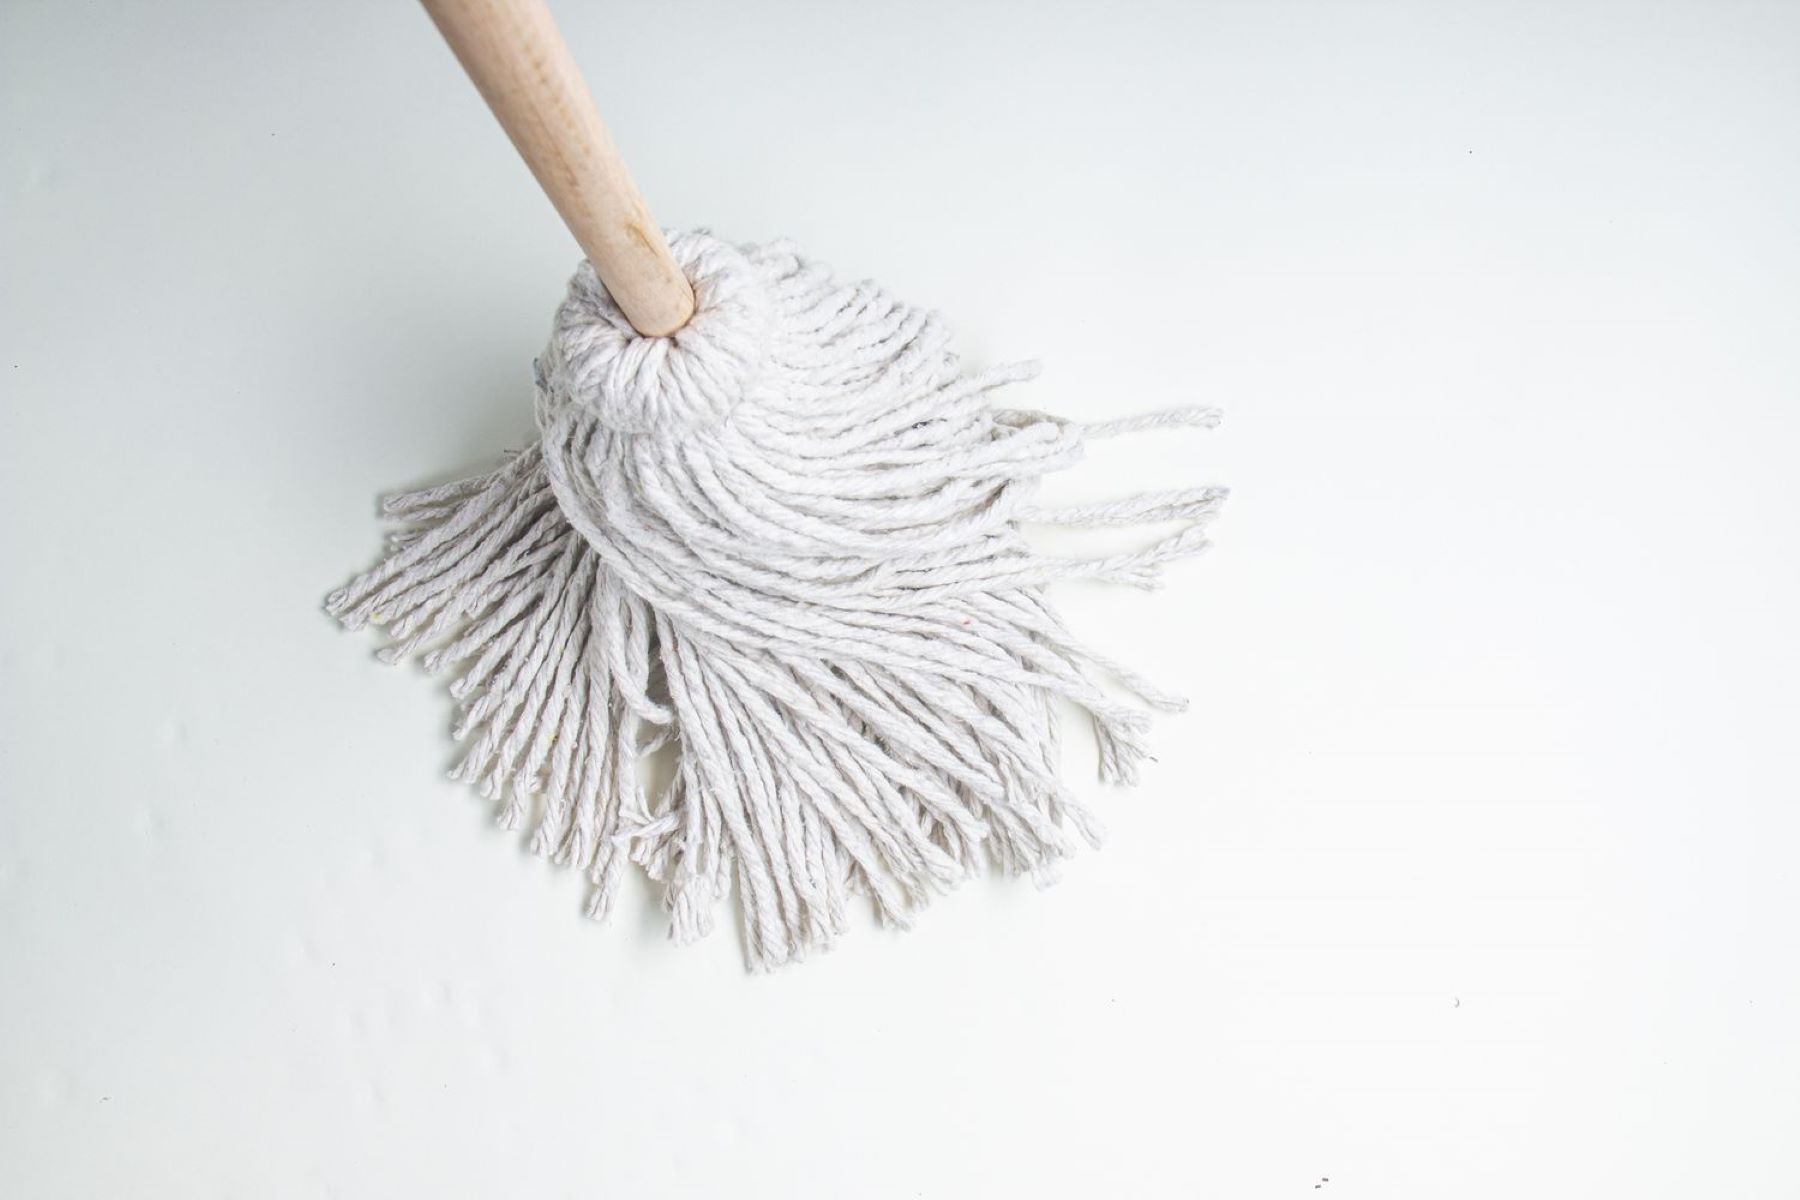
Finally, ensure that your chosen cleaning utensil, whether it’s a mop or microfiber cloth, is clean and ready for use. If you’re using a mop, double-check that the mop head is free of any debris or tangled fibers that could affect its performance during cleaning.
By gathering your supplies and ensuring that they are in optimal condition, you set the stage for a seamless and efficient mixing process. With your materials at the ready, you’re now prepared to move on to the next crucial step: mixing the ingredients to create your homemade mop solution.
Step 2: Mix the Ingredients
With all your supplies assembled, it’s time to start mixing the ingredients to create your homemade mop solution. This step is where you can customize the cleaning solution to suit your specific floor type and personal preferences. The primary ingredients for this DIY cleaner are warm water and vinegar, which work together to tackle dirt, grime, and bacteria effectively.
Begin by measuring out the warm water using your designated measuring cup. The warm temperature of the water helps to enhance the cleaning power of the solution, making it more effective at lifting and dissolving dirt and stains from your floors.
Next, add the vinegar to the warm water. Vinegar is a versatile and natural cleaning agent that helps to disinfect and deodorize surfaces, making it an ideal component for a homemade mop solution. The acidic nature of vinegar also aids in breaking down stubborn residue and grease, leaving your floors spotless and sanitized.
If desired, you can enhance the aroma of your mop solution by incorporating a few drops of your favorite essential oils. This step is optional but can add a pleasant fragrance to your cleaning routine, leaving behind a subtle and refreshing scent after mopping.
Once all the ingredients are combined, use a mixing spoon or whisk to thoroughly blend the solution. Ensure that the vinegar and water are well incorporated, creating a uniform mixture that is ready for use. Take a moment to appreciate the simplicity and eco-friendliness of the ingredients as they come together to form a powerful cleaning solution.
With the ingredients expertly mixed, you’re now equipped with a versatile and effective homemade mop solution that is ready to breathe new life into your floors. The next step will involve testing the solution to ensure its compatibility with your flooring and to gauge its cleaning prowess.
Mix equal parts of water and white vinegar to create an effective and eco-friendly mop solution. Add a few drops of essential oil for a pleasant scent.
Step 3: Test the Solution
Before fully committing to using your homemade mop solution on your entire floor, it’s crucial to conduct a simple test to ensure its compatibility and efficacy. This step is particularly important for floors that may be sensitive to certain cleaning agents, such as hardwood or laminate surfaces.
Begin by selecting a small, inconspicuous area of the floor to test the solution. This could be a corner or a section of the floor that is typically hidden from view. Apply a small amount of the homemade mop solution to the test area, either by spraying it directly or dampening a microfiber cloth or mop with the solution.
Allow the solution to sit on the test area for a few minutes, giving it time to interact with the floor surface. While waiting, observe any potential changes, such as discoloration or adverse reactions, that may indicate an unsuitable cleaning solution for your floor type.
After the designated time has passed, use a clean cloth to gently wipe away the test solution. Inspect the test area closely, looking for any signs of damage or discoloration. Additionally, take note of the cleanliness and shine of the test spot to assess the cleaning power of the solution.
If the test area shows no adverse effects and the floor appears clean and refreshed, you can proceed with confidence, knowing that the homemade mop solution is safe and effective for your specific flooring. However, if any concerns or issues arise during the test, it may be necessary to adjust the solution or explore alternative cleaning methods to protect the integrity of your floors.
By conducting a simple yet crucial test, you can ensure that your homemade mop solution is tailored to your floor’s needs, providing a safe and effective cleaning experience. With the solution proven to be compatible and efficient, you’re now ready to move on to the final step: using the solution to revitalize your floors.
Step 4: Use the Solution
With your homemade mop solution tested and proven effective, it’s time to put it to use and breathe new life into your floors. Whether you’re tackling hardwood, tile, laminate, or vinyl surfaces, this versatile cleaning solution is designed to lift dirt, sanitize, and leave behind a refreshing cleanliness without the use of harsh chemicals.
If you’re using a spray bottle, ensure it is filled with the homemade mop solution and is ready for application. Alternatively, if you prefer a mop bucket, ensure that it contains an ample amount of the solution to accommodate your cleaning needs.
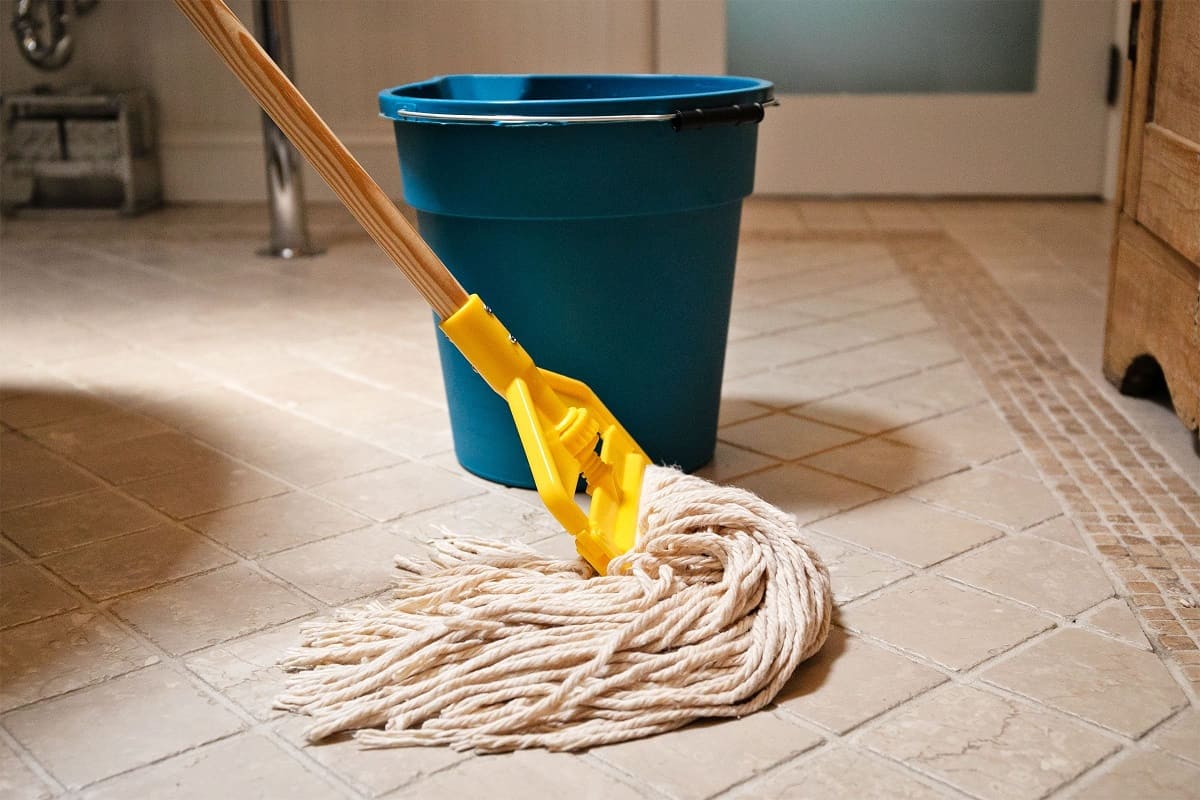
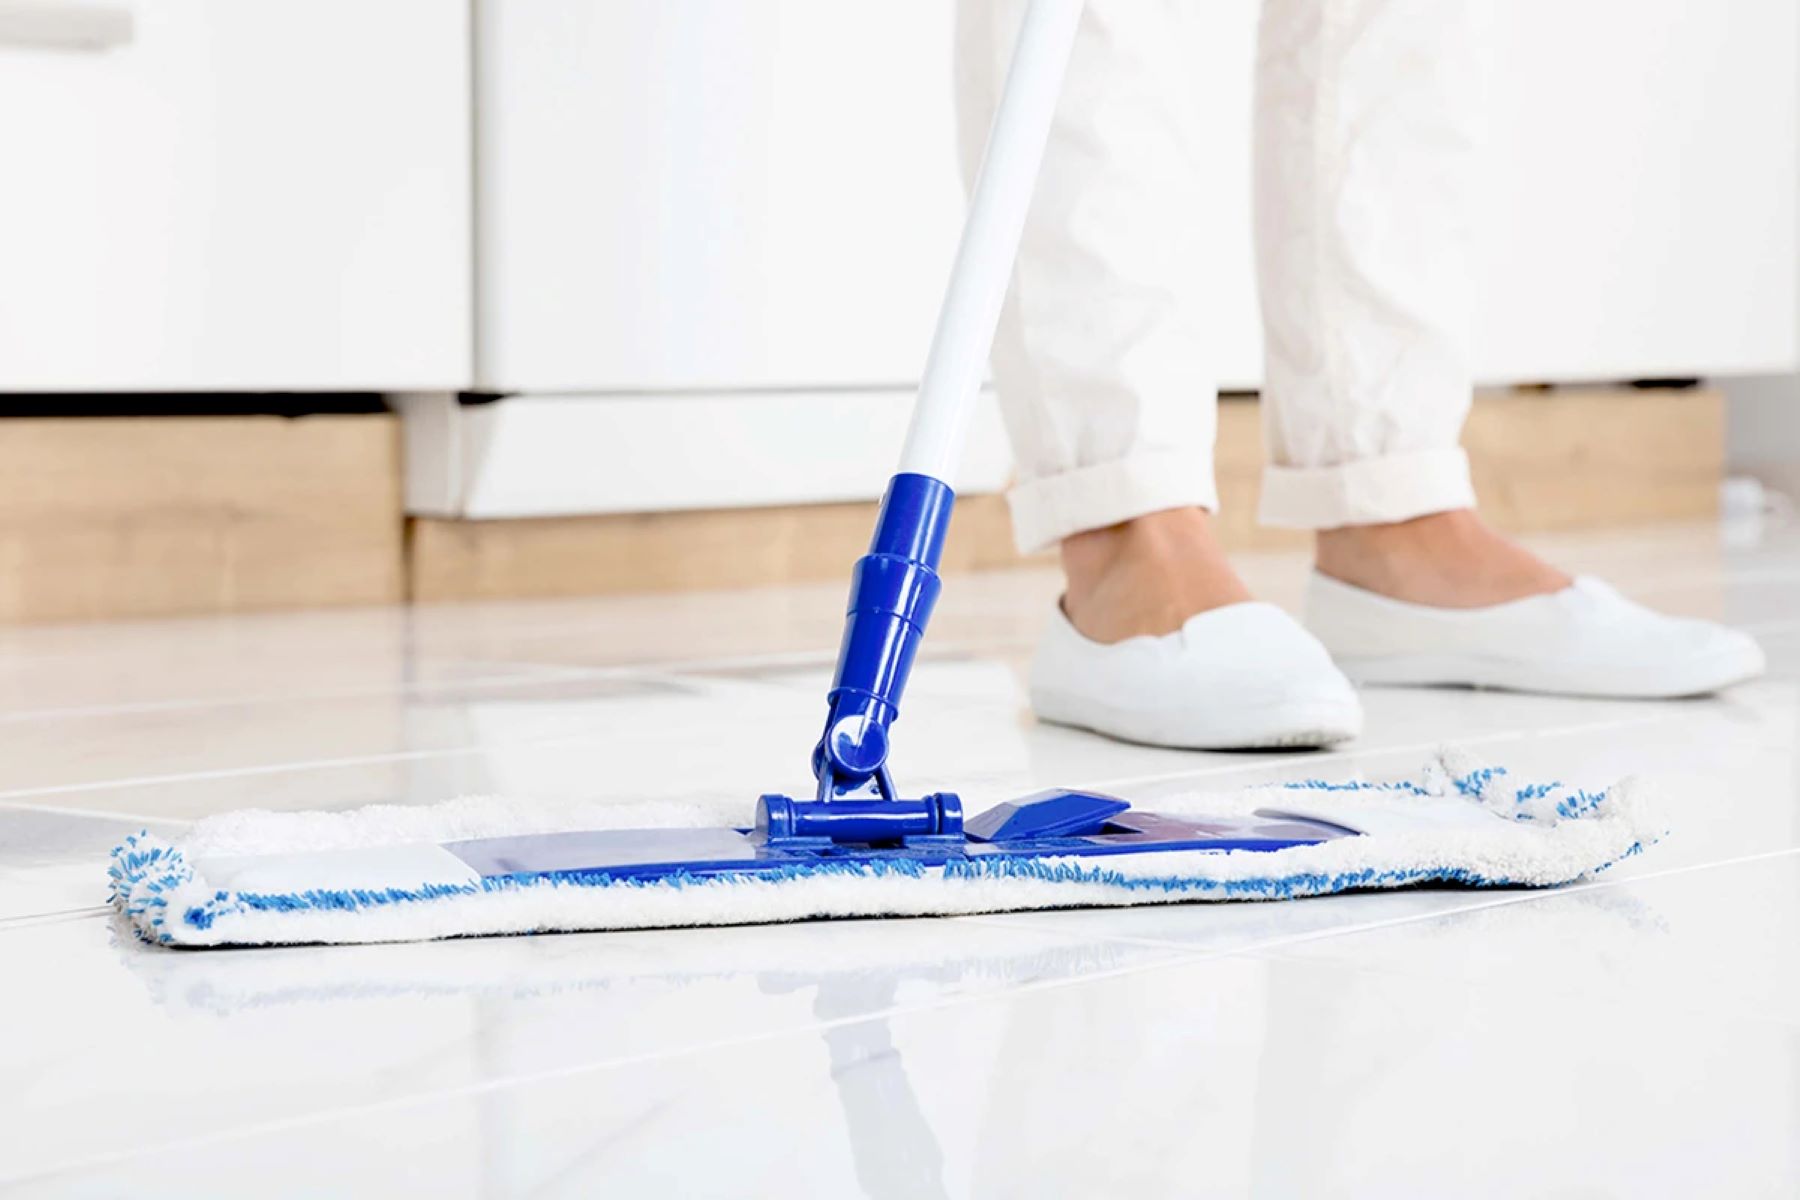
Begin by applying the homemade mop solution to a manageable section of the floor, either by spraying it directly or saturating the mop head or microfiber cloth. Work in small, manageable areas to ensure thorough coverage and effective cleaning. Avoid oversaturating the floor, as excessive moisture can be detrimental to certain flooring types.
Gently mop or wipe the treated area, using consistent and overlapping motions to ensure comprehensive coverage. Pay particular attention to any stubborn spots or high-traffic areas that may require extra cleaning attention. As you work through the designated areas, take note of the immediate impact of the homemade solution as it revitalizes the appearance of your floors.
As you progress, periodically assess the condition of the cleaning tool, whether it’s a mop or cloth, and replace or rinse it as needed to maintain optimal cleaning performance. This ensures that you’re consistently applying the cleaning solution effectively, maximizing its potential to rejuvenate your floors.
Once you have treated the entire floor with the homemade mop solution, take a moment to appreciate the revitalized cleanliness and subtle fragrance left behind. Allow the floor to air dry naturally, and revel in the satisfaction of knowing that you’ve achieved a sparkling clean environment using a safe and eco-friendly cleaning solution.
By using your homemade mop solution to clean and sanitize your floors, you’re not only promoting a sustainable and non-toxic cleaning routine but also contributing to a healthier living space for you and your loved ones. With the cleaning process complete, take a moment to admire the refreshed appearance of your floors and revel in the knowledge that you’ve achieved a spotless and sanitized home using a simple yet powerful homemade cleaning solution.
Conclusion
Congratulations! By following this comprehensive guide, you’ve learned how to create and use a homemade mop solution to effectively clean and revitalize your floors. This eco-friendly and cost-effective alternative to store-bought cleaning agents empowers you to maintain a sparkling clean home while minimizing your environmental impact.
Creating your own mop solution using basic household items such as warm water and vinegar not only saves you money but also allows you to customize the cleaning solution to suit your specific floor type and personal preferences. The addition of essential oils, while optional, can infuse your cleaning routine with a delightful fragrance, elevating the overall experience of maintaining a clean living space.
By meticulously gathering your supplies, mixing the ingredients, testing the solution, and finally using it to clean your floors, you’ve demonstrated a commitment to a sustainable and effective cleaning routine. The simple yet powerful nature of this homemade mop solution showcases the beauty of utilizing natural and readily available ingredients to achieve a pristine and sanitized living environment.
As you revel in the refreshed appearance and cleanliness of your floors, take pride in knowing that you’ve contributed to a healthier and more sustainable home environment. Embracing the use of a homemade mop solution not only benefits your floors but also promotes a greener approach to cleaning, aligning with your commitment to a more eco-conscious lifestyle.
With your newfound knowledge and practical skills, you can confidently incorporate this homemade cleaning solution into your regular cleaning routine, ensuring that your floors remain spotless, sanitized, and free from harsh chemicals. By harnessing the power of natural ingredients, you’ve taken a significant step towards creating a cleaner, healthier, and more sustainable living space for yourself and your loved ones.
So, go ahead and embrace the transformative potential of a homemade mop solution, and revel in the joy of maintaining a pristine and eco-friendly home with a simple yet powerful cleaning solution.
Frequently Asked Questions about How To Make Mop Solution
Was this page helpful?
At Storables.com, we guarantee accurate and reliable information. Our content, validated by Expert Board Contributors, is crafted following stringent Editorial Policies. We're committed to providing you with well-researched, expert-backed insights for all your informational needs.

0 thoughts on “How To Make Mop Solution”