Articles
How To Remove Adapter From Golf Shaft
Modified: December 7, 2023
Learn how to easily remove the adapter from a golf shaft with our informative articles. Gain valuable insights and tips for golf club customization.
(Many of the links in this article redirect to a specific reviewed product. Your purchase of these products through affiliate links helps to generate commission for Storables.com, at no extra cost. Learn more)
Introduction
When it comes to customizing your golf club, the golf shaft adapter plays a crucial role. Golf shaft adapters allow you to adjust the loft, lie, and face angle of your club to optimize your performance on the course. However, there might be instances where you need to remove the golf shaft adapter, whether it’s due to club repair, replacement, or modifications.
Understanding how to remove the adapter from the golf shaft is essential, as it requires a careful approach to avoid damaging the club or the adapter itself. In this article, we will provide you with step-by-step instructions on how to remove the adapter from the golf shaft, along with the necessary tools and precautions to take.
Before diving into the process, it’s important to note that golf shaft adapters vary in design and installation methods. Therefore, it’s always recommended to consult the specific instructions provided by the manufacturer or seek professional assistance when in doubt. However, if you feel confident and have some DIY skills, let’s get started on removing the adapter from your golf shaft.
Next, we will discuss the tools you’ll need for this task.
Key Takeaways:
- Mastering the removal of a golf shaft adapter requires patience, precision, and the right tools. By following the step-by-step instructions and taking necessary precautions, golfers can safely customize their clubs for optimal performance.
- Understanding the role of the golf shaft adapter and its adjustability options is vital for golfers seeking to make repairs, replacements, or modifications to their clubs. With the right knowledge and tools, golfers can confidently remove the adapter and enhance their golfing experience.
Read more: How To Remove Adapter From Tesla
Understanding the Golf Shaft Adapter
The golf shaft adapter is a small yet crucial component that connects the shaft to the clubhead. It allows for adjustability, enabling golfers to fine-tune their club’s specifications to suit their game. Golf shaft adapters are typically made from durable materials such as aluminum or stainless steel, ensuring strength and longevity.
The purpose of the adapter is to provide options for adjusting the loft, lie, and face angle of the club. By detaching and repositioning the adapter, golfers can optimize their club’s performance to achieve the desired ball flight and trajectory. This flexibility is especially useful when experimenting with different settings or transitioning between different clubs in your bag.
Golf shaft adapters come in various designs and compatibility with different club models and brands. It’s important to ensure that you have the correct adapter that matches your clubhead and shaft specifications. The adapter usually has a coded marking or label indicating its compatibility, so make sure to check and match it before proceeding.
With a clear understanding of the golf shaft adapter, let’s move on to the tools you’ll need for removing it.
Tools Required for Removing the Adapter
Before you begin the process of removing the adapter from your golf shaft, it’s important to gather the necessary tools. Having the right tools will ensure that you can safely and effectively remove the adapter without causing any damage to the club or the adapter itself. Here are the tools you’ll need:
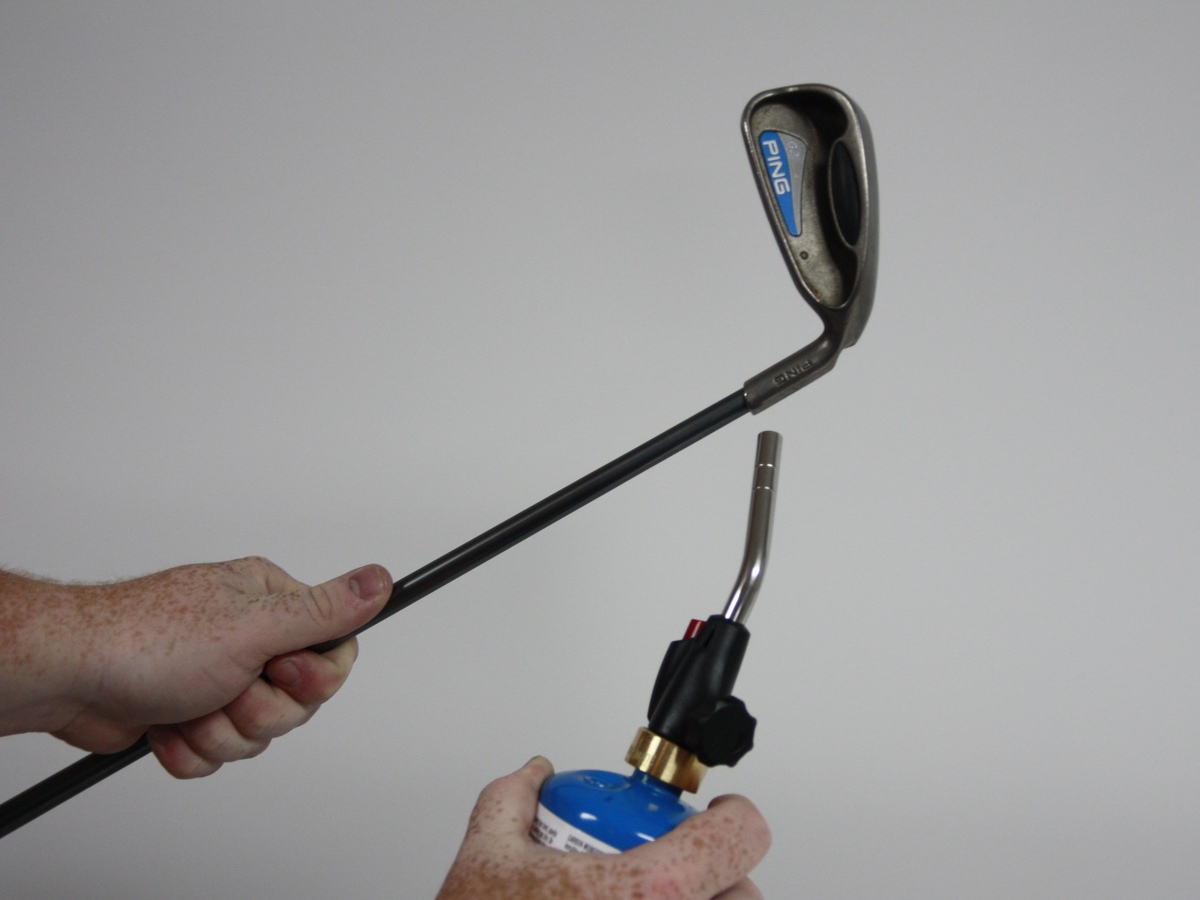
1. Heat Gun or Hair Dryer: A heat gun or hair dryer can be used to heat the adapter. The heat softens the adhesive or epoxy used to secure the adapter to the shaft, making it easier to remove.
2. Rubber Golf Shaft Clamp: A rubber golf shaft clamp provides a secure grip on the shaft without causing any scratches or damage. It helps to prevent the shaft from rotating while you’re removing the adapter.
3. Adjustable Wrench: An adjustable wrench is needed to hold the adapter firmly in place while you’re applying heat or twisting to remove it.
4. Rubber Mallet: A rubber mallet can be used to gently tap the adapter and loosen it from the shaft.
5. Golf Shaft Extractor Tool (Optional): In some cases, a golf shaft extractor tool can make the process of removing the adapter easier. This tool applies even pressure to push the adapter off the shaft without causing any damage.
Make sure to have these tools readily available before you begin. Additionally, it’s always a good idea to wear safety goggles and gloves to protect yourself during the removal process.
Now that you have the tools, let’s dive into the step-by-step instructions on how to remove the adapter from the golf shaft.
When removing an adapter from a golf shaft, use a heat gun to soften the epoxy and twist the adapter off with a wrench. Be careful not to overheat the shaft.
Step-by-Step Instructions to Remove the Adapter from Golf Shaft
Removing the golf shaft adapter requires patience, careful handling, and attention to detail. Follow these step-by-step instructions to safely remove the adapter from your golf shaft:
1. Secure the shaft: Use a rubber golf shaft clamp to secure the golf shaft firmly in place. This will prevent the shaft from rotating or moving while you’re working on removing the adapter.
2. Apply heat: Use a heat gun or hair dryer on a low heat setting to heat the adapter for about 30 seconds. The heat will soften the adhesive or epoxy used to secure the adapter to the shaft, making it easier to remove.
3. Hold the adapter: Use an adjustable wrench to hold the adapter securely in place. Place the wrench on the flat side of the adapter where it connects to the shaft.
4. Rotate and twist: While applying gentle pressure with the wrench, start rotating and twisting the adapter counterclockwise. The heat applied in the previous step will help in loosening the adhesive or epoxy, making it easier to twist off the adapter.
5. Tap with a rubber mallet (if necessary): If the adapter is still stuck, you can gently tap it with a rubber mallet. The tapping should help to loosen the adapter further and facilitate its removal. Be careful not to strike too hard, as it may cause damage to the clubhead or the shaft.
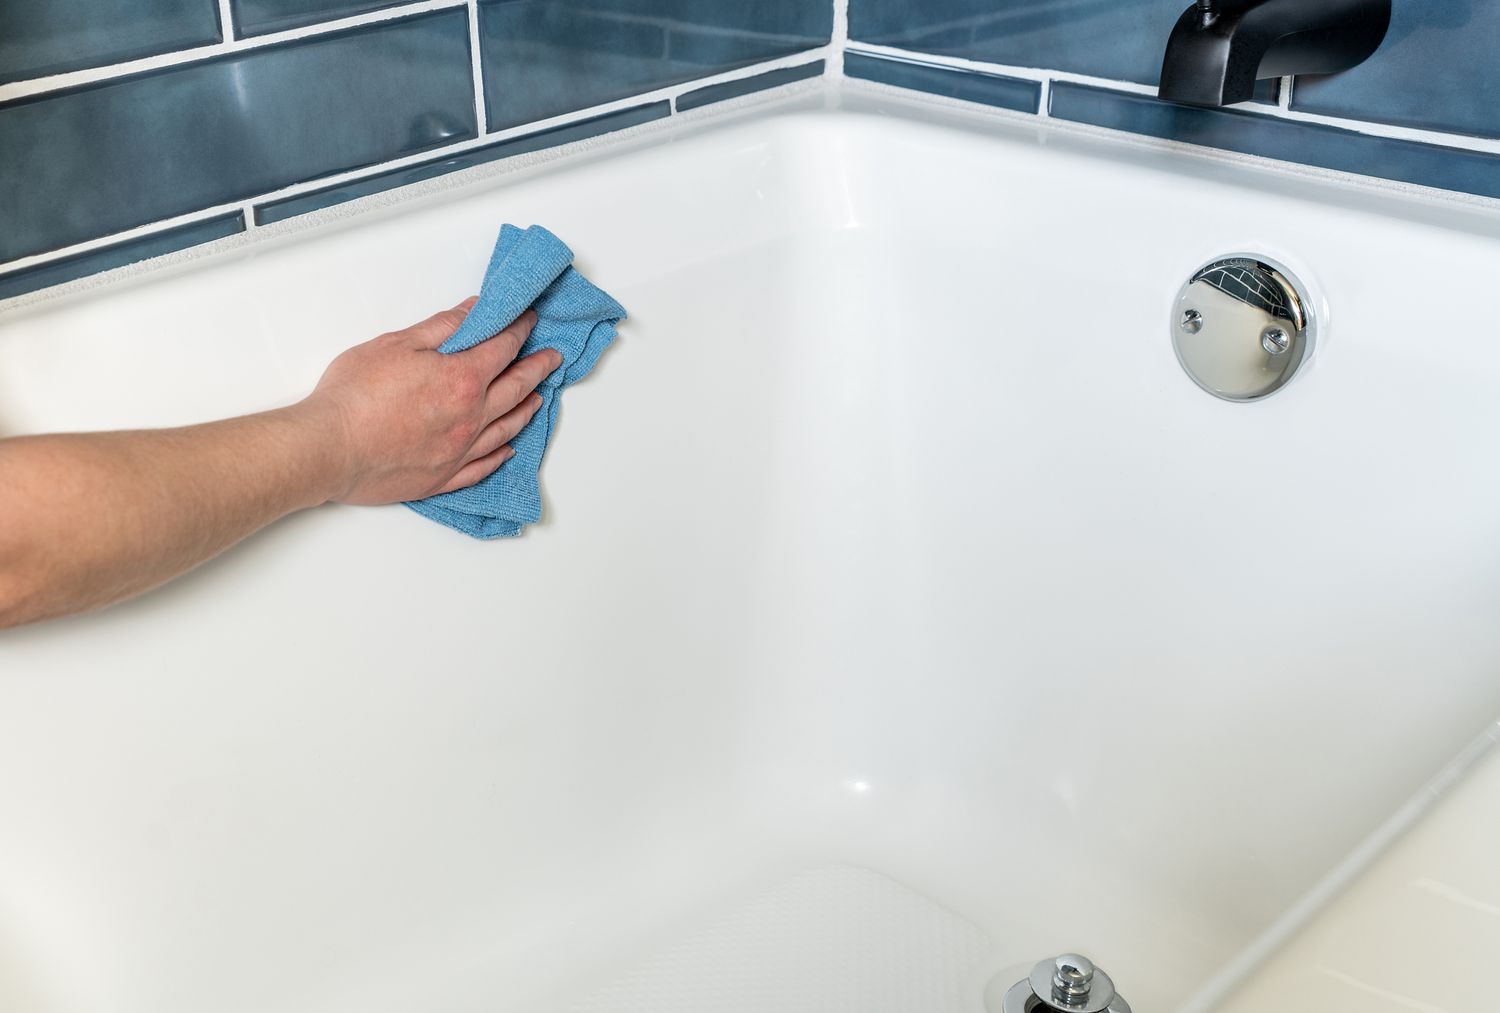
6. Check for residue: Once the adapter is removed, inspect the shaft for any adhesive or epoxy residue. If there is any residue left, use a clean cloth or adhesive remover to remove it carefully. Make sure to follow the instructions provided by the adhesive remover manufacturer.
By following these step-by-step instructions, you should be able to successfully remove the golf shaft adapter from your club shaft. However, keep in mind that some adapters may have different installation methods or require specific tools for removal. Therefore, it’s always a good idea to consult the manufacturer’s instructions or seek professional assistance if you’re uncertain.
Before we wrap up, let’s go through some tips and precautions to ensure a smooth and safe removal process.
Tips and Precautions
Removing the golf shaft adapter requires careful handling and attention to detail. To ensure a smooth and safe removal process, consider the following tips and precautions:
1. Read manufacturer instructions: Before proceeding, always check the manufacturer’s instructions specific to your golf shaft adapter. They may provide specific guidelines or recommendations for removal.
2. Use heat cautiously: Applying heat is essential for softening the adhesive or epoxy, but be cautious not to overheat the adapter or the shaft. Use a low heat setting on the heat gun or hairdryer and avoid excessive or prolonged exposure to heat to prevent damage to the shaft or the clubhead.
3. Apply even pressure: When holding the adapter with an adjustable wrench, make sure to apply even pressure and avoid excessive force. A gradual twist using controlled pressure is recommended to avoid any mishaps.
4. Take breaks if needed: If the adapter is particularly stubborn or resistant to removal, take breaks in between to avoid excessive force or frustration. A few minutes of rest can provide a fresh approach and prevent damage caused by rushing or excessive force.
5. Protect the clubhead: Use a soft cloth or gentle padding to protect the clubhead from accidental scratches or damage during the removal process. Avoid tapping or striking the clubhead directly with the rubber mallet.
6. Seek professional assistance when needed: If you’re uncertain or uncomfortable with removing the adapter on your own, it’s best to seek professional assistance. A golf club repair specialist or a local golf shop can provide expert guidance and perform the removal safely.
7. Keep the adapter and shaft clean: After removing the adapter, wipe down the shaft and the adapter with a clean cloth to remove any leftover adhesive or residue. A clean surface ensures proper installation when attaching a new adapter or making other club modifications.
Remember, the process of removing a golf shaft adapter can vary depending on the specific club and adapter configuration. Always exercise caution and take your time to avoid any potential damage to the club or the adapter itself. When in doubt, consult the manufacturer’s instructions or seek professional assistance to ensure a successful removal.
Read more: How To Remove Delta Tub Spout Adapter
Conclusion
Removing a golf shaft adapter requires precision, patience, and the right tools. By following the step-by-step instructions outlined in this article and taking necessary precautions, you can safely remove the adapter from your golf shaft without causing any damage.
Understanding the role of the golf shaft adapter and its adjustability options is vital for golfers who want to customize their clubs for optimal performance. Whether it’s for repairs, replacements, or modifications, being able to remove the adapter allows you to make necessary changes to your club setup.
Remember to gather the required tools such as a heat gun or hairdryer, rubber golf shaft clamp, adjustable wrench, rubber mallet, and optional golf shaft extractor tool. These tools will enable you to handle the removal process effectively.
Applying heat, securing the shaft, applying even pressure, and utilizing gentle tapping are key steps in removing the adapter. It’s important to proceed with caution, read manufacturer instructions, and seek professional assistance if needed.
Once the adapter is successfully removed, take the time to inspect the shaft for any residue and clean it thoroughly. This will prepare the shaft for further modifications or the installation of a new adapter.
In conclusion, removing a golf shaft adapter is a task that can be accomplished with the right knowledge, tools, and patience. By following the tips, precautions, and step-by-step instructions provided in this article, you can confidently remove the adapter from your golf shaft and make the necessary adjustments to enhance your golfing experience.
Frequently Asked Questions about How To Remove Adapter From Golf Shaft
Was this page helpful?
At Storables.com, we guarantee accurate and reliable information. Our content, validated by Expert Board Contributors, is crafted following stringent Editorial Policies. We're committed to providing you with well-researched, expert-backed insights for all your informational needs.


0 thoughts on “How To Remove Adapter From Golf Shaft”