Home>Articles>How To Take The Filter Out Of A New Showerhead
Articles
How To Take The Filter Out Of A New Showerhead
Modified: August 27, 2024
Learn how to remove the filter from your new showerhead with our informative articles. Discover simple step-by-step instructions to improve your shower experience.
(Many of the links in this article redirect to a specific reviewed product. Your purchase of these products through affiliate links helps to generate commission for Storables.com, at no extra cost. Learn more)
Introduction
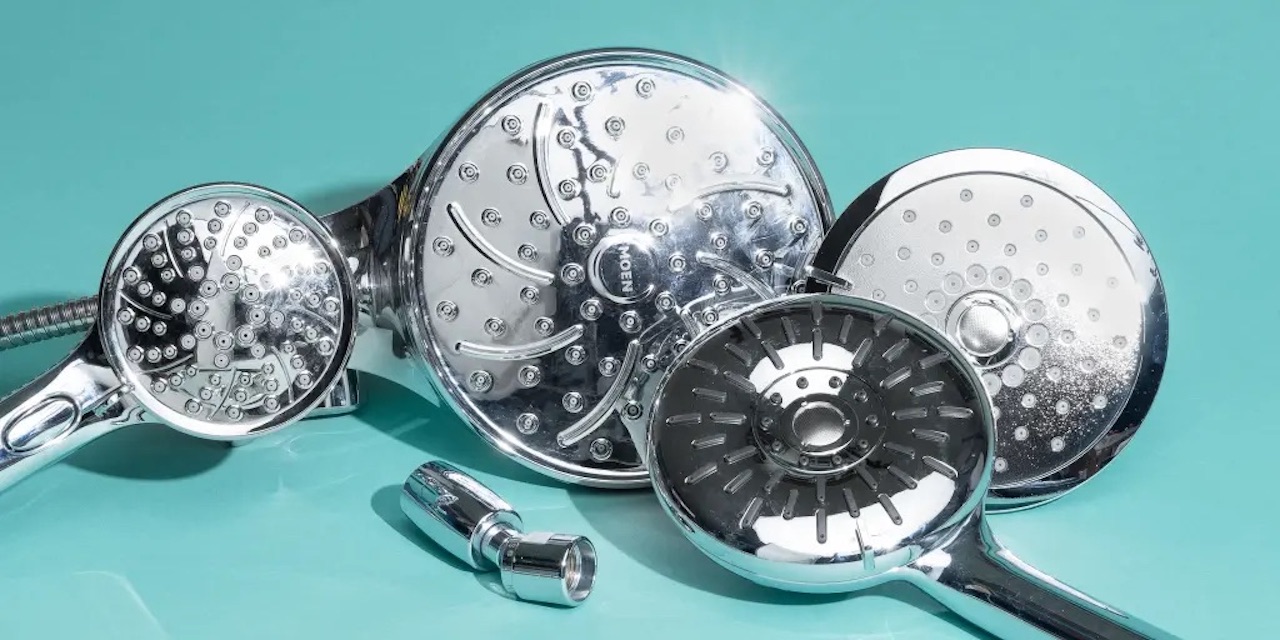
Welcome to the ultimate guide on how to take the filter out of a new showerhead. When it comes to showerheads, many models come equipped with a filter to help remove impurities and provide cleaner water for our daily showers. However, there may come a time when you want to remove the filter, either to replace it or to enhance the water flow. Whatever your reason may be, this article will walk you through the step-by-step process of taking the filter out of your new showerhead.
The process is relatively straightforward, and with the right tools and a little bit of patience, you’ll have the filter removed in no time. We’ll cover everything from gathering the necessary tools and materials to reassembling the showerhead once the filter has been removed. So, let’s dive right in and get started!
Before we jump into the steps, it’s important to note that not all showerheads have removable filters. Some models have filters that are permanently built-in or integrated into the showerhead design. Therefore, it’s essential to check if your showerhead actually has a removable filter before proceeding with this guide. If your showerhead doesn’t have a removable filter, it is recommended to consult the manufacturer’s instructions or seek professional assistance for any maintenance or modifications.
Now that we’ve got that cleared up, let’s move on to the first step – gathering the necessary tools and materials.
Key Takeaways:
- Easily customize your shower experience by removing the filter from your showerhead. Follow the step-by-step guide for a smoother process and enjoy enhanced water flow.
- Remember to gather the necessary tools, turn off the water supply, and carefully reassemble the showerhead after removing the filter. Enjoy your personalized shower experience!
Read more: How To Install A New Showerhead
Step 1: Gather the necessary tools and materials
Before you begin the process of removing the filter from your new showerhead, it’s important to gather all the tools and materials you’ll need. Having everything prepared in advance will help make the process smoother and more efficient. Here’s a list of items you’ll need:
- Adjustable wrench or pliers: These tools will come in handy when you need to loosen and tighten the showerhead.
- Teflon tape: This thin, white tape is used to create a watertight seal when reassembling the showerhead.
- Cleaning solution (optional): If you’re planning to clean the filter, having a mild cleaning solution can help remove any debris or mineral buildup.
- Soft cloth or sponge: This will be used to clean the filter if you choose to do so.
- Bowl or bucket: You’ll need a container to catch any water that may drip from the showerhead during the removal process.
Once you have gathered all these tools and materials, you’ll be ready to move on to the next step. Make sure to have everything within reach to avoid any delays or interruptions during the process.
It’s also worth noting that some showerheads may have manufacturer-specific requirements or additional tools needed for removal. It’s a good idea to consult the instruction manual or the manufacturer’s website for any specific recommendations before proceeding.
Now that you have all the necessary tools and materials, let’s move on to step two – turning off the water supply.
Step 2: Turn off the water supply
Before you begin working on removing the filter from your showerhead, it’s crucial to turn off the water supply to avoid any potential water damage or accidents. Here’s how to do it:
- Locate the main water valve: The main water valve is typically located near the water meter or where the main water line enters your home. Look for a lever or knob that you can turn to shut off the water.
- Turn off the water supply: Once you’ve located the main water valve, turn it clockwise to shut off the water. You may need to use a wrench or pliers for better leverage if the valve is difficult to turn.
- Test the water supply: To ensure that the water supply is properly shut off, turn on a faucet or shower in another part of your home to see if any water comes out. If no water flows, that means you have successfully turned off the water supply.
It’s important to note that turning off the water supply will not only prevent water from flowing during the removal process, but it will also help minimize any potential water pressure in the showerhead, making it easier to handle and work with.
With the water supply shut off, you’re now ready to move on to the next step – removing the showerhead from the shower arm.
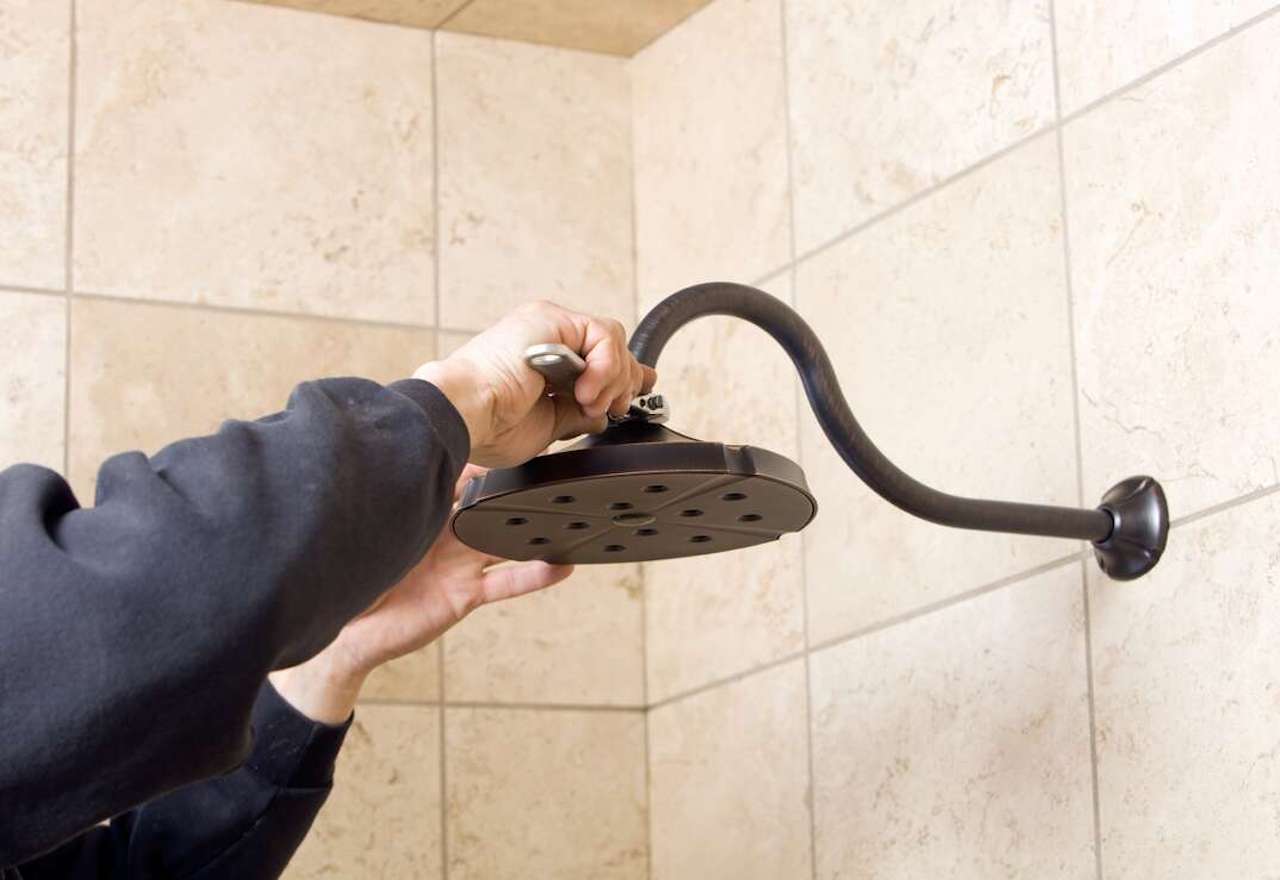
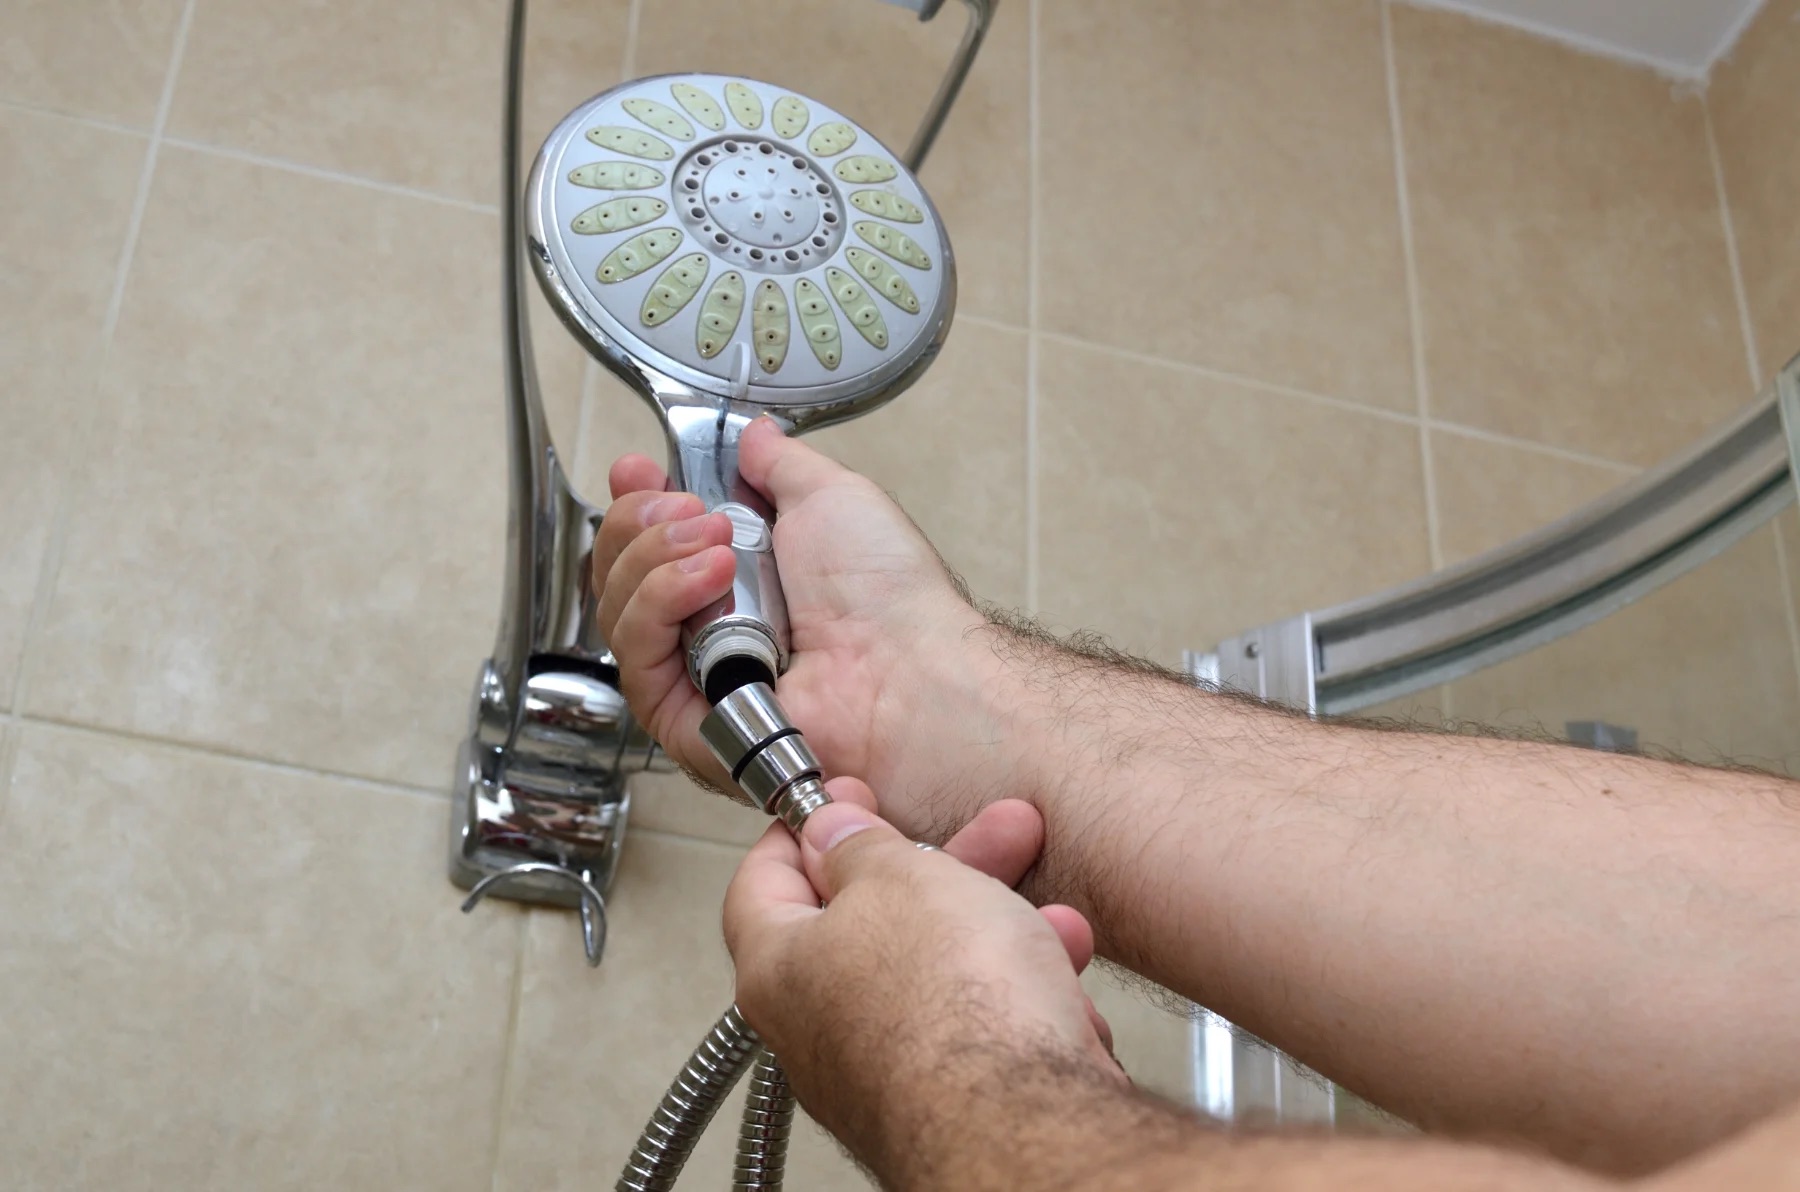
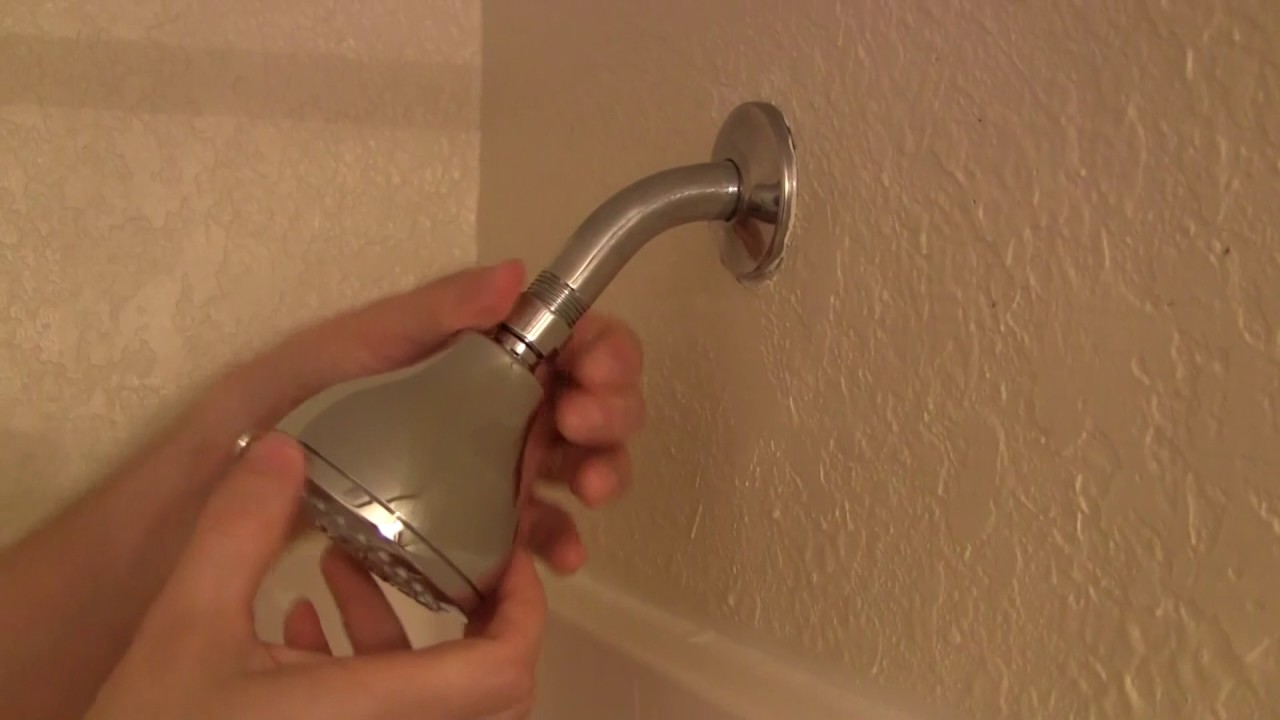
Step 3: Remove the showerhead from the shower arm
Now that you have turned off the water supply, it’s time to remove the showerhead from the shower arm. The shower arm is the pipe that extends from the wall and connects to the showerhead. Here’s how you can do it:
- Locate the connection point: Look for the point where the showerhead is attached to the shower arm. This is typically where the two pieces screw together.
- If the showerhead is hand-tightened: Grip the showerhead firmly with one hand and use your other hand to twist it counterclockwise. Most showerheads are hand-tightened and can be easily unscrewed without the need for tools.
- If the showerhead is tightly secured: If the showerhead seems to be tightly secured and difficult to loosen by hand, you can use an adjustable wrench or pliers to provide extra leverage. Wrap a cloth around the showerhead to protect its finish and grip it with the wrench or pliers. Turn the wrench or pliers counterclockwise to loosen the showerhead.
- Continue unscrewing the showerhead: Once you have loosened the showerhead, continue to unscrew it until it is completely detached from the shower arm.
After removing the showerhead, set it aside in a safe place. Be careful not to drop it or damage it during this process.
Now that you’ve successfully removed the showerhead from the shower arm, you’re ready to move on to step four – locating the filter inside the showerhead.
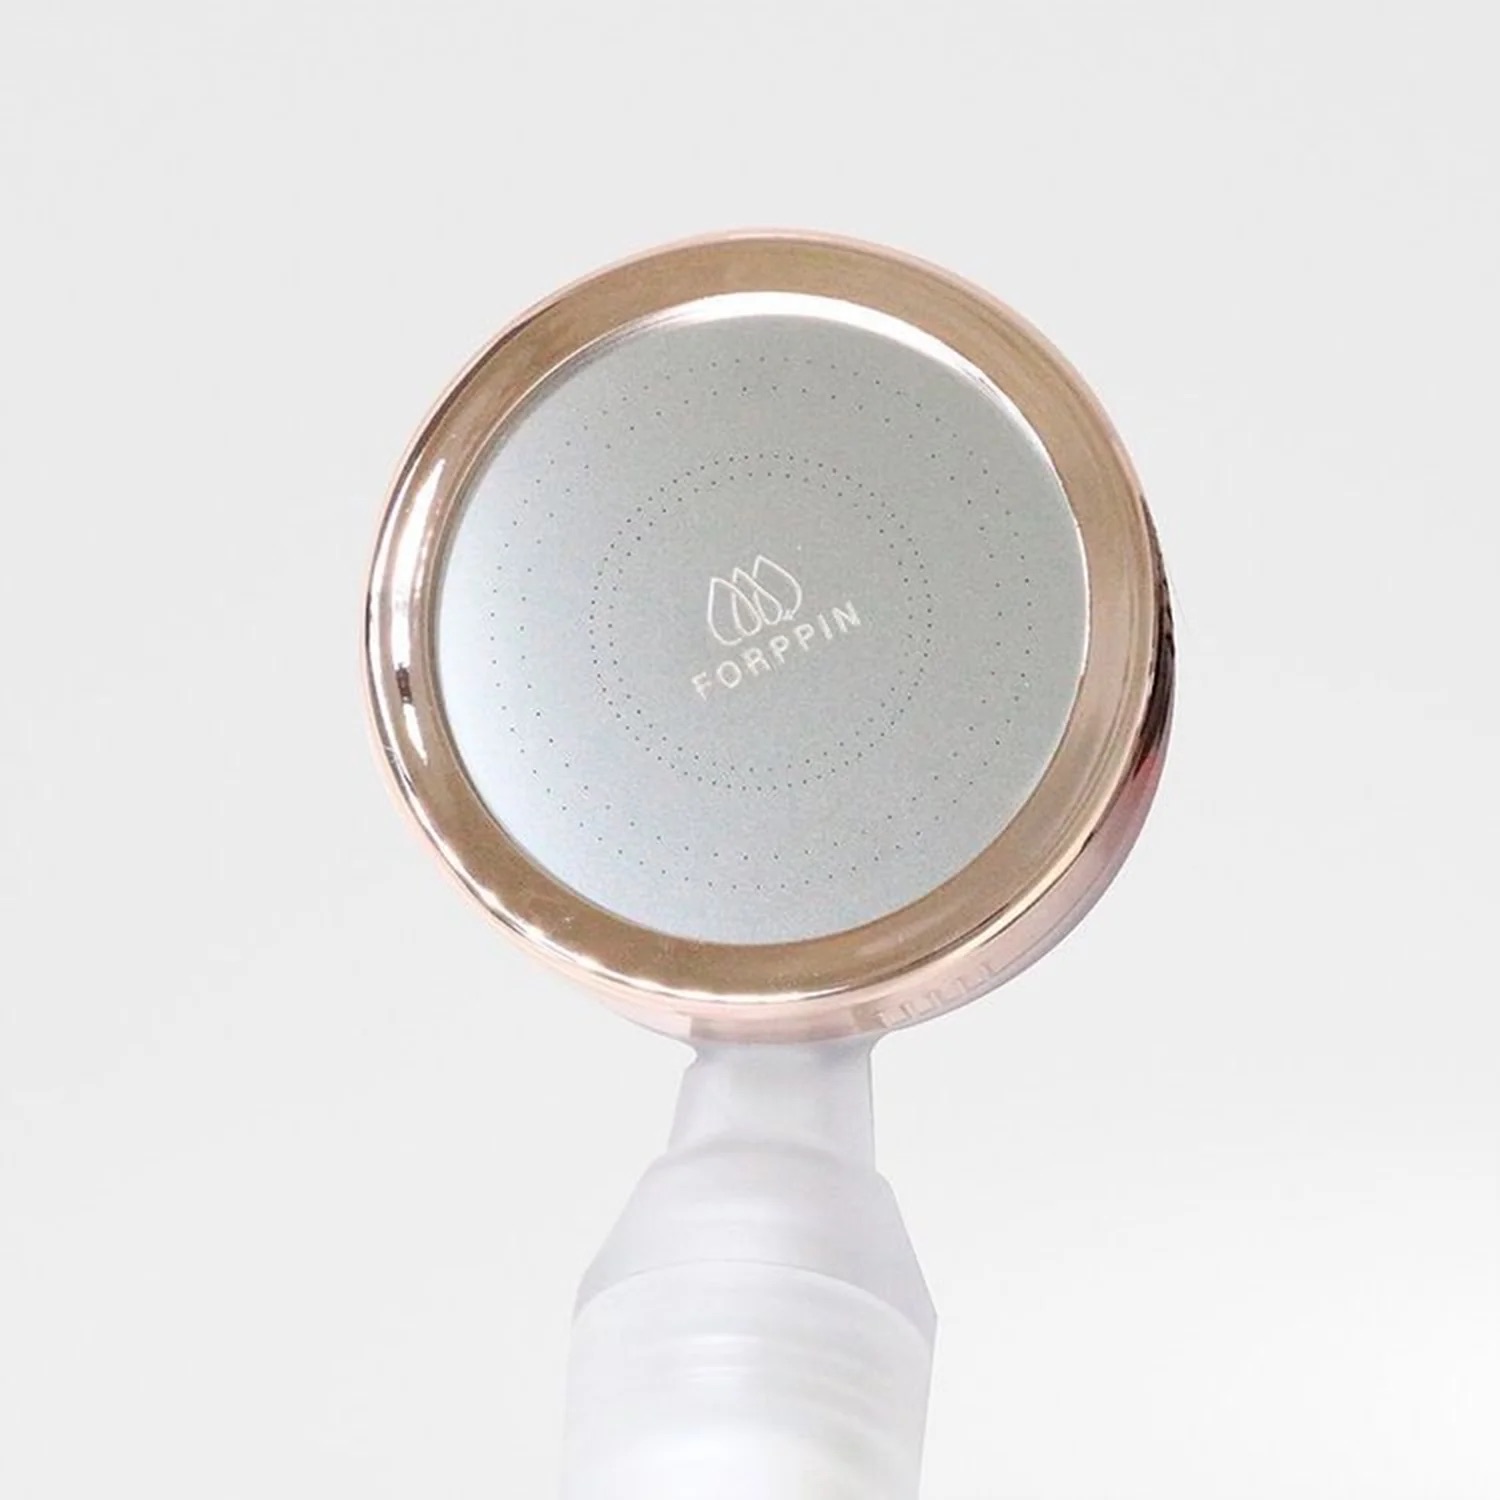
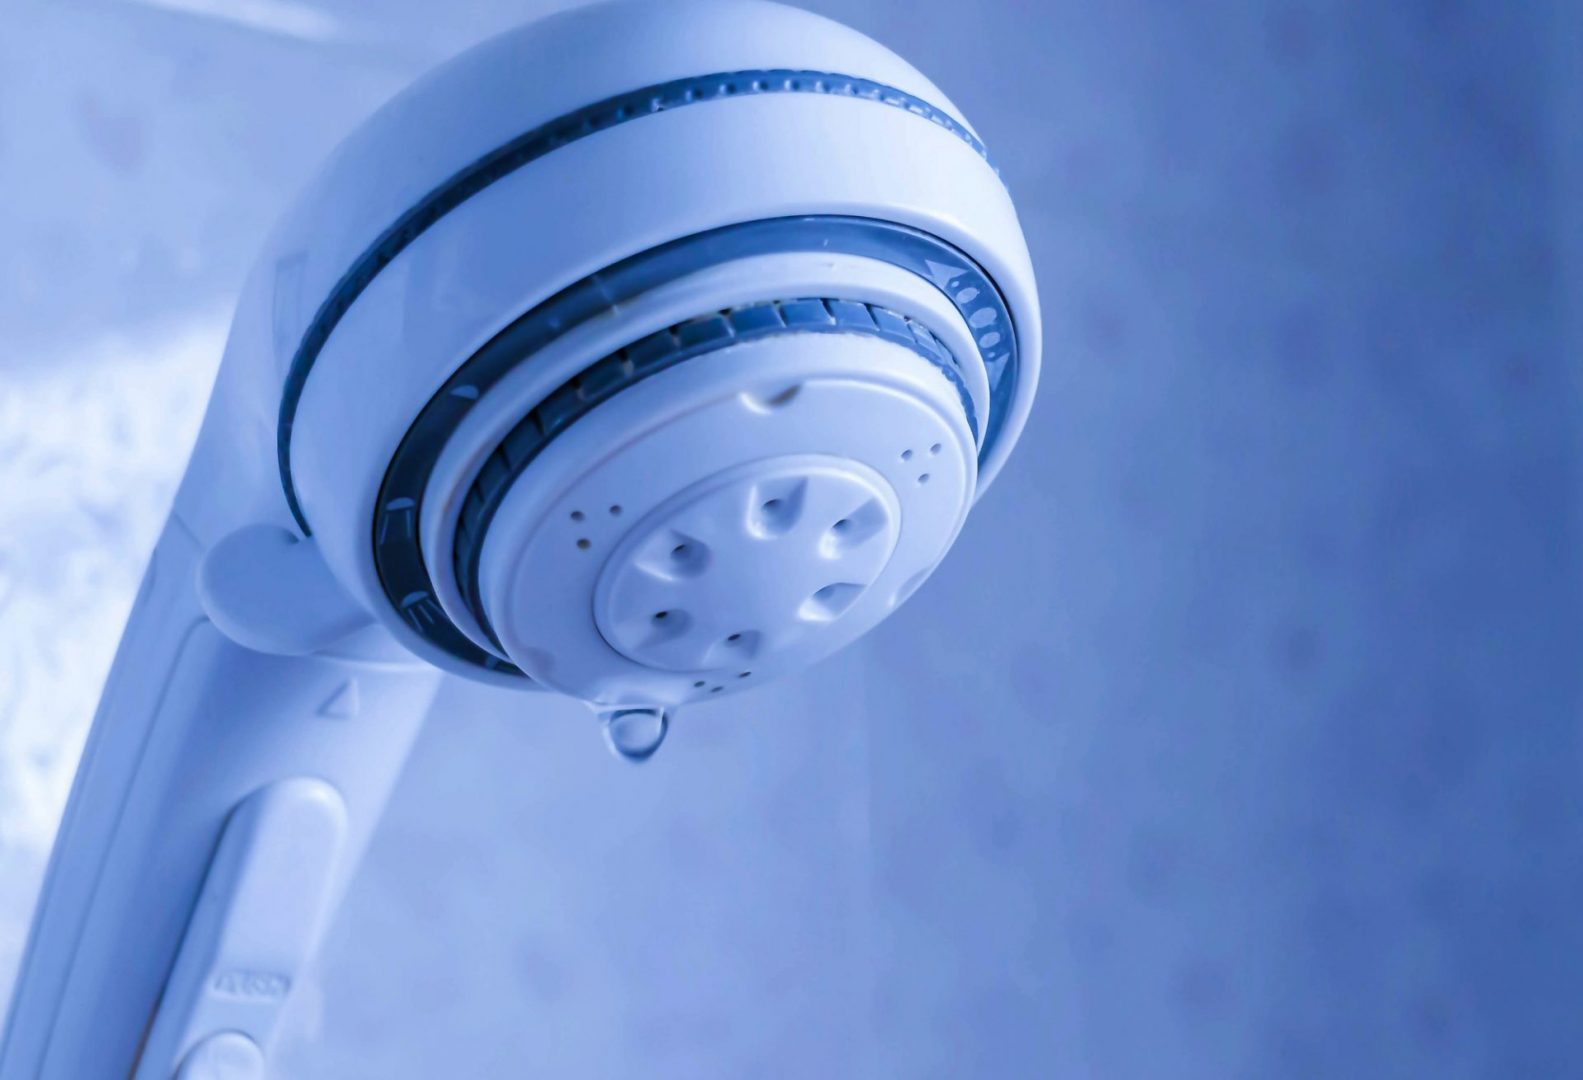
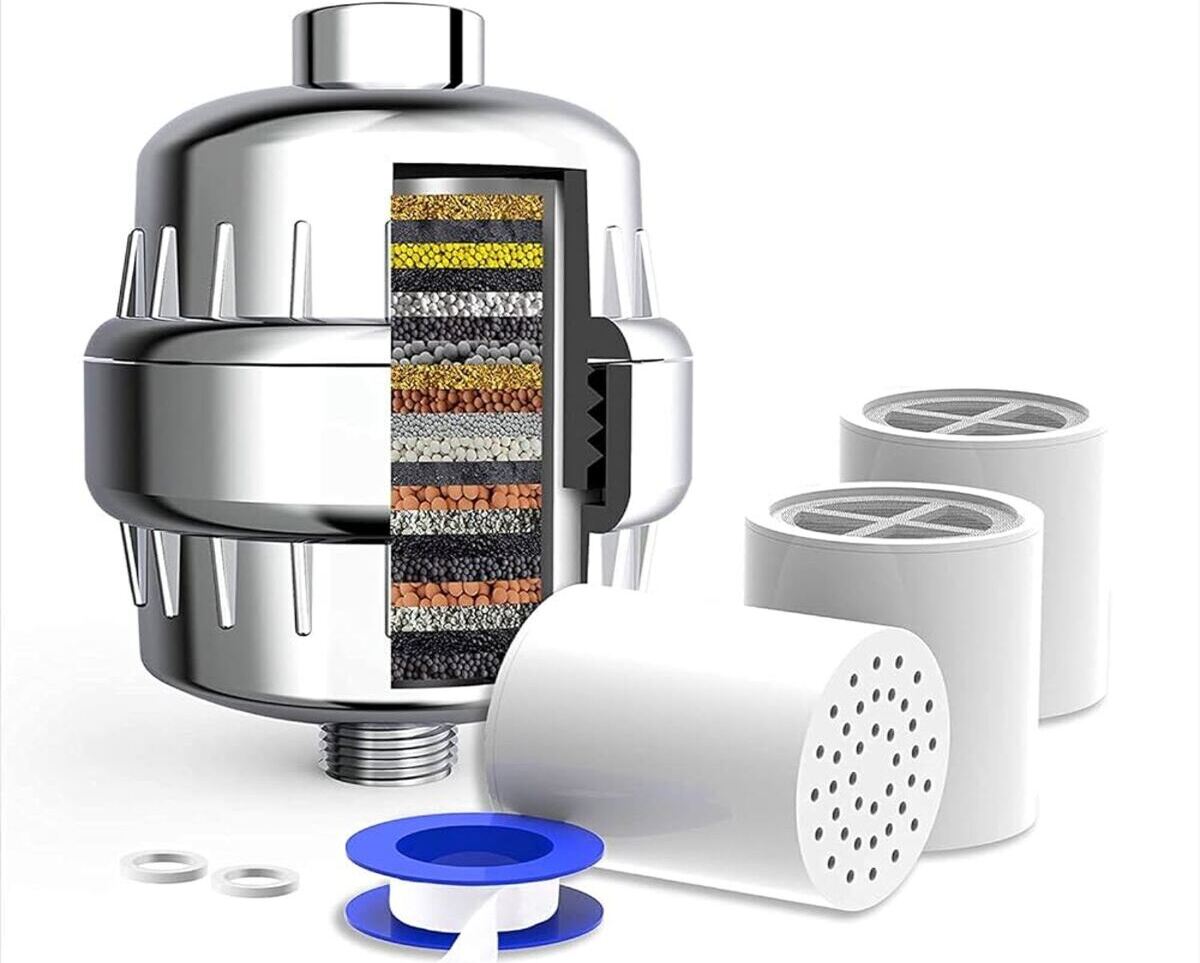
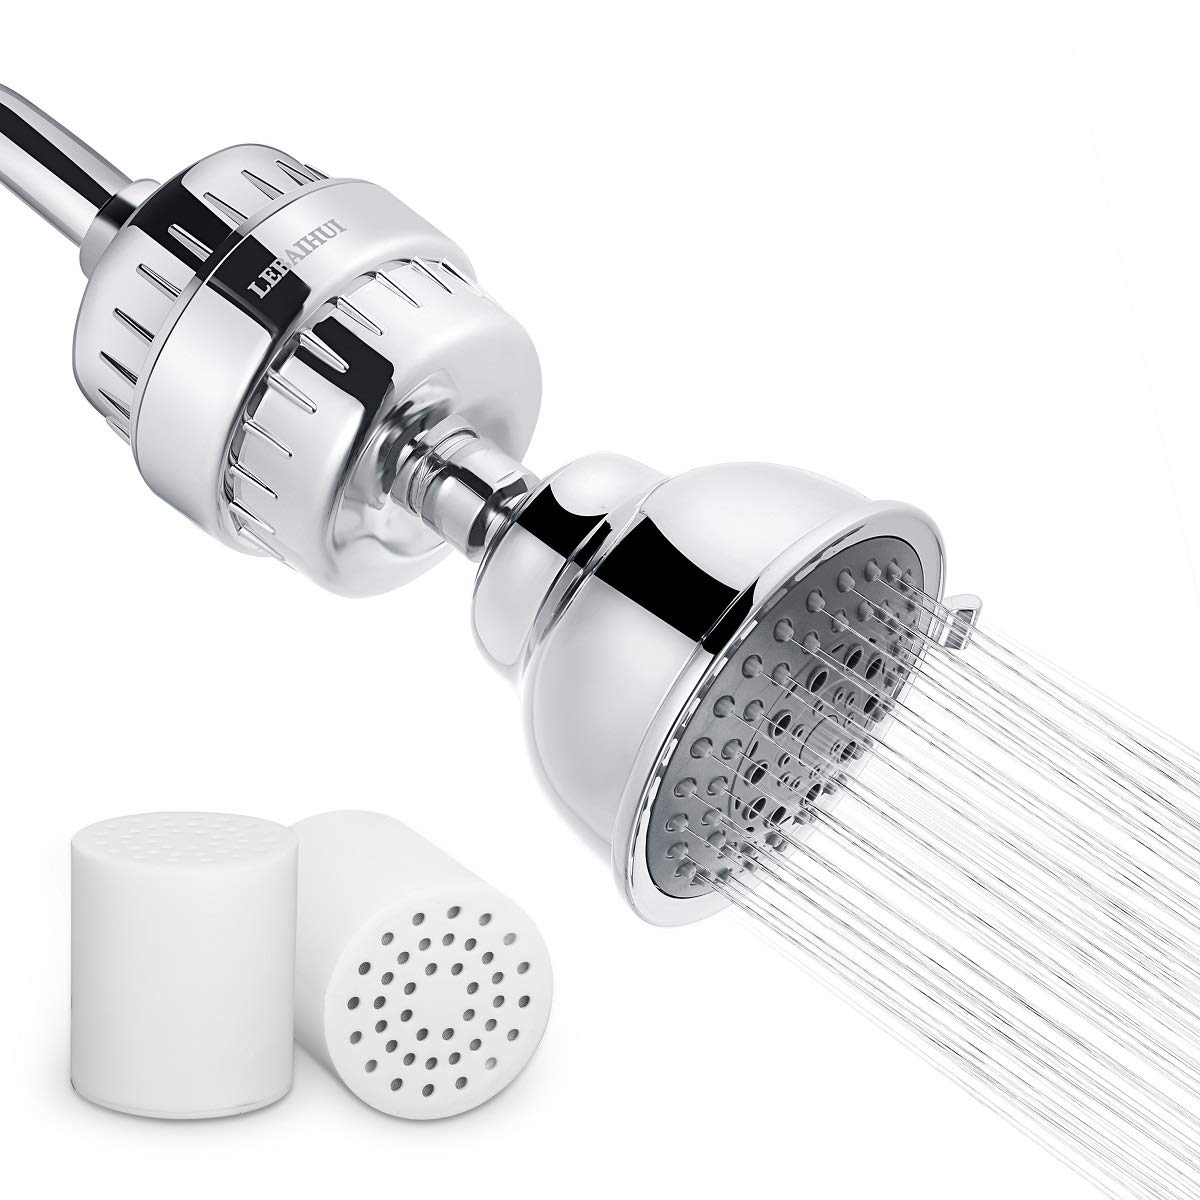
Step 4: Locate the filter inside the showerhead
With the showerhead removed from the shower arm, it’s time to locate the filter inside the showerhead. The filter is designed to trap impurities and sediment, ensuring cleaner water flow. Here’s what you need to do:
- Inspect the showerhead: Take a close look at the inside of the showerhead where the water flows out. You may notice a small round or cylindrical component that is the filter.
- Identify the filter housing: The filter is typically housed in a separate compartment within the showerhead. It may be made of plastic or metal and can be either removable or fixed in place.
- If the filter is easily visible: Some showerheads have filters that are easily visible and accessible. In this case, you may be able to remove the filter by simply twisting or unscrewing the filter housing.
- If the filter is not easily visible: In some cases, the filter may be hidden deep within the showerhead and not easily accessible. In this situation, you may need to refer to the manufacturer’s instructions or seek professional assistance to remove the filter.
It’s important to note that not all showerheads have removable filters. Some models have filters that are permanently built-in or integrated into the design, making them non-removable. If you cannot locate or remove the filter, it’s best to consult the showerhead’s user manual or contact the manufacturer for guidance.
Once you have located the filter and determined its accessibility, you can proceed to the next step – unscrewing the filter housing (if applicable) – to remove the filter from the showerhead.
Read more: What Is A Showerhead Filter
Step 5: Unscrew the filter housing
Now that you have located the filter inside the showerhead, you may need to unscrew the filter housing to access and remove the filter. Here’s how you can do it:
- Inspect the filter housing: Take a close look at the filter housing surrounding the filter. It may have threads or grooves that indicate it can be unscrewed.
- If the filter housing has threads: In many cases, the filter housing can be unscrewed by turning it counterclockwise. You can try using your hand first to see if it easily twists off. If it’s difficult to unscrew by hand, you can use an adjustable wrench or pliers to provide additional leverage. Place a cloth between the tool and the filter housing to protect the finish, then grip the housing firmly with the tool and turn it counterclockwise to unscrew.
- If the filter housing does not have threads: Some showerheads have different mechanisms for removing the filter housing. In this case, consult the manufacturer’s instructions or seek professional assistance for the specific steps to remove the filter housing.
- Continue unscrewing the filter housing: Once you start unscrewing the filter housing, continue to unscrew it until it is completely detached from the showerhead.
Once the filter housing is removed, you’ll be able to access the filter inside. You may find the filter attached to the housing or sitting loosely inside the showerhead. Carefully remove the filter and set it aside for further inspection or cleaning, if desired.
If you encounter any difficulties or if the filter housing seems stuck, it’s best to refer to the manufacturer’s instructions or seek professional assistance to avoid damaging the showerhead or filter.
Now that the filter housing has been unscrewed and removed, you’re ready to move on to step six – removing the filter from the showerhead.
Before attempting to remove the filter from a new showerhead, make sure to turn off the water supply to the shower. This will prevent any water from leaking out while you are working on the showerhead.
Step 6: Remove the filter
With the filter housing removed, it’s time to remove the filter from the showerhead. Here’s how you can do it:
- Inspect the filter: Take a close look at the filter to familiarize yourself with its shape and structure. Depending on the design of the showerhead, the filter may be attached to the housing or may be sitting loosely inside the showerhead.
- If the filter is attached to the housing: In some cases, the filter may be connected to the filter housing. Carefully detach the filter from the housing by gently twisting or pulling it free.
- If the filter is loose inside the showerhead: If the filter is not attached to the housing, it may be sitting loosely inside the showerhead. Use your fingers or a pair of tweezers to carefully grasp the filter and remove it from the showerhead.
- Inspect the filter for debris: Take a moment to examine the filter for any debris, sediment, or mineral buildup. If you notice significant buildup or clogging, it may be a good idea to clean the filter before reassembling the showerhead.
It’s important to handle the filter with care to avoid damaging or bending it. If the filter appears damaged or worn out, it may be time to replace it with a new one. Check with the manufacturer or your local hardware store for replacement filters that are compatible with your showerhead.
Once you have removed the filter, set it aside for cleaning or replacement. We’ll discuss cleaning options in the next step, but if you decide to replace the filter, make sure you have a suitable replacement on hand.
Now that the filter has been removed from the showerhead, you’re ready to move on to step seven – optional cleaning of the filter.
Step 7: Clean the filter (optional)
Cleaning the filter is an optional step but can be beneficial if you notice significant debris, sediment, or mineral buildup on the filter. Cleaning the filter can help improve water flow and ensure optimal performance. Here’s how you can clean the filter:
- Prepare a cleaning solution: Fill a bowl or bucket with warm water and add a mild cleaning solution. You can use dish soap, vinegar, or a specialized showerhead cleaner. Mix the solution well.
- Soak the filter: Place the filter in the cleaning solution and let it soak for about 15-30 minutes. This will help loosen any dirt or buildup on the filter.
- Scrub the filter: Using a soft cloth or sponge, gently scrub the filter to remove any remaining debris. Be careful not to apply excessive force, as it may damage the filter or alter its shape.
- Rinse the filter: Once you have scrubbed the filter, rinse it thoroughly with clean water to remove any cleaning solution residue.
- Inspect the filter: After cleaning and rinsing the filter, take a moment to inspect it. Ensure that it is free from any dirt, debris, or buildup.
- Allow the filter to dry: Before reassembling the showerhead, allow the filter to air dry completely. This will prevent any moisture from causing mold or mildew growth inside the showerhead.
If you prefer not to clean the filter yourself or if you notice severe damage or wear, it may be best to replace the filter altogether. Consult the manufacturer’s instructions or visit a hardware store to find a suitable replacement filter for your showerhead.
Once the filter has been cleaned and dried, you’re ready to move on to step eight – reassembling the showerhead.
Step 8: Reassemble the showerhead
Now that you have removed and cleaned the filter (if desired), it’s time to reassemble the showerhead. Follow these steps to ensure proper reassembly:
- Inspect the filter housing and showerhead: Before reassembling, take a moment to inspect the filter housing and the inside of the showerhead. Make sure they are clean and free from any debris or residue.
- If the filter is detached from the housing: If the filter was attached to the filter housing, carefully place it back into the housing. Ensure that it is properly aligned and seated securely.
- If the filter sits loosely inside the showerhead: If the filter was not attached to the housing and was sitting loosely inside the showerhead, place the filter back into its designated spot inside the showerhead. Ensure that it is sitting securely and properly aligned.
- Reattach the filter housing: If the filter housing was removed, gently screw it back into place. Use your hand to tighten it securely but be careful not to overtighten, as it may cause damage.
- Use Teflon tape (optional): If desired, you can wrap a few layers of Teflon tape around the threads of the showerhead to create a watertight seal. This can help prevent any potential leaks.
- Screw the showerhead back onto the shower arm: Align the showerhead with the shower arm and carefully screw it back on. If necessary, use an adjustable wrench or pliers to tighten it securely. Remember to protect the finish of the showerhead with a cloth.
Once the showerhead is securely reattached to the shower arm, you have successfully reassembled the showerhead after removing the filter. You’re nearly done! All that’s left is to turn on the water supply and test the showerhead.
Before you do that, it’s a good idea to check the user manual or consult the manufacturer’s instructions to ensure that you have completed the reassembly correctly and that there are no additional steps specific to your showerhead model.
Now that the showerhead is reassembled, let’s move on to step nine – turning on the water supply and testing the showerhead.
Read more: Where To Buy Filtered Showerhead
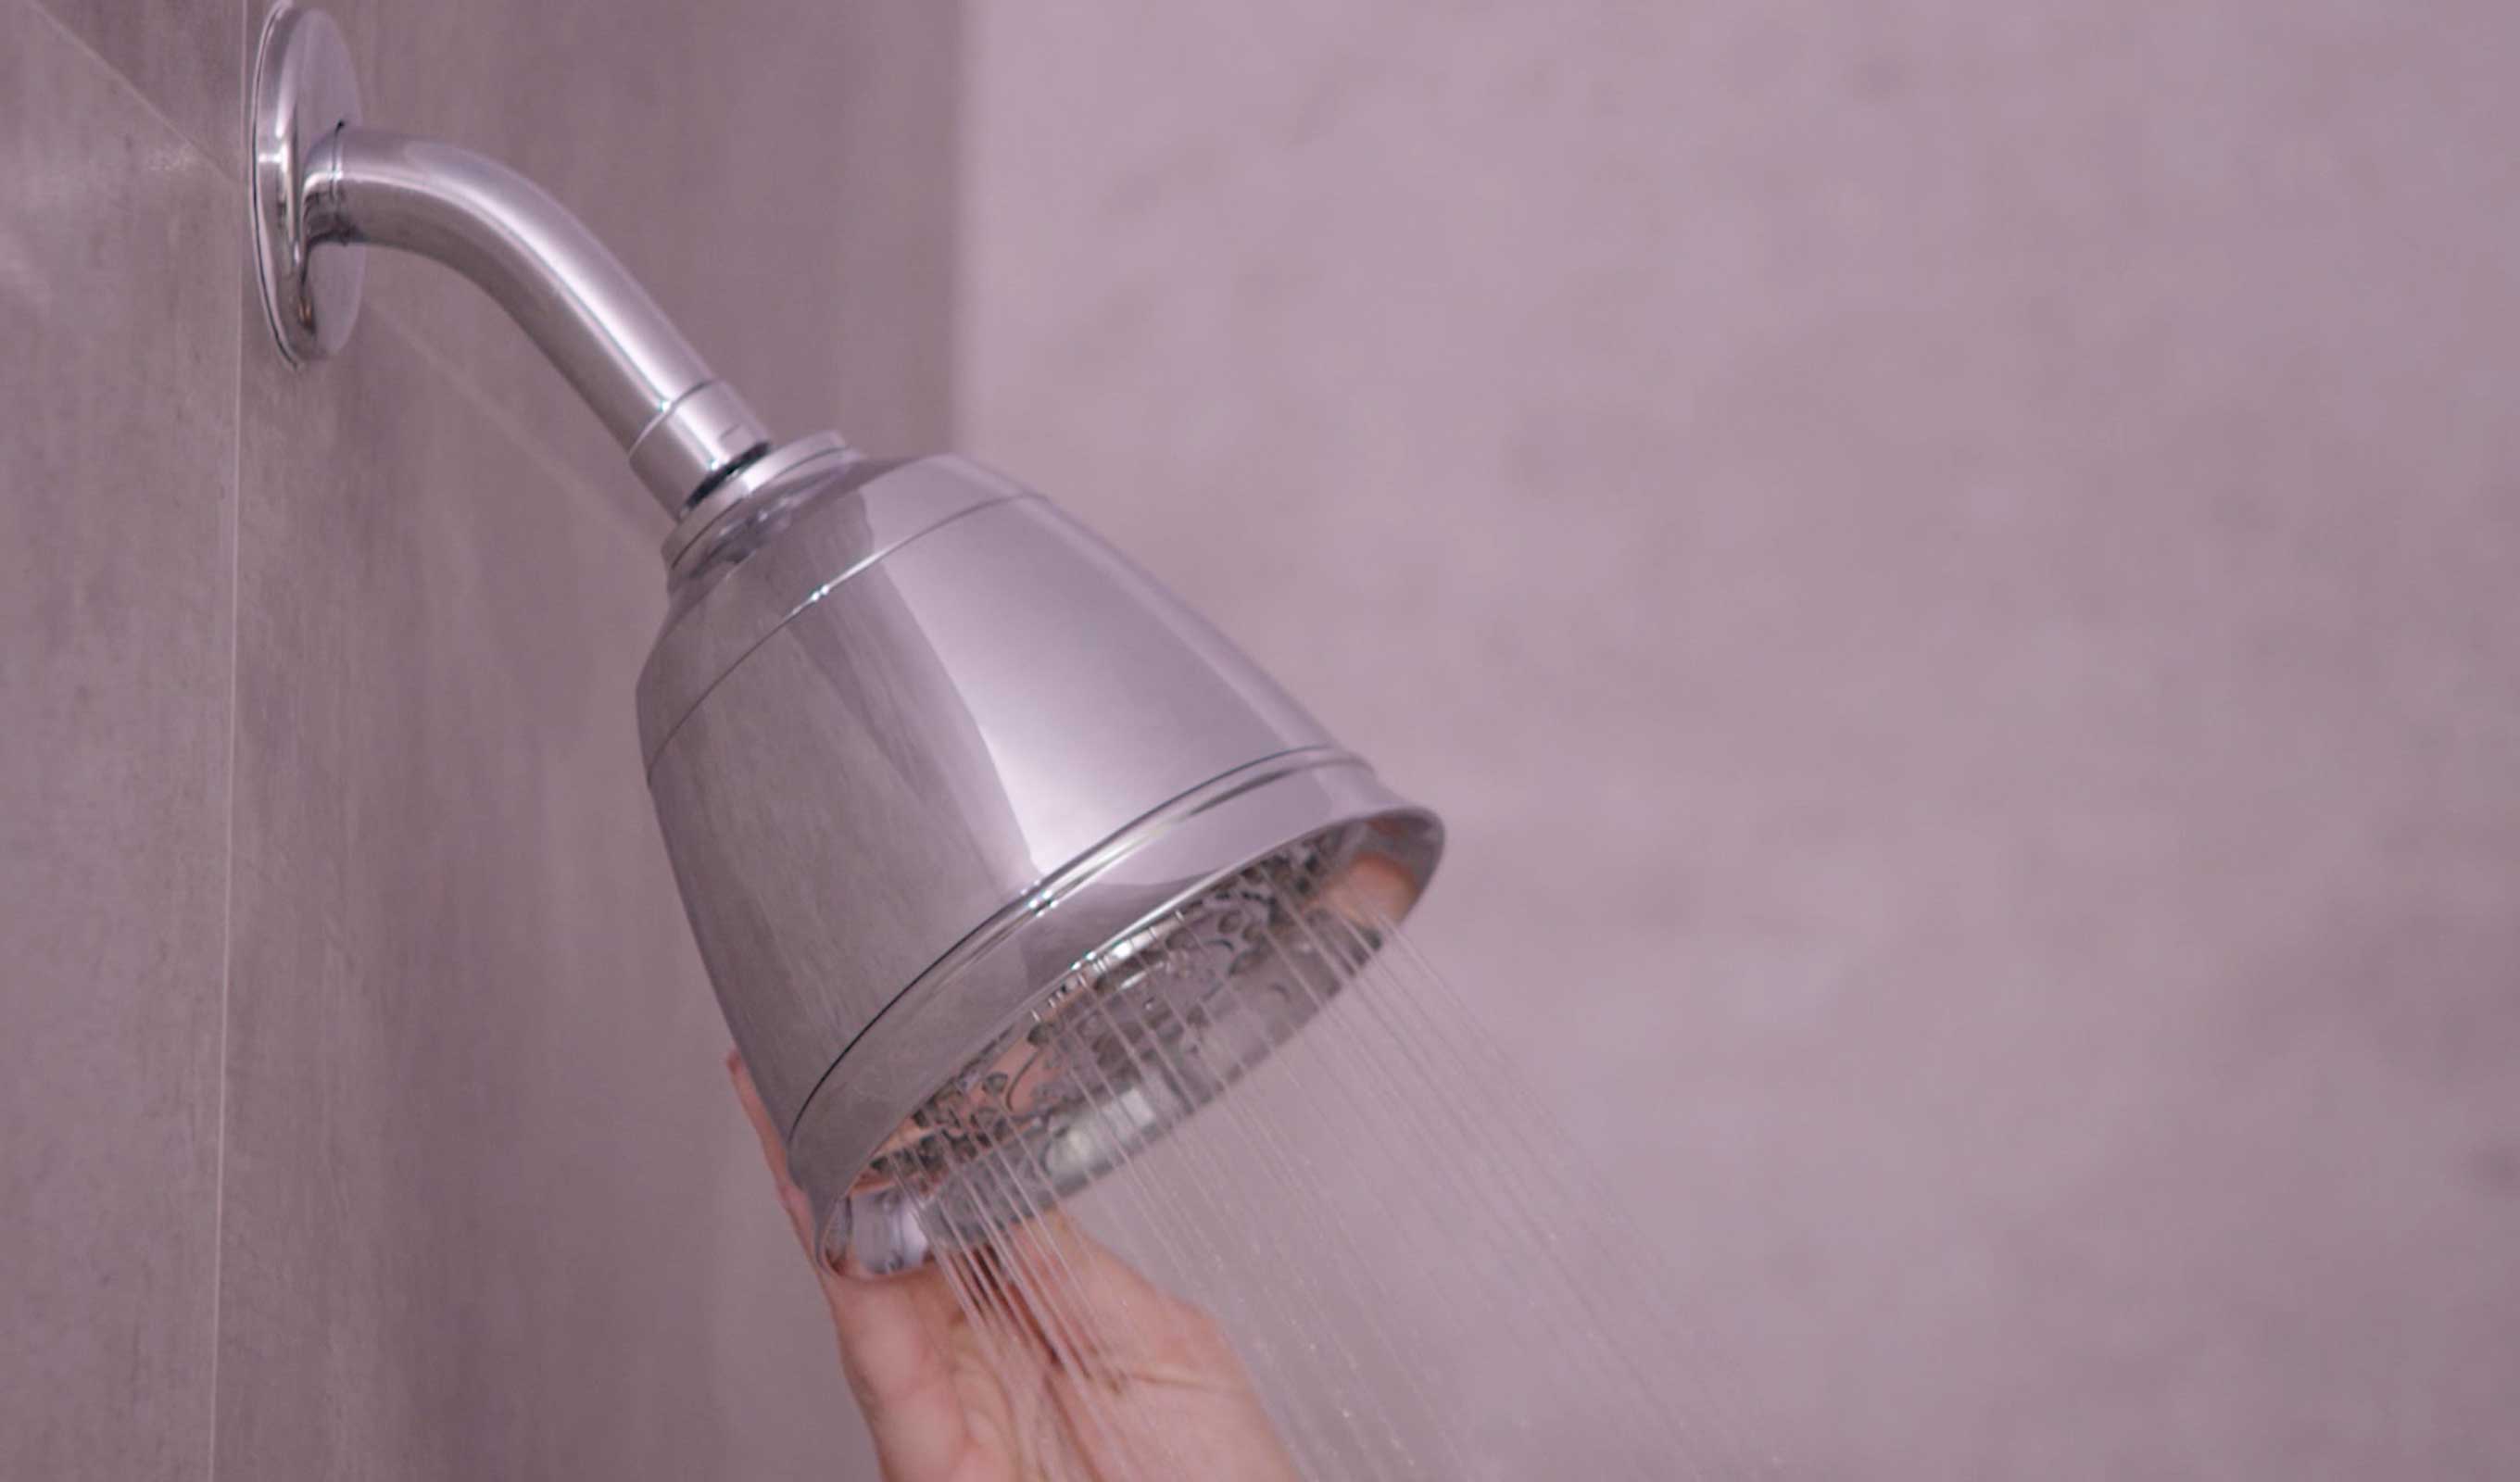
Step 9: Turn on the water supply and test the showerhead
You’re in the final step of the process! It’s time to turn on the water supply and test the newly reassembled showerhead. Follow these steps to complete the process:
- Locate the main water valve: Go back to the location where you previously turned off the water supply and locate the main water valve.
- Turn on the water supply: Slowly turn the main water valve counterclockwise to gradually restore the water supply. This will help prevent any sudden surges of water, which may cause splashing or potential damage.
- Test the showerhead: Once the water supply is turned on, proceed to the bathroom and turn on the shower. Allow the water to flow to flush out any air bubbles or loose debris that may have been dislodged during the reassembly process.
- Check for leaks: During the initial use, pay close attention to any signs of leaks or drips around the showerhead and connections. If you notice any leaks, you may need to tighten the connections or apply additional Teflon tape to ensure a watertight seal.
- Assess water flow and quality: Observe the water flow and quality from the showerhead. Notice if there are any improvements in water pressure or if the water appears cleaner and more enjoyable without the filter.
If everything looks good, congratulations! You have successfully reassembled the showerhead without the filter. Enjoy your shower with the new setup!
However, if you encounter any issues such as persistent leaks, reduced water flow, or other concerns, it’s advisable to consult the manufacturer’s instructions or seek professional assistance to address the problem effectively.
With the water supply turned on and the showerhead tested, you have completed the process of removing the filter from your new showerhead. Now, sit back, relax, and enjoy the refreshing showers with your newly customized showerhead!
Before we conclude, be sure to tidy up your workspace, dispose of any cleaning materials properly, and store any unused tools for future use.
Thank you for following this comprehensive guide, and we hope it has been helpful to you. Happy showering!
Conclusion
Congratulations! You have successfully learned how to take the filter out of a new showerhead. By following the step-by-step guide outlined in this article, you are now equipped with the knowledge and tools to remove the filter, clean it (if desired), and reassemble the showerhead for an enhanced showering experience.
Remember, before you begin the process, it’s important to check if your showerhead actually has a removable filter. Not all showerheads have this feature, as some models have filters that are permanently built-in or integrated. If your showerhead doesn’t have a removable filter, it’s best to consult the manufacturer’s instructions or seek professional assistance for any necessary maintenance or modifications.
Throughout the process, we emphasized the importance of gathering the necessary tools and materials, turning off the water supply, and carefully removing the showerhead from the shower arm. We also focused on locating and removing the filter inside the showerhead, as well as offering optional steps for cleaning the filter to ensure optimal performance and water flow.
After cleaning or replacing the filter, we guided you through the reassembly process, including securing the filter-housing, using Teflon tape for a watertight seal (if desired), and reattaching the showerhead to the shower arm. Finally, we urged you to turn on the water supply, test the showerhead for any leaks or issues, and assess the water flow and quality.
Remember, if you encounter persistent leaks, reduced water flow, or any other concerns, consult the manufacturer’s instructions or seek professional assistance for further guidance. Safety and proper functioning are top priorities when working with plumbing fixtures.
We hope this guide has been informative and helpful in your journey towards customizing your showerhead to fit your needs. Removing the filter can improve water flow and provide a personalized shower experience. So, enjoy your showers with your newly modified showerhead!
Thank you for reading and happy showering!
Frequently Asked Questions about How To Take The Filter Out Of A New Showerhead
Was this page helpful?
At Storables.com, we guarantee accurate and reliable information. Our content, validated by Expert Board Contributors, is crafted following stringent Editorial Policies. We're committed to providing you with well-researched, expert-backed insights for all your informational needs.

0 thoughts on “How To Take The Filter Out Of A New Showerhead”