Articles
How To Make Inverted Pleat Drapes
Modified: December 7, 2023
Learn the step-by-step process of creating stunning inverted pleat drapes with our helpful articles. Enhance your home decor with these stylish window treatments.
(Many of the links in this article redirect to a specific reviewed product. Your purchase of these products through affiliate links helps to generate commission for Storables.com, at no extra cost. Learn more)
Introduction
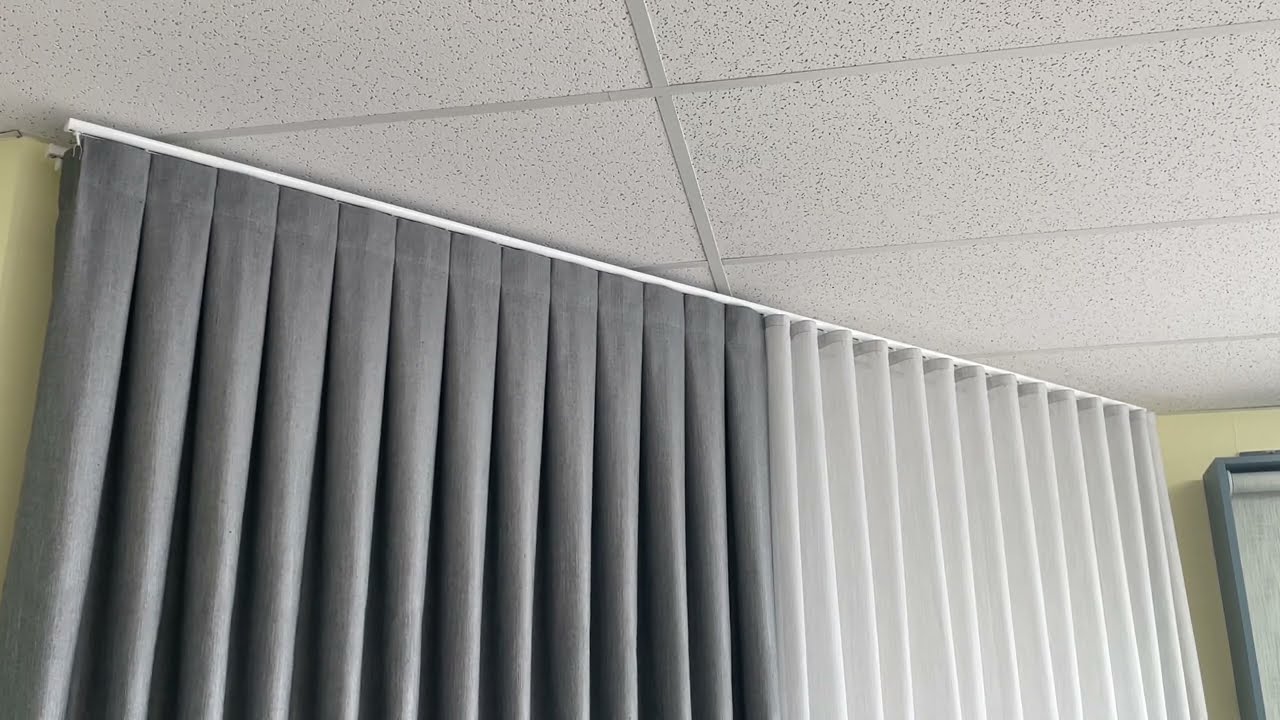
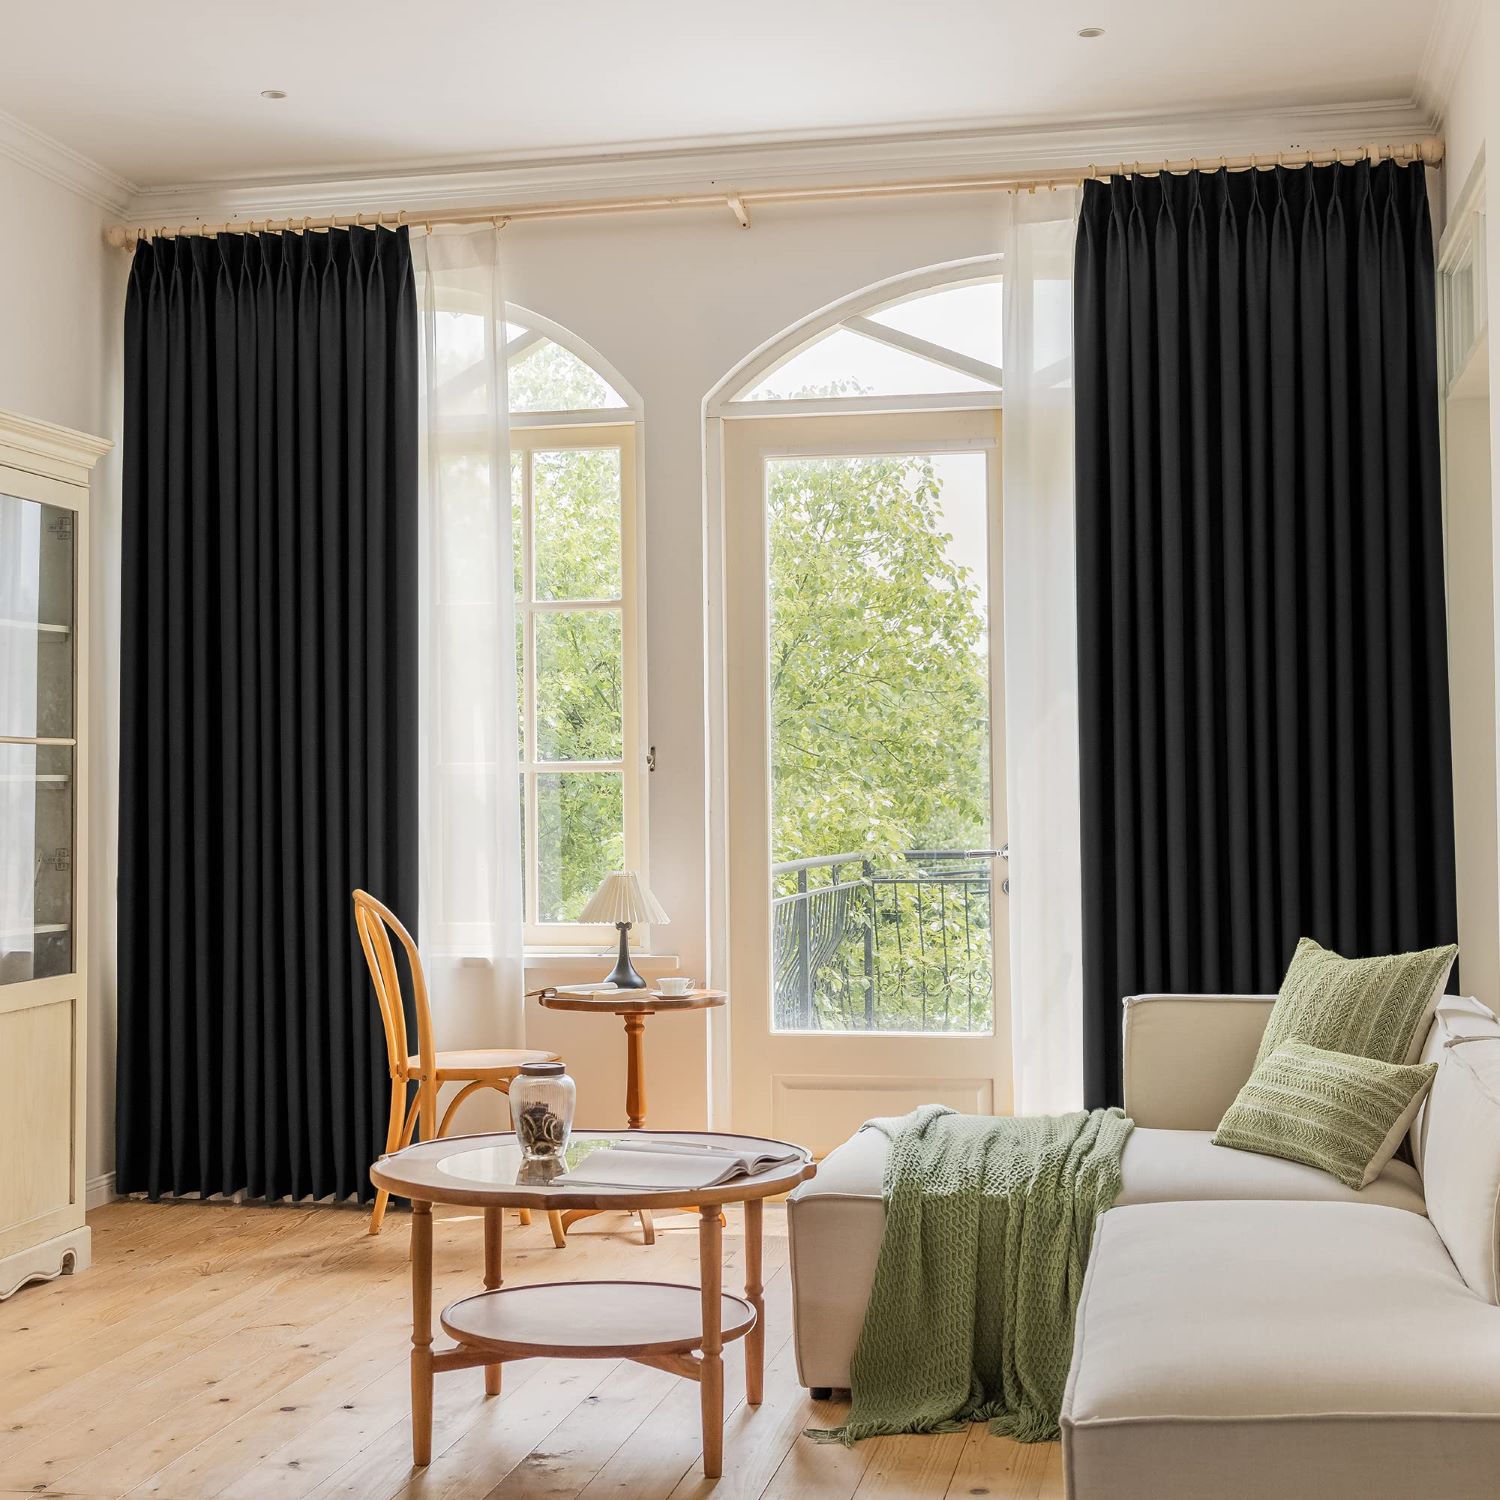
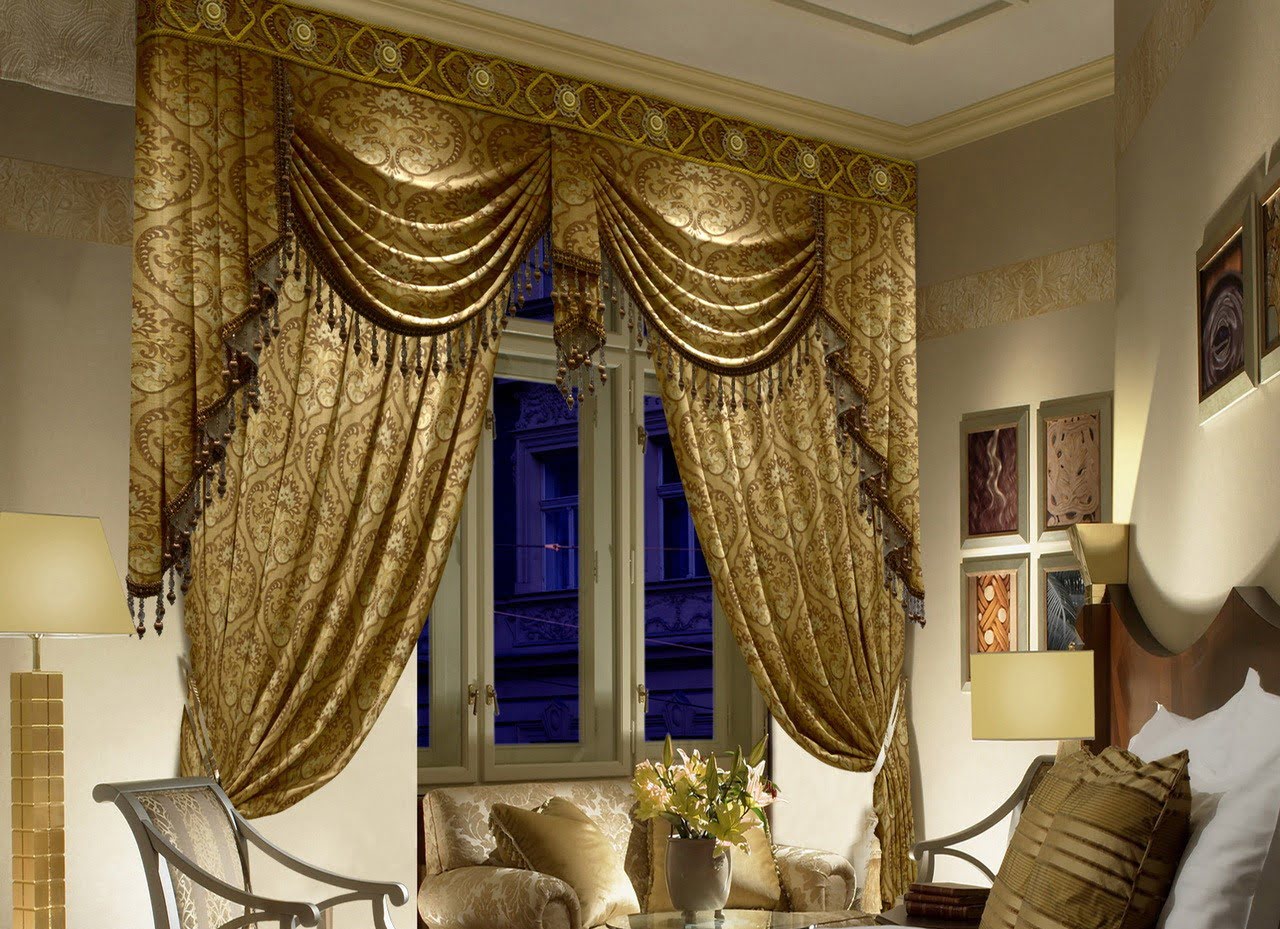
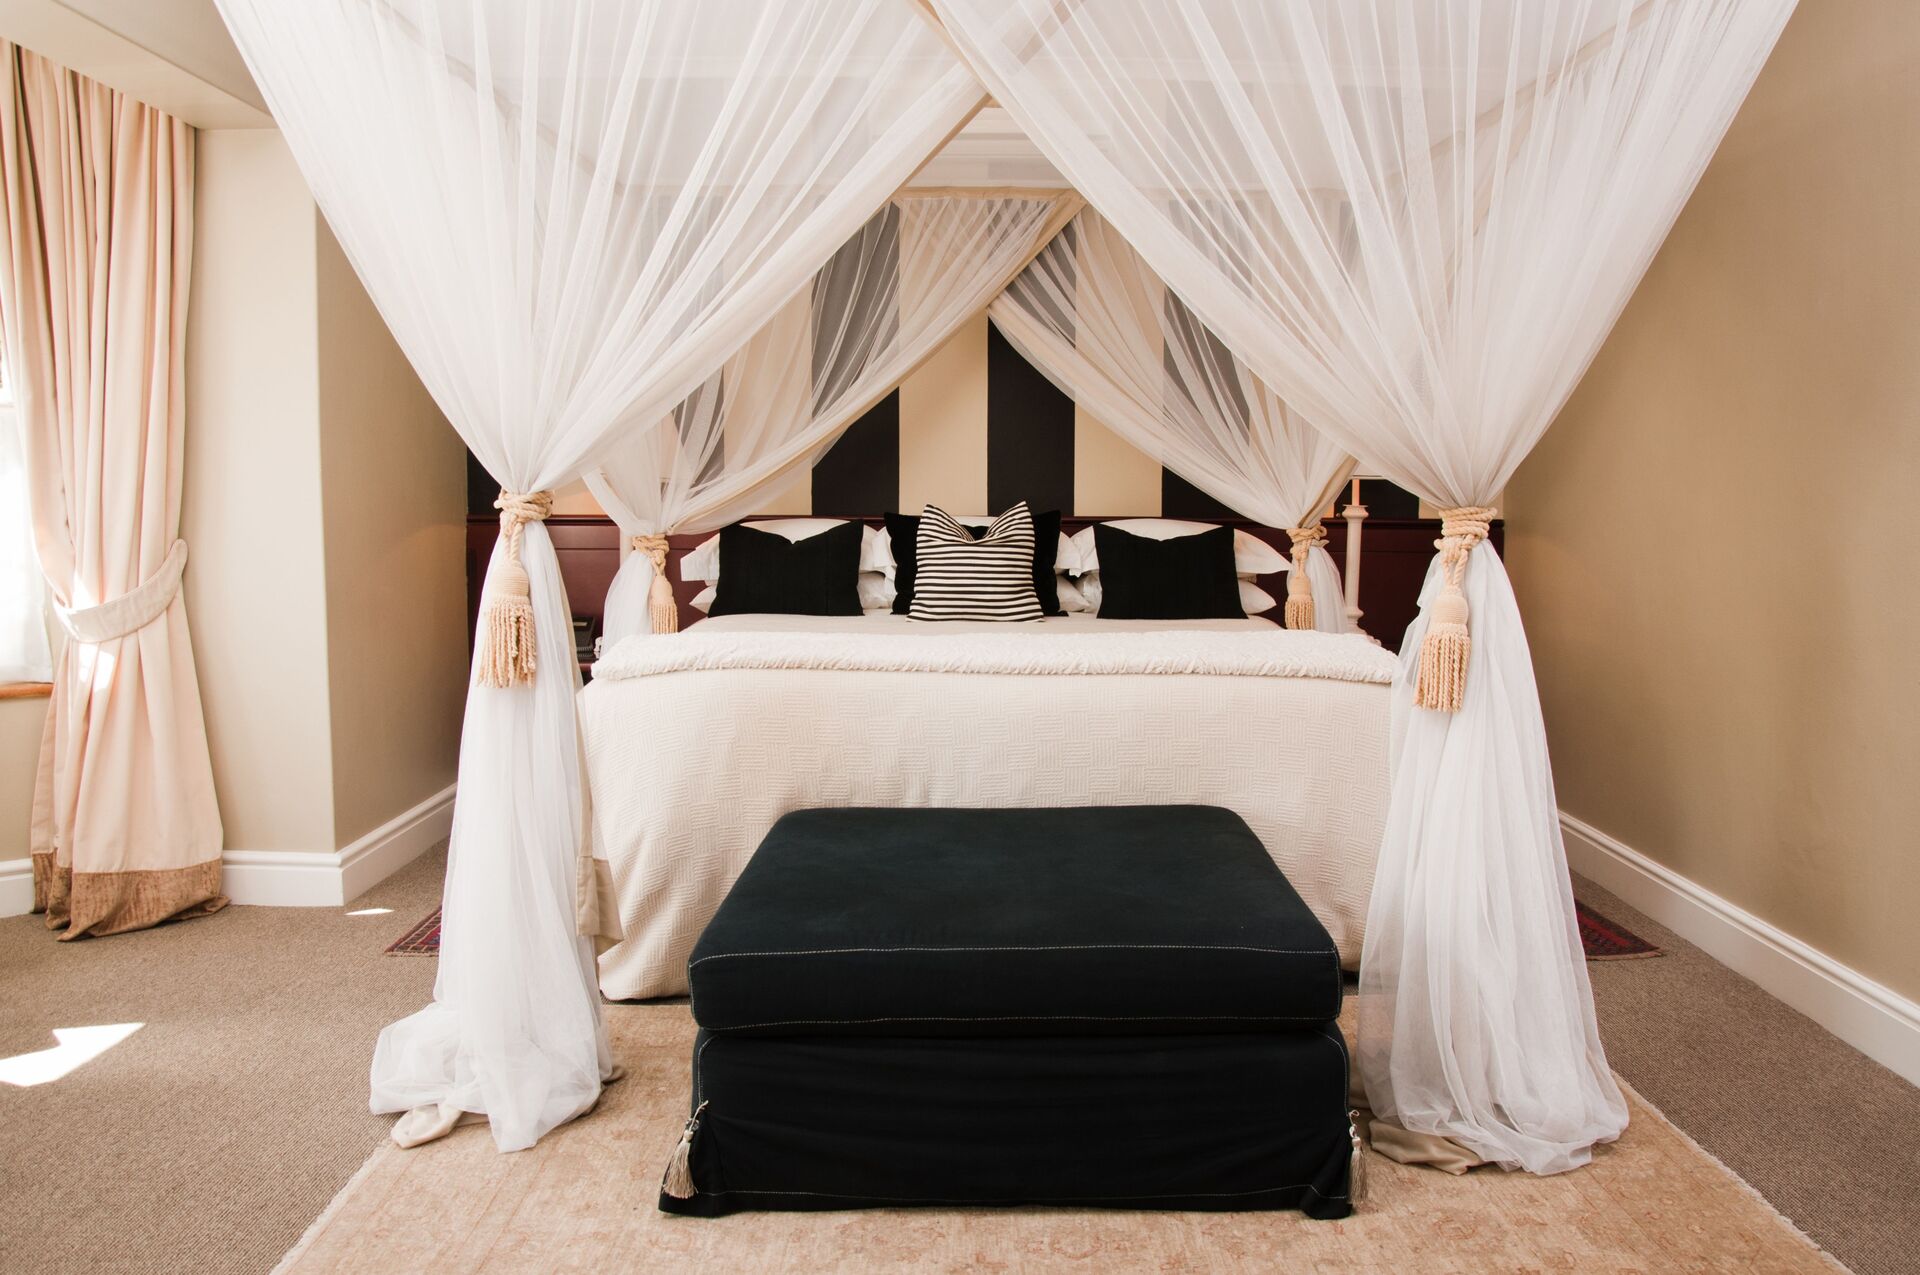
When it comes to adding elegance and sophistication to a room, few window treatments can compare to the timeless beauty of inverted pleat drapes. Inverted pleat drapes, also known as box pleat drapes, are a classic style characterized by tailored pleats that fold inward to create a graceful and structured look. Whether you’re decorating a formal living room, a bedroom, or any other space in your home, learning how to make inverted pleat drapes can be a rewarding and fulfilling DIY project.
In this article, we’ll guide you through the step-by-step process of creating your own inverted pleat drapes. From measuring and calculating fabric requirements to sewing the pleats and attaching the drapery hooks, we’ll cover all the essential techniques to help you achieve professional-looking results. So, let’s dive in and get started on transforming your windows into stunning focal points of your home.
Note: Before you begin, make sure you have a sewing machine, fabric scissors, pins, a measuring tape, an iron, and other basic sewing supplies on hand. You will also need your chosen fabric, lining fabric (if desired), curtain tape, and drapery hooks.
Key Takeaways:
- Create elegant inverted pleat drapes by measuring accurately, preparing precise pleats, and sewing with care. Showcase your creativity and style with custom window treatments that exude sophistication.
- Transform your space with handmade inverted pleat drapes. From fabric selection to hanging, follow the detailed steps to achieve professional-looking results and add timeless beauty to your home.
Read also: 11 Superior Pleated Drapes for 2025
Materials Needed
Before you begin making your inverted pleat drapes, gather the following materials:
- Fabric: Choose a fabric that suits your style and complements your decor. Make sure you have enough fabric to cover the desired window width and length, accounting for additional fabric needed for the pleats.
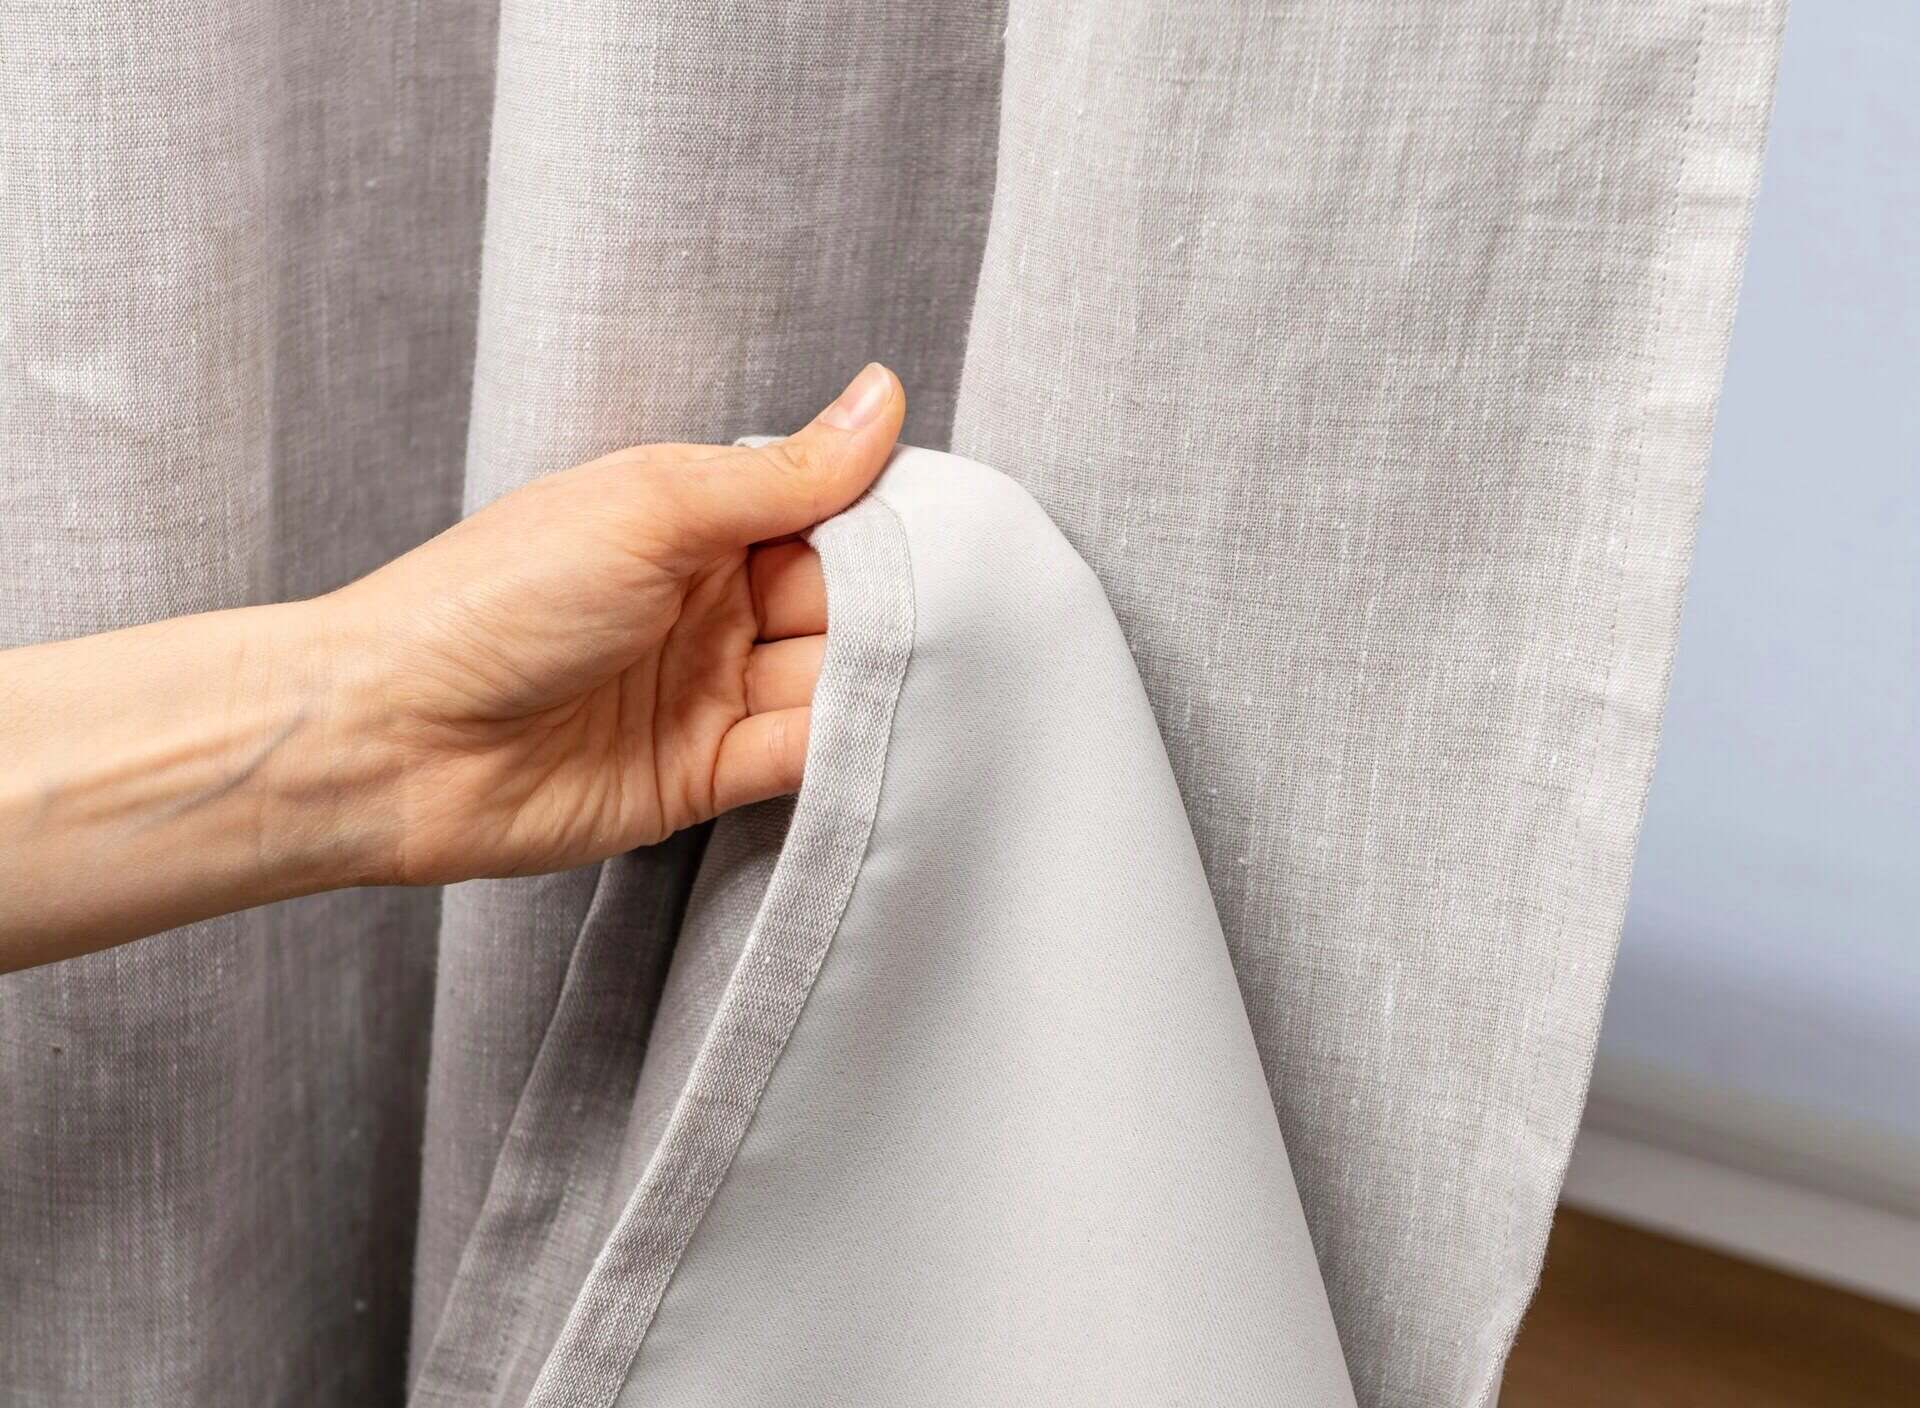
- Lining Fabric (optional): If you want to add an extra layer of insulation or privacy, consider using lining fabric for the back of your drapes. This will also give them a more professional and finished look.
- Curtain Tape: Curtain tape is essential for creating the pleats and attaching the drapery hooks. It comes in different widths, so choose one that suits the size of your pleats and the weight of your fabric.
- Drapery Hooks: These hooks will be used to attach the drapes to the curtain rod. Make sure you have enough hooks to evenly distribute the weight of the drapes.
- Sewing Machine: A sewing machine will make the construction of your drapes much easier and faster. If you don’t have one, you can also hand sew your drapes, although it will take longer.
- Thread: Choose a thread that matches the color of your fabric for a seamless finish.
- Fabric Scissors: Sharp fabric scissors are essential for cutting your fabric and achieving clean, straight lines.
- Pins: Use pins to hold your fabric and lining together before sewing.
- Measuring Tape: Accurate measurements are crucial for achieving properly fitting drapes. Use a measuring tape to measure the width and length of your windows and calculate the fabric requirements.
- Iron: An iron will be used to press your fabric and create crisp pleats. Make sure it is in good working condition with a clean and stable surface for ironing.
With these materials ready, you’re well-equipped to start your inverted pleat drapery project and bring a touch of elegance and style to your windows.
Step 1: Measure and Calculate Fabric Requirements
Before you can begin creating your inverted pleat drapes, it’s essential to accurately measure your windows and calculate the amount of fabric you’ll need. Follow these steps:
- Measure the width: Use a measuring tape to measure the width of your window from one end of the curtain rod to the other. Note down this measurement.
- Decide on the fullness: The fullness refers to how much fabric you want your drapes to gather when closed. A standard fullness is 2.5 times the width of your window, but you can adjust this based on your personal preference. Multiply the width measurement by the desired fullness to determine the total fabric width needed.
- Measure the length: Measure the length of your window from the top of the curtain rod to where you want the drapes to end. If you want floor-length drapes, measure to the floor. Add any desired additional length for puddling or pooling at the bottom of the drapes.
- Add seam and hem allowances: Typically, a 1.5-inch seam allowance and a hem allowance of 3-4 inches are used for drapes. Add these allowances to your width and length measurements to ensure you have enough fabric to work with.
- Cut fabric panels: Once you have your final measurements, cut two fabric panels to these dimensions. If you’re using lining fabric, cut two panels of lining fabric as well. Make sure to align the pattern or grain of the fabric if necessary.
By accurately measuring your windows and calculating the fabric requirements, you’ll ensure that your inverted pleat drapes fit perfectly and have the desired fullness. Take your time with this step to avoid any fabric shortages or fitting issues later on.
Step 2: Cut the Fabric Panels
Now that you have accurately measured your windows and calculated the fabric requirements, it’s time to cut the fabric panels for your inverted pleat drapes. Follow these steps:
- Prepare your work area: Find a clean, spacious surface to lay out your fabric. Ensure that it’s free from any obstructions or potential hazards.
- Spread out the fabric: Lay your fabric flat on the work area, ensuring that it’s smooth and wrinkle-free. If necessary, use an iron to press out any creases.
- Measure and mark: Using a measuring tape, measure and mark the dimensions you calculated in step 1 on the fabric. Make sure to measure accurately and double-check your marks before cutting.
- Cut the fabric panels: Using fabric scissors, carefully cut along the marked lines to create two fabric panels of the desired width and length. Take your time to cut in straight lines for a professional-looking finish.
- Repeat for lining fabric: If you’re using lining fabric, repeat steps 2-4 to cut two lining fabric panels of the same dimensions as your main fabric panels.
- Label and set aside: To avoid confusion, label each fabric panel and lining panel accordingly. Use pins or labels to mark which is the front and back of the fabric panels as well as the lining panels. Set the lining panels aside for now.
By properly cutting the fabric panels, you’ll ensure that they are the correct size and ready for the next steps in creating your inverted pleat drapes. Take your time and pay attention to detail during this stage to achieve the best results.
Step 3: Prepare the Pleats
The pleats are the defining feature of inverted pleat drapes, lending them their elegant and tailored appearance. In this step, we will prepare the fabric panels by marking and folding the pleats. Follow these steps:
- Lay out one fabric panel: Take one of the fabric panels and lay it flat on your work area, with the front side facing down.
- Measure and mark the pleat placement: Starting from the outer edge of the panel, measure and mark the positions of the pleats at regular intervals. The spacing between the pleats will depend on your personal preference, but a common recommendation is to have them approximately 8-10 inches apart.
- Create the pleats: Fold the fabric panel at each marked pleat position, bringing the edge towards the center. The width of each fold should be half of the desired pleat width. Pin the folds in place to hold them securely.
- Iron the pleats: Use an iron to press the pleats, creating sharp and well-defined folds. Start from the top of the panel and work your way down, ironing each pleat carefully. Be cautious not to iron over the pins to avoid potential damage.
- Repeat for the other fabric panel: Once you have completed the pleating for one fabric panel, repeat the same process for the second panel.
By preparing the pleats before sewing, you will ensure that they are accurately placed and well-pressed, resulting in beautifully folded inverted pleat drapes. Take your time to measure and fold the pleats carefully to achieve the desired look.
Read also: 14 Unbelievable Pinch Pleat Drapes for 2025
Step 4: Sew the Side Seams
With the pleats prepared, it’s time to sew the side seams of your inverted pleat drapes. This step will join the fabric panels together and create the body of the drapes. Follow these steps:
- Prepare your sewing machine: Thread your sewing machine with a thread color that matches your fabric. Set the machine to a straight stitch setting and adjust the stitch length according to your preference.
- Align the fabric panels: Take one fabric panel and place it on top of the other fabric panel, with the right sides facing each other. Make sure that the bottom edges and side edges are aligned.
- Pin the side seams: Starting from the top of the fabric panels, use pins to secure the side edges together. Pin at regular intervals to hold the panels in place during sewing.
- Sew the side seams: Using the pinned guide, sew along the side edges of the fabric panels, removing the pins as you go. Take care to sew a straight and even seam, ensuring that the pleats stay in place.
- Finish the seams: To prevent fraying, trim the seam allowance with fabric scissors and finish the raw edges with a serger or a zigzag stitch on your sewing machine.
- Press the side seams: Use an iron to press the side seams open, smoothing out any wrinkles or creases. Press on the wrong side of the fabric to avoid damaging the pleats.
By sewing the side seams, you will securely join the fabric panels together and create the main body of your inverted pleat drapes. Take your time with pinning and sewing to ensure neat and professional-looking side seams.
When making inverted pleat drapes, be sure to measure and mark the pleats carefully to ensure they are evenly spaced and aligned. This will result in a professional and polished look for your drapes.
Step 5: Create the Inverted Pleats
Now that the side seams are sewn, it’s time to bring your inverted pleat drapes to life by creating the pleats. This step will give your drapes their signature tailored look. Follow these steps:
- Lay out one fabric panel: Take one fabric panel and lay it flat on your work area, with the front side facing up.
- Identify the pleat placement: Locate the markings you made in Step 3 for the pleat positions. These marks will guide you in creating the pleats.
- Fold the pleats: Starting from the outermost pleat mark, fold the fabric towards the center, creating an inverted pleat. Pin the pleat in place using a straight pin. Repeat this process for each pleat mark, ensuring that the pleats are folded consistently and symmetrically.
- Press the pleats: Use an iron to press the pleats, setting them in place. Make sure to press on the wrong side of the fabric to avoid damaging the pleats. This will help create crisp and defined pleat folds.
- Repeat for the other fabric panel: Once you have finished creating the pleats for one fabric panel, repeat the same process for the second panel.
By creating the inverted pleats, you will add structure and elegance to your drapes. Take your time to fold and pin the pleats accurately for a polished and professional result. Pressing the pleats will also help them hold their shape over time.
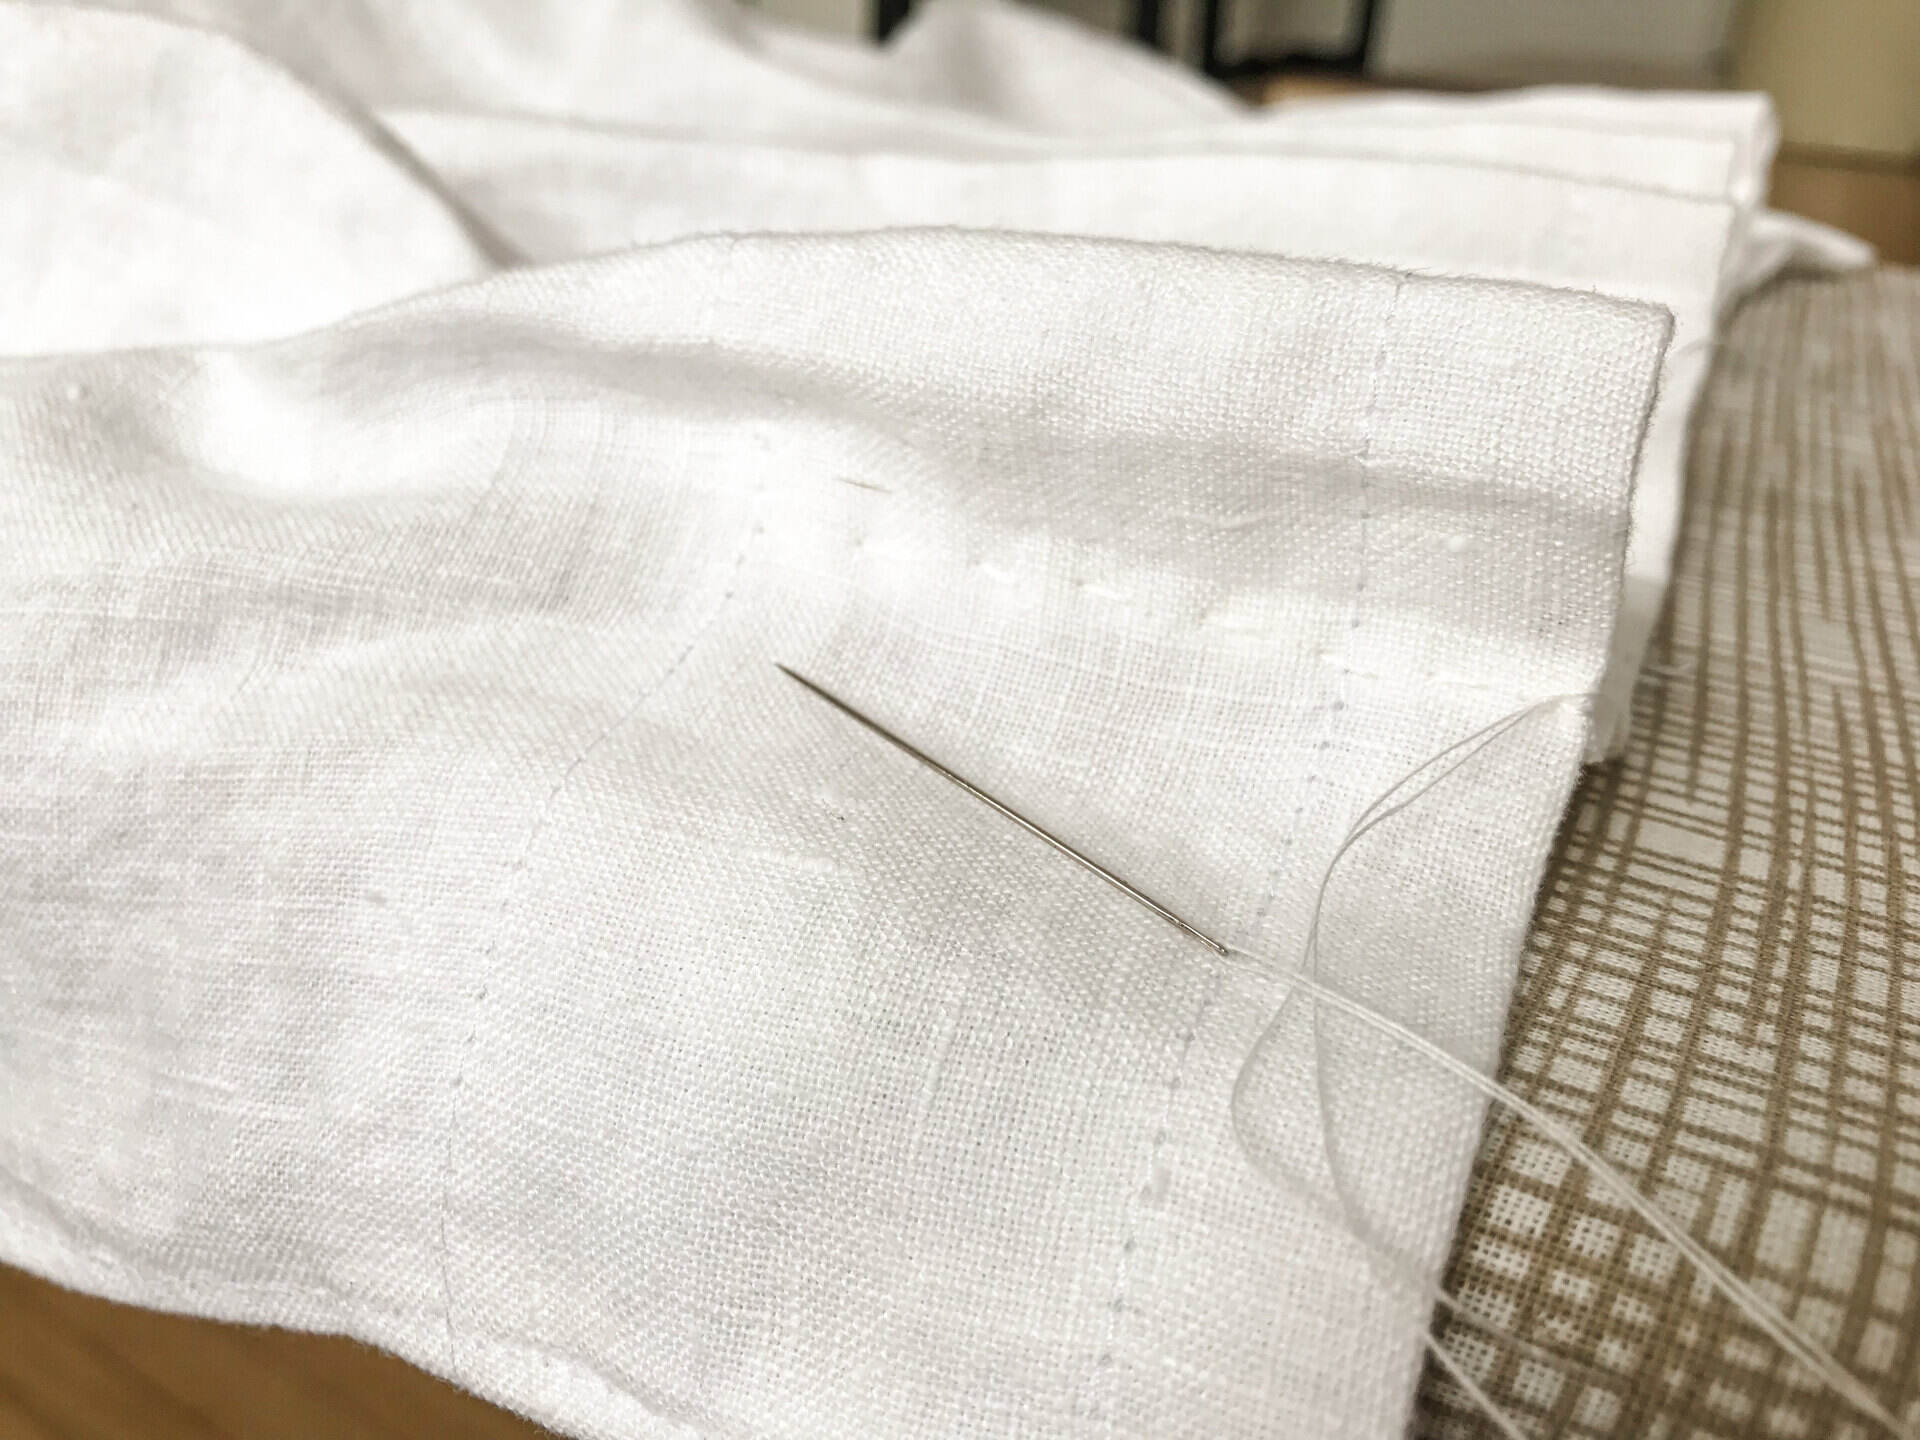
Step 6: Sew the Hem
Now that the pleats are in place, it’s time to sew the hem of your inverted pleat drapes. This step will give your drapes a finished and polished look. Follow these steps:
- Measure the desired length: Determine the final length you want your drapes to be, considering factors such as floor length or any desired puddling effect.
- Mark the hemline: Measure and mark the desired hemline on each fabric panel. It’s recommended to use pins or fabric chalk to make these marks.
- Trim the excess fabric: Carefully trim the fabric excess below the marked hemline, ensuring that you maintain a straight line. Use fabric scissors for precise cutting.
- Double-fold the hem: Fold the fabric up once along the marked hemline, creating a folded edge. Then, fold it up again, enclosing the raw edge within the hem. Pin the hem in place.
- Sew the hem: Using a straight stitch on your sewing machine, sew along the folded edge of the hem, removing the pins as you go. Sew as close to the folded edge as possible for a clean finish.
- Press the hem: Use an iron to press the hem, creating a crisp and smooth finish. Steam the fabric if necessary to remove any wrinkles.
By sewing the hem, you will complete the bottom edge of your inverted pleat drapes, giving them a professional and tailored appearance. Take your time to measure and sew the hem accurately for a precise and neat finish.
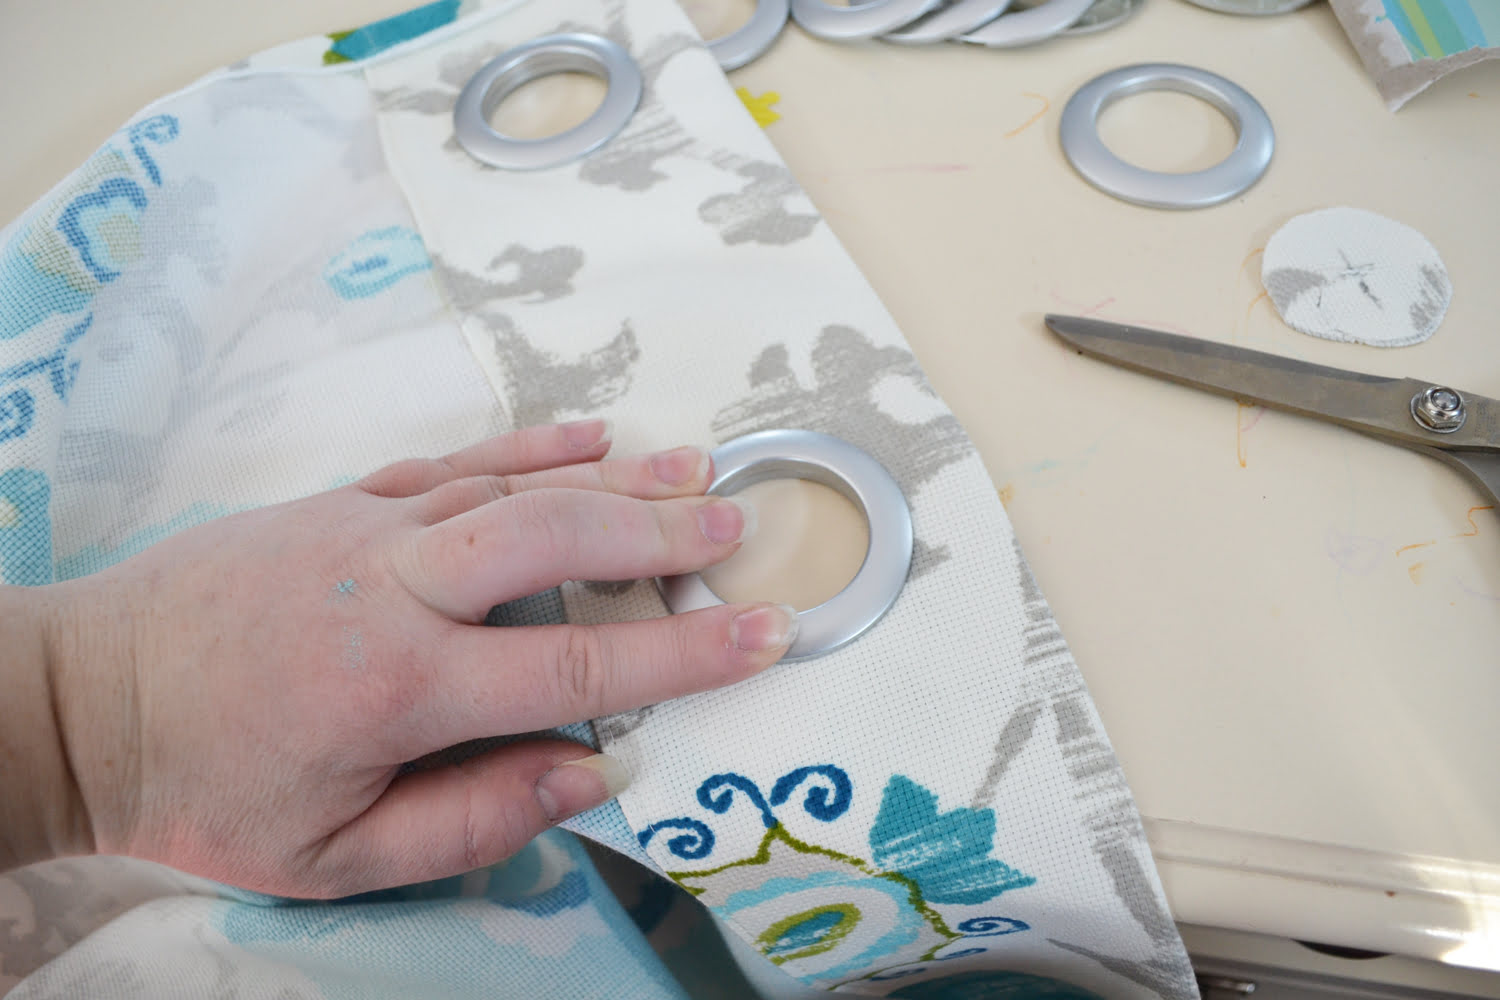
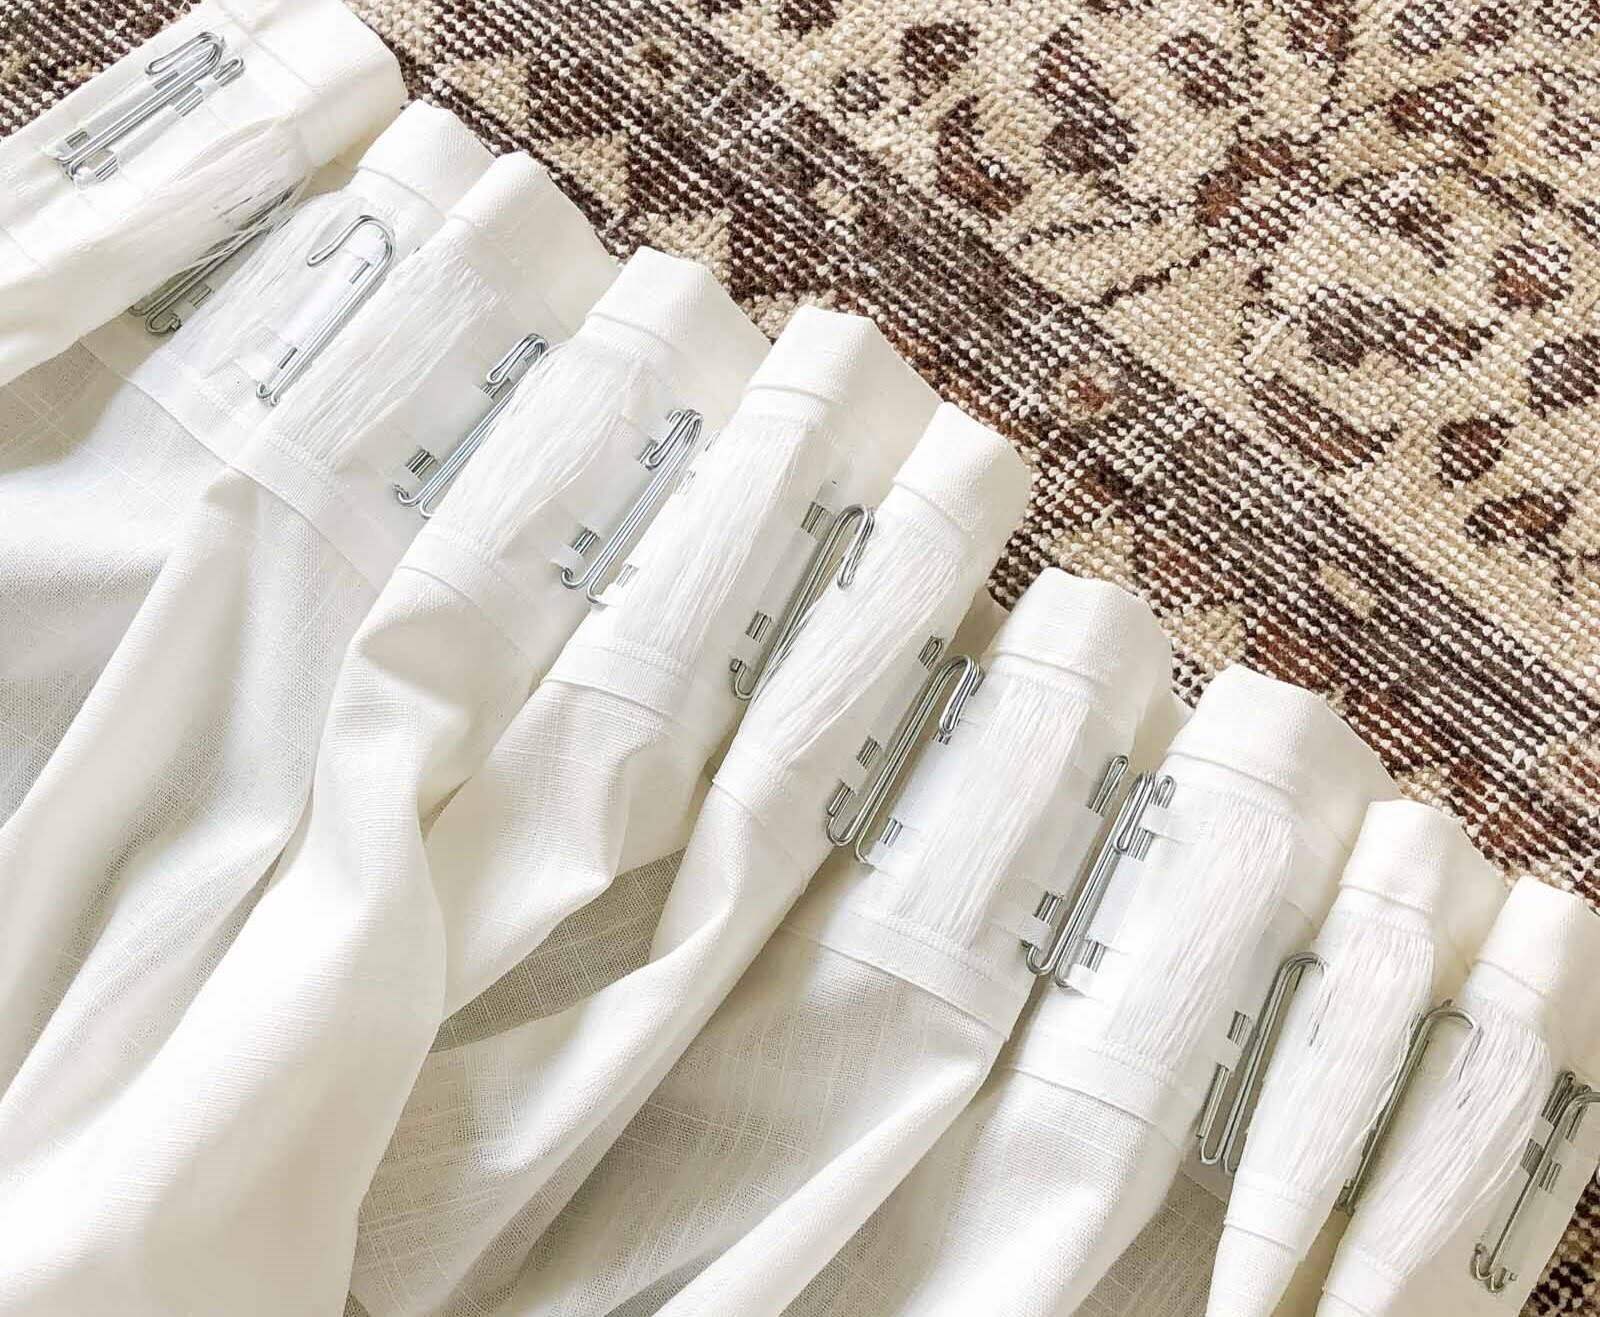
Step 7: Attach the Drapery Hooks
Attaching the drapery hooks is the next step in the process of creating your inverted pleat drapes. These hooks will allow you to hang the drapes neatly and securely. Follow these steps:
- Prepare your drapery hooks: Ensure that you have enough drapery hooks to evenly distribute the weight of your drapes and support the pleats. If needed, you can purchase additional hooks.
- Identify the pleat pockets: Each pleat in your drapes should have a pocket created by folding the fabric. Locate these pockets on the backside of your drapes.
- Insert the hooks: Starting from one end of the drapes, insert the curved end of a drapery hook into the pleat pocket. Make sure to go through all layers of fabric for a secure attachment. Repeat this process for each pleat, ensuring that the hooks are evenly spaced.
- Distribute the weight: As you insert the hooks, distribute the weight of the drapes evenly across the curtain rod. This will help maintain the balance and ensure a symmetrical appearance.
- Adjust the pleats: Once all the hooks are in place, adjust the pleats as needed. Gently tug on the fabric to evenly distribute the fullness and create a uniform appearance.
By attaching the drapery hooks, you will be able to hang your inverted pleat drapes with ease. Take your time to securely insert the hooks and distribute the weight evenly for a professional-looking finish.
Read more: How To Make Pleated Valances
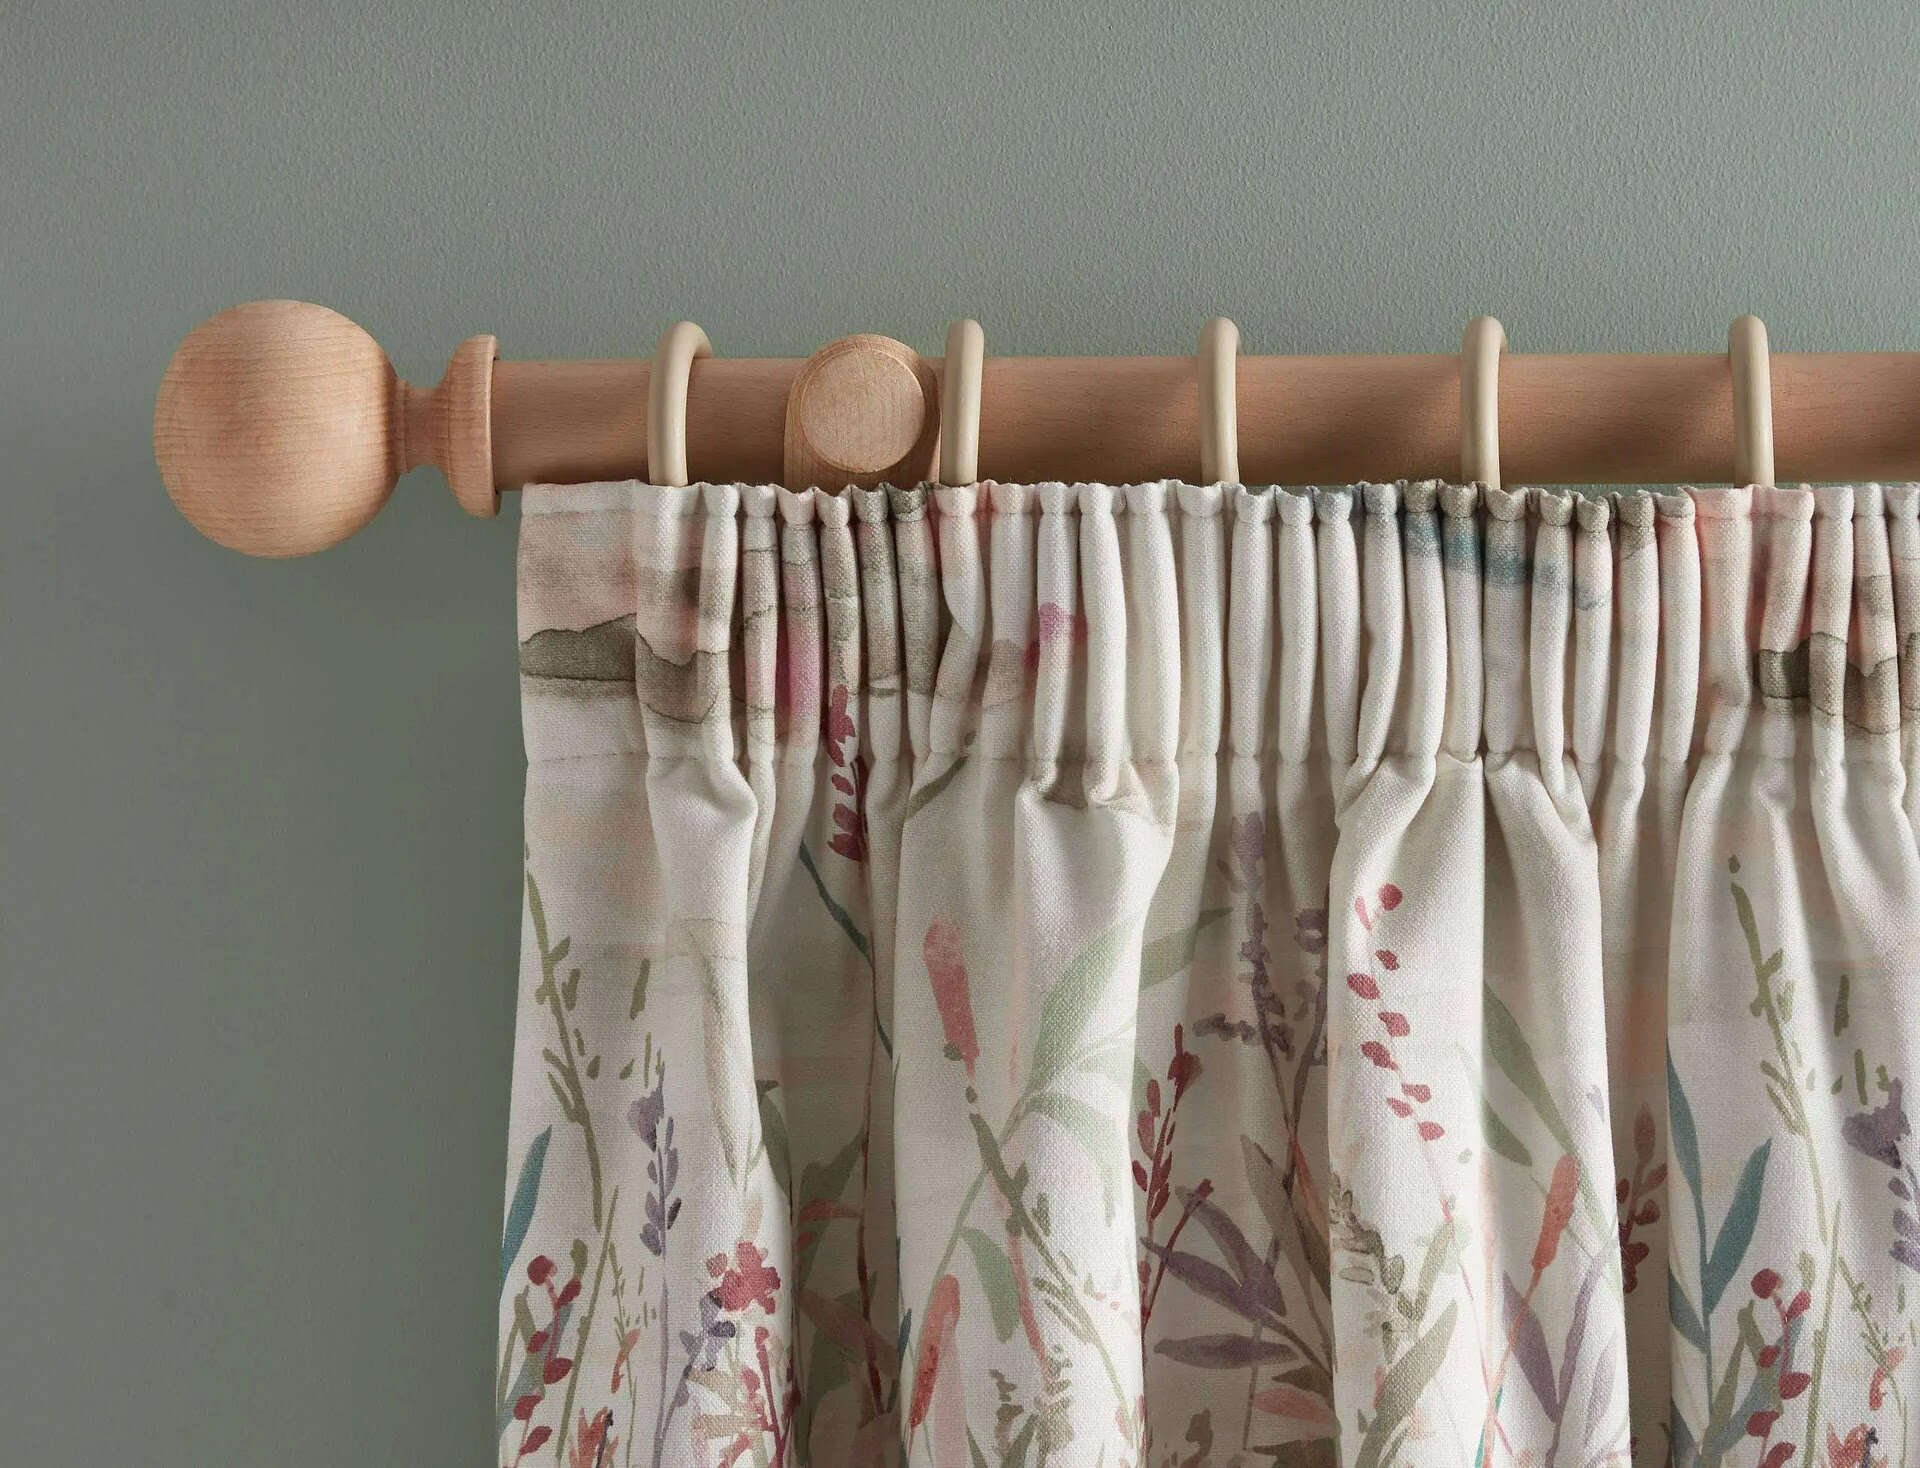
Step 8: Hang and Adjust the Drapes
Now that your inverted pleat drapes are complete, it’s time to hang them and make any necessary adjustments. Follow these steps:
- Prepare the curtain rod: Ensure that your curtain rod is properly installed and securely mounted. Use a level to make sure it is straight.
- Hang the drapes: Slide the drapery hooks onto the curtain rod, one by one, starting from one end and working your way to the other. Be careful not to tug or pull too hard on the hooks.
- Adjust the length: Stand back and assess the length of your drapes. If needed, make any adjustments by raising or lowering the curtain rod or using drapery weights to achieve the desired length. Taking measurements from the floor can help ensure that the drapes are even.
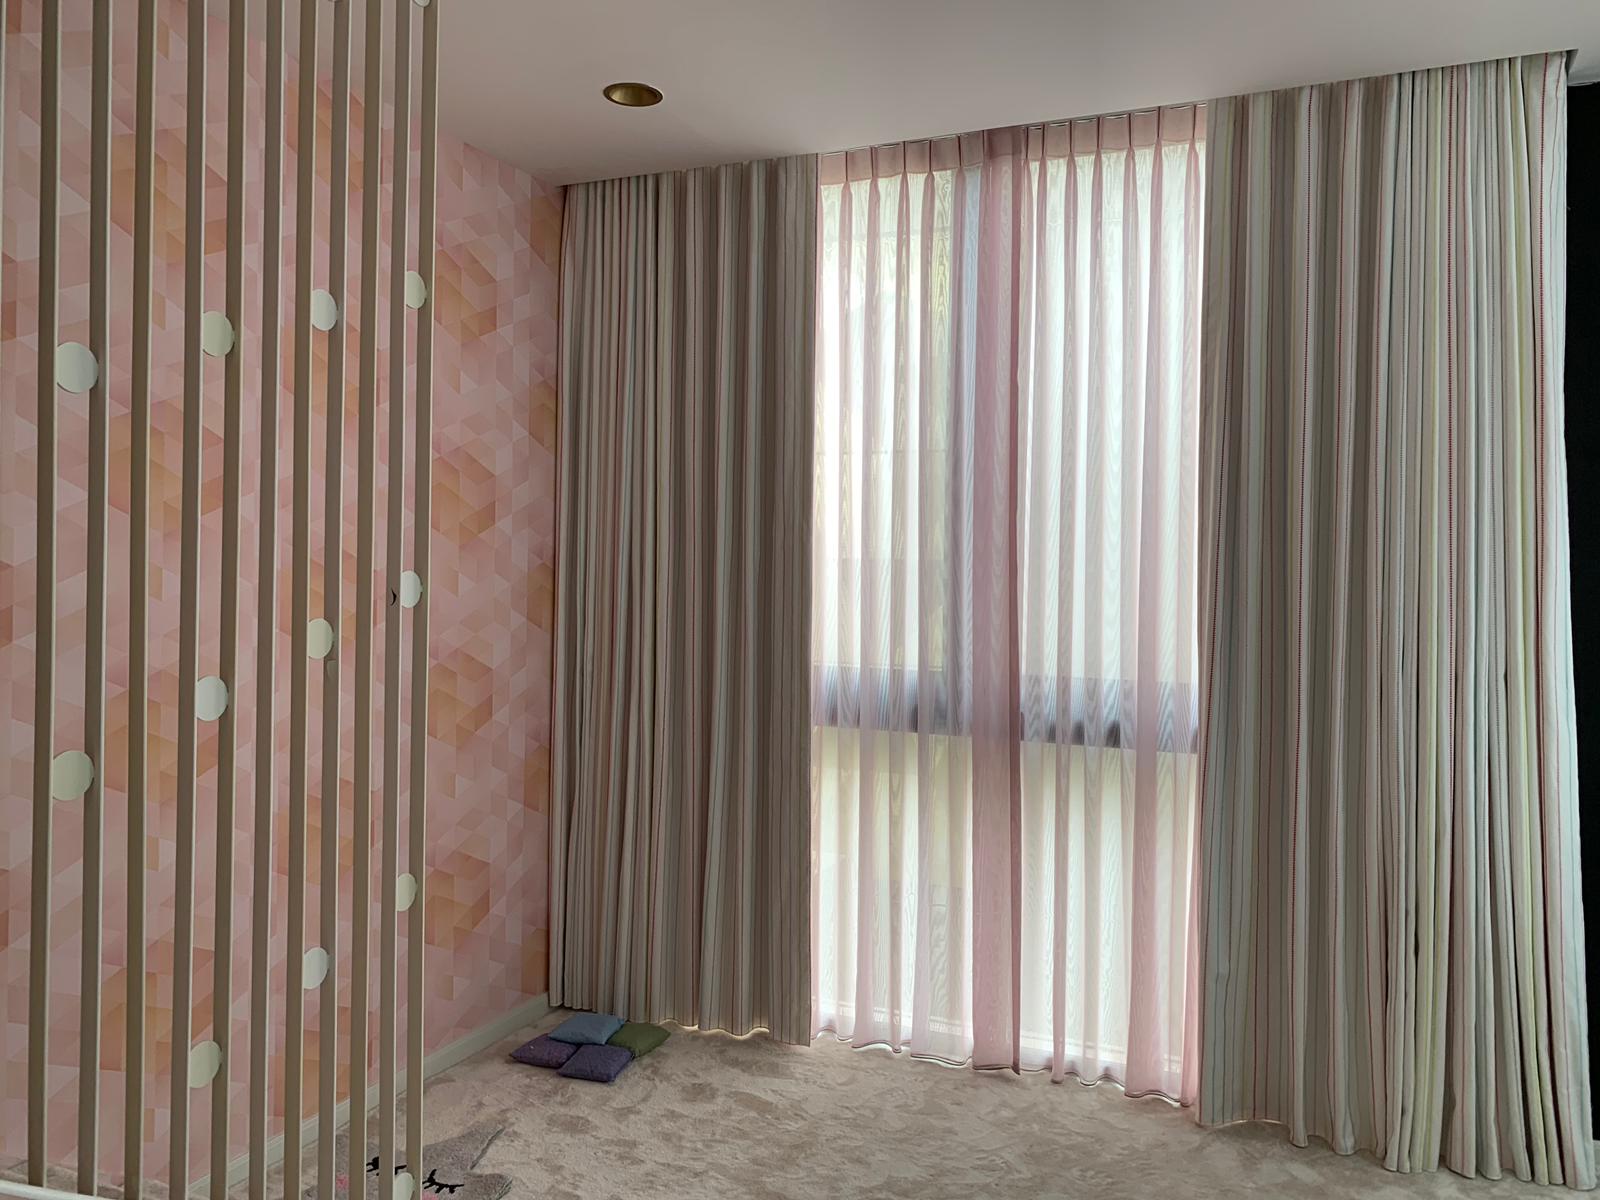
- Even out the pleats: Step back and observe the pleats of your drapes. If necessary, gently adjust and arrange the pleats to ensure they are evenly spaced and hang nicely. You can use your hands to shape the pleats or use a hook or rod to help rearrange and straighten them if needed.
- Final touches: Once you are satisfied with the way your drapes hang and the pleats are evenly distributed, step back and admire your beautifully created inverted pleat drapes. Make any additional adjustments if needed.
By hanging and adjusting your drapes, you will bring your project to completion and enjoy the elegant and sophisticated look they add to your space. Take your time to carefully hang and arrange the drapes for the best visual effect.
Conclusion
Congratulations! You have successfully learned how to make inverted pleat drapes. By following the step-by-step process outlined in this guide, you have created beautiful window treatments that exude elegance and sophistication. Let’s recap the key points:
First, you measured your windows and calculated the fabric requirements, ensuring that you had the right amount of fabric for a perfect fit. Then, you cut the fabric panels, taking care to align patterns and grains if necessary.
Next, you prepared and pressed the pleats, giving your drapes their tailored and polished appearance. Then, you sewed the side seams, joining the fabric panels together to create the body of the drapes.
After that, you created the inverted pleats, folding and pinning the fabric to form beautiful folds. With the pleats in place, you sewed the hem, adding a finished touch to your drapes.
Finally, you attached the drapery hooks and hung your drapes, making any necessary adjustments to achieve the desired length and even distribution of pleats. Taking pride in your accomplishment, you can now enjoy the beauty and elegance that your handmade inverted pleat drapes bring to your home.
Remember, creativity and personalization are key when making drapes. Feel free to experiment with different fabrics, colors, and patterns to match your unique style and interior design. With practice, you can refine your skills and create custom drapes that perfectly complement your home decor.
Thank you for following this guide on how to make inverted pleat drapes. We hope you found it informative and enjoyable. Now, go ahead and showcase your newfound skills by creating stunning window treatments that will undoubtedly impress your family and guests alike. Happy crafting!
Frequently Asked Questions about How To Make Inverted Pleat Drapes
Was this page helpful?
At Storables.com, we guarantee accurate and reliable information. Our content, validated by Expert Board Contributors, is crafted following stringent Editorial Policies. We're committed to providing you with well-researched, expert-backed insights for all your informational needs.


0 thoughts on “How To Make Inverted Pleat Drapes”