
Articles
How To Build A Balcony
Modified: October 21, 2024
Learn how to build a stylish and functional balcony with our informative articles. Gain insights on design, materials, and construction techniques.
(Many of the links in this article redirect to a specific reviewed product. Your purchase of these products through affiliate links helps to generate commission for Storables.com, at no extra cost. Learn more)
Introduction
Building a balcony can be a rewarding project that adds value, functionality, and beauty to your home. Whether you want to create an outdoor oasis to enjoy your morning coffee, host gatherings, or simply have an extension of your living space, a well-designed and constructed balcony can provide all of that and more.
However, embarking on a balcony construction project requires careful planning, knowledge, and skill. From determining the location and size to obtaining necessary permits and selecting the right materials, there are several crucial steps to follow to ensure a successful outcome.
In this comprehensive guide, we will walk you through the process of building a balcony, covering everything from the initial planning stages to the final finishing touches. By the end, you will have the knowledge and confidence to tackle your own balcony construction project.
Key Takeaways:
- Building a balcony involves careful planning, obtaining permits, constructing a sturdy frame, and adding finishing touches like paint or stain. Regular maintenance ensures longevity and enjoyment of the outdoor space.
- Personalizing the balcony with furniture, shade options, greenery, and entertainment elements creates a functional and inviting outdoor oasis. Attention to detail and adherence to safety standards are crucial throughout the construction process.
Read more: How To Build A Second Floor Balcony
Step 1: Determine the location and size of your balcony
The first step in building a balcony is to determine its location and size. Consider the purpose of the balcony and how it will integrate with the existing structure of your home. Factors such as accessibility, views, and privacy should be taken into account.
Start by assessing the available space on your property. Take measurements of the area where you plan to construct the balcony. Consider the dimensions and shape that will best complement your home’s architecture and the surrounding landscape.
Next, think about the orientation of the balcony. Sun exposure and prevailing winds are important factors to consider. Ideally, you would want the balcony to receive sufficient sunlight while also ensuring it is protected from strong winds.
If you have specific views that you want to enjoy from the balcony, take note of them when choosing the location. Whether it’s a scenic landscape, a garden, or a bustling cityscape, orienting your balcony to maximize the view will enhance the overall experience.
Additionally, think about privacy. Determine whether your balcony will be overlooking neighboring properties or if there are natural elements, such as trees or fencing, that can provide privacy. Striking the right balance between openness and privacy is essential.
It is also important to consult any applicable local zoning regulations or homeowner association guidelines regarding balconies. Some areas may have restrictions on the size, location, or design of balconies. Ensure that you comply with all requirements and obtain the necessary permits before proceeding with the construction process.
By carefully considering the location and size of your balcony, you can create a space that seamlessly integrates with your home and enhances your living experience.
Step 2: Obtain necessary permissions and permits
Before you begin the construction of your balcony, it is crucial to obtain the necessary permissions and permits from the relevant authorities. This step ensures that you comply with local building codes, regulations, and safety standards.
Start by researching the specific requirements in your area for building a balcony. Contact your local building department or planning office to inquire about the permits and approvals needed for your project. They will provide you with information on the necessary application forms, fees, and documentation.
In most cases, you will need to submit detailed construction plans and specifications for your balcony. These documents should outline the materials you will use, the size and layout of the balcony, and any structural elements such as support beams or posts. Make sure the plans are accurately drawn to scale and include all necessary details.
Along with the construction plans, you may also be required to provide other documentation such as property boundary surveys, drainage plans, and environmental impact assessments, depending on the regulations in your area.
Once you have gathered all the required documents, submit your application to the relevant authority. Be prepared for a waiting period while the plans are reviewed. It is essential to be patient during this process, as thorough evaluations and inspections are necessary to ensure compliance with safety standards.
After receiving approval, you will be issued the necessary construction permits. These permits outline the specific guidelines and conditions under which you can proceed with the construction of your balcony. Make sure you understand and adhere to all the requirements set forth in the permits.
Keep in mind that failure to obtain the required permissions and permits can result in legal consequences and even forced demolition of your balcony. By taking the time to navigate the permit process correctly, you can ensure that your balcony is constructed safely and in compliance with all regulations.
Step 3: Plan the design and layout
Once you have obtained the necessary permissions and permits, it’s time to focus on planning the design and layout of your balcony. This step is crucial for creating a functional and visually appealing space that suits your needs and preferences.
Start by considering the purpose of your balcony. Will it primarily be a relaxation area, an outdoor dining space, or a place for entertaining guests? Determining the main function of the balcony will guide your design decisions.
Next, think about the layout and configuration of your balcony. Consider factors such as the placement of doors, windows, and outdoor access points in relation to the balcony. Optimize the design to ensure easy flow between indoor and outdoor areas.
Another important aspect to consider is the structural support for your balcony. Work with an engineer or a qualified professional to determine the appropriate load-bearing capacity of the balcony, considering the weight of the materials used and the intended use of the space. This will ensure the safety and longevity of your balcony.
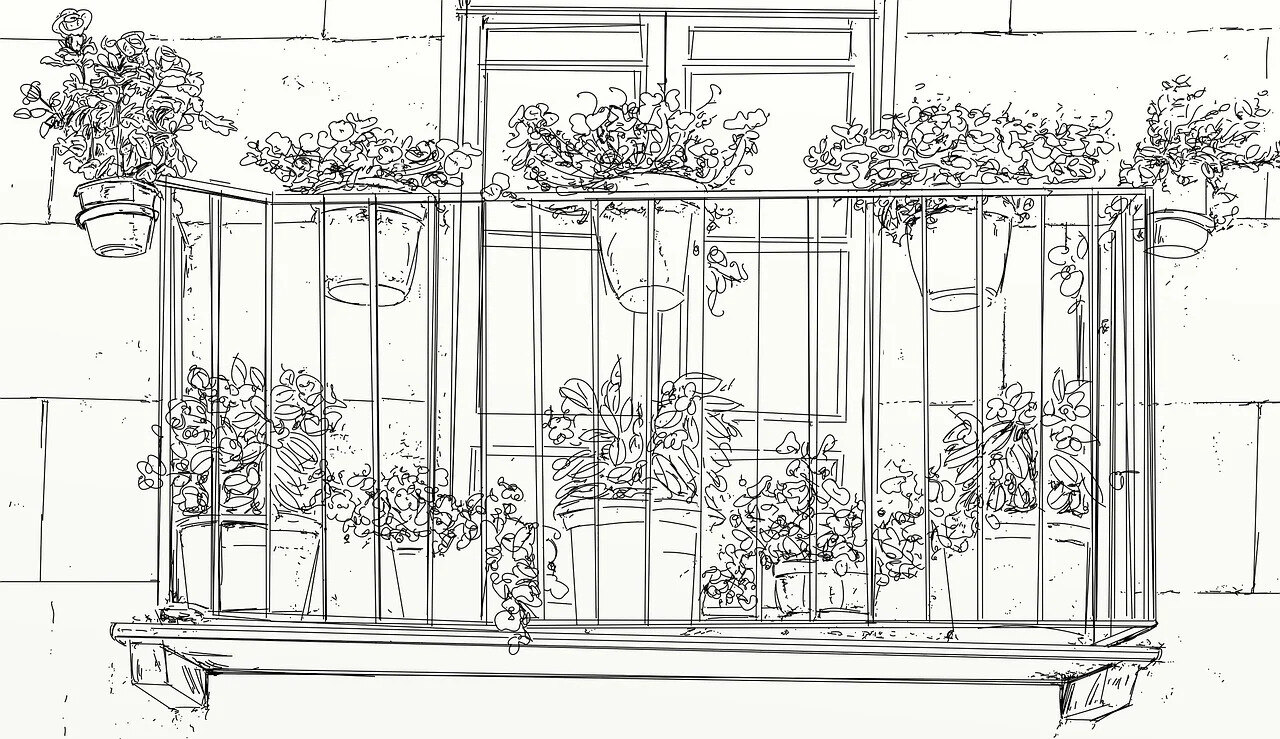
Consider adding features that enhance the functionality and aesthetics of your balcony. This could include elements such as built-in seating, storage solutions, lighting fixtures, or even a small gardening area. Incorporating accessories like umbrellas, outdoor rugs, and plants can also bring life and charm to your balcony.
When selecting materials for your balcony, opt for those that are durable, weather-resistant, and low-maintenance. Common choices for flooring include wood, composite decking, stone, or concrete. For railings, options range from glass panels to iron or aluminum balusters. Choose materials that align with the style and overall aesthetic of your home.
Lastly, consider the privacy and shade on your balcony. Depending on your location and preferences, you may want to add privacy screens, awnings, or pergolas. These can provide a sense of intimacy and protection from the sun, enhancing the overall comfort of your balcony.
By carefully planning the design and layout of your balcony, you can create a space that is both functional and visually appealing. Take your time to explore different options and consult with professionals if needed, ensuring that every aspect of your balcony meets your expectations and requirements.
Step 4: Gather materials and tools
With the design and layout of your balcony planned, it’s time to gather the necessary materials and tools for the construction process. Having the right materials and tools on hand will make the project more efficient and ensure a smooth execution.
Start by confirming the list of materials needed based on your design plans. This may include lumber or composite boards for the frame and flooring, hardware such as screws and bolts, as well as any additional materials needed for the railings, stairs, and other structural elements.
When selecting materials, prioritize quality and durability. Opt for materials that will withstand outdoor elements, such as moisture, sunlight, and temperature changes. Research different brands and suppliers to find the best options for your budget and requirements.
Make a detailed list of all the tools you will need to complete the construction process. This may include basic hand tools like a hammer, tape measure, level, and screwdriver, as well as power tools like a circular saw, drill, and sander.
Ensure that all your tools are in good working condition and that you have any necessary safety equipment like goggles, gloves, and a dust mask. Safety should always be a priority when working with tools and construction materials.
Consider renting any specialized equipment that may be required for the construction process, such as a pneumatic nail gun or a saw for cutting through tough materials. Renting equipment can be a cost-effective option if you don’t foresee needing it for future projects.
Before you start purchasing materials, take accurate measurements of the construction site to ensure that you buy the right amount of materials and minimize waste. It’s always beneficial to have a little extra in case of mistakes or unforeseen circumstances.
Once you have gathered all the necessary materials and tools, organize them in a designated workspace. Keep your materials protected from the elements and ensure that your tools are easily accessible and properly stored.
By gathering all the materials and tools before starting the construction process, you can avoid unnecessary delays and ensure a smooth progression of the project. Having everything on hand will enable you to work efficiently and complete the construction of your balcony in a timely manner.
Read more: How Much Does It Cost To Build A Balcony
Step 5: Prepare the balcony area
Before you can start constructing your balcony, it’s important to properly prepare the area where it will be built. This step ensures a solid foundation and sets the stage for a successful construction process.
Begin by clearing the area of any debris, vegetation, or obstacles that might hinder the construction process. This includes removing any existing structures or elements that may need to be demolished or relocated.
Next, assess the condition of the ground or foundation where the balcony will be built. Ensure that it is level and stable. If necessary, make any corrections to the ground by adding or removing soil to achieve a level surface. This will prevent your balcony from settling or tilting over time.
If your balcony will be attached to an existing structure, thoroughly inspect the area where it will be attached. Check for any signs of damage, rot, or deterioration. Make any necessary repairs or reinforcement to ensure a solid connection.
Prior to construction, it’s important to ensure proper drainage on your balcony. Creating a slight slope away from the building will prevent water from pooling and causing damage. Install a waterproofing system, such as a membrane or a rubberized coating, to protect the underside of the balcony from moisture.
If your balcony will have a concrete or stone surface, you may need to excavate the area and pour a concrete footing or slab to provide a stable and solid base. Consult with a professional if you are unsure about the specific requirements for your balcony.
Consider installing a vapor barrier or a layer of gravel beneath the flooring material to prevent moisture buildup and improve ventilation. This will help prolong the lifespan of your balcony and minimize any potential issues with rot or decay.
Finally, mark the layout of your balcony on the ground using stakes and strings. This will serve as a guide during the construction process and ensure that your balcony is built according to the planned design.
By properly preparing the balcony area, you set the foundation for a successful construction process. Taking the time to clear, level, and reinforce the area will result in a sturdy and long-lasting balcony that you can enjoy for years to come.
When building a balcony, make sure to check local building codes and regulations before starting construction. This will ensure that your balcony meets safety standards and avoids any potential legal issues.
Step 6: Construct the balcony frame
With the balcony area prepared, it’s time to move on to constructing the frame of your balcony. The frame provides the structural support and stability for the entire balcony structure, so it’s essential to approach this step with care and precision.
Start by measuring and marking the dimensions of the balcony frame on the ground, using the previously marked layout as a guide. This will ensure accuracy and help you visualize the final size and shape of the balcony.
Next, cut the lumber or use pre-cut composite boards to create the beams, joists, and posts that will form the frame of the balcony. Be sure to follow the design plans and measurements to ensure the correct sizing of each component.
Use a level and square to make sure all the frame pieces are straight and properly aligned. Use nails, screws, or joist hangers to secure the beams and joists together, creating a strong and stable frame. It’s important to pay attention to how the pieces are joined to ensure proper load distribution.
If your balcony will be attached to an existing structure, carefully install the ledger board to create a secure connection. Use anchor bolts or lag screws to fasten the ledger board directly into the wall, making sure it is properly flashed and waterproofed to prevent water damage.
As you build the frame, periodically check the level and plumb to ensure that it is straight and level. This will help prevent any future issues with the construction and ensure the structural integrity of your balcony.
Once the main frame is constructed, add additional structural elements such as diagonal bracing or corner supports if necessary. These will add extra stability and reinforcement to the frame.
It’s important to note that if you’re not familiar with construction and carpentry, it may be beneficial to hire a professional to assist with this step. A skilled contractor can ensure that your balcony frame is built to code and meets all safety requirements.
By constructing a solid and well-built frame, you lay the foundation for a secure and durable balcony. Taking the time to accurately measure, align, and fasten the frame will ensure the structural integrity of your balcony for years to come.
Step 7: Install the flooring and rails
With the balcony frame in place, it’s time to move on to installing the flooring and rails, which will add functionality, safety, and a finished look to your balcony.
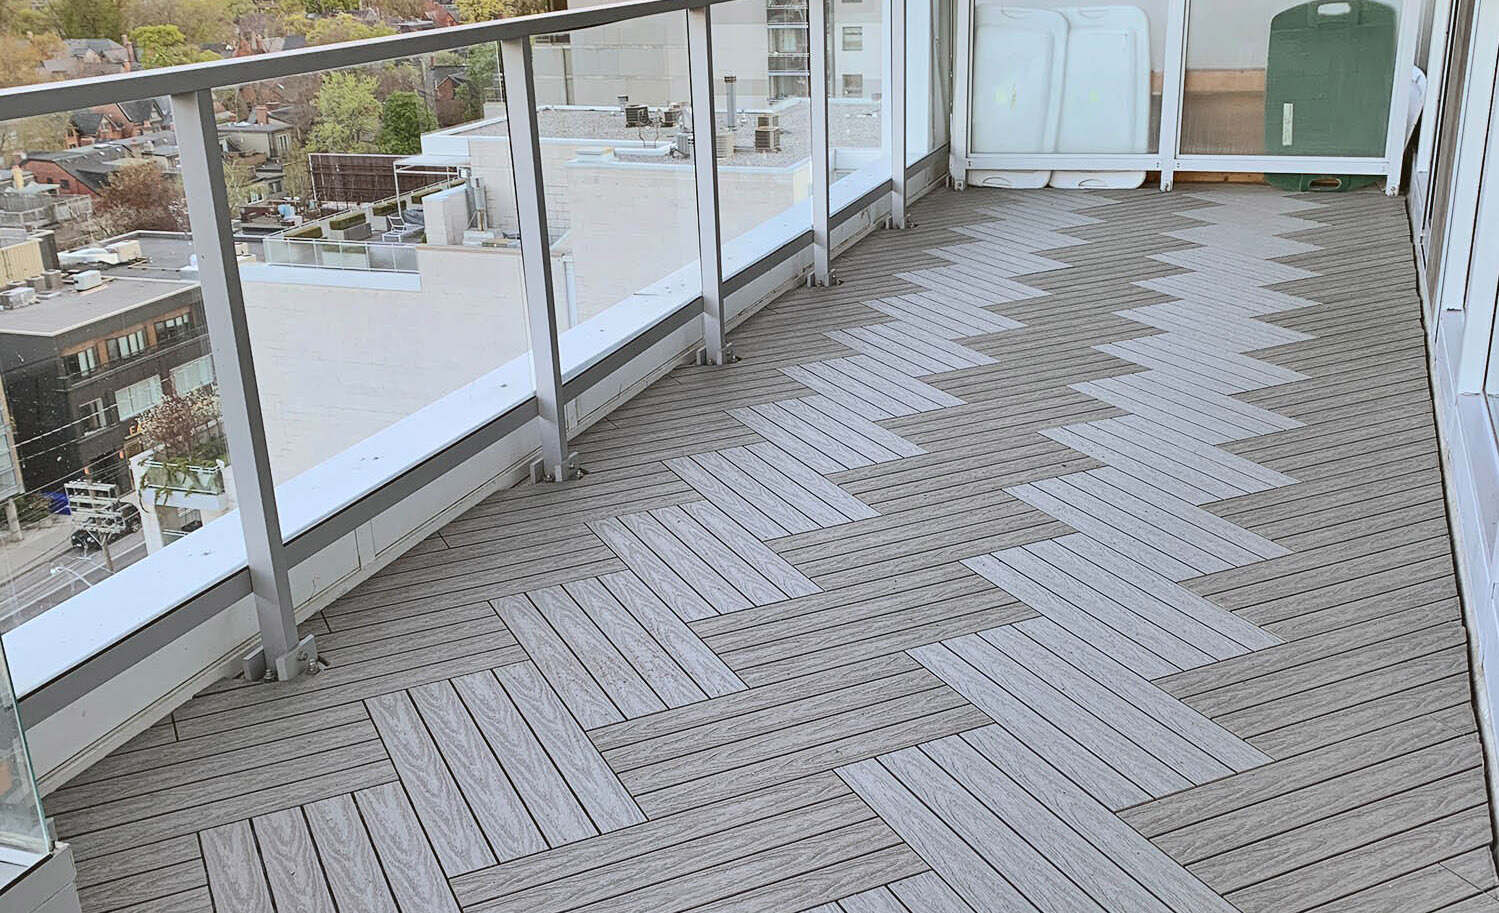
Start by determining the type of flooring you want for your balcony. Common options include wood decking, composite materials, stone tiles, or concrete pavers. Each option has its own installation requirements, so follow the manufacturer’s instructions and best practices for your chosen flooring material.
If you’re using wood decking, begin by laying down a layer of landscape fabric or a waterproof membrane to prevent weed growth and moisture penetration. Install the boards perpendicular to the joists, leaving a small gap between each board for expansion and drainage. Secure the boards with screws or nails, ensuring that they are evenly spaced and flush with the frame.
For composite materials, follow the manufacturer’s instructions for installation. Typically, composite boards are fastened using hidden clips or screws that secure the boards to the frame without visible fasteners. Make sure to leave proper spacing between each board for expansion and contraction.
If you’re using stone tiles or concrete pavers, lay them in a pattern of your choice, following the manufacturer’s guidelines for installation. Use a suitable adhesive or mortar to secure the tiles or pavers to the balcony floor.
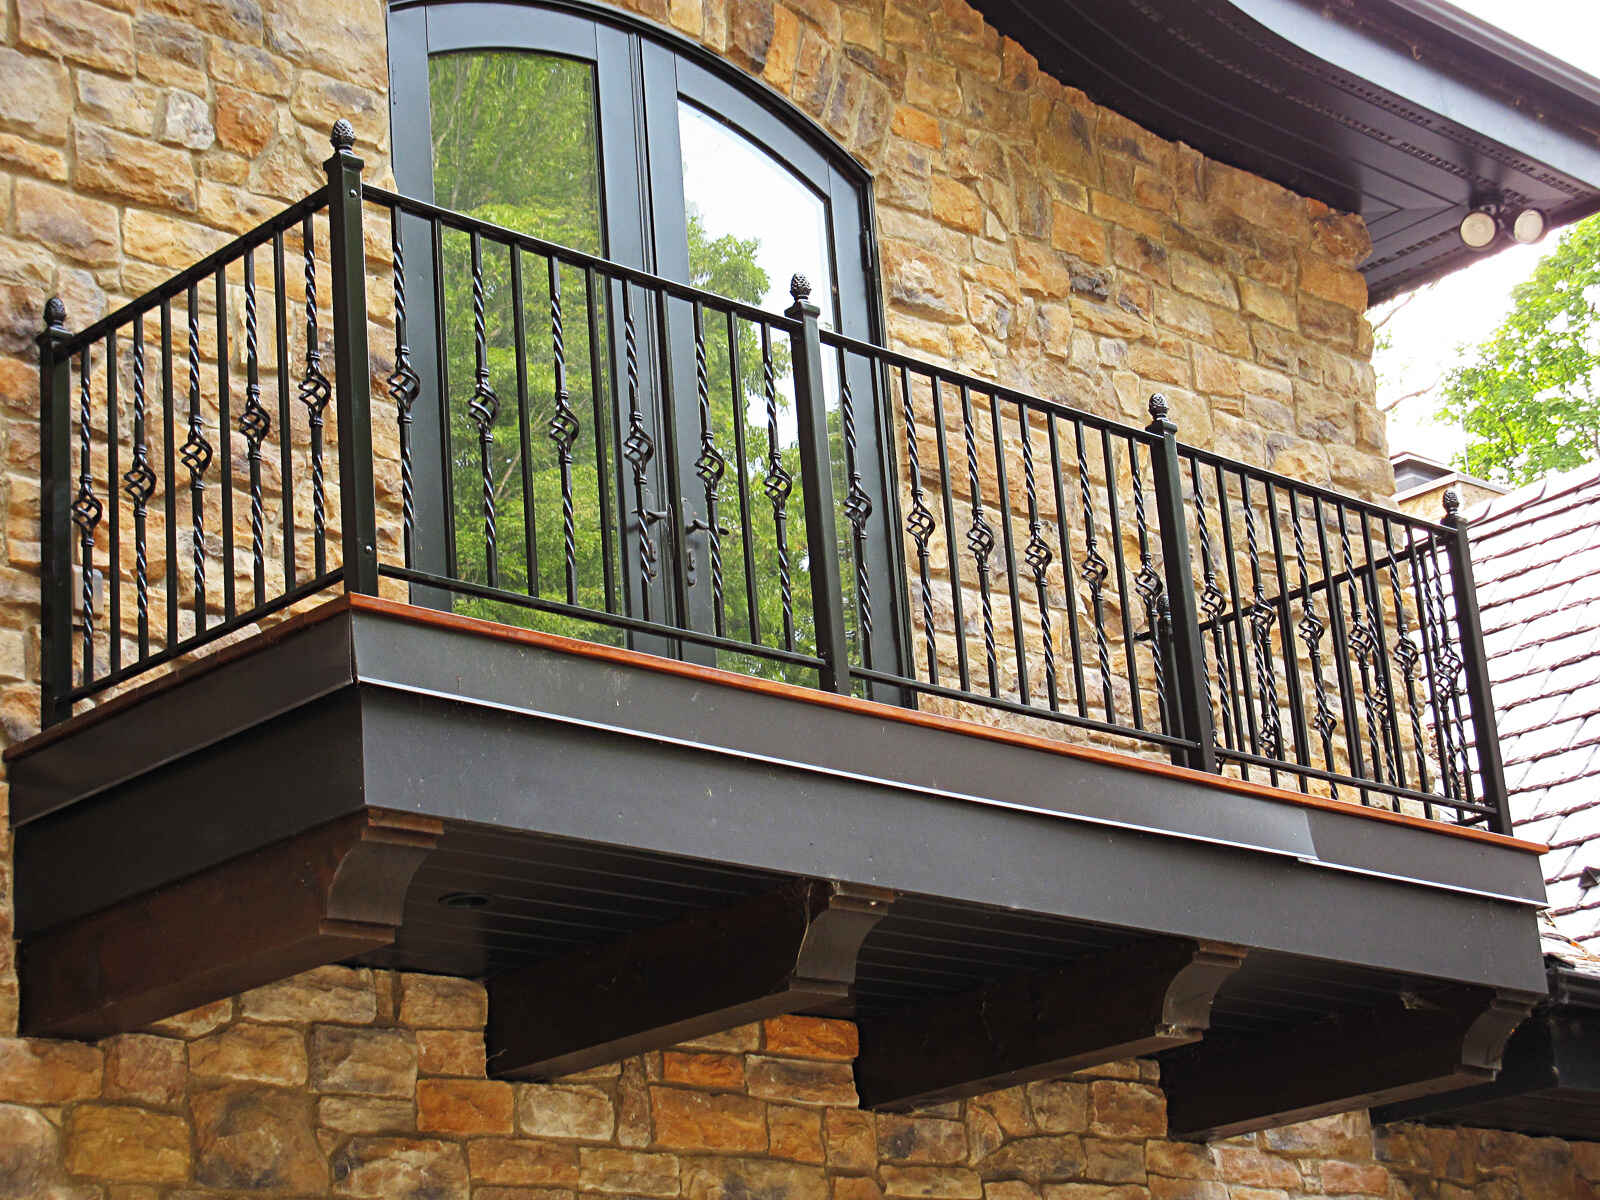
Once the flooring is installed, it’s time to move on to the railing. Rails are an important safety feature of your balcony, providing protection and preventing accidental falls. Consult your local building codes for the required height and spacing specifications for the railings.
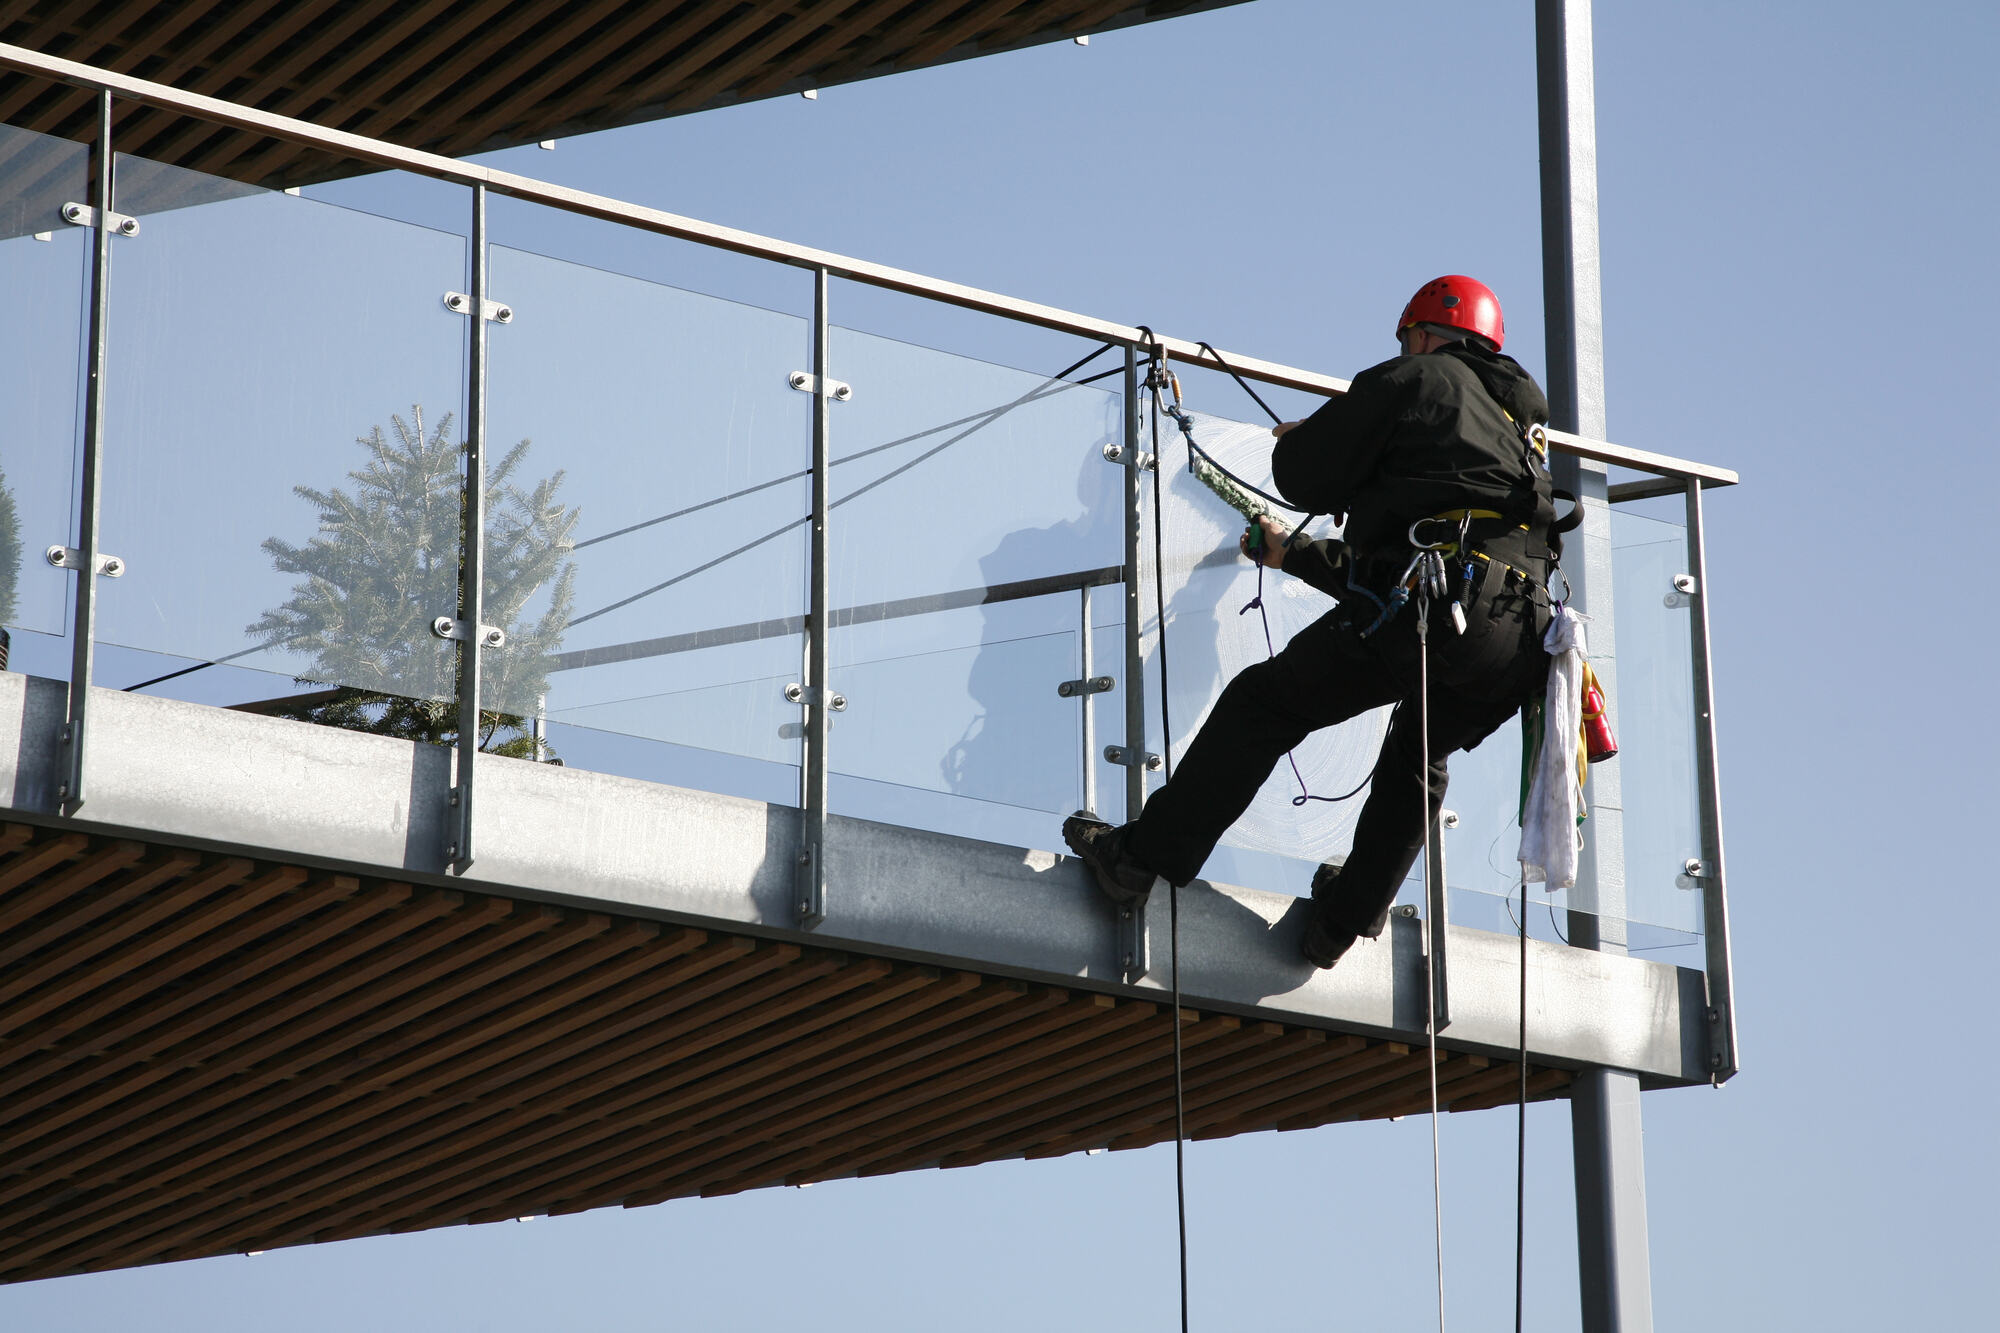
Choose the type of railing that best suits your balcony design, such as wood, metal, or glass. Install the posts or balusters according to your chosen railing system, making sure they are securely attached and aligned properly. Install any necessary handrails for additional safety.
Ensure that the railing is level and securely fastened to the frame. Test its stability to ensure that it can withstand normal use and provide the necessary protection.
During the installation process, it’s important to pay attention to details and ensure that all connections and fasteners are secure. Take the time to ensure a precise and neat installation for a polished and professional look.
No matter the flooring and railing materials you choose, always prioritize safety and durability. Regularly inspect and maintain your balcony flooring and rails to prolong their lifespan and ensure the continued safety and functionality of your balcony.
Step 8: Finish the balcony with paint or stain
After installing the flooring and rails, it’s time to add the finishing touches to your balcony by applying paint or stain. This step not only enhances the aesthetic appeal of your balcony but also provides an extra layer of protection against the elements.
Start by thoroughly cleaning the entire balcony surface, removing any dirt, dust, or debris. Use a broom or a brush to sweep away loose particles, and wash the surface with a mild detergent and water solution. Allow the balcony to dry completely before proceeding.
If you have chosen to use wood decking on your balcony, consider staining or sealing the wood to protect it from moisture, UV rays, and general wear and tear. Select a high-quality exterior stain or sealant that is specifically formulated for outdoor use.
If you prefer the natural look of the wood, applying a clear sealant will preserve the color and grain of the wood while providing protection. For a more customized look, you can choose from a wide range of stain colors that complement your home’s exterior or personal style.
If your balcony flooring is made of composite materials, consult the manufacturer’s guidelines regarding painting or staining. In most cases, composite materials do not require staining or repainting, as they are designed to withstand outdoor conditions and maintain their color over time.
When it comes to the balcony rails, you can opt to paint or stain them to match or contrast with the flooring. Choose a weather-resistant paint or stain that is suitable for the material of your rails, such as wood or metal. Ensure that the paint or stain is rated for exterior use and provides protection against fading and peeling.
Before applying the paint or stain, prepare the surface by sanding any rough spots or imperfections. If necessary, use a primer to ensure proper adhesion of the paint or stain. Follow the manufacturer’s instructions regarding the application process, including the number of coats and drying times.
Take your time during the painting or staining process to ensure even coverage and a smooth finish. Allow the paint or stain to dry completely before using the balcony.
By finishing your balcony with paint or stain, you not only add an attractive and cohesive look to your outdoor space but also provide an extra layer of protection against the elements. Regularly inspect and touch up the paint or stain as needed to maintain the appearance and longevity of your balcony.
Read more: How To Soundproof A Balcony
Step 9: Add any desired features or accessories
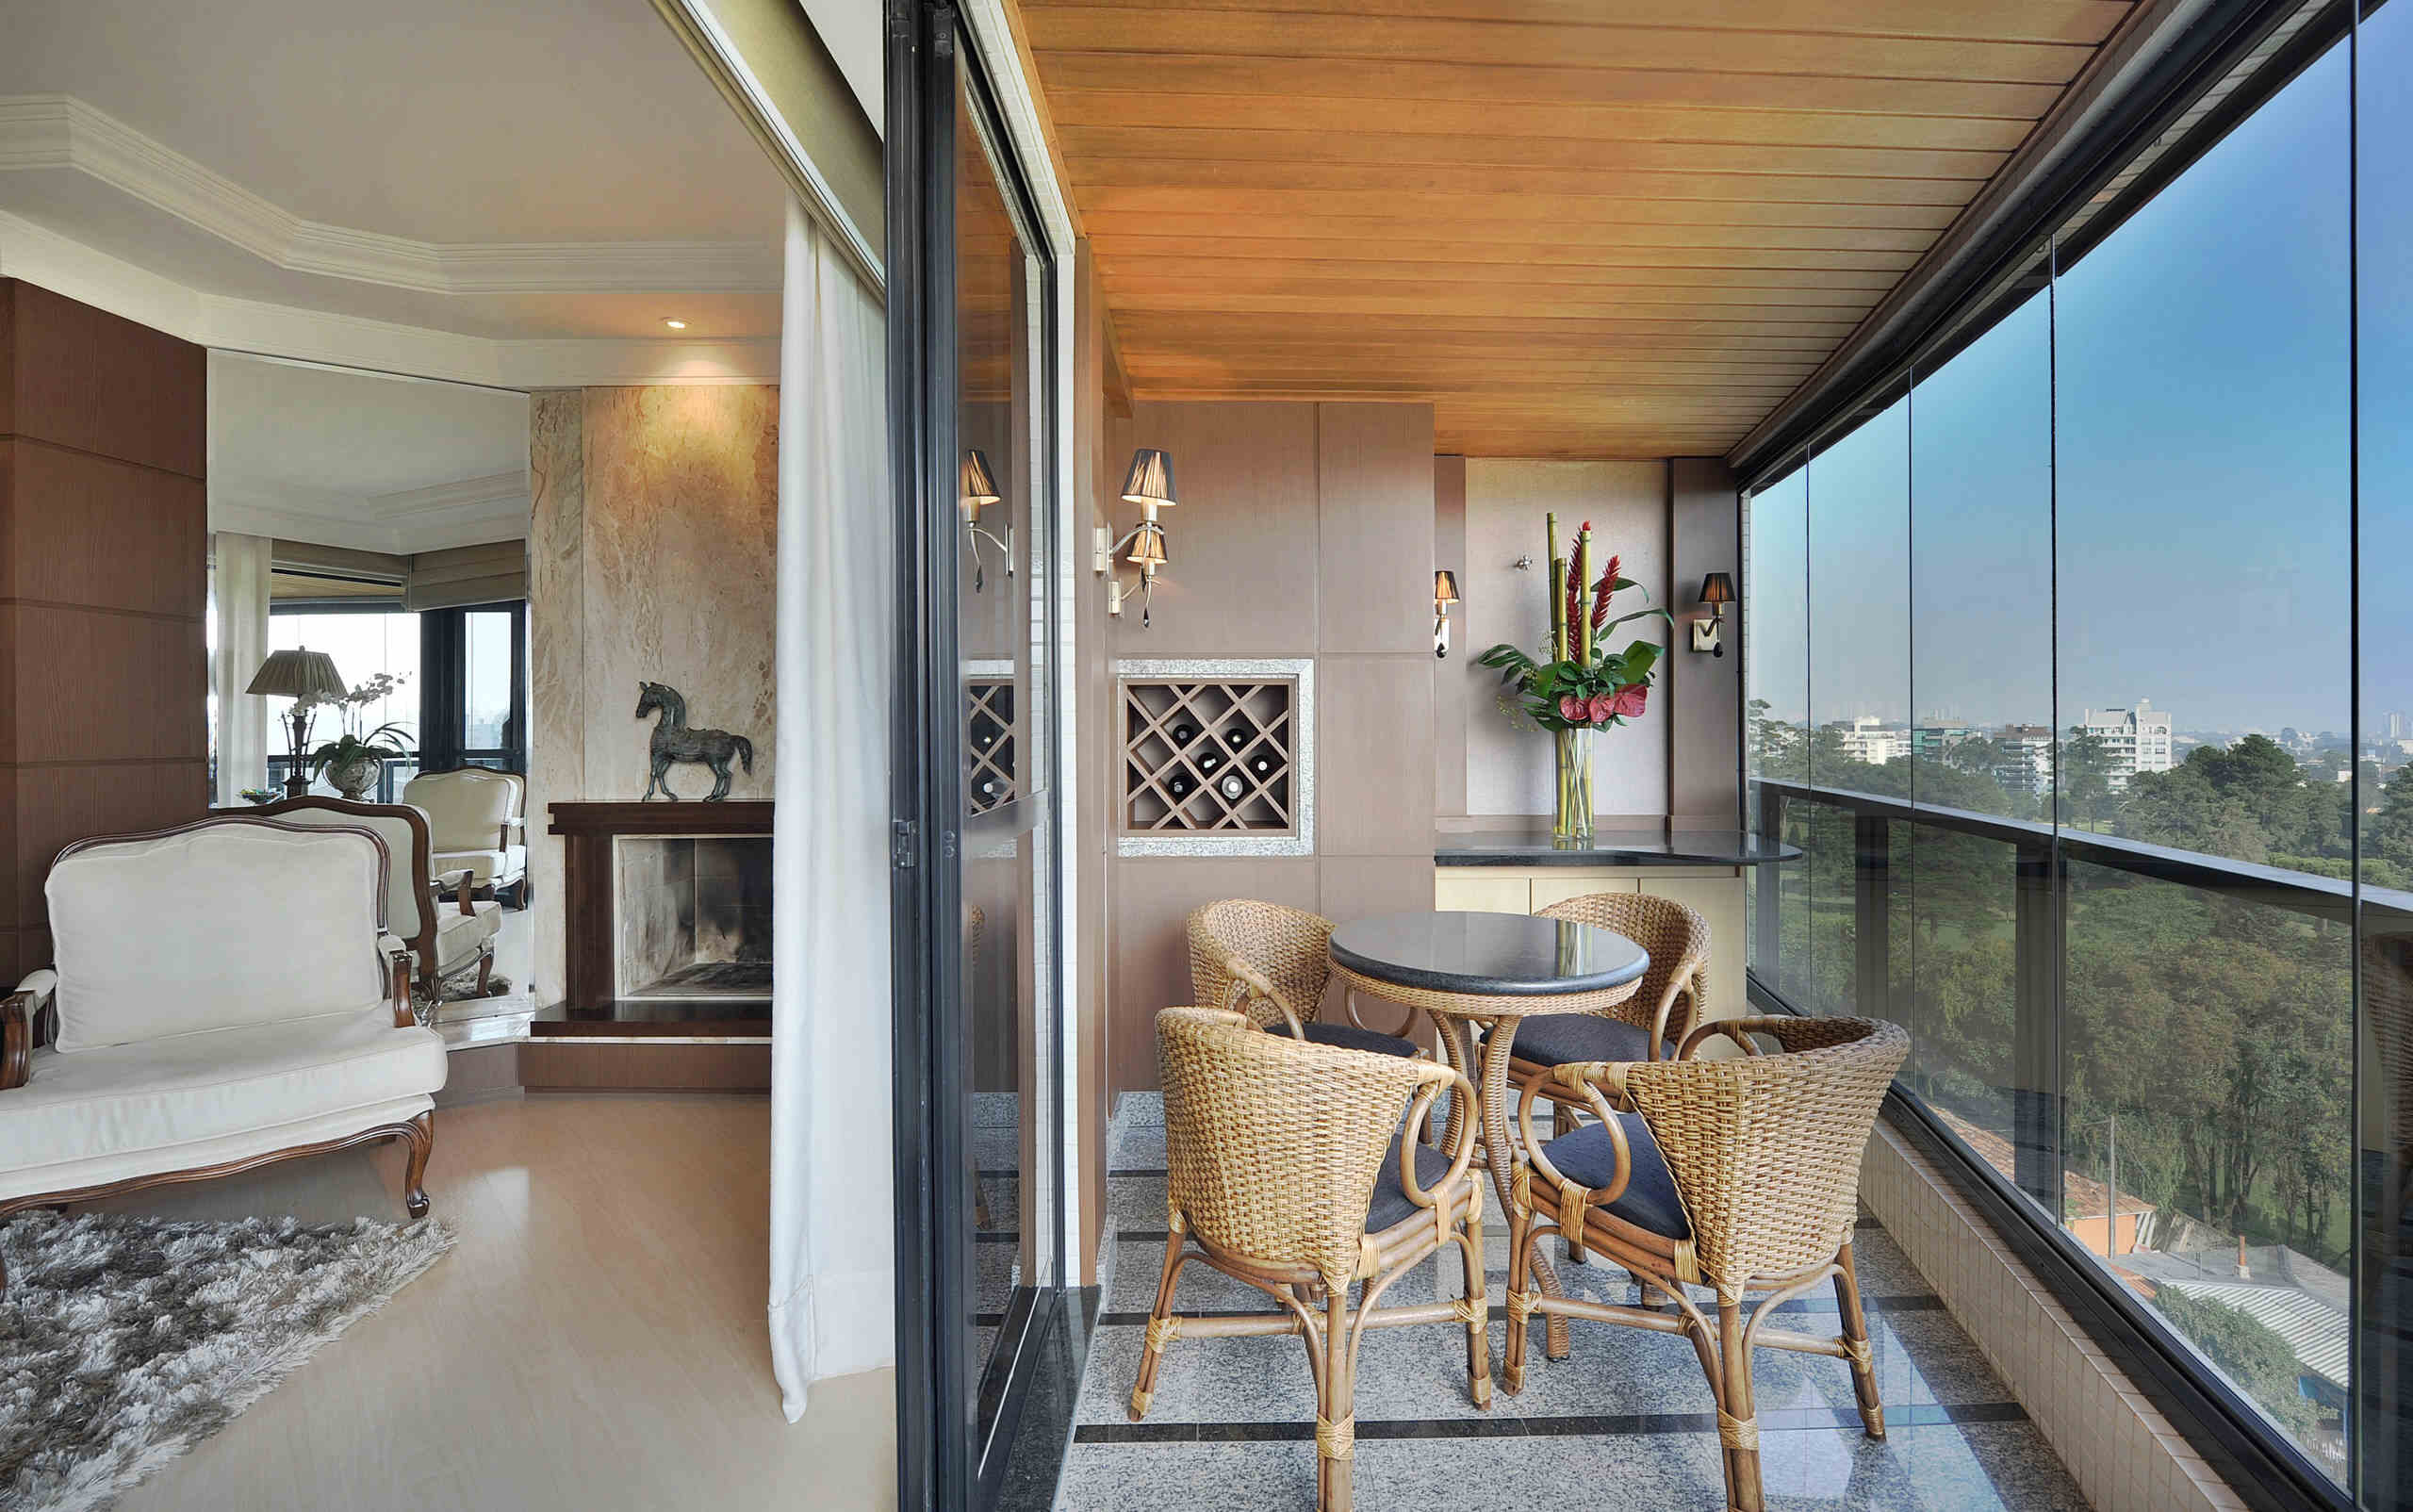
With the main construction and finishing of your balcony complete, it’s time to add the final touches that will personalize and enhance your outdoor space. Adding features and accessories can truly transform your balcony into a functional and inviting area for relaxation, entertainment, and enjoyment.
Consider the activities you plan to do on your balcony and choose features that align with your interests and lifestyle. Here are some ideas to inspire you:
- Furniture: Select comfortable and durable outdoor furniture that suits your style and needs. Options include lounge chairs, dining sets, hammocks, or even a cozy swing. Cushions and pillows can add extra comfort and flair.
- Shade options: If your balcony receives a lot of direct sunlight, consider adding shade elements like a retractable awning, a shade sail, or a patio umbrella to create a comfortable and cool space.
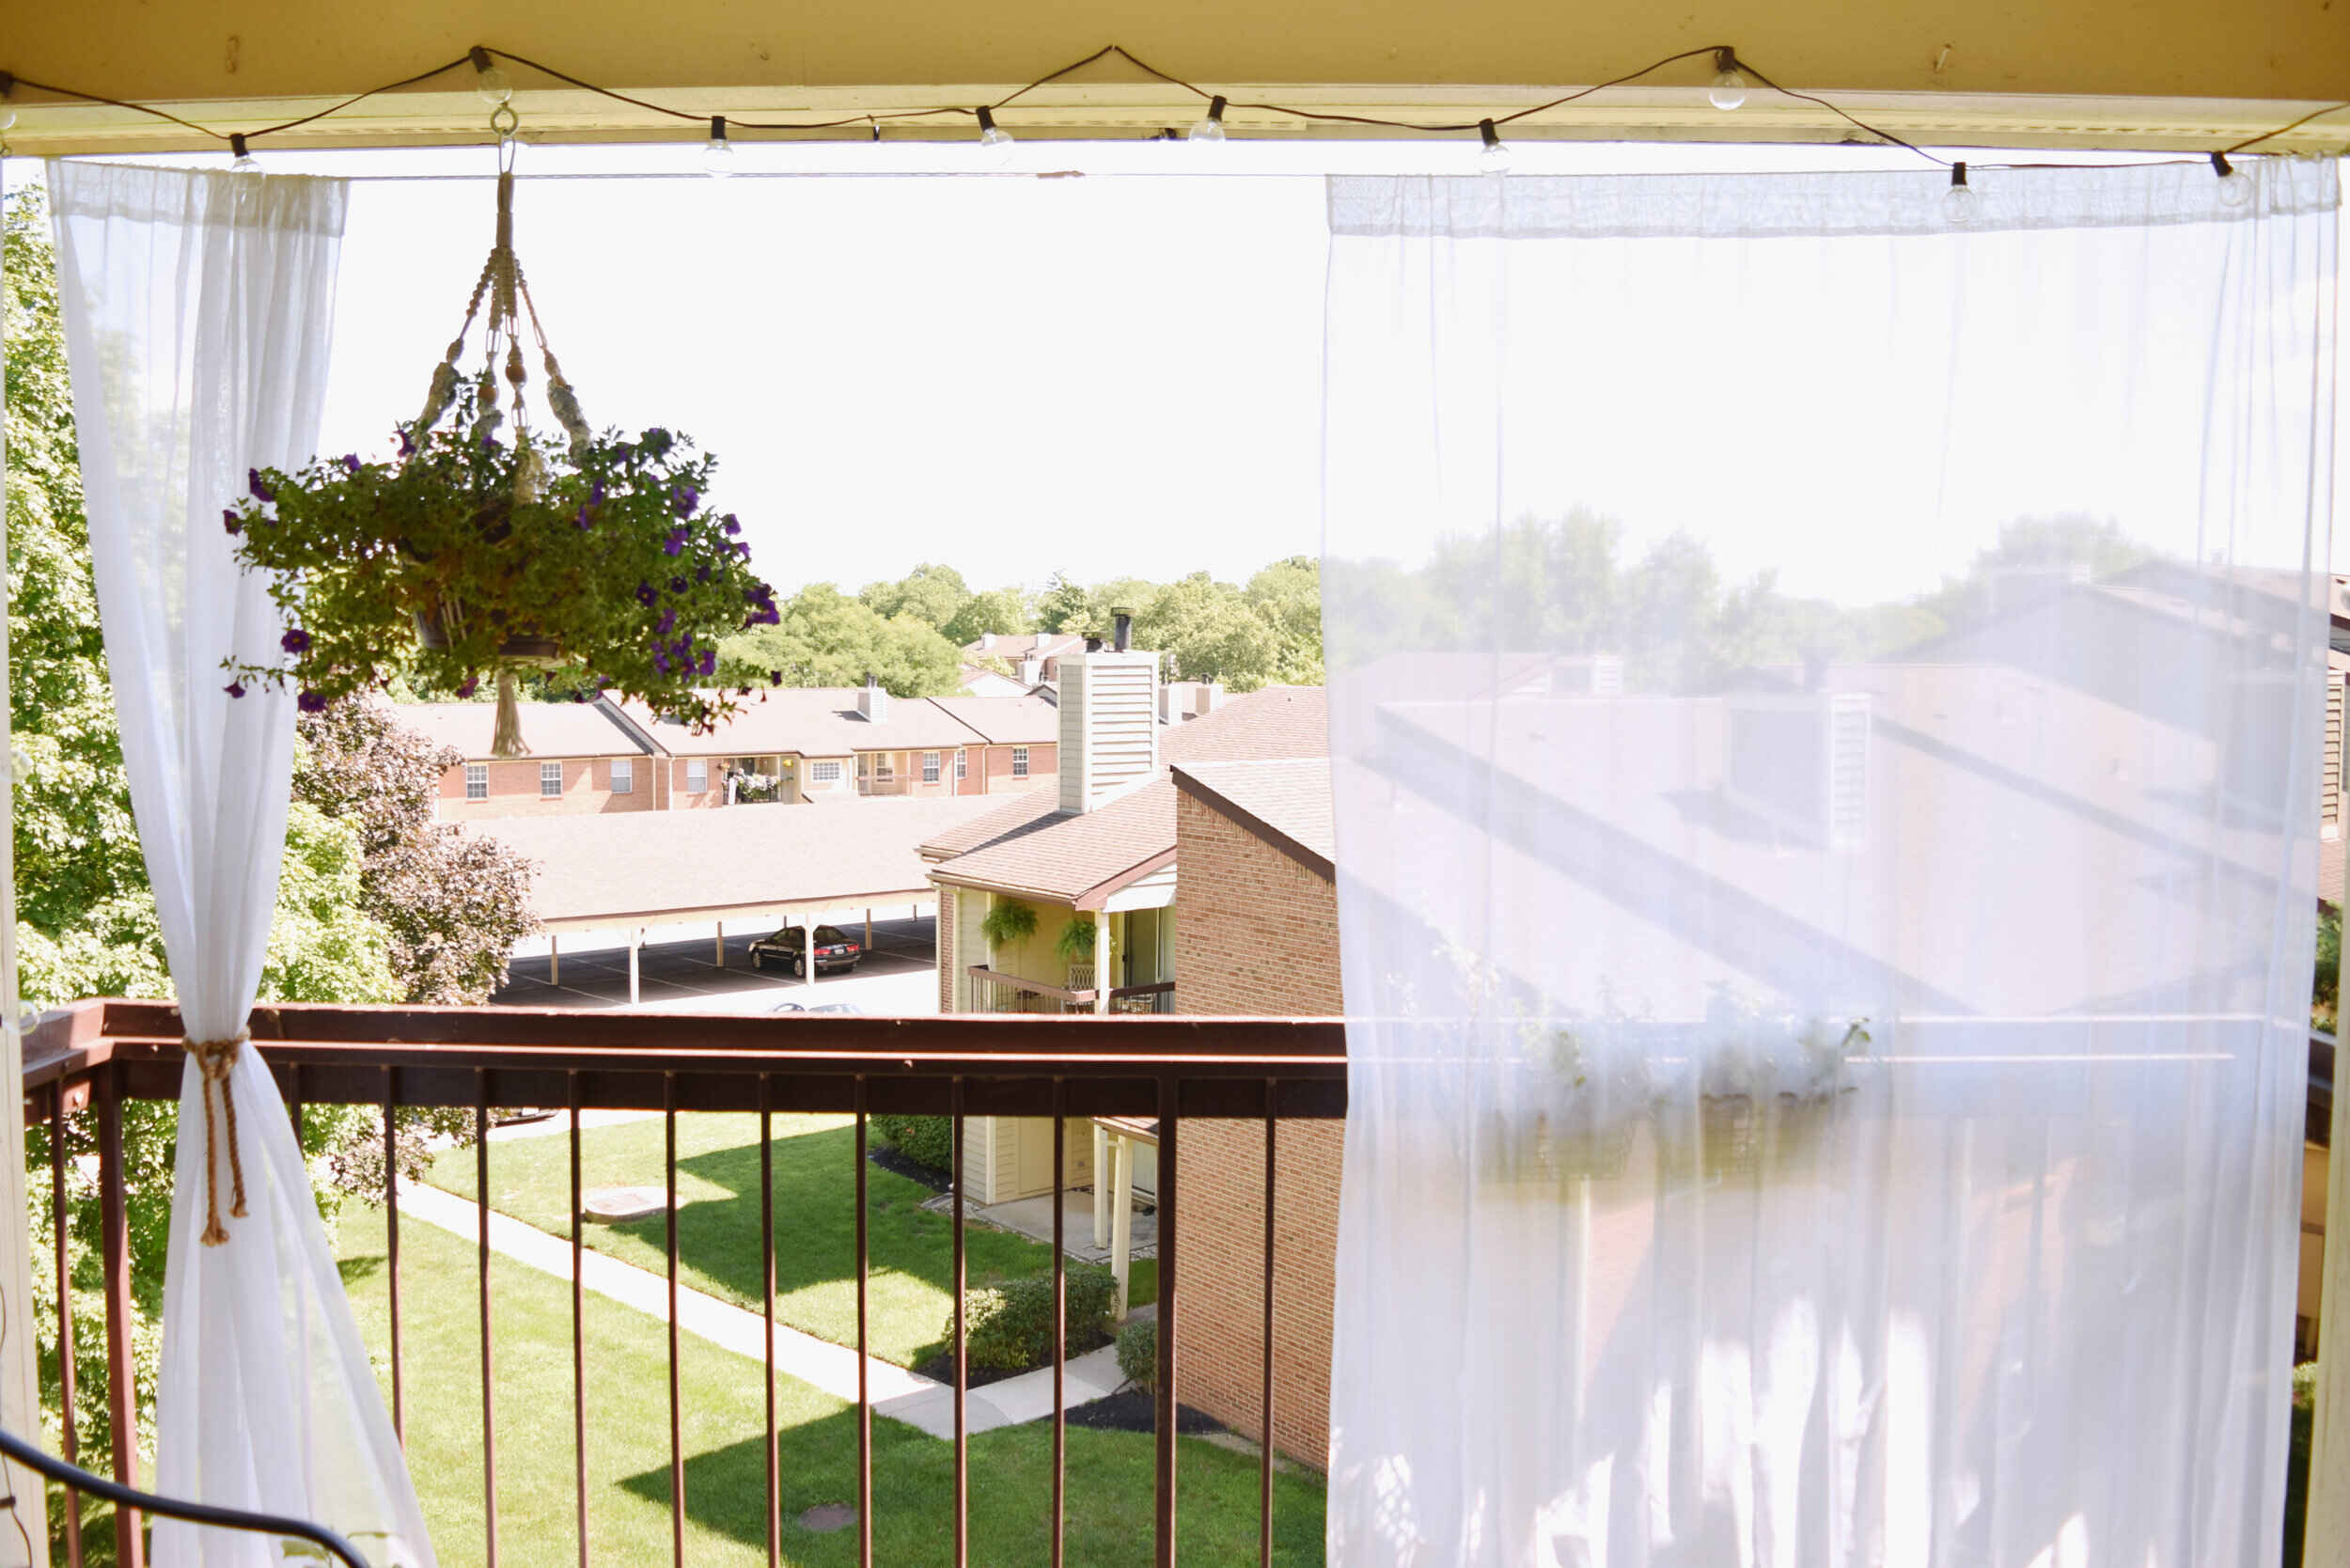
- Greenery: Incorporate plants and flowers into your balcony to bring life and beauty to the space. Choose from potted plants, hanging baskets, vertical gardens, or even a small herb or vegetable garden.
- Outdoor lighting: Install outdoor lighting fixtures to create ambiance and extend the functionality of your balcony into the evening. Options include string lights, lanterns, wall sconces, or solar-powered LED lights.
- Privacy screens: If privacy is a concern, consider adding screens or trellises adorned with climbing plants to create a private and intimate atmosphere.
- Outdoor entertainment: Install speakers or a sound system to enjoy music or create a small outdoor theater area with a projector and screen for movie nights.
- Accessories: Customize your balcony with accessories such as outdoor rugs, decorative pillows, artwork, wind chimes, or a small tabletop fire pit to create a cozy and inviting space.
Remember, the key is to select features and accessories that complement your design aesthetic and cater to your specific needs. Don’t be afraid to get creative and make the space reflect your personality.
When adding features or accessories, ensure that they are designed for outdoor use and can withstand exposure to the elements. Follow manufacturer instructions for installation and maintenance to ensure their longevity.
By adding the desired features and accessories, you can create an inviting and personalized balcony that suits your lifestyle and allows you to fully enjoy your outdoor space.
Step 10: Perform a final inspection and maintenance tips
As the finishing touches of your balcony are complete, it’s important to perform a final inspection to ensure that everything is in order and ready for use. This step will ensure the safety, functionality, and longevity of your balcony. Here are some key aspects to consider during the final inspection:
Structural integrity: Carefully inspect the entire balcony, including the frame, flooring, and rails, to ensure that all components are securely fastened and structurally sound. Check for any signs of damage or weakness, such as loose nails or deteriorating materials. Make necessary repairs or replacements as needed.
Waterproofing: Verify that any waterproofing measures, such as membranes or coatings, have been properly installed and are effectively preventing moisture penetration. Look for any signs of water accumulation or leaks and address them promptly to avoid potential damage to the balcony structure.
Finish quality: Check the surface finish, whether it is painted, stained, or sealed. Ensure that the finish is even and smooth, with no visible bubbles, cracks, or peeling. Touch up any areas that may require attention to maintain the appearance and protect the materials.
Safety features: Confirm that all safety features, such as handrails and stairs, are secure and meet the required codes and standards. Test the stability and strength of the railings to ensure that they provide adequate support and protection.
Drainage: Verify that the balcony has proper drainage to prevent water accumulation and avoid potential damage. Clear any debris or obstructions from drains or gutters to ensure unobstructed water flow. Consider adding gutter extensions if necessary to direct water away from the foundation.
Maintenance tips: Regular maintenance is essential to keep your balcony in optimal condition. Here are a few tips to help you maintain your balcony:
- Regularly clean the balcony surface, including the flooring, rails, and any furniture or accessories, using a mild detergent and water. This will help prevent the buildup of dirt, mold, and stains.
- Inspect the balcony periodically for signs of wear and tear, such as cracks in the flooring or loose railing components. Address any issues promptly to prevent further damage.
- Depending on the materials used for your balcony, consider applying a protective sealant, stain, or paint periodically to maintain its appearance and protect it from the elements.
- Keep plants and vegetation well-maintained to prevent overgrowth or damage to the balcony structure. Trim branches or vines that may be encroaching on the balcony space.
- Avoid placing excessive weight or overloading the balcony, as this can put unnecessary stress on the structure. Follow recommended weight limits for furniture and avoid overcrowding the space.
- Regularly check and tighten any connections or fasteners on the balcony frame and rails to ensure their stability and prevent loosening over time.
By performing a final inspection and following a regular maintenance routine, you can preserve the longevity, functionality, and safety of your balcony. Taking the time to address any issues and proactively maintain your balcony will allow you to enjoy it for many years to come.
Conclusion
Building a balcony is a fulfilling endeavor that adds value, functionality, and aesthetic appeal to your home. By following the ten-step process outlined in this guide, you can successfully construct a balcony that meets your needs and enhances your outdoor living experience.
Throughout the process, careful planning, attention to detail, and adherence to local regulations and safety standards are essential. Determine the location and size of your balcony, obtain the necessary permissions and permits, and plan the design and layout to create a space that seamlessly integrates with your home’s architecture and your specific preferences.
Gathering the right materials and tools, preparing the balcony area, and constructing a solid frame lay the foundation for a structurally sound balcony. Attention should be given to the installation of the flooring and rails, as well as the finishing touches such as paint or stain, to ensure a polished and visually appealing result.
Adding desired features and accessories personalizes your balcony and allows you to create a space that reflects your style and accommodates your lifestyle. Whether it’s cozy seating, shade options, greenery, or entertainment elements, these additions contribute to the overall functionality and enjoyment of your balcony.
Once your balcony is complete, performing a final inspection and undertaking regular maintenance will help to preserve its integrity and beauty. Regular upkeep, including cleaning, inspections, and addressing any issues promptly, will ensure that your balcony remains safe, functional, and visually appealing for years to come.
Building and maintaining a balcony requires time, effort, and attention to detail. However, the rewards far outweigh the investment. Not only does a well-designed and constructed balcony enhance your daily living experience, but it also adds value to your home and creates a welcoming space for relaxation, entertainment, and connection with the outdoors.
Now that you have the knowledge and guidance provided in this comprehensive guide, you are well-equipped to embark on your balcony construction journey. So go ahead and create a personal haven where you can enjoy the beauty of nature and the comfort of your own home.
Frequently Asked Questions about How To Build A Balcony
Was this page helpful?
At Storables.com, we guarantee accurate and reliable information. Our content, validated by Expert Board Contributors, is crafted following stringent Editorial Policies. We're committed to providing you with well-researched, expert-backed insights for all your informational needs.


0 thoughts on “How To Build A Balcony”