Articles
How To Hide Conduit
Modified: October 20, 2024
Learn how to hide conduit in your home with these helpful articles. Find step-by-step guides and expert tips to conceal exposed wiring and create a seamless look.
(Many of the links in this article redirect to a specific reviewed product. Your purchase of these products through affiliate links helps to generate commission for Storables.com, at no extra cost. Learn more)
Introduction
When it comes to home improvement projects, hiding unsightly conduit is often a top priority. Conduit, which is used to protect and route electrical wires, can be an eyesore if left exposed. Luckily, there are several effective methods for concealing conduit and creating a cleaner, more aesthetically pleasing space.
In this article, we will guide you through the process of hiding conduit in your home. From choosing the right concealment method to utilizing furniture, decorative items, and paintable conduit, we will provide you with a comprehensive overview of the options available to you.
Whether you’re renovating your living room, updating your home office, or simply looking to improve the overall appearance of your space, the tips and techniques provided in this article will help you achieve a seamless and polished look by effectively hiding conduit.
So let’s dive in and discover how you can transform your space by concealing those unsightly wires!
Key Takeaways:
- Concealing conduit can be achieved through various methods such as using furniture, decorative items, wall-mounted devices, and custom covers. By carefully selecting the right concealment method, you can transform your space into a clutter-free and aesthetically pleasing environment.
- Utilizing paintable conduit and cable raceways provides customizable and seamless solutions for hiding wires. By matching the color of the conduit to the surrounding wall and utilizing cable raceways, you can achieve a polished and visually appealing look while ensuring safety is a priority.
Read more: How To Connect Conduit To Flexible Conduit
Step 1: Choosing the Right Concealment Method
Before you start concealing your conduit, it’s important to consider which method will work best for your specific needs. Different situations may require different approaches, so let’s explore some common methods you can choose from:
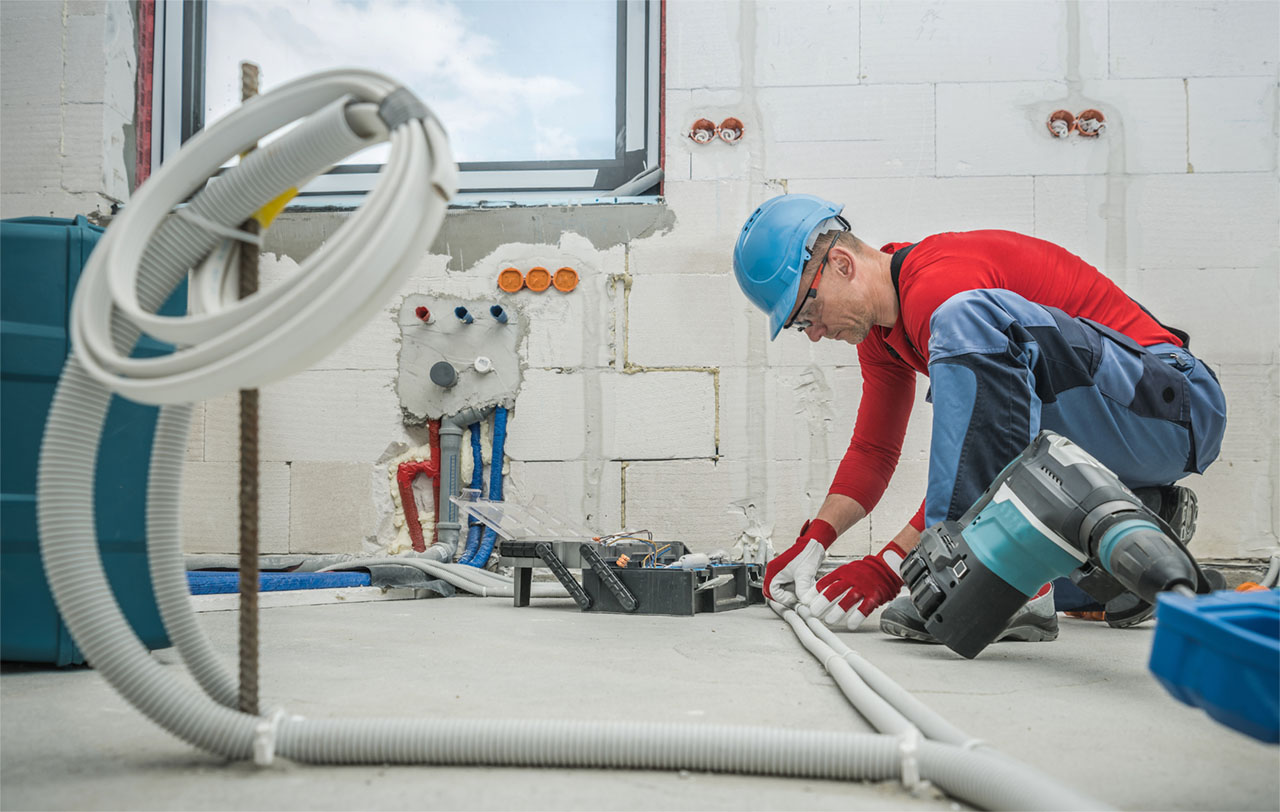
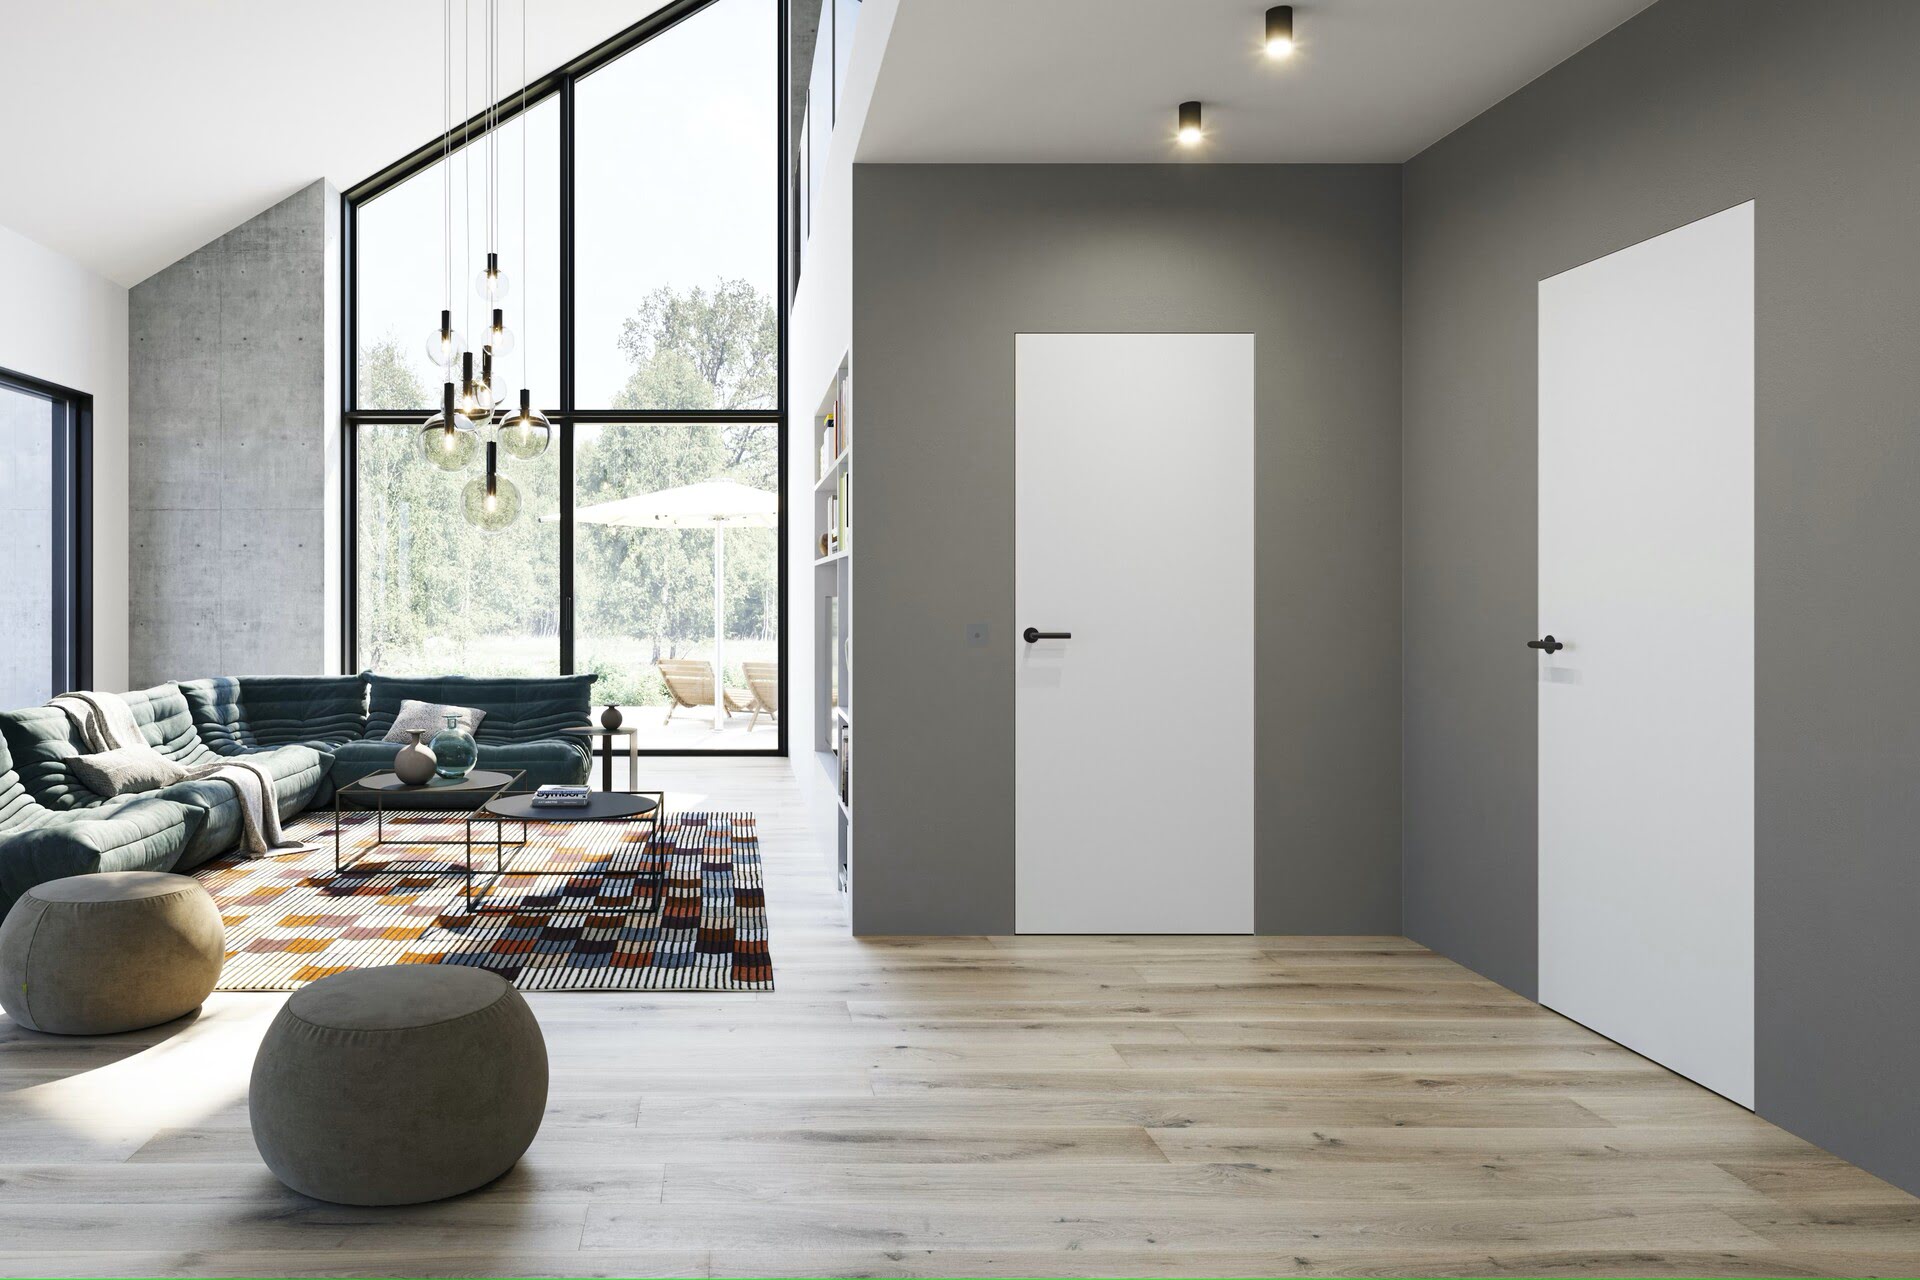
- Concealment within walls: One of the most popular methods is to hide the conduit within the walls. This can be done by cutting a notch or channel into the wall and then installing the conduit inside. However, keep in mind that this method may require professional assistance and is best suited for scenarios where you have access to the walls.
- Concealment with molding: Another effective method is to use decorative molding to cover the conduit. This can be achieved by attaching the molding to the wall, routing the conduit behind it, and then painting the molding to match the wall color. This method allows for easy access to the conduit if needed.
- Concealment with wire management solutions: There are various wire management solutions available on the market, such as cable raceways or cord covers. These products are designed to hide and organize wires, making them a convenient option for concealing conduit without the need for extensive installation.
- Concealment with furniture: If the conduit is located near furniture, you can strategically position the furniture to hide it. For example, placing a bookshelf, cabinet, or sofa against the wall can effectively conceal the conduit behind it. This method is simple and doesn’t require any additional materials or modifications.
- Concealment with decorative items: You can also use decorative items such as artwork, mirrors, or tapestries to hide the conduit. By strategically hanging these items on the wall, you can divert attention away from the wires and create a visually appealing focal point instead.
Consider the specific requirements of your space, the level of accessibility needed, and your own personal preferences when choosing the right concealment method. Each of these methods offers its own advantages and can be tailored to suit your unique circumstances. Now that you have an understanding of the different options available, it’s time to move on to the next step: paint matching.
Step 2: Paint Matching
Once you have chosen the concealment method for your conduit, the next step is to ensure that it seamlessly blends with the surrounding wall. Paint matching is crucial to achieving a clean and cohesive look. Here are some tips to help you achieve the perfect paint match:
- Observe the existing wall color: Take a close look at the color of your walls. Note the shade, undertones, and any variations in the paint. This will help you select the right paint color for the conduit cover, ensuring a seamless integration into the wall.
- Take paint samples: Visit a local home improvement store and collect paint samples that closely match the existing wall color. Bring the samples home and compare them to the wall under different lighting conditions. This will help you identify the closest match and ensure a harmonious blend.
- Consider a paint swatch: Some paint stores offer pre-made swatches with different shades and finishes. These swatches make it easier to compare and select the ideal paint color for your conduit cover. Look for swatches that closely resemble your wall color and choose a shade that blends seamlessly.
- Test the paint: Before applying the paint to your conduit cover, test it on a small, inconspicuous area. This will allow you to observe how the color matches and dries on the surface. If the color is not an exact match, you may need to adjust the shade or try a different brand of paint.
- Blend and feather: If you’re using a brush or roller to paint your conduit cover, use a technique called “feathering” to blend the paint smoothly with the wall. Start by applying a thin coat of paint to the cover, then lightly feather the edges to create a gradual transition between the cover and the wall.
- Regular touch-ups: Over time, paint may chip or fade, so it’s important to perform regular touch-ups to maintain the seamless appearance of the conduit cover. Keep a small amount of the paint handy for quick touch-ups whenever necessary.
By following these paint matching tips, you can ensure that your conduit cover seamlessly integrates into the surrounding wall, creating a polished and cohesive look. Once you have achieved the perfect paint match, you’re ready to move on to the next step: concealing the conduit with furniture and decorative items.
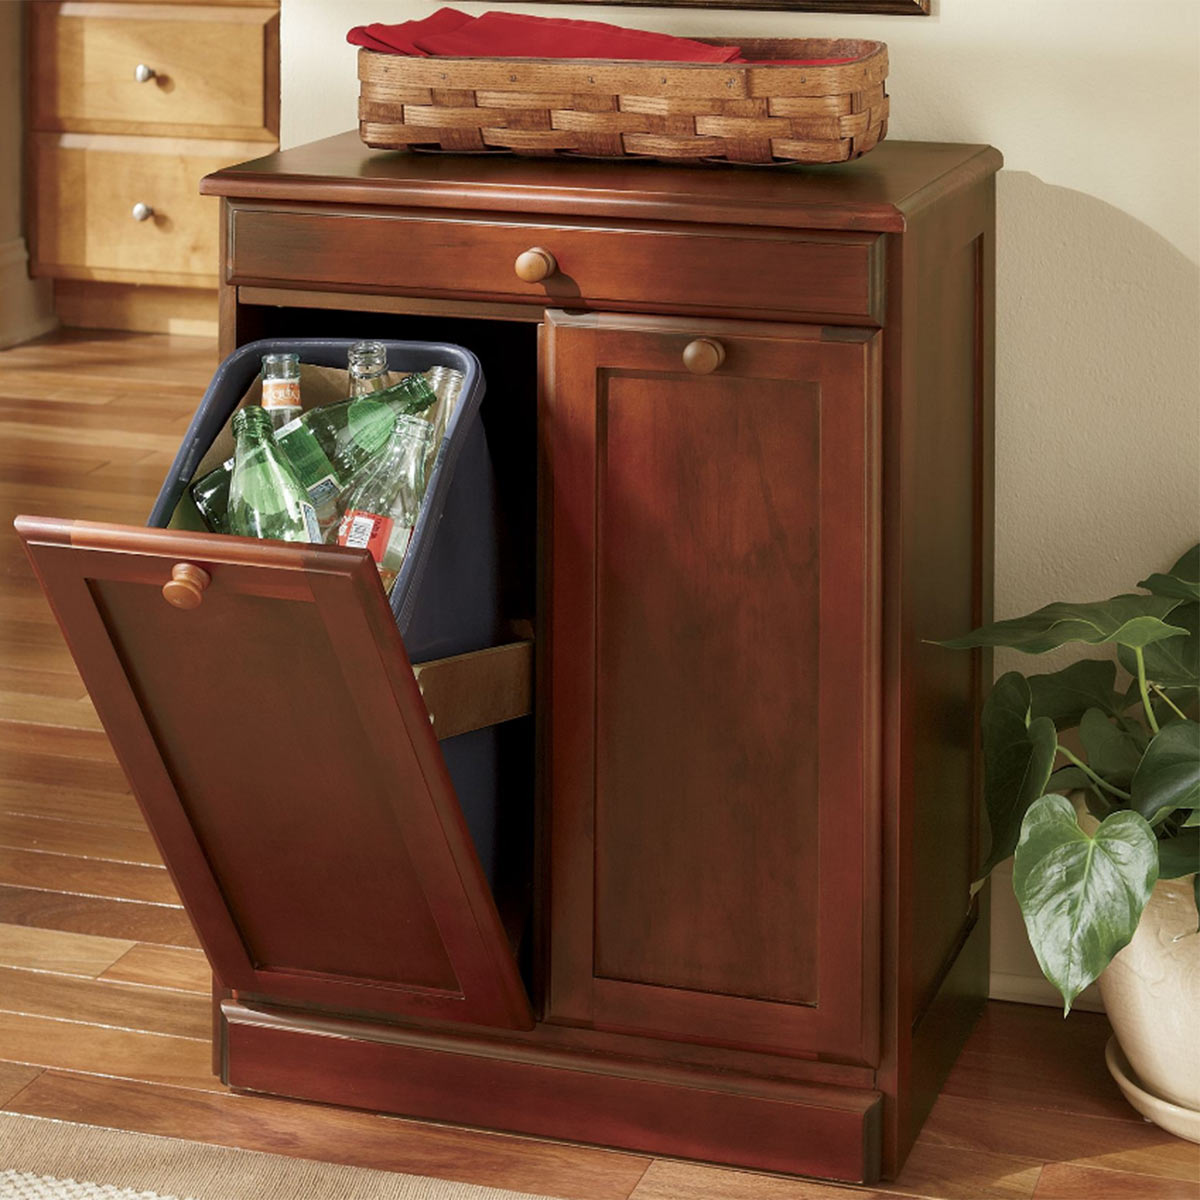
Step 3: Concealing with Furniture and Decorative Items
One of the easiest and most effective ways to hide conduit is by strategically placing furniture and decorative items in front of it. This method allows you to conceal the wires while adding functionality and style to your space. Here are some tips for concealing conduit with furniture and decorative items:
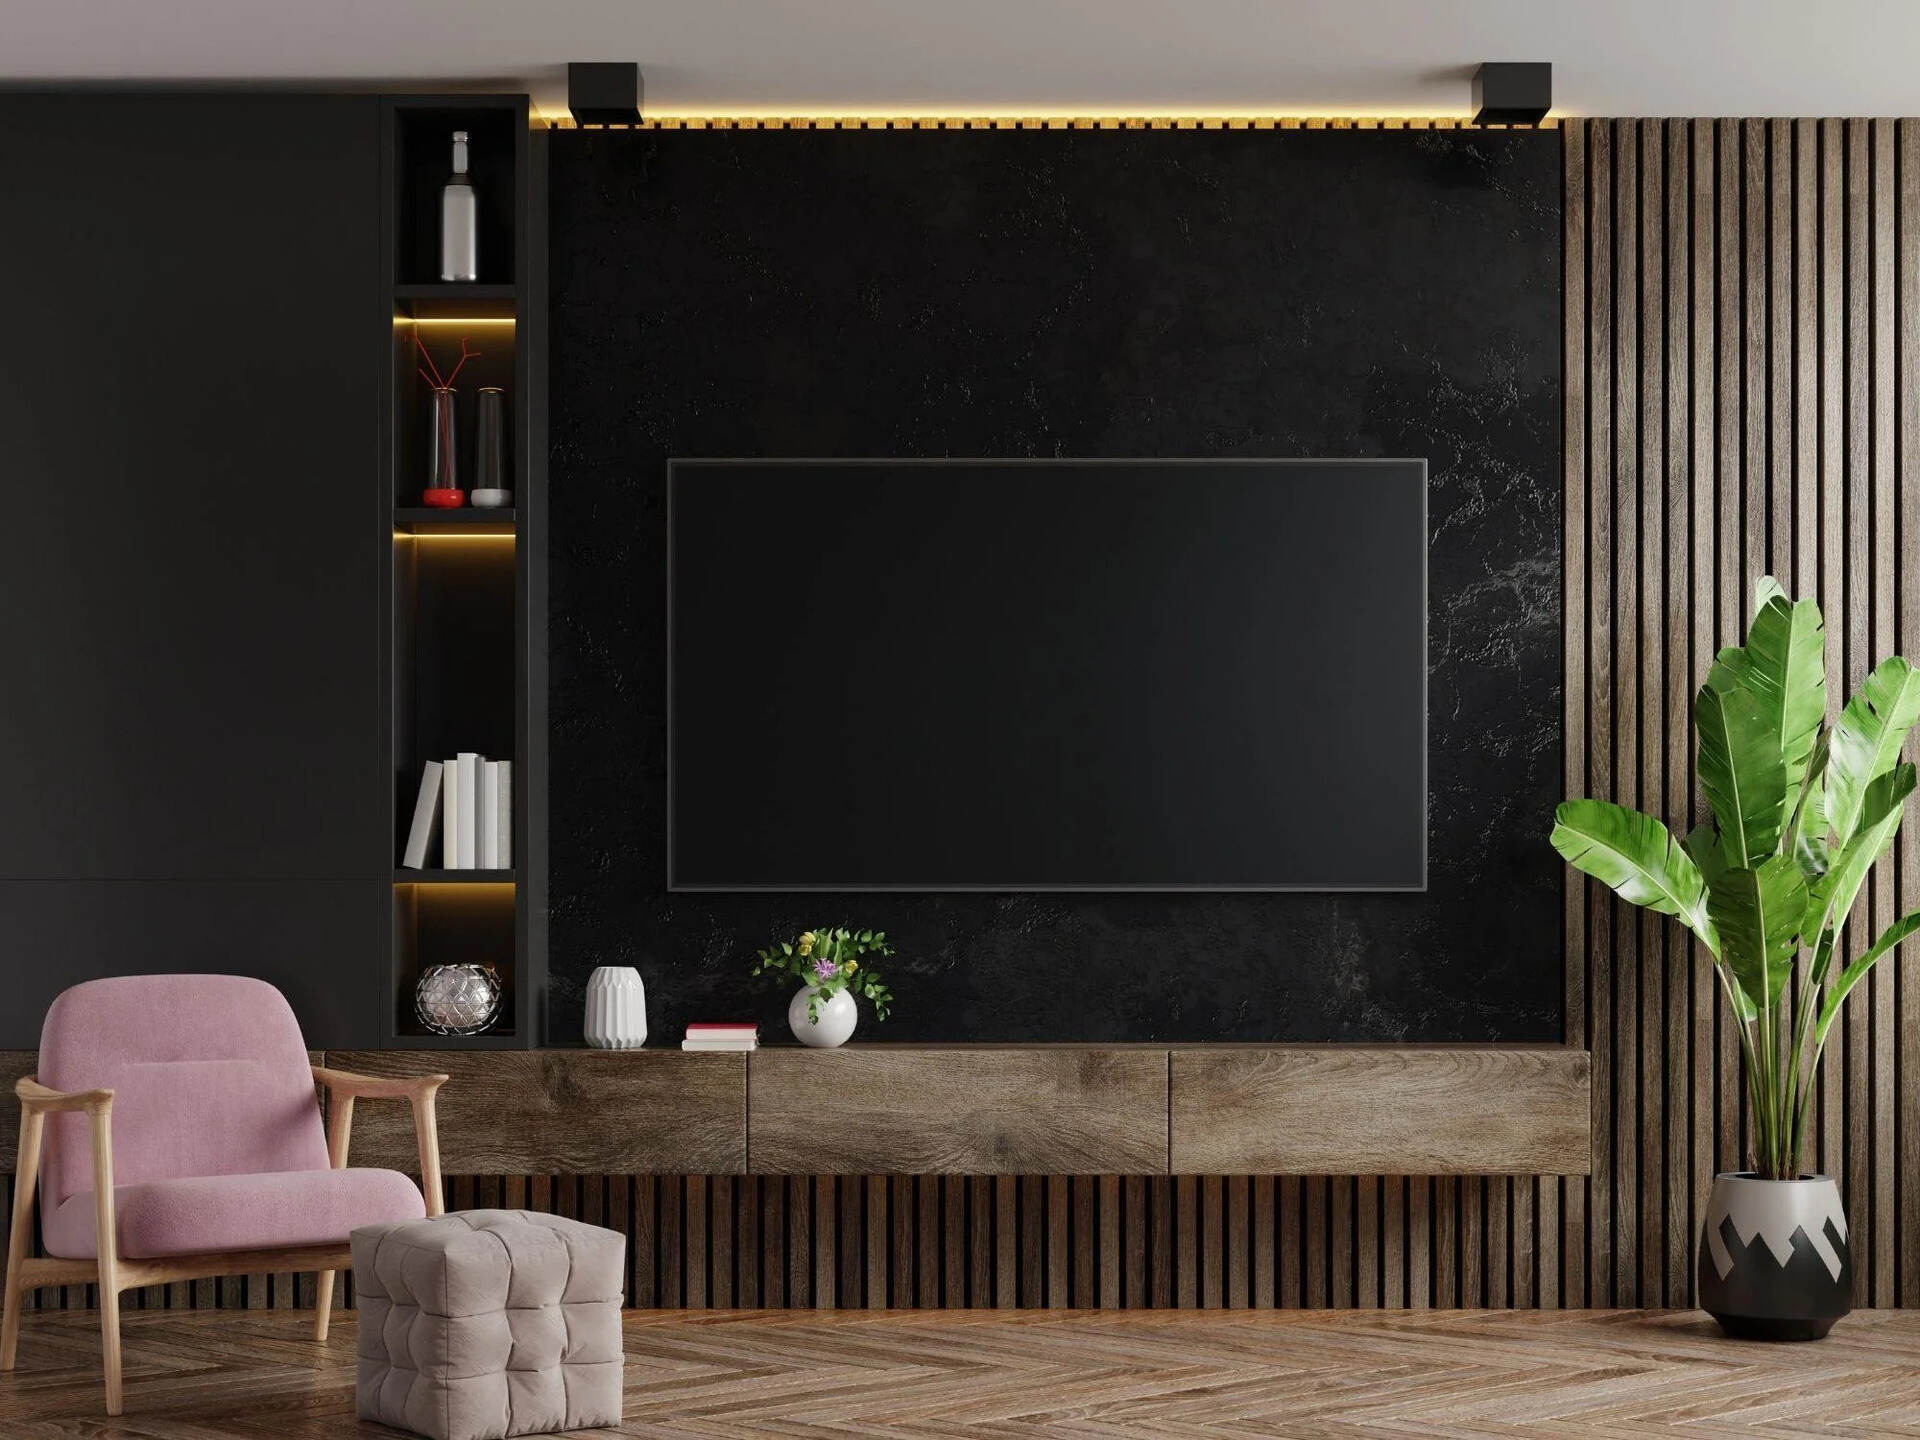
- Position furniture strategically: Take a look at the area where the conduit is located and identify furniture pieces that can be placed in front of it. For example, a bookshelf, TV stand, or console table can efficiently hide the wires while providing storage and visual appeal.
- Create a “gallery wall”: Hang a collection of artwork or framed photographs on the wall to divert attention away from the conduit. The arrangement of the frames will not only add a decorative touch but also effectively camouflage the presence of the wires.
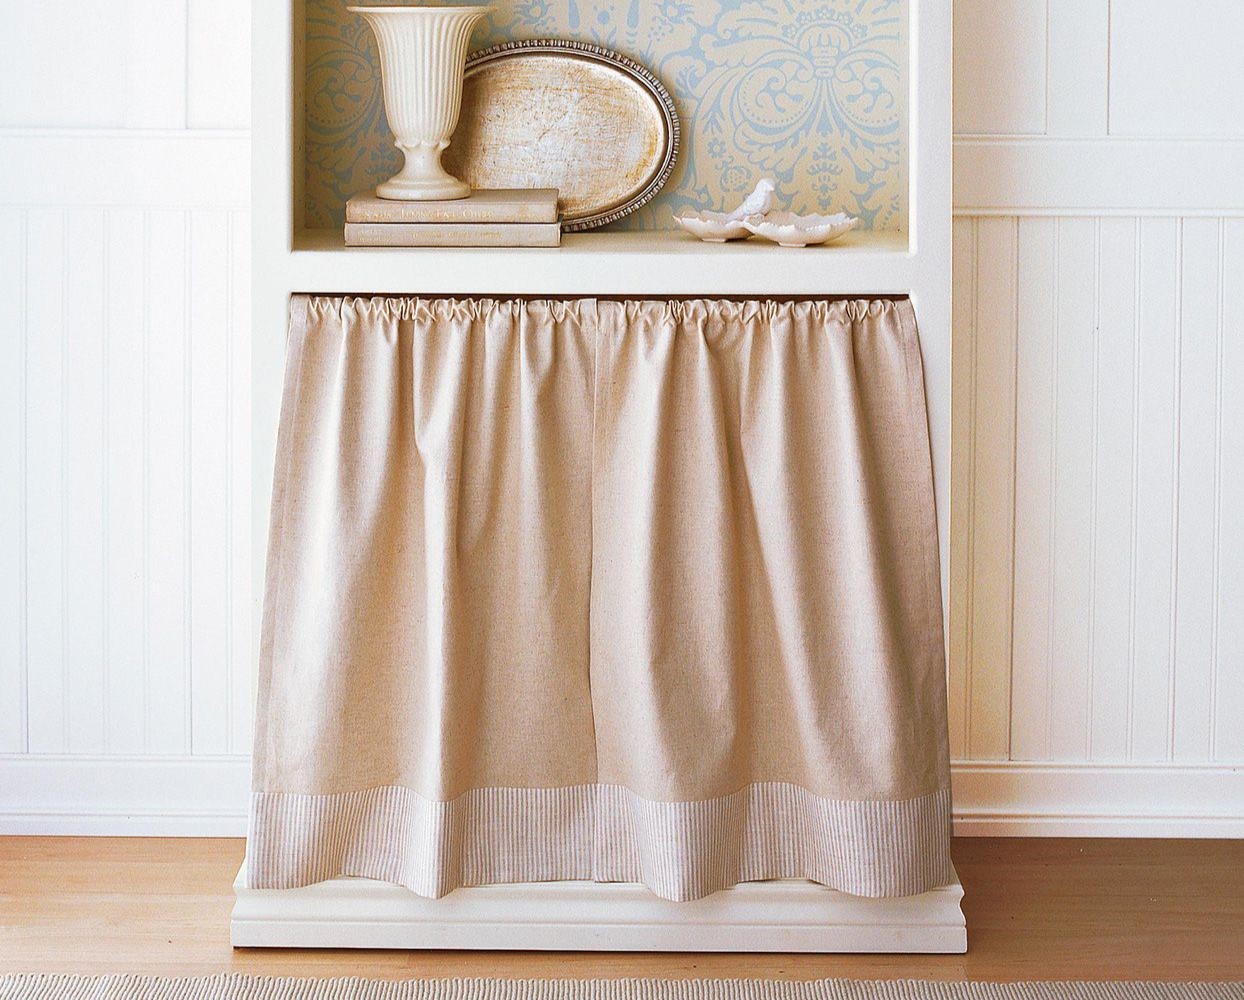
- Use tapestries or curtains: Hang a tapestry or curtain in front of the wall with the conduit to create an attractive visual barrier. This technique not only conceals the wires but also adds texture and a touch of elegance to the space.
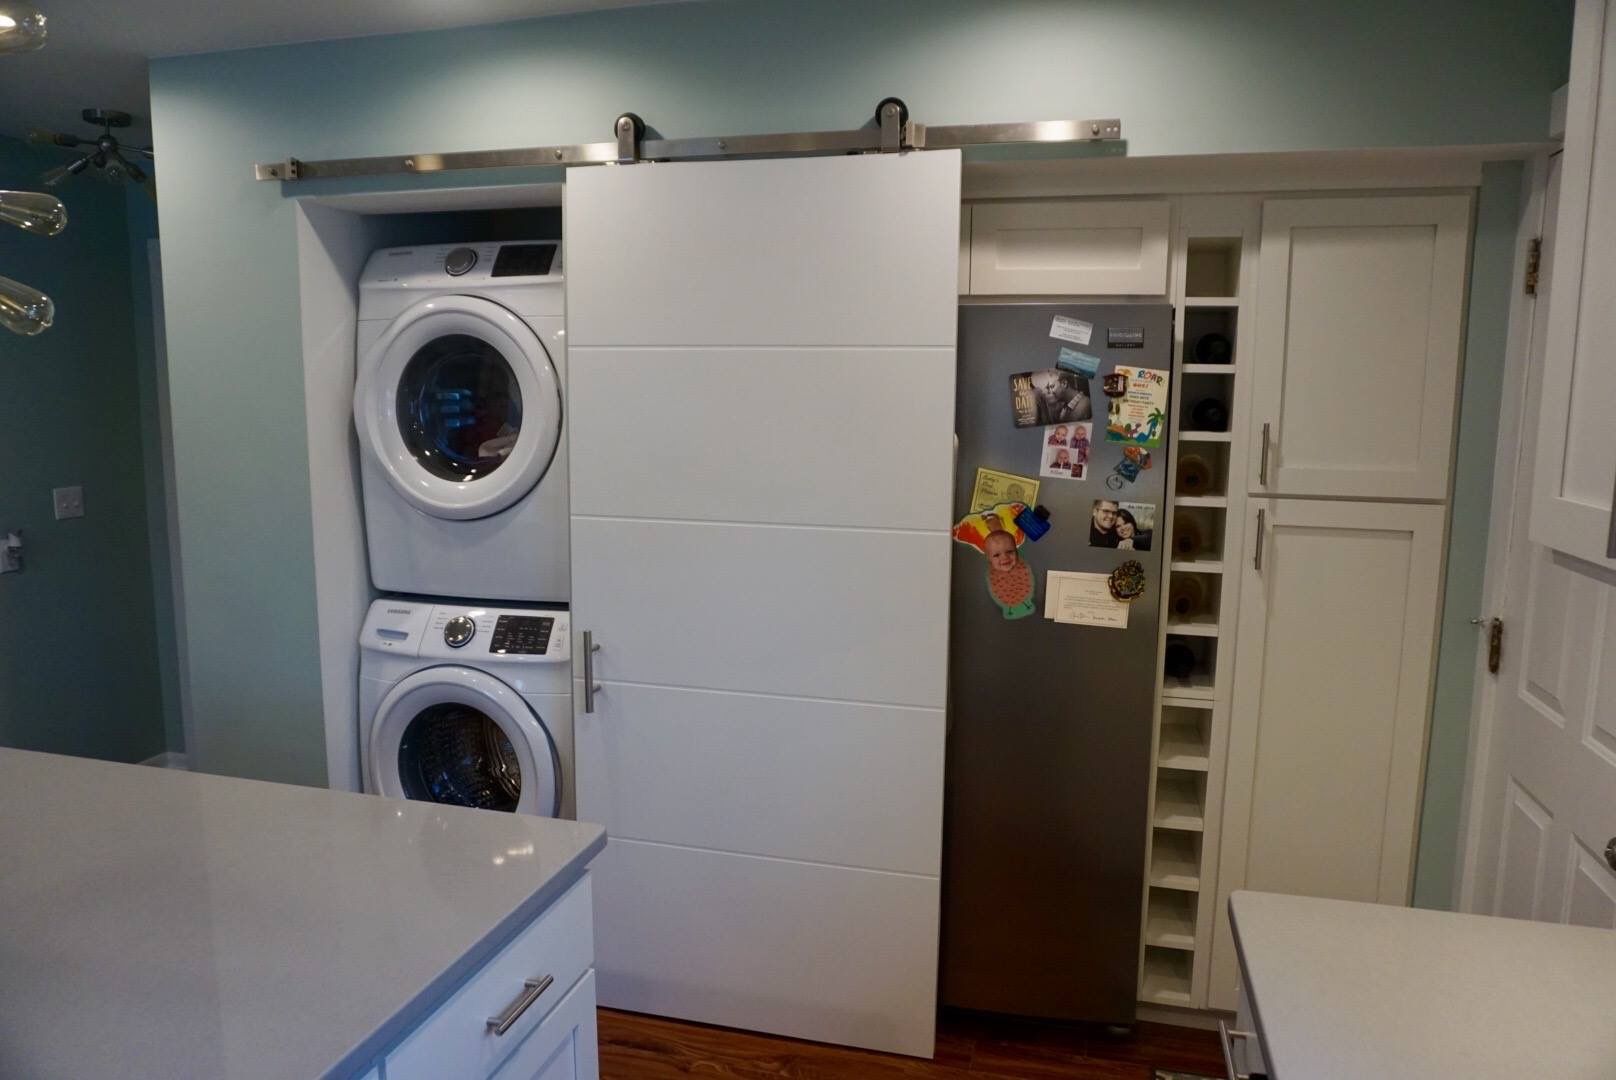
- Utilize room dividers or screens: If the conduit is positioned in an open area, consider using a room divider or screen to separate the space and hide the wires behind it. This option not only conceals the conduit but also adds privacy and creates distinct zones within the room.
- Camouflage with plants: Place potted plants strategically in front of the conduit to create a natural and visually appealing disguise. The lush greenery will draw attention away from the wires and add a touch of freshness to the space.
- Consider decorative baskets or storage boxes: Place decorative baskets or storage boxes on shelves or tables to cover the wires discreetly. These items not only serve as functional storage solutions but also add a decorative element to the room.
Remember to choose furniture and decorative items that complement your overall interior design style. By strategically positioning these items, you can effectively conceal the conduit while enhancing the overall aesthetic of your space.
Once you have successfully concealed the wires with furniture and decorative items, you can move on to the next step: utilizing wall-mounted devices.
Step 4: Utilizing Wall-Mounted Devices
If you want to hide your conduit while adding functionality to your space, utilizing wall-mounted devices can be an effective solution. This step involves installing wall-mounted devices that serve a dual purpose of concealing the wires and providing additional features. Here are some options to consider:
- Wall-mounted shelves: Install shelves on the wall to not only hide the conduit but also create additional storage space. You can display decorative items, books, or organize essential items on these shelves while keeping the wires out of sight.
- Wall-mounted cabinets: Consider installing wall-mounted cabinets that can be used to store various items while providing a clean and concealed look for the wires. These cabinets can blend seamlessly with your existing décor and effectively hide the conduit.
- TV wall mount: If the conduit is near your television, mounting the TV on the wall can help hide the wires behind it. Use a wall-mounted TV bracket that includes cable management features to route and conceal the wires neatly.
- Wall-mounted mirrors: Mirrors not only add a decorative element to your space but can also be used strategically to hide the conduit. By positioning a wall-mounted mirror in front of the wires, you can create an illusion of space while effectively concealing them.
- Wall-mounted artwork: Hang artwork or tapestries that cover the area where the conduit is located. This not only adds visual interest to the space but also effectively hides the wires behind the artwork, creating a polished and cohesive look.
- Wall-mounted charging stations: If the conduit is near an area where you frequently charge electronic devices, consider installing a wall-mounted charging station. These stations typically include built-in cable management features to keep the wires organized and concealed.
When utilizing wall-mounted devices, ensure they are securely installed and properly aligned with the conduit to provide maximum coverage. By combining functionality with the task of concealing the wires, you can create a clutter-free and visually appealing space.
Once you have successfully utilized wall-mounted devices, you can move on to the next step: creating custom conduit covers.
When hiding conduit, consider using paintable conduit covers to blend in with the surrounding walls or ceilings for a seamless look.
Read more: How To Hide A Fireplace
Step 5: Creating Custom Conduit Covers
If you want a more personalized and tailored approach to concealing your conduit, creating custom conduit covers can be a great option. This step involves designing and crafting covers that not only hide the wires but also complement the overall aesthetic of your space. Here’s how you can create custom conduit covers:
- Measure and plan: Start by measuring the length and width of the conduit you want to cover. This will help you determine the materials and dimensions needed for your custom cover.
- Select suitable materials: Consider using wood, PVC, or metal materials based on your preferences and the style of your space. Choose materials that are durable, easy to work with, and can be painted or stained to match your existing décor.
- Create a template: Use cardboard or paper to create a template that matches the dimensions of the conduit cover you want to create. This will serve as a guide when cutting the actual material.
- Cut and assemble the cover: Transfer the template onto the chosen material and carefully cut it out. Use appropriate tools such as saws, drills, or adhesives to assemble the cover pieces together. Ensure a secure fit over the conduit.
- Sand and finish the cover: Smooth any rough edges or surfaces by sanding the cover. This will ensure a sleek and polished appearance. Apply a suitable finish such as paint or stain that matches the surrounding decor to achieve a seamless integration with your space.
- Install the custom cover: Once the cover is ready, carefully place it over the conduit, ensuring a snug fit. Depending on your design, you can either attach the cover directly to the wall or use brackets or support structures to secure it in place.
Creating custom conduit covers allows you to add a personal touch to your space while effectively concealing the wires. You can customize the design, shape, and finish to match the overall aesthetic of your room. This method provides both functionality and a unique design element.
Now that you have learned how to create custom conduit covers, you are ready to move on to the next step: concealing conduit with cable raceways.
Step 6: Concealing Conduit with Cable Raceways
If you’re looking for a quick and convenient way to hide conduit, cable raceways are an excellent solution. Cable raceways are plastic or metal channels that are designed to neatly conceal and organize wires along walls or baseboards. Follow these steps to effectively conceal your conduit with cable raceways:
- Assess your conduit: Begin by examining the length and placement of your conduit. Determine the best route for the cable raceway to follow in order to conceal the wires efficiently.
- Choose the appropriate cable raceway: Select a cable raceway that matches the size and style of your conduit. Cable raceways come in various sizes, shapes, and colors. Look for options that blend seamlessly with your wall color and décor.
- Prepare the wall surface: Clean the wall surface where the raceway will be installed. Remove any dirt, dust, or debris to ensure proper adhesion of the raceway.
- Measure and cut the raceway: Measure the length needed for the raceway to cover the conduit. Use a saw or a cutting tool appropriate to the material of the raceway to cut it to the desired size.
- Install the raceway: Remove the backing from the adhesive strip on the back of the raceway and carefully press it onto the prepared wall surface. Make sure the raceway is aligned with your chosen pathway for the wires.
- Route and secure the wires: Insert the wires into the raceway, following the designated pathway. Use adhesive clips or cable ties to secure the wires within the raceway, keeping them organized and hidden from view.
- Test and adjust: Once the raceway is installed and the wires are securely in place, do a visual inspection and test any connected devices to ensure everything is functioning properly.
Cable raceways provide a clean and organized look while effectively hiding the conduit and wires. This method is a popular choice for both residential and commercial spaces, as it offers a simple and hassle-free solution.
Now that you have successfully concealed your conduit with cable raceways, you can move on to the next step: installing conduit in hard-to-see areas.
Step 7: Installing Conduit in Hard-to-see Areas
In some cases, the conduit may be located in hard-to-see areas, making it challenging to conceal. However, with careful planning and installation techniques, you can effectively hide the conduit even in these difficult spots. Follow these steps to install conduit in hard-to-see areas:
- Evaluate the location: Start by assessing the area where the conduit is located. Determine if there are any existing structures, fixtures, or obstacles that can be used to your advantage when concealing the conduit.
- Utilize architectural features: Look for architectural features such as columns, beams, or recessed areas in the wall where you can run the conduit discreetly. Concealing the conduit within these features will help create a seamless appearance.
- Get creative with camouflage: Use creative techniques to camouflage the conduit. For example, if the conduit runs along the edge of a room, consider installing a decorative trim or molding to hide it. Alternatively, you can paint the conduit the same color as the adjacent wall to make it less noticeable.
- Explore alternate routes: If feasible, consider rerouting the conduit to a less visible area. This may involve drilling holes, using flexible conduit, or reconfiguring your electrical layout. Consult with a professional electrician if necessary.
- Use existing fixtures: If the conduit is near fixtures such as light fixtures or switches, see if you can utilize these elements to conceal the conduit. For example, you can install a decorative fixture or a wall plate in front of the conduit to hide it from view.
- Consider wall coverings: Apply wallpaper, paneling, or textured finishes to the wall to effectively hide the conduit. These coverings can divert attention from the wires and create a visually pleasing backdrop.
- Finishing touches: Once the conduit is installed in the hard-to-see area, inspect the area to ensure everything is securely in place. Double-check for any exposed wires or loose connections, and make any necessary adjustments or repairs.
By following these steps, you can install conduit in hard-to-see areas while maintaining a clean and concealed appearance. Taking the time to plan and execute the installation properly will result in a polished and professional look for your space.
Now that you have successfully installed conduit in hard-to-see areas, you can move on to the final step: using paintable conduit.
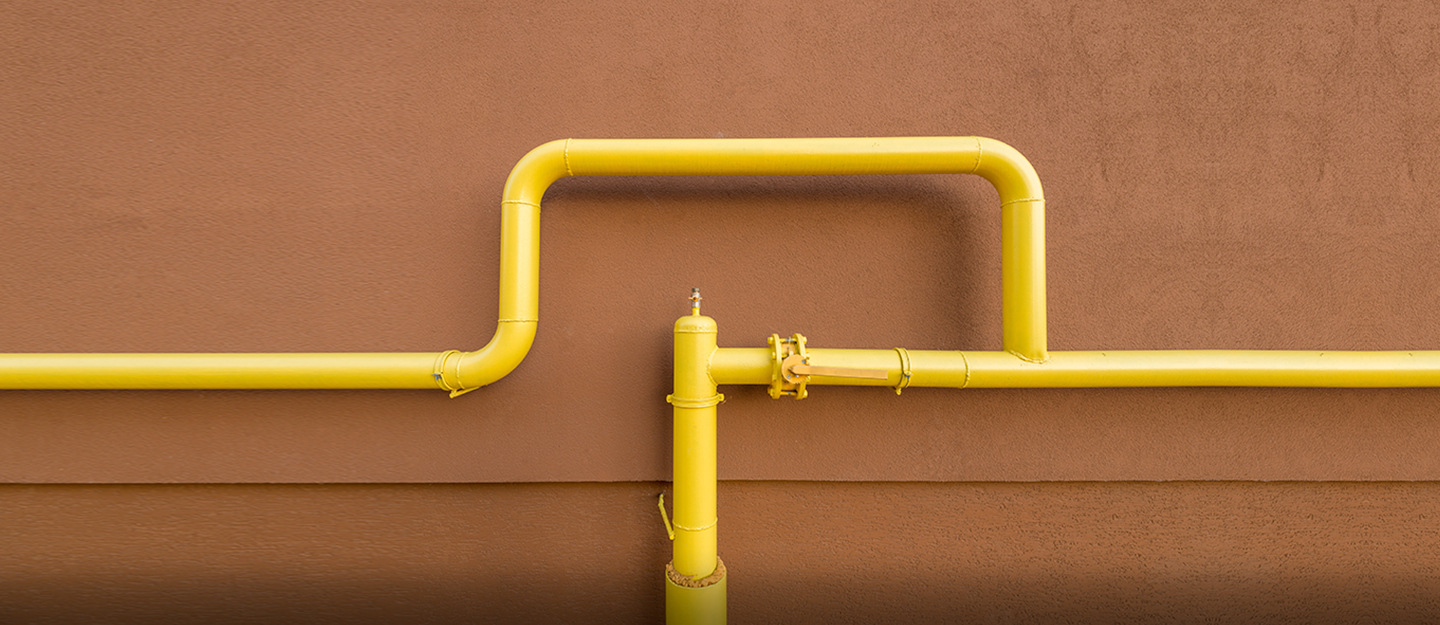
Step 8: Using Paintable Conduit
If you want a seamless and virtually invisible solution for concealing conduit, consider using paintable conduit. Paintable conduit allows you to match the color of the wires to the surrounding wall, making it blend in seamlessly. Follow these steps to effectively use paintable conduit:
- Select paintable conduit: Look for conduit that is specifically designed to be painted. These conduits are typically made of a material that can be easily painted and provide a smooth surface for the paint to adhere to.
- Prepare the conduit: Before painting, clean the conduit of any dirt or debris and ensure it is free from any moisture or grease. Sand the surface lightly to create a rough texture, which will help the paint adhere better.
- Choose the right paint: Select a paint that is suitable for the material of the conduit. Acrylic or latex paints are commonly used for paintable conduit. Ensure that the paint is compatible with the surface and will provide a durable finish.
- Apply the paint: Use a brush or roller to apply the paint evenly over the surface of the conduit. Apply multiple thin coats, allowing each coat to dry completely before applying the next. This will ensure a smooth and seamless finish.
- Match the wall color: Take a sample of your wall color to a paint store and have them match the paint for your conduit. This will ensure that the conduit blends in seamlessly with the surrounding wall, making it virtually invisible.
- Touch up as needed: After the paint has dried, inspect the conduit for any imperfections or areas that may need additional touch-ups. Use a small brush to carefully touch up any spots that require further attention.
Paintable conduit provides a customizable solution for hiding wires and creating a polished look. By matching the color of the conduit to the surrounding wall, you can achieve a seamless and blended appearance.
With the completion of using paintable conduit, you have successfully gone through the eight steps to hide your conduit. By following these steps, you can transform your space and create a clean and aesthetically pleasing environment.
Now it’s time to step back and admire your beautifully concealed conduit, enjoying the improved appeal and functionality of your space!
Read more: How To Hide A Mattress
Conclusion
Concealing conduit is an essential step in creating a clean and visually appealing space. With the various methods and techniques outlined in this article, you now have the knowledge to effectively hide unsightly wires and create a seamless look. Whether you choose to conceal the conduit within walls, use furniture and decorative items, install wall-mounted devices, create custom covers, utilize cable raceways, install in hard-to-see areas, or use paintable conduit, there are options to suit every situation.
By carefully considering the specific requirements of your space and implementing the appropriate concealment method, you can transform your rooms into clutter-free and aesthetically pleasing environments. Remember to use paint matching techniques and infuse personal touches to seamlessly integrate the concealed conduit with your existing décor.
It is important to note that safety should always be a priority when working with electrical systems. If you are unsure or uncomfortable with any aspect of concealing conduit, it is recommended to seek professional assistance from a qualified electrician.
Now that you have the knowledge and tools to hide conduit, take the time to plan, execute, and enjoy the benefits of a well-concealed electrical system. Whether it’s in your living room, home office, or any other area of your home, the efforts you put into hiding the conduit will surely enhance the overall appearance and functionality of the space.
So go ahead and embark on your journey to conceal conduit, turning your space into a seamless and visually pleasing haven!
Now that you've mastered hiding conduit, why not tackle another common electrical challenge? If you're planning on extending power to your garage, our next guide on "how to run overhead electrical wire to garage" is perfect. From safety tips to ensuring optimal placement, we cover all you need to know to power up your workspace effectively and safely. Take control of your home's electrical needs with our practical advice.
Frequently Asked Questions about How To Hide Conduit
Was this page helpful?
At Storables.com, we guarantee accurate and reliable information. Our content, validated by Expert Board Contributors, is crafted following stringent Editorial Policies. We're committed to providing you with well-researched, expert-backed insights for all your informational needs.


0 thoughts on “How To Hide Conduit”