Articles
How To Cut Conduit
Modified: August 28, 2024
Learn the best techniques and tools for cutting conduit with our informative articles. Master the art of conduit cutting for your DIY projects.
(Many of the links in this article redirect to a specific reviewed product. Your purchase of these products through affiliate links helps to generate commission for Storables.com, at no extra cost. Learn more)
Introduction
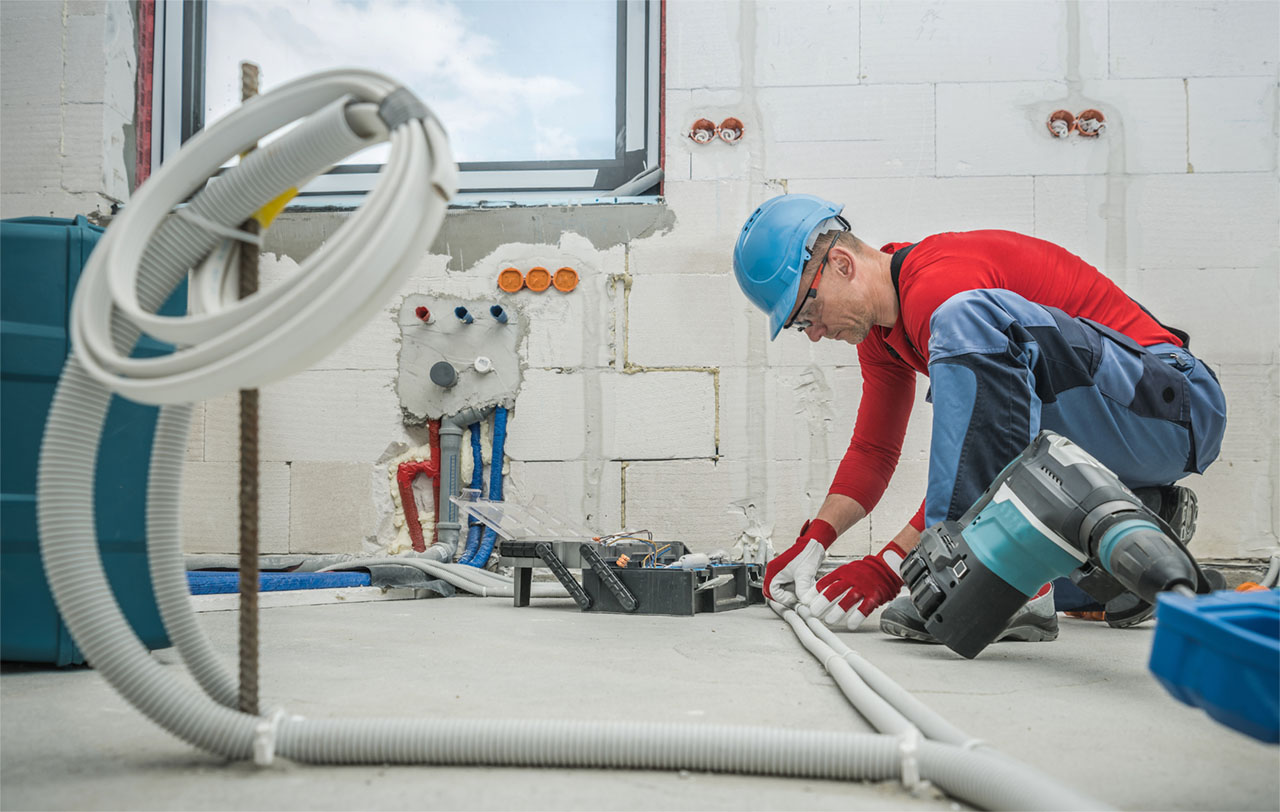
Cutting conduit is an essential skill for anyone working with electrical or plumbing installations. Whether you’re a professional electrician or a DIY enthusiast, knowing how to cut conduit allows you to create precise lengths for your projects.
In this article, we will guide you through the step-by-step process of cutting conduit, including the tools and materials you’ll need, important safety precautions to follow, and the various methods you can use to make accurate cuts. By the end of this article, you’ll have the knowledge and confidence to tackle conduit cutting with ease.
So, let’s get started with the essential tools and materials you’ll need for the task at hand.
Key Takeaways:
- Prioritize safety by wearing protective gear, securing the conduit, and using the correct tools. Remember to measure twice and cut once to avoid wastage and ensure accurate lengths.
- Choose the cutting method that best suits your project’s needs, whether it’s a hacksaw, pipe cutter, or power tools. After cutting, remove burrs and test the cut end for a clean and secure installation.
Read more: How To Cut Plastic Conduit
Tools and Materials Needed
Before you begin cutting conduit, it’s important to gather the necessary tools and materials. Having these items on hand will ensure a smooth and efficient cutting process. Here’s a list of the essential tools and materials you’ll need:
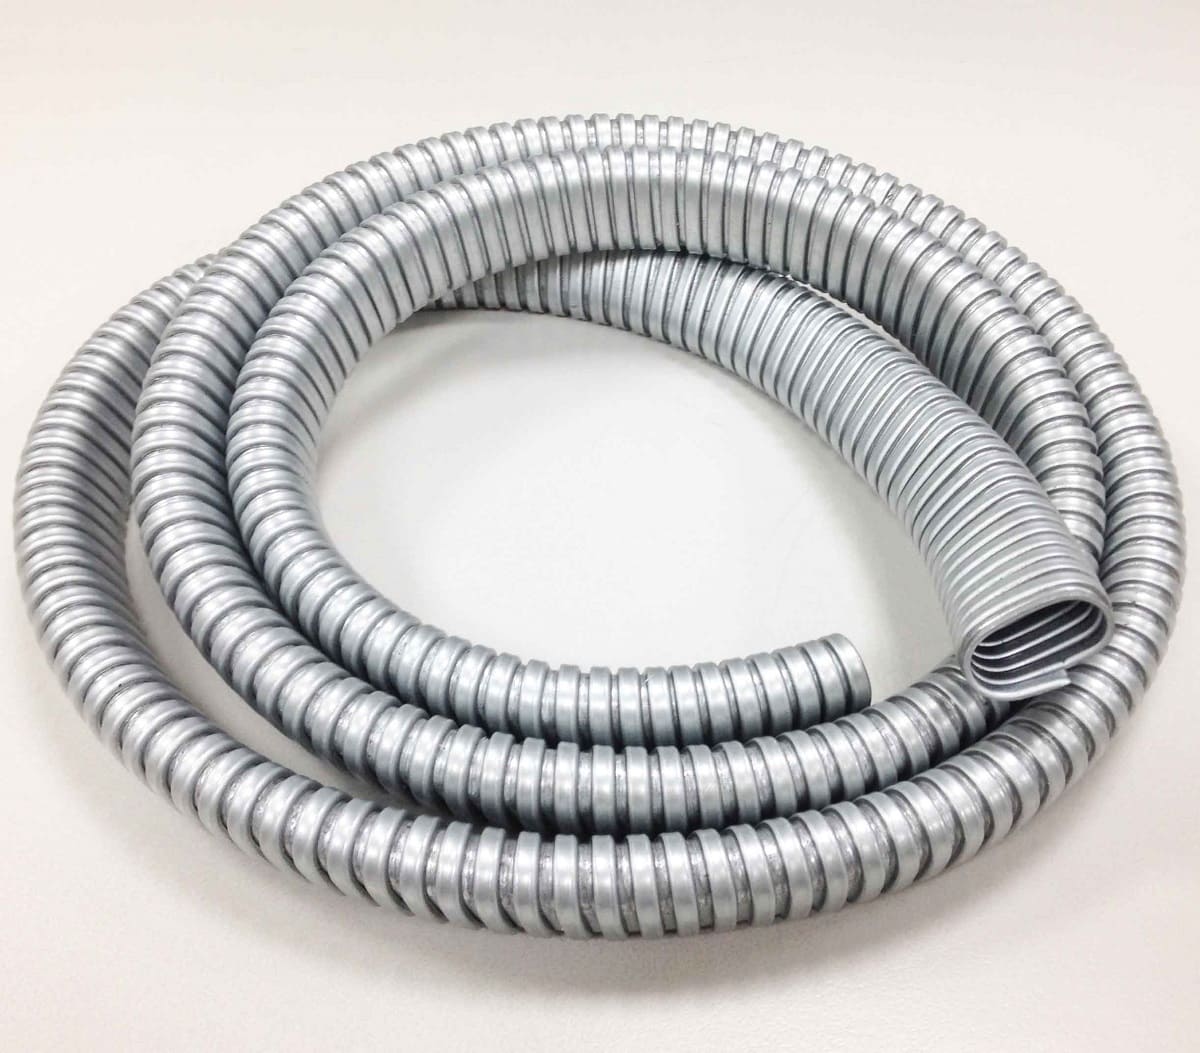
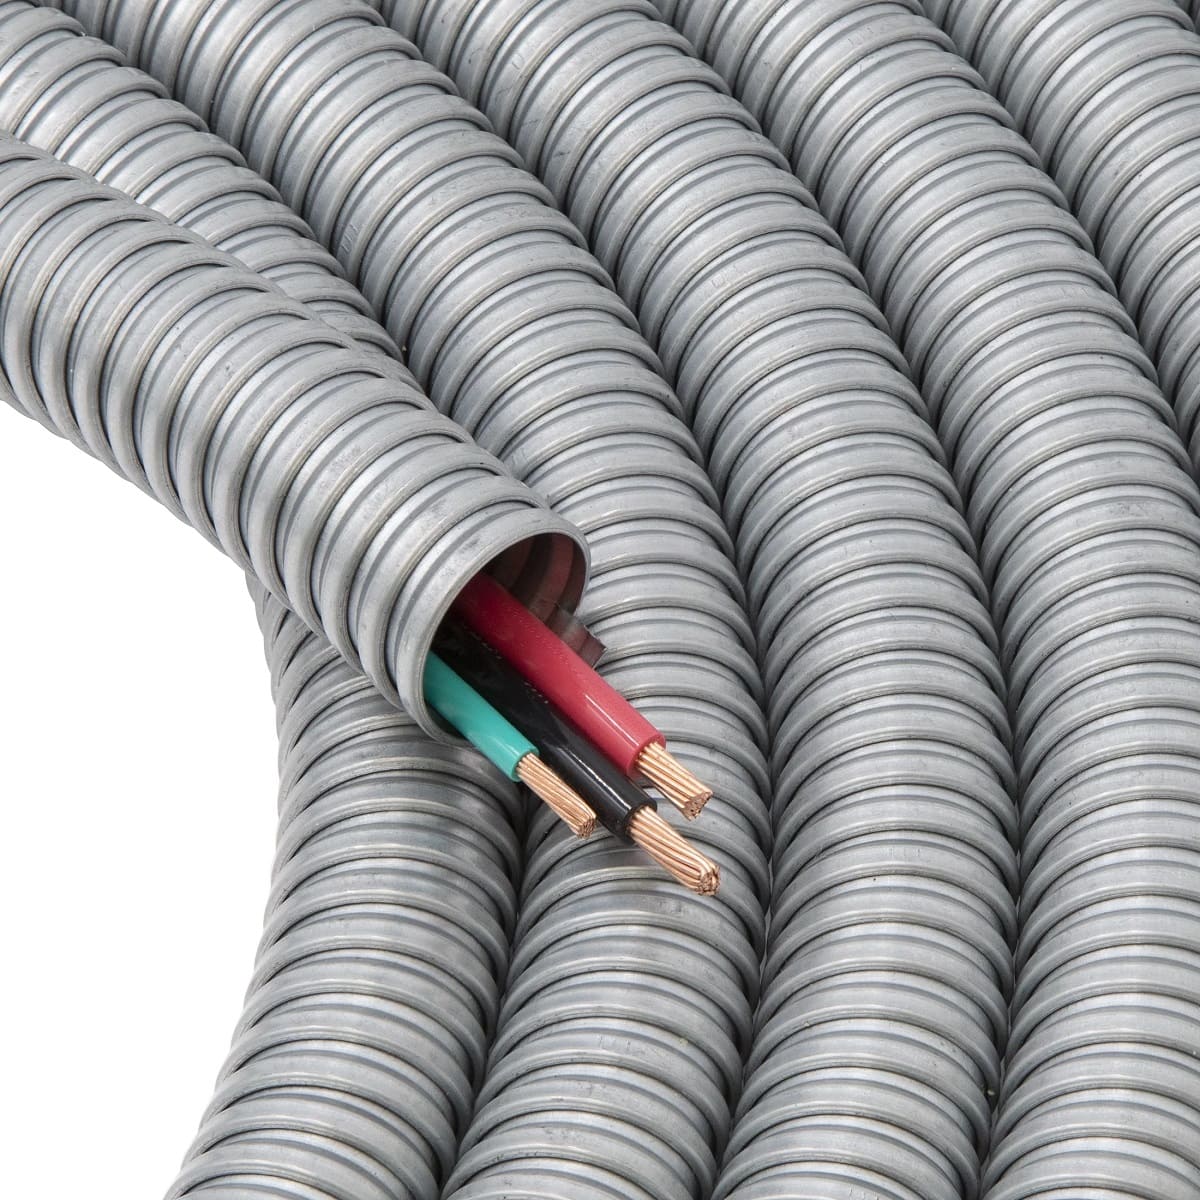
- Conduit: This can be either metal or plastic conduit, depending on your specific project requirements.
- Measuring Tape: A measuring tape will help you accurately measure the length of conduit needed for your project.
- Marker or Pencil: You’ll need a marker or pencil to mark the cutting points on the conduit.
- Hacksaw: A hacksaw with a fine-toothed blade is the most common tool used for cutting conduit. It provides clean and precise cuts.
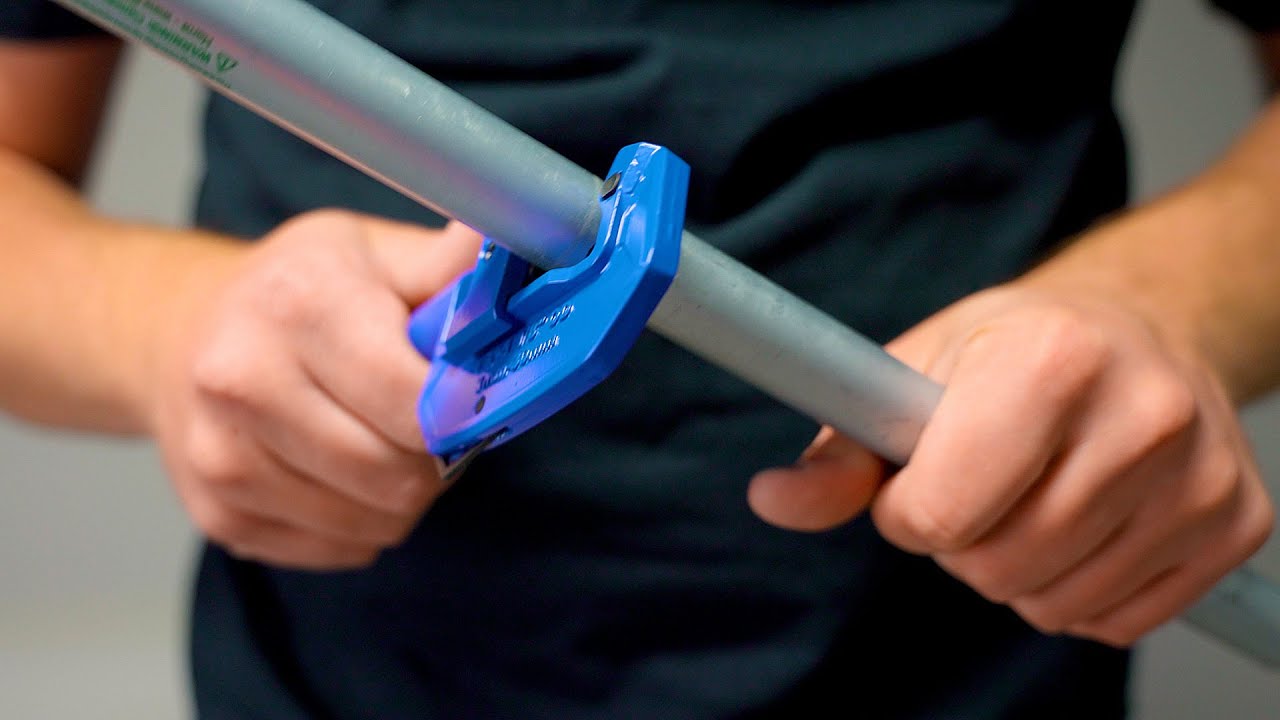
- Pipe Cutter: If you’re working with thin-walled conduit, a pipe cutter can be a faster and more convenient option.
- Bench Vise: A bench vise is used to securely hold the conduit in place while you make the cuts.
- Deburring Tool: This tool is used to remove any burrs or rough edges from the cut end of the conduit.
- Protective Gear: Safety should always be a top priority when working with tools. Make sure to wear gloves, safety glasses, and ear protection.
Having these tools and materials readily available will ensure that you can efficiently cut conduit and complete your electrical or plumbing installations with accuracy.
Safety Precautions
When working with electrical installations and cutting conduit, it’s crucial to prioritize safety. Taking the necessary precautions will help prevent accidents and ensure your well-being. Here are some important safety tips to keep in mind:
- Wear Protective Gear: Always wear safety glasses, gloves, and ear protection to safeguard yourself from potential hazards, such as flying debris and noise.
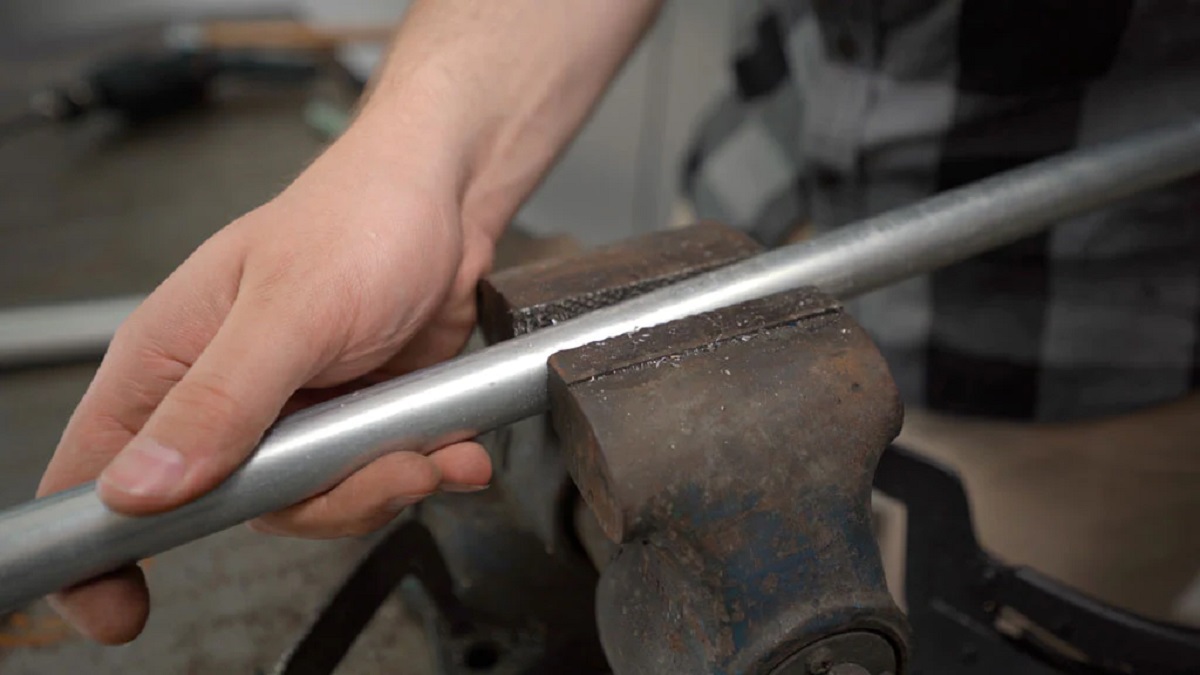
- Secure the Conduit: Before you start cutting the conduit, make sure it is securely clamped in a bench vise or held in place using a stable support system. This will prevent the conduit from slipping or moving during the cutting process.
- Use the Proper Tools: Ensure that you are using the correct tools for cutting conduit. A hacksaw or pipe cutter specifically designed for conduit will yield the best results.
- Measure Twice, Cut Once: Double-check your measurements before making any cuts to avoid wastage and ensure accurate lengths.
- Keep the Work Area Clean and Organized: Remove any obstacles and clutter from your work area to reduce the risk of accidents and help maintain focus during the cutting process.
- Take Breaks: Cutting conduit can be physically demanding, so remember to take regular breaks to rest and prevent fatigue.
- Dispose of Waste Properly: Store and dispose of cut conduit parts safely to prevent injuries from sharp edges.
- Avoid Excessive Force: Let the tools do the work. Applying excessive force can lead to slip-ups and potential injuries.
By following these safety precautions, you can ensure a secure working environment and minimize the risk of accidents while cutting conduit.
Step 1: Measure and Mark
Accurate measurements are crucial when cutting conduit. Before you start, determine the required length of conduit for your project using a measuring tape. Take into consideration any bends or connections that need to be made.
Once you have the measurement, use a marker or pencil to make a clear and visible mark on the conduit. This mark will serve as a guide for cutting at the right spot.
It’s important to measure twice and cut once to avoid any mistakes or wastage of materials. Double-check your measurements before proceeding to the next step.
Make sure your markings are precise and easily visible so that you can accurately follow them during the cutting process.
Now that you have measured and marked the conduit, you are ready to move on to the next step: securing the conduit in place.
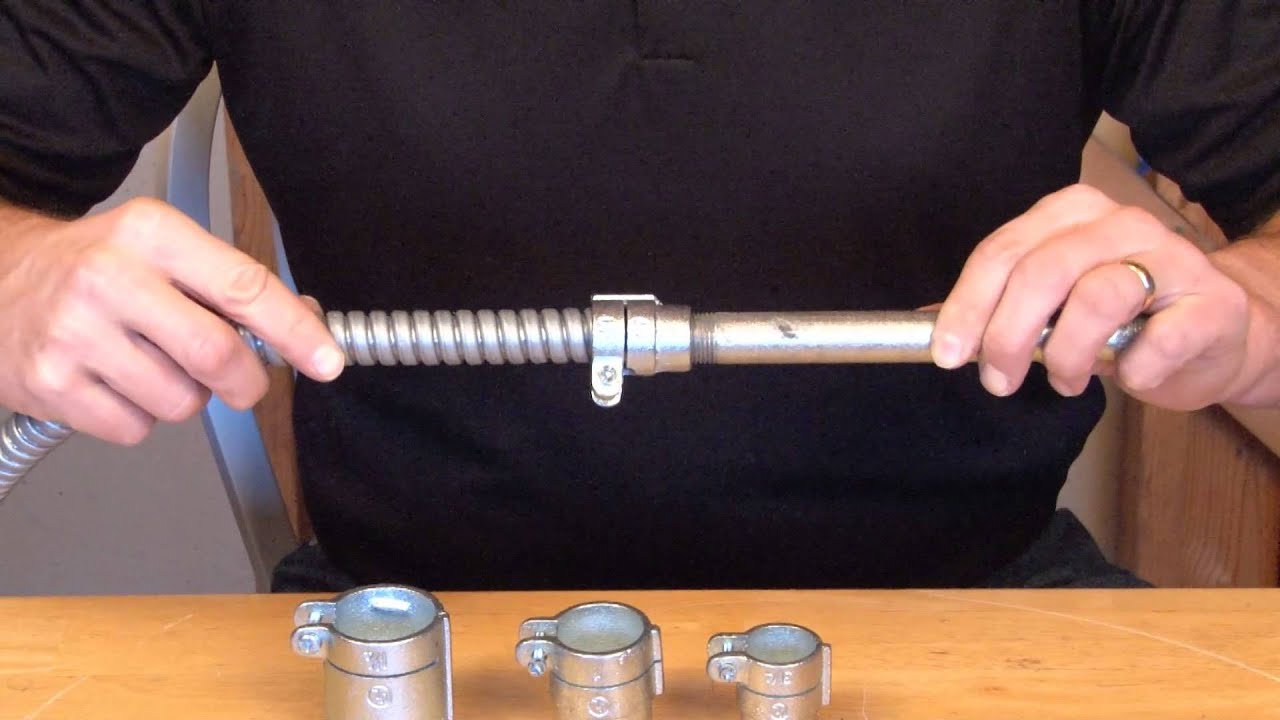
Step 2: Secure the Conduit
Before you begin cutting the conduit, it’s important to secure it in place to ensure stability and accuracy during the cutting process. There are a few methods you can use to secure the conduit:
- Bench Vise: If you have access to a bench vise, it is the ideal tool for holding the conduit firmly. Place the conduit inside the vise and tighten the jaws securely. This will prevent the conduit from moving or vibrating while you make the cuts.
- Support Brackets: If a bench vise is not available, you can use support brackets to hold the conduit in place. Place the brackets underneath the conduit to provide stability and prevent it from rolling or shifting during the cutting process.
- C-Clamps: Another option is to use C-clamps to secure the conduit to your work surface. Position the clamps tightly around the conduit, ensuring it remains steady as you make the cuts.
Choose the method that works best for your specific situation and make sure the conduit is firmly secured before proceeding to the next step.
Once the conduit is properly secured, you can move on to selecting the cutting method that suits your needs.
When cutting conduit, always measure and mark the cutting point accurately before using a conduit cutter or hacksaw to make a clean and straight cut. Use a deburring tool to remove any sharp edges.
Read more: How To Cut A Tight Conduit Seal
Step 3: Choose the Cutting Method
When it comes to cutting conduit, there are a few different methods you can choose from, each with its own advantages and considerations. Here are the three most common cutting methods:
- Hacksaw: The hacksaw method is the most traditional and widely used for cutting conduit. It involves using a fine-toothed hacksaw blade to manually cut through the conduit. This method provides precise and clean cuts, but it requires some physical effort. Ensure that you use a blade specifically designed for cutting metal or plastic conduit, depending on the type you’re working with.
- Pipe Cutter: If you’re working with thin-walled conduit, a pipe cutter can be a quicker and more convenient option. Pipe cutters have a sharp cutting wheel that rotates around the conduit, gradually applying pressure until the cut is complete. This method produces clean cuts without the need for excessive physical force.
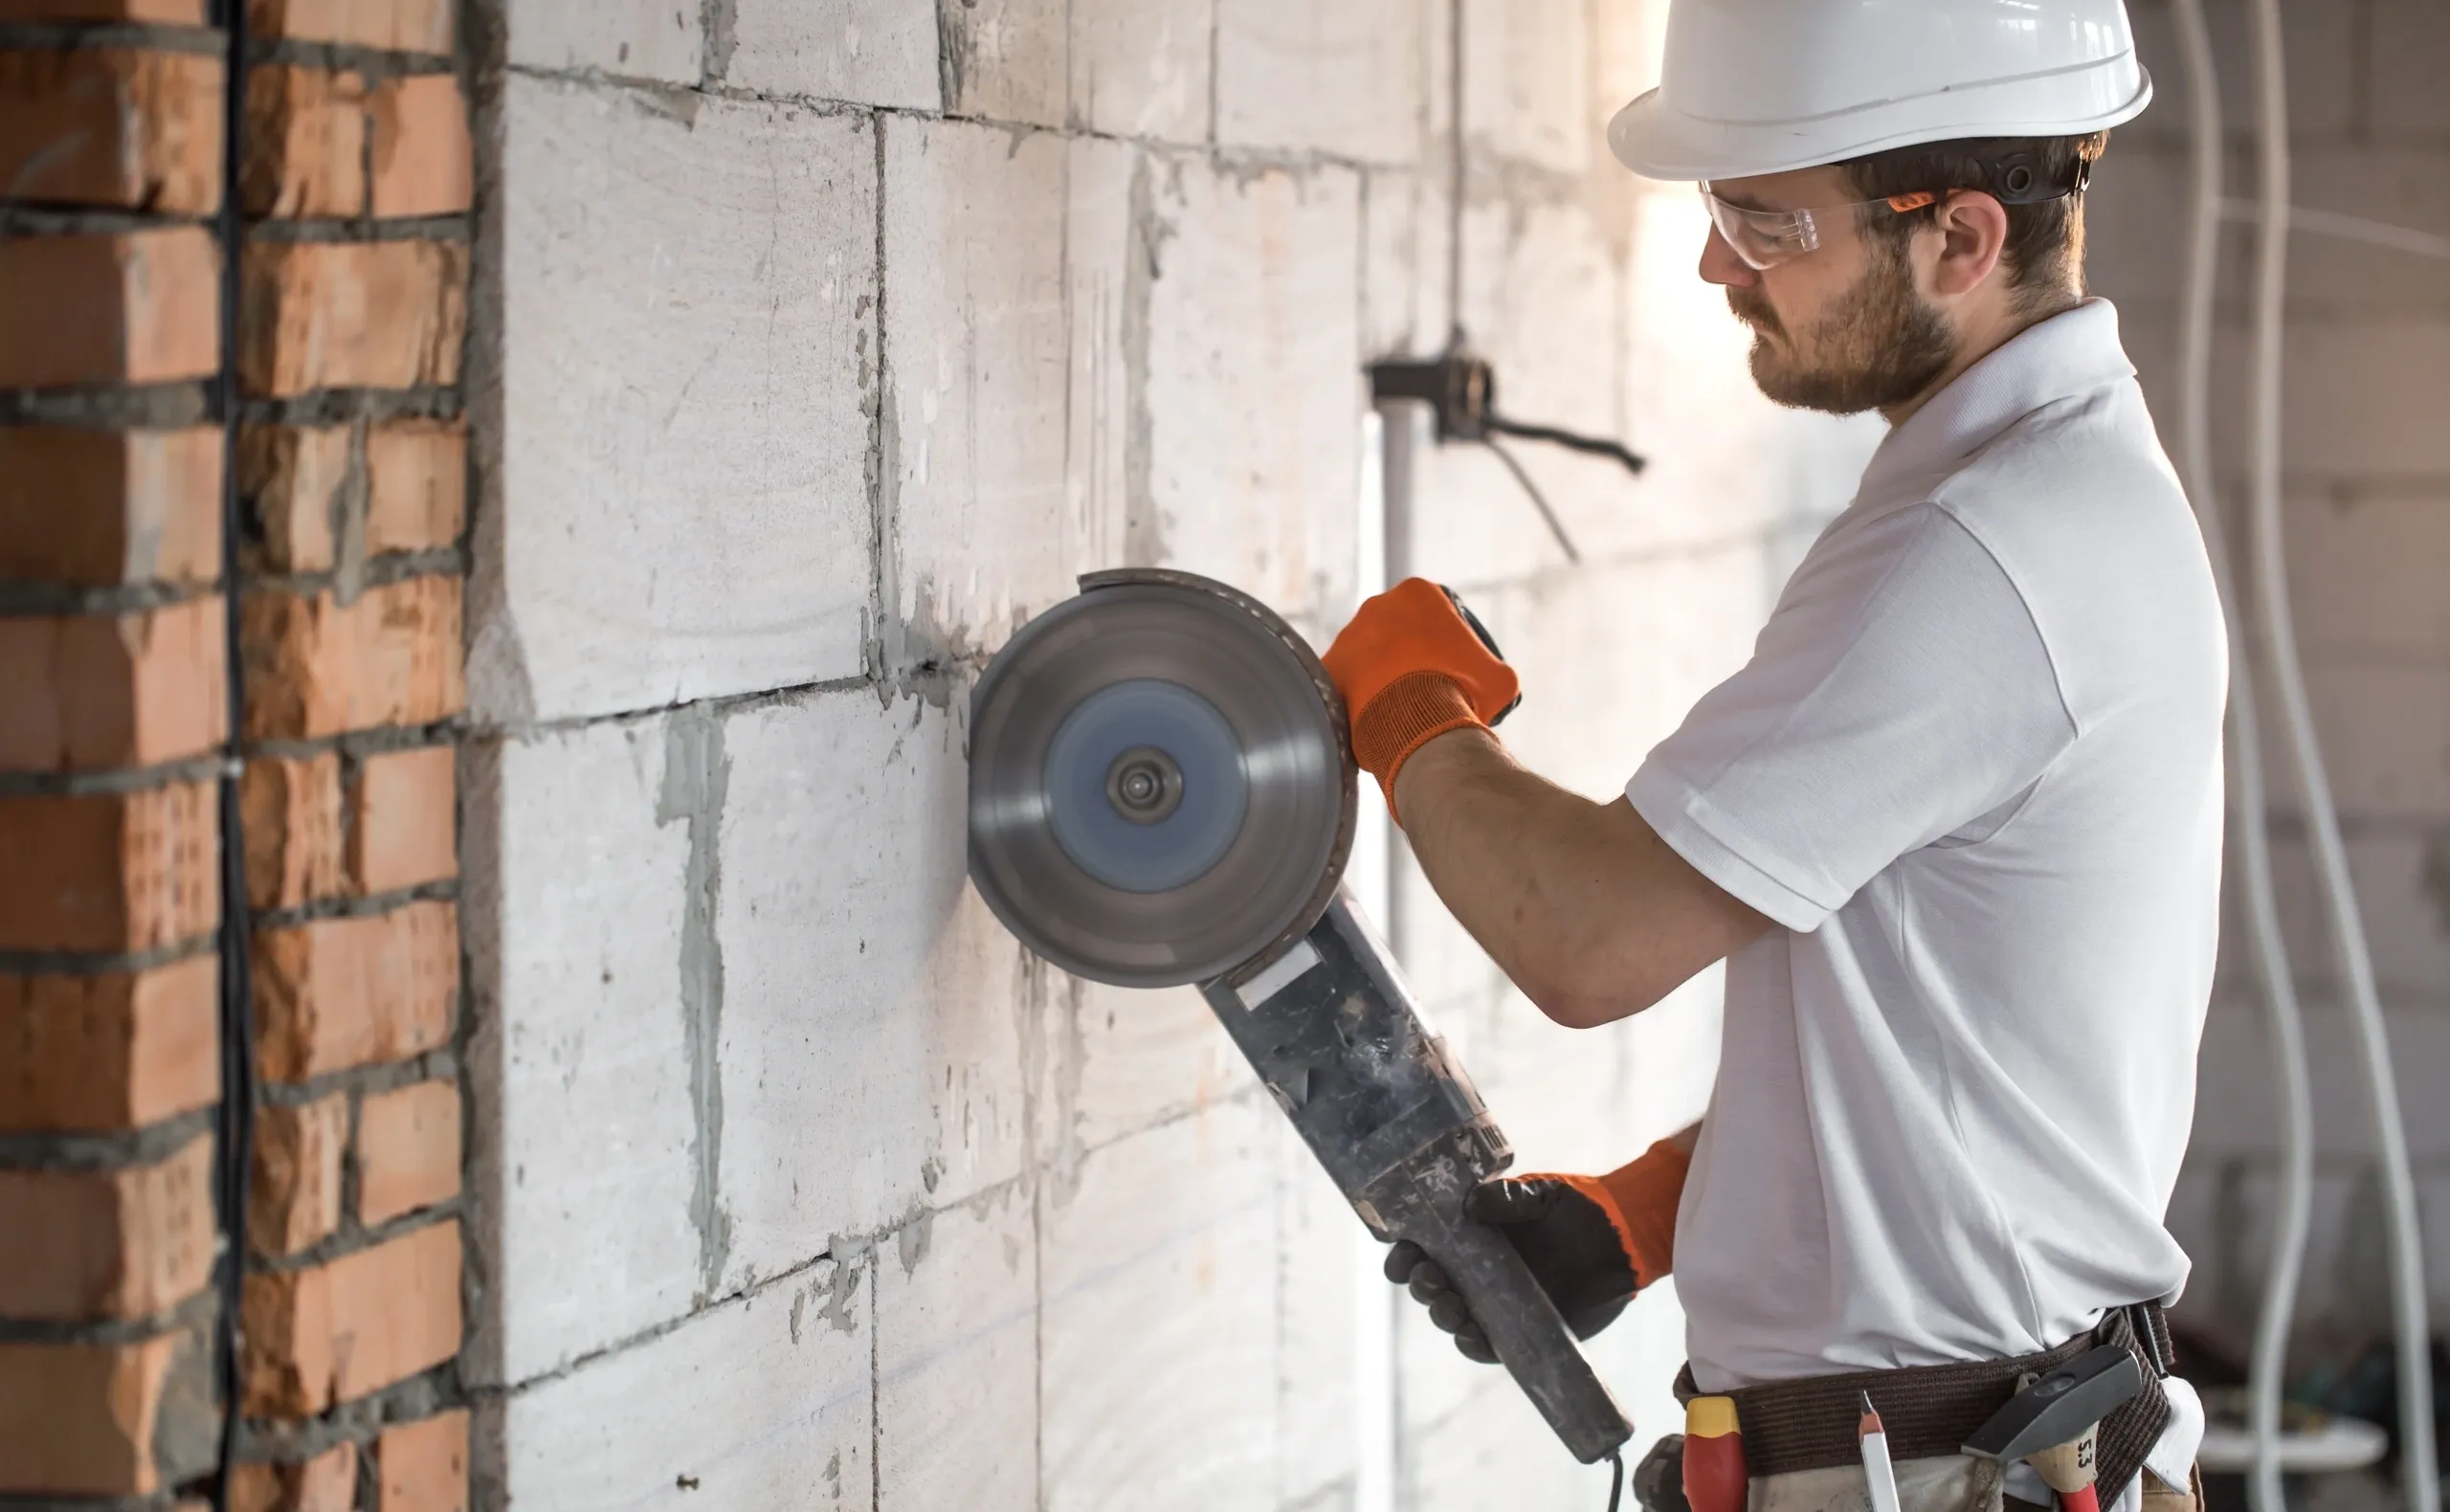
- Power Tools: For larger projects or heavy-duty conduit cutting, power tools such as reciprocating saws or angle grinders can be used. These tools offer faster cutting speeds and are ideal for cutting through thicker or more rigid conduits. However, it’s important to exercise caution and follow the manufacturers’ instructions when using power tools, as they can be more hazardous if not handled properly.
Consider the type of conduit you’re working with, the scale of your project, and your personal preference when choosing the cutting method that best suits your needs. Take into account factors such as the required precision, time constraints, and the tools available to you.
Once you’ve selected the cutting method, you’re ready to proceed with cutting the conduit in the next step.
Step 4: Cut the Conduit
Now that you have measured, marked, and secured the conduit, it’s time to make the actual cut. The method you determined in the previous step will guide you through this process. Here’s a step-by-step guide:
- Hacksaw Method: If you’re using a hacksaw, position the blade perpendicular to the conduit at the marked cutting point. Apply even pressure and use long, smooth strokes to saw through the conduit. Take your time to ensure a steady and controlled cut. Continue sawing until the blade has cut through the entire circumference of the conduit.
- Pipe Cutter Method: For pipe cutters, position the cutting wheel against the marked cutting point. Begin rotating the handle of the pipe cutter, applying even pressure and tightening the cutter’s grip as you go. Rotate the cutter around the conduit, gradually increasing the pressure until the wheel cuts through the conduit completely.
- Power Tools Method: If using power tools, refer to the manufacturer’s instructions for your specific tool. Use the appropriate blade or disc for cutting conduit and make sure it is securely attached to the power tool. Position the tool’s blade or disc against the marked cutting point and apply steady and controlled pressure to make the cut.
Whichever method you choose, it’s important to maintain a steady hand, follow the marked cutting line, and work at a comfortable pace. Take breaks if needed to maintain focus and accuracy.
Once the cut is complete, proceed to the next step to remove any burrs or rough edges.
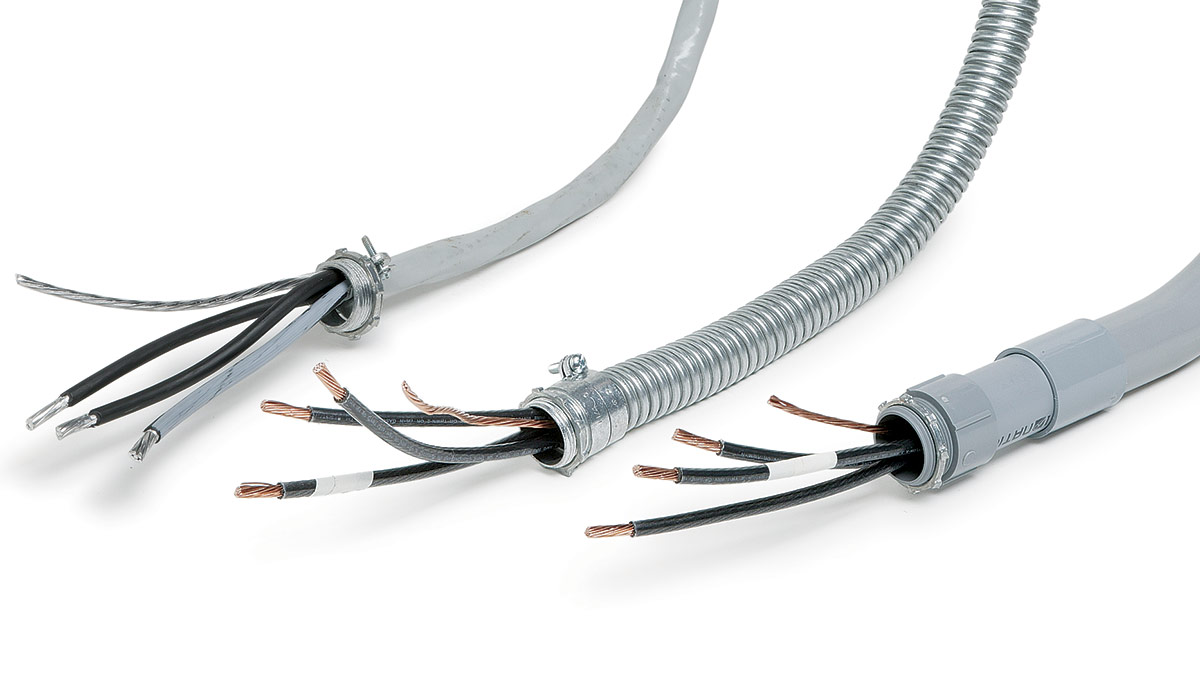
Step 5: Remove Burrs
After cutting the conduit, it’s common for rough edges or burrs to form on the cut end. These can be sharp and potentially cause injuries or affect the proper fitting of connectors. Removing these burrs is an important step to ensure a clean and secure installation. Here’s how to remove burrs:
- Deburring Tool: Use a deburring tool specifically designed for conduit to remove any burrs or rough edges. Place the tool over the cut end of the conduit and rotate it in a clockwise motion. Apply gentle pressure to remove the burrs, being careful not to damage the conduit.
- File or Sandpaper: If you don’t have a deburring tool, you can use a file or sandpaper to smooth out the cut end. Hold the file or sandpaper at a slight angle and gently run it along the cut edge to remove any roughness. Be cautious not to oversand and affect the shape or size of the conduit.
Regardless of the method you choose, it’s important to remove any burrs to ensure a clean and safe installation. Run your fingers along the cut end to check for any remaining roughness or sharp edges. If necessary, repeat the deburring process until the cut end feels smooth to the touch.
Now that the burrs have been removed, you can move on to the next step: testing the cut end to ensure it meets your requirements.
Step 6: Test the Cut End
Before moving forward with your installation, it’s essential to test the cut end of the conduit to ensure it meets the necessary requirements. This step will help confirm that the cut is clean, accurate, and free from any imperfections that could affect the proper fitting of connectors or impact the overall stability of the electrical or plumbing system. Here’s how to test the cut end:
- Visual Inspection: Carefully examine the cut end of the conduit to ensure it is smooth and free from any burrs or rough edges. Check for any deformities or irregularities that might affect the fitting of connectors or the overall integrity of the conduit.
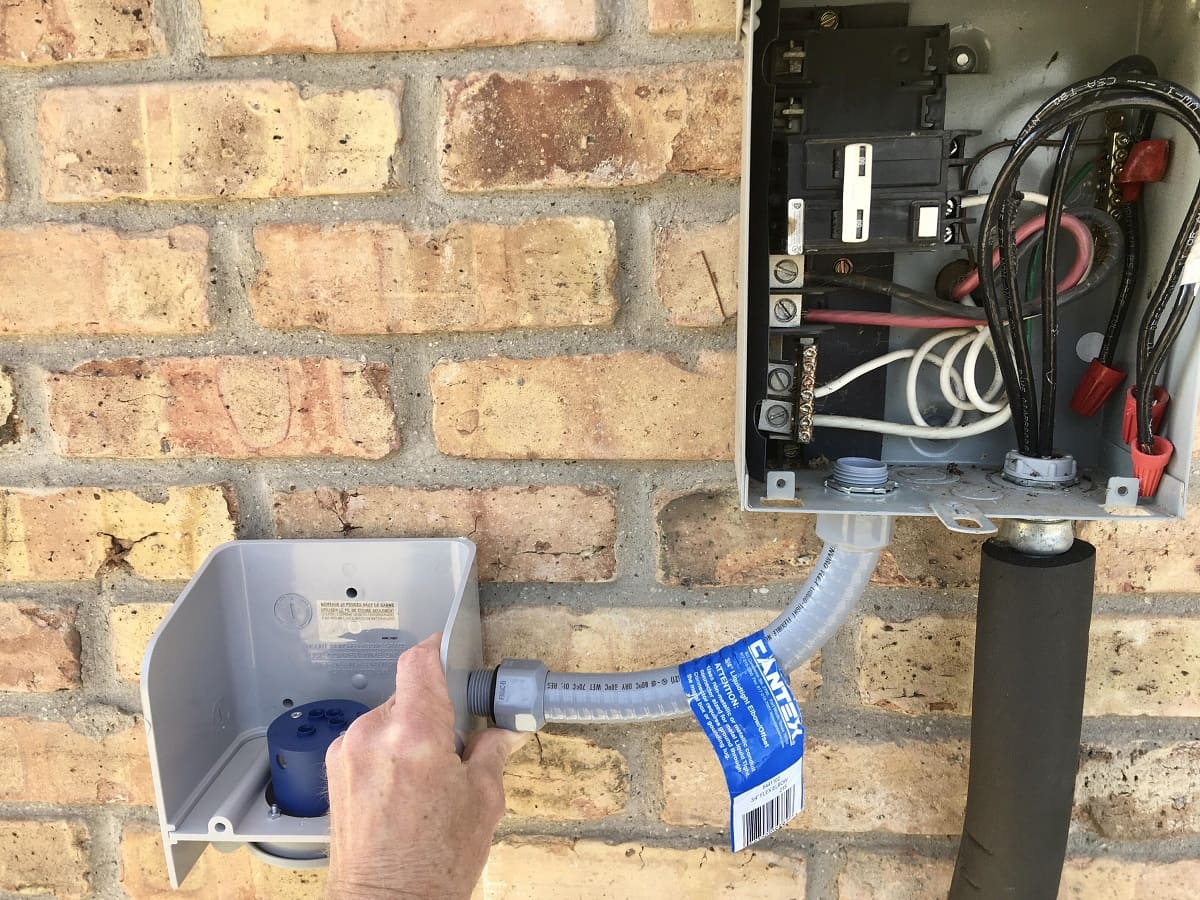
- Fit Connectors: If your project requires connectors or fittings to be attached to the cut end of the conduit, test their fit. Ensure that the cut end slides smoothly and securely into the connector without any resistance or looseness. If there are any fitting issues, re-examine the cut end and make necessary adjustments or corrections.
- No Sharp Edges: Run your fingers along the cut end of the conduit to ensure there are no remaining sharp edges or rough spots. The cut end should be smooth to the touch to avoid any injuries during installation or maintenance.
By thoroughly inspecting and testing the cut end, you can verify that it meets your requirements for a successful installation. Address any issues or concerns before proceeding to the final step.
Now that you have confirmed the quality of the cut end, it’s time to clean up and finalize the conduit cutting process.
Read more: How To Cut Conduit With Wires Inside
Step 7: Clean up and Final Thoughts
Congratulations! You’ve successfully cut the conduit for your electrical or plumbing project. Before you wrap up, it’s important to clean up the work area and take some final considerations into account. Here’s what you need to do:
- Clean up debris: Remove any debris or scraps from the cutting process. Discard them properly to avoid any injuries from sharp edges.
- Store tools: Put away any cutting tools and equipment in their designated storage areas. This will help keep your workspace organized and prevent accidents or damage to the tools.
- Evaluate the cut: Take a moment to evaluate the quality of your cut. If you’re satisfied with the results, you can proceed with the next steps of your installation. If not, you may need to recut the conduit or make adjustments to ensure a proper fit.
- Measure twice: Double-check your measurements and ensure that the cut conduit is the correct length for your project. It’s better to verify before moving forward to avoid any costly mistakes or rework.
- Keep safety in mind: Throughout the cutting process and beyond, remember to prioritize safety. Return any safety gear you used to their proper places and maintain a safe working environment for future projects.
As a final thought, cutting conduit requires precision, attention to detail, and a focus on safety. By following the steps outlined in this guide and taking the necessary precautions, you can confidently complete conduit cutting for your electrical or plumbing installations.
Remember to refer back to this guide whenever you need a refresher on cutting conduit, and don’t hesitate to seek professional help or guidance if you’re unsure about any aspects of the process.
Now, go ahead and continue with your project, knowing that you’re equipped with the knowledge and skills to cut conduit like a pro. Good luck!
Frequently Asked Questions about How To Cut Conduit
Was this page helpful?
At Storables.com, we guarantee accurate and reliable information. Our content, validated by Expert Board Contributors, is crafted following stringent Editorial Policies. We're committed to providing you with well-researched, expert-backed insights for all your informational needs.


0 thoughts on “How To Cut Conduit”