Articles
How To Cut Conduit With Wires Inside
Modified: October 20, 2024
Learn the best methods and techniques for cutting conduit with wires inside in this informative article. Simplify your electrical projects with our step-by-step guide.
(Many of the links in this article redirect to a specific reviewed product. Your purchase of these products through affiliate links helps to generate commission for Storables.com, at no extra cost. Learn more)
Introduction
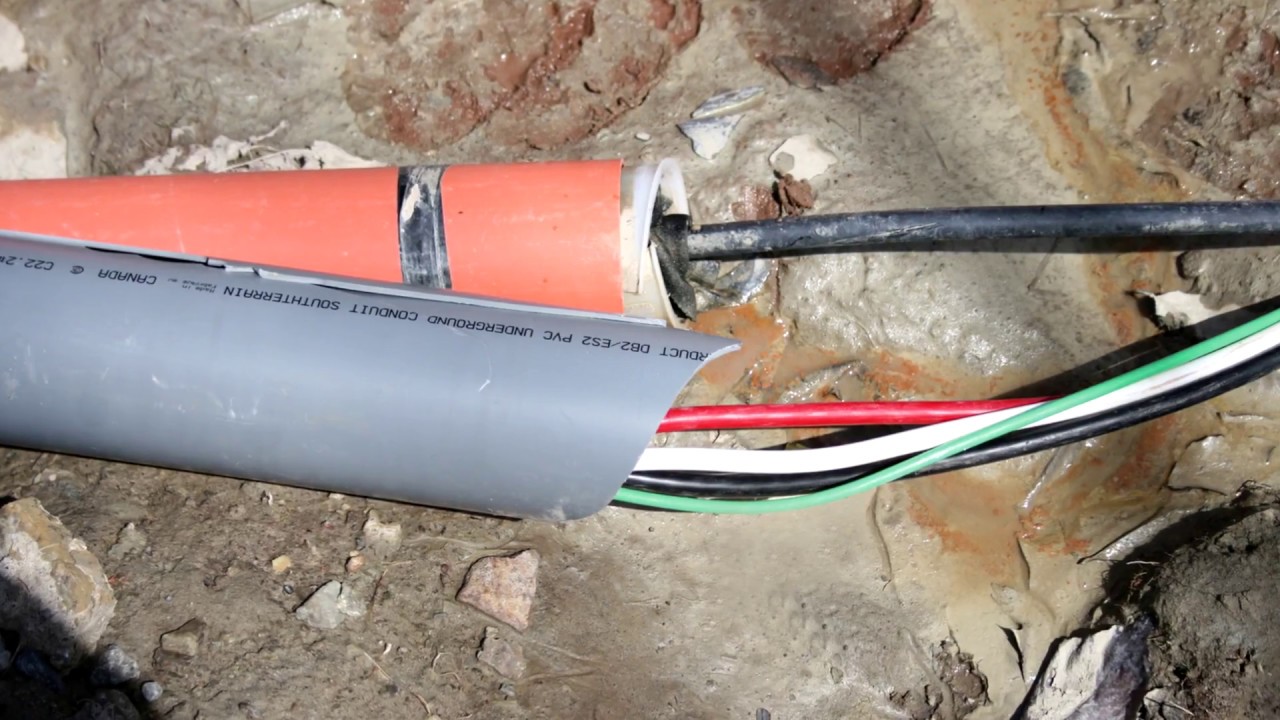
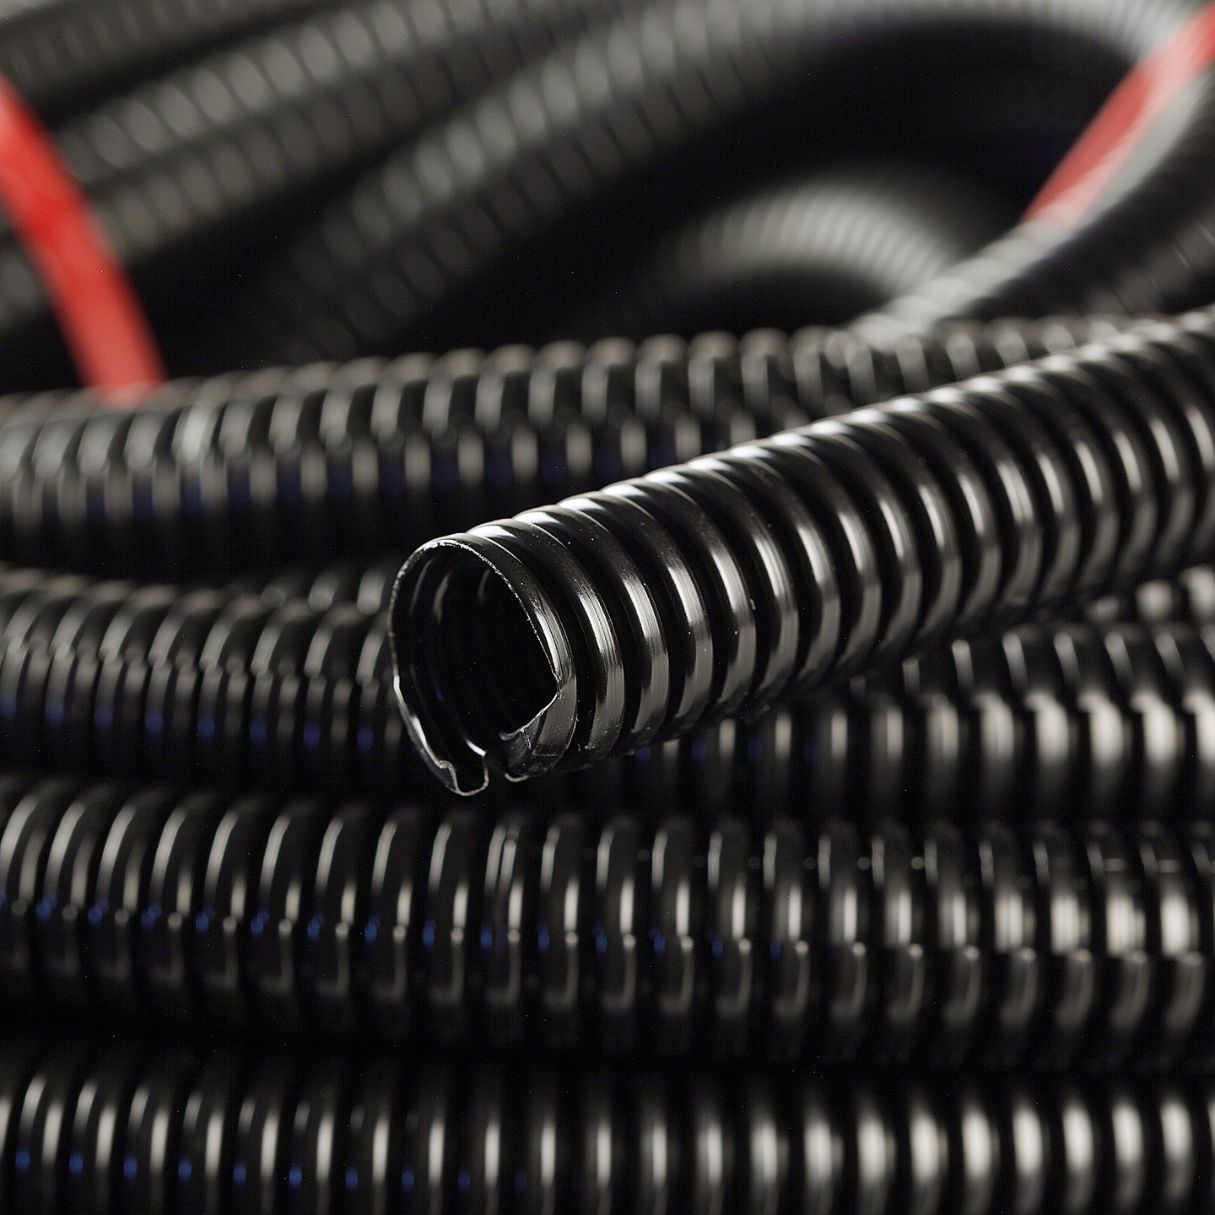
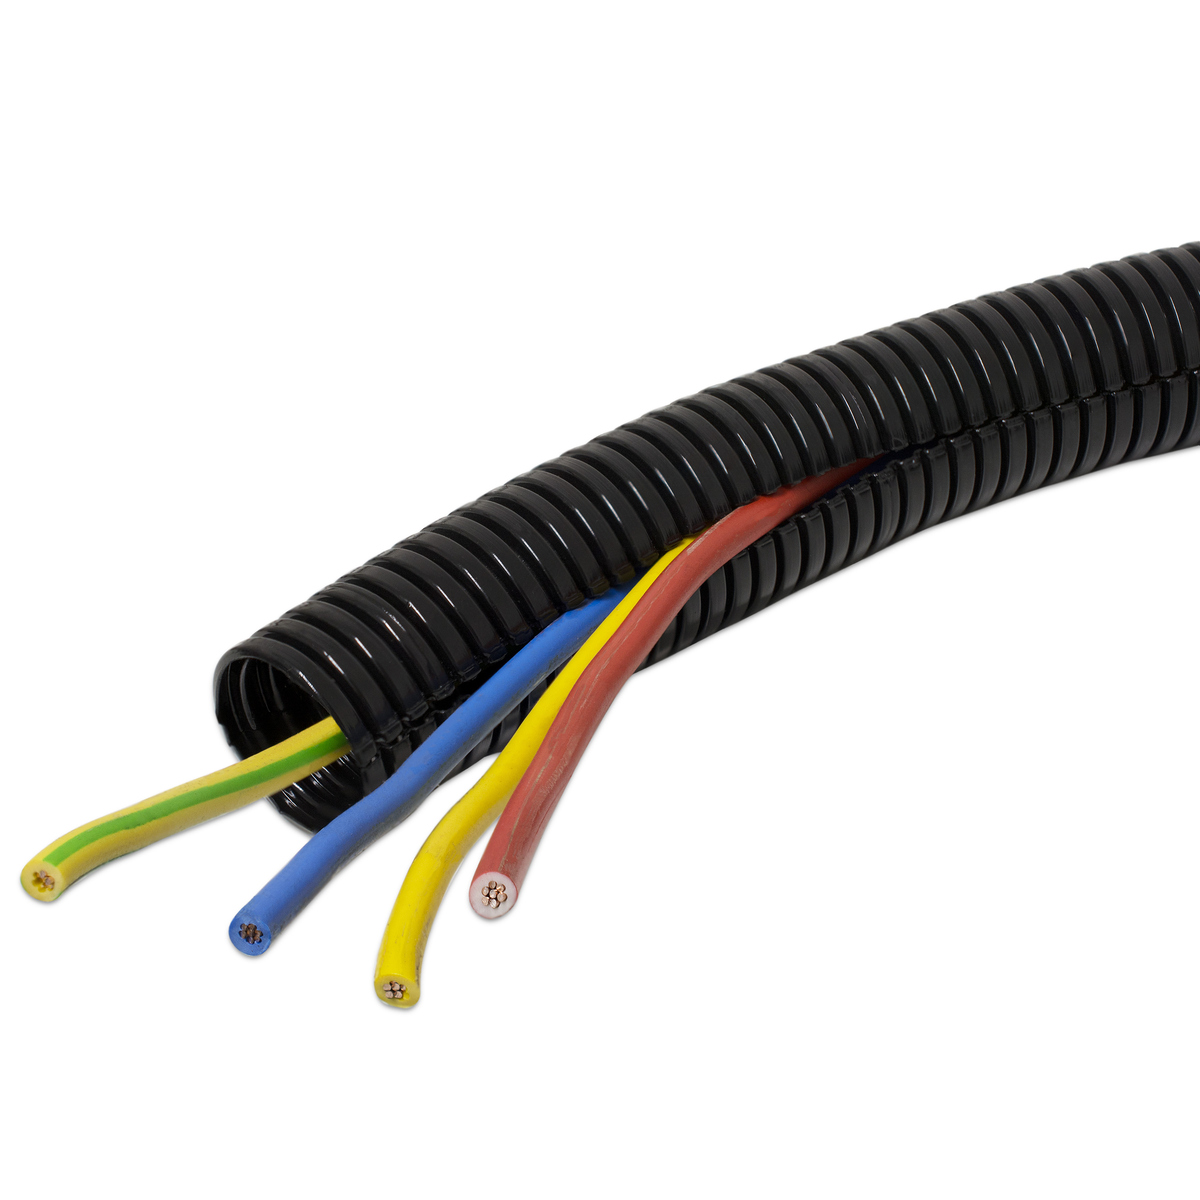
Welcome to this comprehensive guide on how to cut conduit with wires inside. If you are involved in electrical work or home improvement projects, knowing how to cut conduit while the wires are inside can be a valuable skill. Whether you need to install new conduit or make modifications to existing wiring, understanding the process will help you save time and effort.
Working with conduit that already contains wires requires extra caution to avoid damaging the wires or causing any electrical hazards. In this article, we will provide step-by-step instructions on how to cut conduit with wires inside, along with essential safety measures to follow. By the end, you will have a clear understanding of the process, allowing you to successfully complete your electrical projects with confidence.
Before we dive into the details, let’s take a look at the tools and materials you will need for this task.
Key Takeaways:
- Cutting conduit with wires inside requires careful assessment, precise measurements, and the use of appropriate tools. Following safety measures and securing the conduit and wires are crucial for a successful and safe cutting process.
- After cutting the conduit, smoothing the cut ends and carefully removing and reinstalling the wires are essential steps to ensure the integrity and safety of the electrical system. Prioritizing safety and thoroughness is key to successful completion.
Tools and Materials Needed
Before you begin cutting conduit with wires inside, gather the following tools and materials:
- Circular Saw or Hacksaw: A circular saw with a metal-cutting blade or a hacksaw will be required to cut through the conduit. Ensure that you have the appropriate blades for cutting metal.
- Conduit Cutter: A conduit cutter is a specialized tool designed specifically for cutting conduit. It provides clean and precise cuts, minimizing the risk of damaging the wires inside.
- Measuring Tape: You will need a measuring tape to accurately measure the length of the conduit you need to cut.
- Pencil or Marker: Use a pencil or marker to mark the cutting points on the conduit. This will ensure precise and accurate cuts.
- Safety Glasses: It is essential to protect your eyes from any sparks, debris, or metal fragments that may occur during the cutting process.
- Gloves: Insulated gloves will provide protection against any potential electrical hazards. They will also offer a better grip when handling the conduit and tools.
- Workbench or Sawhorses: Have a sturdy workbench or sawhorses to secure the conduit while cutting. This will provide stability and make the process safer and more manageable.
- Protective Clothing: Wear long-sleeved shirts and pants to protect your skin from any cuts or scratches.
It is important to have all the necessary tools and equipment ready before starting the project. This will help ensure a smooth workflow and a safe working environment.
Now that you have gathered the tools and materials, let’s move on to the next section, where we will discuss the precautions and safety measures to keep in mind when working with conduit and wires.
Precautions and Safety Measures
Working with conduit and wires requires adherence to strict safety precautions to prevent accidents and injuries. Before cutting conduit with wires inside, keep the following safety measures in mind:
- Ensure the power is turned off: Before starting any work on the conduit, make sure to turn off the power supply to prevent any electrical shocks or accidents.
- Use insulated gloves: Always wear insulated gloves to protect yourself from potential electrical hazards.
- Wear safety glasses: Protect your eyes from sparks, debris, and metal fragments by wearing safety glasses.
- Secure the conduit: Make sure to secure the conduit firmly in place using a workbench or sawhorses. This prevents any movement or instability while cutting.
- Be aware of nearby wires: When cutting conduit with wires inside, be mindful of other wires nearby to prevent accidental cutting or damage to the wiring.
- Cut away from yourself: Always cut away from your body to minimize the risk of injury in case the blade slips or the saw jumps.
- Use the right tools: Ensure you are using the appropriate tools for the job, such as a circular saw or a conduit cutter.
- Take breaks: If you are undertaking a long cutting project, take regular breaks to avoid fatigue and maintain focus.
- Keep the work area clean: Remove any debris or obstructions from the work area to prevent tripping hazards.
- Follow manufacturer instructions: Consult the manufacturer’s instructions for both the conduit cutter and power tools to ensure proper usage.
By following these precautions and safety measures, you can significantly reduce the risk of accidents and injuries while cutting conduit with wires inside. Now that we have covered the safety measures, let’s proceed to the step-by-step process of cutting conduit with wires inside.
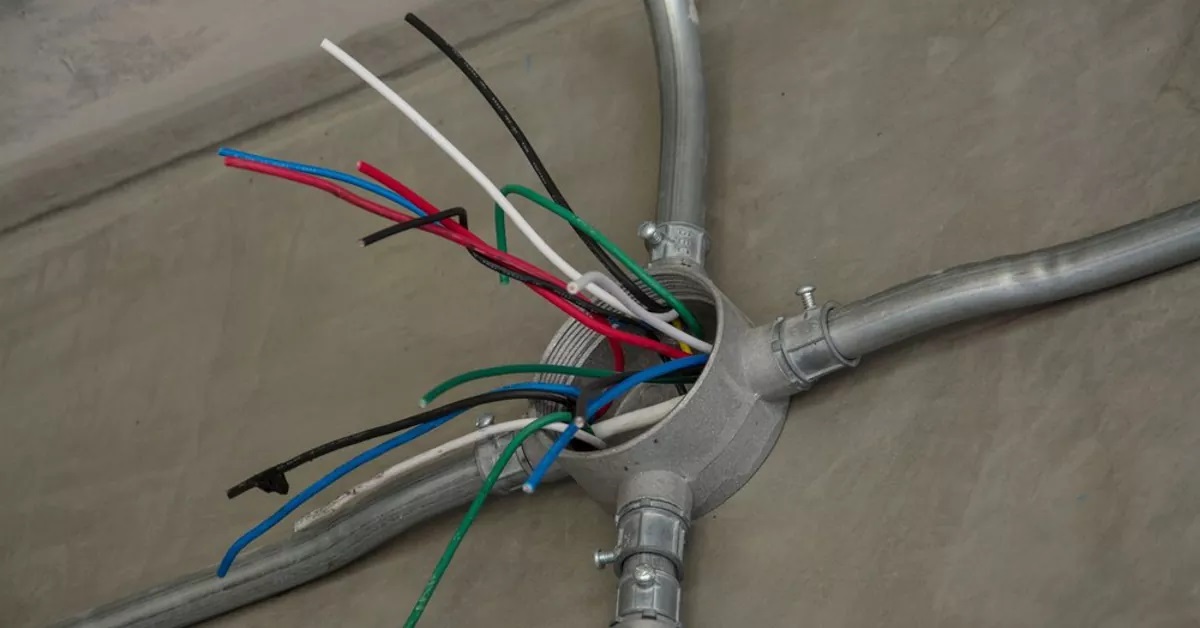
Step 1: Assess the Conduit and Wires
Before you begin cutting the conduit, it’s essential to assess its condition and the wires inside. Here’s how:
- Inspect the conduit: Check the conduit for any signs of damage, such as rust, dents, or bends. If you notice any significant damage, it may be necessary to replace the entire length of the conduit.
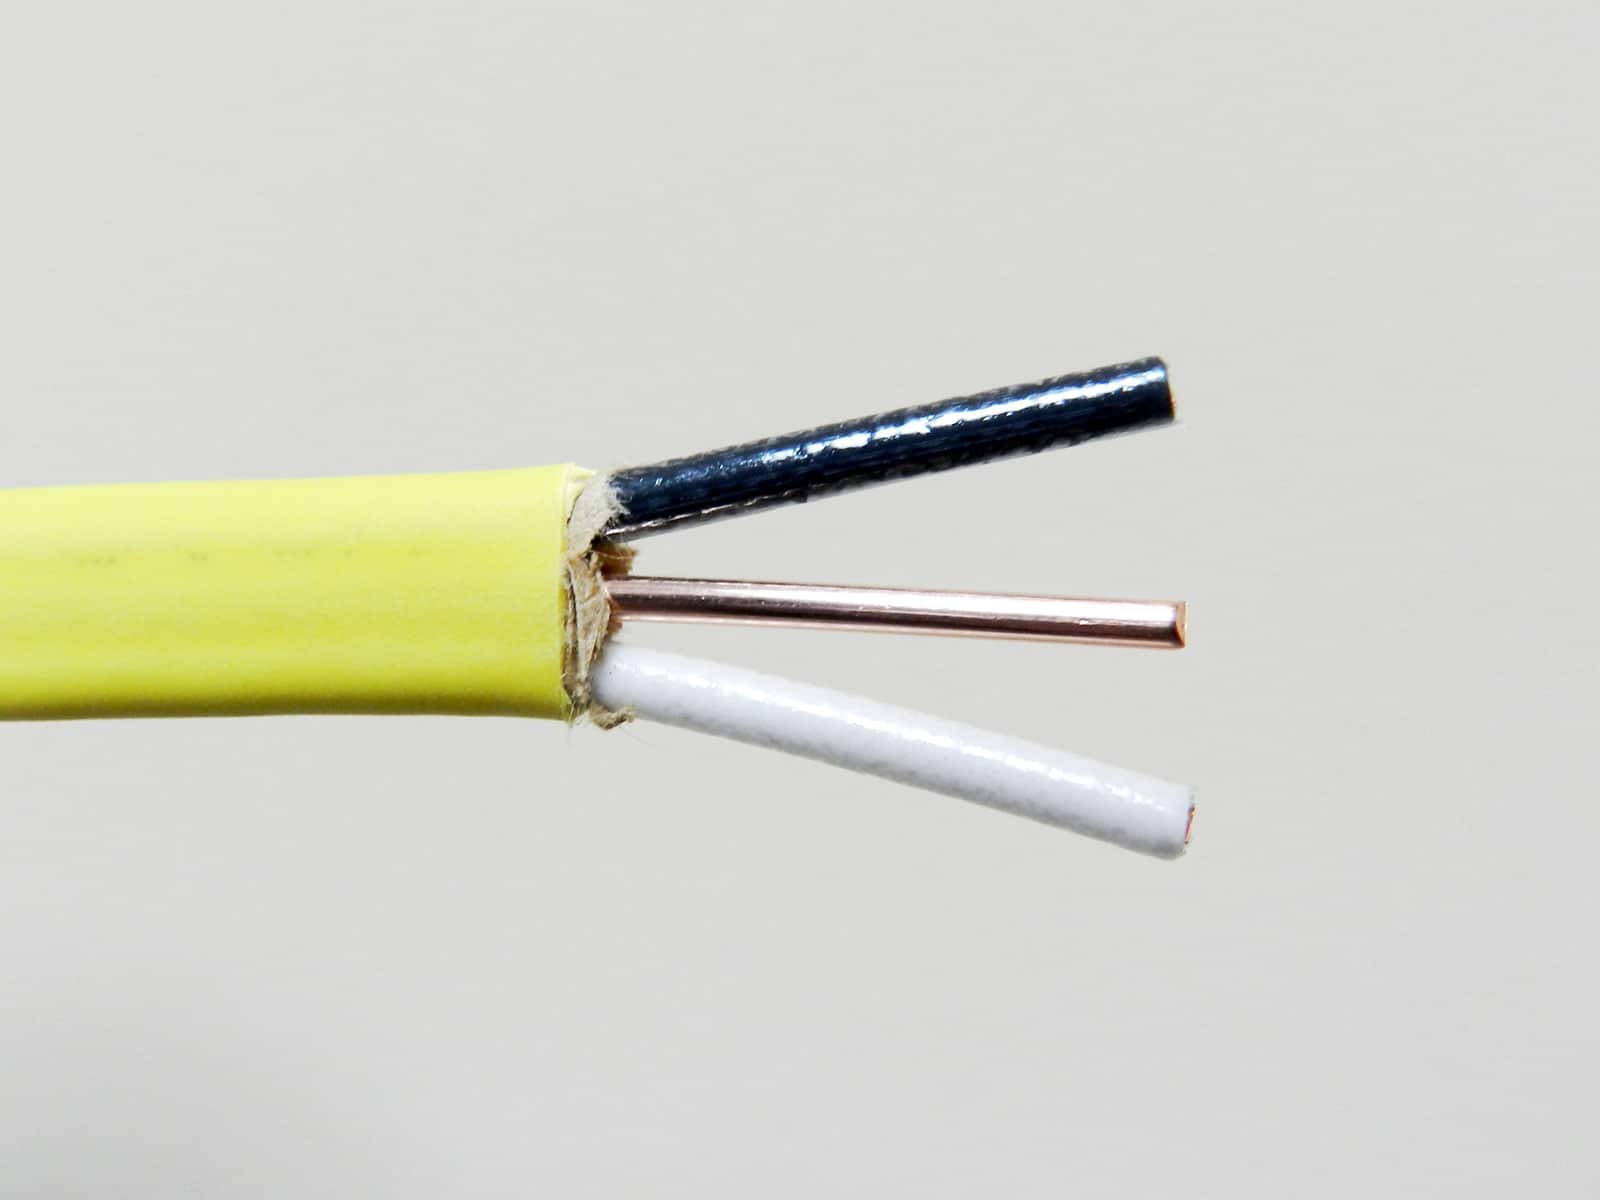
- Examine the wires: Carefully examine the wires inside the conduit to ensure they are intact and not damaged or frayed. If you detect any issues with the wires, such as exposed copper or cut insulation, you may need to contact an electrician for repairs before proceeding.
- Determine the cutting points: Identify the specific sections of the conduit that need to be cut. Measure and mark these points on the conduit using a pencil or marker. Take precise measurements to ensure accurate cuts.
- Plan the cutting sequence: If you have multiple cutting points along the conduit, plan the cutting sequence to minimize the disruption to the wires inside. Consider the order in which the cuts need to be made to avoid any complications during the process.
By assessing the condition of the conduit and the integrity of the wires, you can identify any potential issues and plan the cutting process accordingly. This step ensures that you proceed with the cutting process safely and with a clear plan in mind. Once you have assessed the conduit and wires, you can move on to the next step – gathering the necessary equipment.
Step 2: Gather Necessary Equipment
Now that you have assessed the conduit and wires, the next step is to gather the necessary equipment before proceeding with the cutting process. Here’s what you’ll need:
- Circular saw or hacksaw: Depending on the size of the conduit and the type of cut you need to make, you will require either a circular saw with a metal-cutting blade or a hacksaw. Ensure that you have the appropriate blade for cutting through metal.
- Conduit cutter: A conduit cutter is a specialized tool designed specifically for cutting conduit. It provides cleaner and more precise cuts compared to a saw. If you have a conduit cutter, make sure it is in good working condition.
- Measuring tape: Use a measuring tape to accurately measure the length of the conduit and mark the cutting points. This will help ensure precise cuts and minimize waste.
- Pencil or marker: Use a pencil or marker to mark the cutting points on the conduit. Make sure the marks are clearly visible and won’t wash off easily.
- Safety glasses: Protect your eyes from sparks, debris, and metal fragments by wearing safety glasses throughout the cutting process.
- Gloves: Wear insulated gloves to protect yourself from potential electrical hazards and provide a better grip when handling the conduit and tools.
- Workbench or sawhorses: Have a sturdy workbench or sawhorses set up to secure the conduit while cutting. This will provide stability and make the process safer and more manageable.
- Protective clothing: Wear long-sleeved shirts and pants to protect your skin from any cuts or scratches that may occur during the cutting process.
Ensure that all the necessary equipment is in good working condition and easily accessible before proceeding. This will help streamline the cutting process and ensure that you have everything you need at hand.
Now that you have gathered the required equipment, it’s time to move on to the next step, where you will measure and mark the cutting points on the conduit.
Read more: How To Cut Conduit
Step 3: Measure and Mark the Cutting Points
With all the necessary equipment at hand, it’s time to measure and mark the cutting points on the conduit. Follow these steps:
- Begin by measuring the length of the conduit that needs to be cut. Use a measuring tape and make an accurate measurement.
- Next, mark the cutting points on the conduit using a pencil or marker. Make sure the marks are clearly visible and won’t easily rub off.
- Ensure that your measurements and markings are precise, as this will determine the accuracy of the cuts and the fit of the conduit sections.
- If you have multiple cutting points along the conduit, mark them all accordingly, taking note of the sequence in which the cuts need to be made.
- Double-check your measurements and markings to ensure their accuracy before moving on to the next step.
By measuring and marking the cutting points on the conduit, you will have clear guidance on where to make your cuts. This step is crucial in ensuring that the conduit is cut to the desired length and that the subsequent installation or modifications will be successful.
Now that you have measured and marked the cutting points, it’s time to move on to step 4, where you will secure the conduit and wires before making the cuts.
Before cutting conduit with wires inside, make sure to turn off the power to the circuit. Use a conduit cutter to make a clean, straight cut, and be careful not to damage the wires inside. Always wear safety goggles and gloves.
Step 4: Secure the Conduit and Wires
Before making any cuts, it is essential to secure the conduit and wires in place to ensure stability and avoid damage. Follow these steps to secure the conduit and wires:
- Place the conduit on a sturdy workbench or between two sawhorses. Make sure the conduit is positioned securely and does not wobble or move during the cutting process.
- Arrange the wires inside the conduit carefully, ensuring they are not tangled or obstructing the cutting points.
- If necessary, use zip ties or tape to secure the wires together and prevent them from shifting while cutting.
- Inspect the area surrounding the cutting points to ensure that there are no other wires or obstacles in the way. Clear away any potential obstructions to ensure a clean and safe cutting process.
Securing the conduit and wires is crucial to maintain stability and avoid accidental damage to the wires. By taking the time to properly position and secure the conduit, you’ll have a safer and more controlled environment for making the cuts.
Once you have secured the conduit and wires, you can confidently proceed to the next step: cutting the conduit.
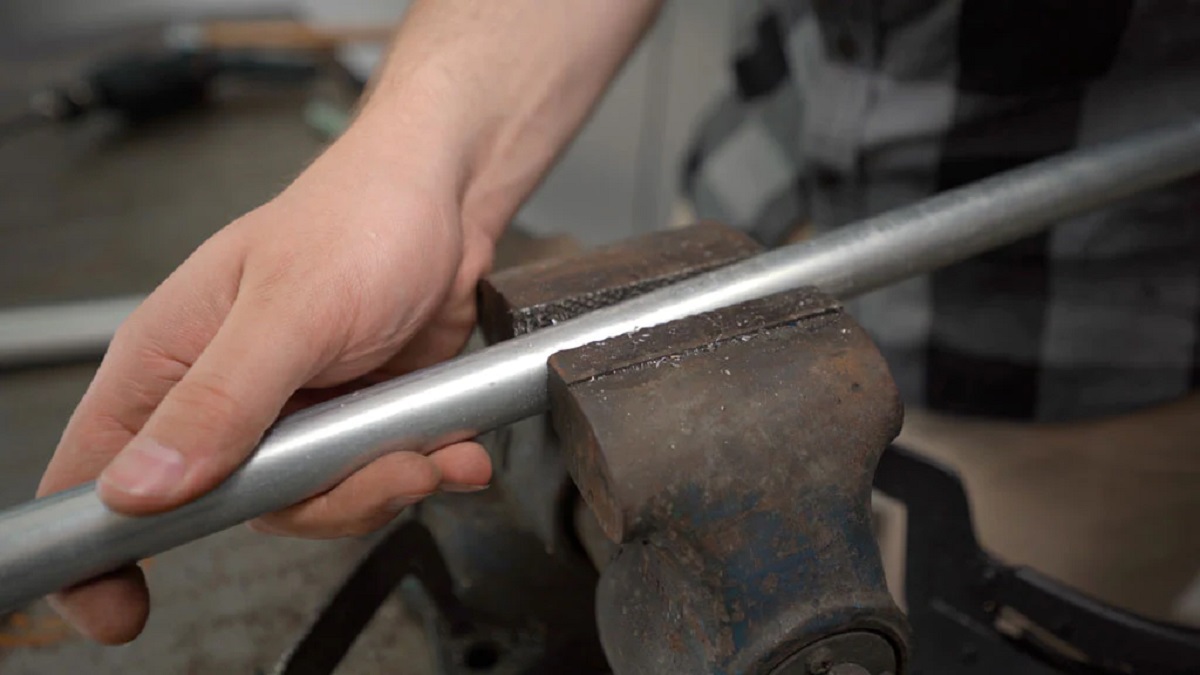
Step 5: Cut the Conduit
Now that the conduit and wires are properly secured, it’s time to make the cuts. Follow these steps to cut the conduit:
- If you are using a circular saw, ensure that you have the appropriate metal-cutting blade installed. Double-check the blade’s position and tighten it securely.
- If you are using a hacksaw, hold the handle firmly with one hand and position the blade perpendicular to the conduit.
- Align the blade with the marked cutting point on the conduit.
- If using a circular saw, power it on and guide the blade slowly and steadily through the marked cutting point. Apply light pressure to avoid damaging the wires inside the conduit.
- If using a hacksaw, apply firm pressure and saw back and forth using long, even strokes until you cut through the conduit. Take breaks if needed to avoid fatigue.
- Continue making cuts as per your marked cutting points, ensuring accuracy and precision.
Remember to cut away from your body and maintain a steady grip on the saw to minimize the risk of accidents. Take your time and make clean, straight cuts to ensure the integrity of the conduit and wires.
Once you have made all the necessary cuts, proceed to the next step: smoothing the cut ends of the conduit.
Step 6: Smooth the Cut Ends
After cutting the conduit, the next step is to smooth the cut ends to ensure they are clean and free from any rough edges or burrs. Here’s how you can accomplish this:
- Inspect the cut ends of the conduit to identify any rough edges or burrs.
- If there are any sharp edges, use a metal file or emery cloth to carefully file and smooth them out. Work the file or emery cloth in a back-and-forth motion until the edges are smooth to touch.
- Be cautious not to put too much pressure or file too aggressively, as this may damage the conduit or wires.
- Move your fingers across the smoothed edges to ensure there are no lingering sharp points or rough spots.
By smoothing the cut ends of the conduit, you’ll minimize the risk of injury while handling the conduit and make it easier to insert wires or connect conduit sections together. Additionally, ensuring smooth edges will help prevent any damage to the wires inside the conduit when reinstalling them.
Once you have finished smoothing the cut ends of the conduit, you can move on to the next step: removing the wires from the conduit.
Read more: How To Cut Plastic Conduit
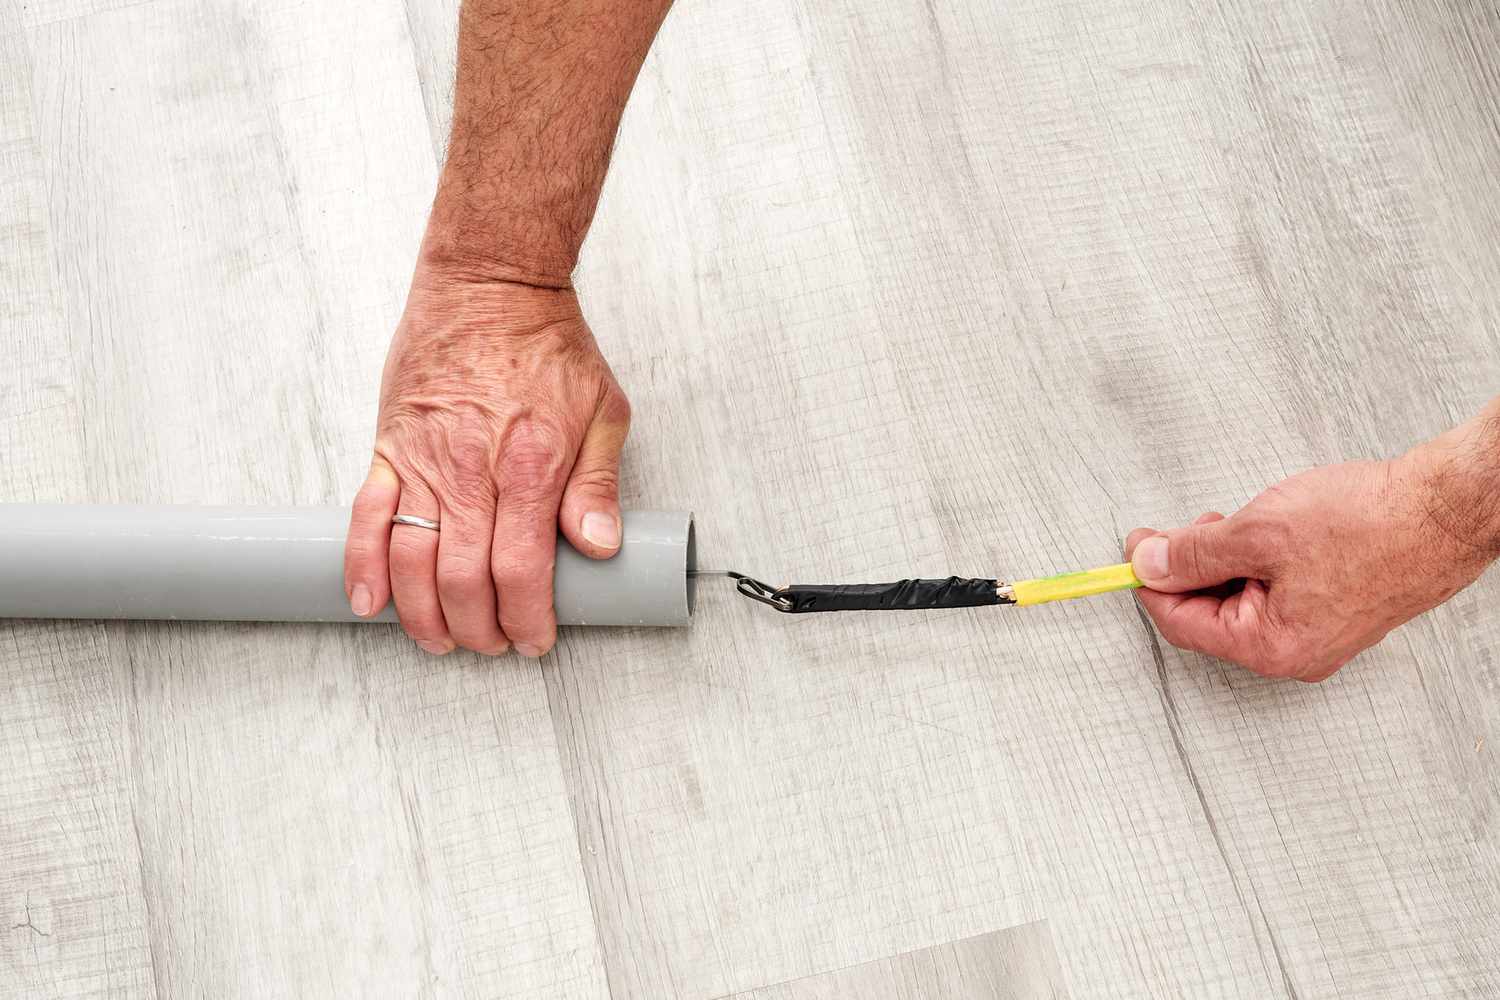
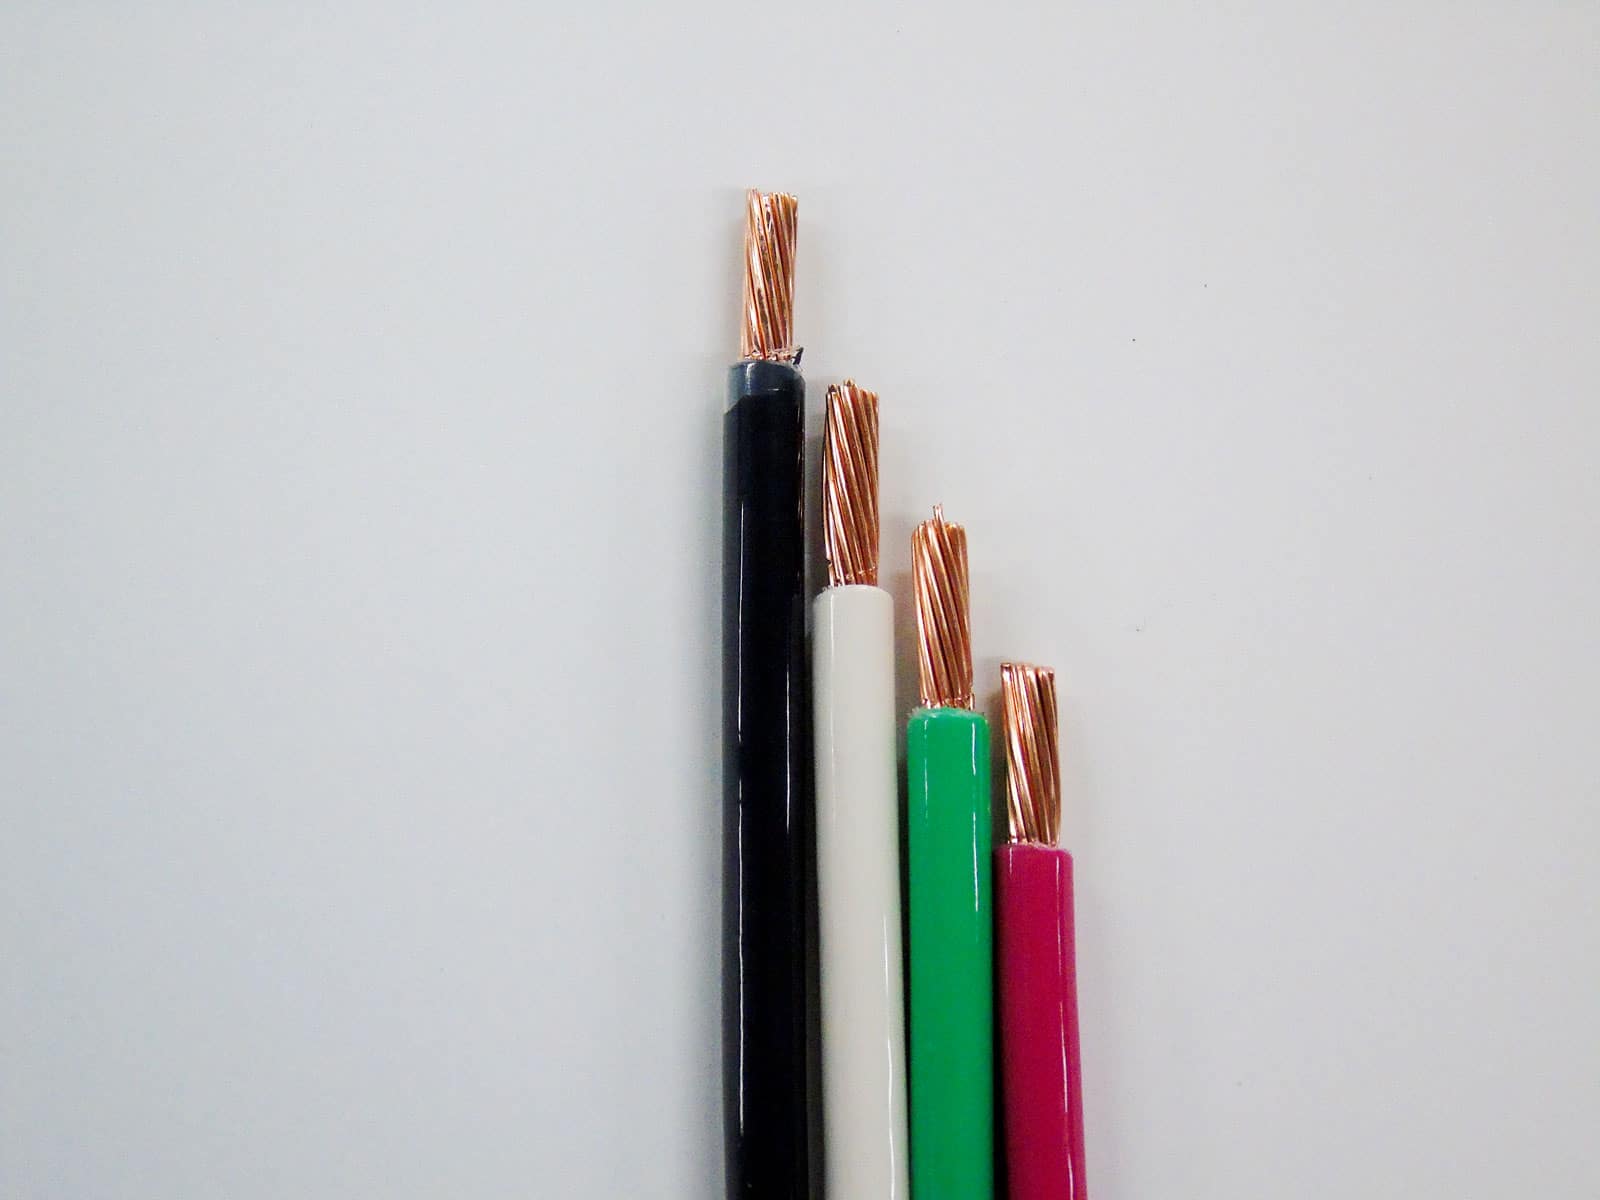
Step 7: Remove the Wires from the Conduit
Now that the conduits have been cut and the ends smoothed, it is time to carefully remove the wires from the conduit. Here is the step-by-step process:
- Start by loosening any zip ties or tape that were used to secure the wires inside the conduit.
- Gently tug on the wires to extract them from the conduit. If necessary, use a fish tape or wire pulling tool to aid in the removal process.
- As you remove the wires, inspect them for any signs of damage or wear. Replace any damaged wires before reinstalling them.
- Pay attention to the original routing and organization of the wires, and take note if any wires need to be rerouted or rearranged.
- Once all the wires are removed, set them aside in a safe and organized manner, ensuring they do not get tangled or damaged.
It is crucial to handle the wires with care during the removal process to avoid any unnecessary damage. Also, take note of the wire positions and keep them organized to make the reinstallation process smoother.
Now that the wires have been successfully removed from the conduit, let’s move on to the final step: reinstalling the wires.
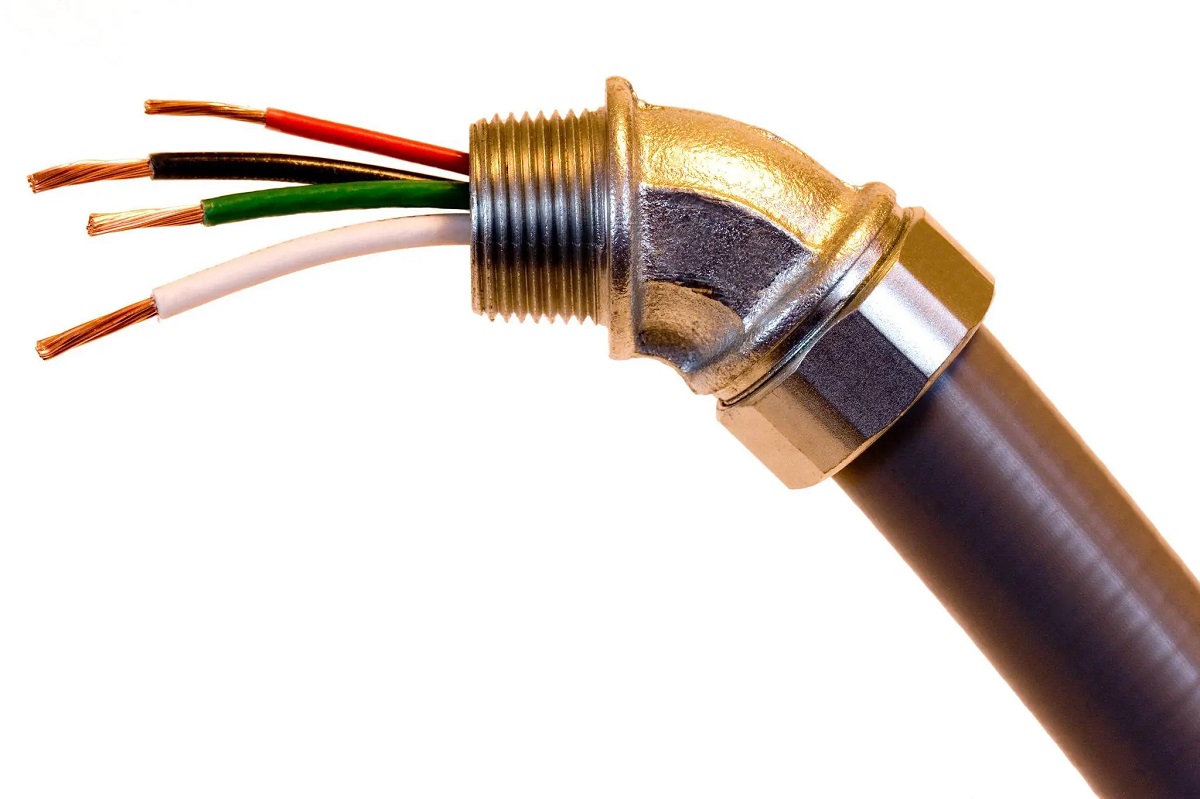
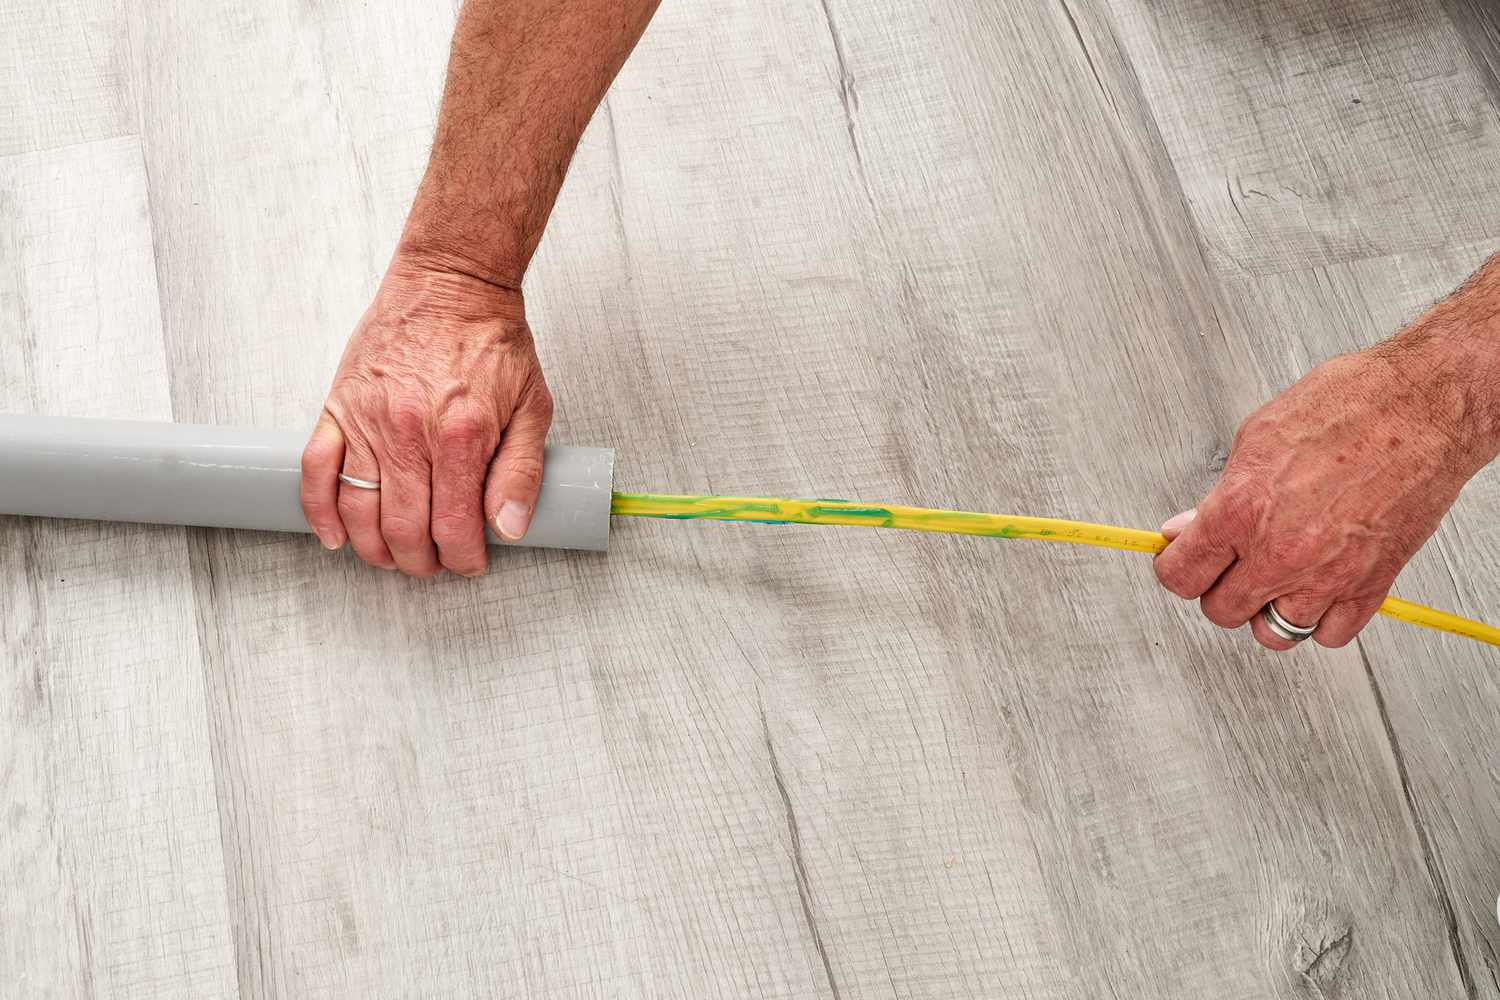
Step 8: Reinstall the Wires
After cutting the conduit and removing the wires, the final step is to reinstall the wires securely back into the conduit. Follow these steps to properly reinstall the wires:
- Inspect the wires for any signs of damage or wear. Replace any damaged wires before proceeding.
- Refer to your notes or documentation to determine the correct routing and organization of the wires.
- Begin threading the wires back into the conduit, starting with the wire that enters the conduit first and following the original routing pattern.
- Push the wires into the conduit slowly and carefully, making sure not to force them to prevent any potential damage.
- If needed, use a fish tape or wire pulling tool to help guide the wires through any tricky sections of the conduit.
- Ensure that the wires are properly seated inside the conduit and are not twisted or pinched.
- If necessary, secure the wires with zip ties or electrical tape to keep them organized and prevent any movement.
Take your time during the wire reinstallation process to ensure that each wire is correctly placed and routed. Properly reinstalling the wires will help maintain the integrity of your electrical system and ensure its safety and functionality.
Congratulations! You have successfully cut the conduit with wires inside and reinstalled the wires. By following these steps and taking the necessary safety precautions, you have completed the task effectively and safely.
Remember, if you are unsure about any aspect of cutting conduit with wires inside or if you encounter any difficulties, it is always best to consult a professional electrician for assistance.
With this knowledge and skill, you can confidently tackle electrical projects that involve cutting conduit with wires inside. Good luck with your future projects!
reach has_limit
Conclusion
Learning how to cut conduit with wires inside is an essential skill for anyone involved in electrical work or home improvement projects. By following the steps outlined in this guide and taking the necessary precautions, you can confidently and safely complete the task at hand.
Throughout this comprehensive guide, we discussed the importance of assessing the conduit and wires, gathering the necessary tools and materials, and adhering to safety precautions. We covered the step-by-step process of measuring and marking the cutting points, securing the conduit and wires, making the cuts, smoothing the cut ends, removing and reinstalling the wires.
It is essential to approach cutting conduit with wires inside with caution and precision to avoid accidents, injuries, or damage to the wires. Take your time, double-check your measurements, use the correct tools, and ensure the conduit is properly secured during the cutting process.
Remember to wear appropriate safety gear such as safety glasses and gloves, and always turn off the power supply before beginning any work on the conduit. If you encounter any difficulties or are unsure about any specific steps, it is best to seek the assistance of a professional electrician.
With the knowledge and skills gained from this guide, you can confidently undertake electrical projects that involve cutting conduit with wires inside. Whether you are installing new conduit or making modifications to existing wiring, you are now equipped with the necessary information to complete the task effectively and safely.
Always prioritize safety and thoroughness in your work to ensure the longevity and functionality of your electrical system. By following the guidelines outlined in this guide, you are well on your way to successfully completing your electrical projects with confidence.
Happy cutting and best of luck with your future electrical endeavors!
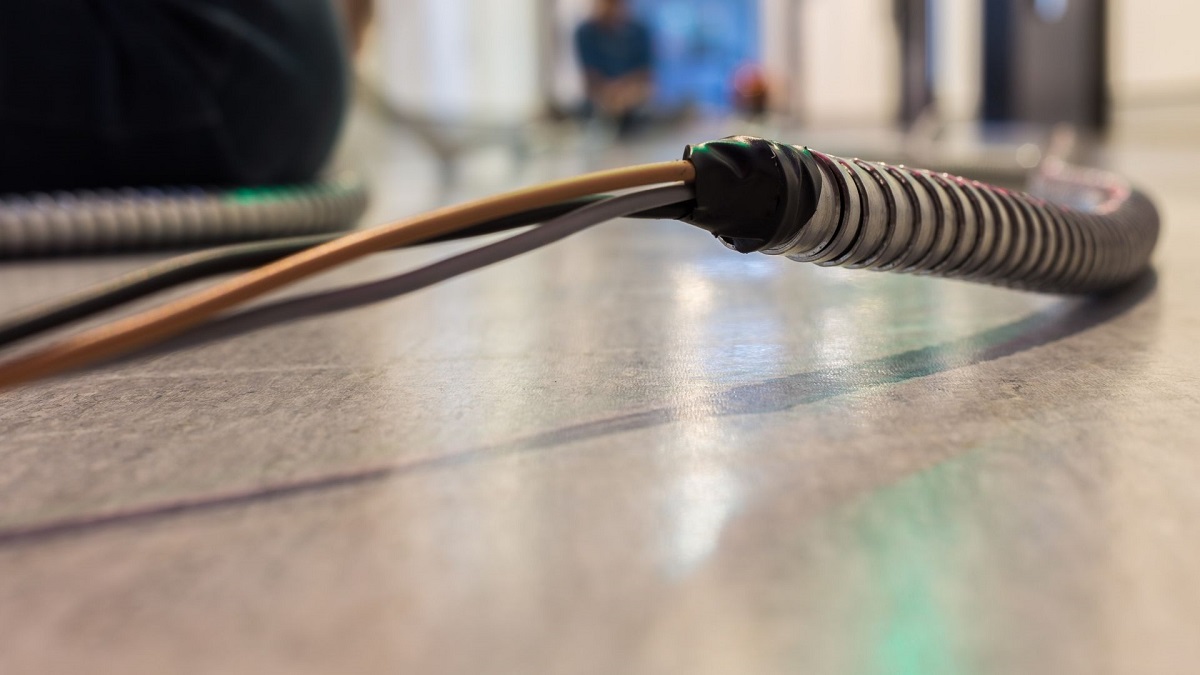
Ready to tackle more conduit-related tasks? If you've mastered cutting conduit with wires inside, you might want to learn about cutting flexible electrical conduit next. This guide offers useful tips and tricks to handle flexible conduit efficiently, ensuring your projects run smoothly without a hitch.
Frequently Asked Questions about How To Cut Conduit With Wires Inside
Was this page helpful?
At Storables.com, we guarantee accurate and reliable information. Our content, validated by Expert Board Contributors, is crafted following stringent Editorial Policies. We're committed to providing you with well-researched, expert-backed insights for all your informational needs.
0 thoughts on “How To Cut Conduit With Wires Inside”