Articles
How To Connect Conduit To Flexible Conduit
Modified: August 28, 2024
Learn how to connect conduit to flexible conduit with this informative article. Get step-by-step instructions and expert tips.
(Many of the links in this article redirect to a specific reviewed product. Your purchase of these products through affiliate links helps to generate commission for Storables.com, at no extra cost. Learn more)
Introduction
Welcome to the world of electrical installations! If you’re embarking on a project that involves running electrical wiring, it’s essential to ensure that the wires are properly protected. This is where conduit comes into play. Conduit is a tube or pipe that provides a protective covering for electrical wires, preventing damage and ensuring safety. However, there are cases where the flexibility of conduit is required. In such instances, flexible conduit becomes the ideal solution. In this article, we will delve into the process of connecting conduit to flexible conduit, guiding you step-by-step to complete a seamless and secure electrical installation.
Before we dive into the specifics, let’s take a closer look at the two key components of this process: conventional conduit and flexible conduit.
Key Takeaways:
- Properly connecting conduit to flexible conduit is crucial for a secure electrical installation, ensuring protection and functionality for wiring systems in various applications.
- Understanding the purpose and characteristics of conduit and flexible conduit, along with following step-by-step instructions, enables a smooth and efficient process for creating a robust electrical system.
Read more: How To Cut Flexible Electrical Conduit
Understanding Conduit
Conduit is an integral part of electrical installations, serving as a protective pathway for electrical wiring. It is typically made of materials such as metal (such as steel or aluminum) or plastic (such as PVC). The primary purpose of conduit is to shield the electrical wires from damage, including moisture, chemicals, and physical impact. By enclosing the wires, conduit also helps to prevent accidental contact, reducing the risk of electric shock. Additionally, conduit provides a neat and organized appearance for wiring systems.
Conduit is available in various sizes and types, each designed for specific applications. Common types of conduits include rigid metal conduit (RMC), intermediate metal conduit (IMC), electrical metallic tubing (EMT), and PVC conduit. RMC is the most heavy-duty option, suitable for outdoor and high-impact areas. IMC offers a lighter and more cost-effective alternative, while EMT offers excellent flexibility for tight spaces. PVC conduit is favored for its affordability, corrosion resistance, and easy installation.
When working with conduit, it’s important to consider factors such as the environment, the type and size of wires being used, and local building codes. Following the appropriate guidelines and regulations ensures a safe and compliant installation.
Understanding Flexible Conduit
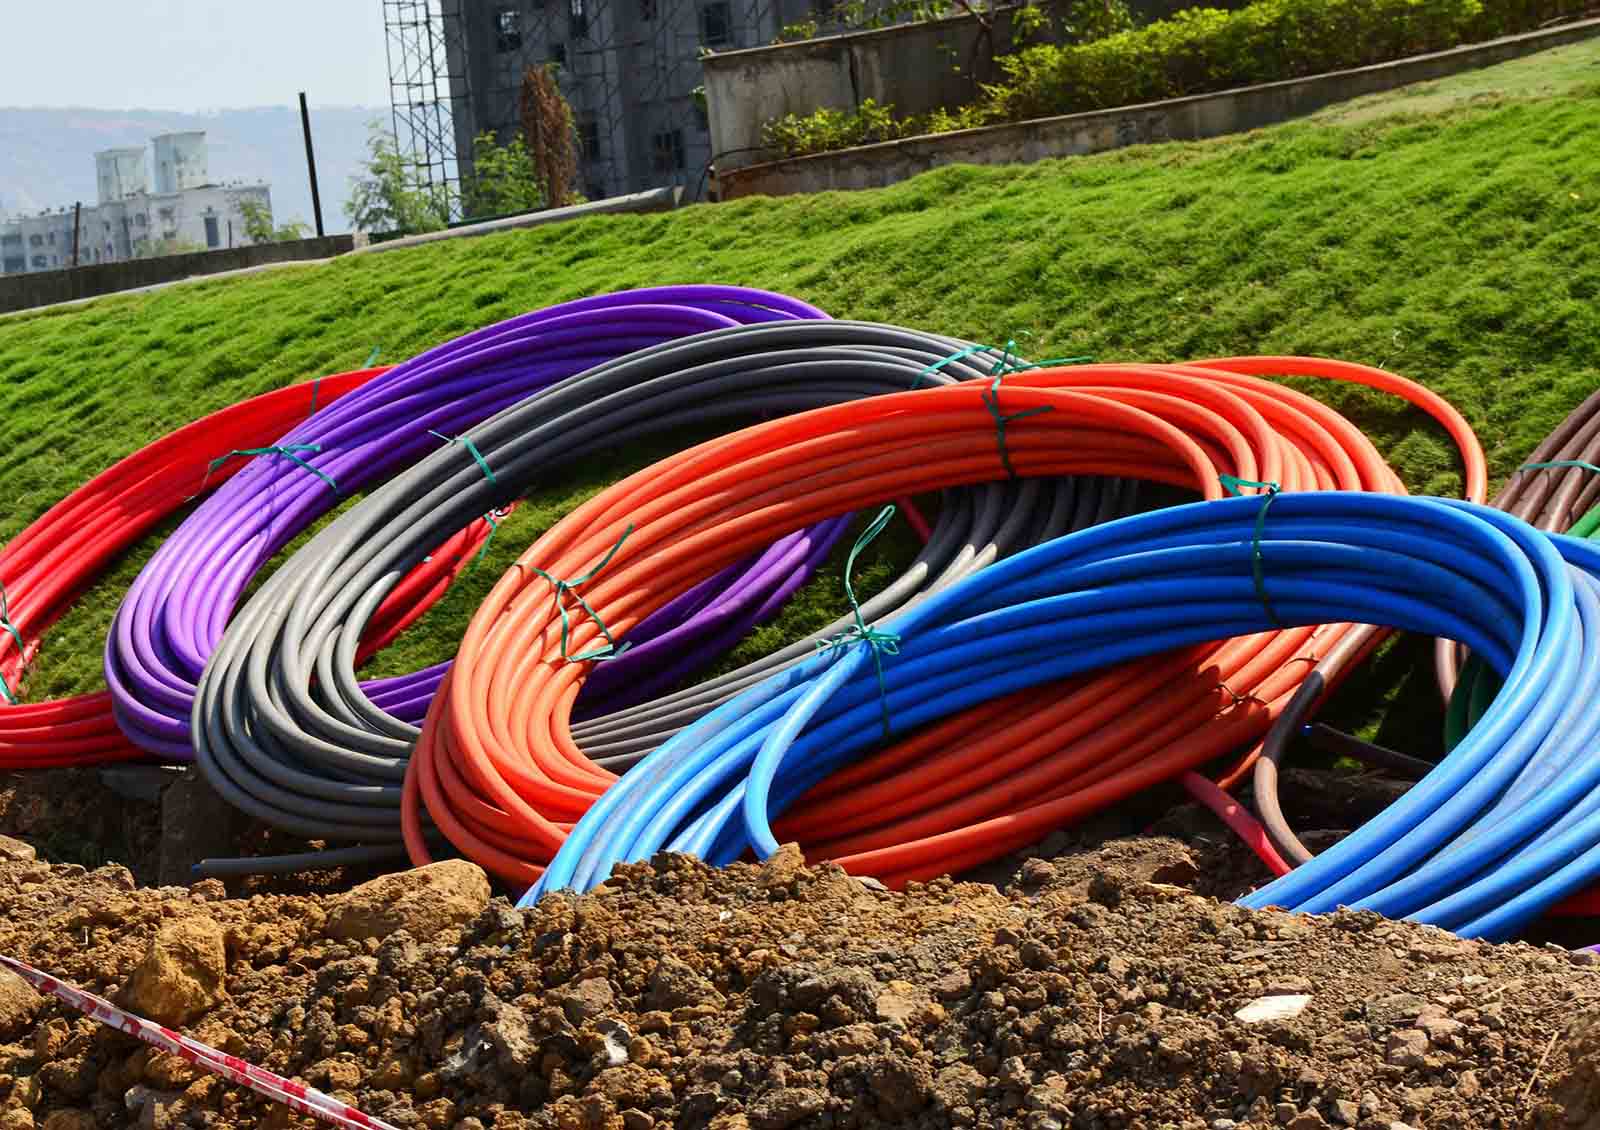
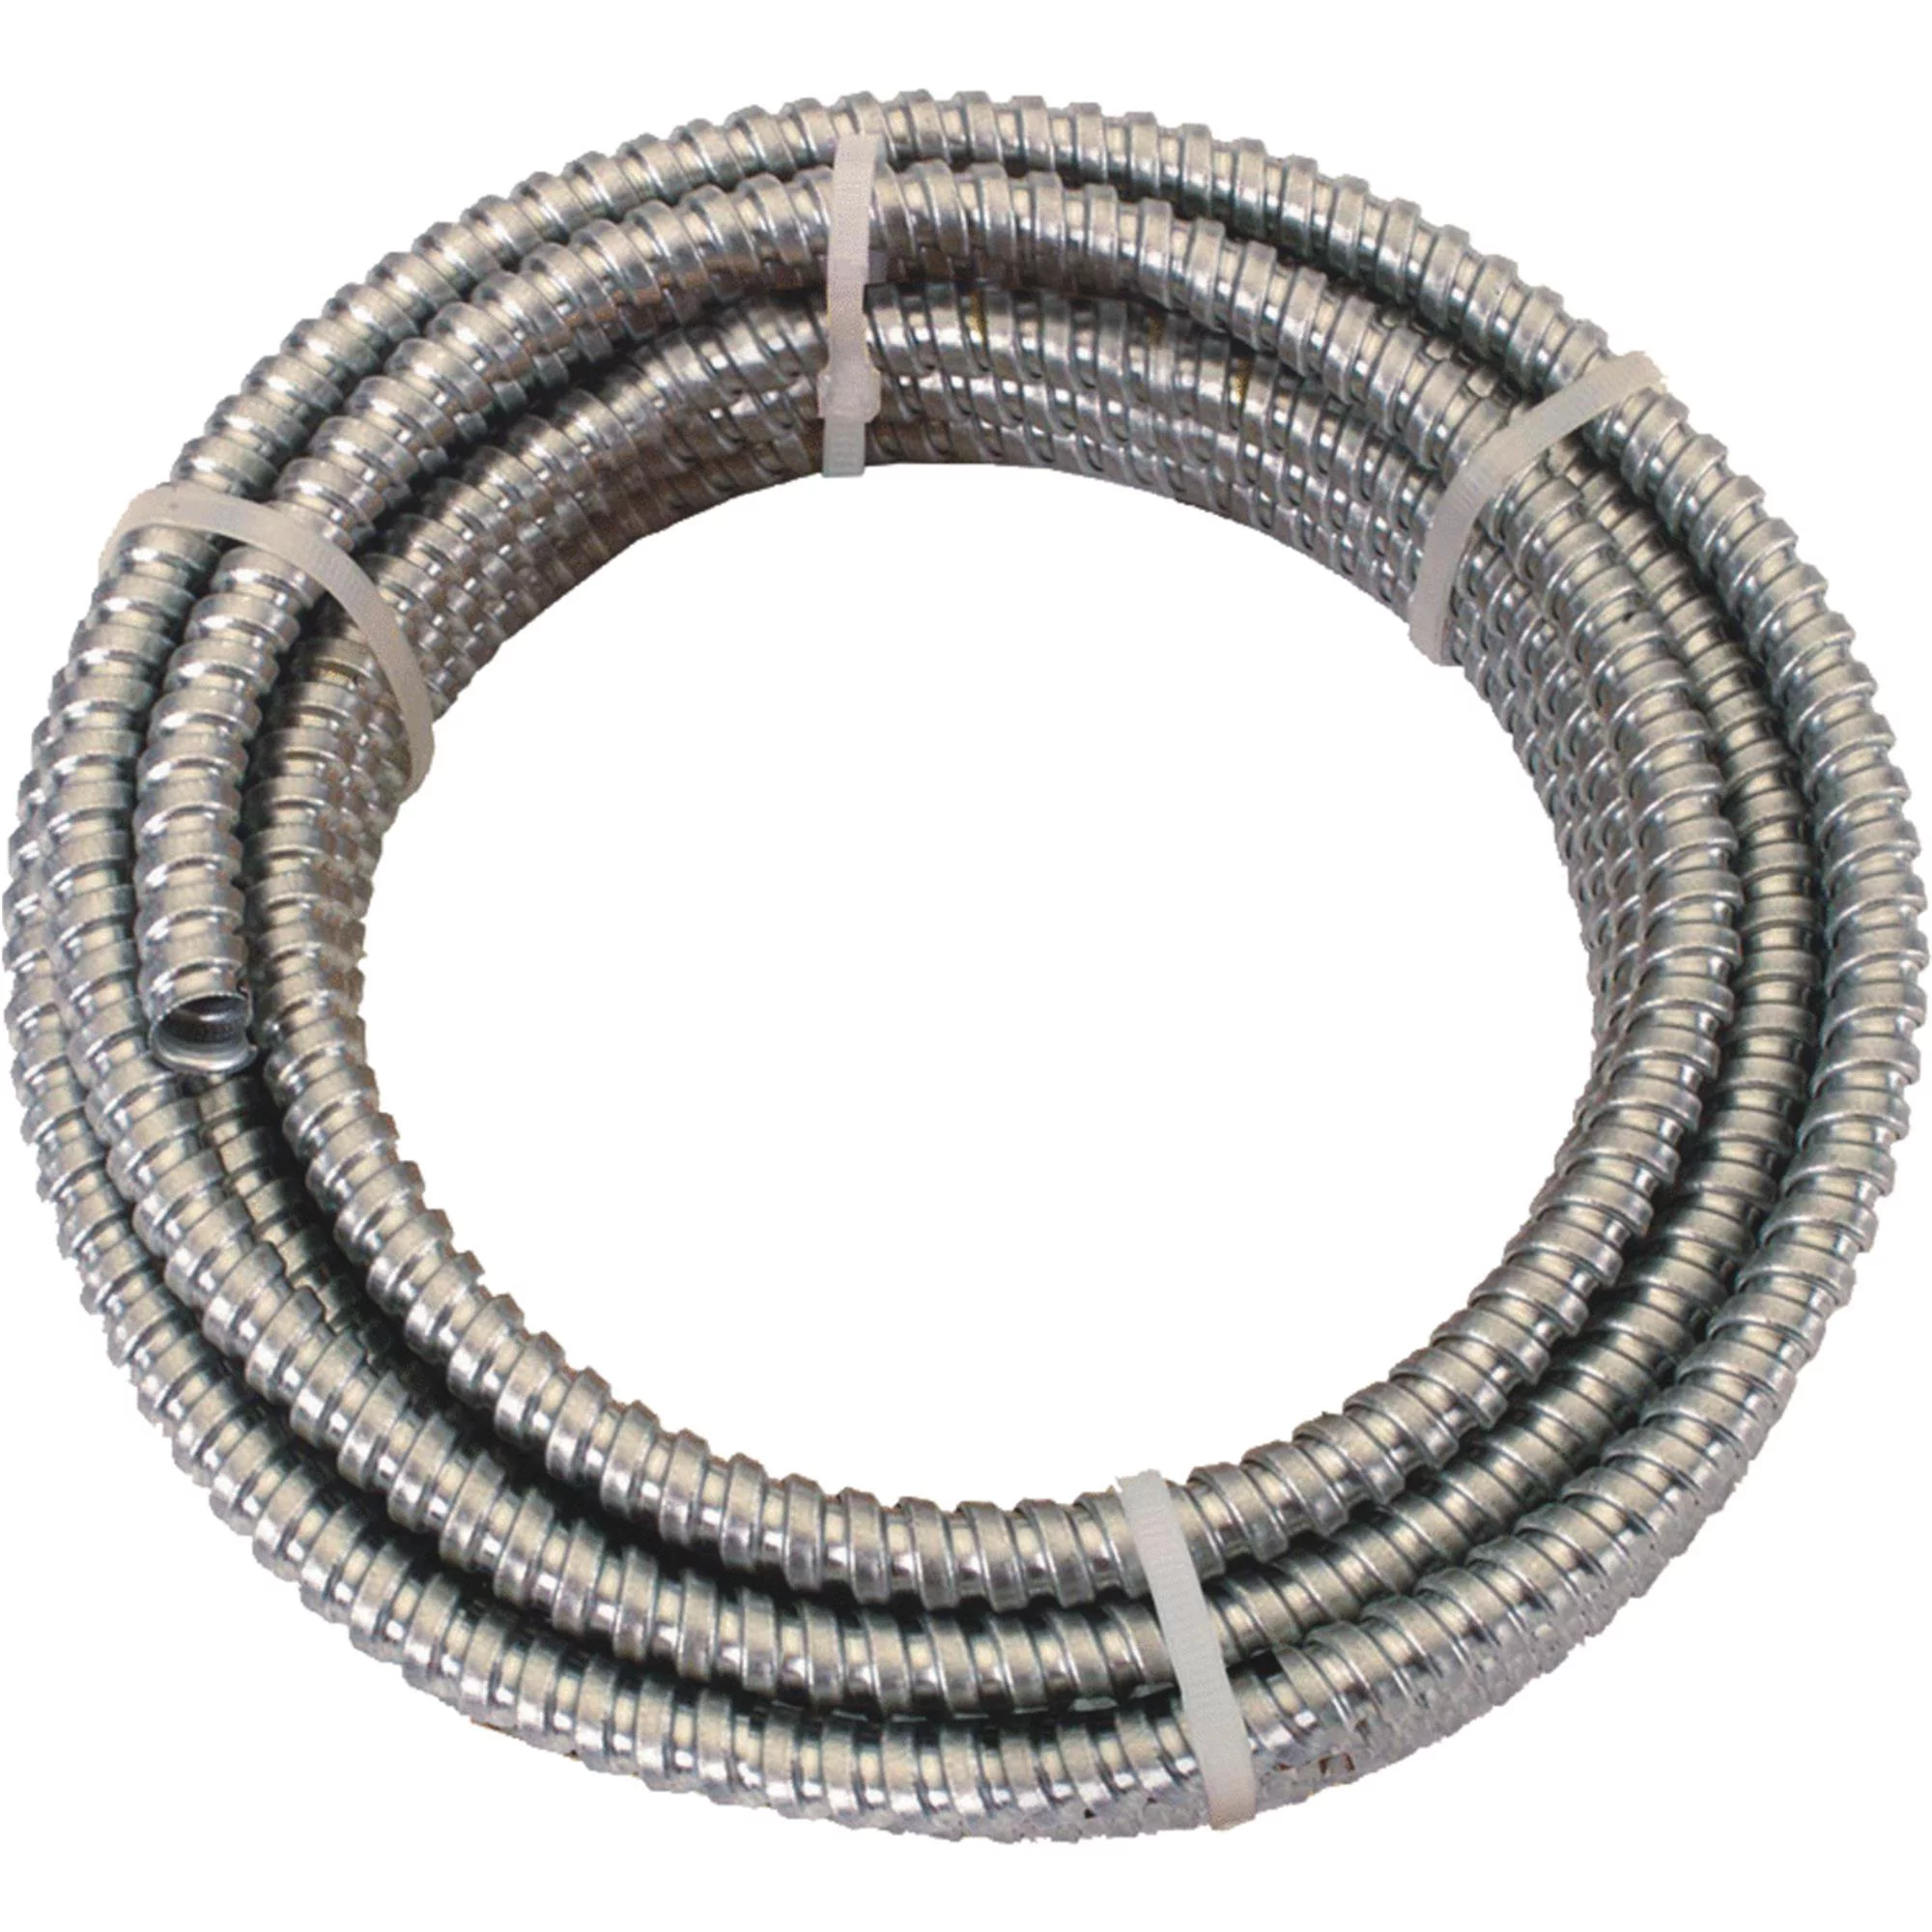
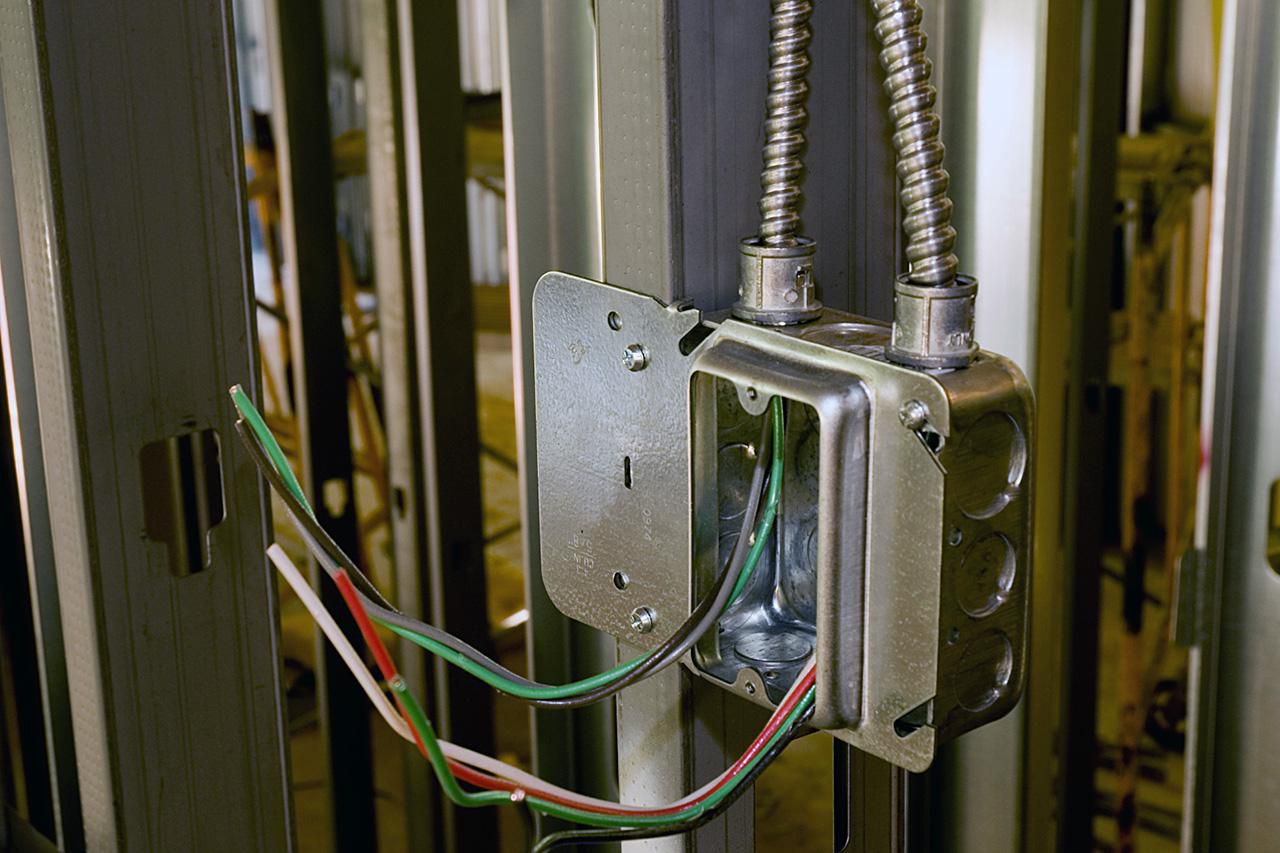
Flexible conduit, as the name suggests, is a more adaptable alternative to traditional rigid conduit. It is designed to provide flexibility and ease of installation in situations where rigid conduit may be impractical or difficult to maneuver. Flexible conduit is commonly used in applications that involve areas with frequent movement or bends, such as machinery, vehicles, or areas with vibrations.
Flexible conduit is made from a variety of materials, including metal (such as steel or aluminum) and non-metallic materials like PVC or nylon. The choice of material depends on the specific requirements of the installation. Metallic flexible conduits offer superior protection against physical damage and electrical interference, while non-metallic flexible conduits are lightweight and resistant to corrosion.
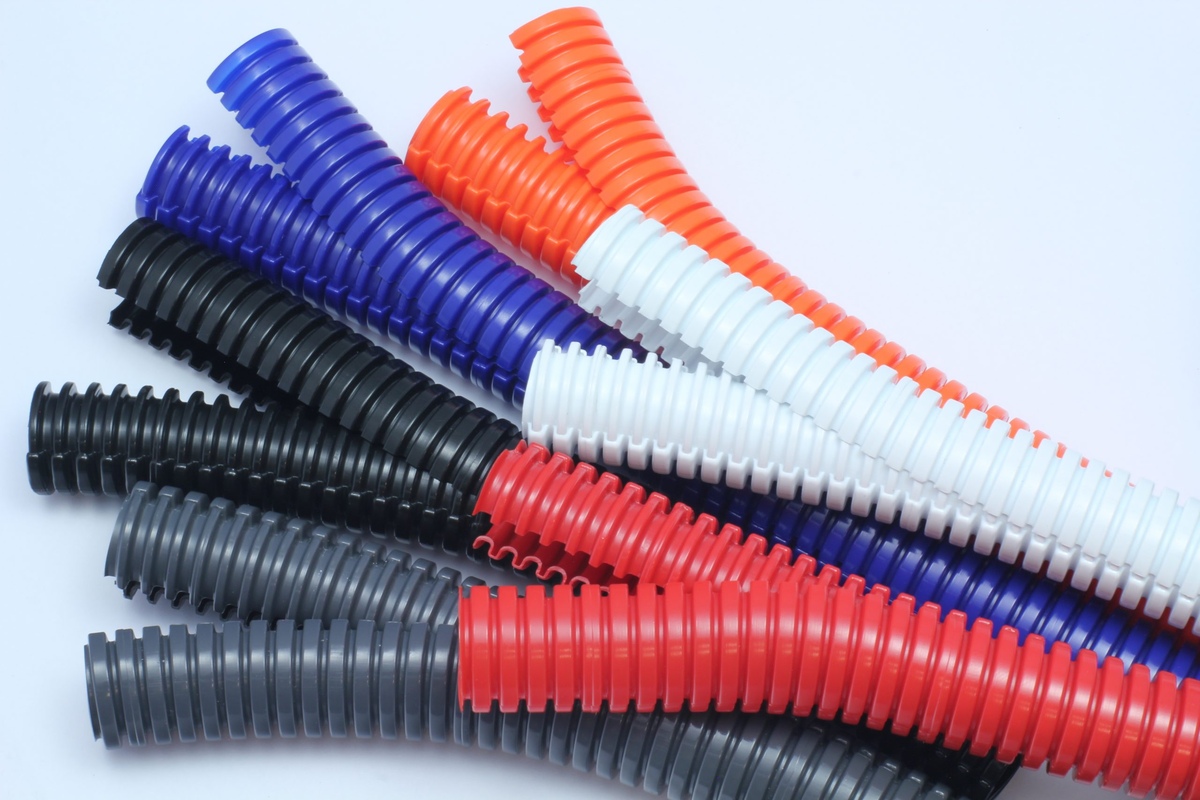
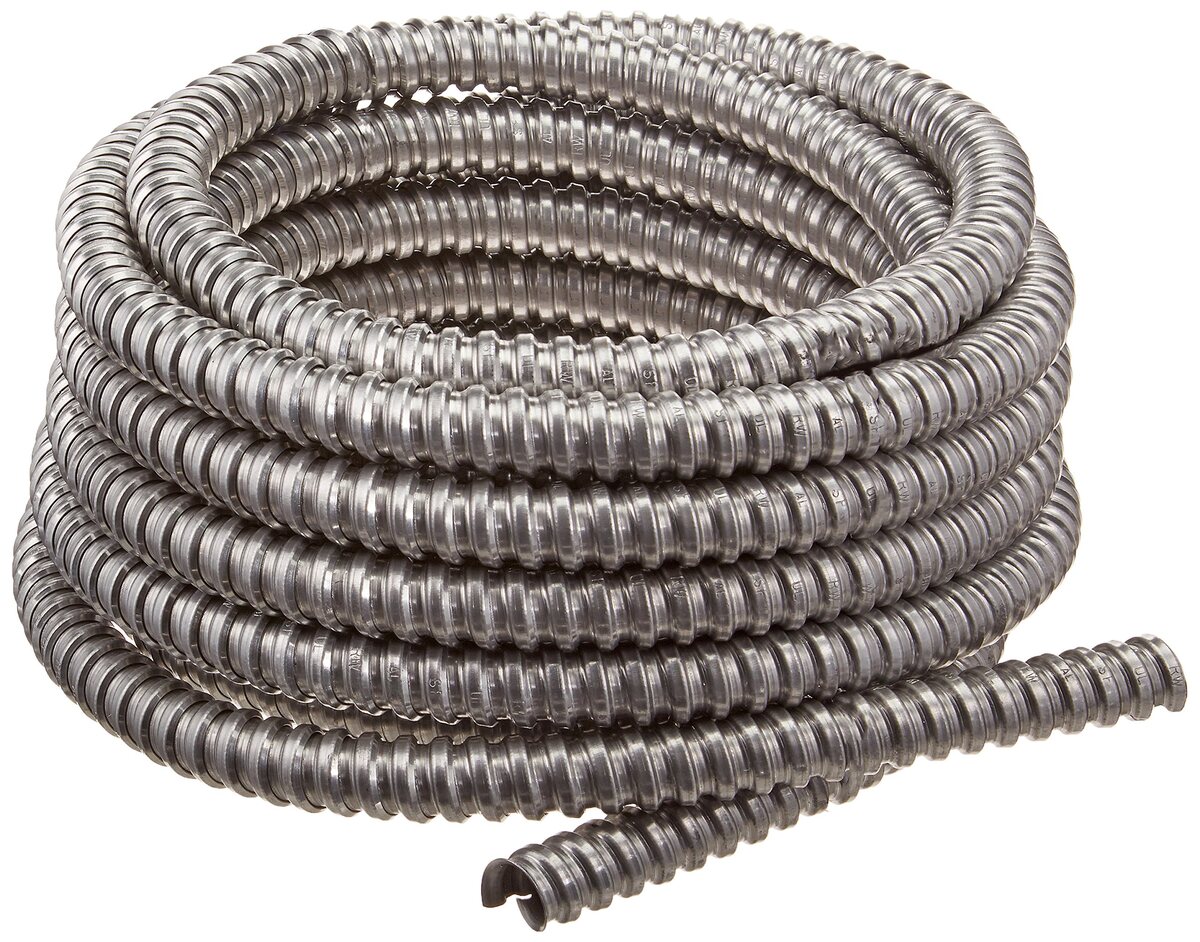
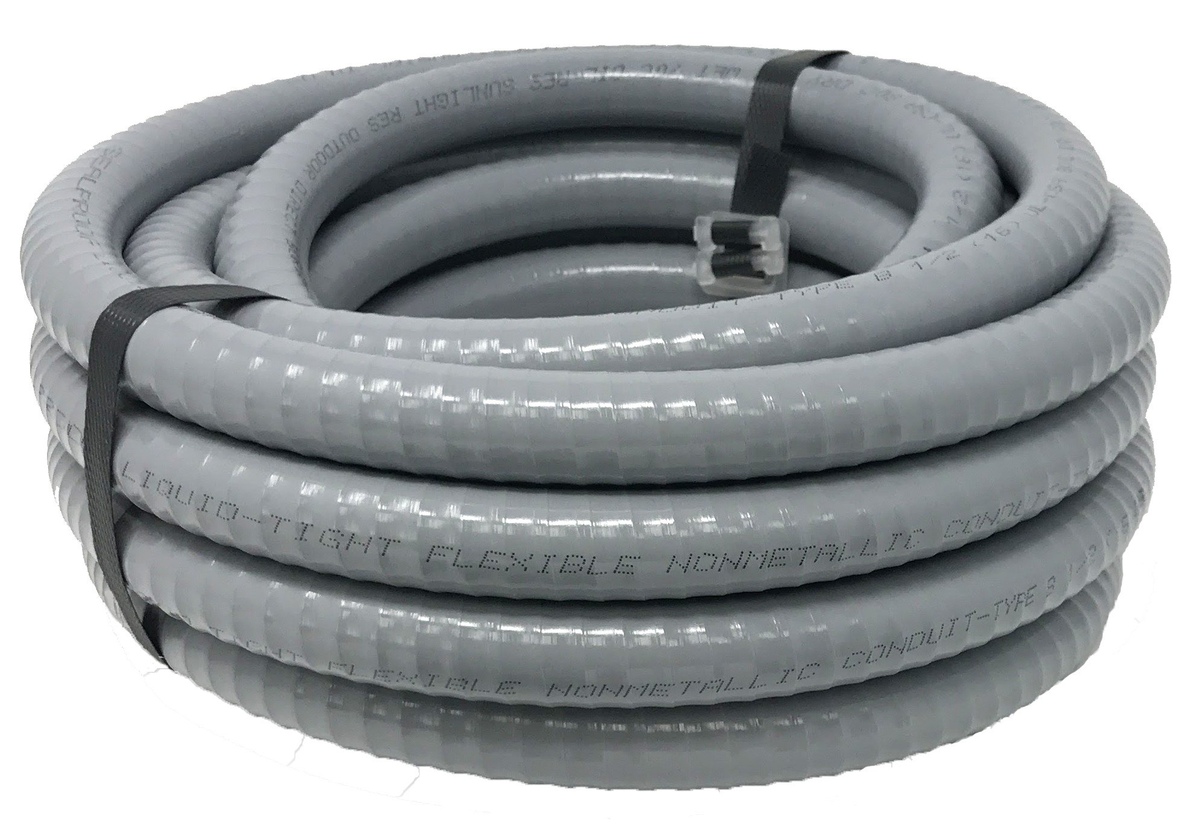
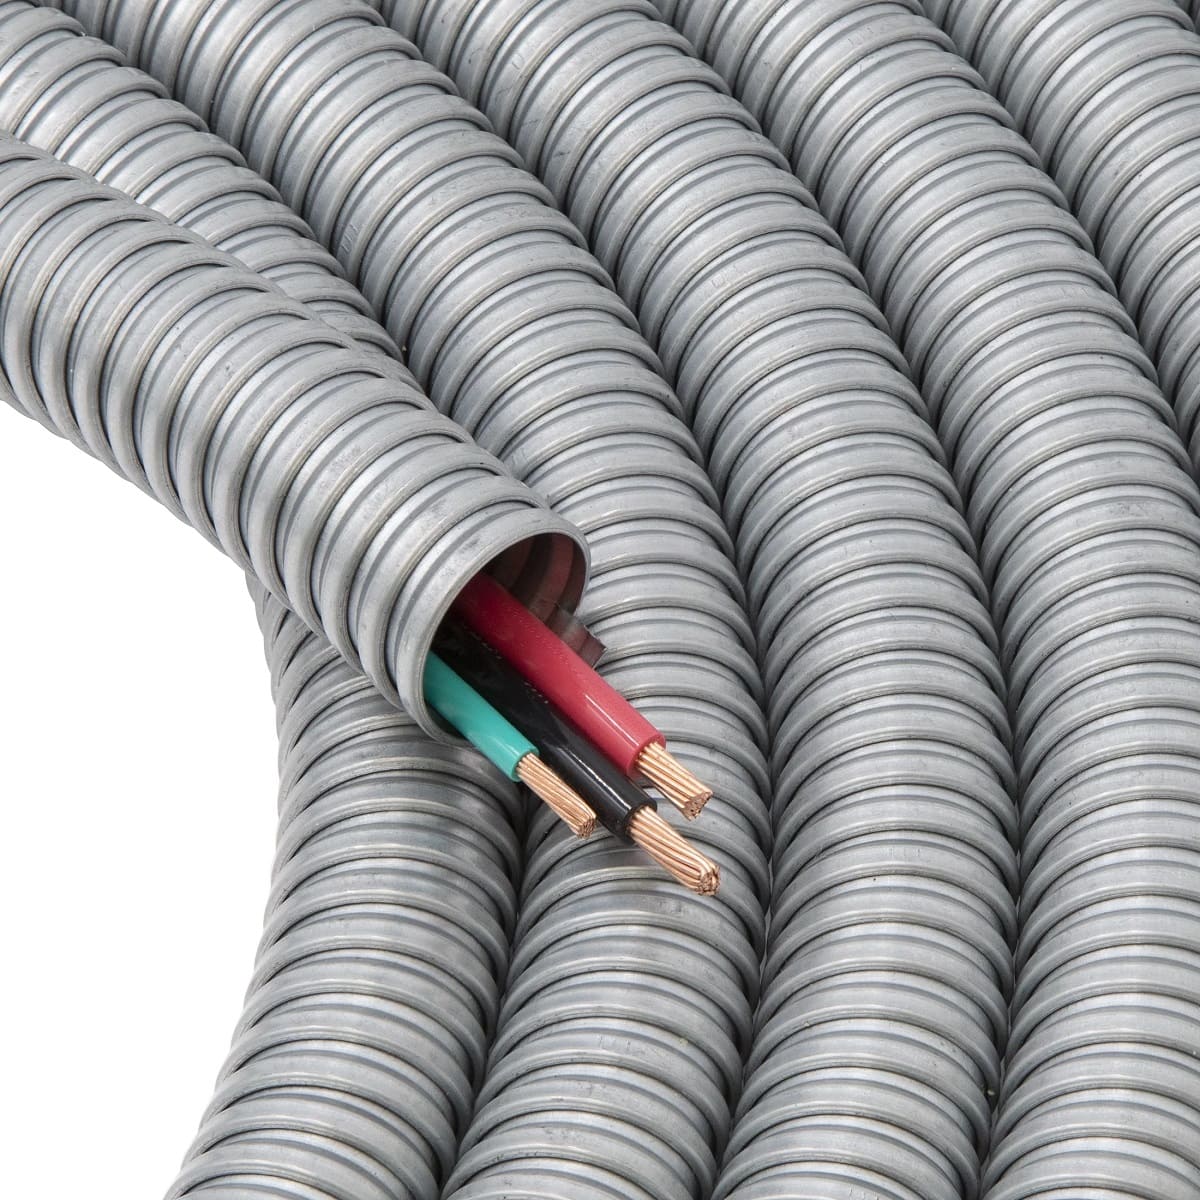
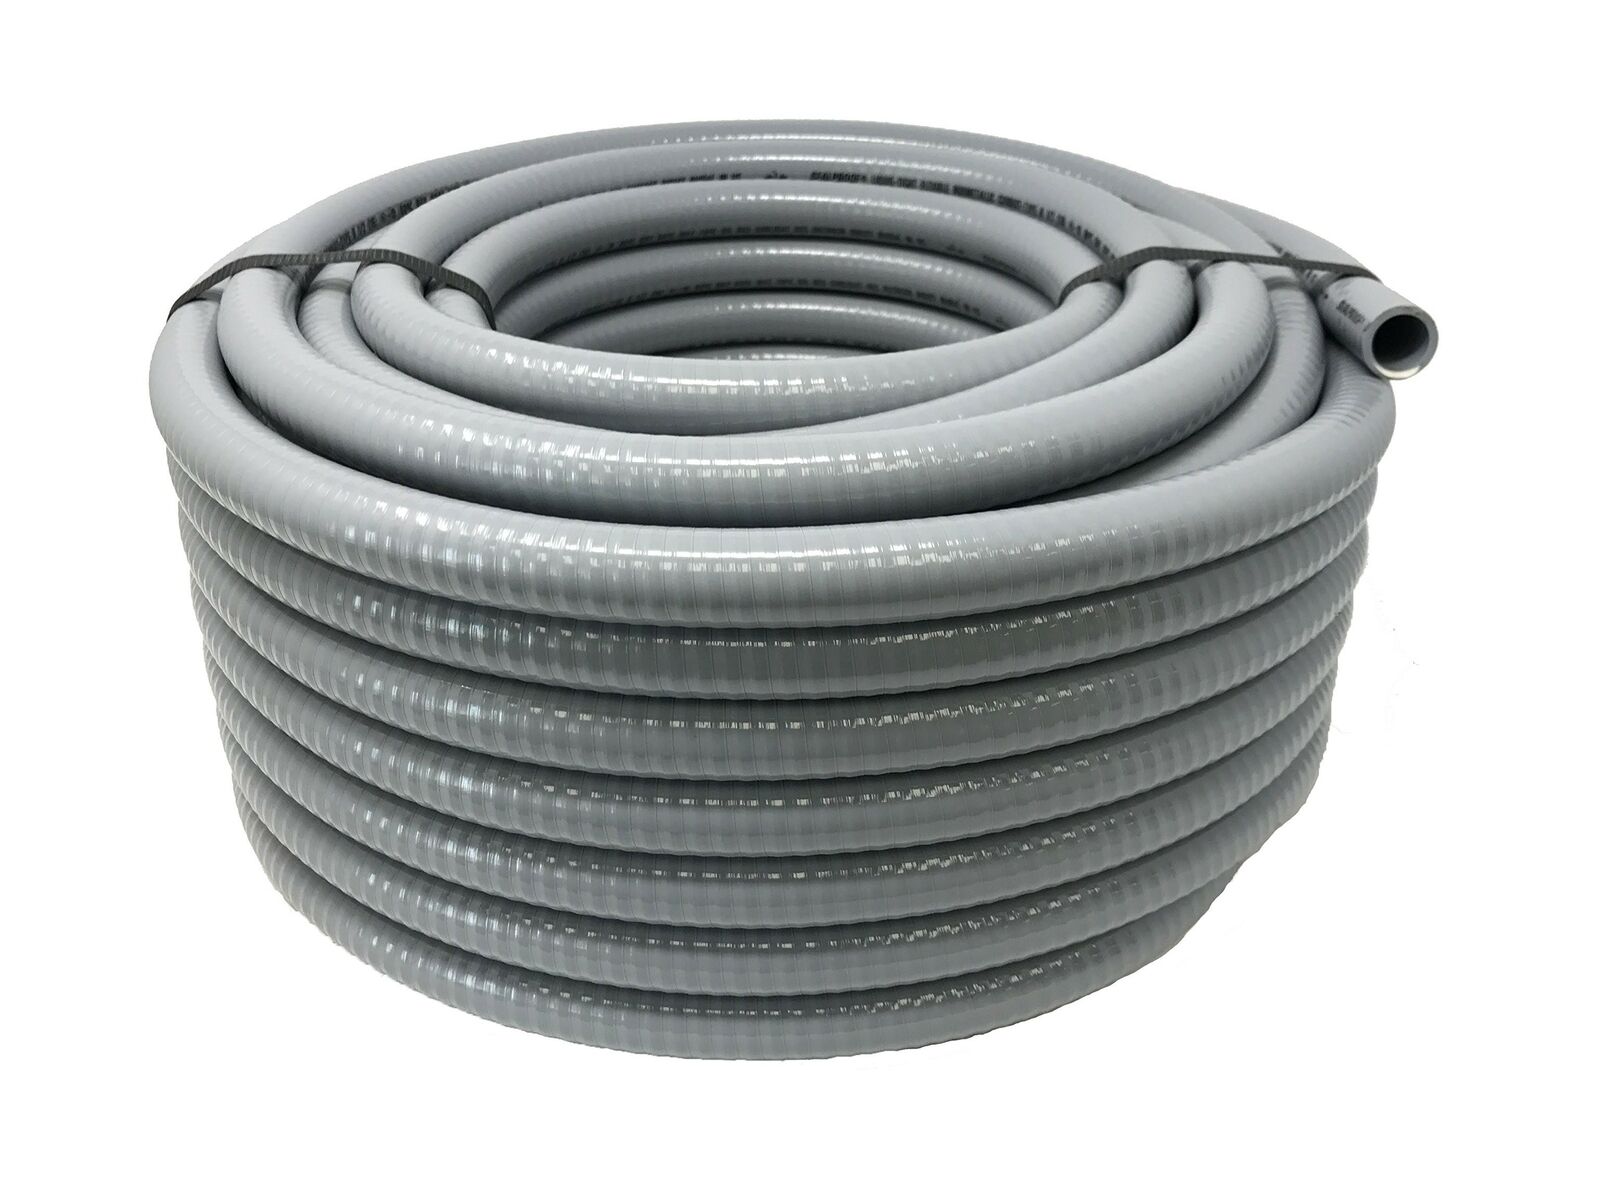
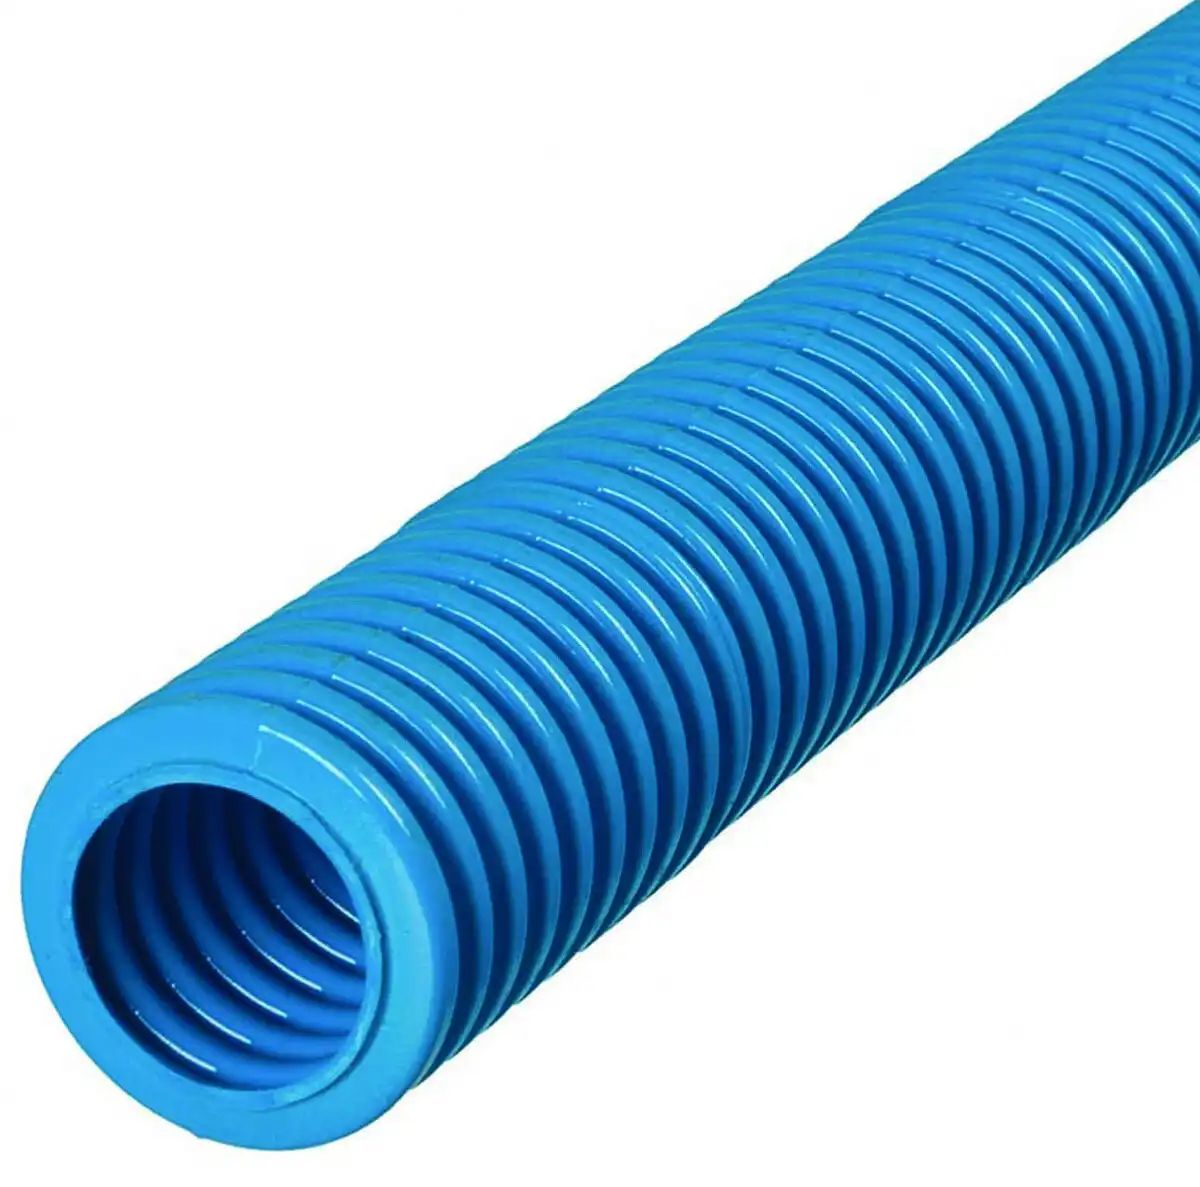
There are different types of flexible conduit available, including flexible metal conduit (FMC), liquid-tight flexible metal conduit (LFMC), and non-metallic flexible conduit. FMC consists of a spiral-wound metal strip, providing excellent flexibility while maintaining a high level of protection. LFMC adds a liquid-tight coating, making it suitable for damp or wet environments. Non-metallic flexible conduit, often referred to as “smurf tube” due to its blue color, is predominantly used for low-voltage applications.
When using flexible conduit, it’s important to choose the appropriate size and type that matches the wires being used. The conduit should be able to securely hold and protect the wires while allowing for movement and flexibility. Additionally, it is crucial to follow manufacturer guidelines and local building codes when installing flexible conduit to ensure a safe and compliant electrical system.
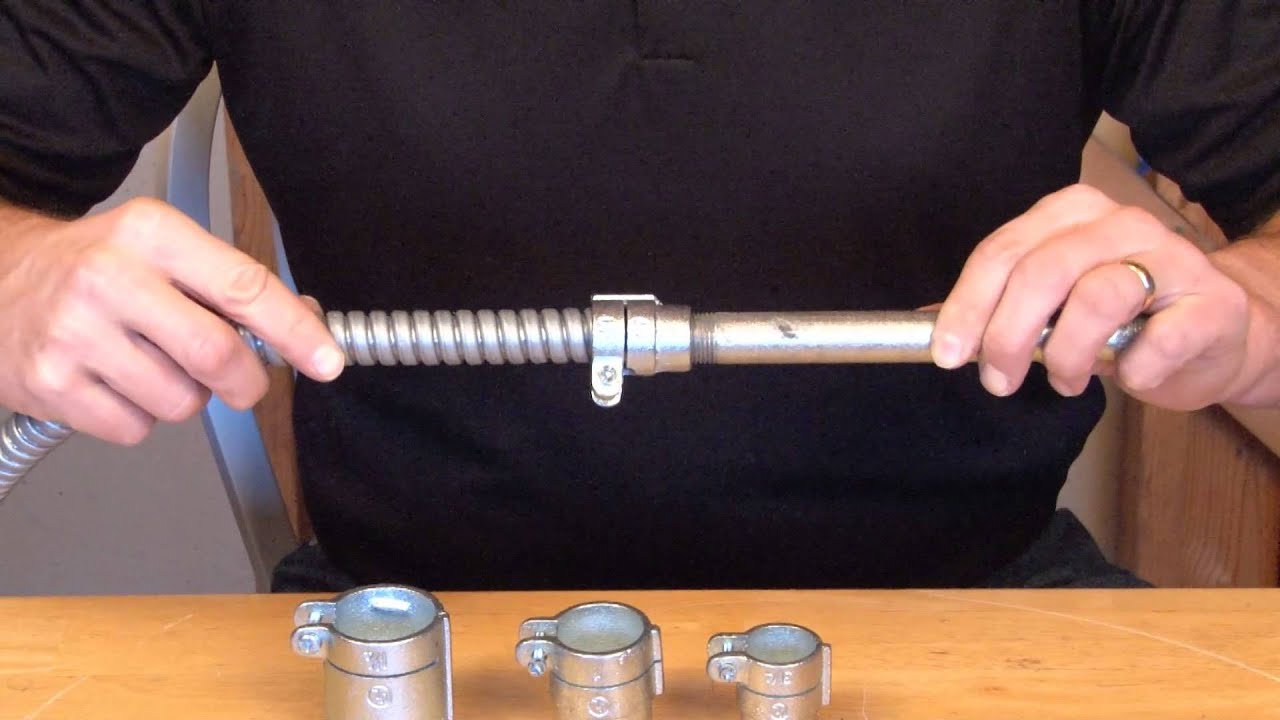
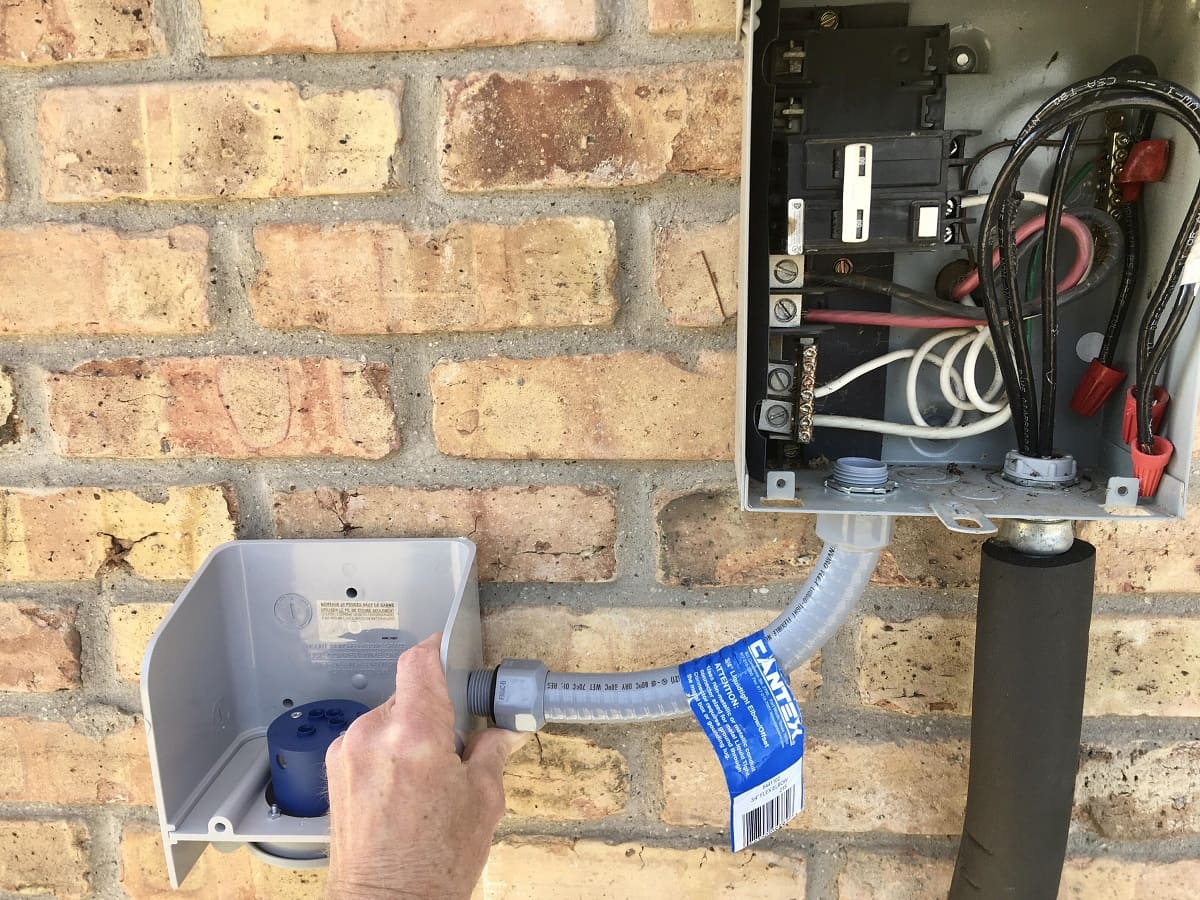
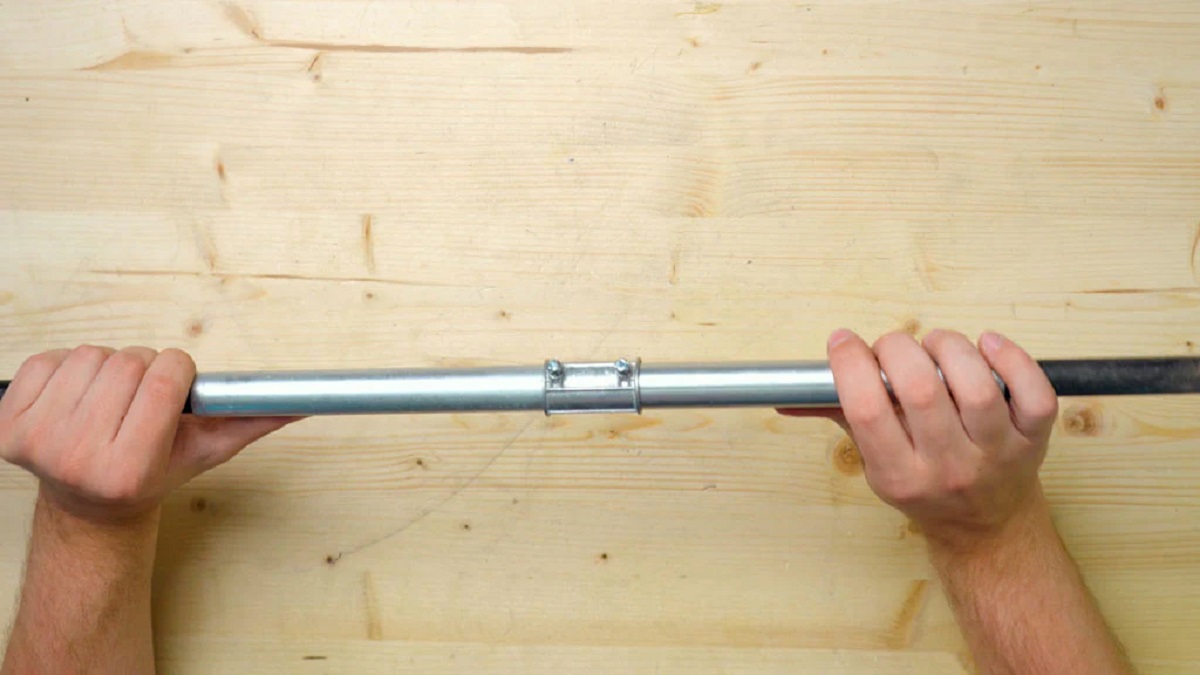
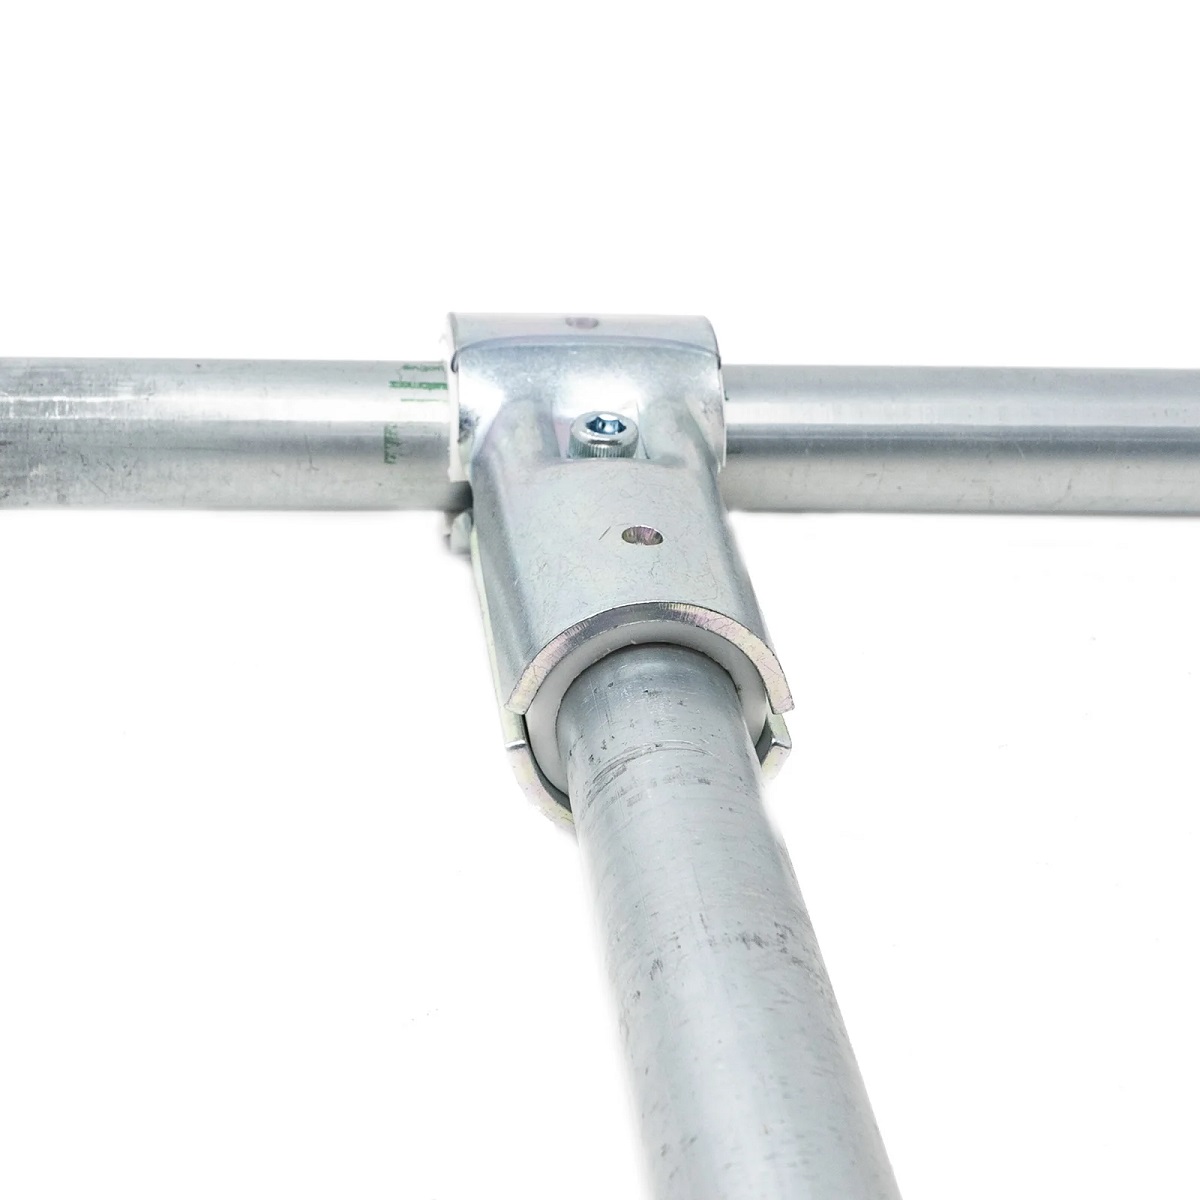
When connecting conduit to flexible conduit, use a threaded adapter to secure the two together. Make sure to tighten the connection securely to prevent any movement or separation.
Tools and Materials Required
Before you begin the process of connecting conduit to flexible conduit, it’s important to gather all the necessary tools and materials. Here’s a list of items you’ll need:
- Tape Measure: Used to measure the lengths of conduit and determine the appropriate sizes for fittings.
- Hacksaw or Conduit Cutter: Required to cut the conduit to the desired lengths.
- Deburring Tool: Used to remove sharp edges and burrs from the cut ends of the conduit.
- Conduit Bender: If needed, a conduit bender may be required to create bends in rigid conduit. This tool allows for precise bending without damaging the conduit.
- Conduit Fittings: Connectors, couplings, and other fittings will be needed to join the conduit pieces together. Ensure that the fittings are compatible with the type and size of conduit you are using.
- Screwdriver or Nut Driver: Required to tighten the fittings securely.
- Flexible Conduit: Choose the appropriate length and type of flexible conduit for your specific installation.
- Wire Pulling Lubricant: Lubricant is used to help ease the pulling of wires through the conduit.
- Electrical Tape: Used to secure and insulate connections.
- Protective Gloves and Safety Glasses: Essential safety equipment to protect your hands and eyes during the installation process.
Having all the necessary tools and materials on hand before you begin will help ensure a smooth and efficient installation process. Additionally, it’s always a good idea to double-check with local building codes and regulations to ensure compliance with any specific requirements or restrictions.
Steps to Connect Conduit to Flexible Conduit
Connecting conduit to flexible conduit requires careful planning and execution to ensure a secure and reliable electrical installation. Follow these step-by-step instructions:
- Prepare the Conduit: Measure and cut the rigid conduit to the desired lengths using a hacksaw or conduit cutter. Use a deburring tool to remove sharp edges and burrs from the cut ends of the conduit.
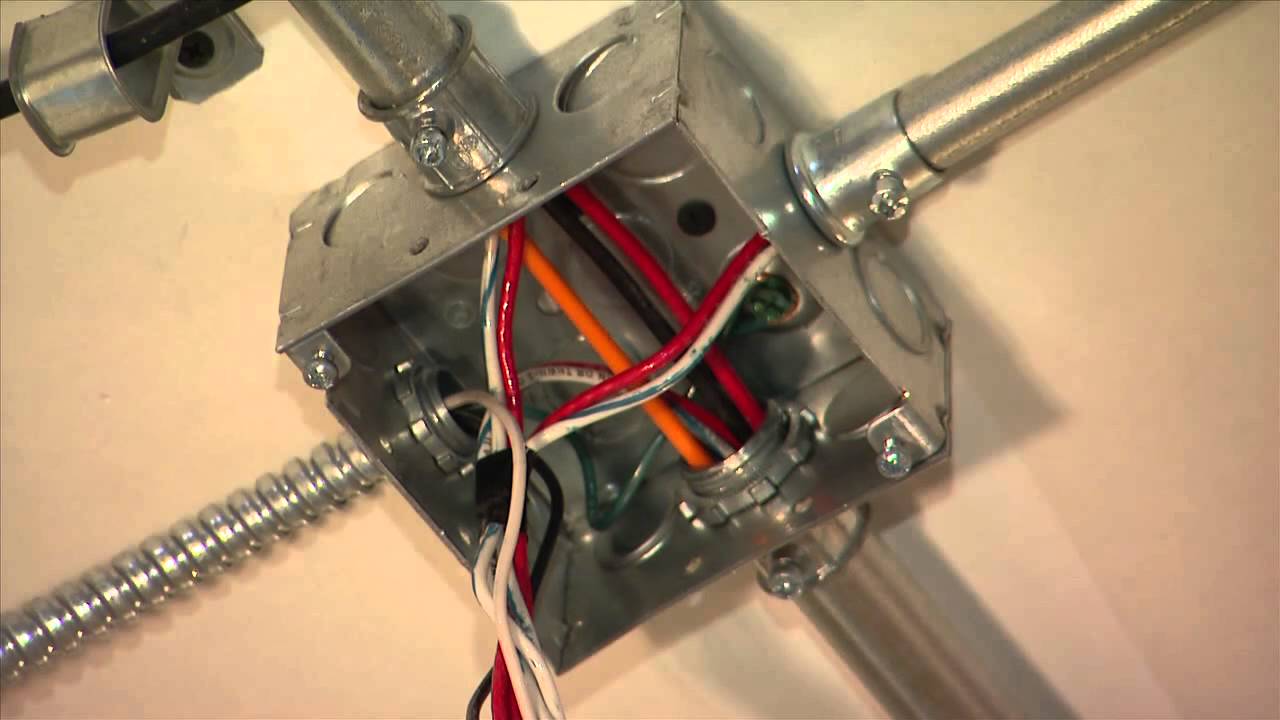
- Install Conduit Fittings: Attach the appropriate conduit fittings to the ends of the rigid conduit. Make sure the fittings are securely tightened using a screwdriver or nut driver.
- Measure and Cut Flexible Conduit: Measure the length of flexible conduit needed to bridge the gap between the two rigid conduit sections. Cut the flexible conduit to the measured length, ensuring a clean and straight cut.
- Secure the Flexible Conduit: Slide the flexible conduit onto one end of the rigid conduit, ensuring it fits securely. Depending on the type of flexible conduit used, you may need to use additional fittings or connectors to secure it in place.
- Attach the Second Rigid Conduit: Slide the other end of the flexible conduit onto the remaining section of the rigid conduit. Ensure a snug fit and use fittings as necessary to secure the connection.
- Inspect and Secure: Check the entire connection to ensure it is properly aligned and secure. Make any necessary adjustments and tighten the fittings as needed.
- Complete the Wiring: With the conduit and flexible conduit connected, proceed with the wiring installation. Pull the wires through the conduit using wire-pulling lubricant to reduce friction. Make appropriate connections and secure them with electrical tape or wire connectors.
- Test and Verify: Once the wiring is complete, it’s important to test the electrical system to ensure it is functioning properly. Use a voltage tester or multimeter to verify the continuity and integrity of the circuit.
Remember to always follow safety guidelines, wear protective gear, and consult local building codes and regulations throughout the installation process. If you’re unsure about any aspect of the installation, it’s recommended to seek professional assistance.
Read also: 8 Amazing Flexible Steel Conduit for 2025
Conclusion
Connecting conduit to flexible conduit is an important step in ensuring the protection and functionality of your electrical wiring. By following the steps outlined in this article and using the appropriate tools and materials, you can successfully create a secure and reliable electrical installation.
Understanding the purpose and characteristics of conduit and flexible conduit is essential for a successful installation. Conduit provides protection and organization for electrical wiring, while flexible conduit offers the flexibility required in certain applications. Choosing the right materials and sizes for your specific project is crucial for a proper fit and optimal performance.
By gathering the necessary tools and materials, including tape measures, saws, and conduit fittings, you’ll be well-prepared to begin the installation process. Remember to prioritize safety, wear protective gear, and consult local building codes to ensure compliance with regulations.
Following the step-by-step instructions for connecting conduit to flexible conduit will help you complete the process smoothly and efficiently. From preparing the conduit and installing fittings to securing the flexible conduit and completing the wiring, each step plays a crucial role in creating a robust electrical system.
Once the connection is made, don’t forget to thoroughly inspect and test the system to ensure its proper functioning. This includes checking the alignment and security of the connection, as well as verifying the continuity and integrity of the circuit.
By implementing these guidelines, you can confidently connect conduit to flexible conduit, ensuring the safety, protection, and functionality of your electrical installation. Whether you’re working on a residential, commercial, or industrial project, proper conduit connection is vital for a successful electrical system.
If you have any doubts or concerns throughout the process, it is always recommended to consult with a professional electrician or seek expert advice to ensure a safe and accurate installation.
Frequently Asked Questions about How To Connect Conduit To Flexible Conduit
Was this page helpful?
At Storables.com, we guarantee accurate and reliable information. Our content, validated by Expert Board Contributors, is crafted following stringent Editorial Policies. We're committed to providing you with well-researched, expert-backed insights for all your informational needs.

0 thoughts on “How To Connect Conduit To Flexible Conduit”