Articles
How To Hone Granite Countertops
Modified: May 6, 2024
Discover effective techniques and essential tips in our articles on how to properly hone granite countertops for a flawless finish and long-lasting durability.
(Many of the links in this article redirect to a specific reviewed product. Your purchase of these products through affiliate links helps to generate commission for Storables.com, at no extra cost. Learn more)
Introduction
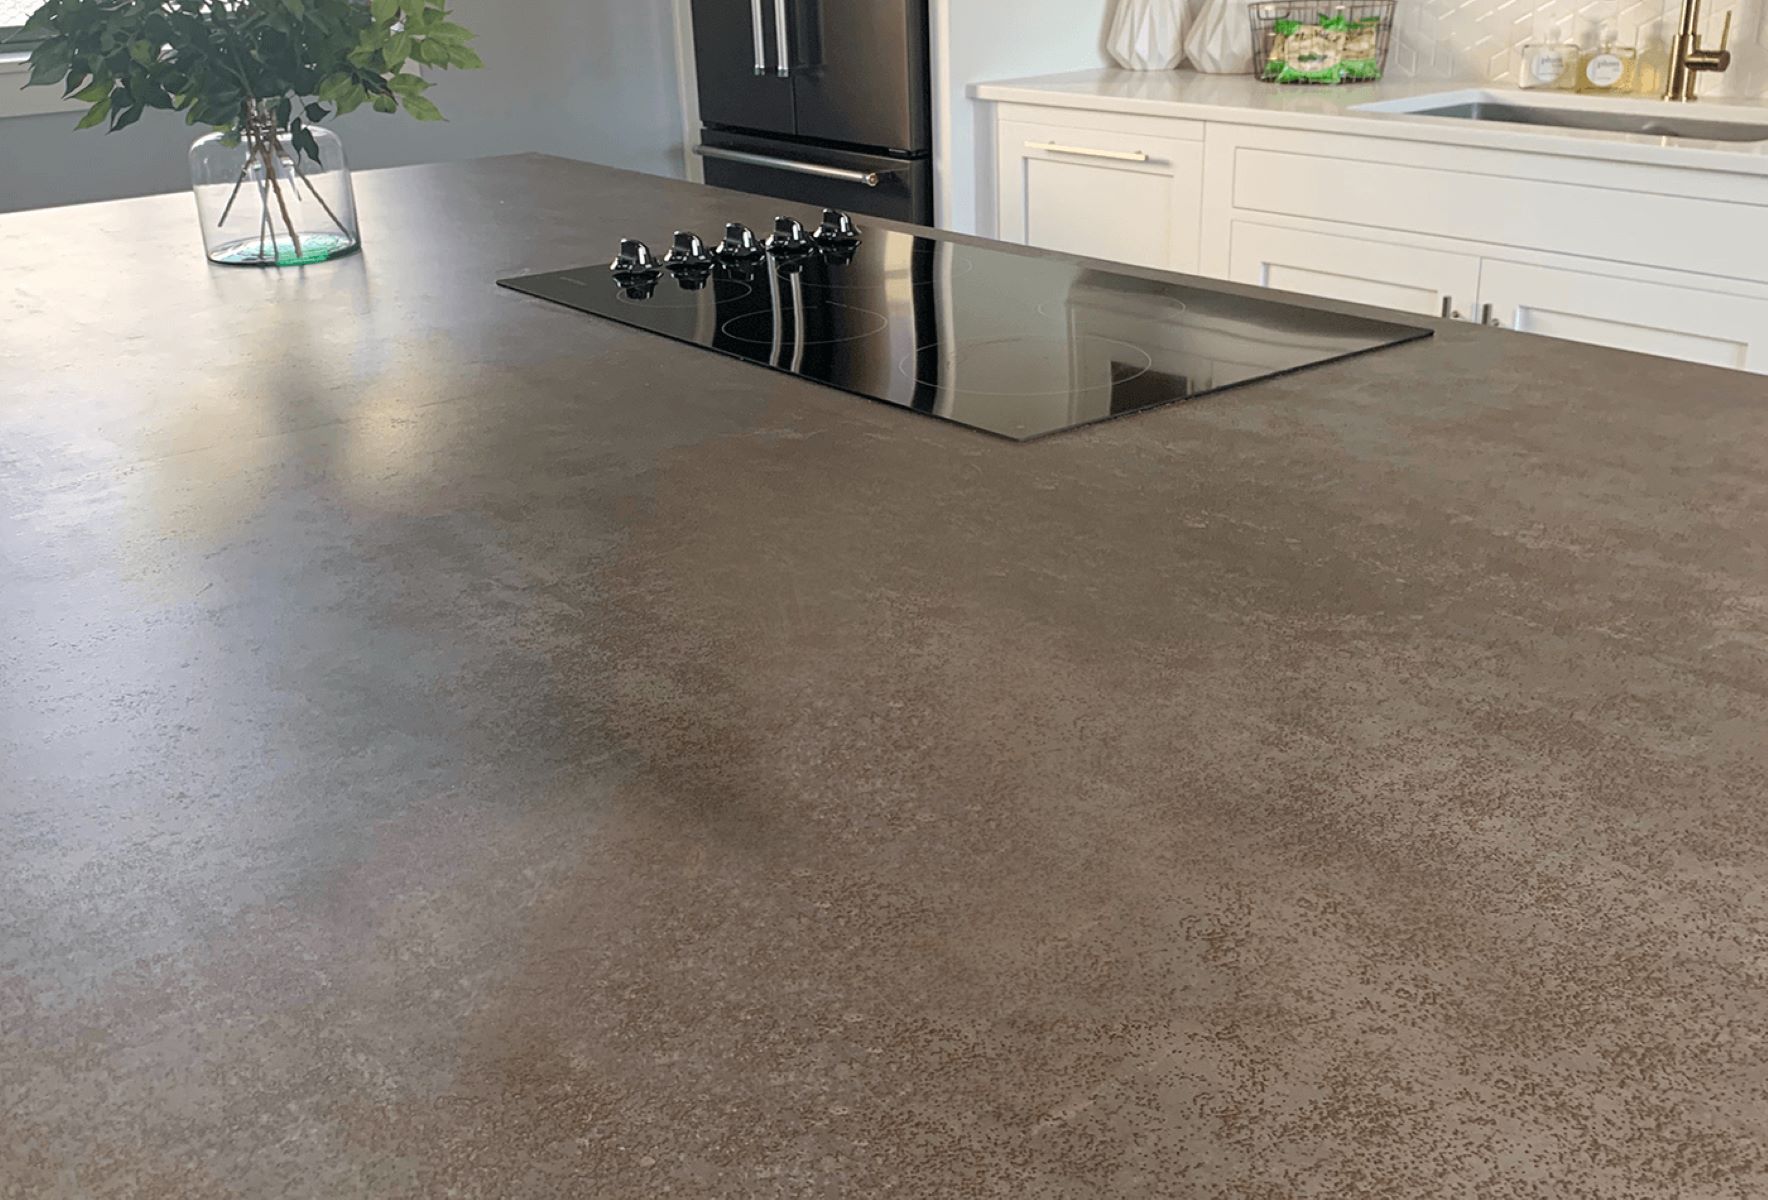
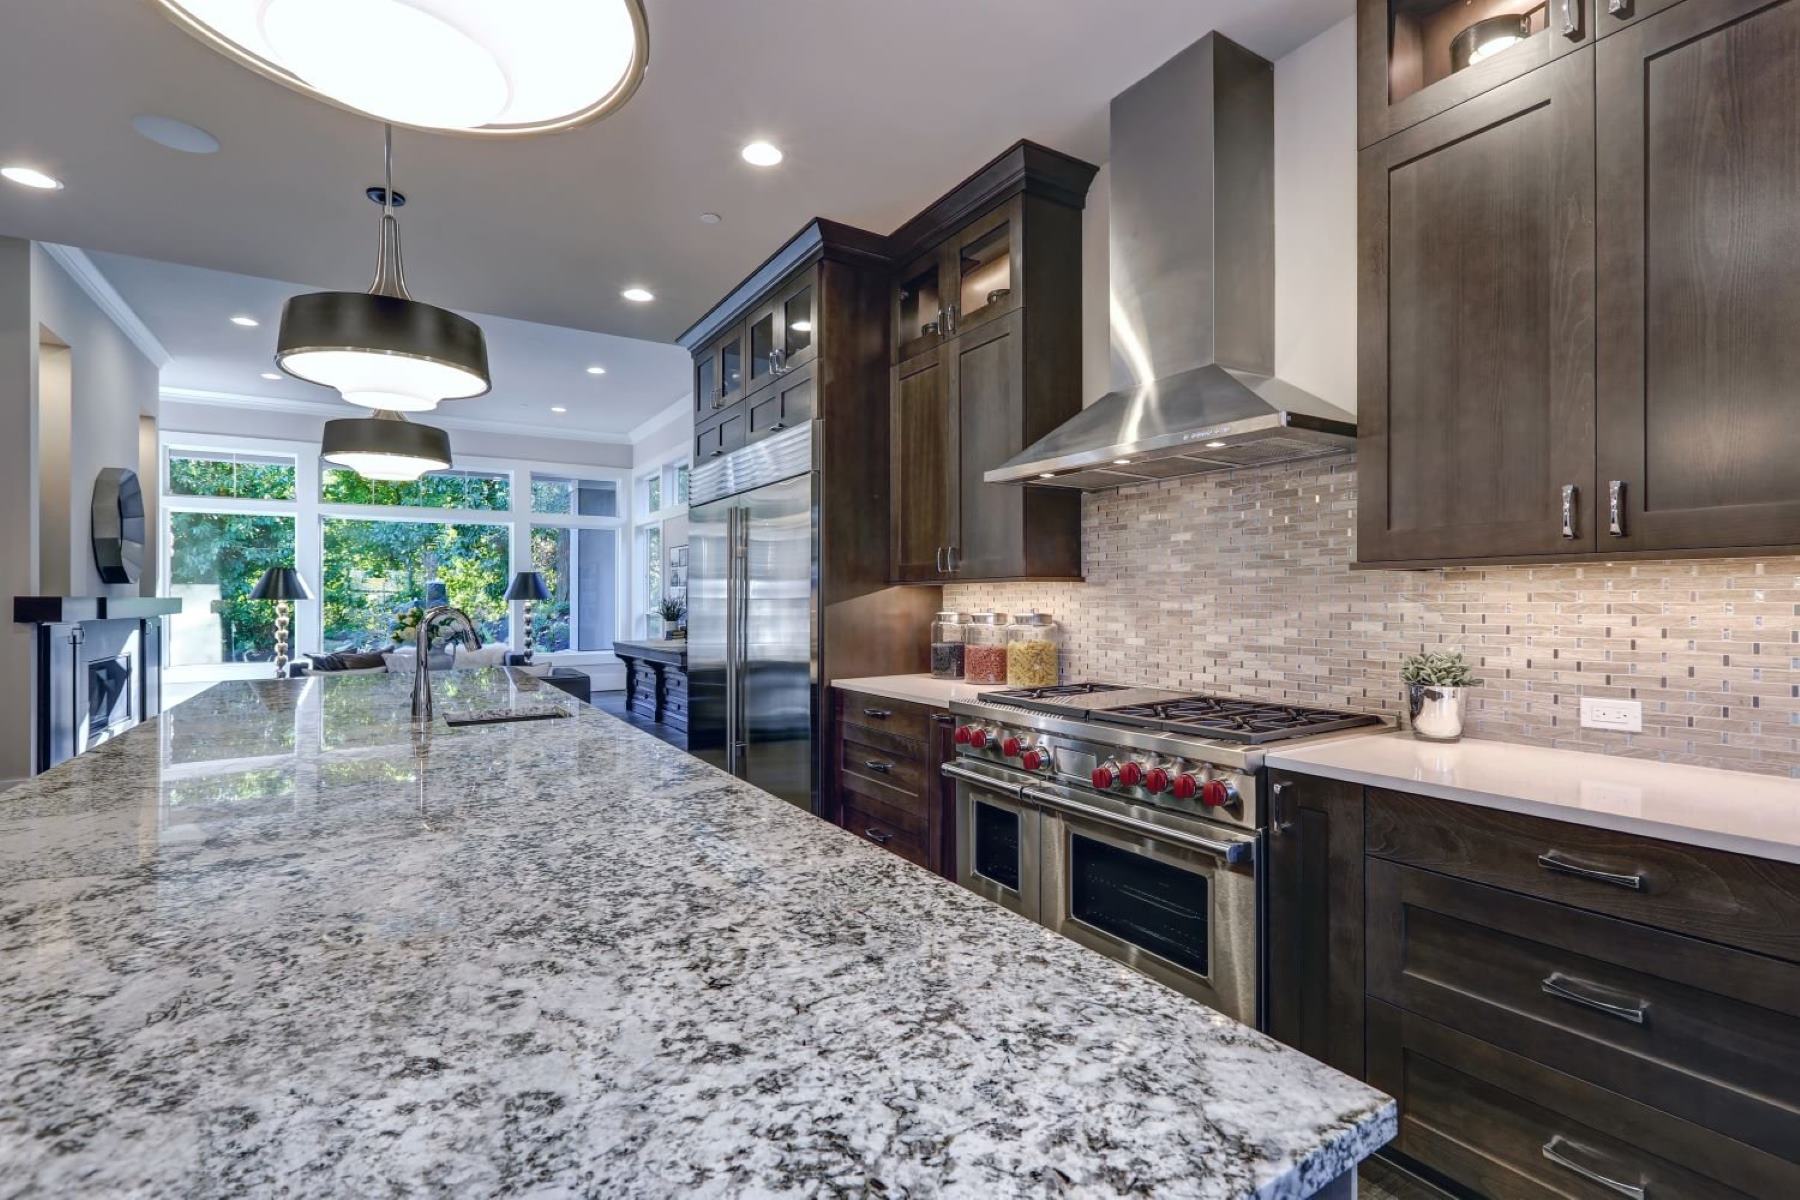
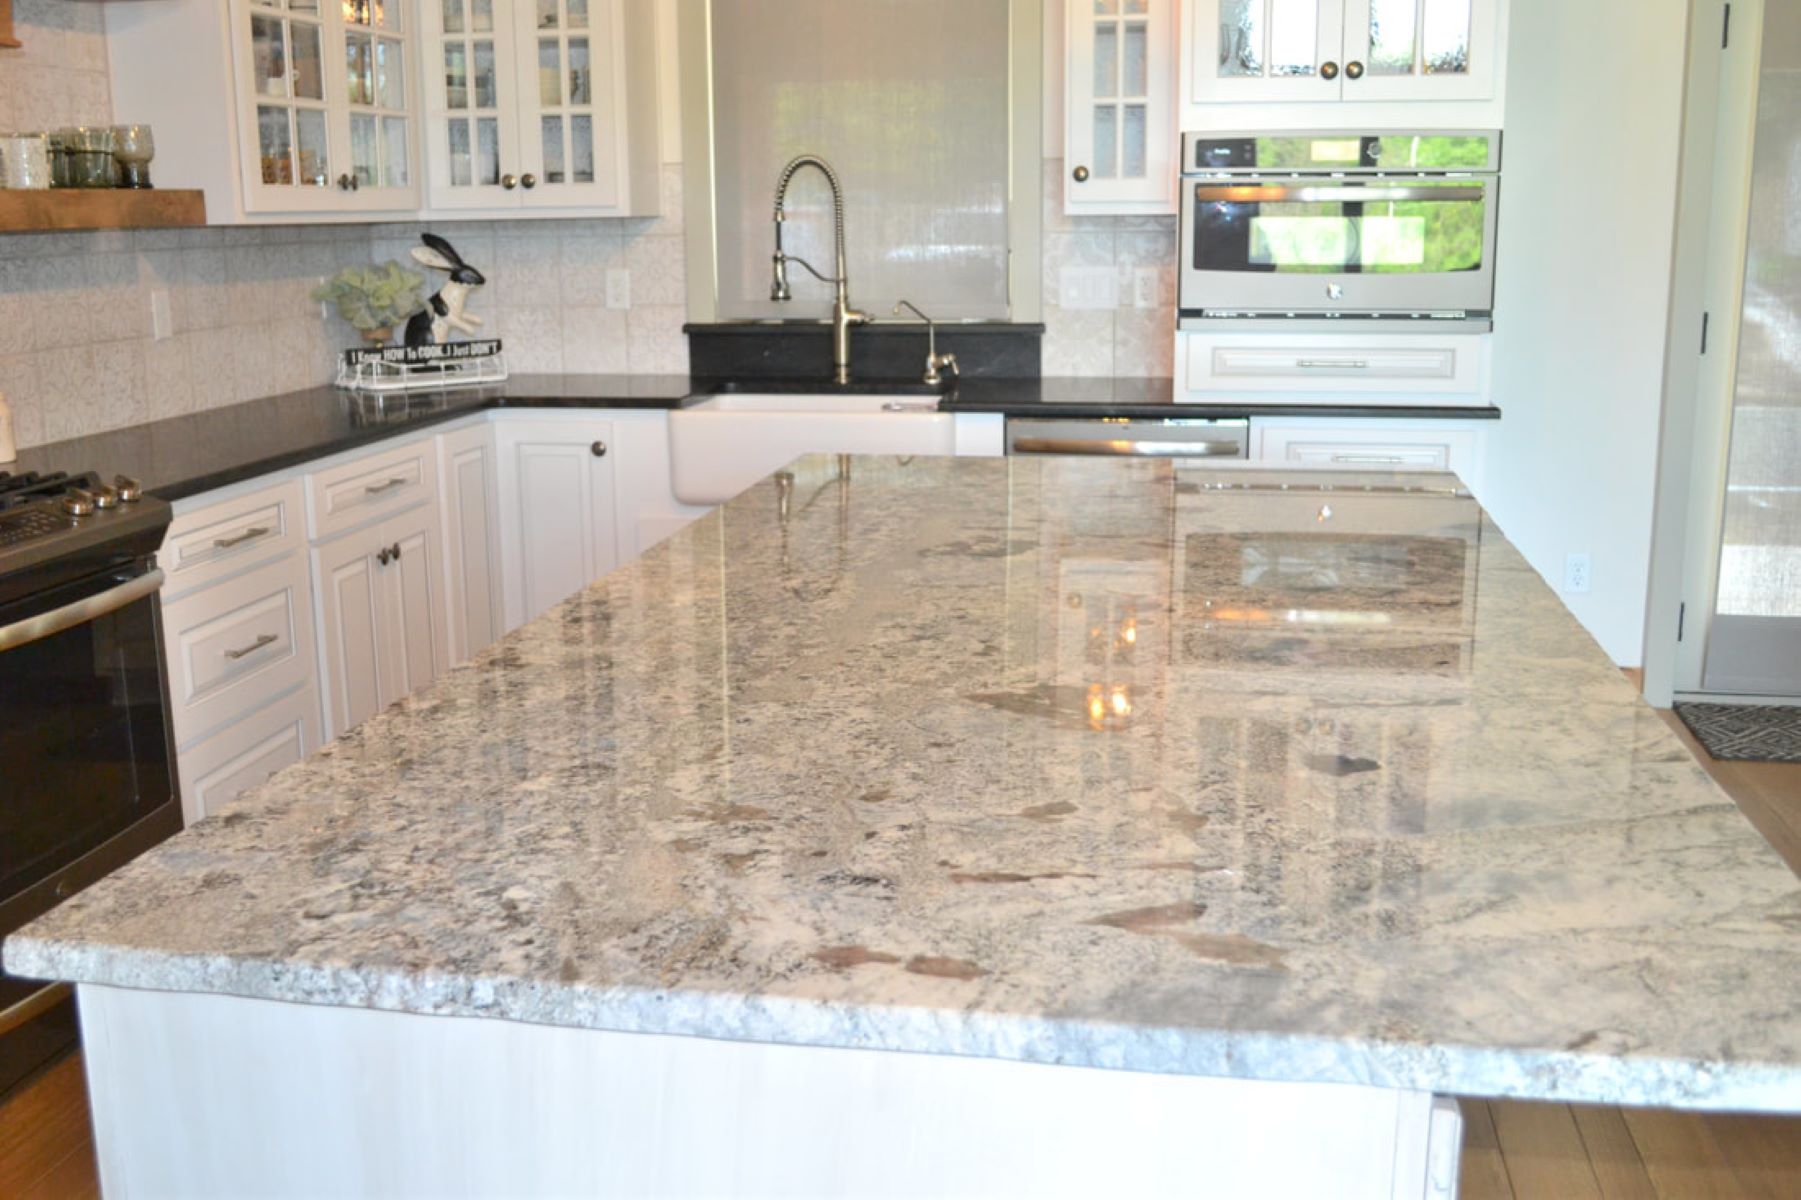
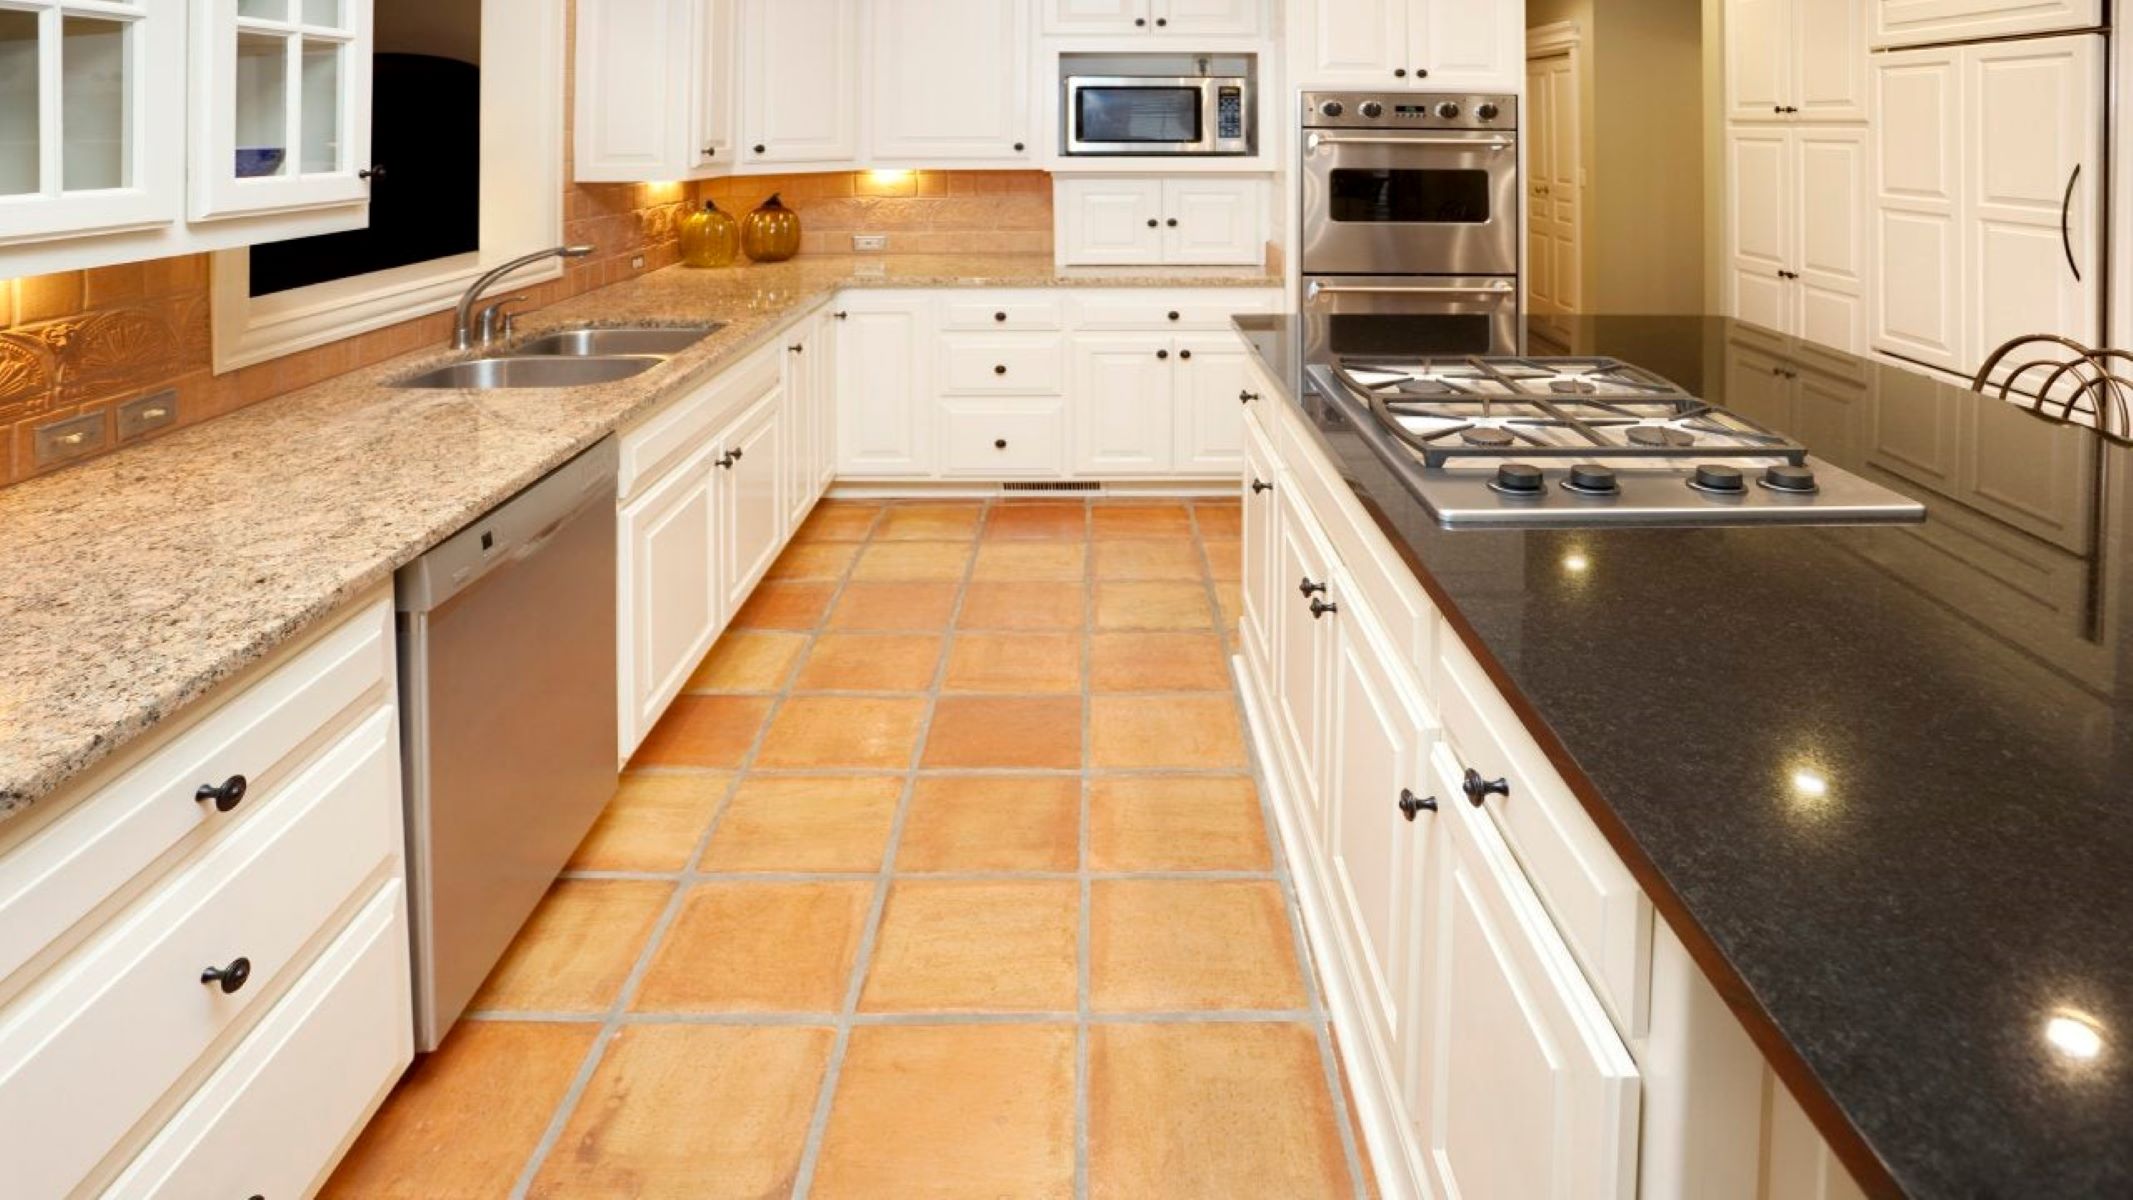
When it comes to kitchen countertops, granite has become a popular choice among homeowners. Not only does granite offer a stunning and elegant look, but it also boasts exceptional durability and resistance to heat and scratches. However, some homeowners may prefer a less glossy and more natural appearance for their granite countertops. This is where honing comes into play.
Honing granite countertops involves creating a matte or satin finish by removing the glossy surface layer. The honing process not only enhances the natural beauty of the stone but also makes it more resistant to stains and marks. If you’re interested in honing your granite countertops, this article will guide you through the step-by-step process and provide tips on maintaining your honed surfaces.
Before diving into the honing process, it’s important to understand the characteristics of granite countertops. Granite is a natural stone that is formed under intense heat and pressure, resulting in its unique pattern and composition. Each slab of granite is one-of-a-kind, with distinctive colors and variations that add a touch of elegance to any kitchen or bathroom.
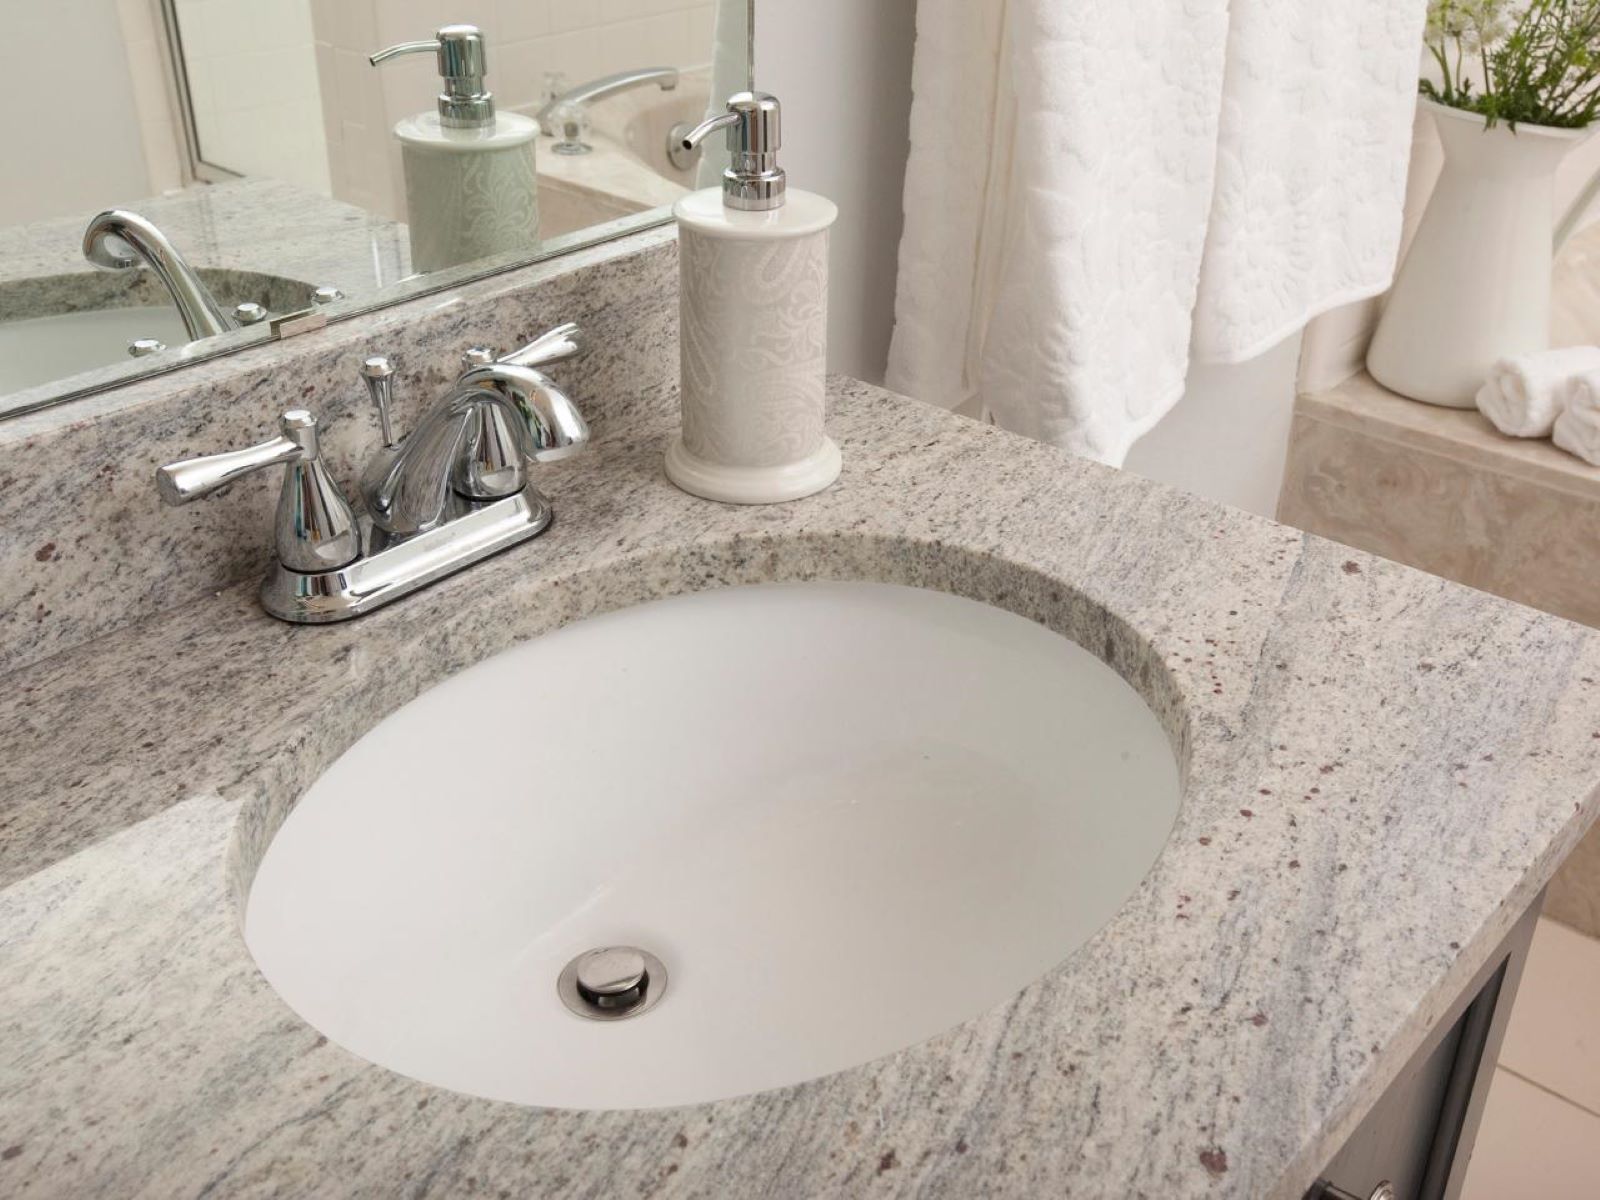
Granite is a durable material, making it highly resistant to heat and scratches. It is also resistant to stains when properly sealed. However, the glossy finish on a granite countertop can make fingerprints, water spots, and other smudges more visible. Additionally, some homeowners may prefer a less glossy appearance to match their kitchen design or personal preference. Honing granite countertops is an excellent solution for achieving a smoother, more natural-looking surface.
Key Takeaways:
- Transform your glossy granite countertops into a sophisticated, matte or satin finish through the honing process, enhancing the natural beauty and versatility of your kitchen or bathroom.
- By honing your granite countertops, you can achieve improved stain resistance, reduced visible wear and tear, and a more forgiving surface that complements various design styles, providing both functionality and aesthetic appeal.
Read more: How To Restore Granite Countertops
Understanding Granite Countertops
Granite countertops are a popular choice for kitchens and bathrooms due to their durability, beauty, and natural elegance. Understanding the characteristics and benefits of granite will help you appreciate its value as a countertop material.
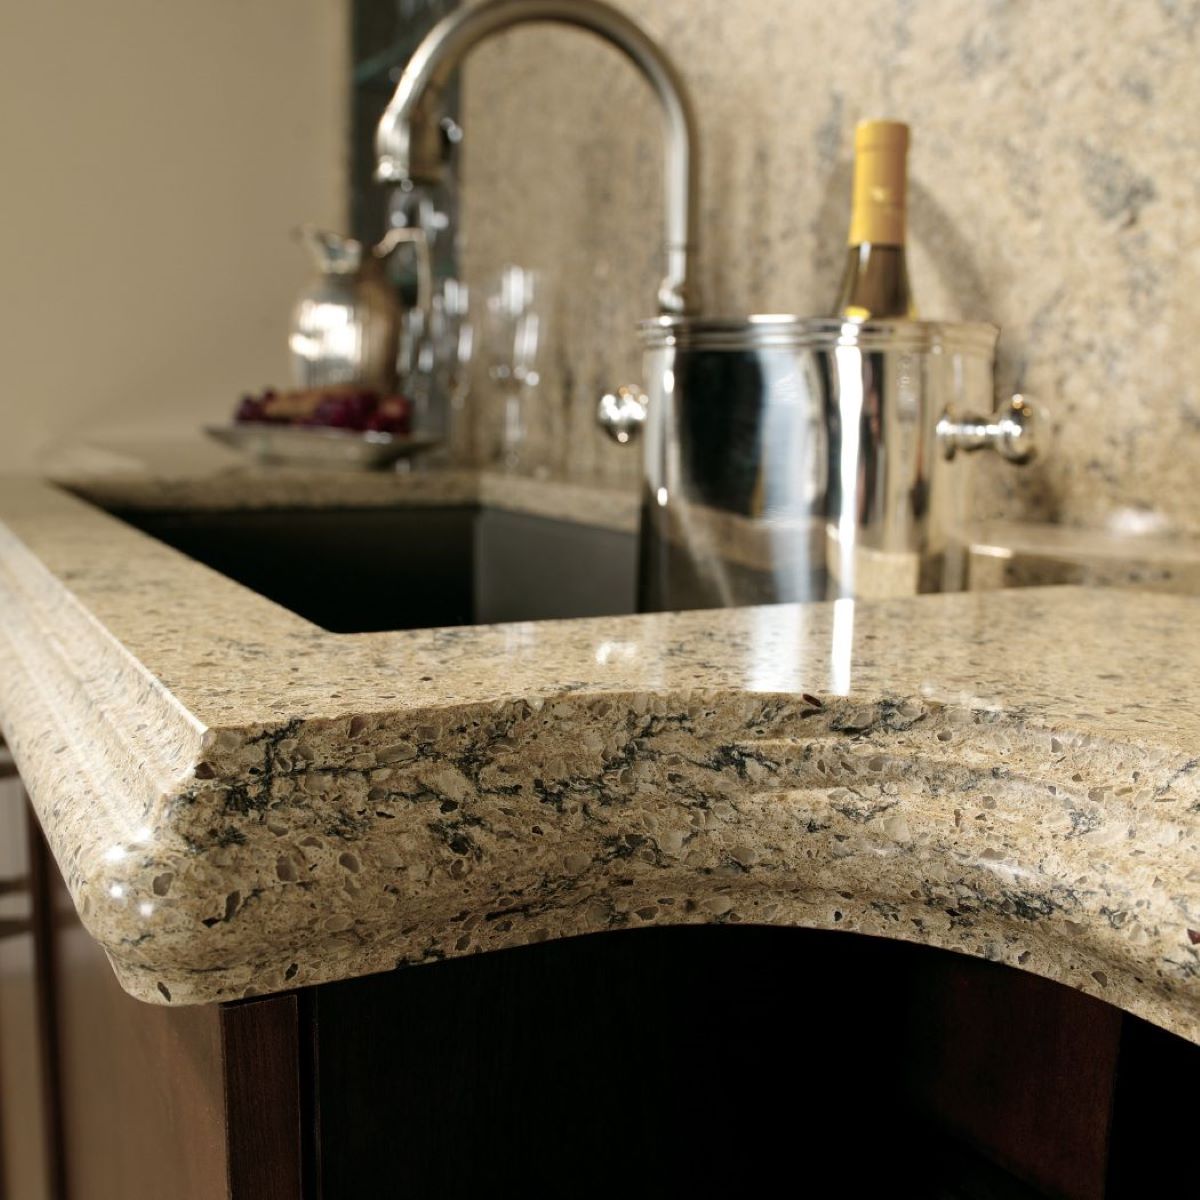
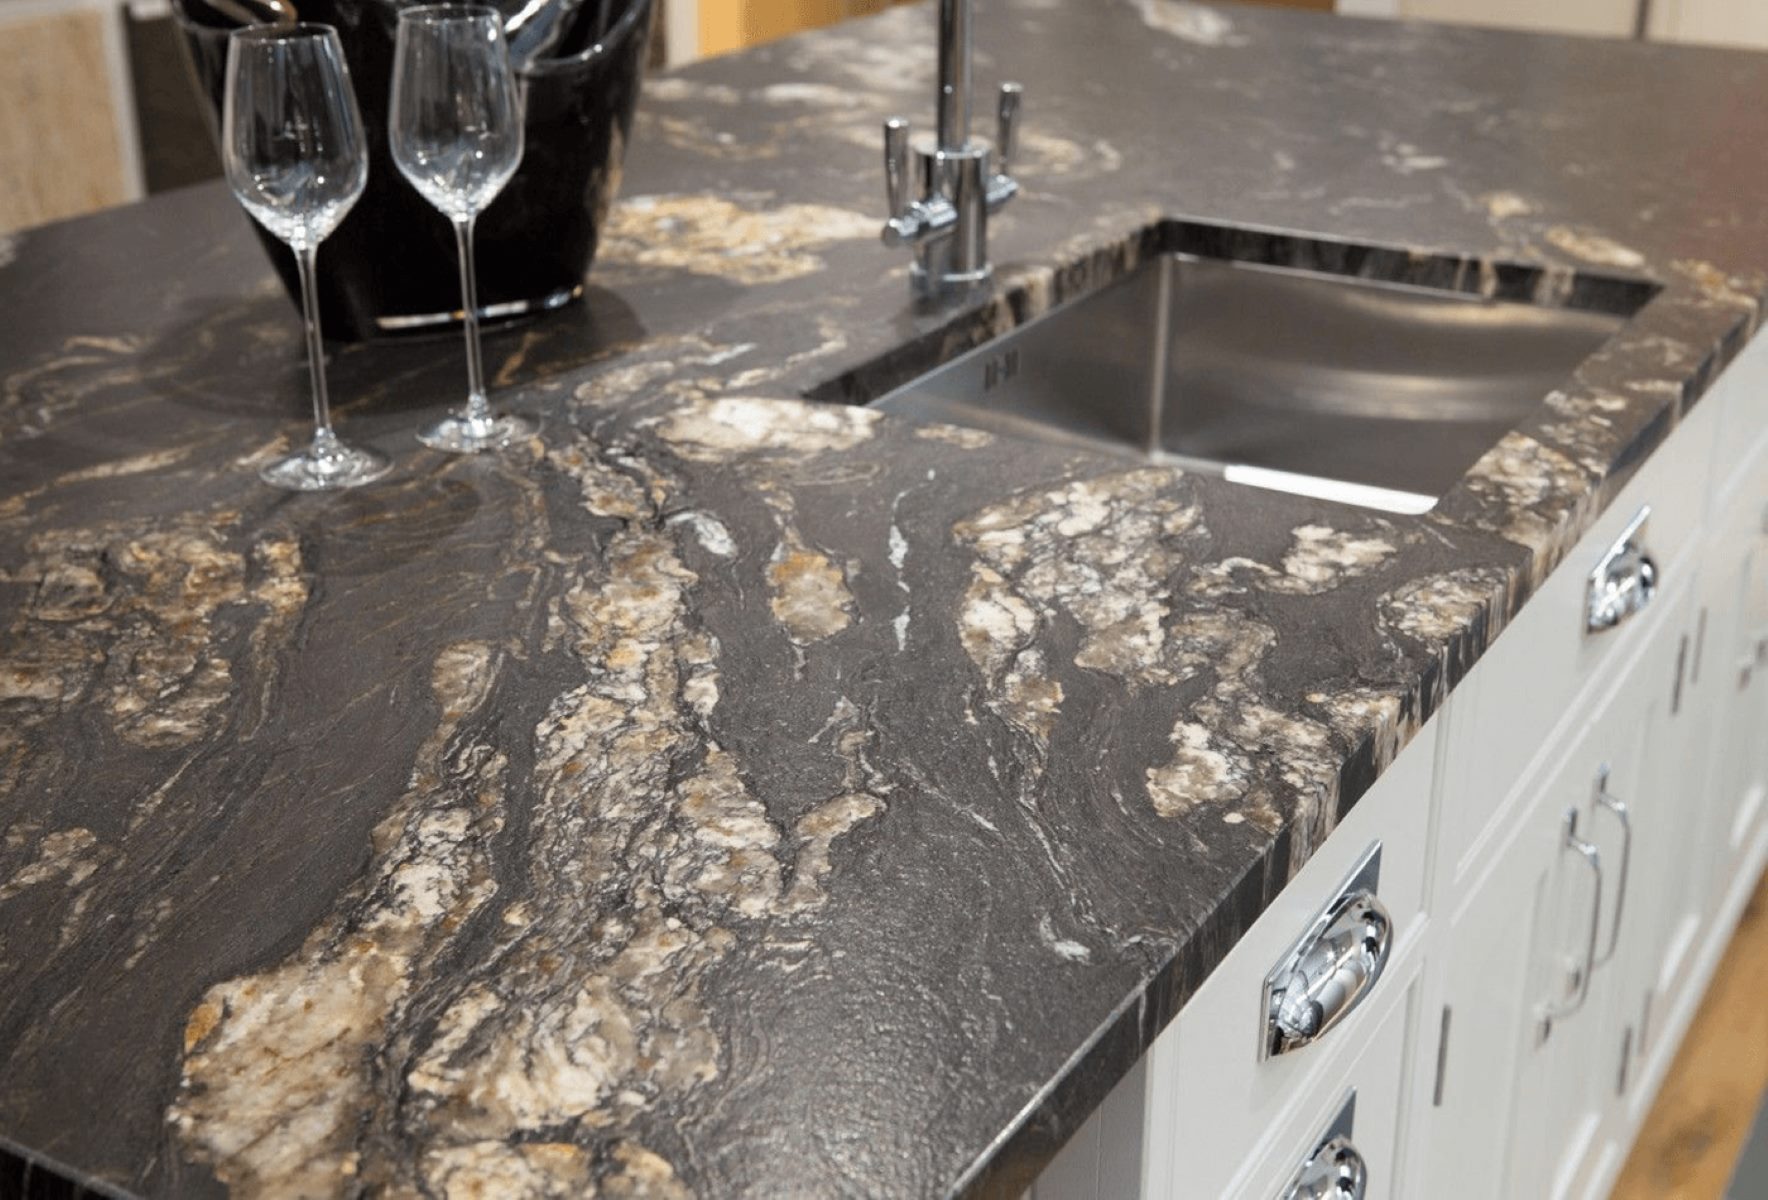
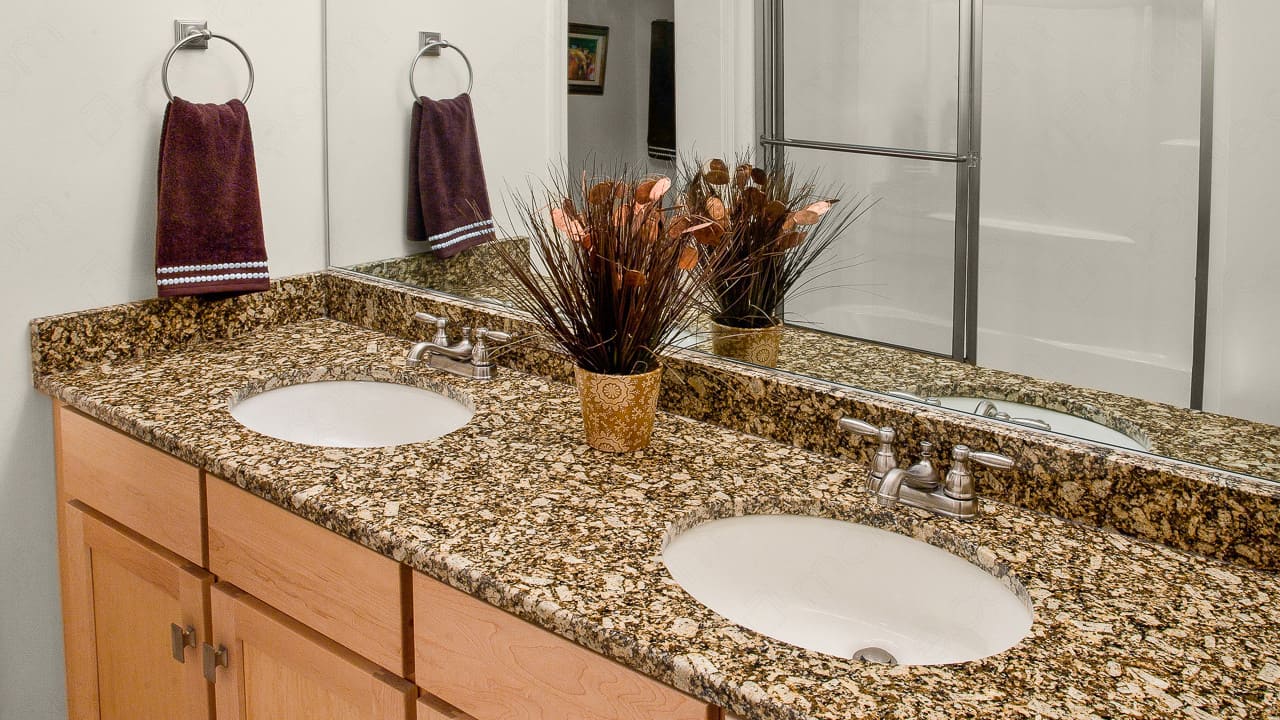
Granite is an igneous rock composed mainly of quartz, feldspar, and other minerals. It is formed deep beneath the Earth’s surface under extreme heat and pressure. As a result, granite is incredibly strong, making it resistant to scratches, stains, and heat. It is also known for its unique veining and patterns, giving each slab its own distinctive appearance.
One of the primary advantages of granite is its exceptional durability. It can withstand the daily wear and tear of a busy kitchen or bathroom environment. Whether you’re chopping vegetables, placing hot pots and pans on the surface, or doing other kitchen tasks, granite can handle it all.
In addition to its durability, granite countertops are also highly resistant to stains when properly sealed. The natural pores in the stone can absorb liquids, leading to potential staining. However, when a high-quality sealant is applied, it forms a protective layer that prevents liquids from penetrating the surface.
Another notable feature of granite is its heat resistance. Unlike other countertop materials, granite can handle high temperatures without getting damaged. This makes it ideal for placing hot pots and pans directly on the surface without worrying about heat marks or burns.
It’s important to note that while granite is durable, it is still possible for it to chip or crack if subjected to excessive force or impact. Therefore, it’s essential to handle granite countertops with care and avoid dropping heavy objects on them.
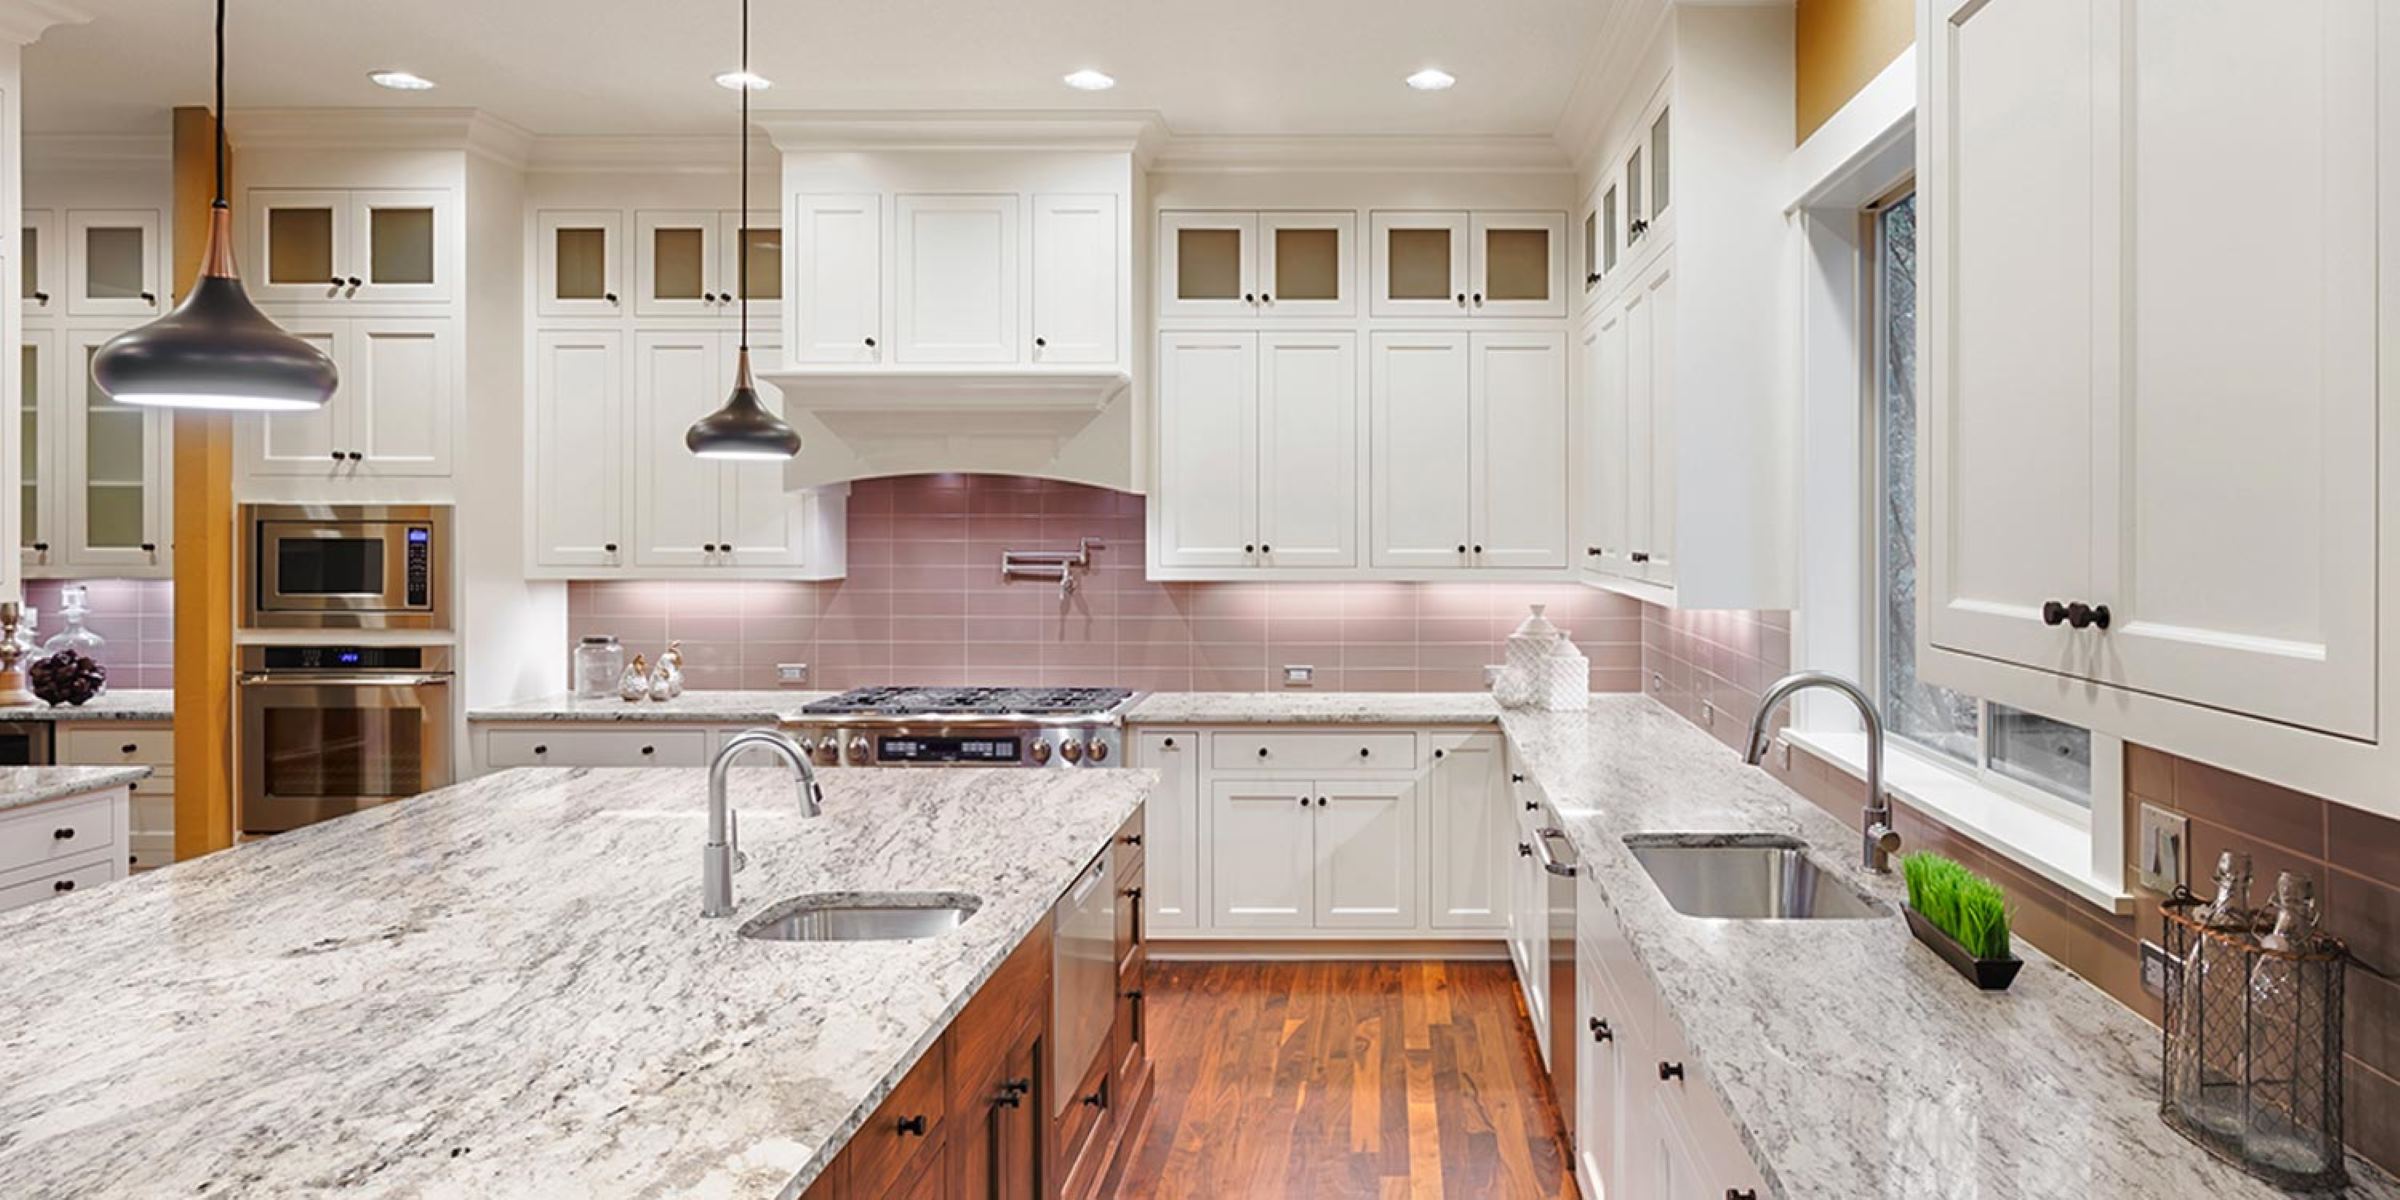
Granite countertops come in a wide range of colors and patterns, allowing you to choose the perfect one to complement your kitchen or bathroom decor. From classic blacks and whites to vibrant blues and greens, there is a granite slab to suit every style and preference.
Overall, understanding the unique characteristics and benefits of granite countertops helps you make an informed decision when selecting the right countertop material for your home. Whether you’re drawn to granite for its durability, natural beauty, or heat resistance, it’s a choice that will enhance the aesthetic appeal and functionality of your kitchen or bathroom for years to come.
Why Hone Granite Countertops
While glossy granite countertops have their appeal, some homeowners prefer a more subdued and natural look. Honing granite countertops is an effective way to achieve this desired aesthetic. Let’s explore the reasons why honing is a popular choice for granite surfaces.
Enhanced Appearance: Honing granite countertops removes the glossy shine and creates a smooth, matte or satin finish. This enhances the natural beauty of the stone, highlighting its unique veining and color variations. The honed surface provides a more subtle and sophisticated look that can complement various kitchen or bathroom designs.
Improved Stain Resistance: The honing process opens up the pores of the granite, allowing it to become more resistant to stains. This is especially beneficial in areas prone to spills and splatters, such as kitchens. The honed surface helps prevent liquids from seeping into the stone, making it easier to clean and maintain.
Reduced Visible Wear and Tear: Over time, glossy granite countertops can show signs of wear and tear more prominently. Scratches, fingerprints, and watermarks may be more visible on a shiny surface. Honing the granite can hide these imperfections and create a more forgiving surface that masks minor blemishes.
Aesthetically Versatile: Honed granite countertops offer a versatile look that can blend seamlessly with various kitchen or bathroom styles. Whether you’re going for a modern, rustic, or traditional aesthetic, honed granite provides a neutral backdrop that can complement any design scheme.
Improved Lighting: Some homeowners find that glossy surfaces can reflect light, creating glare or uncomfortable reflections. Honed granite countertops have a softer, more diffused lighting effect, making them ideal for areas where glare is a concern, such as kitchens with large windows or under intense lighting systems.
Easier to Maintain: Honed granite countertops are generally easier to maintain than their glossy counterparts. The satin or matte finish helps to conceal smudges, fingerprints, and water spots, reducing the frequency of cleaning. Regular wiping and mild cleaning agents are usually sufficient to keep the honed surface looking its best.
In summary, honing granite countertops offers several advantages for homeowners seeking a more natural and understated look. With enhanced stain resistance, reduced visible wear and tear, aesthetic versatility, improved lighting, and easier maintenance, honed granite is an excellent choice for those who value both functionality and aesthetics in their kitchen or bathroom countertops.
Materials and Tools Required
If you’re ready to hone your granite countertops, it’s important to gather the necessary materials and tools beforehand. Here is a list of what you’ll need:
- Honing compound: This is a fine abrasive paste specifically designed for honing stone surfaces. It helps to remove the glossy layer and achieve a smooth finish. Make sure to choose a high-quality honing compound for best results.
- Honing machine: A honing machine, such as a handheld rotary tool with a honing pad attachment or a floor polisher with diamond honing pads, is essential for the honing process. The type of machine you choose will depend on the size and accessibility of your countertop.
- Protective gear: It’s important to protect yourself during the honing process. Wear safety goggles to shield your eyes from any flying debris, gloves to safeguard your hands, and a dust mask to prevent inhalation of dust particles.
- Sanding pads: Depending on the condition of your granite countertop, you may need sanding pads of various grits to level any unevenness and prepare the surface for honing. Start with a low grit sanding pad and gradually work your way up to a finer grit for a smoother finish.
- Water source: Honing granite countertops requires the use of water as a lubricant and coolant. Make sure you have a reliable water source, such as a hose or a bucket, to keep the surface wet throughout the honing process.
- Soft cloth or sponge: You’ll need a soft cloth or sponge to clean the countertop surface before and after honing. This ensures that no debris or residue interferes with the honing process and that you can properly clean the surface once the honing is complete.
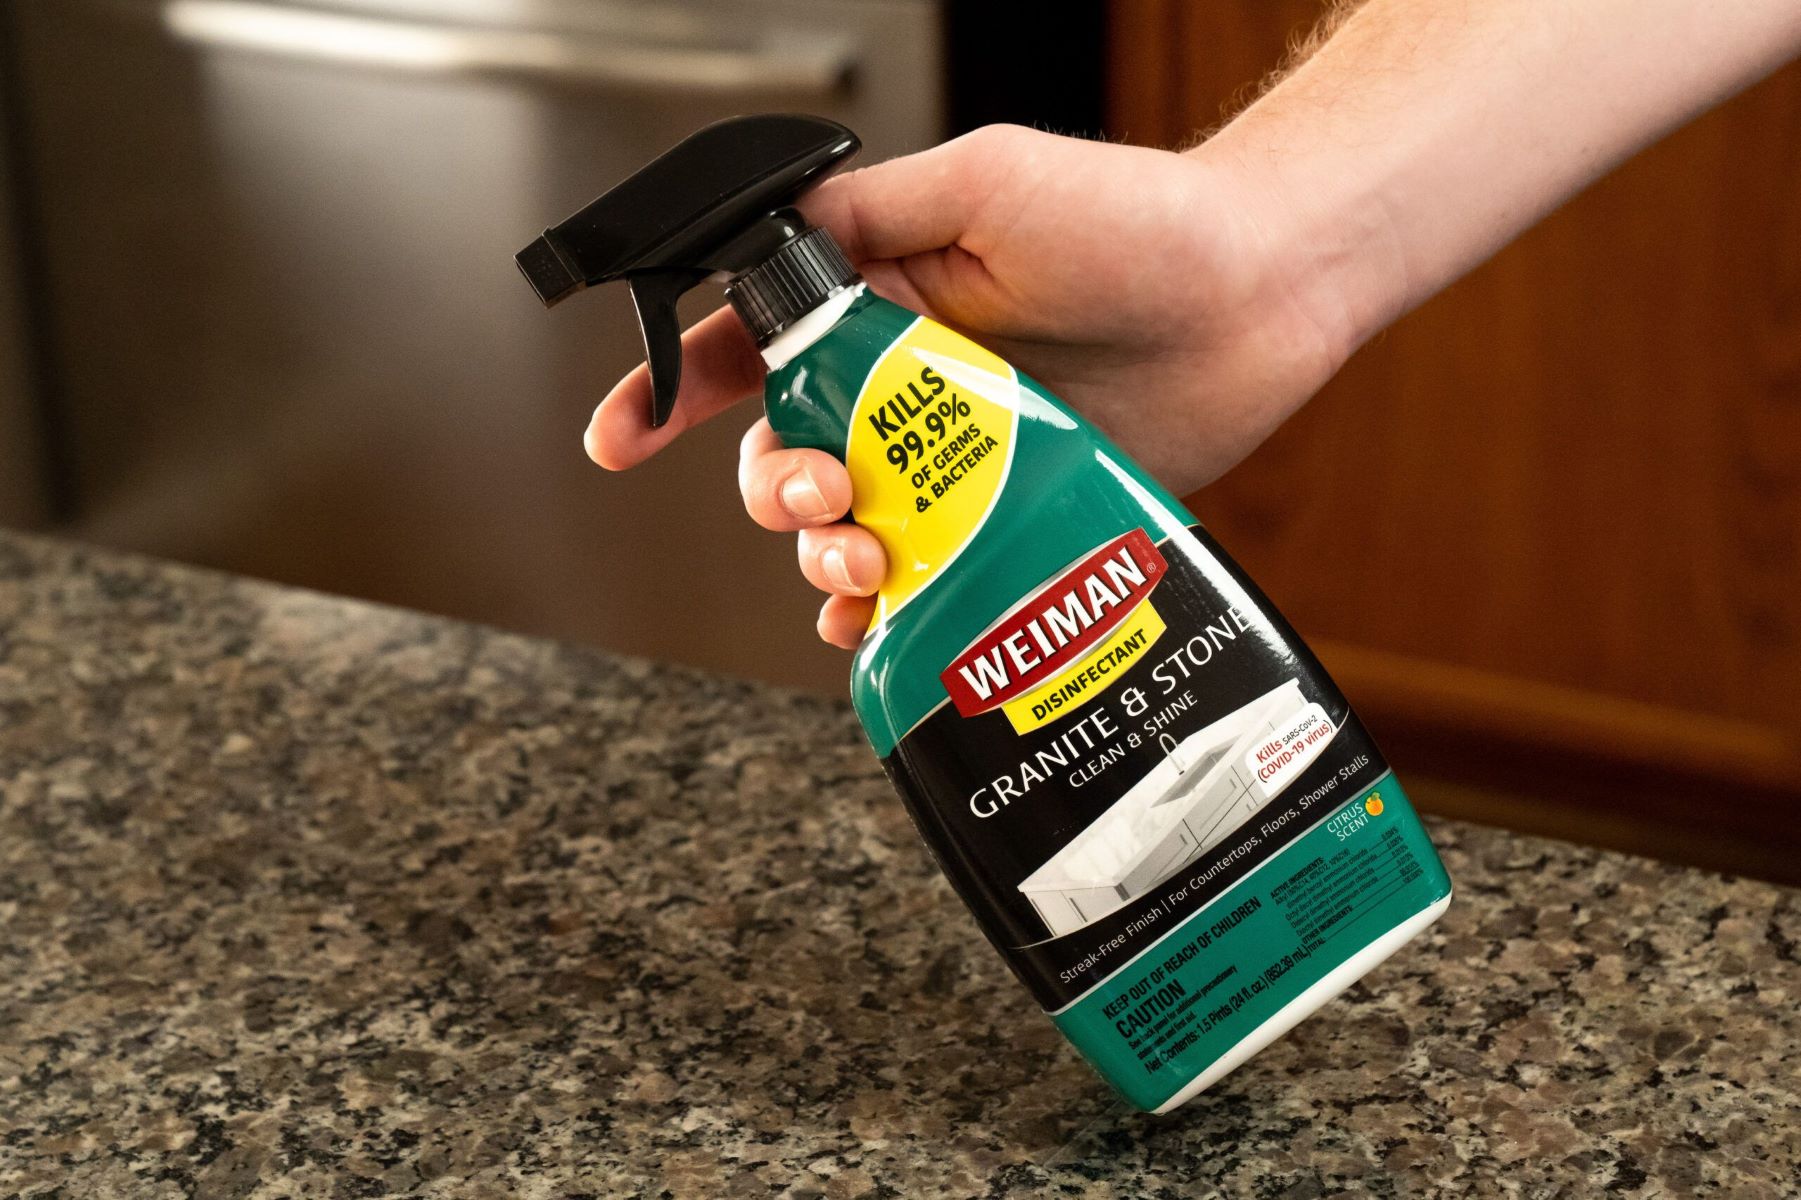
- Sealant (optional): After honing the granite countertops, you may choose to apply a sealant to protect and enhance the surface. This is optional but recommended to further safeguard against stains and to maintain the integrity of the honed finish.
Make sure to gather all these materials and tools before you begin the honing process. This will help ensure a smooth and efficient honing experience, saving you time and effort as you transform your glossy granite countertops into a beautiful honed finish.
Step-by-Step Process of Honing Granite Countertops
If you’re looking to achieve a beautifully honed finish on your granite countertops, follow these step-by-step instructions:
- Prepare the Surface: Start by thoroughly cleaning the countertops using a mild detergent and warm water. Remove any debris, grease, or stains from the surface. Dry the countertop with a soft cloth.
- Choose the Grit Level: Assess the condition of your countertops and determine the appropriate grit level for honing. If the surface has minimal flaws, you can start with a medium grit pad. For more damaged or uneven surfaces, begin with a low grit pad and gradually increase the grit level.
- Attach the Pad: Depending on the type of honing machine you’re using, attach the appropriate honing pad to the machine. Make sure it is securely fastened.
- Wet the Surface: Wet the countertop surface with water to provide lubrication and cooling during the honing process. This helps prevent overheating and ensures a smoother honing experience.
- Start Honing: Begin honing the granite countertops by slowly moving the machine in a circular motion. Apply gentle pressure and maintain a consistent speed. Start with the lowest grit pad and work your way up to higher grits for a smoother finish.
- Keep the Surface Wet: Continuously wet the surface with water as you hone. This helps remove debris and keeps the diamond pad lubricated. If the surface dries out, it could cause scratches or damage to the granite.
- Inspect and Repeat: Periodically stop honing to inspect the progress of the surface. Check for any uneven areas or remaining scratches. If needed, repeat the honing process with a finer grit pad to achieve a smoother finish.
- Clean the Surface: Once you’ve achieved the desired honed finish, thoroughly clean the countertops with water and a soft cloth or sponge to remove any residue or debris. Make sure the surface is completely dry before proceeding.
- Apply Sealant (optional): If desired, apply a granite sealant to protect the newly honed surface. Follow the manufacturer’s instructions for proper application and allow sufficient drying time before using the countertops.
Remember, honing granite countertops requires patience and precision. Take your time and follow these steps carefully to achieve the desired honed finish. With proper technique and attention to detail, your granite countertops will be transformed into a stunning, matte or satin masterpiece that enhances the beauty of your kitchen or bathroom.
Read more: How Are Granite Countertops Made
Preparing the Surface
Before you begin honing your granite countertops, it’s crucial to properly prepare the surface. This step ensures the best results and a smooth honing process. Follow these steps to prepare the surface:
- Clean the Countertops: Start by cleaning the countertops thoroughly using a mild detergent and warm water. Remove any dirt, grease, or residue from the surface. Avoid using abrasive cleaners that can scratch the granite. Rinse the countertops and dry them with a soft cloth.
- Assess the Condition: Analyze the condition of your granite countertops. Look for any visible stains, scratches, or uneven areas. This assessment will help you determine the necessary steps for honing.
- Address Stains: If you notice any stubborn stains on the surface, apply a granite stain remover according to the product instructions. Gently scrub the stained area with a soft brush or sponge until the stain is lifted. Rinse the surface thoroughly to remove any residue.
- Level Any Unevenness: If you have any uneven areas on the surface, use sanding pads of varying grits to level them. Start with a low grit pad and gradually work your way up to a higher grit for a smoother finish. Always keep the surface wet while sanding to prevent scratching.
- Repair Minor Scratches: For minor scratches, you can use a granite polishing compound to buff out the imperfections. Apply the compound to the scratched area and use a soft cloth or pad to gently buff in a circular motion. Wipe away any excess compound and rinse the surface.
- Save Larger Repairs for Professionals: If your granite countertops have deep scratches, cracks, or significant damage, it’s best to seek professional help. Attempting major repairs on your own can cause further damage and compromise the integrity of the stone.
- Allow the Surface to Dry: After completing the surface preparation, allow the countertops to fully dry. This ensures that the honing process will be effective, as water can interfere with the honing compound and produce uneven results.
Properly preparing the surface sets the stage for a successful honing process. By cleaning the countertops, addressing stains, leveling any unevenness, and addressing minor scratches, you create a smooth canvas ready for honing. Take your time during this step to ensure the best possible outcome for your honed granite countertops.
Use a diamond honing stone to gently buff the surface of your granite countertops in a circular motion. This will help to smooth out any rough spots and restore the shine.
Applying the Honing Compound
Once you have prepared the surface of your granite countertops, it’s time to apply the honing compound. The honing compound helps to remove the glossy layer of the stone and create a smooth, honed finish. Follow these steps to apply the honing compound effectively:
- Select the Right Honing Compound: Choose a high-quality honing compound specifically designed for use on granite. Ensure that the compound is suitable for the level of honing you wish to achieve.
- Read the Instructions: Before applying the honing compound, carefully read the manufacturer’s instructions. Different compounds may have specific application methods and drying times.
- Protect the Surrounding Areas: Cover any adjacent surfaces or appliances near the countertops with plastic sheets or drop cloths. This prevents any accidental splattering or contamination of the surrounding areas during the application process.
- Apply a Thin Layer: Squeeze a small amount of the honing compound onto the countertop surface. Use a clean, lint-free cloth or sponge to spread the compound evenly across the entire area you intend to hone. Apply the compound in a thin, uniform layer.
- Work in Small Sections: To ensure even coverage and consistent results, work on the countertops in small sections. This allows you to focus on a manageable area at a time and ensures that you apply the compound and perform the honing process effectively.
- Follow the Grain: When applying the honing compound, be sure to follow the natural grain of the granite. This helps to achieve a more uniform and natural-looking honed finish.
- Let the Compound Dry: After applying the honing compound, allow it to dry according to the manufacturer’s instructions. The drying time may vary depending on the specific compound you’re using. Avoid touching or disturbing the surface while it’s drying.
- Inspect for Even Coverage: Once the honing compound is dry, inspect the surface to ensure that the compound has been evenly applied. Look for any light or missed spots and apply additional compound if necessary.
- Remove Excess Compound: After the drying process, remove any excess honing compound from the surface using a clean, lint-free cloth. This will help reveal the honed finish beneath and prepare the countertops for the next step in the honing process.
Applying the honing compound correctly is essential to achieve a consistent and smooth honed finish on your granite countertops. By following these steps and the manufacturer’s instructions, you can ensure that the compound is evenly distributed and ready for the honing process.
Using the Honing Machine
Now that you have prepared the surface and applied the honing compound to your granite countertops, it’s time to use the honing machine. The honing machine, whether it’s a handheld rotary tool with a honing pad attachment or a floor polisher with diamond honing pads, will help you achieve a smooth and consistent honed finish. Follow these steps to effectively use the honing machine:
- Select the Proper Honing Pad: Choose the appropriate honing pad for the level of honing you desire. The grit of the pad will depend on the condition of the granite surface and the level of polishing you want to achieve. Start with a lower grit pad for more significant imperfections and gradually work your way up to higher grits for a smoother finish.
- Attach the Honing Pad: If using a handheld rotary tool, follow the manufacturer’s instructions to attach the honing pad securely. Make sure it is properly tightened and aligned with the machine. If using a floor polisher, attach the diamond honing pad to the machine according to the machine’s instructions.
- Start with a Lower Speed Setting: If your honing machine has adjustable speed settings, begin on a lower speed setting to get a feel for the machine’s operation. You can increase the speed later as needed. Higher speeds can generate more heat and friction, so it’s important to start slowly to avoid damaging the granite surface.
- Begin Honing: Hold the honing machine firmly and start honing the granite surface. Move the machine in a circular or back-and-forth motion, ensuring even coverage. Apply gentle pressure and maintain a consistent speed throughout the process. Keep the machine moving to avoid creating uneven spots or hot spots on the surface.
- Wet the Surface: Continuously wet the surface with water during the honing process. This helps to cool the pad and prevent overheating. It also serves as a lubricant, allowing the honing pad to glide smoothly over the granite surface.
- Work in Small Sections: Honing large countertops in small, manageable sections ensures even coverage and consistent results. This approach allows you to focus on a specific area at a time, making it easier to maintain proper technique and achieve the desired honed finish.
- Inspect and Adjust: Periodically stop and inspect the honed surface to ensure evenness and progress. Check for any remaining scratches or uneven spots. If needed, repeat the honing process with a higher grit pad to achieve a smoother finish.
- Clean the Surface: After you have completed the honing process, thoroughly clean the granite surface with water and a soft cloth or sponge. This removes any honing compound residue and provides a clear view of the newly honed finish.
Using the honing machine correctly is crucial to achieving the desired honed finish on your granite countertops. By following these steps and proper technique, you can effectively use the honing machine to transform your countertops into a beautiful, matte or satin surface.
Cleaning and Finishing Touches
After honing your granite countertops, it’s essential to clean the surface and add any finishing touches to ensure a flawless result. Follow these steps to clean and complete the honing process:
- Thoroughly Clean the Surface: Use a soft cloth or sponge and clean water to remove any residue or debris from the honed surface. Gently wipe the countertops to ensure they are free from any dust, honing compound, or other particles.
- Inspect for Imperfections: Carefully examine the honed surface for any remaining scratches, marks, or uneven areas. If you notice any imperfections, you may need to repeat the honing process with a finer honing pad to achieve a smoother finish.
- Buff the Surface (Optional): To further enhance the honed finish and ensure a smooth texture, you can lightly buff the surface using a clean, lint-free cloth or a polishing pad. This step helps to bring out the natural beauty of the granite and adds a touch of refinement.
- Remove any Excess Material: Use a damp cloth or sponge to wipe away any excess water or residue from the surface. This helps reveal the honed finish and gives the countertops a clean and polished appearance.
- Apply a Granite Sealant (Optional): Depending on your preference and the recommendation of your granite supplier, you may choose to apply a granite sealant to protect the newly honed surface. Follow the manufacturer’s instructions for proper application and allow sufficient drying time before using the countertops.
- Admire Your Honed Granite Countertops: Once the cleaning and finishing touches are complete, take a moment to enjoy the transformation of your granite countertops. The honed finish adds a touch of elegance and a more natural, subtle beauty to your kitchen or bathroom.
Regularly clean your honed granite countertops using a mild detergent and warm water to keep them looking their best. Avoid using abrasive cleaners or harsh chemicals that can damage the honed surface. Additionally, be cautious when placing hot objects directly on the surface, and use cutting boards or trivets to prevent potential scratches or heat damage.
By following these cleaning steps and adding any desired finishing touches, you can ensure that your honed granite countertops remain beautiful and well-maintained for years to come.
Read more: What Are Granite Countertops
Maintaining Honed Granite Countertops
After honing your granite countertops, it’s important to implement a proper maintenance routine to keep them looking their best. Follow these guidelines to effectively maintain your honed granite countertops:
- Regular Cleaning: Clean your honed granite countertops regularly with a mild detergent and warm water. Avoid using abrasive cleaners or harsh chemicals that can damage the honed surface. Gently wipe the surface with a soft cloth or sponge to remove any dirt, spills, or grease.
- Wipe Up Spills Promptly: Accidental spills should be wiped up immediately to prevent the granite from absorbing liquids and potentially causing stains. Blot the spill gently with a clean cloth instead of rubbing, as rubbing can spread the substance and potentially damage the honed surface.
- Avoid Harsh and Abrasive Cleaners: When choosing cleaning products for your honed granite countertops, ensure they are specifically designed for natural stone surfaces. Avoid using harsh and abrasive cleaners that can wear down the surface and diminish its honed appearance.
- Use Cutting Boards and Trivets: To protect the honed surface from scratches and heat damage, always use cutting boards when preparing food and trivets or hot pads when placing hot pots and pans on the countertops. Avoid dragging heavy or sharp objects across the surface.
- Reapply Sealant: Depending on the type of sealant used and the manufacturer’s recommendations, you may need to periodically reapply a granite sealant to maintain optimal protection. This helps to prevent staining and prolong the life of your honed granite countertops.
- Avoid Contact with Harsh Substances: Avoid using or placing harsh chemicals, such as bleach, ammonia, or acidic substances, directly on the honed granite surface. These substances can damage the surface and affect its appearance. If contact occurs, immediately wipe away and rinse the area with water.
- Use Coasters and Mats: Place coasters under glasses, bottles, and cans to prevent water rings from forming on the countertops. Additionally, use mats or trays under toiletries and cosmetics in bathrooms to protect the surface from potential spills and staining.
- Regularly Inspect for Damage: Periodically inspect your honed granite countertops for any signs of damage or wear. Look for chips, cracks, or areas where the honed finish may have been compromised. If you notice any issues, contact a professional to assess and repair the countertops promptly.
By following these maintenance practices, you can ensure that your honed granite countertops maintain their beautiful appearance and durability for years to come. Proper care and regular cleaning will help to preserve the natural beauty of the stone and protect its honed finish.
Remember, each slab of granite is unique, and the care it requires may vary. Consult with your granite supplier or a professional stone care expert for specific care instructions based on the particular type of granite you have in your home.
Conclusion
Honing granite countertops is a fantastic way to achieve a more natural and refined look while maintaining the durability and functionality of this beautiful stone. By removing the glossy surface layer, honing enhances the intricate patterns and colors of granite, providing a matte or satin finish that complements various kitchen and bathroom aesthetics.
Throughout this article, we have explored the process of honing granite countertops, from understanding the characteristics of this popular countertop material to the step-by-step honing process and maintenance tips. By properly preparing the surface, applying the honing compound, using the honing machine effectively, and taking care of the finished product, you can achieve stunning honed granite countertops that will be the envy of your guests.
Remember, always choose high-quality honing compounds and equipment to ensure the best results. Take your time during the honing process, working in small sections and checking for even coverage and desired results. Regularly clean and maintain your honed granite countertops to keep them looking their best and prolong their lifespan.
Honed granite countertops offer an elegant and sophisticated touch to any kitchen or bathroom. The matte or satin finish provides a timeless appeal that can complement a wide range of design styles. Whether you prefer a more subtle and natural look or want to hide minor imperfections on your granite surface, honing is an excellent option.
So, if you’re ready to transform the glossy shine of your granite countertops into a refined honed finish, follow the guidelines and tips outlined in this article. With the right tools, techniques, and ongoing maintenance, you can enjoy the beauty and durability of your honed granite countertops for years to come.
Remember to consult with professionals or manufacturers if you have specific queries or concerns about your granite countertops. Enjoy the process of honing your granite countertops and marvel at the stunning results that will enhance the overall aesthetic and value of your home.
Excited to elevate your living space further? Dive into our treasure trove of home improvement insights. Discover invaluable kitchen design tips from a seasoned expert offering clever storage solutions. For those planning more extensive upgrades, our guide on home renovation showcases the top hardwood floors that promise both style and durability. If luxury is what you're aiming for, our collection of luxury kitchens ideas will inspire stunning transformations that blend elegance with functionality. Each piece is packed with practical advice to help you create your dream home.
Frequently Asked Questions about How To Hone Granite Countertops
Was this page helpful?
At Storables.com, we guarantee accurate and reliable information. Our content, validated by Expert Board Contributors, is crafted following stringent Editorial Policies. We're committed to providing you with well-researched, expert-backed insights for all your informational needs.
0 thoughts on “How To Hone Granite Countertops”