Articles
How To Remove Granite Countertops
Modified: December 7, 2023
Learn how to remove granite countertops with these informative articles. Get expert tips and step-by-step instructions for a successful removal process.
(Many of the links in this article redirect to a specific reviewed product. Your purchase of these products through affiliate links helps to generate commission for Storables.com, at no extra cost. Learn more)
Introduction
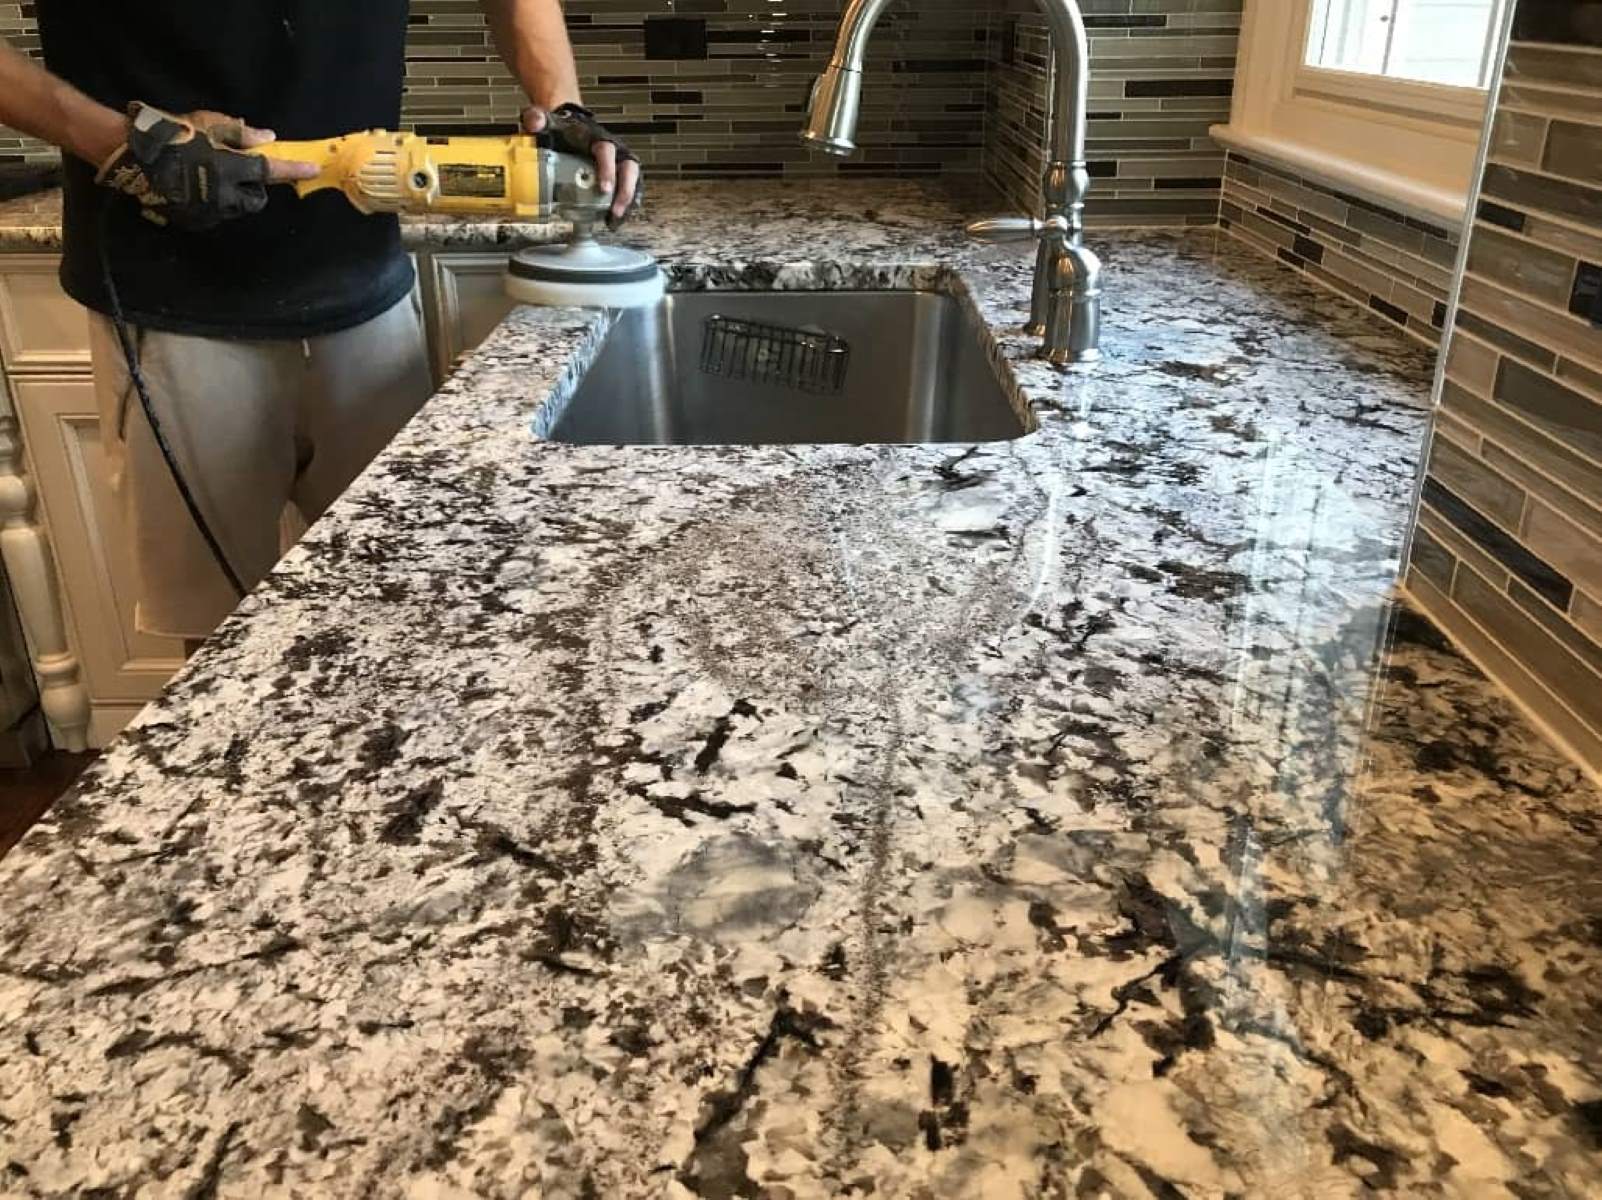
Granite countertops are a popular choice for kitchens and bathrooms due to their durability, natural beauty, and ability to increase the value of a home. However, there may come a time when you need to remove your granite countertops, whether it’s for a kitchen remodel or replacing them with a different material. While the process of removing granite countertops may seem daunting, with the right tools and knowledge, it can be a manageable DIY project.
In this article, we will guide you through the step-by-step process of removing granite countertops. It is important to note that granite is a heavy material, so it’s crucial to take proper precautions and enlist the help of others if needed. With careful planning and execution, you can successfully remove your granite countertops without causing any damage to your kitchen or bathroom.
Before we begin, it’s essential to remember that safety should always be a top priority. Make sure to wear necessary protective gear such as gloves and safety goggles to prevent any injuries. Additionally, it’s recommended to work slowly and carefully to avoid any accidents or damage to the surrounding area.
Key Takeaways:
- Removing granite countertops is a manageable DIY project with the right tools and precautions. Prioritize safety, gather necessary materials, and follow step-by-step instructions for a successful removal process.
- Thoroughly clean and prepare the area after removing the granite countertop to ensure a smooth transition for the next phase of your remodeling project. Prioritize safety, teamwork, and attention to detail throughout the process.
Read more: How To Remove Dye From Granite Countertops
Step 1: Gather the necessary tools and materials
Before starting the process of removing your granite countertops, it’s crucial to gather all the necessary tools and materials. Having everything prepared beforehand will help streamline the process and ensure that you have everything you need at hand. Here is a list of tools and materials you will need:
- Protective gear: Gloves, safety goggles, and a face mask to protect yourself from any potential hazards
- Crowbar or pry bar: To help loosen the adhesive holding the granite countertop in place
- Utility knife: For cutting any caulking or sealant around the edges of the countertop
- Putty knife: To gently pry the countertop away from the cabinets or base
- Screwdriver: In case there are any screws or fasteners attaching the countertop to the cabinets
- Pliers: To disconnect any plumbing connections, such as the sink drain
- Bucket or container: For collecting any debris or small pieces that may break off during the removal process
- Drop cloths or plastic sheets: To protect the surrounding area from any damage or debris
Once you have gathered all the necessary tools and materials, ensure that the area surrounding the countertop is clear of any items or obstacles that could impede your work. This will provide you with a safe and unobstructed space to carry out the removal process.
It’s also recommended to have a helper on hand to assist you in lifting and maneuvering the heavy granite countertop. Granite is a dense and heavy material, so having an extra set of hands can make the process much easier and safer.
With all the tools and materials gathered and the workspace prepared, you are now ready to move on to the next step: disconnecting the sink and other appliances.
Step 2: Disconnect the sink and other appliances
Before you can remove your granite countertop, it’s important to disconnect any sinks, appliances, or fixtures that may be attached to it. This step ensures that you can lift the countertop without any obstructions or potential damage to these components. Here’s how to disconnect the sink and other appliances:
- Start by turning off the water supply to the sink. Locate the shut-off valves underneath the sink and turn them clockwise to close the water supply.
- Place a bucket or bowl underneath the sink to catch any remaining water in the pipes. Loosen the connections between the sink and the drain pipes using pliers or a wrench. Allow any water to drain completely before proceeding to the next step.
- If your sink is attached to the countertop with adhesive or brackets, carefully detach it by loosening the screws or brackets that hold it in place. Be cautious not to damage the sink or the surrounding countertop during this process.
- If there are any other appliances attached to the countertop, such as a cooktop or a dishwasher, refer to their respective manuals or consult a professional for guidance on how to disconnect them safely. It’s important to follow manufacturer’s instructions to prevent any damage or accidents.
Once you have successfully disconnected the sink and any other appliances, you can proceed to the next step of loosening the adhesive holding the countertop in place.
Remember to take special care when handling plumbing connections and to have a bucket or container nearby to catch any water or debris that may be released during the disconnection process.
Now that you have disconnected the sink and other appliances, you are ready to move on to the next step: loosening the adhesive holding the countertop.
Step 3: Loosen the adhesive holding the countertop
Loosening the adhesive is a crucial step in removing your granite countertop. The adhesive secures the countertop to the cabinets or base, and it needs to be carefully loosened to ensure a smooth and safe removal. Here’s how to loosen the adhesive holding the countertop:
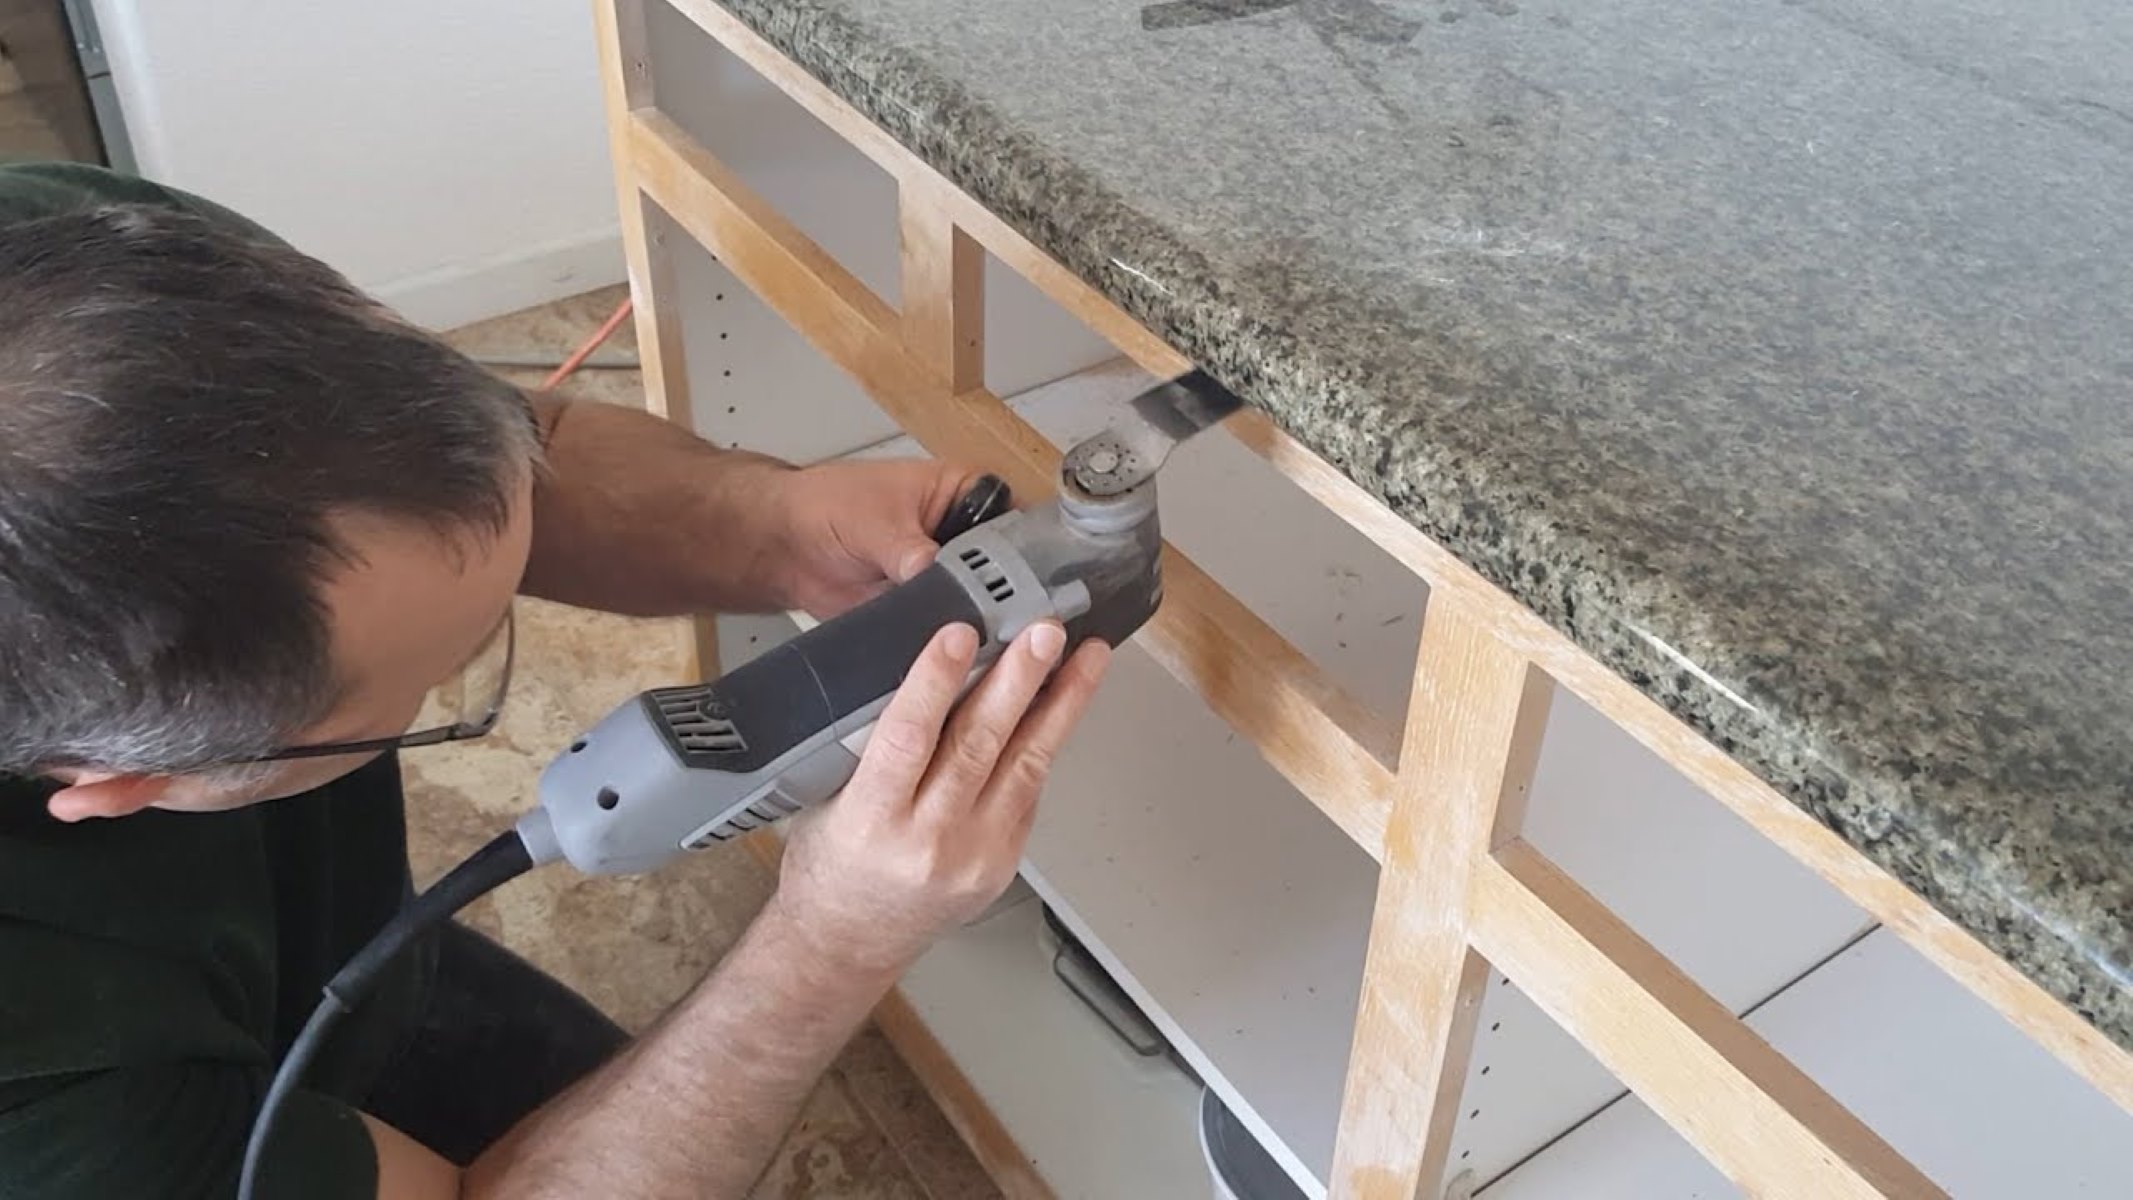
- Start by using a utility knife to cut through any caulk or sealant along the edges of the countertop. This will help release any bonds and make it easier to separate the countertop from the base.
- Next, locate the seams between the countertop and the cabinets or base. Insert a putty knife or pry bar into these seams, gently tapping it with a hammer to create a small gap.
- Using a twisting or rocking motion, slowly work the pry bar or crowbar along the seam, applying gentle pressure to loosen the adhesive bond. Be careful not to apply too much force, as this can cause damage to the countertop or the cabinets.
- Repeat this process along all the seams of the countertop, gradually working your way around the entire perimeter.
- If you encounter any stubborn spots where the countertop is still firmly attached, use a heat gun or hairdryer to warm up the adhesive. The heat will help soften the adhesive, making it easier to separate the countertop from the base.
- As you continue to loosen the adhesive, have a helper assist you by lifting the countertop slightly to relieve any pressure on the bond. This will prevent any sudden movements or potential damage as the adhesive is being released.
Remember to work slowly and carefully during the adhesive loosening process to minimize the risk of damage. It’s important to be patient and give yourself enough time to safely remove the countertop.
Once you have successfully loosened the adhesive, you are ready to proceed to the next step: carefully lifting and removing the granite countertop.
When removing granite countertops, start by disconnecting the sink and any appliances. Then, carefully pry the countertops away from the cabinets using a crowbar or putty knife. Be sure to have help to avoid injury.
Step 4: Carefully lift and remove the granite countertop
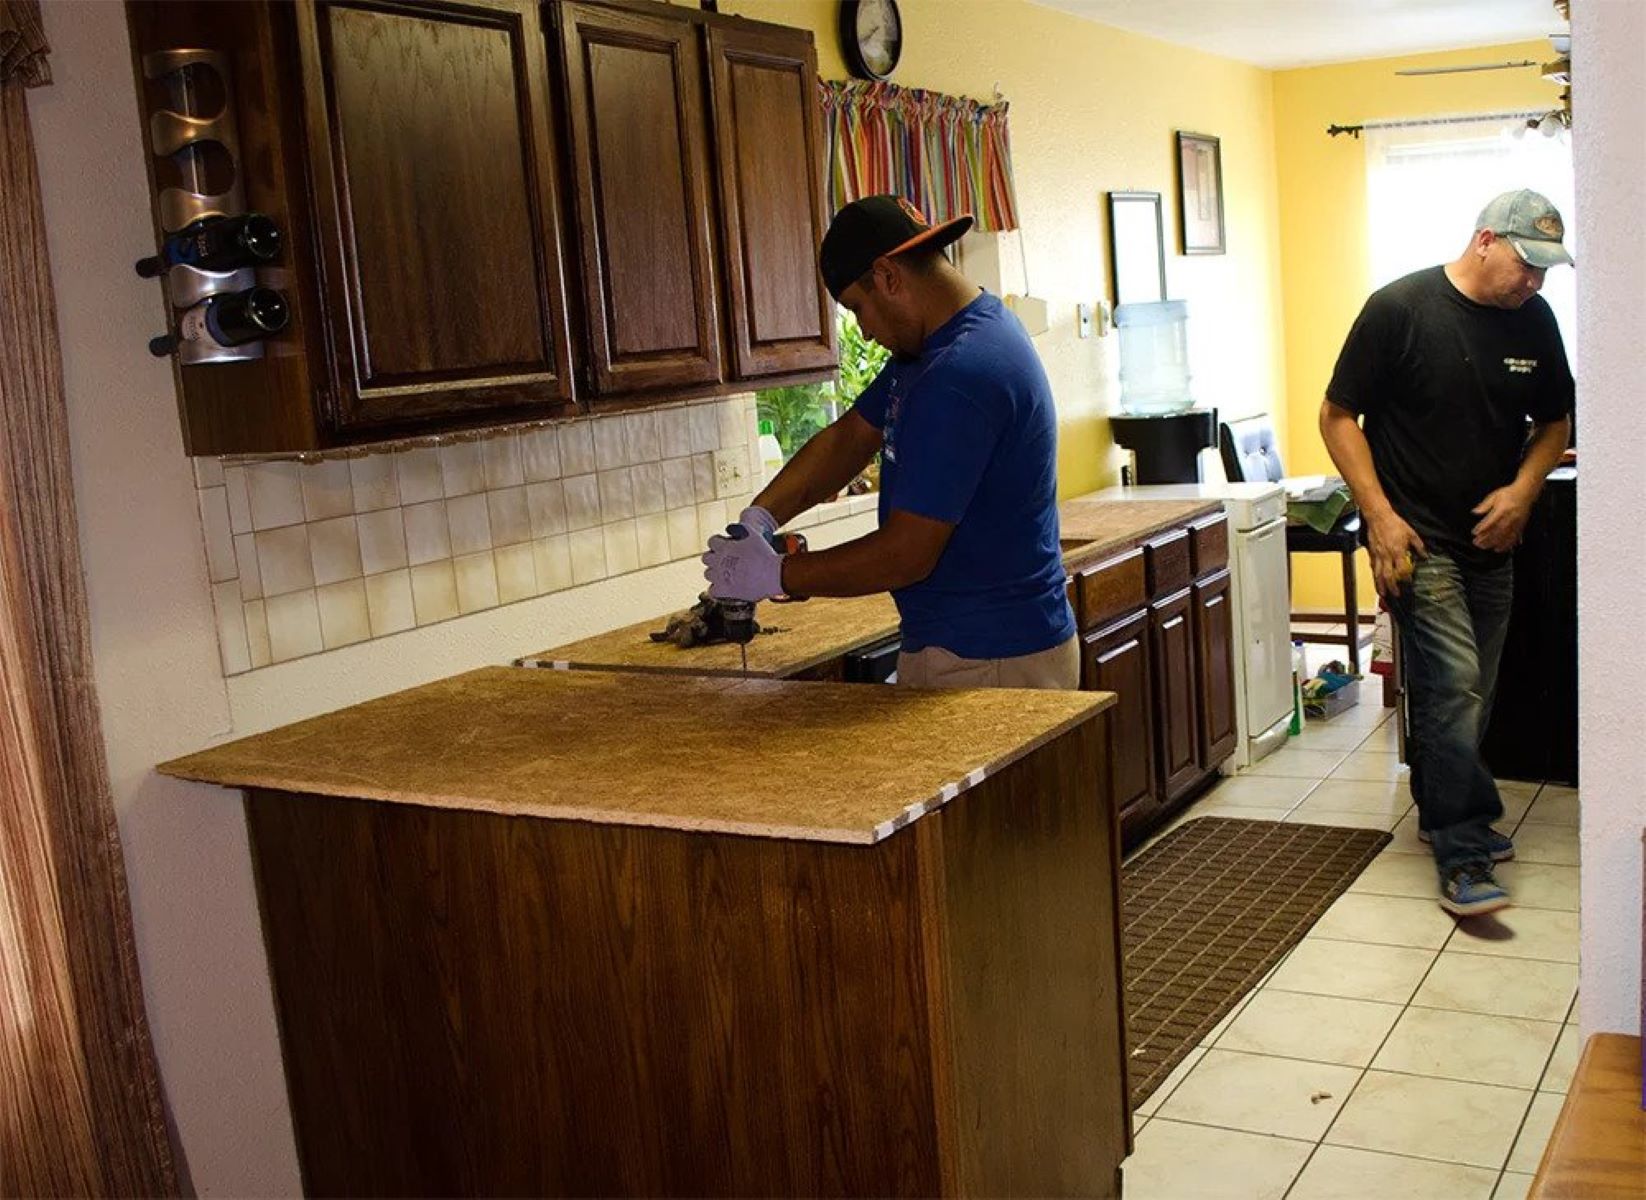
Once you have successfully loosened the adhesive holding your granite countertop in place, it’s time to carefully lift and remove it. This step requires caution and a team effort to ensure a smooth and safe removal process. Here’s how to lift and remove the granite countertop:
- Ensure that you have gathered enough people to assist you in lifting the heavy countertop. Granite is a dense material and can be very heavy, so having a team of people to evenly distribute the weight is crucial.
- Start by inserting a pry bar or crowbar underneath the countertop, lifting it slightly to create enough space for your fingers.
- Gently rock the countertop back and forth, gradually lifting it up from the base. Take care not to use excessive force as this can cause the countertop to crack or break.
- As you lift the countertop, have your team members provide support and keep a close eye on any connections or obstacles that may need to be navigated around.
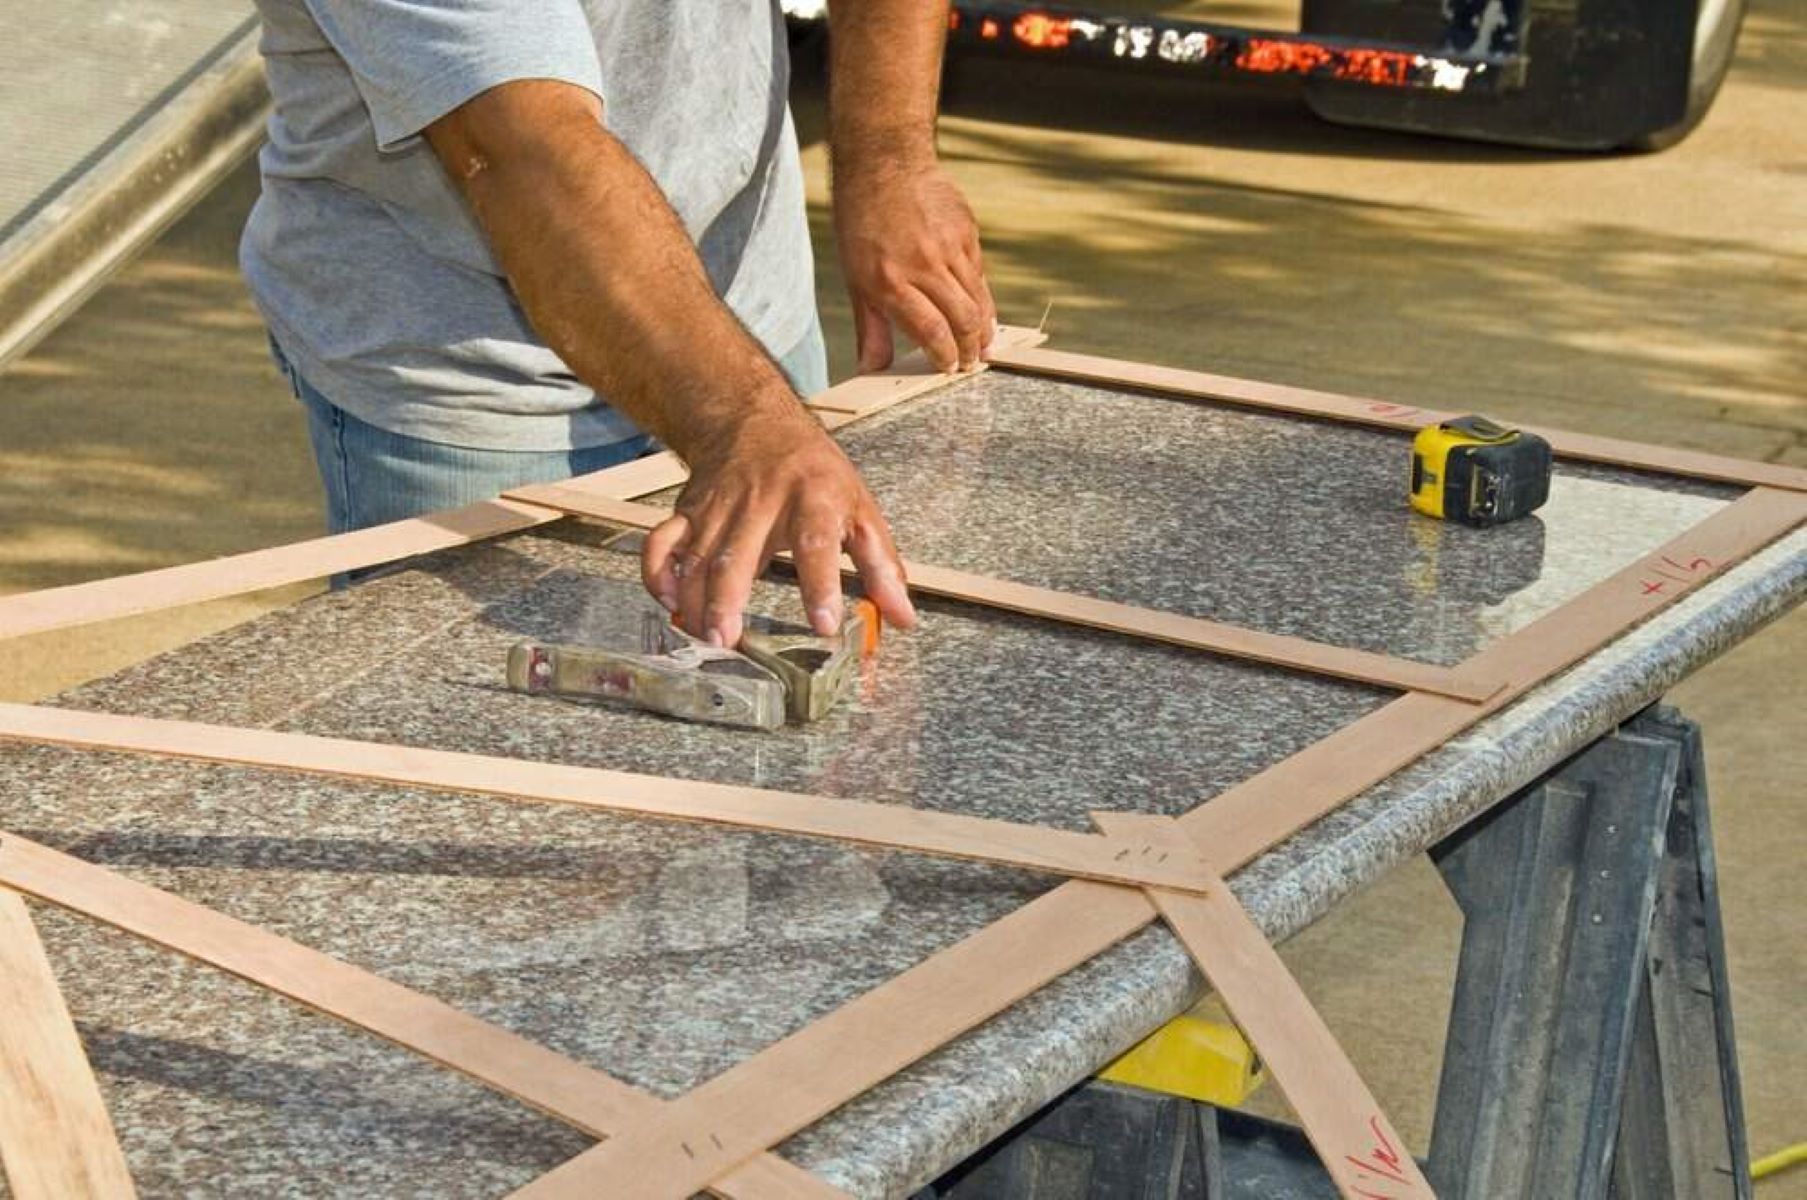
- Once the countertop is lifted and free from the base, carefully move it away from the cabinets or the area where it was installed. Pay attention to any corners or edges that may be vulnerable to chipping or damage during the process.
- If the countertop is in sections, ensure that each piece is lifted and removed separately. Be cautious not to drag any pieces across the floor, as this can cause scratches or other damage.
During the lifting and removal process, it’s crucial to communicate effectively with your team members and maintain a steady pace. Take breaks as needed to avoid any strain or potential accidents.
With the granite countertop successfully lifted and removed, you can proceed to the final step: cleaning the area and preparing for installation.
Step 5: Clean the area and prepare for installation
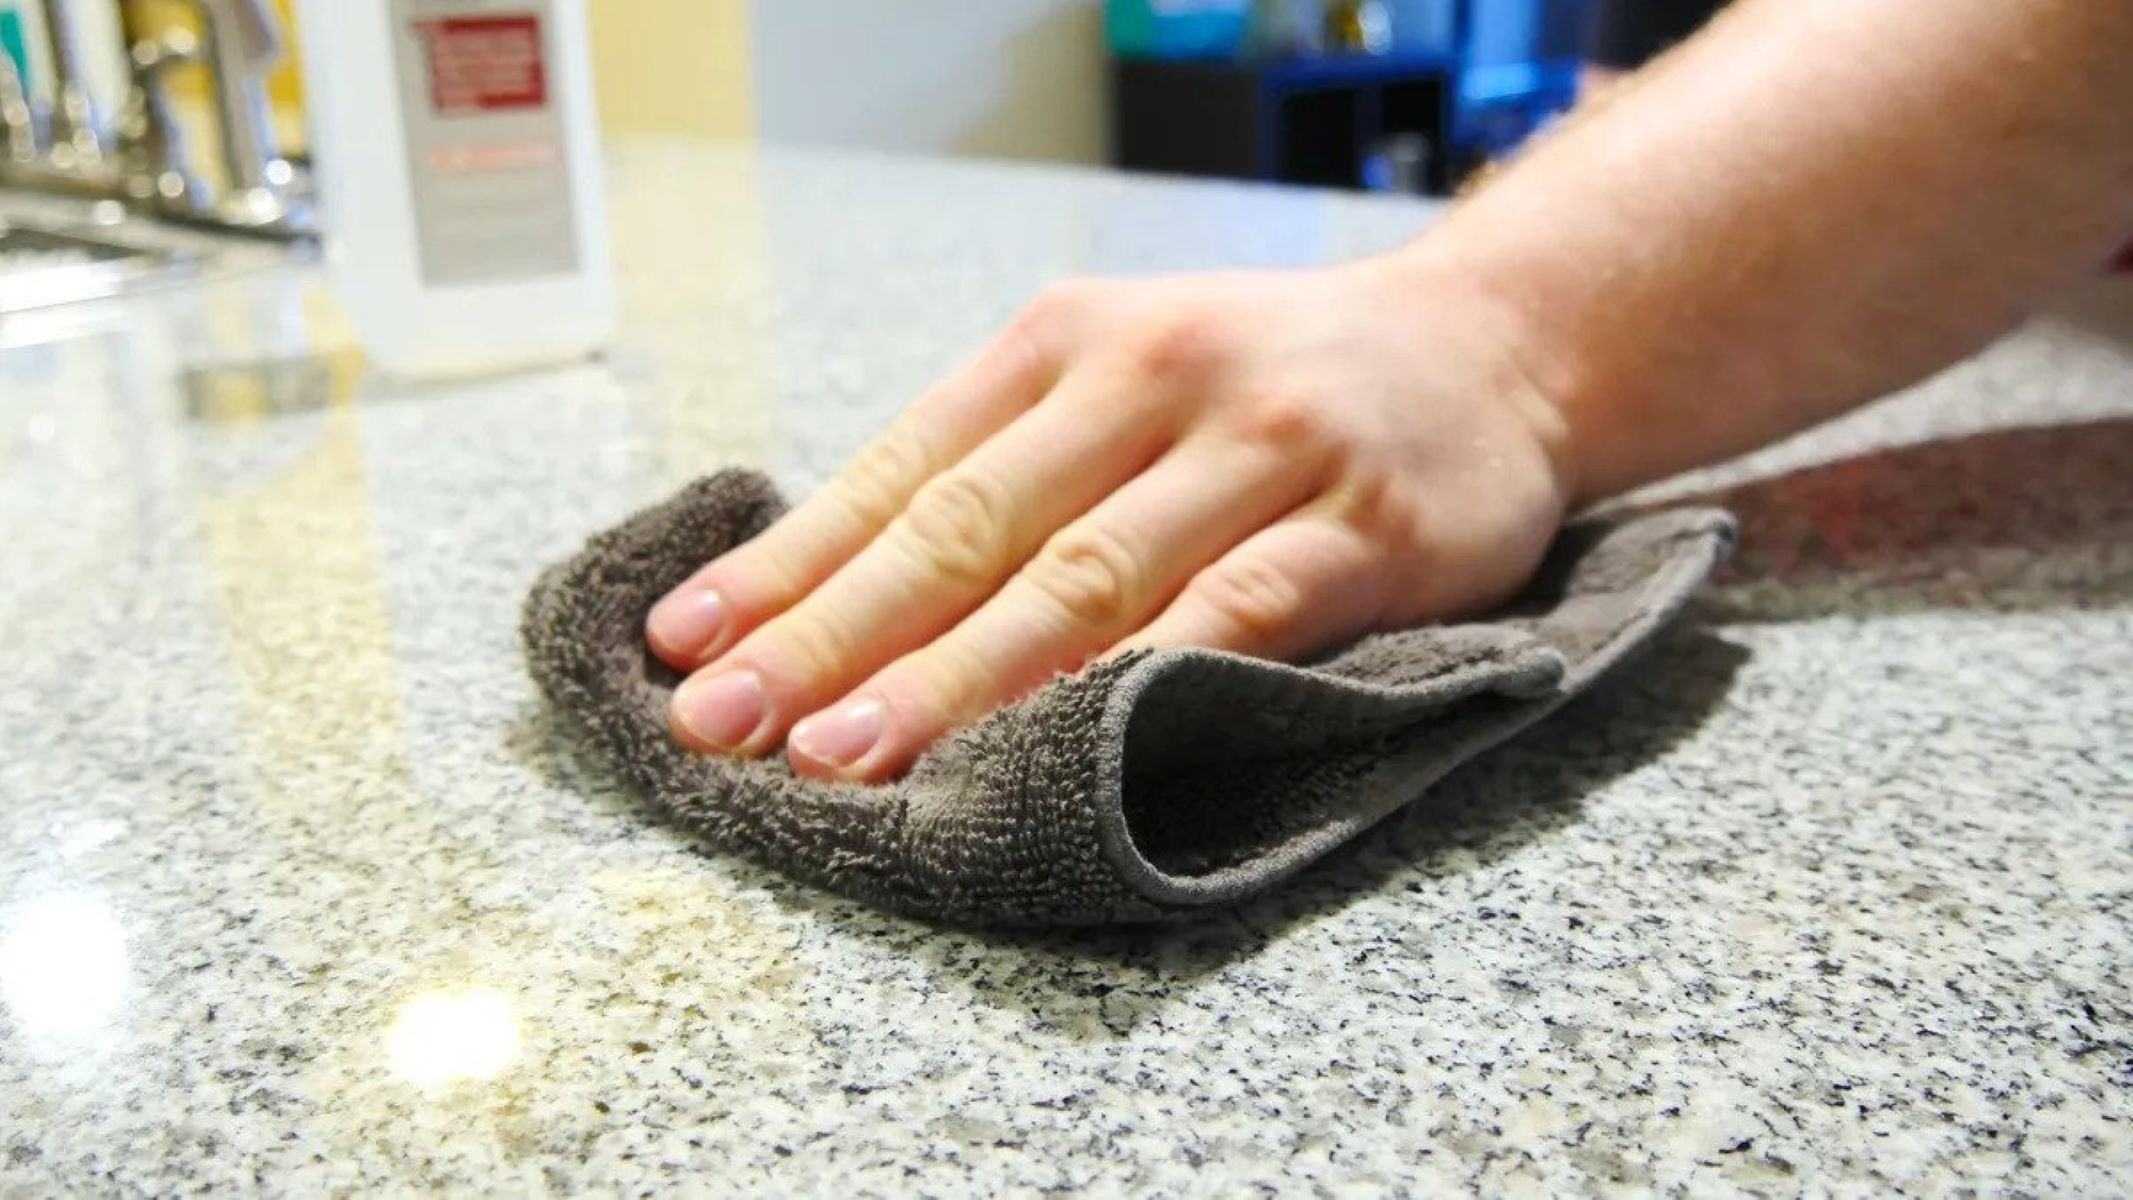
After removing your granite countertop, it’s essential to clean the area and prepare it for the installation of a new countertop or any other desired changes. This step will ensure that the space is ready for the next phase of your project. Here’s how to clean the area and prepare for installation:
- Begin by thoroughly cleaning the cabinets or base where the granite countertop was previously installed. Remove any debris, dust, or remnants of adhesive left behind from the removal process.
- Inspect the cabinets or base for any damage that may have occurred during the removal. Repair or reinforce any areas that need attention, such as loose screws, weakened supports, or damaged surfaces.
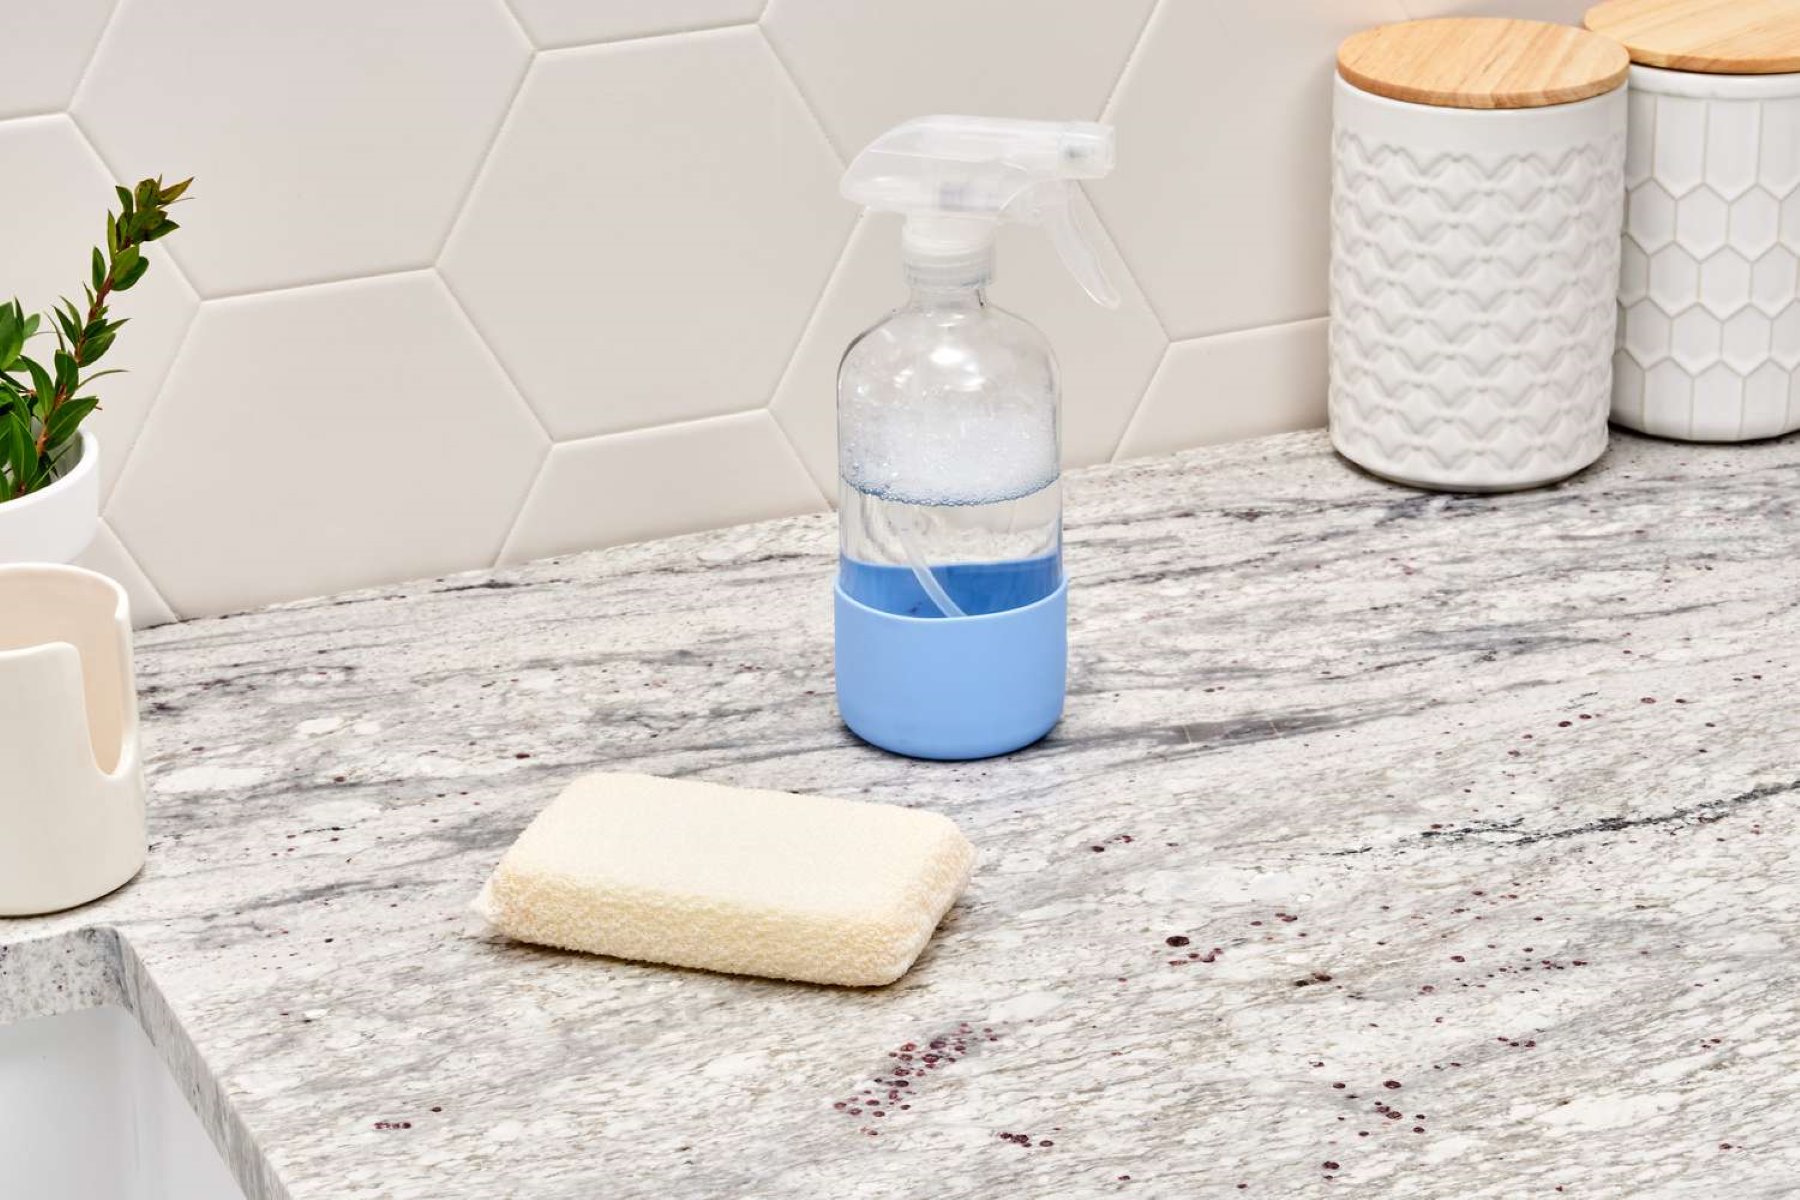
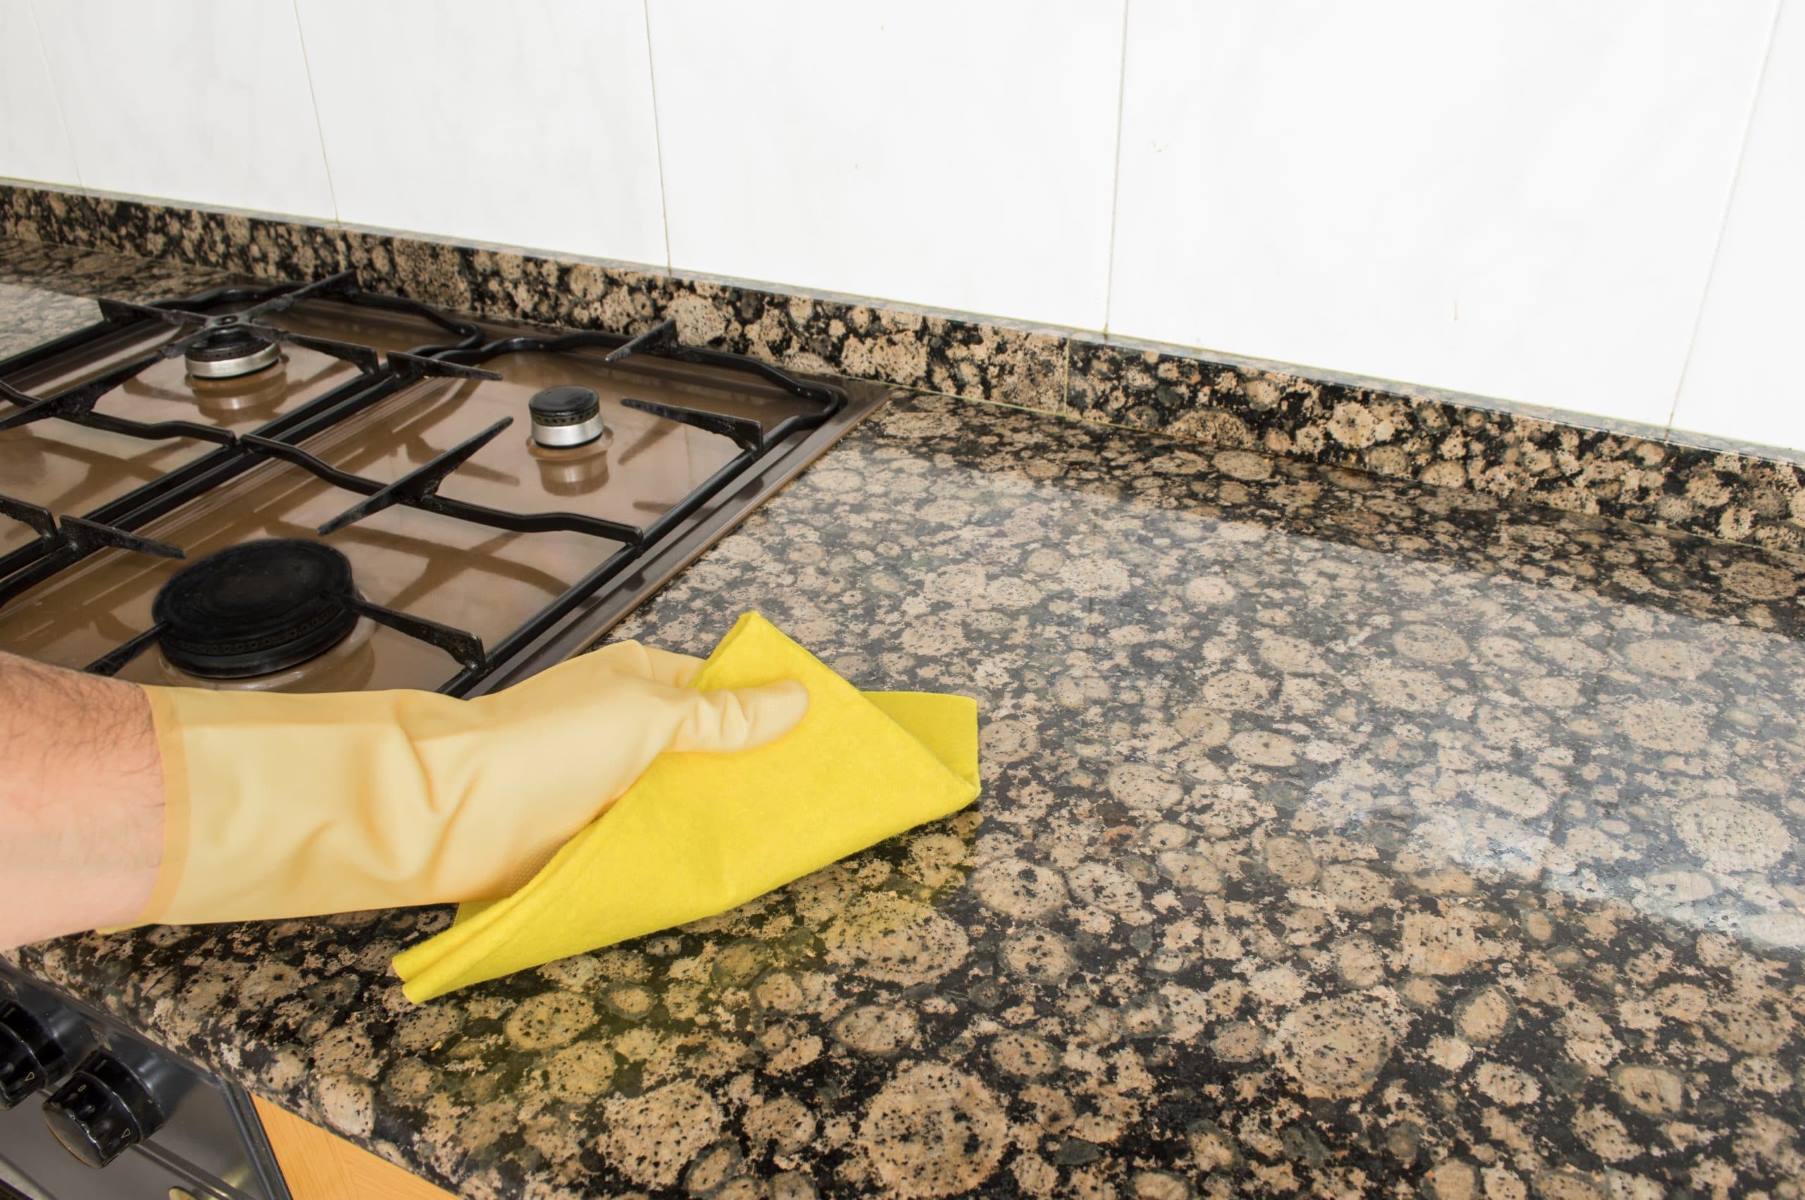
- Use a gentle cleanser or soap mixed with water to clean the surrounding walls, backsplash, and any other surfaces that were exposed during the removal process. Wipe them down with a soft cloth or sponge to remove any residue or dirt.
- If you plan to install a new countertop, take accurate measurements of the space and ensure that it is properly prepared for the new installation. This may include leveling the cabinets, applying a sealant or primer, or making any necessary adjustments to accommodate the new countertop.
- Consider applying a fresh coat of paint or making any desired aesthetic changes to the surrounding area to complement the new countertop or enhance the overall look of the space.
- If you will not be installing a new countertop immediately, cover the exposed cabinets or base with protective material, such as a tarp or plastic sheet, to prevent any damage or dust accumulation.
By thoroughly cleaning the area and preparing it for installation or other changes, you are setting the stage for a successful next step in your remodeling project. This will ensure that your new countertop or any other modifications will be completed on a clean and pristine surface.
Now that the area is cleaned and prepared, you can conclude the removal process and move forward with your renovation plans.
Conclusion
Removing granite countertops may seem like a daunting task, but with the right tools, knowledge, and a careful approach, it can be a manageable DIY project. By following the step-by-step process outlined in this article, you can successfully remove your granite countertops without causing any damage to your kitchen or bathroom.
Remember to prioritize safety throughout the removal process by wearing protective gear and working slowly and carefully. Enlist the help of others to assist with the heavy lifting and ensure a smooth and safe removal.
Gathering the necessary tools and materials is the first step, followed by disconnecting the sink and other appliances to free up the countertop. Loosening the adhesive is critical and requires patience and attention to detail. Carefully lifting and removing the granite countertop involves teamwork and caution to prevent any breakage or damage.
Once the countertop is removed, clean the area thoroughly and prepare it for installation or any other desired changes. This step ensures a clean and well-prepared surface for the next phase of your remodeling project.
Whether you’re replacing the granite countertop with a new one or opting for a different material, the process of removing granite countertops can be completed successfully with careful planning and execution.
Remember that each project may have specific requirements and considerations, so it’s always a good idea to consult with professionals or reference manufacturer’s guidelines when necessary.
With the right tools, a clear plan, and some assistance, you can confidently embark on the journey of removing your granite countertops and transforming your space into a fresh and updated area.
Frequently Asked Questions about How To Remove Granite Countertops
Was this page helpful?
At Storables.com, we guarantee accurate and reliable information. Our content, validated by Expert Board Contributors, is crafted following stringent Editorial Policies. We're committed to providing you with well-researched, expert-backed insights for all your informational needs.


0 thoughts on “How To Remove Granite Countertops”