Articles
How To Install Induction Cooktop
Modified: August 31, 2024
Learn how to easily install an induction cooktop with our helpful articles. Get step-by-step instructions and expert tips for a successful installation.
(Many of the links in this article redirect to a specific reviewed product. Your purchase of these products through affiliate links helps to generate commission for Storables.com, at no extra cost. Learn more)
Introduction
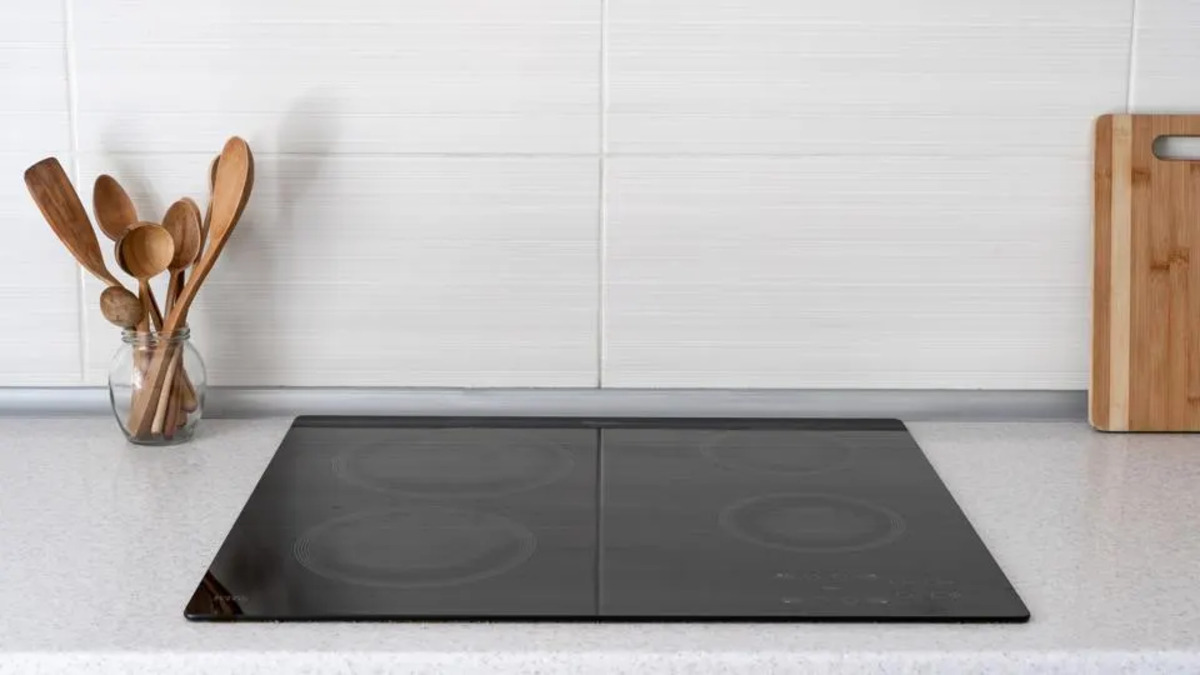
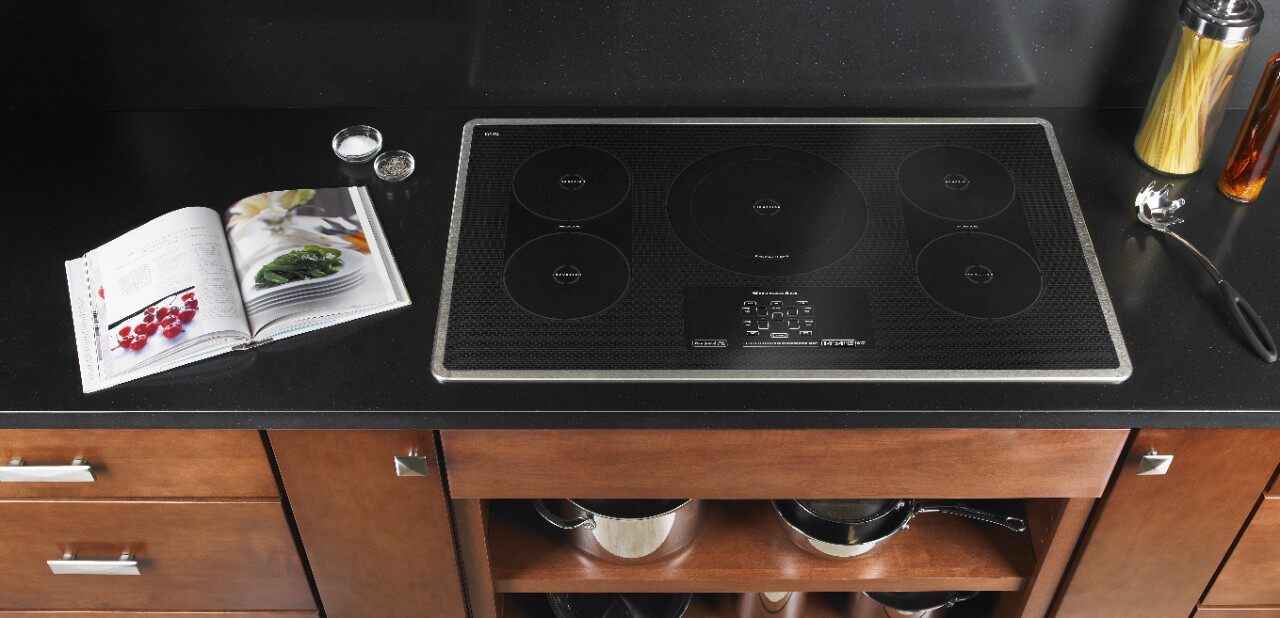
Induction cooktops have become increasingly popular in households due to their efficiency and convenience. Unlike traditional gas or electric stoves, induction cooktops use electromagnetic fields to directly heat the cookware, resulting in faster cooking times and precise temperature control. If you are considering installing an induction cooktop in your kitchen, this article will guide you through the step-by-step process to ensure a successful installation.
Before we dive into the installation process, it is crucial to prioritize safety. Working with electricity can be dangerous, so make sure to follow the manufacturer’s instructions carefully and take appropriate safety precautions. If you are unsure about any step, it is advisable to consult a professional electrician to assist you.
To successfully install an induction cooktop, you will need some essential tools and materials. These may include:
- Screwdriver set
- Wire strippers
- Electrical tape
- Wire connectors
- Level
- Measuring tape
- Mounting brackets
- Drill
With these tools and materials ready, let’s dive into the step-by-step installation process for your induction cooktop.
Key Takeaways:
- Prioritize safety by turning off power, wearing protective gear, and following manufacturer’s instructions. Consult a professional if unsure about any step to ensure a safe installation process.
- Gather essential tools and materials, measure and prepare the installation area, check electrical compatibility, and securely fasten the induction cooktop. Test the installation to ensure proper functionality before use.
Safety Precautions
When working with electricity and performing any kind of installation, it is of utmost importance to prioritize safety. Here are some essential safety precautions to keep in mind during the induction cooktop installation process:
- Turn off the power: Before beginning any work, ensure that the power to the cooktop area is switched off at the circuit breaker. This will prevent any risk of electric shock during the installation.
- Wear protective gear: Always wear safety goggles and gloves to protect yourself from any potential injuries or accidents. Safety should always be the top priority when working with tools and electrical components.
- Read the manufacturer’s instructions: Familiarize yourself with the specific instructions provided by the manufacturer for your particular induction cooktop. This will ensure that you follow the correct steps and guidelines for a successful installation.
- Ensure proper ventilation: Adequate ventilation is crucial when installing an induction cooktop. Make sure the area is well-ventilated to prevent the buildup of heat and fumes during cooking.
- Avoid moisture exposure: Keep all electrical components and connections away from water or moisture. Ensure that the installation area is dry to minimize the risk of electrical malfunctions or damage.
- Securely fasten the cooktop: Once the installation is complete, ensure that the induction cooktop is securely fastened and level to prevent any accidents or incidents while cooking. Use the provided mounting brackets and screws to securely attach the cooktop to the countertop.
- Consult a professional if needed: If you are unsure about any step or encounter any complications during the installation, it is always wise to seek assistance from a professional electrician. They have the expertise and knowledge to handle complex electrical work safely.
By following these safety precautions, you can minimize the risk of accidents, ensure a safe installation process, and enjoy the benefits of your new induction cooktop with peace of mind.
Required Tools and Materials
Before you begin the installation process for your induction cooktop, it is important to gather all the necessary tools and materials. Having these items on hand will ensure a smooth and efficient installation. Here is a list of the essential tools and materials you will need:
- Screwdriver set: A set of screwdrivers, including flathead and Phillips head, will be needed for removing and installing screws.
- Wire strippers: These are necessary for removing the insulation from the electrical wires.
- Electrical tape: Use electrical tape to securely wrap and insulate exposed wires.
- Wire connectors: These connectors are used to join and secure electrical wires together.
- Level: A level will help ensure that the cooktop is installed straight and level on the countertop.
- Measuring tape: Use a measuring tape to measure the dimensions of the installation area and ensure a proper fit for the cooktop.
- Mounting brackets: Depending on the specific cooktop model, you may need mounting brackets to secure the cooktop to the countertop.
- Drill: A drill will be necessary for creating holes in the countertop for the mounting brackets.
It is important to note that the exact tools and materials required may vary depending on the specific cooktop model and installation requirements. Always refer to the manufacturer’s instructions and check the provided installation manual for any additional tools or materials that may be recommended.
By having these tools and materials ready before starting the installation process, you can ensure that you have everything you need to complete the task efficiently and accurately.
Step 1: Measure and Prepare the Installation Area
Before you can begin the installation process for your induction cooktop, it is important to accurately measure and prepare the installation area. This step is crucial to ensure a proper fit and a seamless installation. Here’s how to go about it:
- Measure the countertop: Use a measuring tape to determine the dimensions of the area where you plan to install the cooktop. Measure the width, depth, and height of the cutout space to ensure that the cooktop will fit properly.
- Check clearance requirements: Refer to the manufacturer’s instructions to determine the required clearance space around the cooktop. This includes clearance from walls, cabinets, and other appliances. Make sure there is enough space for proper ventilation and easy access to the controls.
- Prepare the countertop: Clear the countertop of any objects, such as small appliances or utensils, to create a clean and clutter-free work area. If you are replacing an existing cooktop, carefully remove it by following the manufacturer’s instructions.
- Inspect and clean the surface: Inspect the countertop surface for any damage or unevenness. Ensure that it is clean and free of debris, dirt, or any residues that may interfere with the installation process.
By taking the time to accurately measure and prepare the installation area, you can avoid any issues or complications during the installation process. This step sets the foundation for a smooth and successful installation of your induction cooktop.
Step 2: Check Electrical Compatibility
Before proceeding with the installation of your induction cooktop, it is crucial to check the electrical compatibility to ensure that your kitchen’s electrical system can support the cooktop’s power requirements. Here are the key steps to follow:
- Refer to the manufacturer’s specifications: Consult the product manual or the manufacturer’s website to find the electrical requirements for your induction cooktop. This information will include the required voltage, amperage, and circuit breaker size.
- Examine your kitchen’s electrical system: Locate your kitchen’s electrical panel or circuit breaker box. Check if the circuit breaker for the cooktop area matches the required amperage and voltage specified by the manufacturer.
- Assess the wiring: Determine the type and condition of the wiring in your kitchen. Ensure that it meets the necessary standards and can handle the electrical load of the induction cooktop.
- Consult a professional if needed: If you are uncertain about the compatibility of your electrical system, it is recommended to seek the expertise of a licensed electrician. They can assess your electrical setup and provide necessary guidance or make any required modifications to ensure electrical compatibility.
It is essential to follow these steps to ensure that your induction cooktop operates safely and efficiently without overloading your electrical system. Failing to check the electrical compatibility may result in electrical issues, such as tripped breakers or damage to the cooktop.
By verifying the electrical compatibility of your kitchen’s electrical system with the cooktop’s requirements, you can proceed with confidence to the next steps of the installation process.
Step 3: Turn Off Power
Prior to starting any work on the installation of your induction cooktop, it is imperative to turn off the power to the area to ensure your safety. Here are the necessary steps to follow:
- Locate the circuit breaker: Identify the circuit breaker that controls the power supply to the cooktop area. Usually, circuit breakers are labeled, specifying which area or appliances they correspond to. If the circuit breaker for the cooktop is not labeled, you may need to test each one to find the correct circuit.
- Switch off the power: Flip the corresponding switch on the circuit breaker to the “off” position. This will cut off the power supply to the cooktop and eliminate the risk of electric shock or other electrical hazards during the installation process.
- Double-check the power supply: After turning off the circuit breaker, use a non-contact voltage tester to confirm that there is no power flowing to the cooktop area. This device will detect the presence of electrical current and ensure that it is completely shut off.
While turning off the power may seem like a straightforward step, it is crucial to ensure your safety and avoid any potential accidents or injuries during the installation process. Never proceed with the installation without confirming that the power supply has been cut off completely.
By following these steps and turning off the power before starting the installation, you can work with peace of mind, knowing that you have taken the necessary precautions to protect yourself and ensure a safe installation process.
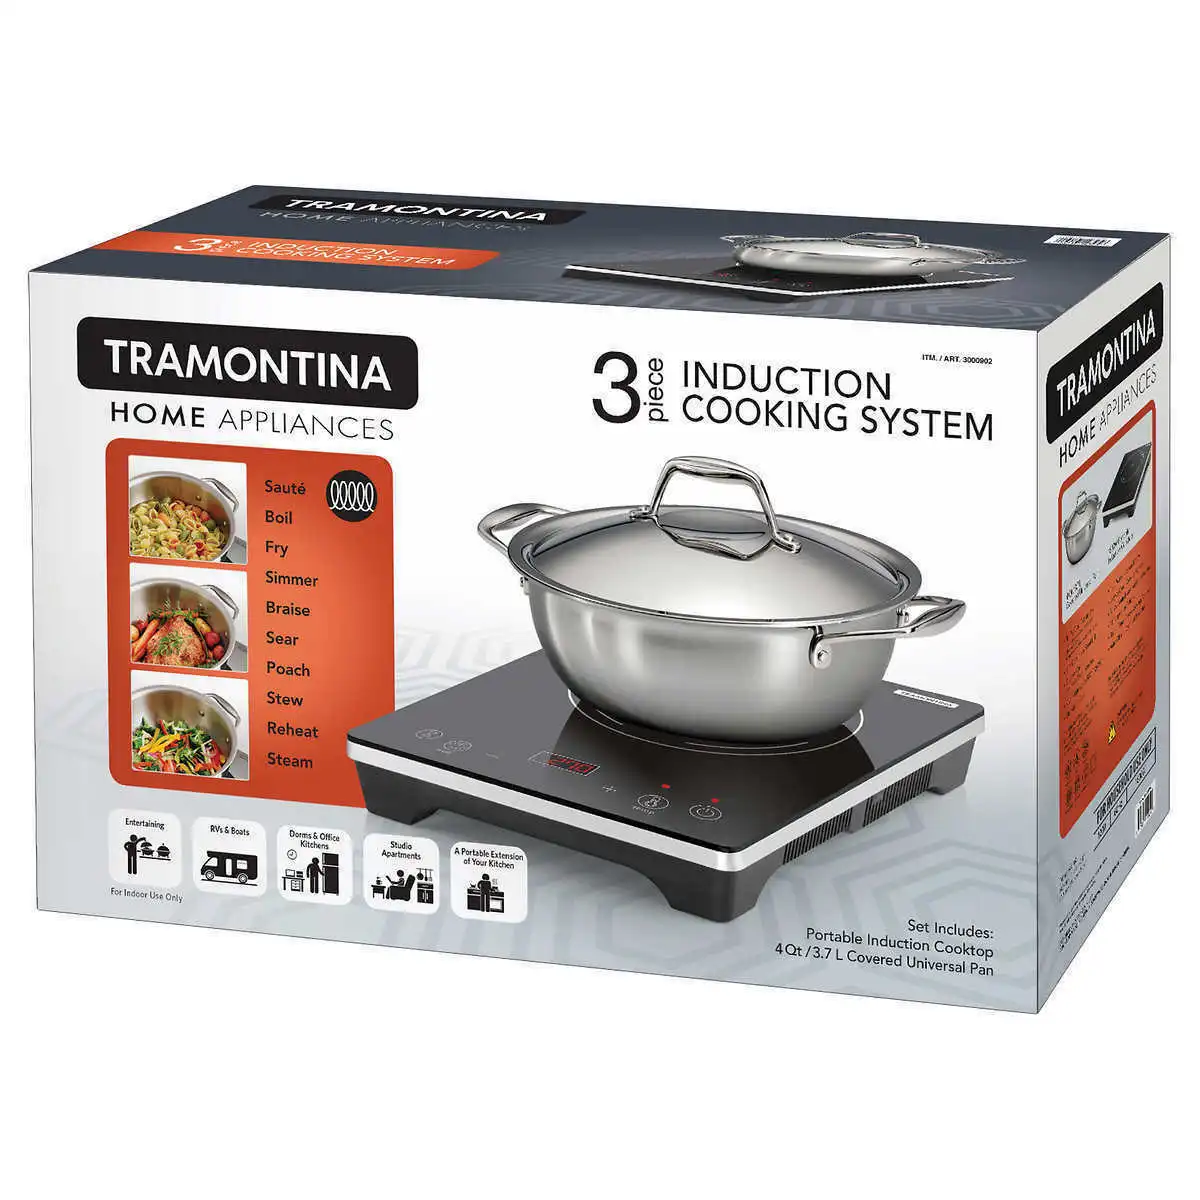
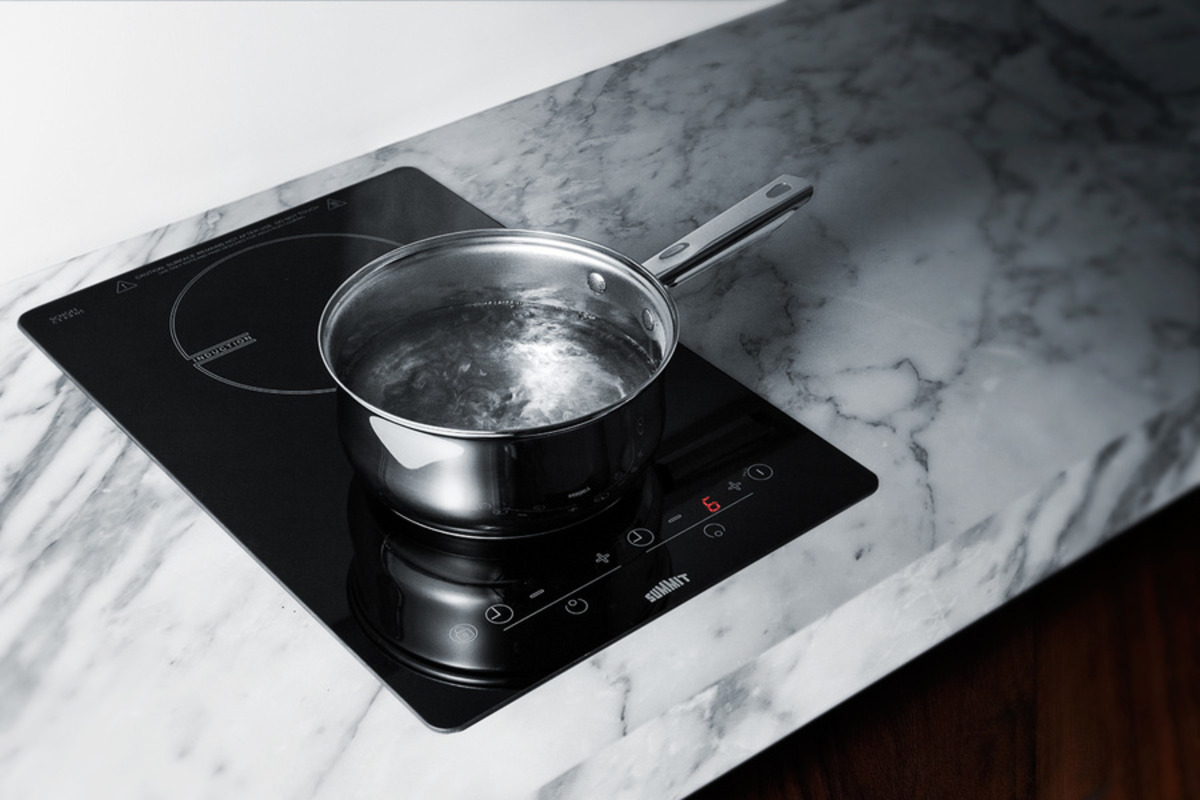
When installing an induction cooktop, make sure to use the correct cookware with a flat bottom and magnetic properties to ensure efficient cooking.
Step 4: Remove Existing Cooktop
If you are replacing an existing cooktop with an induction cooktop, it is important to remove the old one before proceeding with the installation. Here are the steps to follow:
- Ensure the power is turned off: Double-check that the power supply to the cooktop is switched off at the circuit breaker. This is for your safety during the removal process.
- Clear the area: Remove any items or objects from around the cooktop area to create a clean and accessible workspace.
- Disconnect the electricity: Carefully disconnect the electrical connections to the existing cooktop. This may involve removing wire nuts or disconnecting wiring harnesses, depending on the configuration.
- Disconnect the gas supply (if applicable): If your existing cooktop is gas-powered, shut off the gas supply valve and disconnect the flexible gas line from the cooktop.
- Remove the cooktop: Depending on the type of cooktop, it may be attached to the countertop with screws, brackets, or adhesive. Use a screwdriver or a specialized cooktop removal tool to loosen and remove any fasteners.
- Lift and remove the cooktop: With the help of another person, carefully lift the old cooktop off the countertop and set it aside. Be cautious of any sharp edges or delicate components.
- Inspect the countertop: Take a moment to inspect the countertop for any damage or debris. Clean the area and ensure that it is ready for the installation of the new induction cooktop.
Remember, the process of removing an existing cooktop may vary depending on the specific model and installation method. Always refer to the manufacturer’s instructions for any specific guidelines or considerations for your particular cooktop.
By following these steps to remove the existing cooktop, you will be ready to proceed with the installation of your new induction cooktop and enjoy the benefits of modern and efficient cooking technology.
Step 5: Install Mounting Brackets
Once you have removed the existing cooktop, the next step in the installation process of your induction cooktop is to install the mounting brackets. These brackets provide support and stability for the cooktop. Here’s how to proceed:
- Refer to the manufacturer’s instructions: Read the provided installation manual or instructions that came with your induction cooktop. Familiarize yourself with the recommended placement and positioning of the mounting brackets.
- Position the brackets: Place the mounting brackets on the countertop in the designated locations, aligning them with the holes provided on the cooktop. Ensure that the brackets are level and evenly spaced.
- Mark the holes: Using a pencil or marker, mark the location of the screw holes on the countertop through the holes in the mounting brackets. This will serve as a guide when drilling the holes.
- Drill pilot holes: Use a drill with an appropriate-sized drill bit to create pilot holes at the marked locations on the countertop. Take care to not drill too deep or damage the countertop material.
- Secure the brackets: Align the mounting brackets with the pilot holes and use a screwdriver or a drill to screw them securely into place. Ensure that the brackets are snugly attached and level with the countertop.
- Check for stability: Once the brackets are installed, gently give them a slight shake to test for stability. Make any necessary adjustments if the brackets feel loose or unstable.
It is important to follow the manufacturer’s guidelines regarding the installation of the mounting brackets. Different cooktop models may have specific requirements, so always refer to the provided instructions to ensure proper installation.
By correctly installing the mounting brackets, you will create a secure and sturdy base for your induction cooktop, ensuring stability and allowing for a smooth and successful installation process.
Step 6: Connect Electrical Wiring
With the mounting brackets securely in place, the next step in the installation process of your induction cooktop is to connect the electrical wiring. This step requires careful attention to ensure a safe and proper electrical connection. Follow these steps to connect the electrical wiring:
- Refer to the manufacturer’s instructions: Consult the provided installation manual or instructions for specific guidelines on the electrical wiring connection for your induction cooktop. Follow the recommended procedures and diagrams.
- Prepare the electrical wires: Strip the insulation from the ends of the electrical wires that will be connected to the cooktop. Use wire strippers to remove a small portion of the insulation, exposing the bare copper wire.
- Connect the wires: Match the color-coded wires from the cooktop to the corresponding wires in your electrical connection box. Use wire connectors appropriate for the wire size and twist them securely together. Follow the manufacturer’s instructions for any specific wiring configurations.
- Secure the connections: Once the wires are connected, use electrical tape to wrap around the wire connectors, ensuring the connections are insulated and secure. This helps prevent any accidental wire movement or disconnection.
- Label or mark the wires: If necessary, label or mark the wires with tape or colored markers to identify them for future reference or troubleshooting purposes.
- Tuck the wires: Neatly tuck the connected wires and excess wiring into the electrical connection box. Ensure that there are no loose or exposed wires that could come into contact with the cooktop or cause any electrical hazards.
It is crucial to follow the manufacturer’s instructions and guidelines for connecting the electrical wiring. If you are unsure about any step or have concerns about your electrical wiring, it is advisable to consult a professional electrician for assistance.
By correctly and securely connecting the electrical wiring, you will ensure a safe and reliable power supply for your induction cooktop, allowing it to function properly and efficiently.
Read more: What Are The Benefits Of Induction Cooktop
Step 7: Secure Induction Cooktop
After the electrical wiring is connected, it’s time to securely fasten the induction cooktop to the mounting brackets. Properly securing the cooktop will ensure stability and prevent any accidents or damage during use. Follow these steps to securely install the induction cooktop:
- Check alignment: Position the cooktop over the installed mounting brackets, ensuring that it aligns properly with the screw holes on the brackets and fits evenly on the countertop.
- Secure with screws: Using the screws provided by the manufacturer, carefully drive them through the cooktop’s screw holes into the corresponding holes on the mounting brackets. Start with one corner and work your way around, gradually tightening the screws.
- Follow the manufacturer’s torque recommendations: Pay attention to any guidelines provided by the manufacturer regarding the torque or tightening specifications for the screws. Over-tightening can potentially damage the cooktop or the countertop, so be cautious and follow the recommended torque values.
- Double-check stability: Once all the screws are in place, gently shake the cooktop to ensure that it is securely fastened and does not wobble or move. If there is any instability, double-check the screws and mounting brackets to identify and address the issue.
It’s essential to follow the manufacturer’s instructions for securing the induction cooktop, as different models may have specific requirements. Improper installation or inadequate securing can lead to safety hazards or damage to the cooktop.
By securely fastening the induction cooktop to the mounting brackets, you can ensure stability and peace of mind during its use. This step completes the physical installation of the cooktop, bringing you one step closer to enjoying its benefits.
Step 8: Test the Installation
Once the induction cooktop is securely installed, it is important to test the installation to ensure everything is functioning properly. Testing the cooktop will help you identify any issues or errors that may need to be addressed before regular use. Follow these steps to test the installation:
- Turn on the power: Go to the electrical panel or circuit breaker box and switch on the power to the cooktop area. Ensure that the circuit breaker is in the “on” position.
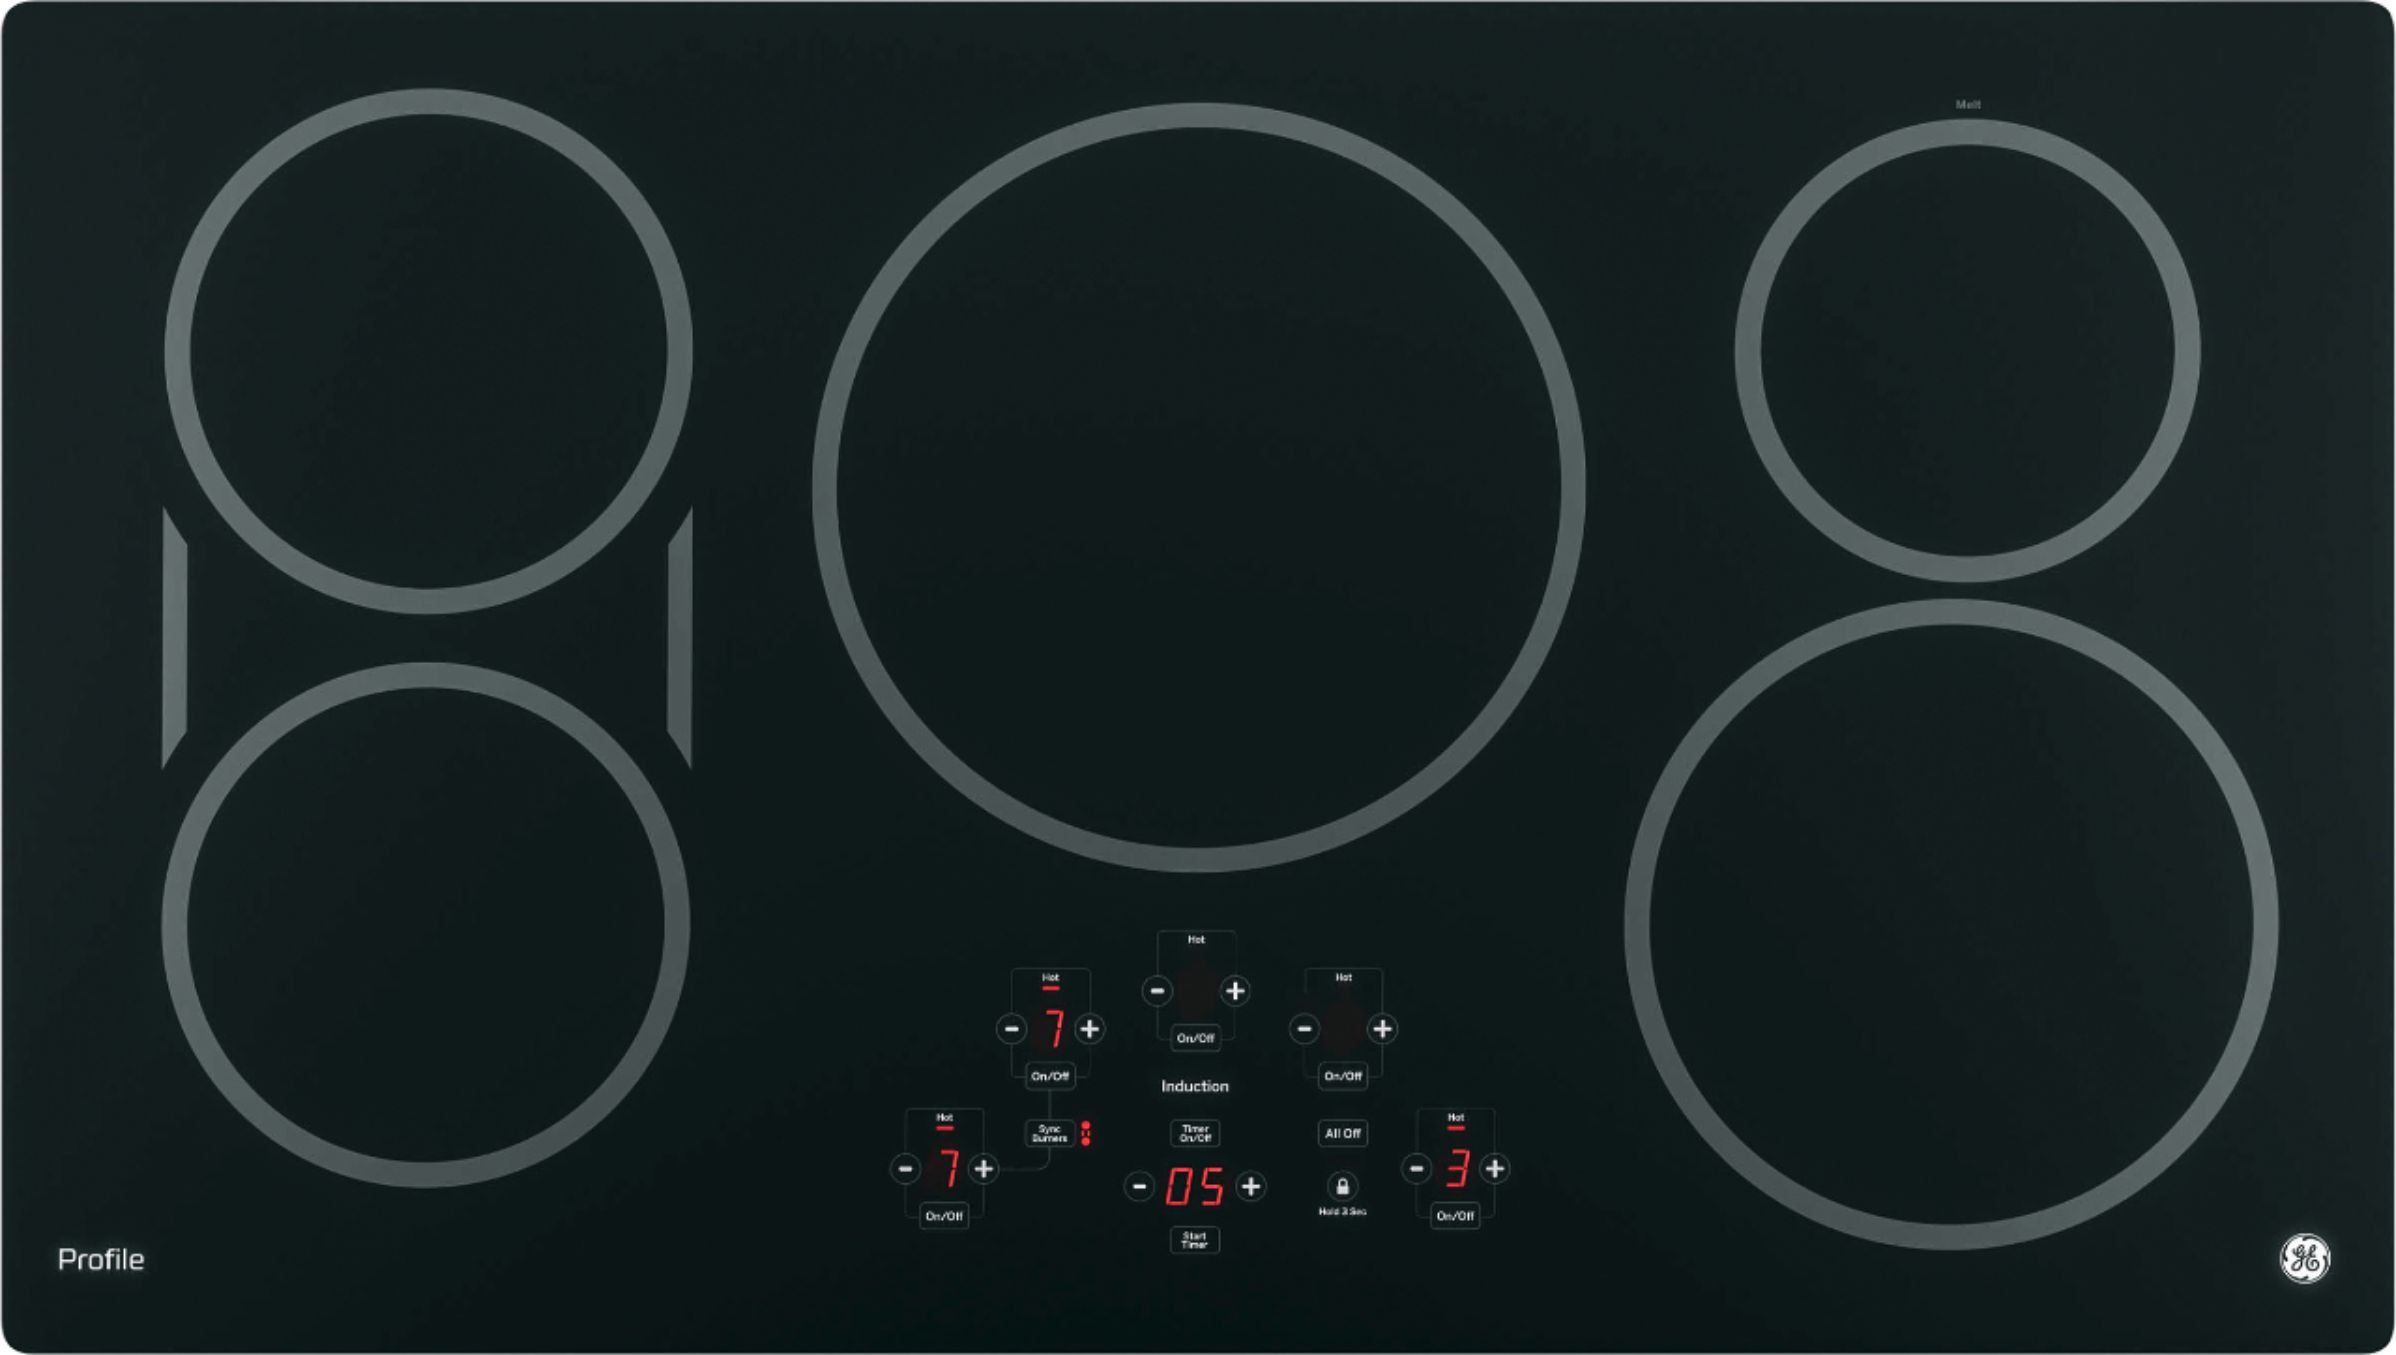
- Check the controls and settings: Familiarize yourself with the cooktop’s controls and settings. Ensure that the power knob, heat settings, and any other functions are functioning as expected.
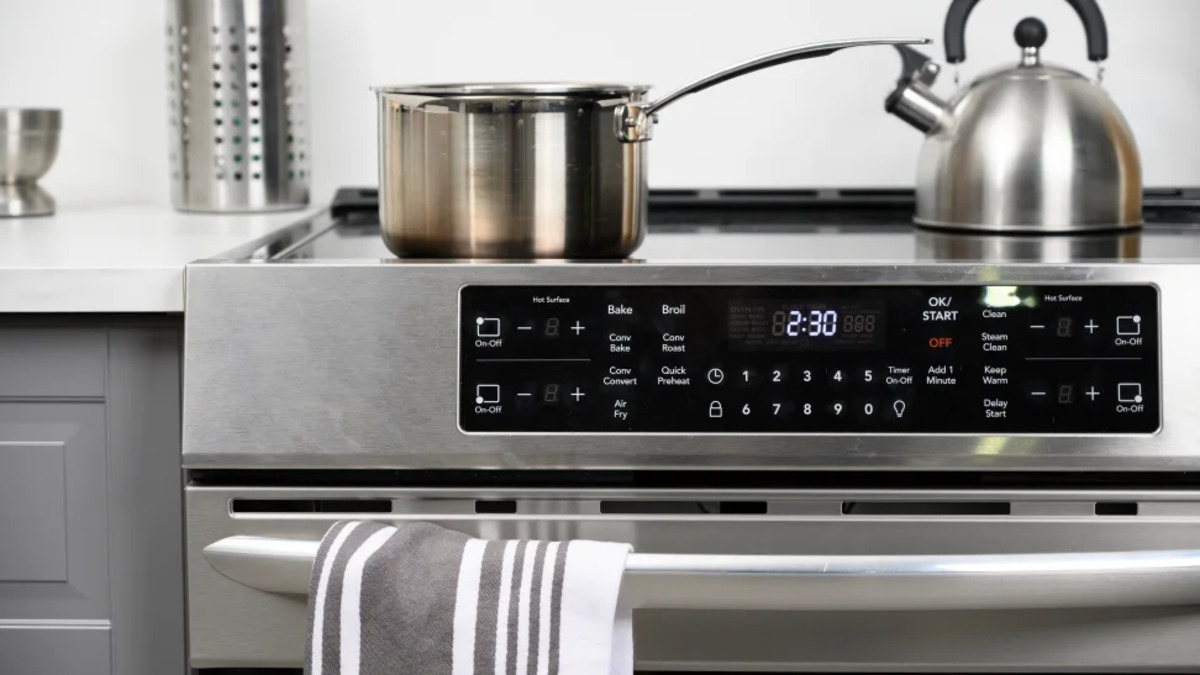
- Test the heat zones: Place a small, heat-resistant pan onto each heating zone of the cooktop. Turn on the respective heat zones and observe if the cooktop responds by heating up the pan evenly.
- Verify safety features: Check if the cooktop’s safety features, such as child lock or automatic shut-off, are working correctly. This is especially important for households with children or when leaving the cooktop unattended.
- Inspect for any abnormalities: During the testing phase, closely observe the cooktop for any unusual sounds, smells, or visual abnormalities. If you notice anything out of the ordinary, promptly address the issue.
If you encounter any problems or if the cooktop is not functioning as expected during the test, consult the manufacturer’s troubleshooting guide or contact their customer support for assistance. It’s better to address any issues promptly to ensure the cooktop’s optimal performance and longevity.
Testing the installation allows you to confirm that the induction cooktop is installed correctly and in good working condition. Once you are satisfied with the results of the test, you can start using your new induction cooktop with confidence.
Conclusion
Installing an induction cooktop can greatly enhance your cooking experience with its efficiency, precision, and modern features. By following the step-by-step process outlined in this article, you can successfully install your induction cooktop and begin enjoying its benefits in your kitchen.
Throughout the installation process, it is essential to prioritize safety. Take the necessary precautions, such as turning off the power and wearing protective gear, to ensure your well-being. If you are unsure about any step or encounter any complications, it is always best to seek professional assistance from a licensed electrician.
Remember to gather all the required tools and materials before starting the installation. Refer to the manufacturer’s instructions for specific guidelines and recommendations. Measure and prepare the installation area, check the electrical compatibility, and carefully remove the existing cooktop (if applicable) before proceeding further.
Once the installation begins, ensure that the mounting brackets are properly installed, the electrical wiring is correctly connected, and the cooktop is securely fastened. Finally, test the installation to verify that all components are functioning as expected, and address any issues promptly.
By following these steps and paying attention to the details, you can install your induction cooktop with confidence and enjoy its efficiency, convenience, and precise cooking capabilities for years to come.
Now that you have successfully installed your induction cooktop, it’s time to unleash your culinary creativity and experience the joy of cooking in a whole new way!
Frequently Asked Questions about How To Install Induction Cooktop
Was this page helpful?
At Storables.com, we guarantee accurate and reliable information. Our content, validated by Expert Board Contributors, is crafted following stringent Editorial Policies. We're committed to providing you with well-researched, expert-backed insights for all your informational needs.


0 thoughts on “How To Install Induction Cooktop”