Articles
How To Install A Cooktop Stove
Modified: August 20, 2024
Learn how to install a cooktop stove with step-by-step instructions and expert tips in this comprehensive article. Perfect for beginners!
(Many of the links in this article redirect to a specific reviewed product. Your purchase of these products through affiliate links helps to generate commission for Storables.com, at no extra cost. Learn more)
Introduction
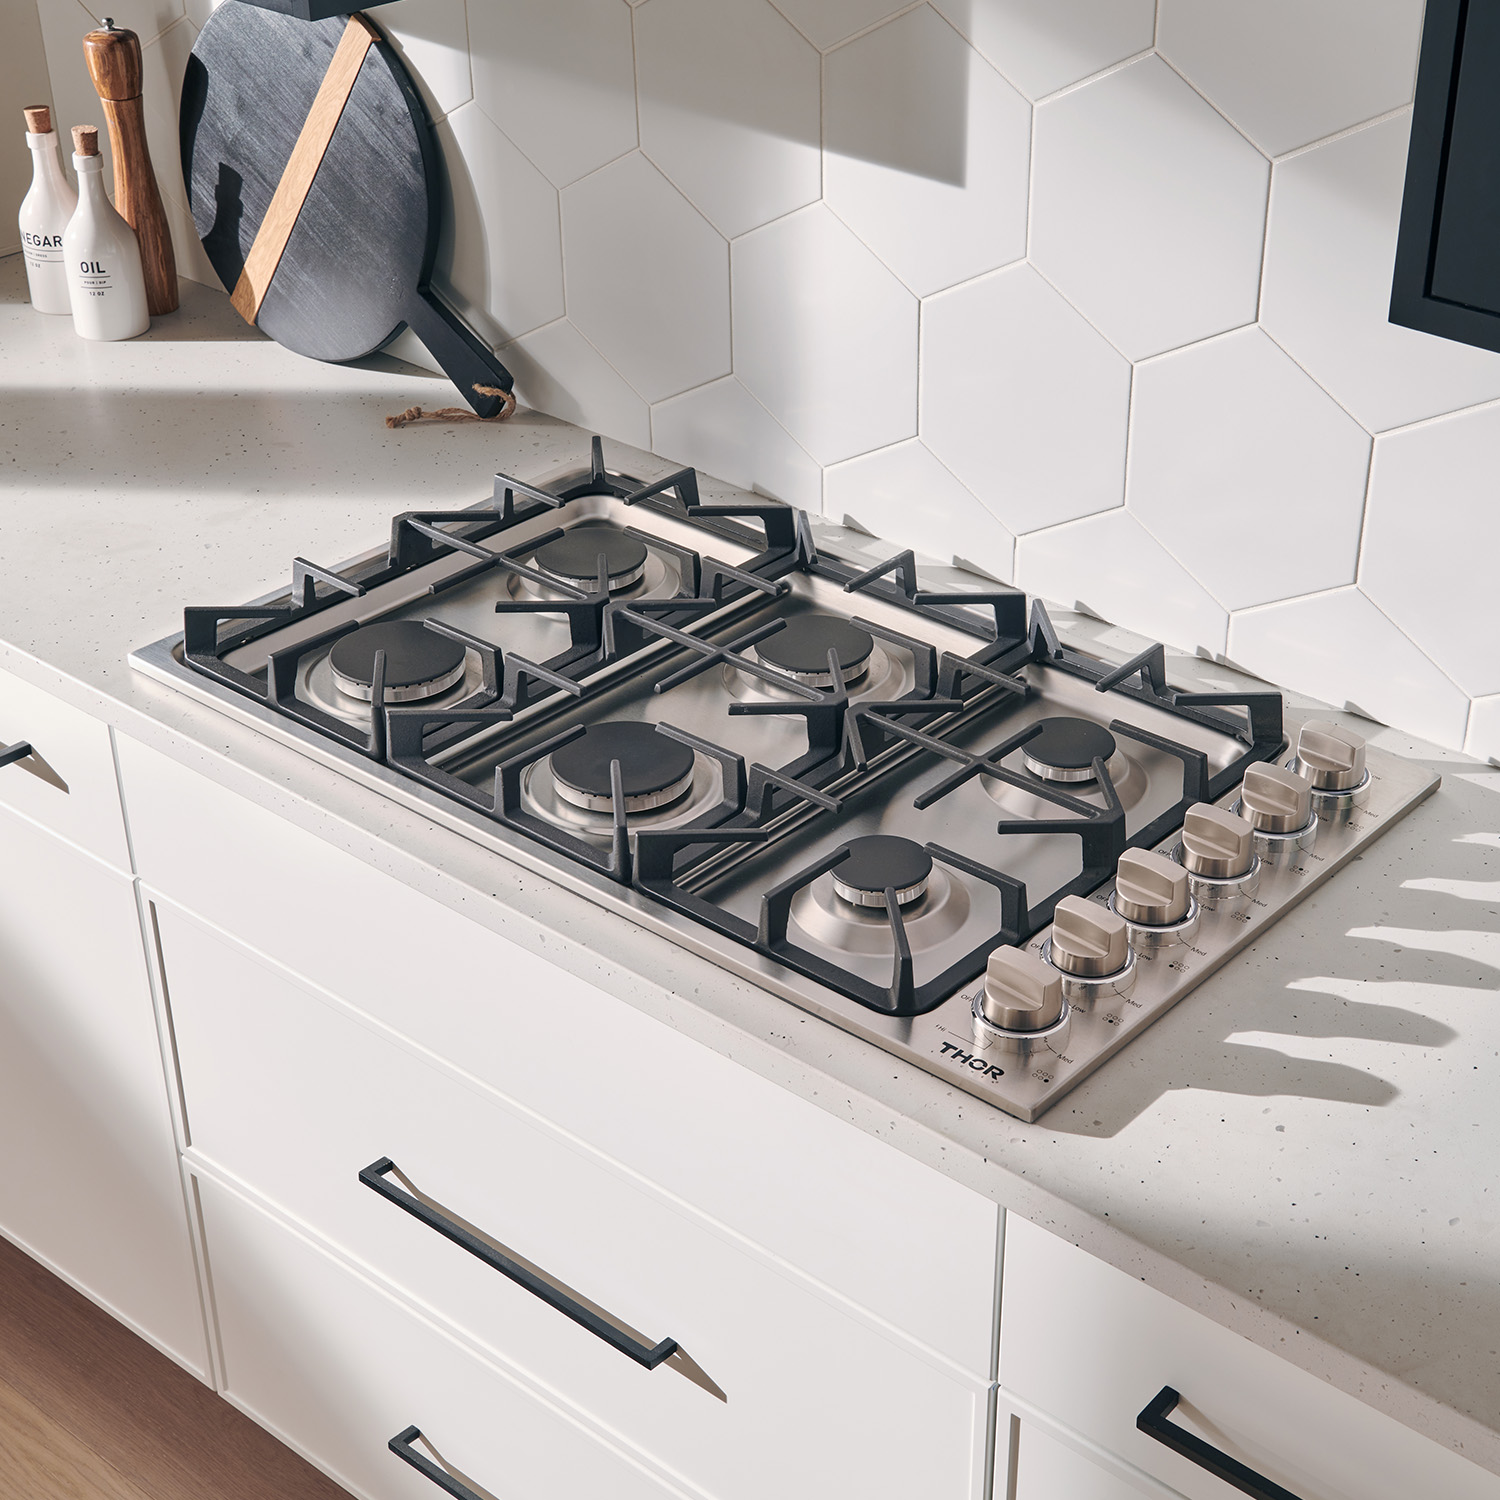
Installing a cooktop stove is an essential step in creating a functional and efficient kitchen. Whether you are renovating your kitchen or simply replacing an old stove, a properly installed cooktop can enhance your cooking experience and add value to your home. In this article, we will provide a comprehensive guide on how to install a cooktop stove, covering everything from the necessary tools and materials to the final steps and precautions.
Before we dive into the installation process, let’s briefly discuss the importance of having a properly installed cooktop stove. A cooktop stove is a central component of any kitchen, providing you with the means to prepare delicious meals for your family and guests. By having a functioning cooktop stove, you can enjoy the convenience of cooking various dishes simultaneously and controlling the heat precisely. Additionally, a well-installed cooktop stove ensures safety in the kitchen, as it reduces the risk of gas leaks or electrical hazards.
Now, let’s move on to understanding the basic steps involved in installing a cooktop stove.
Key Takeaways:
- Proper installation of a cooktop stove involves essential pre-installation steps, such as safety precautions, measuring the installation area, and disconnecting the existing stove, ensuring a smooth and trouble-free process.
- After installation, testing for gas or electrical leaks, calibrating the stove’s burners, and following maintenance tips are crucial for ensuring the safety, longevity, and optimal performance of the cooktop stove.
Read more: How To Install Induction Cooktop
Tools and Materials
Before you begin installing a cooktop stove, it’s important to gather all the necessary tools and materials. Having the right equipment on hand will ensure a smooth and efficient installation process. Here is a list of tools you will need:
- Adjustable wrench
- Phillips and flathead screwdrivers
- Tape measure
- Drill and drill bits
- Utility knife
- Wire strippers
- Gas leak detector or soapy water solution
In addition to the tools, you will also need the following materials:
- Cooktop stove of your choice
- Gas or electrical supply lines
- Flexible gas line or electrical cord (if applicable)
- Thread sealing tape
- Mounting brackets or fasteners
- Caulk or sealant
Ensure that you have all these tools and materials ready before you begin the installation process. This will save you time and prevent any unnecessary interruptions during the project.
Pre-Installation Steps
Before starting the installation of your cooktop stove, it’s essential to follow some pre-installation steps to ensure a safe and successful installation process. These steps include taking safety precautions, measuring and preparing the installation area, as well as disconnecting and removing any existing cooktop stove. Let’s explore each of these steps in detail:
Safety Precautions: Safety should always be a top priority when installing a cooktop stove. Make sure to turn off the gas or electricity supply to the area where the stove will be installed. If you are dealing with a gas cooktop, ensure that the gas valve in the kitchen is turned off. For electric cooktops, switch off the circuit breaker that powers the old stove. Also, make sure you wear protective gloves and goggles throughout the installation process to prevent any injuries.
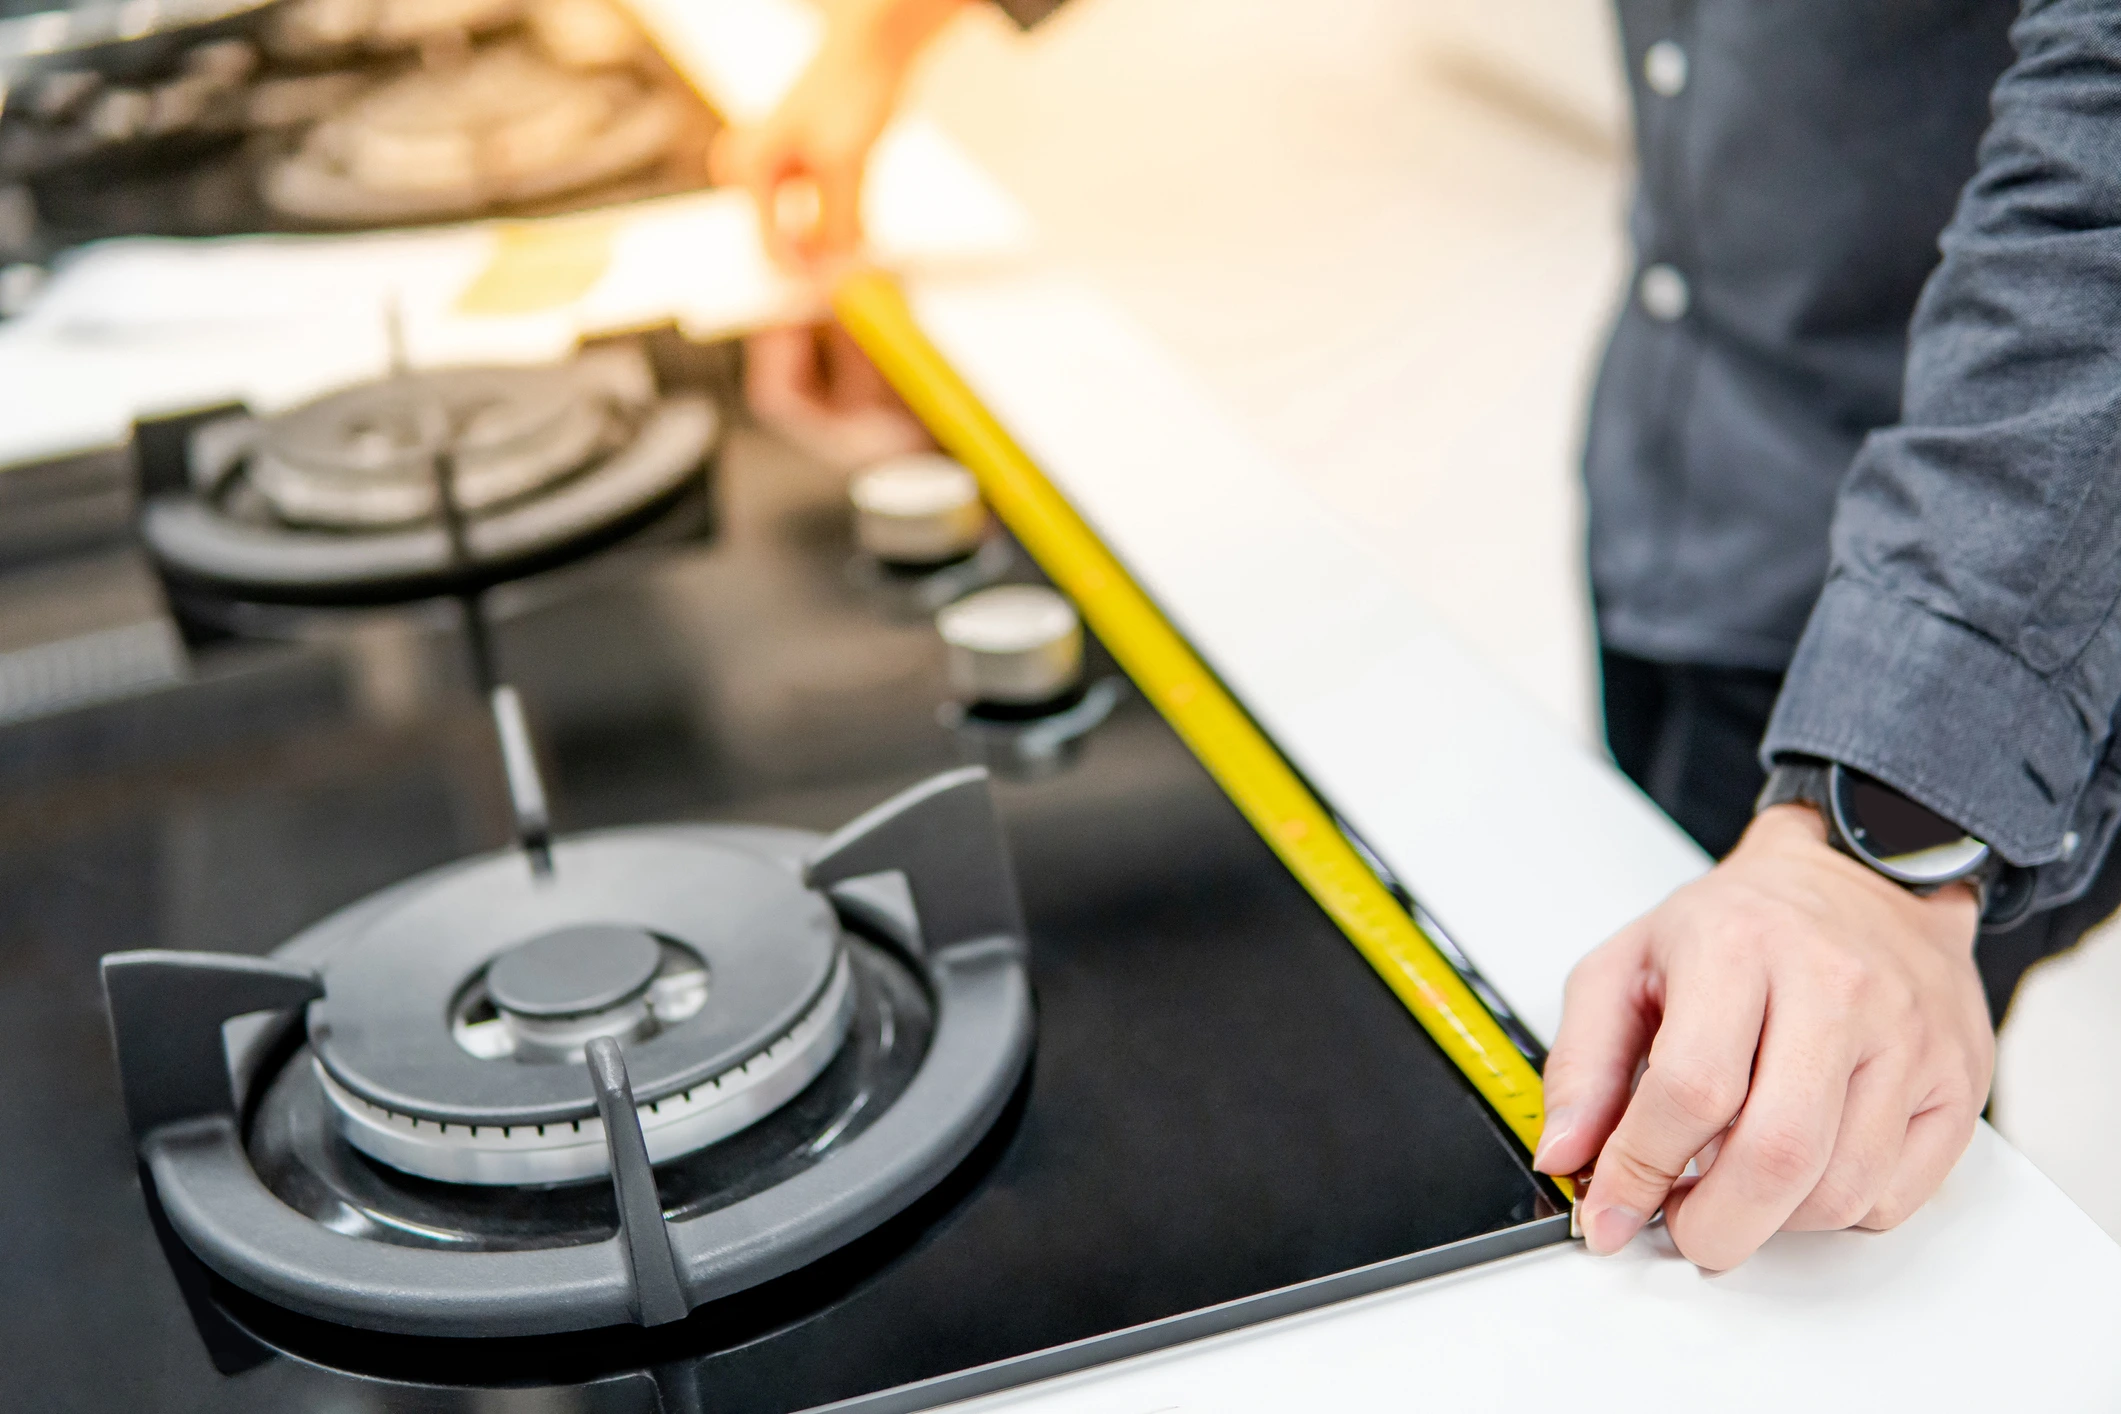
Measuring and Preparing the Installation Area: Take accurate measurements of the space where the cooktop stove will be placed. Make sure to check the dimensions of the new stove and compare them with the available space to ensure a proper fit. Once you have the measurements, clear the installation area of any debris, ensuring a clean and level surface for the cooktop stove.
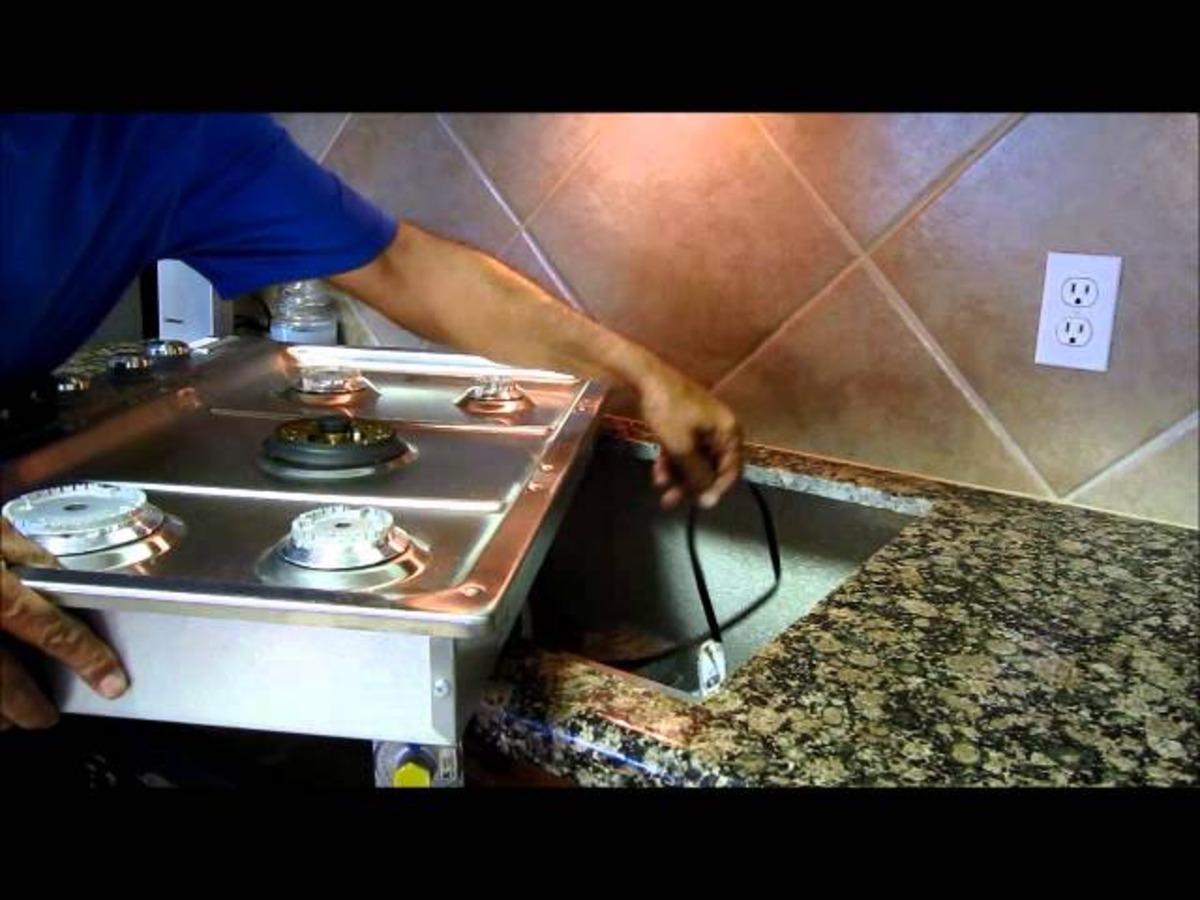
Disconnecting and Removing the Existing Cooktop Stove: If you have an existing cooktop stove, you will need to disconnect and remove it before installing the new one. Start by turning off the gas or electricity supply to the stove, following the appropriate steps mentioned earlier. For a gas cooktop, disconnect the gas line by turning off the gas valve and using an adjustable wrench to disconnect the supply line. For an electric cooktop, disconnect the power by turning off the circuit breaker and then unplug the stove. Once disconnected, carefully remove the old stove from its place and set it aside.
By following these pre-installation steps, you can ensure a smooth and trouble-free installation of your new cooktop stove. Now that you have taken the necessary precautions and prepared the area, you are ready to proceed with the installation process.
Installation Process
Now that you have completed the pre-installation steps, it’s time to move on to the actual installation process of your cooktop stove. Follow this step-by-step guide to ensure a proper and successful installation:
Step 1: Positioning the Cooktop Stove: Carefully place the new cooktop stove into the prepared installation area. Ensure that it is centered and aligned properly with the surrounding countertops or cabinets.
Step 2: Connecting the Gas or Electric Supply: Depending on whether you have a gas or electric cooktop, follow these instructions:
Gas Cooktop:
- Apply thread sealing tape on the gas supply line’s threads.
- Connect the gas supply line to the cooktop’s gas inlet, tightening it with an adjustable wrench.
- Use a gas leak detector or a soapy water solution to check for any gas leaks. Apply the solution to the connections and look for bubbles. If bubbles appear, there might be a gas leak, and you should tighten the connections or seek professional help.
Electric Cooktop:
- If applicable, attach the flexible electrical cord to the cooktop as per the manufacturer’s instructions.
- Connect the electrical supply wires to the respective terminals on the cooktop, following the instructions in the user manual.
Step 3: Securing the Cooktop in Place:
- Use the provided mounting brackets or fasteners to secure the cooktop stove to the countertop or cabinet. Follow the manufacturer’s instructions for proper installation.
- Ensure that the cooktop is level. Use a level tool to check and make adjustments as needed.
- Apply caulk or sealant around the edges of the cooktop to create a secure and clean seal between the stove and the countertop.
Once you have completed these installation steps, your cooktop stove should be properly connected and secured in place. However, before using it, make sure to perform some essential tests and adjustments to ensure safety and functionality.
When installing a cooktop stove, make sure to carefully read the manufacturer’s instructions and follow all safety guidelines. It’s also important to shut off the gas or electricity supply before beginning the installation process.
Testing and Adjustments
After successfully installing the cooktop stove, it is crucial to perform testing and adjustments to ensure safety and proper functionality. Here are the key steps to follow:
Checking for Gas or Electrical Leaks: Safety should always be a top priority when dealing with gas or electrical appliances. For gas cooktops, use a gas leak detector or soapy water solution to check for any gas leaks. Apply the solution to the connections and look for bubbles. If bubbles appear, there might be a gas leak, and you should tighten the connections or seek professional help. For electric cooktops, ensure that the electrical connections are secure and that there are no loose wires or exposed parts that could cause electrical hazards.
Calibrating the Stove’s Burners or Elements: To ensure the cooktop stove functions optimally, you may need to calibrate the burners or elements. Follow the manufacturer’s instructions to adjust the flame size, control the heat levels, or set the temperature accurately. This will help you achieve precise cooking results and prevent any potential issues with overheating or undercooking.
Ensuring Proper Functionality of the Cooktop Stove: Before considering the installation complete, take the time to test each burner or element of the cooktop stove. Turn on each one individually and observe if they heat up evenly and produce consistent flames or heat. Check if the control knobs or buttons are working correctly and if any safety features, such as automatic shut-off, are functioning as intended.
By conducting these testing and adjustment tasks, you will ensure the cooktop stove is safe to use and performing at its best. However, it is essential to remember to follow the user manual or manufacturer’s instructions specific to your cooktop stove model for accurate testing and adjustment procedures.
Read more: How Much Does It Cost To Install A Cooktop
Final Steps and Precautions
Once the cooktop stove is installed and tested, there are a few final steps and precautions to keep in mind to ensure its longevity and proper functioning. Here are some important considerations:
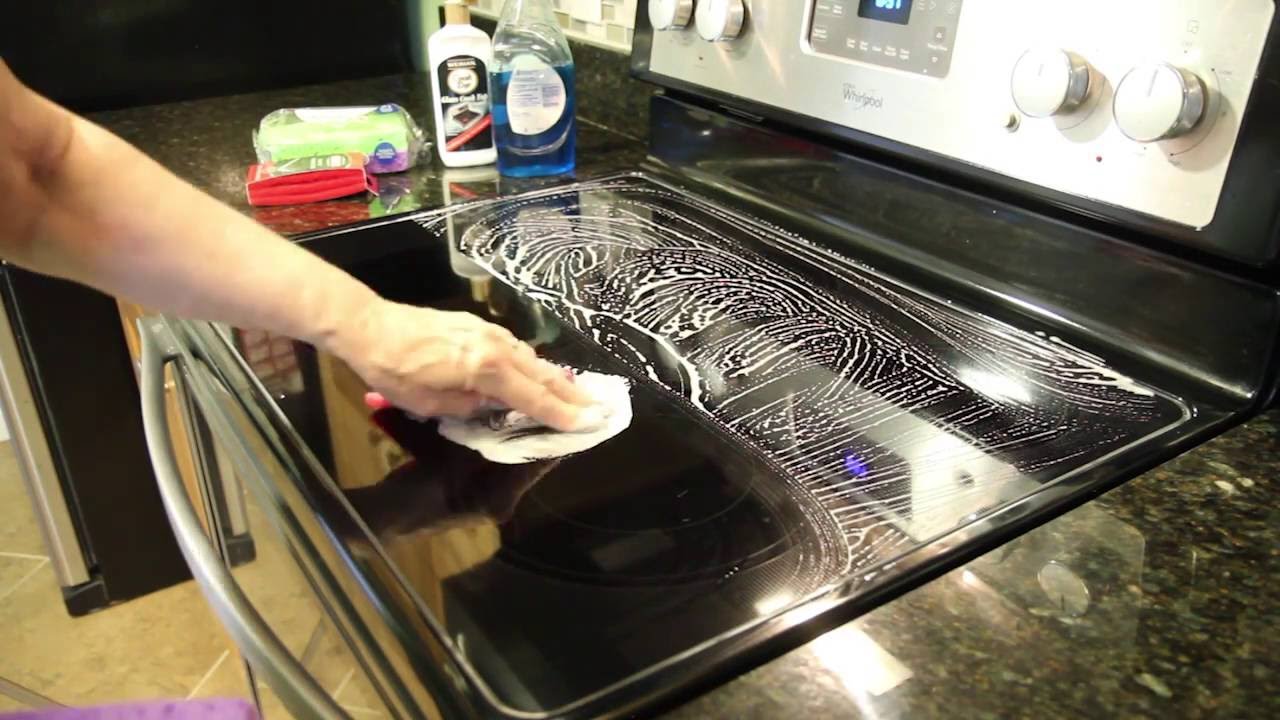
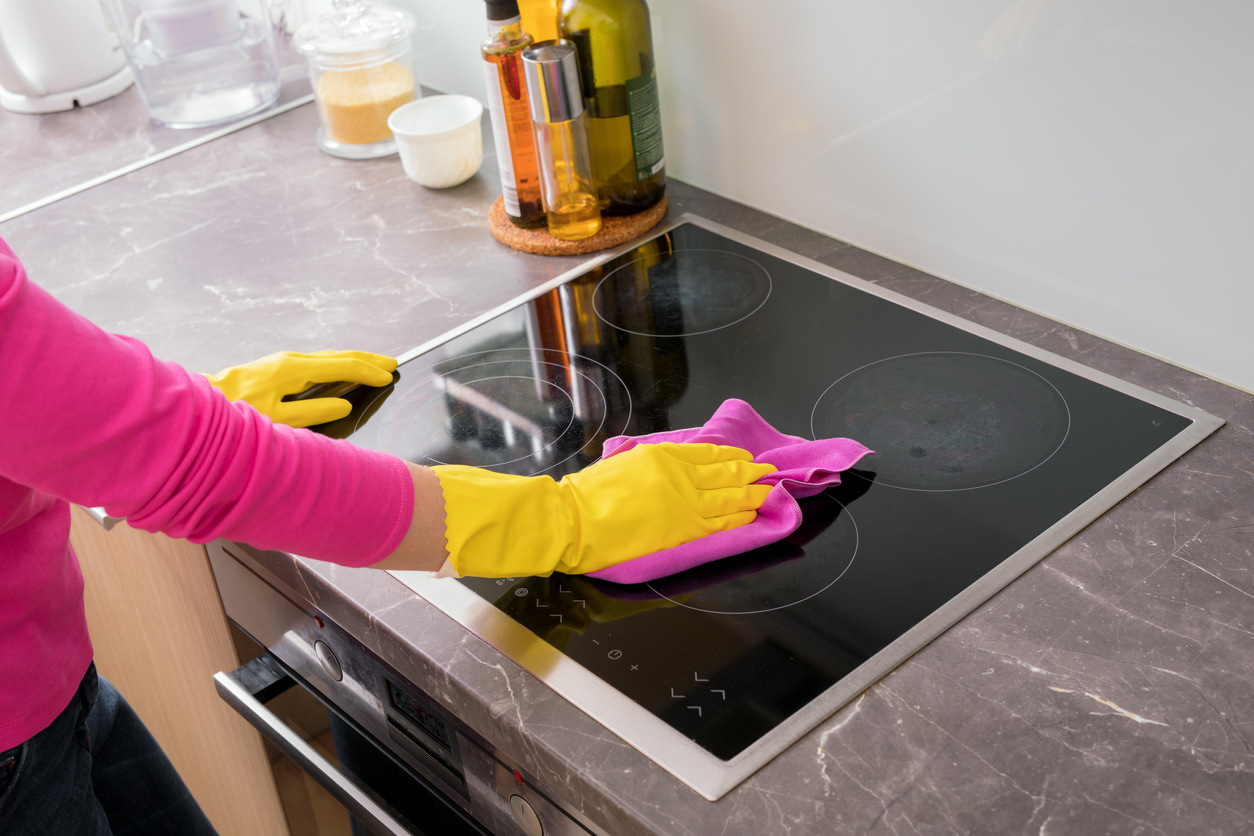
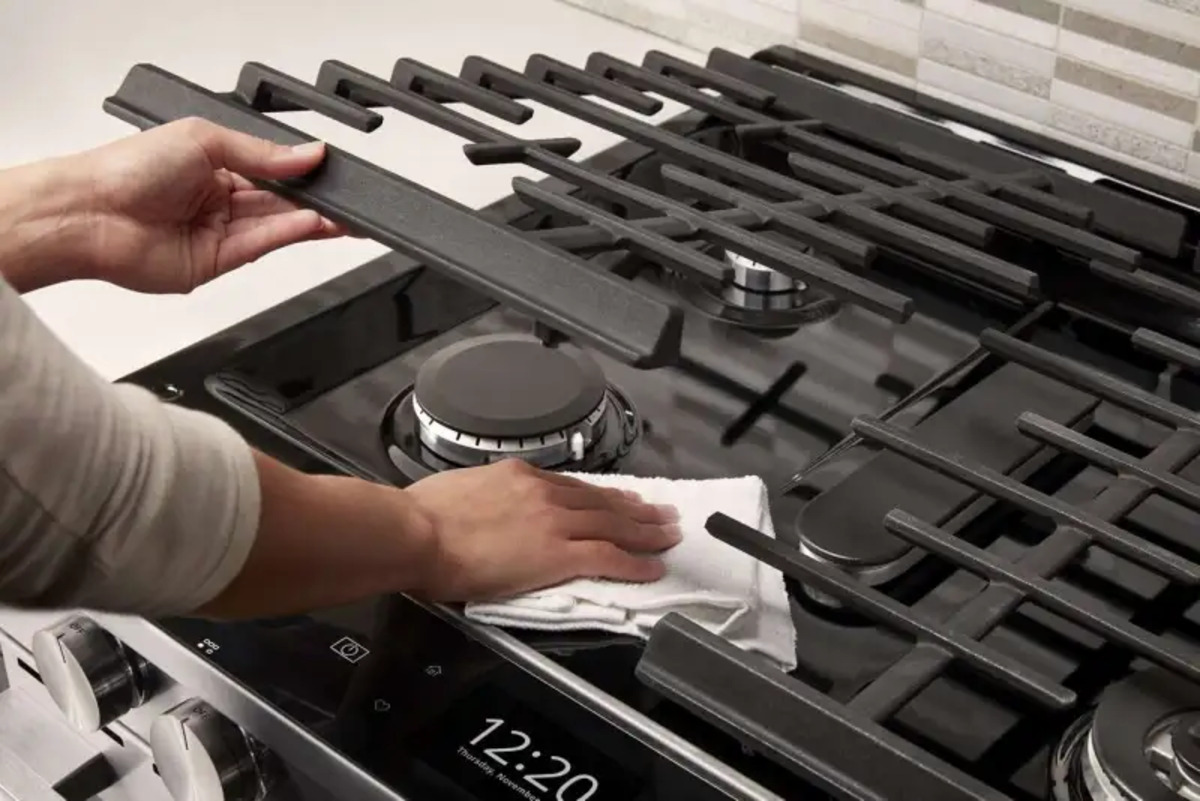
Cleaning and Maintaining the Installed Cooktop Stove: Regular cleaning and maintenance will keep your cooktop stove in optimal condition. Remove any spills or debris immediately after cooking to prevent them from becoming stubborn stains. Use appropriate cleaning products and non-abrasive materials to clean the surface and control knobs. Refer to the manufacturer’s instructions for specific cleaning recommendations to avoid damaging the cooktop.
Avoiding Common Installation Mistakes: To prevent issues down the line, it’s important to avoid common installation mistakes. Double-check all connections, ensuring that they are tight and secure. Follow the recommended installation guidelines and don’t take shortcuts. Avoid improper handling of gas lines or electrical connections, as this can lead to leaks or hazards. If you are unsure or uncomfortable with any aspect of the installation, it is better to seek professional help.
Troubleshooting Tips: In case you encounter any issues with your cooktop stove after installation, here are a few troubleshooting tips:
- If the burners are not igniting or the electric elements are not heating up, check if the power supply is connected correctly. Ensure the circuit breaker or electrical outlet is functioning properly.
- If you notice uneven heating or inconsistent flames, it may indicate a problem with the gas supply or burner alignment. Check the gas supply valve and consult the user manual for guidance on burner adjustments.
- If there are persistent gas odors or signs of gas leaks, immediately turn off the gas supply, open the windows for ventilation, and contact a professional technician to inspect and fix the issue.
By following these final steps and precautions, you can ensure the longevity and optimal performance of your cooktop stove. Remember to prioritize safety and regular maintenance to enjoy hassle-free cooking experiences for years to come.
Conclusion
Installing a cooktop stove is a significant task that can greatly enhance your kitchen’s functionality and cooking experience. Throughout this article, we have provided a comprehensive guide on how to install a cooktop stove, covering important aspects such as tools and materials, pre-installation steps, the installation process, testing and adjustments, and final steps and precautions.
To recap, the installation process begins with gathering the necessary tools and materials, followed by taking safety precautions and measuring and preparing the installation area. After disconnecting and removing any existing cooktop stove, you will proceed with the actual installation, connecting the gas or electric supply and securing the cooktop in place. Testing for gas or electrical leaks and calibrating the stove’s burners or elements are essential steps to ensure proper functionality. Finally, you should clean and maintain the installed cooktop stove and avoid common installation mistakes while being aware of troubleshooting tips.
It is important to emphasize the significance of following safety guidelines throughout the installation process. Turning off the gas or electrical supply, properly sealing connections, performing leak tests, and wearing protective gear are crucial steps to protect yourself and your home. If you are uncertain about any aspect of the installation or encounter any difficulties, don’t hesitate to seek professional help. A trained technician can ensure a safe and efficient installation, giving you peace of mind.
By following the guidelines outlined in this article and prioritizing safety, you can enjoy the benefits of a properly installed cooktop stove. Remember to clean and maintain the stove regularly to keep it in good condition. With a functional and well-installed cooktop stove, you can create delicious meals for your loved ones and elevate your culinary skills.
Feeling inspired after mastering cooktop stove installation? Why not tackle more home projects yourself? Our comprehensive guide on DIY home improvement offers you practical ways to enhance your living space with your own hands. Whether you're looking to refresh a room or undertake a full renovation, this resource has all you need to get started and succeed with personal flair and minimal fuss.
Frequently Asked Questions about How To Install A Cooktop Stove
Was this page helpful?
At Storables.com, we guarantee accurate and reliable information. Our content, validated by Expert Board Contributors, is crafted following stringent Editorial Policies. We're committed to providing you with well-researched, expert-backed insights for all your informational needs.

0 thoughts on “How To Install A Cooktop Stove”