Articles
How To Install Cooktop On Granite Countertop
Modified: February 28, 2024
Learn how to install a cooktop on a granite countertop with our step-by-step articles. Ensure a seamless and stylish upgrade to your kitchen.
(Many of the links in this article redirect to a specific reviewed product. Your purchase of these products through affiliate links helps to generate commission for Storables.com, at no extra cost. Learn more)
Introduction
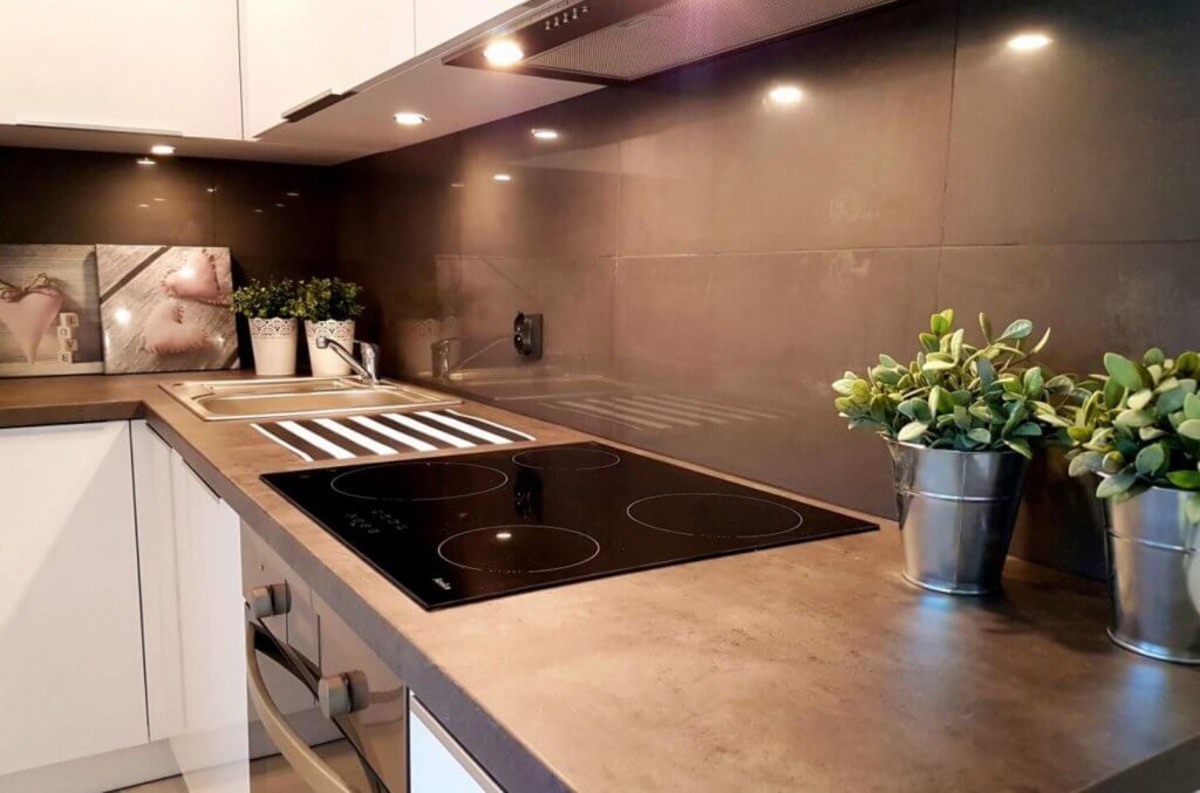
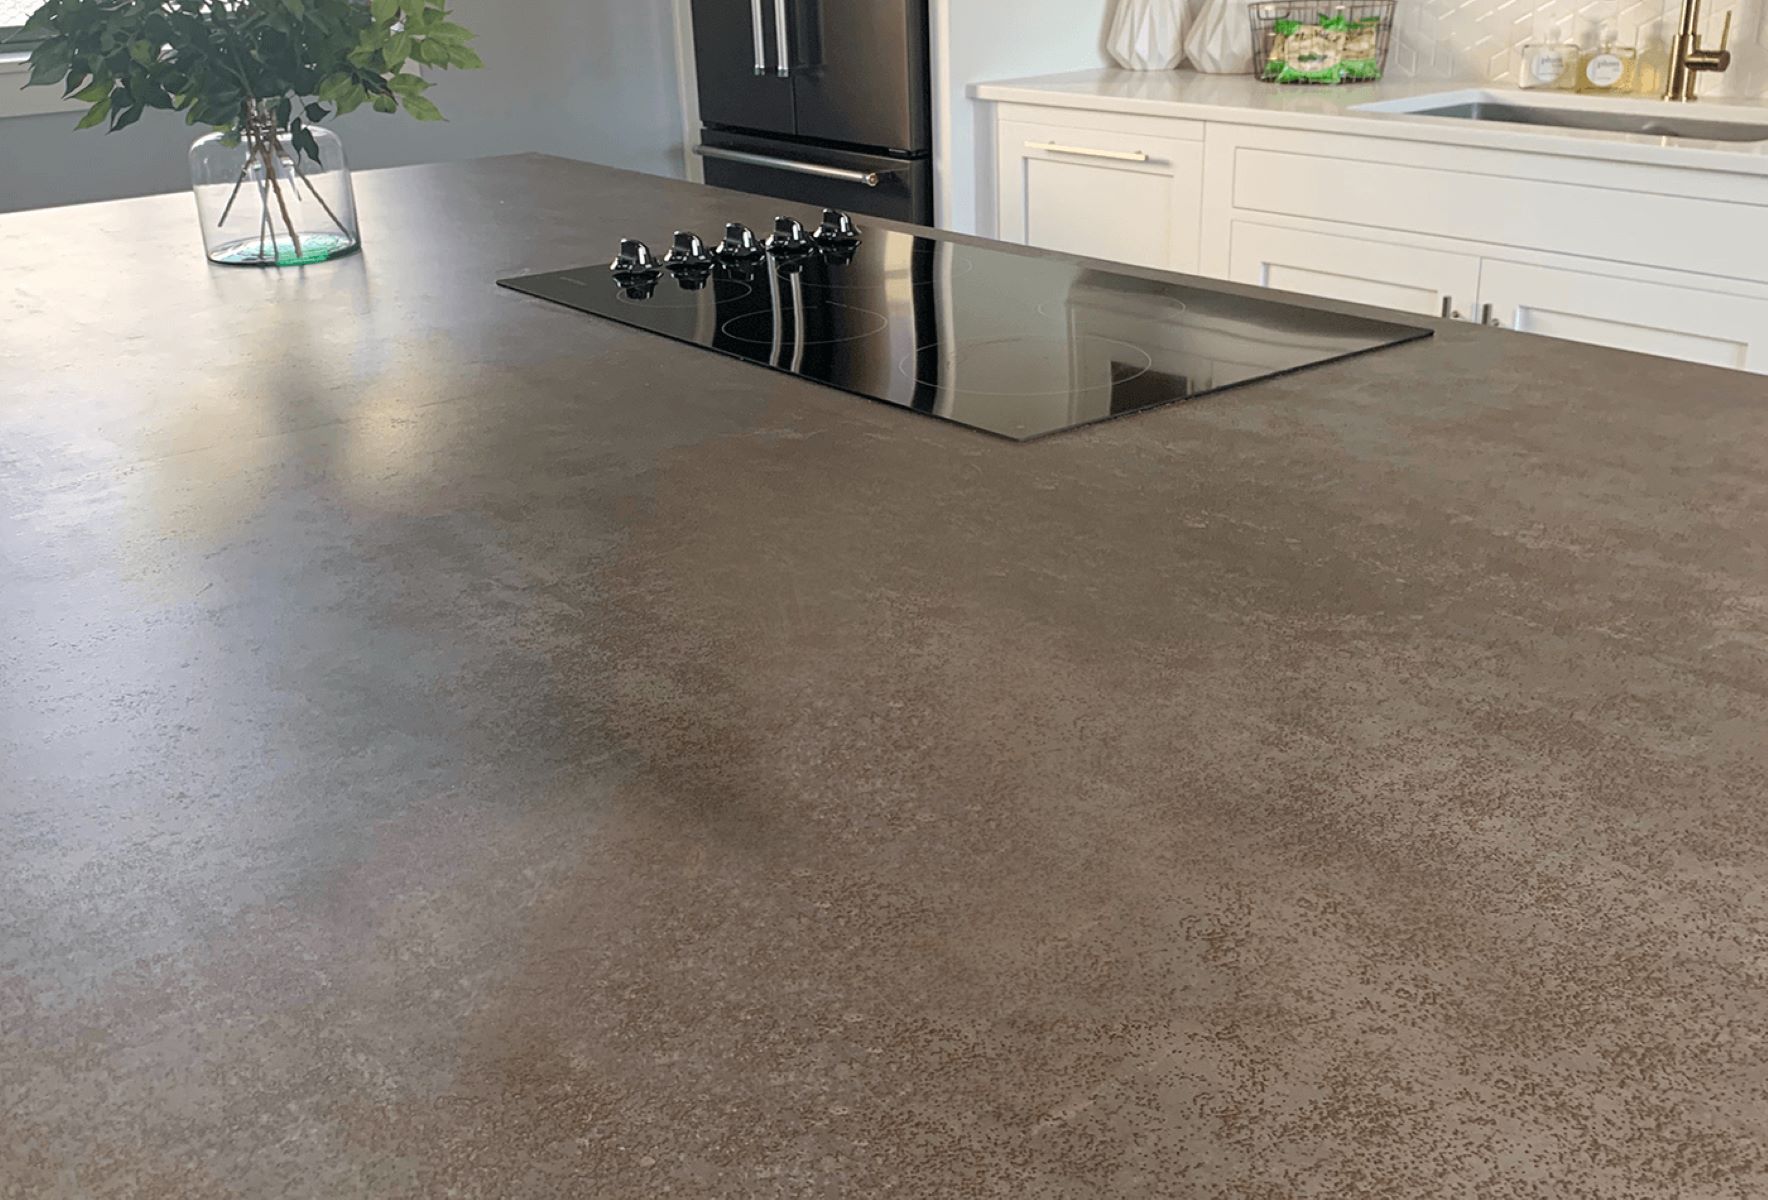
Installing a cooktop on a granite countertop can be a great way to add functionality and style to your kitchen. Whether you’re upgrading your current cooktop or installing a new one from scratch, the process can seem daunting. However, with the right preparation and careful execution, you can successfully install a cooktop on a granite countertop without any issues.
In this article, we will guide you through the step-by-step process of installing a cooktop on a granite countertop. From preparing the countertop to attaching the cooktop and applying the sealant, we will cover all the essential steps. So, let’s get started!
Key Takeaways:
- Proper preparation is essential for installing a cooktop on a granite countertop. From cleaning and measuring the countertop to inspecting the cooktop, attention to detail ensures a smooth and successful installation process.
- Applying a sealant to the granite countertop and securely attaching the cooktop are crucial final steps. These measures protect the countertop and ensure the cooktop functions safely and efficiently, completing the installation with confidence.
Read more: How To Install Gas Cooktop On Granite
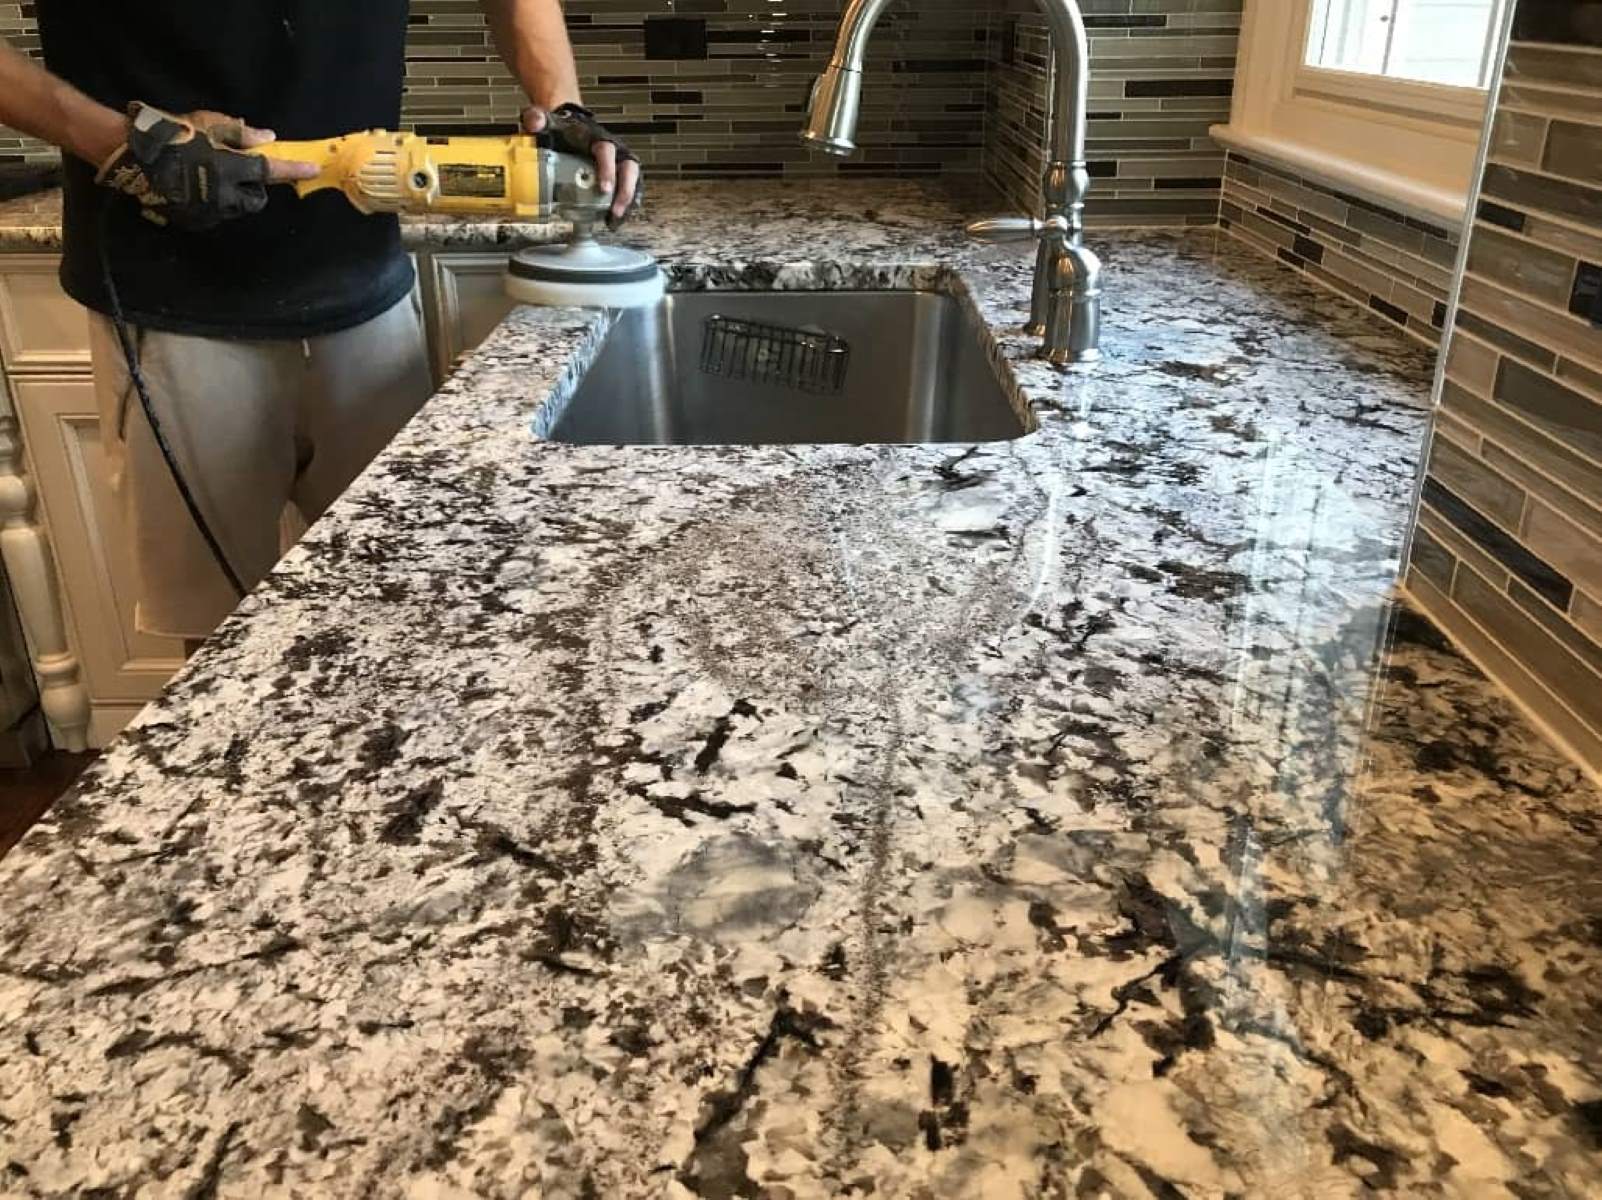
Preparing the Granite Countertop
Before you begin the installation process, it is crucial to prepare the granite countertop properly. Here are the steps you should follow:
- Clean the countertop: Start by thoroughly cleaning the granite countertop using a mild detergent and warm water. Remove any dirt, dust, or debris that may be on the surface. Ensure that the countertop is completely dry before proceeding to the next step.
- Check for any damages: Inspect the countertop to make sure there are no cracks, chips, or dents. If you notice any damages, it is essential to address and repair them before proceeding. Small cracks or chips can be filled with epoxy or granite sealer, while larger damages may require professional assistance.
- Measure the cutout area: Determine the dimensions of the area where the cooktop will be installed. Measure the length, width, and depth carefully to ensure proper fitting. Double-check the measurements to avoid any errors.
- Create a template: If your cooktop manufacturer provides a template, it is highly recommended to use it. Place the template on the countertop and mark the exact location where the cooktop will be installed. If a template is not provided, you can create one by tracing the outline of the cooktop onto a piece of cardboard or paper.
- Protect the surrounding area: To prevent any damage to the surrounding area during the installation process, cover nearby cabinets, appliances, and flooring with protective materials such as plastic sheets or drop cloths.
By following these steps, you will ensure that your granite countertop is well-prepared for the cooktop installation. Taking the time to properly clean, inspect, and measure the countertop will help to prevent any issues or complications during the installation process.
Measuring for the Cooktop
Accurate measurements are essential when installing a cooktop on a granite countertop. Taking precise measurements will ensure a proper fit and prevent any future problems. Here are the steps to measure for the cooktop:
- Refer to the manufacturer’s guidelines: Each cooktop will have specific requirements for the cutout size. Refer to the manufacturer’s manual or website to find the recommended dimensions for the countertop opening.
- Measure the width and depth: Use a measuring tape to measure the width and depth of the cutout area. Measure from the inside edge of the countertop to the opposite inside edge. Take accurate measurements to ensure that the cooktop will fit snugly into the opening.
- Consider additional space: Keep in mind any additional space required for ventilation and clearance. The cooktop may require space at the back or sides for proper airflow. Refer to the manufacturer’s guidelines for specific clearance requirements and add that to your measurements.
- Double-check the measurements: It is crucial to double-check your measurements to avoid any mistakes. Make sure the measurements are accurate and consistent. Take into account any irregularities or variations in the countertop shape.
- Create a template: Using the dimensions you have measured, create a template using sturdy cardboard or paper. Cut out the template according to the measurements, ensuring that it matches the size and shape of the countertop opening.
By following these steps, you will have precise measurements for the cutout area. Double-check the measurements and compare them with the manufacturer’s guidelines to ensure compatibility. Taking accurate measurements will make the installation process smoother and prevent any potential issues in the future.
Preparing the Cooktop
Before installing the cooktop on the granite countertop, it is important to prepare the cooktop itself to ensure a successful installation. Here are the steps to follow:
- Read the manufacturer’s instructions: Carefully read the manufacturer’s instructions that come with the cooktop. Familiarize yourself with any specific requirements, recommendations, or precautions mentioned in the manual.
- Inspect the cooktop: Thoroughly inspect the cooktop for any damages, defects, or missing parts. Check the glass top, knobs, burners, and any other components to ensure everything is in proper working condition. If you notice any issues, contact the manufacturer for assistance or replacement.
- Prepare the burner openings: Remove any protective covers or packaging from the cooktop’s burner openings. Clear away any debris, stickers, or residue that may be present. Use a gentle cleaner or mild soap to clean the burner openings and dry them thoroughly.
- Install the brackets: Some cooktops may require the installation of brackets or mounting hardware for proper support. Refer to the manufacturer’s instructions to determine if brackets are needed and follow the provided guidelines for their installation.
- Apply heat-resistant pads: To protect the cooktop from direct contact with the granite countertop, apply heat-resistant pads or adhesive foam strips to the underside of the cooktop. These pads will act as a buffer between the cooktop and countertop, preventing damage to both surfaces.
By carefully preparing the cooktop before installation, you can ensure that it is in optimal condition and ready to be placed on the granite countertop. Following the manufacturer’s instructions and taking the necessary precautions will help facilitate a smooth and trouble-free installation process.
When installing a cooktop on a granite countertop, make sure to use a silicone adhesive specifically designed for stone surfaces to secure the cooktop in place. This will ensure a strong and durable bond between the cooktop and the granite.
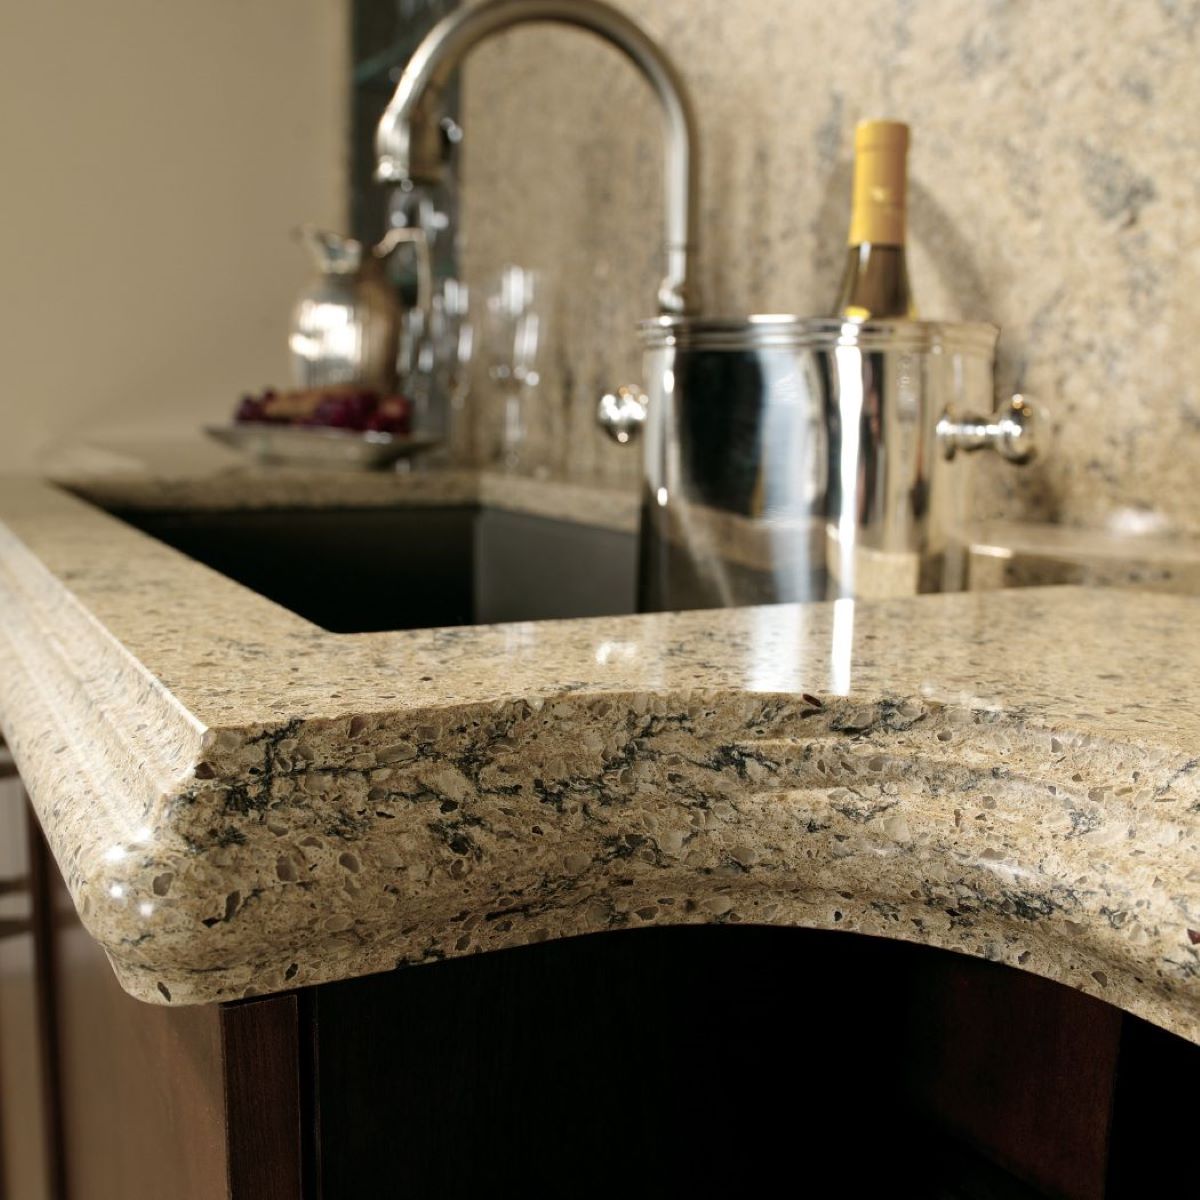
Applying the Sealant
Applying a sealant to the granite countertop is an important step in the process of installing a cooktop. The sealant provides an extra layer of protection and helps to prevent any moisture or liquid from seeping into the countertop. Here is a step-by-step guide on how to apply the sealant:
- Choose the right sealant: Before applying the sealant, ensure that you have selected a high-quality, granite-specific sealant. Look for a sealant that is specifically designed for use on granite surfaces to ensure optimal results.
- Clean the countertop: Make sure the granite countertop is clean and free from any debris or dust. Use a mild detergent and warm water to clean the surface. Allow the countertop to dry completely before applying the sealant.
- Protect surrounding areas: To prevent any accidental spills or stains, cover the surrounding areas of the countertop with a protective covering such as plastic sheets or painter’s tape.
- Apply the sealant: Start applying the sealant to the countertop using a clean, lint-free cloth or a brush specifically designed for sealant application. Begin applying the sealant in small sections, working your way across the entire surface. Make sure to follow the manufacturer’s instructions regarding the application technique, as different sealants may have specific guidelines.
- Spread and buff the sealant: Once you have applied the sealant to the countertop, use a clean cloth to spread it evenly and gently buff it into the granite surface. This will help to ensure that the sealant is distributed evenly and any excess is removed.
- Allow the sealant to dry: Give the sealant sufficient time to dry completely. Follow the manufacturer’s instructions regarding the drying time. Typically, it may take a few hours or overnight for the sealant to fully dry and cure.
Applying a sealant to the granite countertop will help protect it from stains, spills, and damage. It is an important step in maintaining the longevity and beauty of your countertop. Taking the time to apply a sealant properly will ensure that your granite countertop is well-protected when installing the cooktop.
Attaching the Cooktop to the Granite Countertop
Now that you have prepared the granite countertop and the cooktop, it’s time to attach the cooktop to the countertop securely. Follow these steps to ensure a successful installation:
- Align the cooktop: Carefully place the cooktop on top of the granite countertop, aligning it with the cutout area or template you created earlier. Make sure the cooktop is centered and sits flush with the countertop surface.
- Check for fit: Double-check the measurements and ensure that the cooktop fits perfectly into the cutout area. Pay attention to any gaps or misalignments. If needed, make slight adjustments to achieve the desired fit.
- Mark the mounting holes: Once you have confirmed the correct fit, use a pencil or marker to mark the mounting hole locations on the granite countertop. These holes are where you will attach the cooktop securely.
- Pre-drill the holes: Using a drill and the appropriate-sized drill bit, pre-drill the marked mounting holes on the granite countertop. Take care to drill straight and not apply excessive pressure to avoid damaging the countertop surface.
- Attach the cooktop: With the pre-drilled holes, firmly attach the cooktop to the granite countertop using screws or bolts. Follow the manufacturer’s instructions on the proper installation procedure and torque specifications. Ensure that the cooktop is securely fastened to prevent any movement or instability.
- Double-check the stability: After attaching the cooktop, give it a gentle shake to ensure that it is stable and securely fastened to the granite countertop. If you notice any looseness or movement, recheck the screws or bolts and make necessary adjustments for a secure fit.
By following these steps, you can confidently attach the cooktop to the granite countertop. Proper alignment, marking, and pre-drilling of the mounting holes are crucial to ensure a secure and stable installation. Taking your time and following the manufacturer’s guidelines will result in a reliable and long-lasting attachment between the cooktop and the granite countertop.
Final Steps and Testing
After attaching the cooktop to the granite countertop, there are a few final steps to complete the installation process and ensure everything is working correctly. Follow these steps for a smooth finishing touch:
- Clean up any mess: Clean up any debris, dust, or adhesive residue that may have accumulated during the installation process. Use a mild cleaner and a soft cloth to wipe down the countertop and cooktop, ensuring a clean and polished appearance.
- Connect the gas or electrical supply: If your cooktop operates on gas or electricity, follow the manufacturer’s instructions to properly connect it to the gas line or electrical supply. Ensure that all connections are secure and follow any safety guidelines to prevent leaks or electrical issues.
- Test the cooktop: Once the gas or electrical supply is connected, it’s time to test the cooktop. Turn on the burners or knobs to check if the cooktop ignites and heats up properly. Verify that all the burners are functioning correctly and adjust the flame as needed.
- Check for any leaks: If your cooktop operates on gas, perform a leak test to ensure there are no gas leaks. Apply a mixture of water and soap around the gas connections and look for any bubbles. If you detect any bubbles, immediately shut off the gas supply and consult a professional for assistance.
- Inspect for any issues: Take the time to carefully inspect the cooktop and countertop for any abnormalities or issues. Look for any loose knobs, misalignment, or damage that may have occurred during the installation process. Address any concerns or problems promptly to avoid further complications.
By completing these final steps, you can ensure that the cooktop is properly installed, connected, and functioning correctly. Testing the cooktop and checking for any leaks or issues will give you peace of mind and help maintain the safety and performance of your newly installed cooktop on the granite countertop.
Conclusion
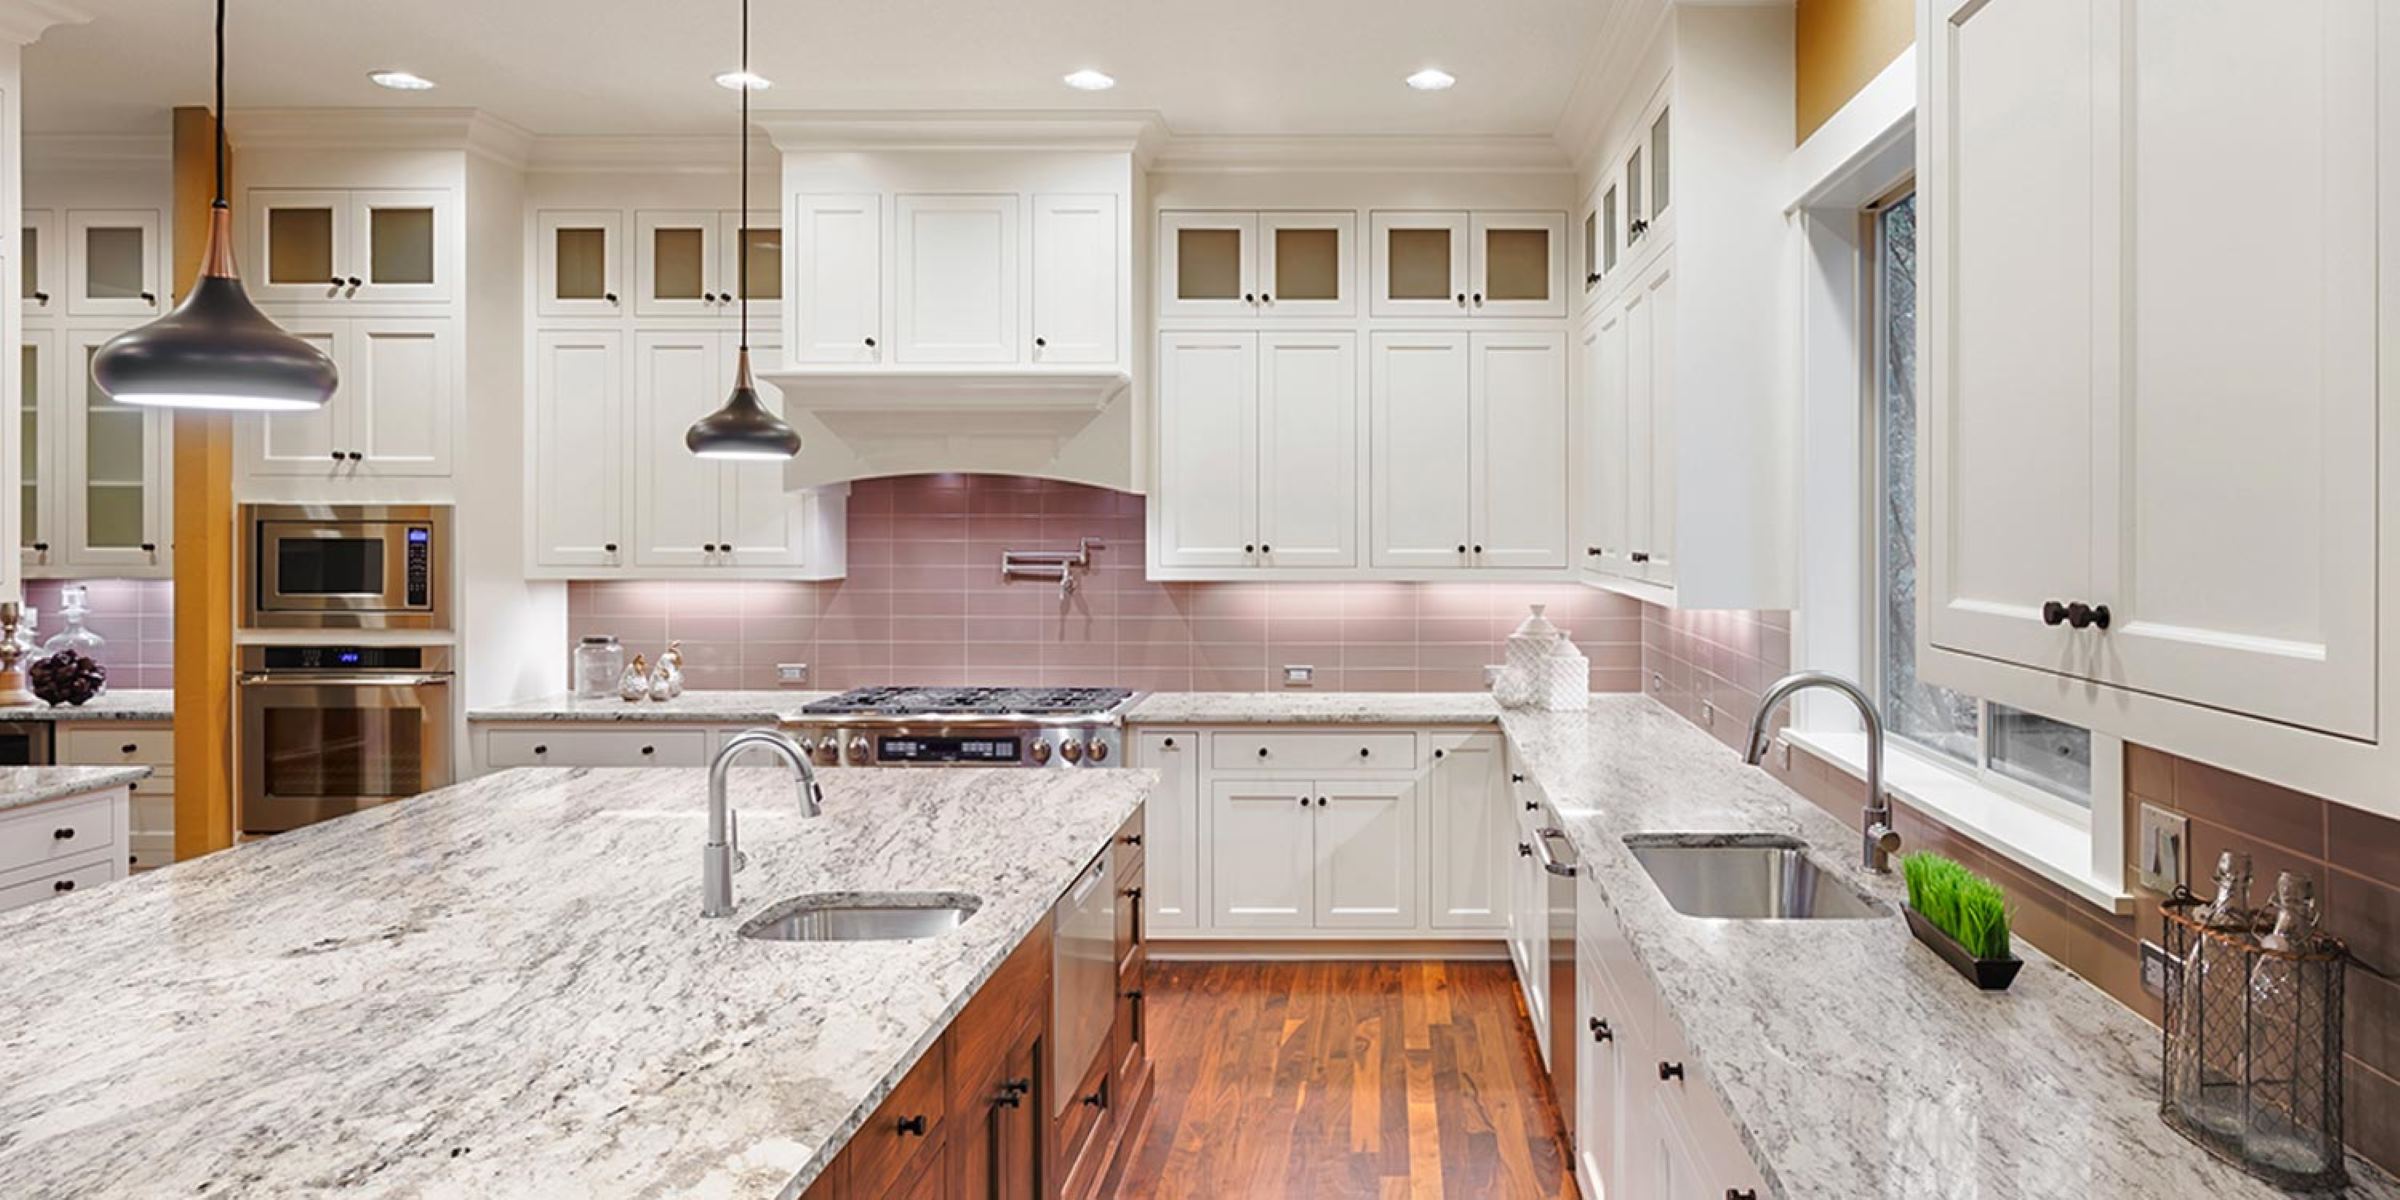
Installing a cooktop on a granite countertop can be a rewarding project that adds both functionality and aesthetic appeal to your kitchen. By following the step-by-step process outlined in this article, you can successfully install a cooktop on your granite countertop while ensuring a secure and reliable attachment.
Preparation is key when it comes to installing a cooktop on a granite countertop. Make sure to thoroughly clean and inspect the countertop, take accurate measurements, and create a template for the cutout area. Similarly, paying attention to the proper preparation of the cooktop itself, including checking for damages, installing brackets if required, and applying heat-resistant pads, will contribute to a smooth installation process.
Once both the countertop and cooktop are ready, you can proceed with applying a sealant to the granite countertop. This step provides an additional layer of protection against moisture and helps maintain the countertop’s beauty and longevity. Attaching the cooktop securely to the granite countertop is the next crucial step, ensuring proper alignment and stability.
Completing the installation process by cleaning up, connecting the gas or electrical supply, and testing the cooktop will finalize the project. Taking the time to thoroughly inspect for any leaks or issues will ensure the cooktop is functioning correctly and any potential problems are addressed promptly.
By following these guidelines and considering the specific instructions provided by the manufacturer, you can confidently install a cooktop on a granite countertop, transforming your kitchen into a stylish and functional space. Remember to prioritize safety, read all manuals and guidelines thoroughly, and seek professional help if needed.
Now that you have the knowledge and steps to successfully install a cooktop on a granite countertop, go ahead and bring your culinary dreams to life!
Frequently Asked Questions about How To Install Cooktop On Granite Countertop
Was this page helpful?
At Storables.com, we guarantee accurate and reliable information. Our content, validated by Expert Board Contributors, is crafted following stringent Editorial Policies. We're committed to providing you with well-researched, expert-backed insights for all your informational needs.


0 thoughts on “How To Install Cooktop On Granite Countertop”