Home>Articles>How To Knit A Baby Blanket For Beginners With Straight Needles

Articles
How To Knit A Baby Blanket For Beginners With Straight Needles
Modified: February 24, 2024
Learn how to knit a baby blanket with straight needles in this beginner-friendly article. Find step-by-step instructions and helpful tips to create a cozy and beautiful blanket.
(Many of the links in this article redirect to a specific reviewed product. Your purchase of these products through affiliate links helps to generate commission for Storables.com, at no extra cost. Learn more)
Introduction
Knitting is a timeless craft that allows you to create beautiful and functional items with just a few simple materials. If you’re a beginner looking to dive into the world of knitting, there’s no better project to start with than a baby blanket. Not only is it a practical item, but it also serves as a heartfelt gift for new parents.
In this tutorial, we’ll guide you through the process of knitting a baby blanket using straight needles. This method is perfect for beginners who may find the complexity of circular needles a bit overwhelming. We’ll break down each step, from choosing the right yarn and needles to finishing touches, so you can create a cozy and beautiful blanket.
So, grab your knitting needles, a ball of soft yarn, and let’s get started on this rewarding and fulfilling knitting journey!
Key Takeaways:
- Dive into the timeless craft of knitting by creating a cozy baby blanket with straight needles. Choose soft, breathable yarn and enjoy the rhythmic garter stitch pattern for a heartfelt and practical gift.
- Embrace the joy of knitting as a form of creative expression and thoughtful gifting. From casting on stitches to adding finishing touches, each step tells a story and creates a cherished keepsake for new parents.
Read more: How To Start Knitting A Baby Blanket
Choosing the Right Yarn and Needles
When it comes to knitting a baby blanket, choosing the right yarn and needles is crucial. You want to ensure that the blanket is soft, cozy, and suitable for a baby’s delicate skin.
First, consider the type of yarn you want to use. Opt for a natural, breathable fiber such as cotton or bamboo, as they are gentle on sensitive skin and regulate temperature effectively. Avoid yarns made of wool or other scratchy materials that may cause discomfort to the baby.
Next, think about the weight or thickness of the yarn. For a baby blanket, you’ll want to go for a medium or bulky weight yarn. These yarns will create a warm and comforting blanket that is suitable for all seasons. Avoid using super bulky yarns, as they may result in a blanket that is too heavy and cumbersome for a baby.
Now, onto the needles. Since we’re knitting with straight needles, choose a pair that matches the recommended size for your yarn. Most yarn labels will indicate the recommended needle size. If you’re unsure, a good starting point for a baby blanket is usually US size 8 or 9 knitting needles. These sizes strike a balance between creating a tight knit fabric and allowing the project to progress at a reasonable pace.
Additionally, consider the material of the needles. Bamboo or wooden needles are often the preferred choice for baby blankets as they provide a good grip on the yarn, preventing it from sliding off the needles accidentally. They also tend to be more lightweight and comfortable to work with for long periods.
Ultimately, the key is to choose yarn and needles that are soft, durable, and safe for the baby. Take your time in selecting the perfect yarn and needles, as they will contribute to the overall look and feel of the finished baby blanket.
Casting On Stitches
With your yarn and needles ready, it’s time to start knitting your baby blanket. The first step is to cast on stitches, which forms the foundation of your project.
To begin, make a slipknot with the yarn. This is done by making a loop with the yarn, crossing the tail end over the working end, and pulling it through the loop to create a knot. Slide this knot onto one of your knitting needles, leaving a tail of about 4-6 inches.
Hold the knitting needle with the slipknot in your dominant hand. With your other hand, insert the other knitting needle into the slipknot from front to back. Hold both knitting needles parallel, with the slipknot close to the point where the two needles meet.
Take the working yarn (the yarn connected to the ball or skein) and wrap it around your thumb and index finger. Then, using your thumb and index finger, reach through the slipknot and grab the working yarn. Pull it through the slipknot, creating a new loop on your second knitting needle.
Repeat this process, inserting the first knitting needle into the new loop on the second needle and pulling the working yarn through to create a new loop each time. Continue until you have cast on the desired number of stitches for your baby blanket.
To keep your stitches even and consistent, try to maintain a gentle tension on the yarn as you cast on. Don’t pull too tightly, as this can make it difficult to work into the stitches in future rows.
Once you have cast on all the required stitches, you’re ready to move on to the next step in creating your baby blanket.
Knitting the First Row
With your stitches cast on, it’s time to start knitting the first row of your baby blanket. This is where you’ll begin to see your project take shape.
Hold the knitting needle with the stitches in your dominant hand, and the empty needle in your other hand. Make sure the side with the slipknot is facing you.
To knit the first row, insert the empty needle into the first stitch on the other needle from left to right, going through the front of the stitch.
Take the working yarn and bring it over the right-hand needle, towards the back of your work.
Now, wrap the working yarn counterclockwise around the right-hand needle, crossing it over the top.
Using the right-hand needle, pull the wrapped yarn through the stitch on the left-hand needle. This will transfer the stitch onto the right-hand needle.
Repeat this process for each stitch on the left-hand needle. Insert the right-hand needle into the next stitch, wrap the yarn, and pull it through the stitch to transfer it onto the right-hand needle.
Continue knitting across the entire row until all the stitches from the left-hand needle have been transferred to the right-hand needle.
Make sure to maintain a consistent tension on the yarn as you knit. Avoid pulling too tightly, as this can result in a tight and stiff fabric. Likewise, be careful not to leave the stitches too loose, as it can cause the blanket to have uneven rows.
Once you reach the end of the row, switch the needles so that the needle with the stitches becomes the empty needle, and the empty needle becomes the one with the stitches. This will prepare you for the next row.
Congratulations! You’ve successfully completed the first row of your baby blanket. Take a moment to admire your progress and get ready to continue knitting the next rows.
Continuing the Garter Stitch
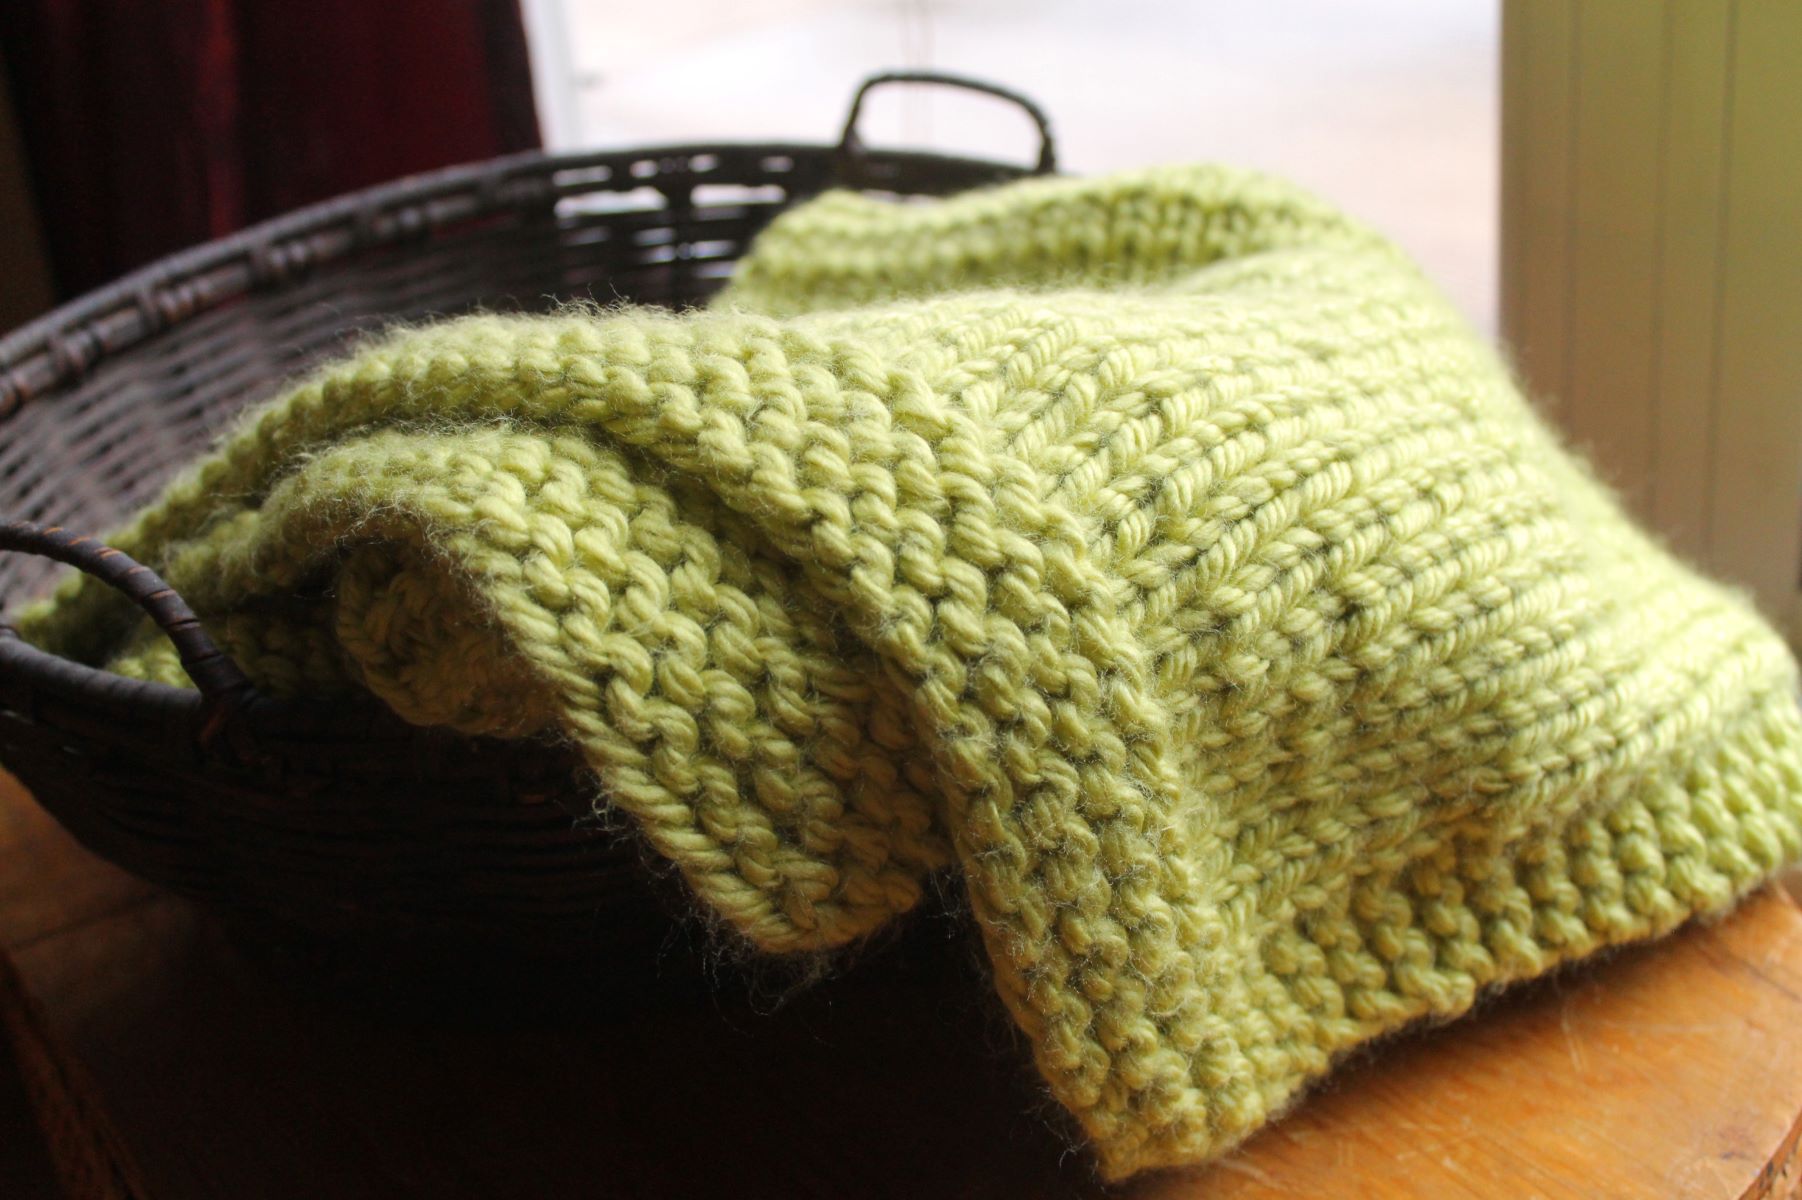
Now that you’ve knitted the first row, it’s time to continue with the garter stitch pattern. The garter stitch is created by knitting every row, resulting in a textured fabric with ridges.
To begin the second row, hold the needle with the stitches in your dominant hand and the empty needle in your other hand.
Insert the empty needle into the first stitch on the other needle from left to right, going through the front of the stitch, just like you did in the first row.
Take the working yarn and bring it over the right-hand needle, towards the back of your work. You’re essentially repeating the same steps as the first row.
Wrap the working yarn counterclockwise around the right-hand needle, crossing it over the top.
Using the right-hand needle, pull the wrapped yarn through the stitch on the left-hand needle to transfer the stitch.
Continue knitting across the entire row, repeating the process of inserting the needle, wrapping the yarn, and pulling it through each stitch. Remember to maintain a consistent tension on the yarn to ensure even stitches.
As you continue knitting row after row, you’ll notice that the garter stitch pattern starts to emerge, with the ridges forming on both sides of your blanket. The beauty of the garter stitch is its simplicity, making it perfect for beginners.
Keep knitting in the garter stitch pattern until your blanket reaches the desired length. You can measure your progress by laying the blanket flat and measuring it from one end to the other.
Remember to switch the needles after each row, so the needle with the stitches becomes the empty one and the empty needle becomes the one with the stitches. This ensures that you’re always knitting with the correct needle.
Continue this rhythmic knitting pattern, row after row, until your baby blanket is the perfect size.
When knitting a baby blanket for beginners with straight needles, choose a soft and washable yarn to ensure the blanket is gentle on the baby’s skin and easy to care for.
Read more: How To Knit A Baby Blanket On A Round Loom
Changing Yarn Colors (Optional)
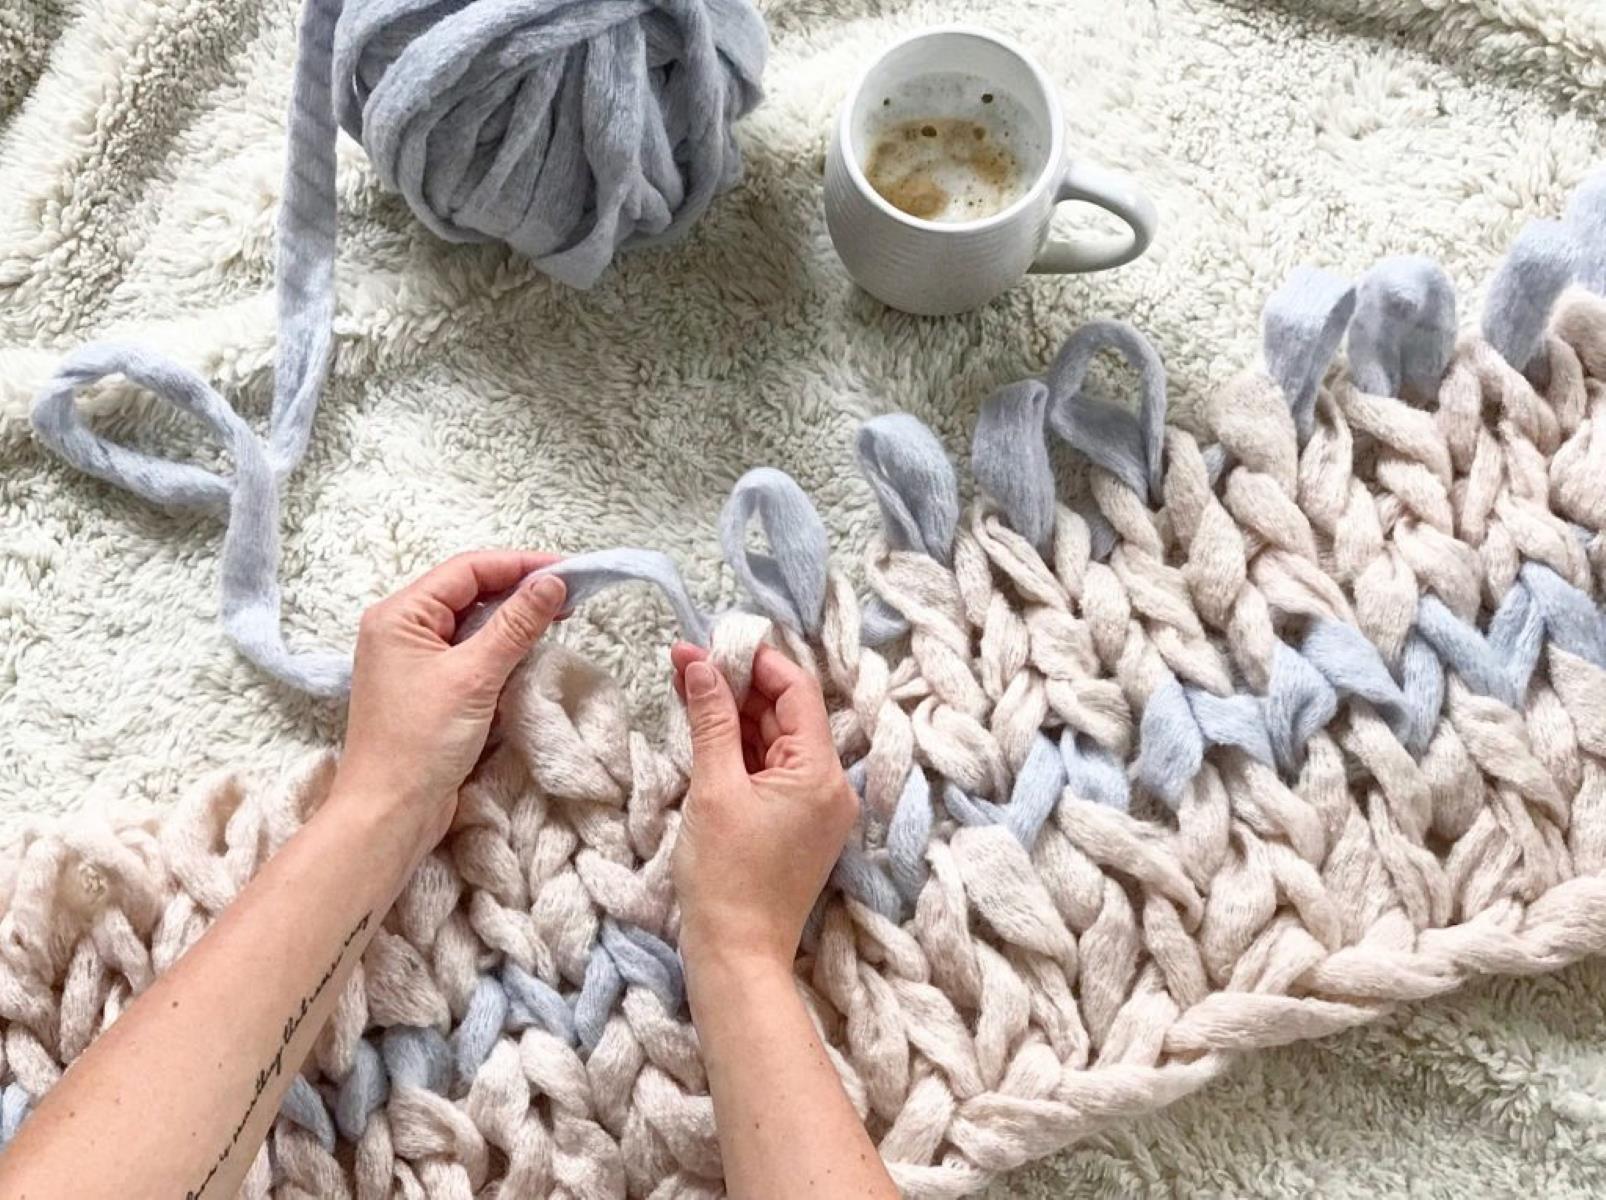
If you want to add a pop of color or create a pattern on your baby blanket, you can choose to change yarn colors. This step is optional but can enhance the visual appeal of your project.
To change yarn colors, start by knitting to the point where you want the color change to occur. It’s best to finish knitting a full row before making the change.
Once you’re ready to change colors, simply drop the old color yarn and pick up the new color yarn. Leave a tail of both yarns, approximately 4-6 inches, to weave in later for a neat finish.
To secure the new yarn, bring it under the old color yarn and hold it in place with your thumb. This will prevent any gaps from forming between the stitches.
Now, continue knitting with the new color yarn, using the same knitting technique as before. Knit across the row, following the pattern or design you have in mind.
If you want to create stripes, alternate between the two yarn colors, switching at the beginning of each row. Remember to carry the yarn not in use loosely up the side of the blanket, twisting it around the working yarn to prevent any holes.
When changing colors, be mindful of the tension. Ensure that the stitches are even and not too tight where the color change occurs, as this can cause puckering or distortion in the fabric.
Continue knitting with the new color until you reach the desired length or finish the pattern you have in mind. Remember to switch colors with each row as needed.
Changing yarn colors can bring visual interest and creativity to your baby blanket. Experiment with different color combinations and patterns, and enjoy the process of adding your personal touch to the project.
Once you’re satisfied with the color changes and design, it’s time to move on to the next steps in completing your baby blanket.
Creating a Border
A border adds a finishing touch to your baby blanket, giving it a polished and professional look. It also helps to stabilize the edges and prevent curling.
To create a border, you have a few options. One simple method is to continue knitting the first and last few stitches of each row in a different stitch pattern or color. For example, you could knit these stitches in a rib stitch or use a contrasting yarn color.
Alternatively, you can add a separate border after you’ve finished knitting the main body of the blanket. Here’s a simple border pattern you can try:
- Knit across the first row of the border. This creates a row of stitches along the edge.
- On the next row, purl across the row to create a textured design.
- Repeat steps 1 and 2 until you’ve reached the desired width for your border.
Remember to switch the needles after each row as usual to maintain the correct knitting needle placement.
If you prefer a more intricate border, you can explore different stitch patterns such as a seed stitch, cable stitch, or lace pattern. Just make sure to plan and practice the border pattern on a small swatch before applying it to your entire blanket.
As you knit the border, pay attention to your tension. It should be consistent with the rest of the blanket to ensure a uniform look. Avoid knitting too tightly as it can cause the border to pucker or pull the fabric inward.
Once you’ve completed the border, take a moment to examine your work and make any necessary adjustments. Smooth out any wrinkles or gaps, and ensure that the border is securely attached to the main body of the blanket.
Creating a border is an opportunity to add some creativity and personalization to your baby blanket. Have fun exploring different patterns and colors to make your blanket truly unique.
Now that you’ve added a beautiful border, it’s time to move on to the final step: binding off the stitches.
Binding Off Stitches
Binding off, also known as casting off, is the final step in completing your baby blanket. It ensures that the stitches are secure and prevents them from unravelling. Here’s how to bind off your stitches:
- Knit the first two stitches of the row as you normally would.
- Insert the left-hand needle into the first stitch you knitted on the right-hand needle.
- Using the left-hand needle, lift the first stitch you knitted over the second stitch and off the needle, letting it drop.
- You will now have one stitch remaining on the right-hand needle.
- Knit the next stitch on the left-hand needle.
- Repeat steps 2-5 until you have only one stitch remaining.
Once you have one stitch left, cut the yarn, leaving a tail that is about 6 inches long. Thread the tail through the final stitch and pull it tight to secure it.
It’s important to remember that when binding off, you want to keep a loose tension. A tight bind-off can make the edge of the blanket appear rigid and prevent it from laying flat.
After binding off all the stitches, take a moment to inspect your work and ensure that the edge is even and neat. Smooth out any inconsistencies and adjust the tension if needed.
With the stitches bound off, your baby blanket is almost complete! There’s just one more step to add those final finishing touches.
Finishing Touches
The finishing touches will give your baby blanket a polished look and ensure that it is ready to be cherished for years to come. Let’s explore the final steps:
- Weave in the loose ends: Take the tails of yarn from your color changes or binding off and use a yarn needle to weave them into the fabric of the blanket. This helps to secure the yarn and prevents it from unraveling. Weave the ends through several stitches on the backside of the fabric, and then trim any excess.
- Block the blanket (optional): Blocking is a process of shaping and stretching the knitted fabric to ensure it lays flat and evenly. To block your baby blanket, gently wash it using a mild detergent, squeeze out excess water without wringing or twisting the fabric, and then lay it flat on a clean towel. Gently shape and stretch the fabric to the desired dimensions, and let it air dry completely.
- Add embellishments (optional): If you want to personalize your baby blanket even further, consider adding embellishments such as appliques, buttons, or embroidery. Ensure that any embellishments are firmly attached and do not pose a choking hazard to a baby. Be mindful of the baby’s safety when choosing and adding decorative elements.
Once you’ve completed these finishing touches, take a step back and admire your beautiful and cozy baby blanket. You’ve put in the time and effort to create a unique and meaningful item that will bring warmth and comfort to its recipient.
Remember to care for your baby blanket by following the specific yarn care instructions. Hand-washing or using a gentle cycle in a washing machine with cold water is generally recommended to maintain the integrity of the knit fabric.
Now that you’ve finished your baby blanket, you can proudly gift it to a loved one or enjoy it yourself. Knitting is not only a craft but also a form of creative expression and a way to create lasting memories. So, keep exploring new knitting projects and continue to enjoy the art of knitting!
Read more: How To Organize Knitting Needles
Conclusion
Congratulations on completing your very own knitted baby blanket! Through the process of choosing the right yarn and needles, casting on stitches, knitting rows, adding a border, binding off, and adding finishing touches, you’ve created a beautiful and functional keepsake.
Knitting a baby blanket not only allows you to showcase your creativity and knitting skills but also provides a thoughtful and heartfelt gift for new parents. The time and effort you’ve invested in this project truly demonstrate your love and care for the little one who will be wrapped in the blanket.
Remember, knitting is not only a hobby but also a way to relax, unwind, and express your artistic side. Each stitch tells a story, and the process of knitting itself is a journey that allows you to explore new patterns, colors, and techniques.
As you continue on your knitting journey, don’t be afraid to experiment with different yarns, needle sizes, and stitch patterns. Embrace the challenges and celebrate the achievements, as each knitting project is an opportunity for growth and learning.
Whether you’re knitting for yourself, gifting to loved ones, or even donating to those in need, your handmade creations hold immeasurable value and meaning. The joy of knitting extends far beyond the finished product.
So, keep those knitting needles clicking, and let your imagination run wild. Explore new projects, learn new techniques, and continue to create cozy and cherished items. Happy knitting!
Frequently Asked Questions about How To Knit A Baby Blanket For Beginners With Straight Needles
Was this page helpful?
At Storables.com, we guarantee accurate and reliable information. Our content, validated by Expert Board Contributors, is crafted following stringent Editorial Policies. We're committed to providing you with well-researched, expert-backed insights for all your informational needs.

