Articles
How To Put A Picture On A Blanket
Modified: January 20, 2024
Learn how to put a picture on a blanket with our informative articles. Find step-by-step instructions and expert tips to create a personalized and unique blanket.
(Many of the links in this article redirect to a specific reviewed product. Your purchase of these products through affiliate links helps to generate commission for Storables.com, at no extra cost. Learn more)
Introduction
Welcome to your comprehensive guide on how to put a picture on a blanket. Whether you want to preserve a cherished memory, personalize a gift, or simply express your creativity, transferring an image onto a blanket is a fantastic way to add a personal touch to your home decor. In this article, we will walk you through each step of the process, from choosing the right picture to ensuring proper adhesion. So, let’s dive in and turn your favorite photo into a cozy and sentimental blanket masterpiece!
To successfully complete this DIY project, you’ll need a few key materials. Don’t worry, they are fairly easy to find and won’t break the bank. Here’s a quick list of what you’ll need:
- An inkjet printer
- Transfer paper specifically designed for fabric
- A high-quality, blank blanket made of a suitable fabric for printing
- An iron or heat press machine
- A computer or device to edit and prepare the image
- Scissors
Once you have gathered these materials, you are ready to embark on your picture-on-a-blanket journey. Let’s move on to the first step: choosing the right picture.
Key Takeaways:
- Transform a simple blanket into a personalized masterpiece by following step-by-step instructions to transfer your favorite image. Enjoy the warmth and sentimentality it brings to your home decor or as a heartfelt gift.
- Ensure proper adhesion and longevity of the transferred image by following care instructions and taking precautions during washing and regular use. Take pride in your artistic accomplishment and enjoy the personalized picture blanket for years to come.
Read more: How To Put Pictures On Glass
Materials Needed
Before we dive into the step-by-step process of putting a picture on a blanket, let’s make sure we have all the necessary materials. Here’s a quick rundown:
- An inkjet printer: You will need an inkjet printer to print your chosen image onto the transfer paper. Make sure your printer is in good working condition and has enough ink.
- Transfer paper specifically designed for fabric: Look for transfer paper that is specifically made for use on fabric. This type of transfer paper is different from regular printer paper and is designed to adhere to fabric surfaces when heat is applied.
- A high-quality, blank blanket made of a suitable fabric for printing: Choose a blank blanket that is made of a fabric suitable for printing. Cotton or a cotton blend is typically a good choice, as it allows the image to transfer and adhere properly.
- An iron or heat press machine: You will need a heat source to transfer the image onto the blanket. An iron can work if you don’t have a heat press machine, but a heat press machine will generally provide better and more even results.
- A computer or device to edit and prepare the image: Use a computer or device with image editing software to prepare the image you want to transfer onto the blanket. This may involve cropping, resizing, or adjusting the colors of the image.
- Scissors: You’ll need a pair of scissors to cut out the transferred image after it has been applied to the blanket.
Make sure to gather all these materials before starting the process. This will ensure a smooth and successful picture-on-blanket project. Once you have everything ready, it’s time to move on to the next step: choosing the right picture!
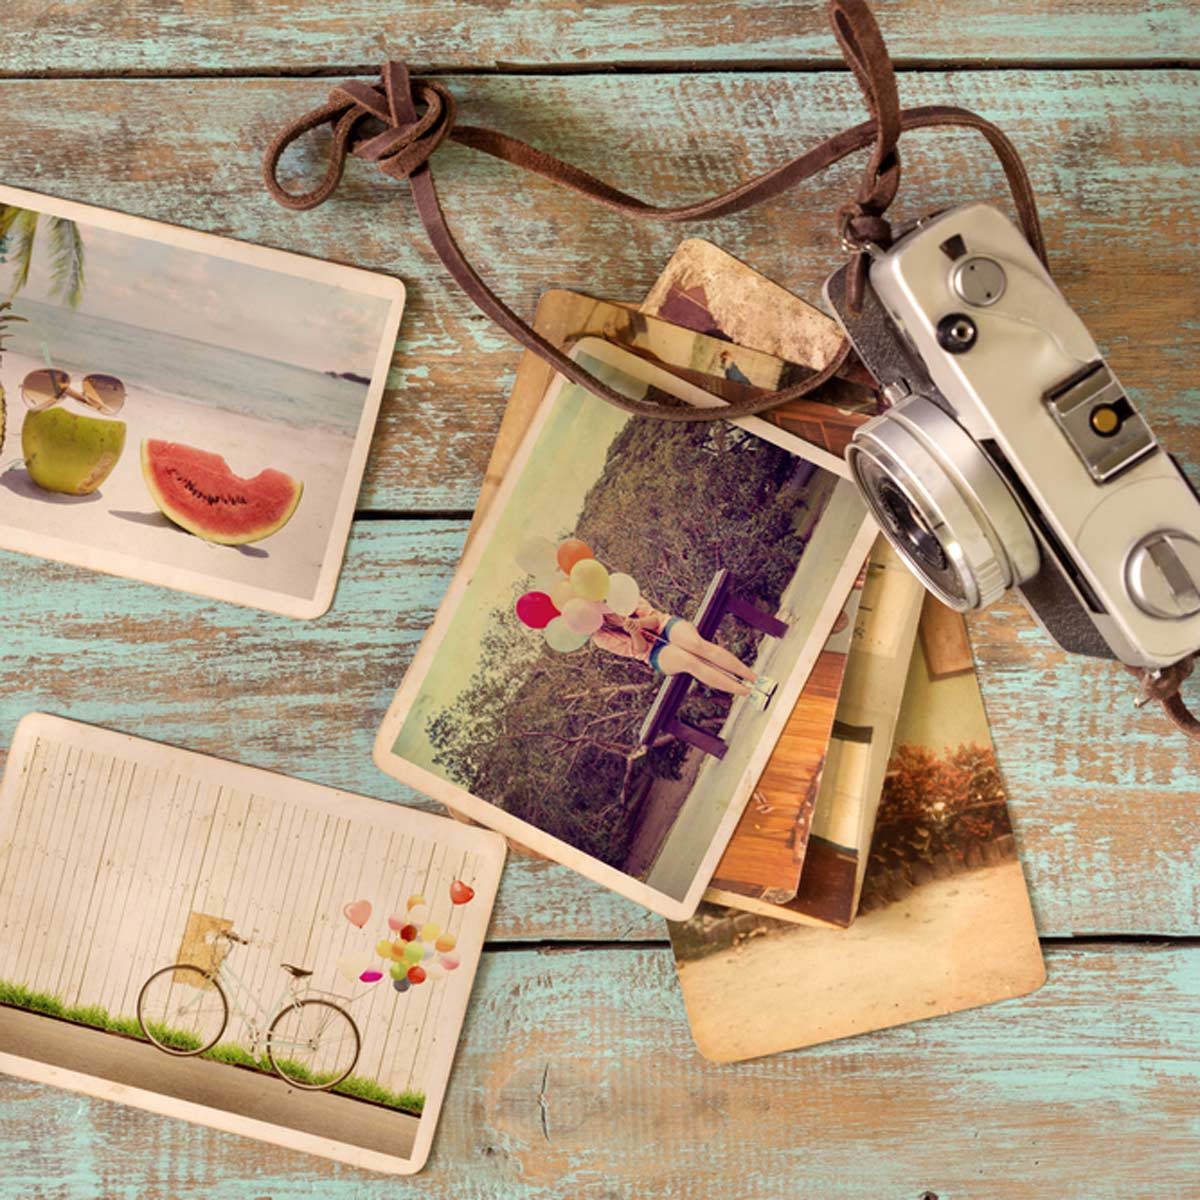
Step 1: Choose the Right Picture
The first step in putting a picture on a blanket is selecting the right image. This is an important decision, as the image will be the centerpiece of your blanket and should hold personal significance or evoke special memories. Here are a few things to consider when choosing your picture:
- Meaningful Moments: Think about moments that hold special meaning to you or the recipient of the blanket. It could be a family portrait, a cherished vacation memory, or a snapshot of a beloved pet. Choose an image that captures the essence of that particular moment.
- Composition and Clarity: Look for a picture with good composition, balanced lighting, and clear details. Avoid images that are too dark, blurry, or pixelated, as these may not transfer well onto the blanket.
- Resolution and Size: Consider the resolution and size of the image. Higher resolution images will generally result in better print quality. Also, make sure the image size is appropriate for the size of the blanket you will be using.
- Color and Contrast: Take into account the color and contrast of the image. Vibrant, well-balanced colors and crisp contrast can make your transferred image pop on the blanket.
- Personalization: If you want to add an extra personal touch, you can consider adding text, captions, or other graphic elements to the image. This can be a meaningful quote, a date, or any other text that holds significance.
Once you have chosen the perfect picture, it’s time to move on to the next step: preparing the image for transfer. Get your computer or device ready, and let’s dive into the exciting world of image manipulation!
Step 2: Prepare the Image
Now that you have selected the perfect picture for your blanket, it’s time to prepare the image for transfer. This step involves editing and adjusting the image to ensure optimal print quality. Here’s how to do it:
- Crop and Resize: Open the chosen image on your computer or device using image editing software. Crop the image to remove any unnecessary background or unwanted elements. Resize the image to match the desired dimensions of your blanket, keeping in mind the aspect ratio to avoid distortion.
- Adjust Colors and Contrast: Enhance the colors and contrast of the image if needed. Use the brightness, contrast, and saturation adjustments in your image editing software to make the image look its best. Remember to avoid excessive adjustments that can make the image look unnatural.
- Add Text or Graphics: If you want to add text, captions, or other graphic elements to the image, now is the time. Use the text tool or graphic design features in your editing software to personalize the image. Consider the font, size, and placement to ensure it complements the overall composition.
- Save the Image: Once you are satisfied with the edits, save the image in a high-resolution format such as JPEG or PNG. This will preserve the quality and ensure the best possible transfer onto the blanket.
Preparing the image can be a creative and fun process. Take your time to perfect the image and make any necessary adjustments. Once you are happy with the final result, it’s time to move on to the next step: printing the image onto transfer paper.
Step 3: Print the Image on Transfer Paper
Now that your image is edited and ready, it’s time to print it onto the transfer paper specifically designed for fabric. This step involves ensuring the correct settings on your printer and handling the transfer paper carefully. Let’s get started:
- Load the Transfer Paper: Open your inkjet printer and load the transfer paper into the printer tray. Make sure you follow the manufacturer’s instructions for loading the transfer paper correctly.
- Adjust Printer Settings: Open the image on your computer and go to the print settings. Select the appropriate printer and paper settings. Choose the highest quality print option to achieve the best result. Also, check if there are any specific instructions provided by the transfer paper manufacturer, and adjust the settings accordingly.
- Print a Test Page: Before printing on the actual transfer paper, it’s advisable to print a test page on regular paper. This allows you to check if the colors and layout are as expected. Make any necessary adjustments to the image or printer settings if needed.
- Print the Image: Once you are satisfied with the test page, it’s time to print the image onto the transfer paper. Make sure your printer is properly connected and press the print button. Wait for the printer to finish the printing process.
- Let the Ink Dry: After printing, it’s important to let the ink on the transfer paper dry completely. Follow the instructions provided by the transfer paper manufacturer to determine the recommended drying time.
Printing the image correctly on the transfer paper is crucial for a successful transfer onto the blanket. Take your time to ensure the printer settings are accurate, and handle the transfer paper with care. Once the ink is completely dry, you’re ready for the exciting part – transferring the image onto the blanket in the next step.
When putting a picture on a blanket, make sure to use a high-resolution image for best results. Consider using a professional printing service to ensure the picture is clear and long-lasting.
Read more: How To Put Pictures On Candles
Step 4: Transfer the Image onto the Blanket
With your printed image on the transfer paper, it’s time to transfer it onto the blank blanket. This step requires careful handling and the right amount of heat to ensure a successful transfer. Let’s get started:
- Preheat the Iron or Heat Press: If you’re using an iron, set it to the appropriate heat setting for the fabric of your blanket. If you’re using a heat press machine, follow the manufacturer’s instructions to preheat it to the recommended temperature.
- Prepare the Blanket: Lay the blank blanket on a flat and heat-resistant surface. Smooth out any wrinkles or creases to ensure an even transfer of the image.
- Position the Image: Carefully place the printed image on the blanket with the ink side facing down. Position it in the desired location, taking care to align it properly.
- Apply Heat and Pressure: If you’re using an iron, press it firmly onto the back of the transfer paper and move it in a steady, circular motion. Apply even pressure for about 15-30 seconds. If using a heat press machine, follow the manufacturer’s instructions for the appropriate amount of time and pressure.
- Let it Cool: After applying heat, allow the transfer to cool completely before removing the paper. This ensures that the transferred ink adheres properly to the blanket fabric.
During the transfer process, it’s important to be cautious with the heat and pressure applied. Too much heat or pressure can result in faded or distorted images, while too little may lead to incomplete transfers. Take your time and follow the instructions carefully for the best results. Once the transfer has cooled down, it’s time to move on to the next step: ensuring proper adhesion of the image on the blanket.
Step 5: Set the Image on the Blanket
After transferring the image onto the blanket, it’s important to set the image to ensure its longevity and durability. This step involves securing the transferred ink onto the fabric, allowing it to withstand washing and regular use. Follow these steps to set the image on the blanket:
- Remove the Paper: Carefully peel off the transfer paper from the blanket. Start from one corner and slowly peel it back, ensuring that the transferred image remains intact on the fabric.
- Cover the Image: Once the paper is removed, place a plain piece of fabric or parchment paper over the transferred image on the blanket. This additional layer will protect the image during the next step.
- Reapply Heat: Using the iron or heat press machine, apply heat over the fabric cover for an additional 10-15 seconds. This further bonds the transferred ink to the blanket fabric.
- Allow Cooling: After reapplying heat, let the blanket cool completely with the fabric cover still in place. This cooling process helps the transferred image to fully set on the fabric.
Setting the image on the blanket further ensures its durability and helps preserve the colors and details. By following these steps, you can enjoy your personalized picture blanket for a long time to come. With the image on the blanket securely set, it’s time to move on to the next step: ensuring proper adhesion of the transferred image.
Step 6: Ensure Proper Adhesion
Ensuring proper adhesion of the transferred image is crucial to maintain its quality and durability over time. This step involves taking certain precautions to protect the image during washing and regular use. Here’s what you need to do:
- Read the Care Instructions: Before using or washing the blanket, carefully read and follow the care instructions provided by the transfer paper manufacturer. These instructions will guide you on the appropriate washing temperature, detergents to use, and any other specific care recommendations.
- Avoid Hot Water and Bleach: When washing the blanket, use cold or warm water instead of hot water, as excessive heat can fade or damage the transferred image. Additionally, avoid using harsh detergents or bleach, as these can also affect the image’s longevity.
- Wash Inside Out and Separate: To protect the transferred image, wash the blanket inside out. This will minimize direct contact between the image and other fabrics or surfaces in the washing machine. It’s also a good idea to wash the blanket separately to avoid any potential color bleeding from other items.
- Gentle Cycle and Mild Detergent: Choose a gentle cycle on your washing machine and use a mild, non-abrasive detergent. These settings will help protect the transferred image and minimize any potential damage during the washing process.
- Avoid Excessive Friction: When drying the blanket, either air dry it or use a low heat setting in the dryer. Excessive heat or friction can cause the image to crack or peel. Avoid using dryer sheets or fabric softeners, as they may also affect the transferred image.
By following these guidelines, you can ensure the proper adhesion and longevity of the transferred image on your blanket. Taking care of your personalized picture blanket will allow you to enjoy the sentimental value and beauty it brings to your home. With the image securely adhered, let’s move on to the final step: adding the finishing touches to your picture-on-a-blanket creation.
Step 7: Finishing Touches
Congratulations on completing the process of putting a picture on a blanket! Now it’s time to add the finishing touches to your creation. These final steps will ensure that your picture blanket looks polished and ready to be admired. Let’s explore the finishing touches:
- Trim Any Excess: Carefully examine the edges of the transferred image on the blanket. If there are any excess paper or transfer film visible, use a pair of scissors to carefully trim them away. This will give your picture blanket a clean and professional appearance.
- Inspect for Imperfections: Take a close look at the transferred image on the blanket. Look for any imperfections such as bubbles, creases, or areas where the image may not have transferred evenly. If you spot any issues, you can try to gently fix them by reapplying heat using an iron or heat press machine.
- Embellish (Optional): If desired, you can further enhance your picture blanket by adding additional decorative elements. This could include sewing on fabric trims or borders, embroidering names or dates, or attaching small embellishments. These personalized touches can make your picture blanket even more unique and special.
- Display and Enjoy: Once you are satisfied with the overall look of your picture blanket, it’s time to display and enjoy it! Drape it over a couch or chair, use it at picnics and gatherings, or give it as a heartfelt gift to a loved one. The possibilities are endless, and your picture blanket will surely be a conversation starter and a cherished item.
By paying attention to these finishing touches, you can ensure that your picture blanket looks professional and polished. Take pride in your creation and enjoy the warm and sentimental feelings that it brings. Your picture-on-a-blanket project is now complete, and you can admire the personalized masterpiece you have created!
Thank you for following this comprehensive guide on how to put a picture on a blanket. We hope you found it informative and helpful. Happy crafting!
Read more: How To Put A Blanket In Duvet
Conclusion
Congratulations! You have reached the end of this comprehensive guide on how to put a picture on a blanket. By following the step-by-step instructions outlined in this article, you have learned how to transform a simple blank blanket into a personalized masterpiece that showcases your favorite image. Whether you’re looking to preserve a cherished memory, create a unique gift, or add a touch of personalization to your home, this DIY project allows you to do just that.
Throughout the process, we discussed the importance of choosing the right picture, preparing the image for transfer, printing it on transfer paper, transferring it onto the blanket, setting the image, ensuring proper adhesion, and adding those final finishing touches. Each step plays a vital role in achieving a successful and professional-looking result.
Remember, as you undertake this project, always be mindful of the materials you use, follow the instructions provided by the transfer paper manufacturer, and exercise caution when handling heat sources such as irons or heat press machines.
Now that you have completed your picture-on-a-blanket project, you can proudly display or gift your creation. It’s a wonderful way to add a personal touch to your home decor, commemorate special occasions, or create a treasured keepsake for a loved one.
Enjoy the warmth and sentimentality that your picture blanket brings, and take pride in the artistic accomplishment you have achieved. As you continue on your creative journey, remember that the possibilities are endless. You can use the skills and knowledge gained from this project to explore other DIY ventures and unleash your creativity even further.
We hope this guide has inspired you to embark on your own picture-on-a-blanket adventure. Thank you for joining us, and we wish you success and enjoyment in all your future crafting endeavors!
Frequently Asked Questions about How To Put A Picture On A Blanket
Was this page helpful?
At Storables.com, we guarantee accurate and reliable information. Our content, validated by Expert Board Contributors, is crafted following stringent Editorial Policies. We're committed to providing you with well-researched, expert-backed insights for all your informational needs.