
Articles
How To Knit A Baby Blanket On A Round Loom
Modified: January 6, 2024
Learn how to knit a cozy and adorable baby blanket using a round loom. Discover helpful articles and step-by-step instructions to create the perfect keepsake for your little one.
(Many of the links in this article redirect to a specific reviewed product. Your purchase of these products through affiliate links helps to generate commission for Storables.com, at no extra cost. Learn more)
Introduction
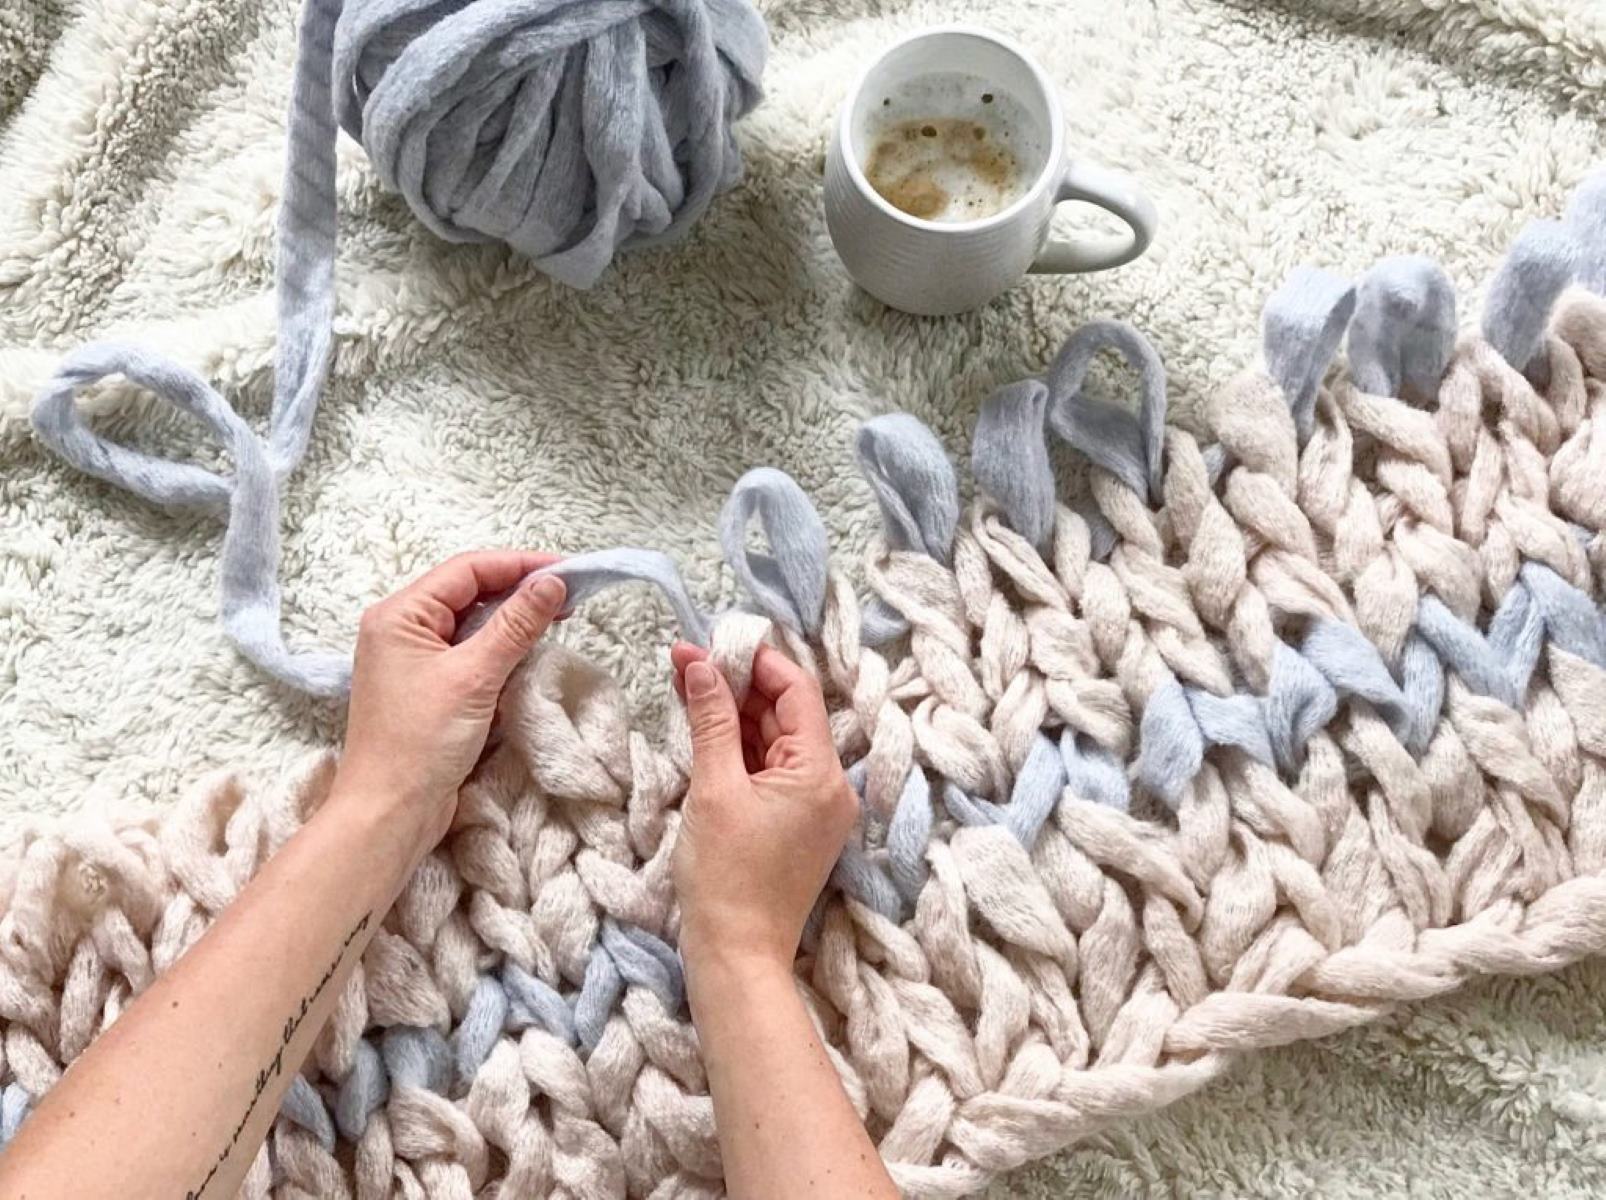
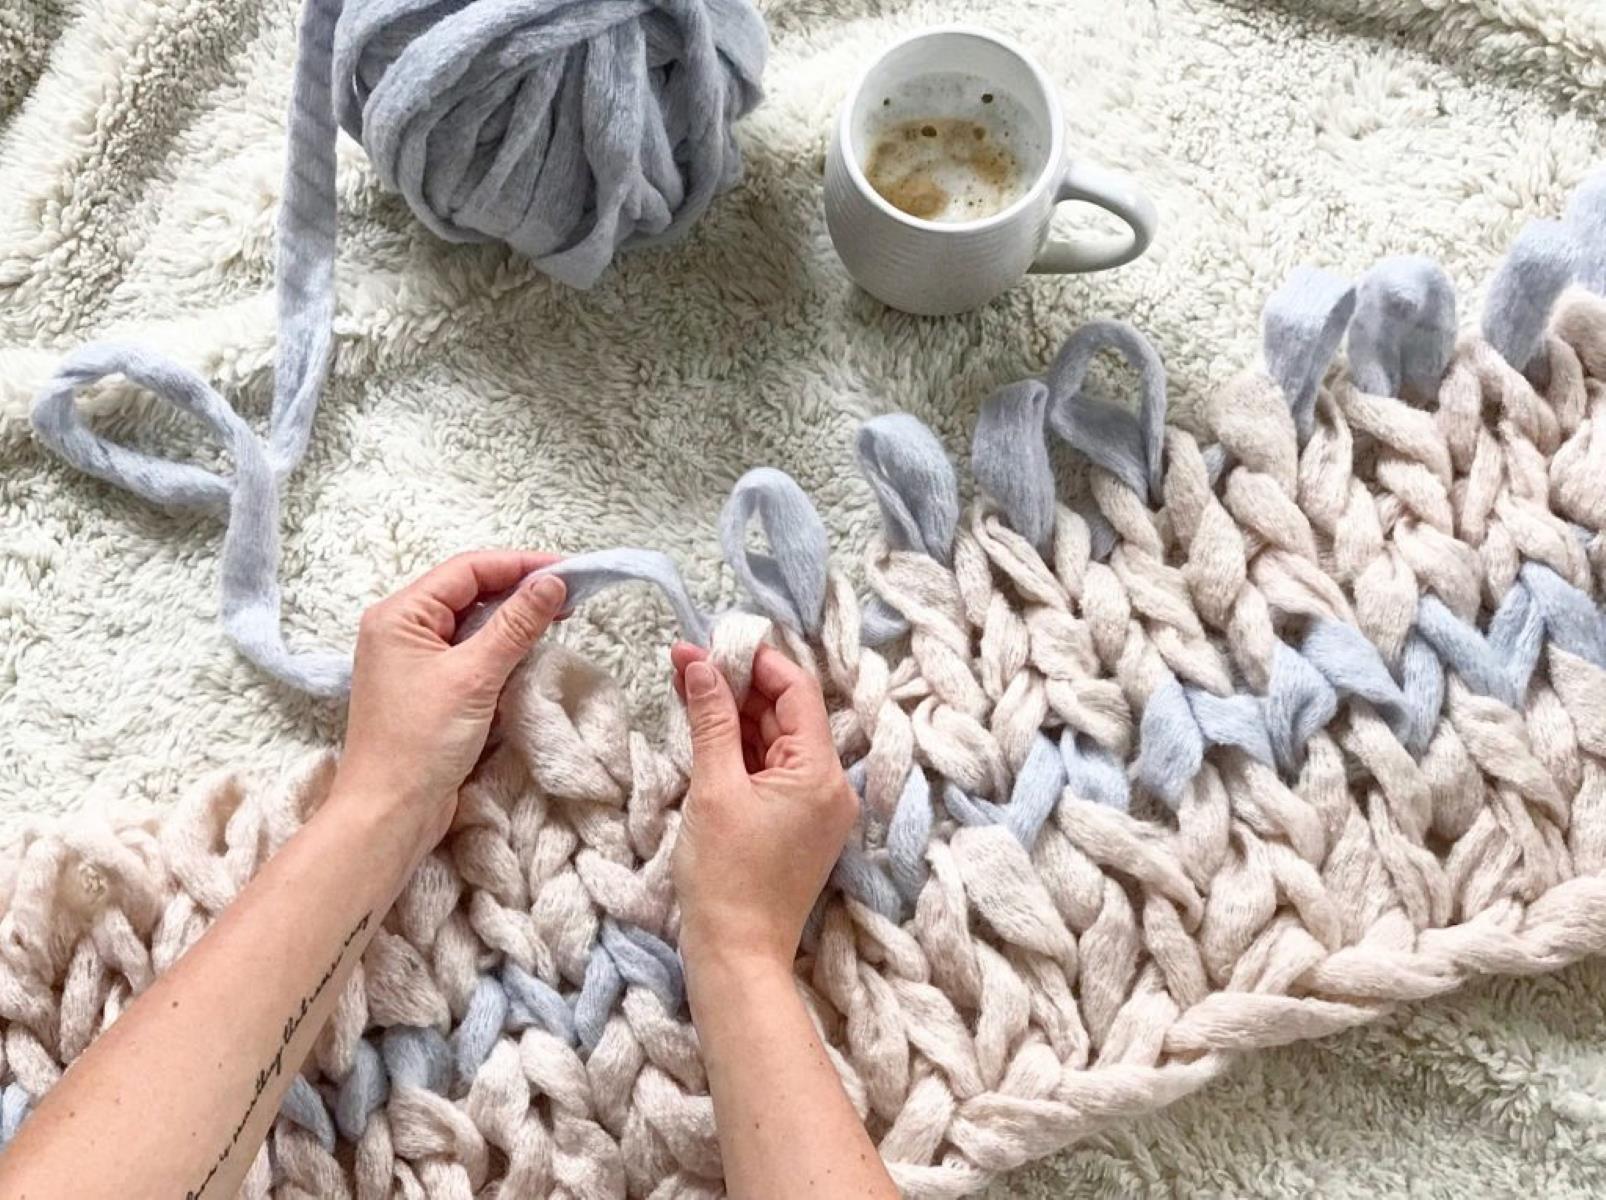
Welcome to the world of knitting! If you’re looking to create a beautiful and cozy baby blanket, using a round loom is a fantastic option. Knitting on a round loom provides a unique and seamless finish that is perfect for baby blankets. Whether you’re a beginner or an experienced knitter, this article will guide you through the process of knitting a baby blanket on a round loom.
In this article, we’ll cover everything you need to know, from selecting the right materials to finishing touches. So, grab your round loom and let’s get started on this exciting project!
Before we dive into the knitting process, let’s briefly go over the materials you’ll need. To knit a baby blanket on a round loom, you’ll require:
- A round loom set (usually comes in different sizes)
- Soft and cozy yarn
- A yarn needle
- Scissors
- A crochet hook (optional)
Key Takeaways:
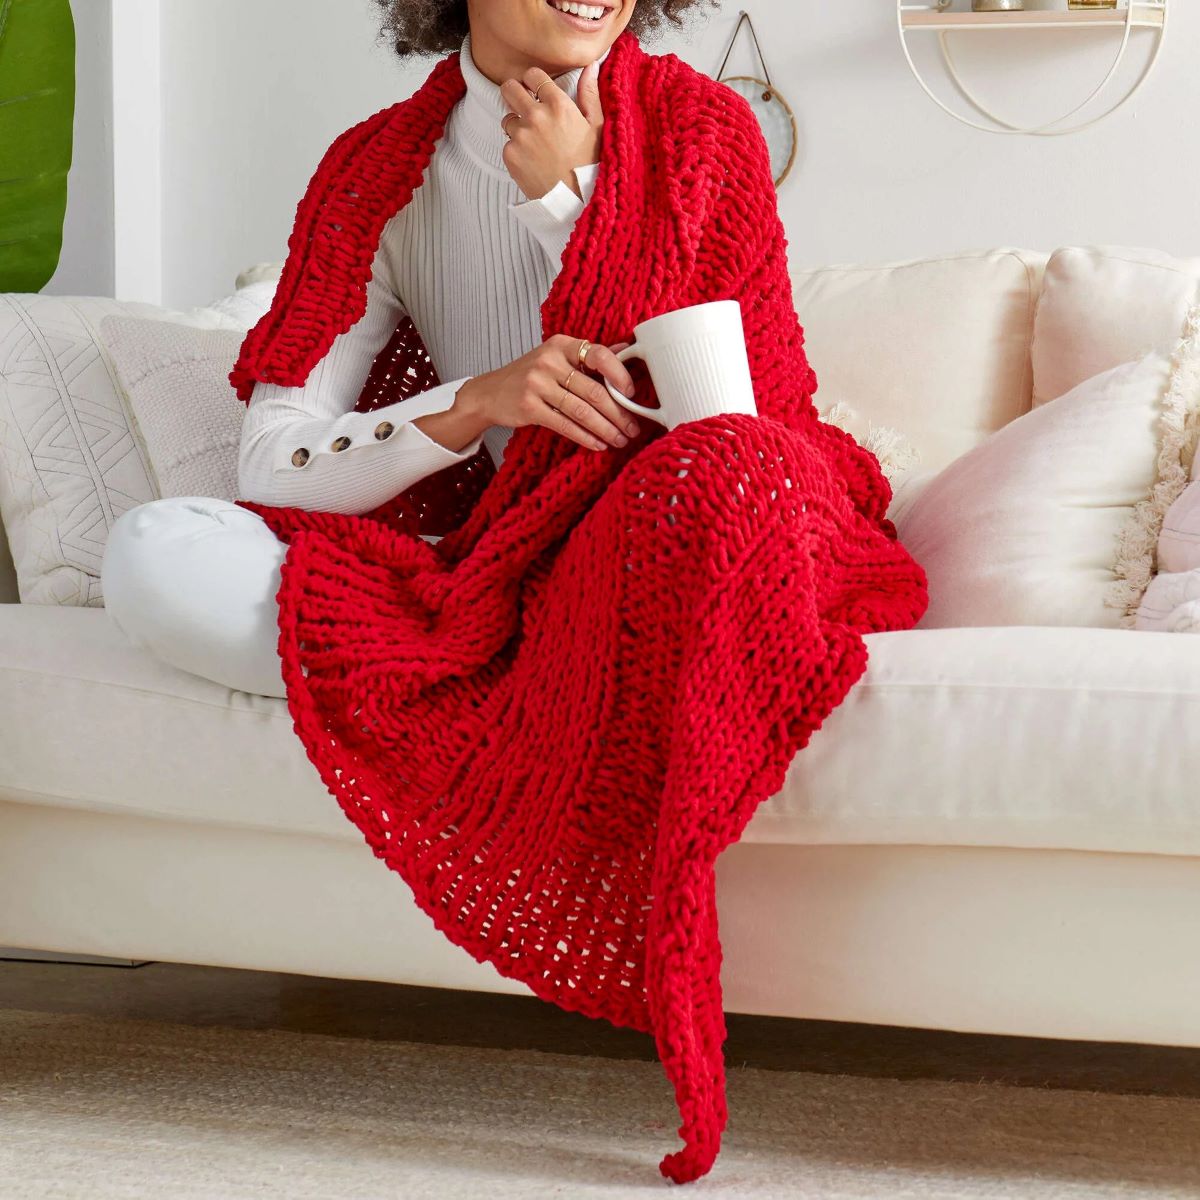
- Knitting a baby blanket on a round loom is a rewarding and creative process that allows you to craft a cozy and personalized item for your little one. With the right materials and yarn, you can create a unique and cherished heirloom.
- Choosing the perfect yarn, understanding the round loom, and adding finishing touches are essential steps in creating a beautiful baby blanket. Embrace the therapeutic experience of knitting and let your creativity shine as you craft a seamless and visually appealing blanket.
Read more: How To Start Knitting A Baby Blanket
Materials Needed
Before you start knitting your baby blanket on a round loom, it’s important to gather all the necessary materials. Here is a breakdown of what you’ll need:
- Round loom set: Look for a round loom set that includes various sizes. This will give you flexibility in choosing the appropriate loom size for your desired blanket dimensions.
- Soft and cozy yarn: Select a yarn specifically designed for baby items. Look for yarns that are soft, hypoallergenic, and easy to clean. Acrylic or cotton blends are popular choices.
- Yarn needle: A yarn needle with a large eye is essential for weaving in loose ends and finishing off your blanket. When choosing a yarn needle, make sure it is suitable for the yarn weight you’re using.
- Scissors: To cut the yarn, you’ll need a pair of sharp scissors. It’s important to have a dedicated pair of scissors for your knitting projects to avoid dulling them.
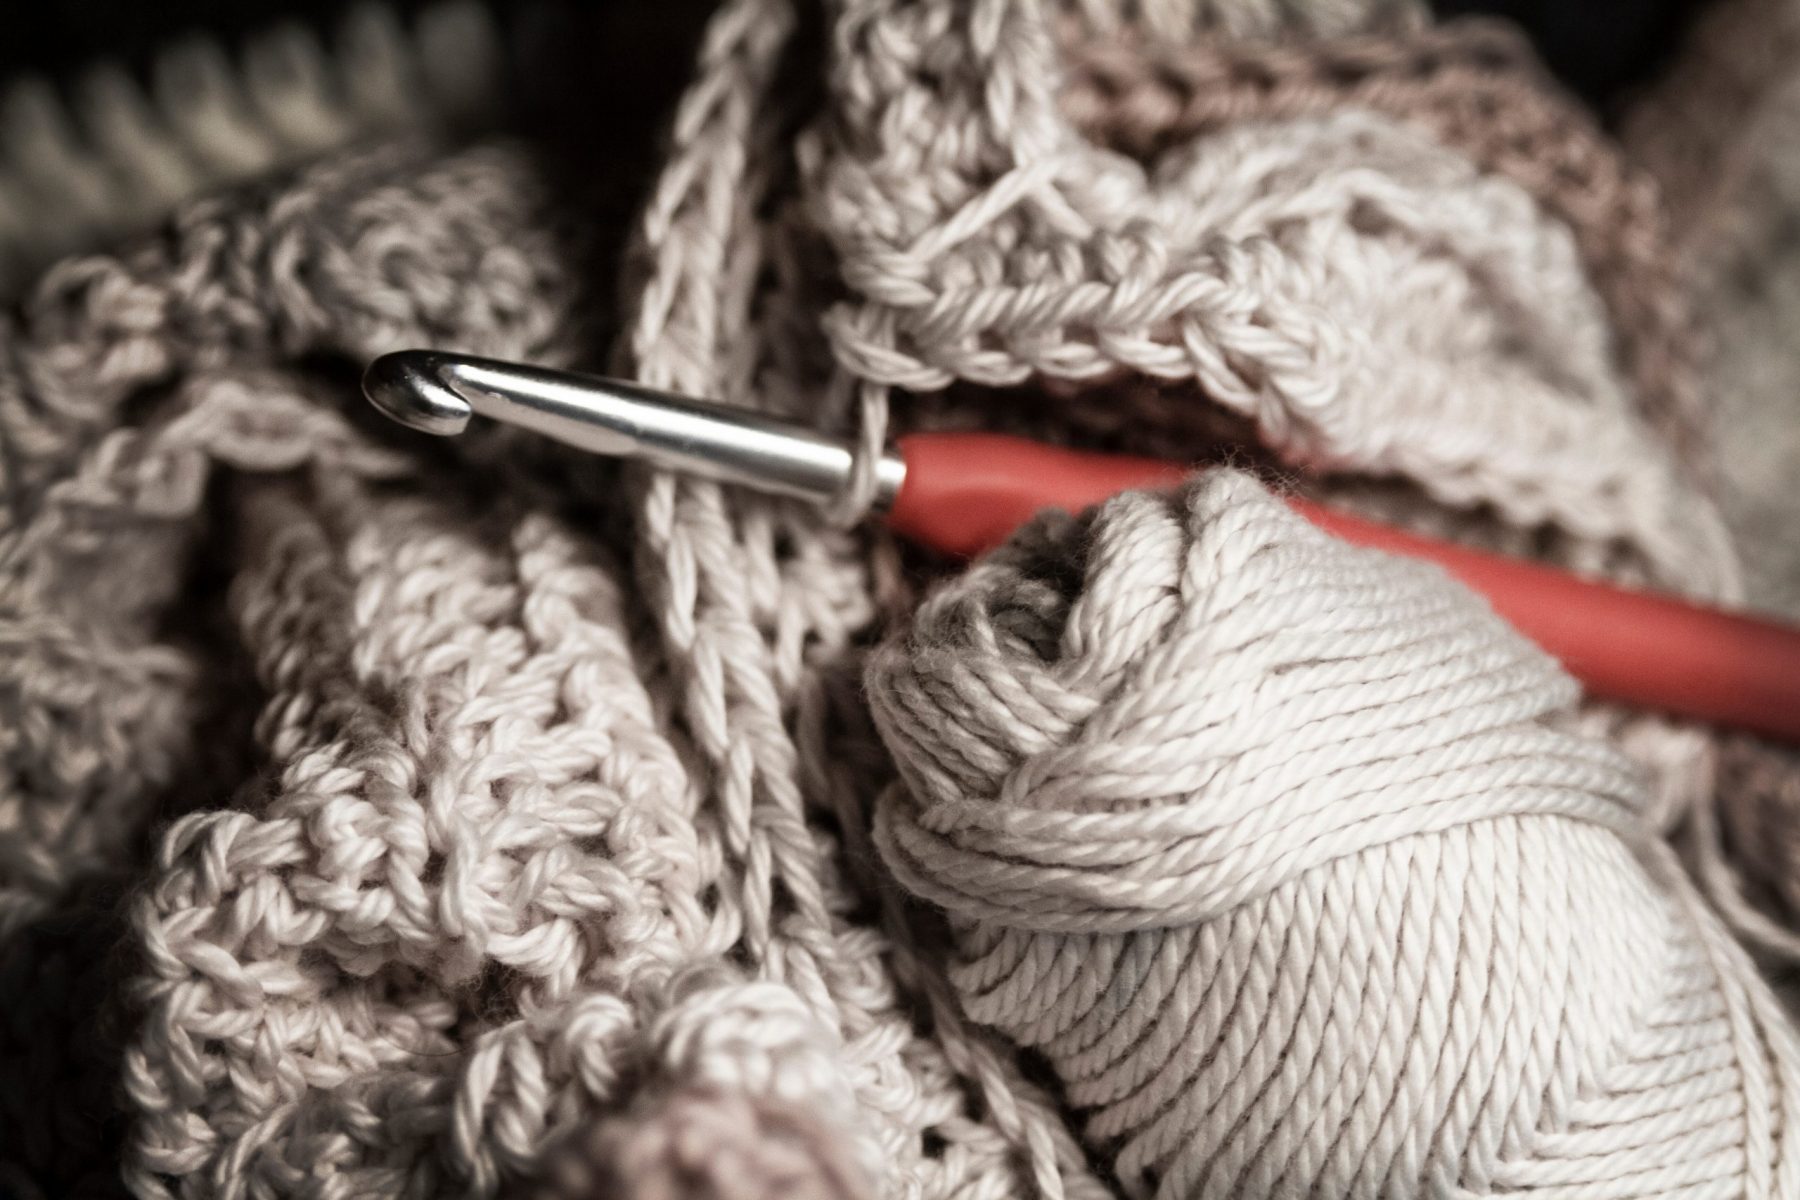
- Crochet hook (optional): While not essential, a crochet hook can be useful for fixing any dropped stitches or correcting mistakes along the way.
By having all these materials ready, you’ll be fully equipped to embark on your knitting journey and create a beautiful baby blanket. The next step is choosing the right yarn for your project.
Choosing the Right Yarn
When it comes to knitting a baby blanket on a round loom, choosing the right yarn is essential. You want to select a yarn that is not only soft and cozy but also safe and comfortable for a baby’s delicate skin. Here are some factors to consider when choosing the yarn for your baby blanket:
- Softness: Look for yarns that are labeled as “baby-friendly” or “baby-soft.” These yarns are often made from materials like cotton, bamboo, or acrylic blends that are gentle on a baby’s skin.
- Hypoallergenic: Babies have sensitive skin, so it’s important to choose yarn that is hypoallergenic and free from any irritating fibers or dyes. Check the yarn label for information on its hypoallergenic properties.
- Machine washable: Babies can be messy, so opting for a machine-washable yarn will make your life much easier. Look for yarns that are labeled as “easy-care” or “machine washable” to ensure that your blanket stays clean and fresh.
- Color selection: Consider the color palette for your baby blanket. Soft pastel shades are ideal for baby items, as they create a soothing and calming environment. However, feel free to get creative and choose colors that match the nursery decor or the baby’s personality.
It’s also important to consider the weight of the yarn. Bulky or chunky weight yarns tend to work well for baby blankets as they create a plush and cozy texture, perfect for keeping little ones warm. However, if you prefer a lighter and more breathable blanket, you can opt for a lighter weight yarn.
Once you’ve chosen the perfect yarn for your baby blanket, it’s time to understand the ins and outs of using a round loom.
Understanding the Round Loom
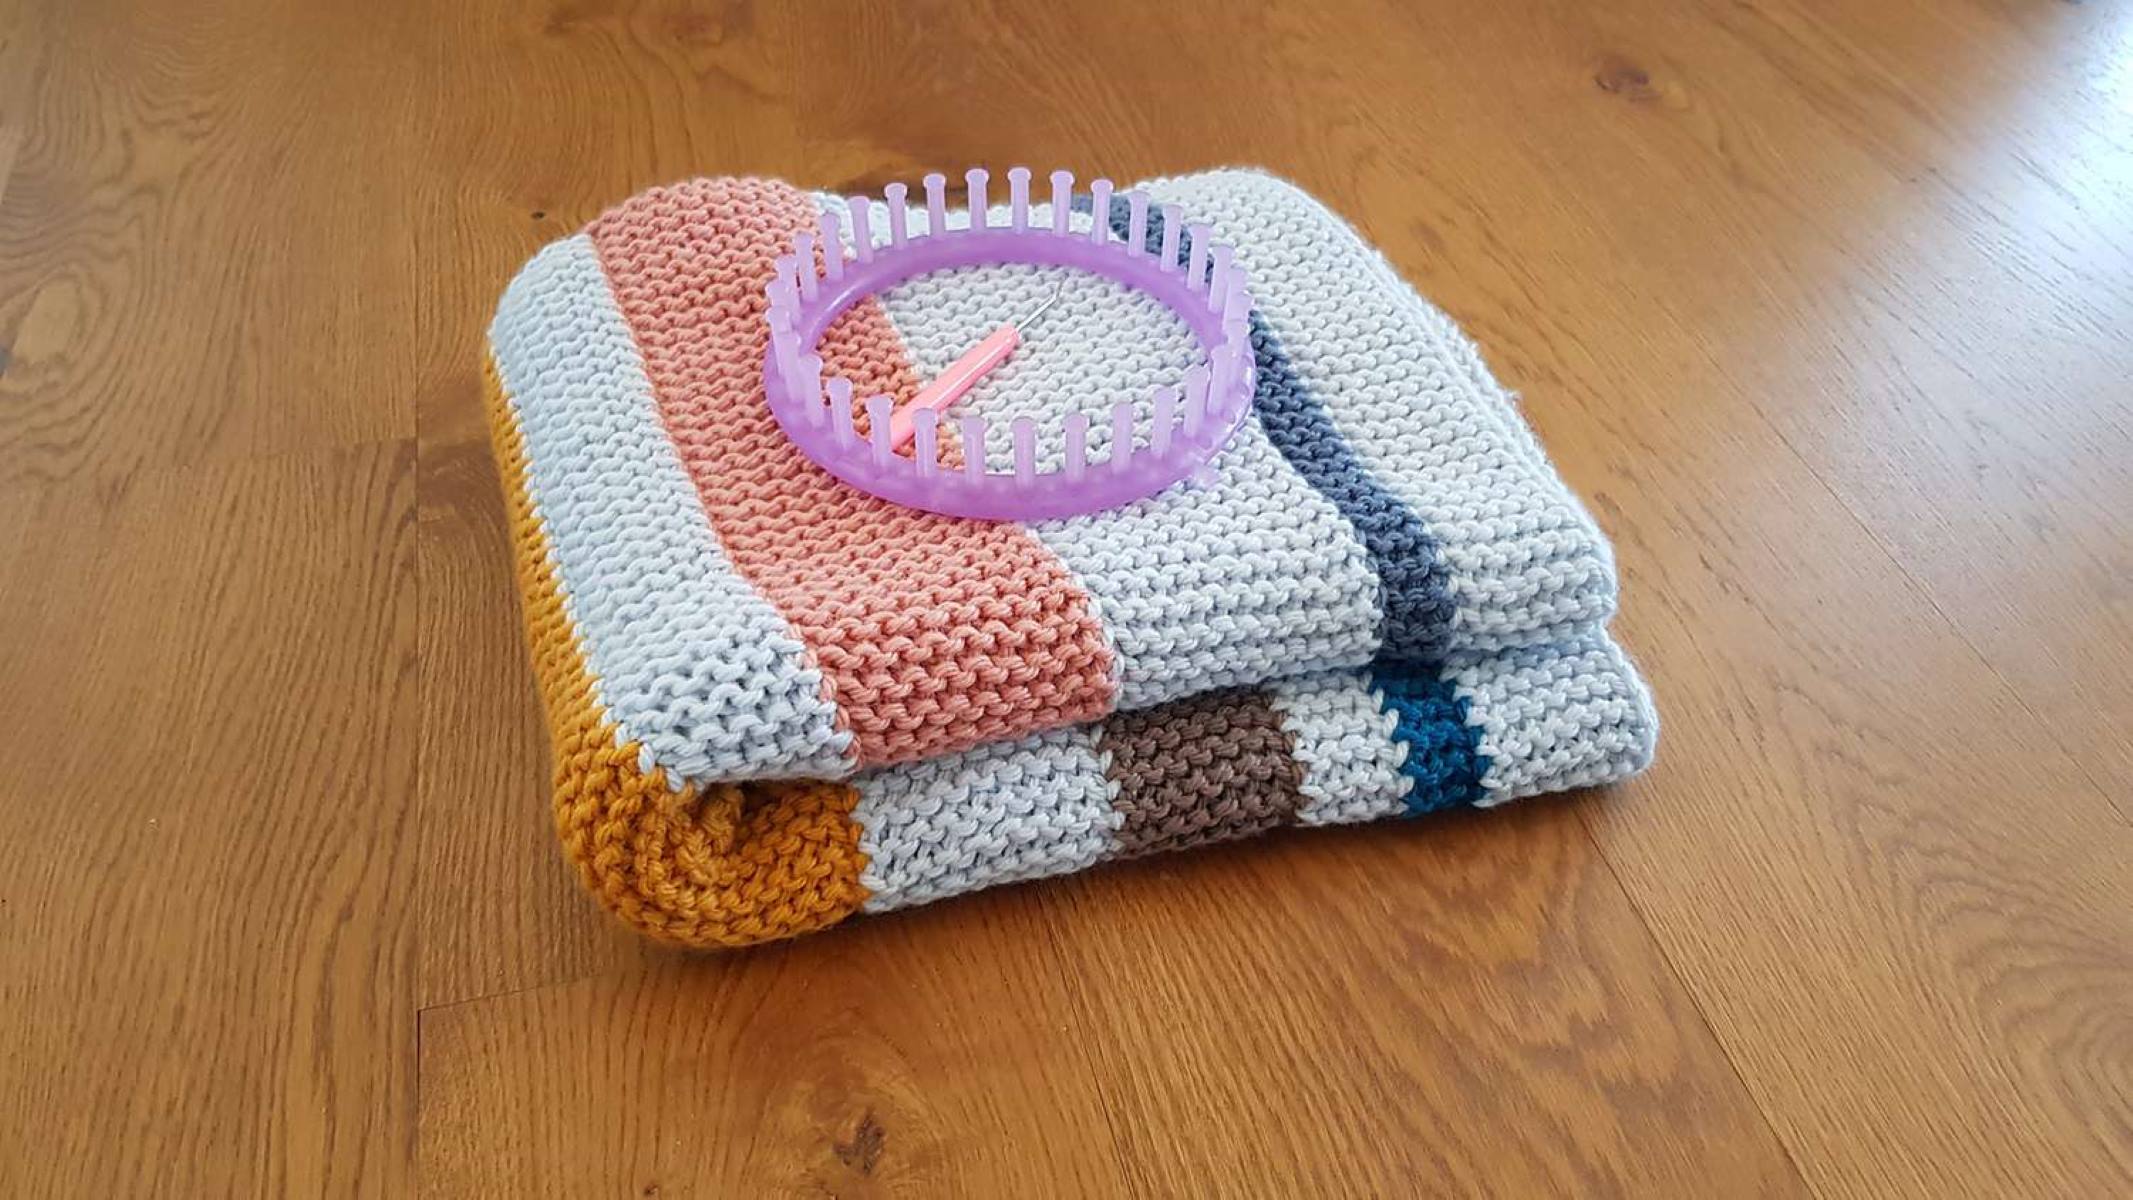
Before you start knitting your baby blanket on a round loom, it’s important to familiarize yourself with how the loom works. A round loom consists of a circular base with evenly spaced pegs protruding from it. Here are some key concepts to understand:
- Pegs: The pegs on the round loom are where you will wrap your yarn to create the stitches. Each peg corresponds to one stitch in your knitting.
- Loom Size: Round looms come in different sizes, ranging from small to large. The size refers to the diameter of the loom, which will determine the dimensions of your finished blanket.
- Gauge: The gauge of your loom refers to the number of pegs per inch. Different looms have different gauges, allowing you to create various stitch sizes and textures.
- Knitting Direction: When using a round loom, you will always knit in a circular direction, moving around the loom in a clockwise or counterclockwise direction.
Now that you have a good understanding of the round loom, it’s time to get started on your baby blanket. The first step is casting on.
Casting On
Now that you’re familiar with the round loom, it’s time to cast on and start knitting your baby blanket. Casting on is the process of creating the foundation row of stitches on the loom. Here’s how to cast on:
- Hold the loom: Hold the round loom in your non-dominant hand, with the pegs facing upwards.
- Leave a tail: Leave a long tail of yarn (about 6 inches) and place it on the outside of the loom, between two pegs. This will be used later for finishing off the blanket.
- Wrap the yarn: Take the working yarn (the yarn attached to the ball) and bring it over the first peg on the loom, then cross it in front of the peg, creating a loop.
- Continue wrapping: Move to the next peg, and repeat the process of wrapping the yarn around the peg. Continue this process until you have wrapped each peg on the loom.
- E-wrap the pegs: Once all the pegs are wrapped, go back to the first peg and wrap it again. This time, wrap the yarn in an “e” shape around the peg, creating a figure-eight. Repeat this e-wrap on each peg, creating two loops on each peg.
- Tighten the loops: Gently pull the bottom loop over the top loop on each peg, using either your fingers or a knitting hook. This will secure the loops and create the first row of stitches.
- Continue casting on: Repeat steps 3 to 6 until you have cast on the desired number of stitches for your baby blanket. The number of stitches will depend on the loom size and the width of your blanket.
Congratulations! You have successfully cast on your round loom and are ready to start knitting the body of the blanket. Stay tuned for the next steps in this exciting knitting journey!
When knitting a baby blanket on a round loom, use soft, machine-washable yarn for easy care. Start with a simple stitch pattern and knit a swatch to check your gauge before beginning the blanket.
Knitting the Body of the Blanket
Now that you have cast on your round loom, it’s time to start knitting the body of your baby blanket. This is where you’ll create the main section of the blanket, adding rows upon rows of stitches. Follow these steps to knit the body of the blanket:
- Start knitting: Hold the loom with the pegs facing upwards and the working yarn attached to the ball. Take the working yarn and wrap it around the first peg in a clockwise or counterclockwise direction. This will create a new loop on the peg.
- Continue wrapping: Move to the next peg in the same direction and wrap the yarn around it. Repeat this process for each peg on the loom, wrapping and creating new loops.
- Knit the first row: Once you have wrapped all the pegs, take the knitting tool (either your fingers or a knitting hook) and gently lift the bottom loop over the top loop on each peg. This is called knitting off the stitches. Continue knitting off all the stitches until you have completed the first row.
- Continue knitting: After knitting off the first row, wrap the yarn around all the pegs again, following the same wrapping pattern as before. Then, knit off the stitches once more to complete the second row.
- Repeat: Repeat the process of wrapping the yarn, knitting off the stitches, and completing rows until your baby blanket reaches the desired length. You can use a stitch marker or a piece of contrasting yarn to mark the beginning of each row, making it easier to keep track of your progress.
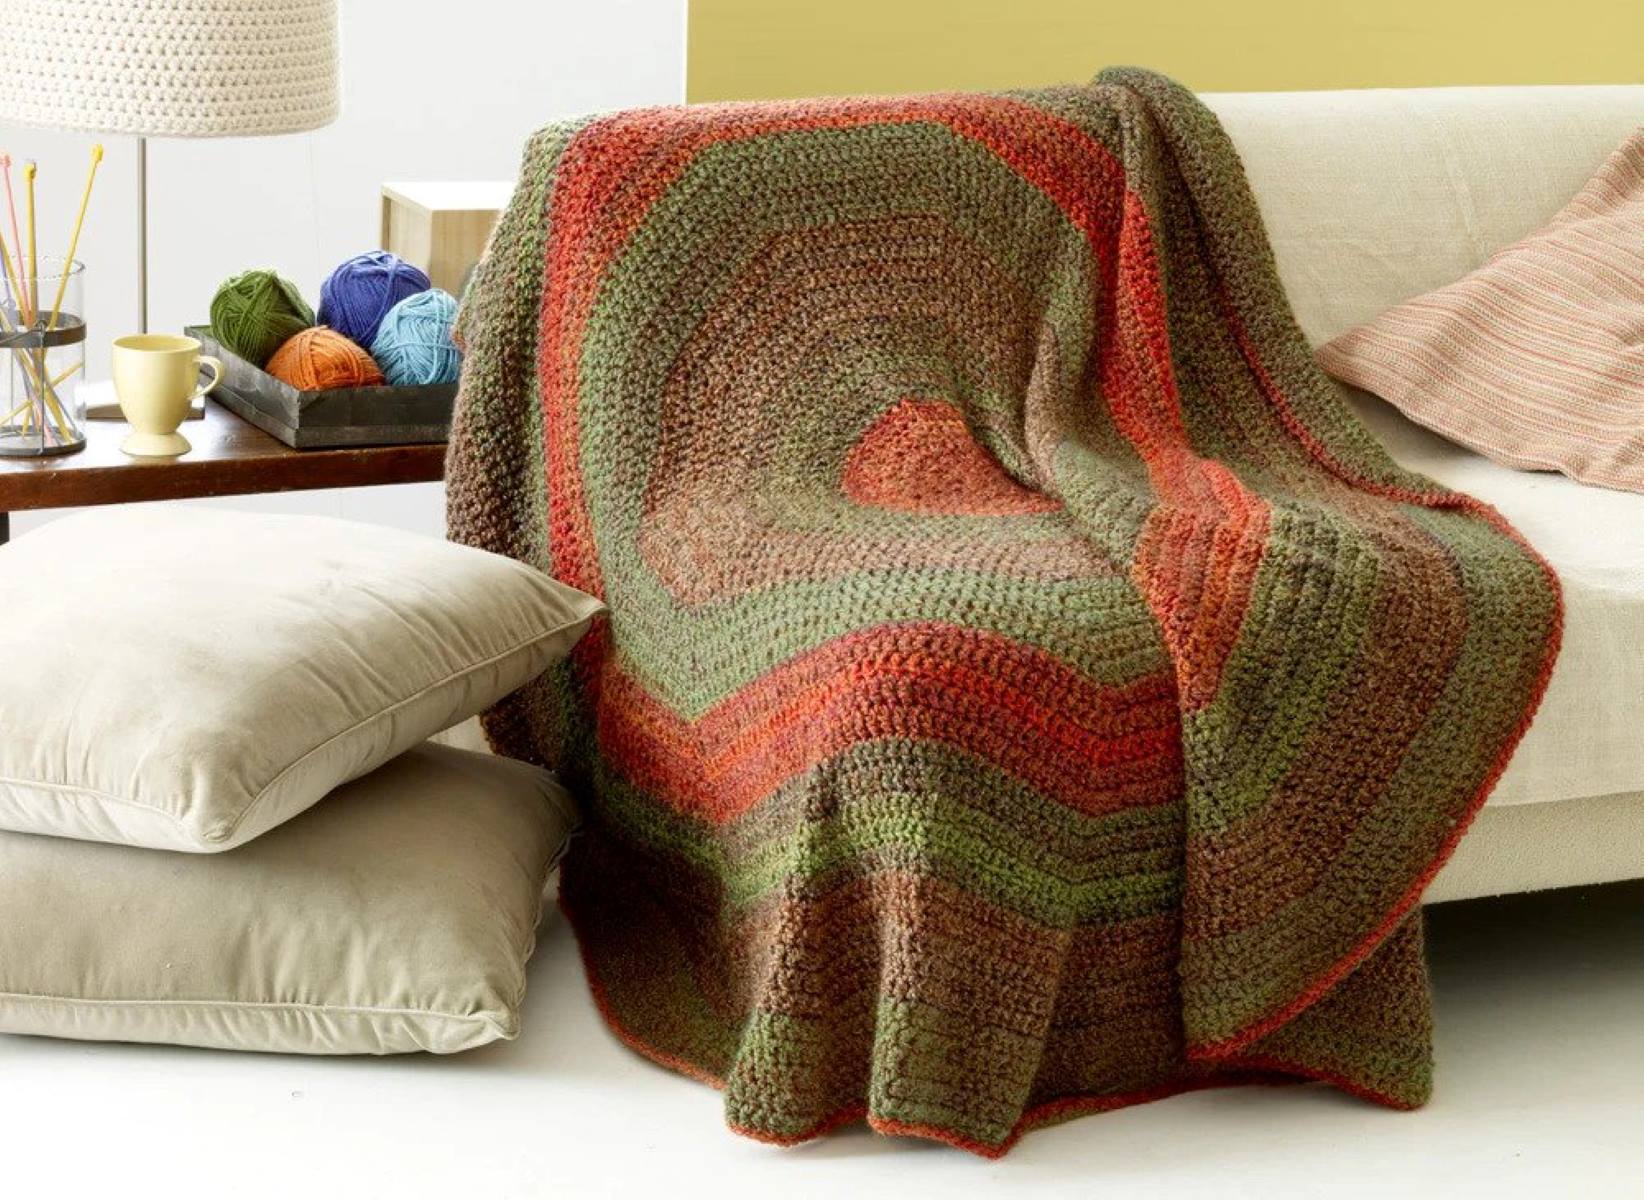
As you knit, you’ll notice that the body of the blanket starts to grow. The round loom creates a seamless and circular pattern, giving your blanket a unique look. Don’t be afraid to experiment with different stitch patterns, such as garter stitch or ribbing, to add texture and interest to your blanket.
Continue knitting rows until you reach the desired length for your baby blanket. Once you’re ready, you can add some visual appeal by changing colors.
Changing Colors
Adding different colors to your baby blanket can create stunning visual effects and give it a personalized touch. To change colors while knitting on a round loom, follow these steps:
- Choose your color: Decide on the color you want to introduce into your blanket. You can either opt for a solid color or create a striped pattern by alternating between two or more colors.
- Knit to the desired position: Continue knitting rows with your current color until you reach the desired position to switch to the new color. You can choose to change colors at the beginning of a row or in the middle, depending on your design preference.
- Introduce the new color: To add the new color, simply cut the working yarn of the previous color, leaving a tail of a few inches. Then, tie a secure knot with the new color yarn, leaving a short tail as well.
- Knit with the new color: Start knitting with the new color by wrapping it around the pegs and knitting off the stitches as you normally would. Make sure to carry the tail of the previous color along the back of your work, weaving it in as you knit to prevent loose ends.
- Continue knitting: Repeat the process of knitting rows with the new color until you reach the desired length or the next color change. If you’re creating stripes, you can alternate between colors by simply switching back and forth between the yarns as needed.
Changing colors in your baby blanket allows you to get creative and incorporate beautiful patterns and designs. Whether you choose to keep it simple with solid blocks of color or create intricate colorwork, the choice is yours!
Once you’ve completed knitting the body of the blanket and added any desired color changes, you’re ready to move on to the final steps – binding off and adding finishing touches.
Binding Off
Binding off is the final step in knitting your baby blanket on a round loom. It’s the process of securing the stitches and creating a finished edge. Follow these steps to bind off your blanket:
- Knit two stitches: Start by knitting the first two stitches on your loom.
- Lift the first stitch over the second: Take the knitting tool and lift the bottom loop of the first stitch up and over the second stitch, letting it slip off the peg. Now you have one stitch remaining on the peg.
- Knit the next stitch: Knit the next stitch on the loom, creating a new stitch.
- Lift the first stitch over the second again: Repeat the process of lifting the bottom loop of the first stitch up and over the second stitch, letting it slip off the peg. Now there is one stitch remaining on the peg.
- Continue binding off: Repeat steps 3 and 4 for each stitch on the loom until you have only one stitch remaining.
- Finish off: Cut the working yarn, leaving a long tail of about 6 inches. Thread the tail onto a yarn needle and slide the needle through the last stitch. Gently remove the stitch from the peg and pull the tail through. This will secure and close the last stitch.
After binding off, gently tug on the yarn to tighten the stitches and create a neat edge. You can now remove your blanket from the loom.
Congratulations! You’ve successfully completed the knitting process for your baby blanket. All that’s left now is to add the finishing touches.
Finishing Touches
Now that you have completed knitting and binding off your baby blanket, it’s time to add the finishing touches that will give your blanket a polished and professional look. Here are some final steps to consider:
- Weave in loose ends: Use a yarn needle to weave in any loose ends of yarn left from changing colors or binding off. This will ensure that your blanket looks tidy and secure.
- Block the blanket: Blocking is the process of gently shaping and stretching the blanket to even out the stitches and improve the drape. Follow the care instructions for your specific yarn and block the blanket accordingly.
- Add decorative edging (optional): To enhance the beauty of your baby blanket, you can choose to add a decorative edging. This can be a simple garter stitch or a more intricate lace pattern. Research different edging techniques and choose one that complements your blanket design.
- Personalize the blanket: If desired, you can add a special touch to the blanket by embroidering the baby’s name or initials, or by attaching a personalized fabric tag. This will make the blanket a cherished keepsake.
- Wash and block the blanket again (optional): Depending on the yarn type and any embellishments you have added, you might want to give the blanket a final wash and block it again to restore its shape and softness.
Once you’ve completed these finishing touches, step back and admire your beautiful and cozy baby blanket. It’s now ready to be gifted or cherished in your home.
Remember, knitting on a round loom opens up a world of possibilities for creating beautiful and seamless baby blankets. Experiment with different yarns, colors, and stitch patterns to make each blanket unique. Enjoy the process, and happy knitting!
Read more: How To Wash A Knitted Blanket
Conclusion
Knitting a baby blanket on a round loom is a rewarding and enjoyable project that allows you to create a beautiful and cozy item for your little one or as a thoughtful gift. Throughout this article, we’ve covered the essential steps and considerations to help you successfully knit a baby blanket on a round loom.
From choosing the right materials and yarn to understanding the round loom and casting on, you now have a solid foundation to start your knitting journey. We’ve discussed how to knit the body of the blanket, change colors, bind off, and add finishing touches. By following these steps and letting your creativity shine, you’ll be able to create a unique and lovingly crafted baby blanket.
Remember to pay attention to the yarn you choose, opting for soft and hypoallergenic options that are gentle on a baby’s delicate skin. Consider adding personal touches like decorative edging or personalized embroidery to make the blanket extra special.
The process of knitting a baby blanket on a round loom can be a calming and therapeutic experience. It allows you to express your creativity, create a functional item, and connect with the timeless art of knitting. Whether you’re a beginner or an experienced knitter, the round loom offers a seamless and visually appealing finish to your baby blanket.
Now it’s time to gather your materials, select your yarn, and dive into the wonderful world of knitting. Enjoy the process, embrace your creativity, and let your baby blanket become a treasured heirloom for years to come.
Frequently Asked Questions about How To Knit A Baby Blanket On A Round Loom
Was this page helpful?
At Storables.com, we guarantee accurate and reliable information. Our content, validated by Expert Board Contributors, is crafted following stringent Editorial Policies. We're committed to providing you with well-researched, expert-backed insights for all your informational needs.
