Articles
How To Hand-Knit A Chunky Blanket
Modified: December 7, 2023
Learn how to hand-knit a cozy and chunky blanket with our informative articles. Discover tips, techniques, and step-by-step instructions for creating your own comfy masterpiece.
(Many of the links in this article redirect to a specific reviewed product. Your purchase of these products through affiliate links helps to generate commission for Storables.com, at no extra cost. Learn more)
Introduction
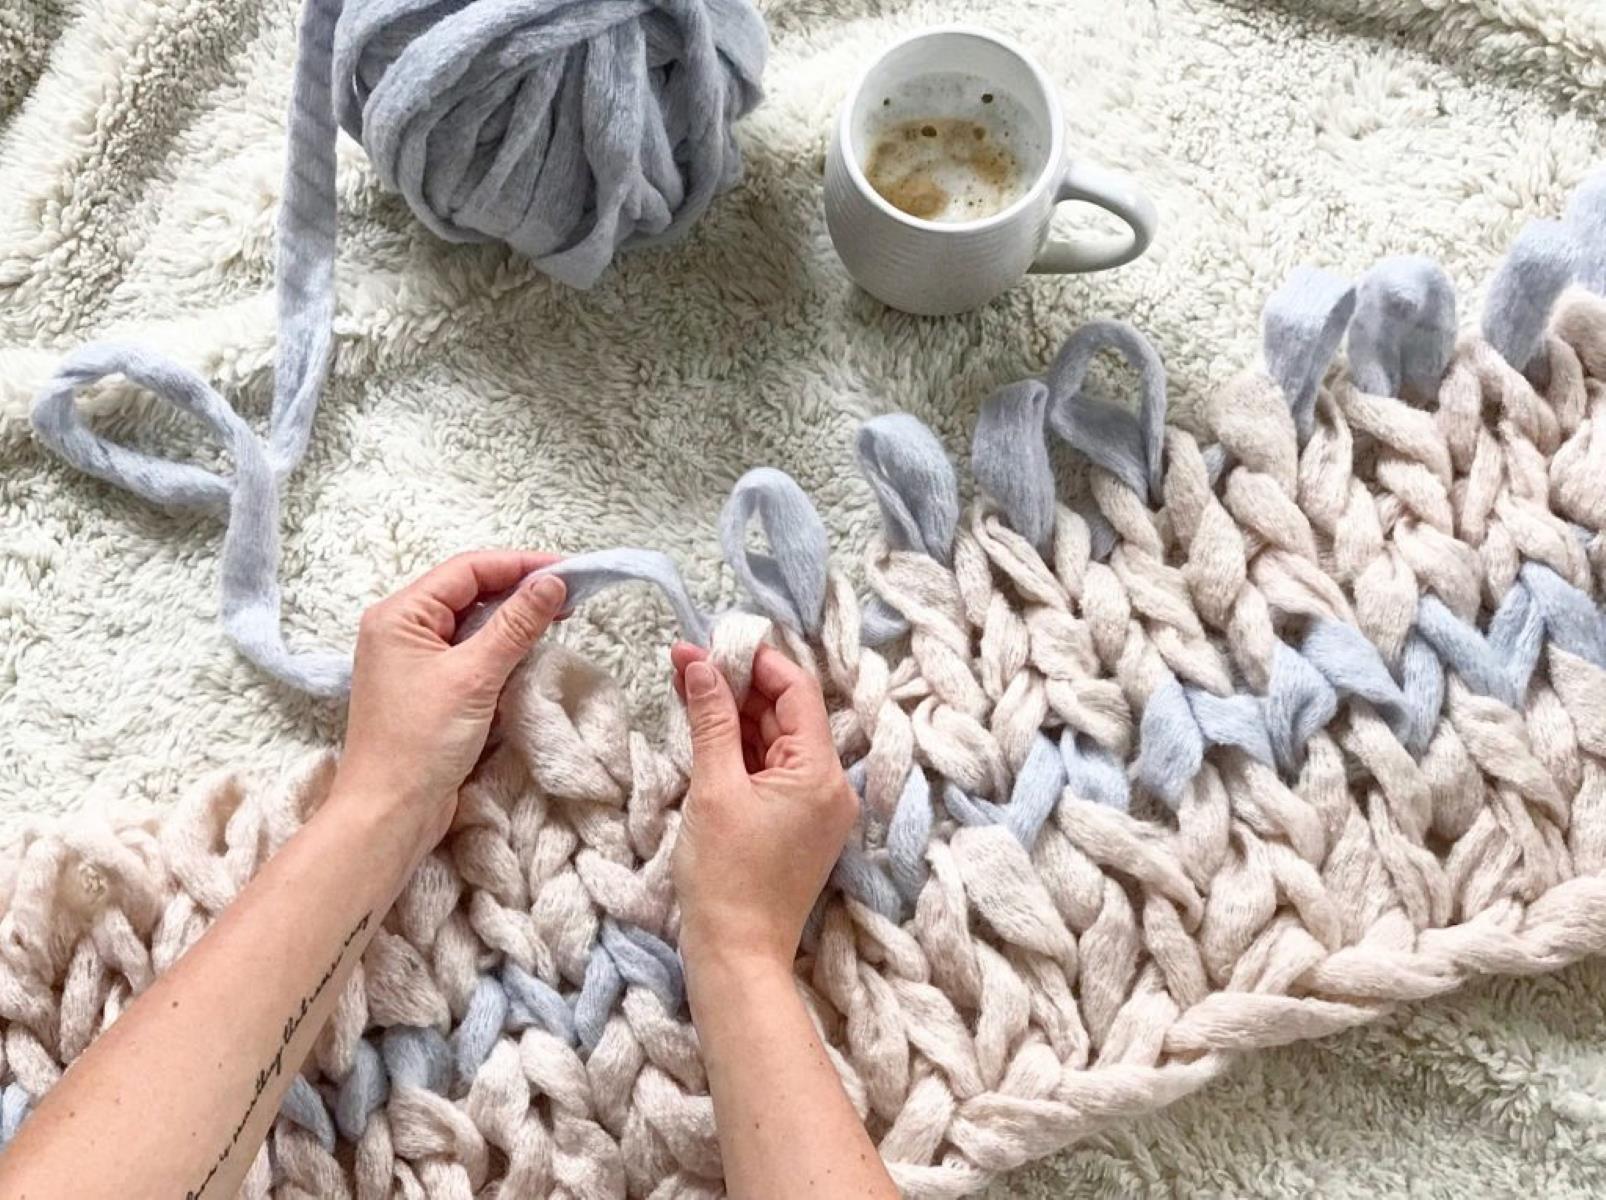
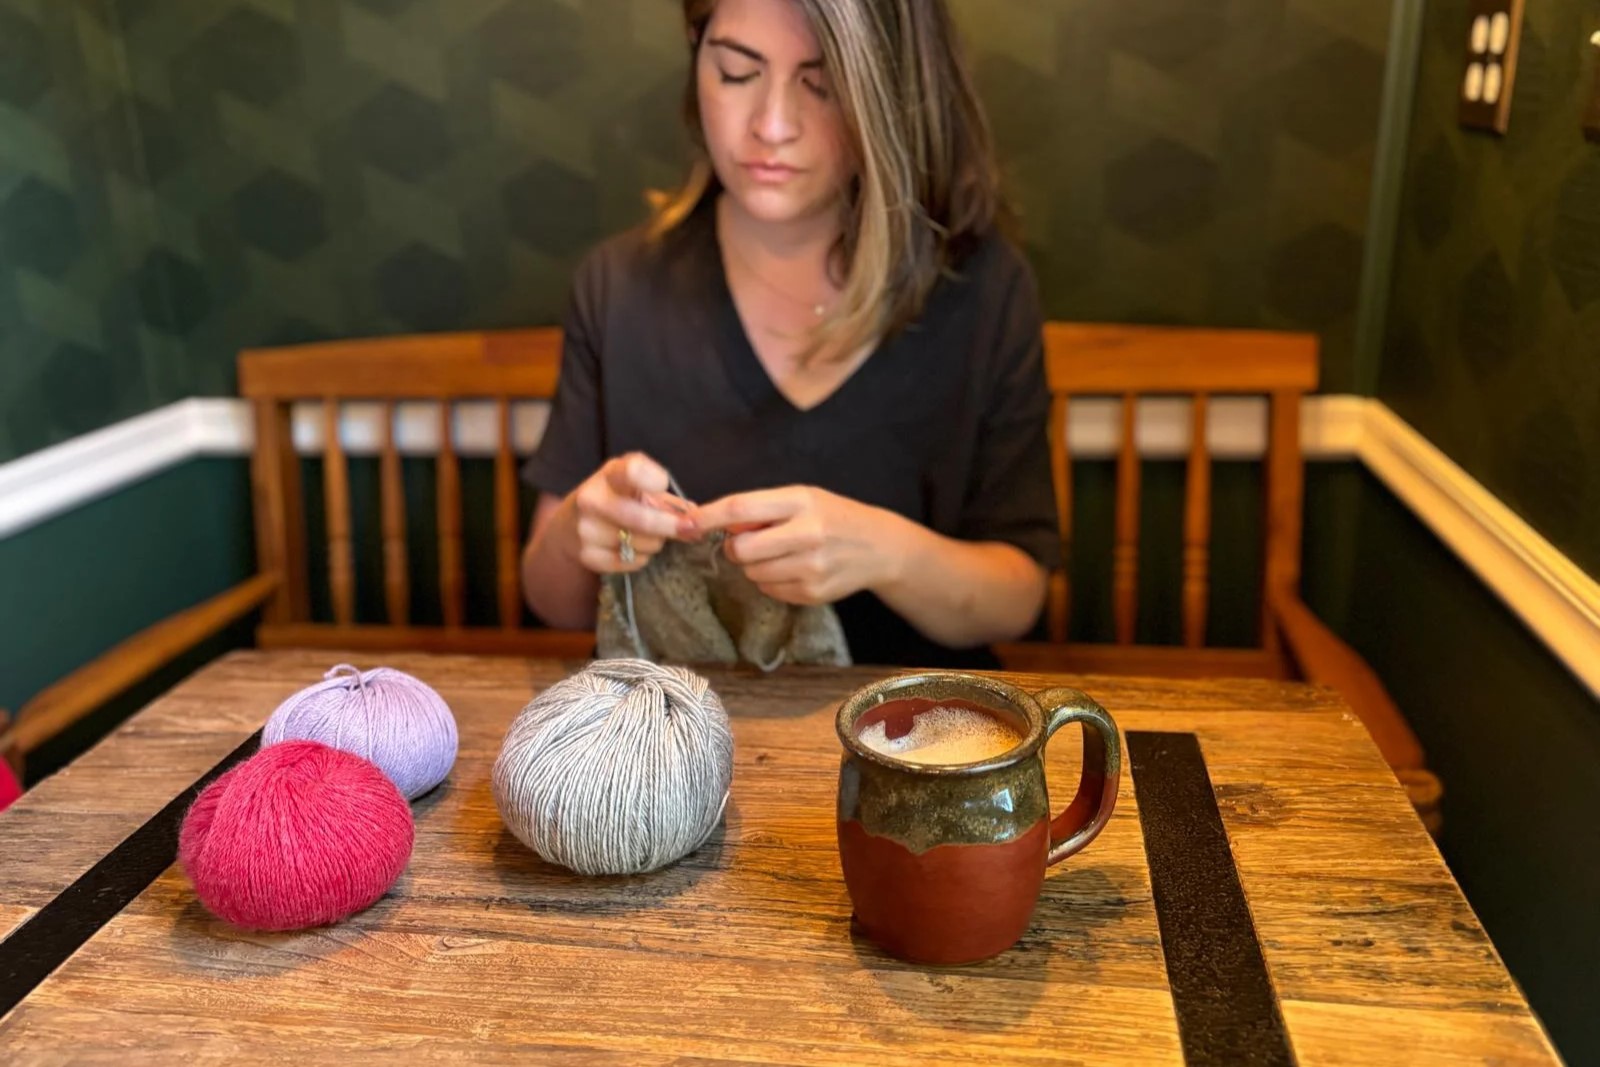
Hand-knitting a chunky blanket is not only a cozy and practical project, but it also allows you to unleash your creativity and create custom pieces for your home. Whether you are a seasoned knitter or a beginner looking to embark on a new and exciting craft, knitting a chunky blanket is a perfect way to put your skills to use and create a beautiful, functional piece.
In this article, we will guide you through the process of hand-knitting a chunky blanket step by step. From choosing the right materials to finishing touches, we will cover everything you need to know to create a stunning chunky blanket that will add warmth and style to any room.
Key Takeaways:
- Unleash your creativity and create a cozy, personalized chunky blanket by choosing the perfect yarn, knitting needles, and adding finishing touches to reflect your style and skill.
- Embrace the joy of knitting and create a beautiful, handcrafted chunky blanket that brings warmth, comfort, and a touch of your personality to any space.
Read more: How To Hand Knit A Blanket With Thin Yarn
Materials Needed
Before diving into the knitting process, it’s essential to gather all the necessary materials. Here’s what you’ll need:
- Chunky yarn: Choose a soft and bulky yarn that will give your blanket a cozy and luxurious feel. There are various options available, such as merino wool, acrylic blends, or even chenille yarn for extra softness.
- Knitting needles: Opt for large-sized knitting needles to accommodate the thickness of the yarn. Circular needles are recommended to accommodate the width of the blanket comfortably.
- Scissors: A pair of sharp scissors will be handy for cutting the yarn once you finish your project.
- Tapestry Needle: This needle will be used for weaving in loose ends and joining different sections of the blanket.
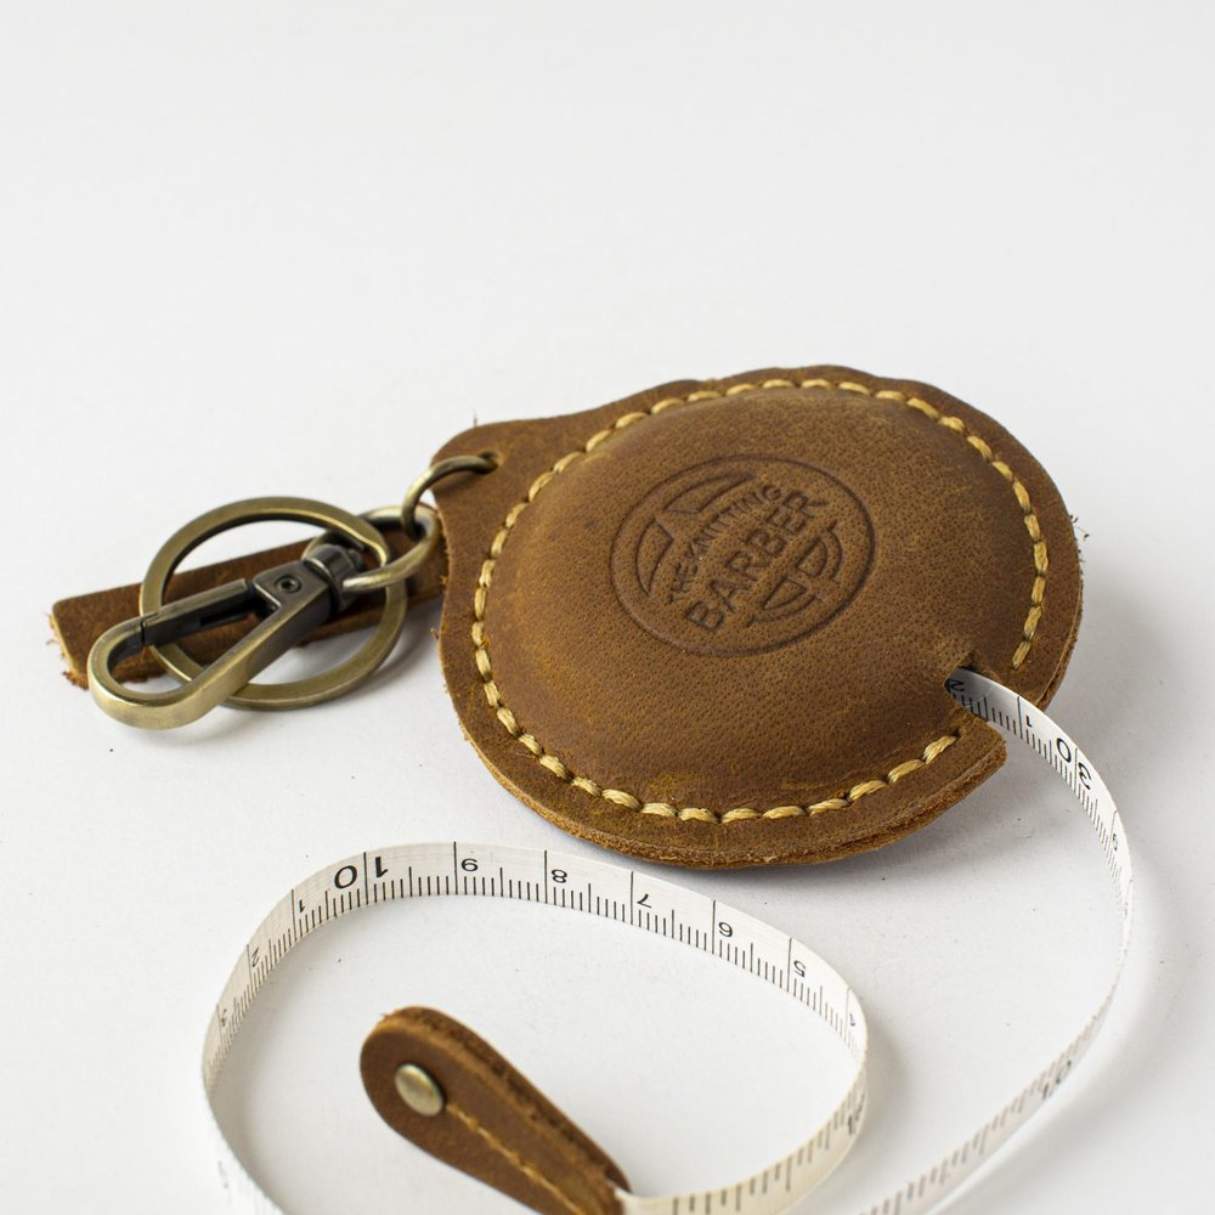
- Measuring tape: A measuring tape will help you keep track of the size and dimensions of your blanket.
Once you have gathered all the necessary materials, you are ready to start your knitting journey.
Key Takeaways:
- Unleash your creativity and create a cozy, personalized chunky blanket by choosing the perfect yarn, knitting needles, and adding finishing touches to reflect your style and skill.
- Embrace the joy of knitting and create a beautiful, handcrafted chunky blanket that brings warmth, comfort, and a touch of your personality to any space.
Read more: How To Hand Knit A Blanket With Thin Yarn
Materials Needed
Before diving into the knitting process, it’s essential to gather all the necessary materials. Here’s what you’ll need:
- Chunky yarn: Choose a soft and bulky yarn that will give your blanket a cozy and luxurious feel. There are various options available, such as merino wool, acrylic blends, or even chenille yarn for extra softness.
- Knitting needles: Opt for large-sized knitting needles to accommodate the thickness of the yarn. Circular needles are recommended to accommodate the width of the blanket comfortably.
- Scissors: A pair of sharp scissors will be handy for cutting the yarn once you finish your project.
- Tapestry Needle: This needle will be used for weaving in loose ends and joining different sections of the blanket.
- Measuring tape: A measuring tape will help you keep track of the size and dimensions of your blanket.
When choosing the yarn for your chunky blanket, consider the color, texture, and material that best suits your preferences and the decor of your space. It’s important to select a yarn that is soft, durable, and easy to work with.
Additionally, the knitting needles you choose should complement the thickness of the yarn. The size of the needles will determine the gauge and the overall appearance of your blanket. Circular needles are recommended for large projects like blankets because they evenly distribute the weight of the stitches and allow for easy knitting without causing strain on your hands.
Don’t forget to have a pair of sharp scissors handy for cutting the yarn. You’ll need them when you finish your project and need to snip off the excess yarn.
A tapestry needle is an essential tool for weaving in loose ends and joining different sections of the blanket. It should have a large eye to accommodate the thickness of the yarn. This needle will help you achieve a seamless finish and secure any loose threads.
Lastly, a measuring tape will come in handy to keep track of the size and dimensions of your blanket. It’s important to measure your progress to ensure you’re on track and to have consistent dimensions throughout your project.
Once you have gathered all the necessary materials, you’re all set to begin the exciting process of hand-knitting your chunky blanket.
Step 1: Choosing the yarn
Choosing the right yarn is an important step in creating a beautiful chunky blanket. The yarn will determine the overall look, feel, and durability of your project.
When selecting yarn for your chunky blanket, consider the following factors:
1. Fiber type:
There are various types of yarn fibers available, such as wool, acrylic, cotton, and blends. Each type has its own characteristics. Wool is known for its warmth and durability, while acrylic is often more budget-friendly and easy to care for. Cotton is breathable and suitable for warmer climates. Blends offer a combination of different fiber properties. Consider your preferences and the intended use of the blanket when deciding on the fiber type.
Read more: How To Wash A Knitted Blanket
2. Thickness:
Opt for a yarn that is bulky or super bulky to achieve that chunky and cozy look. These thicker yarns will knit up quickly and create a visually appealing texture. Keep in mind that different brands may have variations in thickness, so check the recommended needle size on the yarn label to ensure it matches the size of your knitting needles.
3. Color and texture:
Consider the color palette and texture that you want for your blanket. Some yarns come in solid colors, while others have variegated or gradient patterns. Think about whether you want a bold and vibrant color or a more subtle and neutral tone. Texture can also add dimension to your blanket, so explore options like fuzzy, boucle, or tweed yarns.
4. Budget:
Yarn prices can vary depending on the fiber type, brand, and quality. Determine your budget and shop around for options that fit within your price range. Keep in mind that you may need multiple skeins of yarn to complete your blanket, so factor in the total cost.
It’s also a good idea to feel the yarn in person if possible. Visit local yarn shops or craft stores to get a sense of the texture, softness, and weight of the yarn. Reading online reviews or asking for recommendations from fellow knitters can also help you make an informed decision.
Once you’ve chosen the perfect yarn for your chunky blanket, you’re ready to move on to the next step: selecting the right knitting needles.
Step 2: Selecting the right knitting needles
After choosing the perfect yarn for your chunky blanket, it’s time to select the right knitting needles. The size and type of needles you use will determine the gauge of your knit, as well as the overall appearance and drape of your blanket.
Read more: How To Wash A Chunky Blanket
1. Needle size:
When working with chunky yarn, you’ll need to choose larger-sized knitting needles to accommodate the thickness. Look for needles that are specifically designed for bulky or super bulky yarn. The size of the needle will be indicated on the packaging or needle itself. Common sizes for chunky blankets range from US 11 (8mm) to US 17 (12mm), but it can vary depending on the brand and the specific gauge you want to achieve. If in doubt, refer to the recommended needle size mentioned on the yarn label.
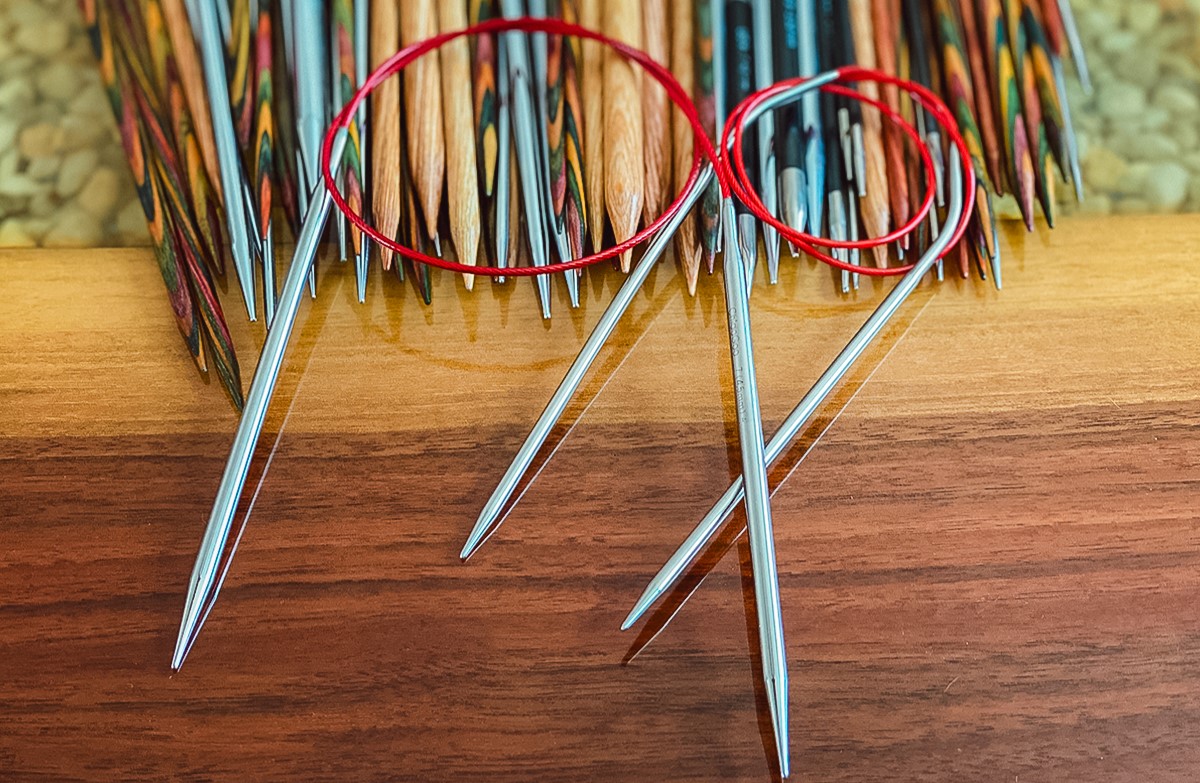
2. Needle type:
There are two main types of knitting needles: straight needles and circular needles. Straight needles are individual, straight rods with a pointed end on one side and a knob or stopper on the other. Circular needles have flexible cables connecting two needle tips. For larger projects like blankets, circular needles are recommended. They can hold a large number of stitches more comfortably and distribute the weight of the project evenly. They also allow for more flexibility in terms of blanket size and can even be used for knitting in the round if desired.
3. Material:
Knitting needles come in a variety of materials, including metal, wood, bamboo, and plastic. Each material has its own advantages. Metal needles are smooth and allow for fast knitting but can be slippery. Wood and bamboo needles have a bit more grip, making them ideal for beginners or if you prefer a slower pace. Plastic needles are lightweight and affordable. Consider personal preference and the feel you prefer when knitting.
4. Length:
When choosing circular needles, pay attention to the length of the cable. For a standard-sized blanket, a cable length of 32-40 inches (81-102 cm) is usually sufficient. However, if you plan to knit a larger or oversized blanket, you may want to go for longer cables.
It’s a good idea to have a few different needle sizes on hand to swatch and see which one produces the desired gauge and fabric texture for your blanket. Keep in mind that gauge can vary among knitters, so adapting needle sizes may be necessary to achieve the desired result.
Once you have selected the right knitting needles, you can move on to the next step: casting on stitches to start your chunky blanket.
Read more: What Kind Of Yarn For A Chunky Blanket
Step 3: Casting on stitches
Now that you have your yarn and knitting needles ready, it’s time to cast on stitches and begin creating your chunky blanket. Casting on is the process of creating the foundation row of stitches on your needle.
1. Slip knot:
Start by creating a slip knot, which will secure the yarn to the needle. Leave a long tail of yarn, about 8-10 inches (20-25 cm), and make a loop with the yarn end. Insert the working yarn through the loop and pull it tight. Slip the loop onto the knitting needle and tighten it by pulling the working yarn.
2. Make a foundation row:
Hold the slip knot in your right hand, with the needle in your left hand. Slide the tip of the left needle into the slip knot from front to back, and hold the working yarn in your left hand.
To cast on the first stitch, wrap the working yarn around the left needle from back to front, forming a loop. Slide the right needle through this loop from left to right, going under the left needle and catching the yarn. Pull the loop through and transfer it to the left needle.
Repeat this process for the desired number of stitches you need to cast on, keeping the tension even. If you’re following a specific pattern, make sure to cast on the correct number of stitches as indicated.
3. Tension:
It’s important to maintain even tension while casting on. Avoid casting on too tight or too loose. If your stitches are too tight, it may be difficult to knit into them in the next rows. If they’re too loose, the edge of your blanket may become sloppy. Practice finding the right tension that allows you to knit comfortably and achieve an even result.
Read more: How To Finish Knitting A Blanket
4. Counting stitches:
As you cast on, periodically count the number of stitches to make sure you have the correct amount. If you accidentally cast on too few or too many stitches, simply remove the excess or add more stitches before continuing. It’s easier to correct mistakes at this early stage than later in the project.
Once you have cast on the desired number of stitches, you’re ready to move on to the next step: knitting the body of your chunky blanket.
Step 4: Knitting the blanket
With your stitches cast on, it’s time to start knitting the body of your chunky blanket. The knitting process will create the fabric and bring your blanket to life.
1. Knit stitch:
The most basic stitch in knitting is the knit stitch. Insert the right needle into the first stitch on the left needle from left to right. Take the working yarn, wrap it around the right needle, and pull it through the stitch. Slide the old stitch off the left needle, and you have completed one knit stitch. Repeat this process for each stitch across the row.
2. Knitting in rows:
Continue knitting each row in knit stitch until you reach the desired length of your blanket. Make sure to keep your tension consistent to create an even fabric. It’s a good idea to periodically measure your blanket’s width to ensure it remains the desired size.
Read more: How To Start Knitting A Baby Blanket
3. Changing colors or adding stripes:
If you want to change colors or add stripes to your blanket, this is the stage to do it. Simply introduce the new color at the beginning of a row by joining it with the previous color. Carry the unused yarn up the side of the blanket, twisting it with the new yarn at the edge to avoid gaps. Repeat this process whenever you want to add a new color or create stripes.
4. Knitting techniques:
As you progress with your blanket, you may want to explore different knitting techniques to add texture or patterns. Some popular techniques include ribbing, seed stitch, cables, or even incorporating lace patterns. Explore tutorials or knitting books for instructions on how to incorporate these techniques into your project.
5. Keeping track of rows:
It can be helpful to keep track of your rows by using a row counter, ticking off rows on a piece of paper, or placing markers after a certain number of rows. This helps ensure consistency in the length and symmetry of your blanket.
Continue knitting rows until your blanket reaches the desired length. It’s important to note that due to the chunky yarn, your blanket may grow in size as you knit, so be mindful of your dimensions.
Once you have completed knitting the body of your chunky blanket, it’s time to move on to the next step: binding off stitches.
Step 5: Binding off stitches
After you have finished knitting the body of your chunky blanket, it’s time to bind off the stitches to create a neat and finished edge. Binding off, also known as casting off, securely closes the stitches and prevents them from unraveling.
Read more: How To Make A Finger Knit Blanket
1. Knit the first two stitches:
To begin the binding off process, knit the first two stitches as you would in a regular knit row.
2. Pass the first stitch over:
Insert the left needle into the first stitch on the right needle, lifting it up and over the second stitch. This effectively passes the first stitch over the second stitch, binding it off.
3. Knit the next stitch:
Knit the next stitch as normal, creating a new stitch on the right needle.
4. Pass the previous stitch over the new stitch:
Insert the left needle into the first stitch on the right needle, lifting it up and over the new stitch. This continues the binding off process.
Read more: How To Knit A Baby Blanket On A Round Loom
5. Continue binding off:
Repeat steps 3 and 4 until you have one stitch remaining on the right needle.
6. Cut the yarn:
Once you have bound off all the stitches except for the last one, cut the yarn, leaving a long tail of about 8-10 inches (20-25 cm).
7. Thread the tail through the last stitch:
Thread the tail of the yarn through the last stitch on the needle, and carefully slide the stitch off the needle. Pull the yarn tail tight to secure the stitch.
8. Weave in loose ends:
With a tapestry needle, weave in the loose ends of yarn along the edge of your blanket. This ensures a neat and clean finish.
Once you have bound off all the stitches and woven in the loose ends, your chunky blanket is almost complete. The last step is to add a few finishing touches.
Read more: How To Embroider A Blanket By Hand
Step 6: Finishing touches
Now that you have bound off your stitches and woven in loose ends, it’s time to add the final touches to your chunky blanket. These finishing touches will give your blanket a polished and professional look.
1. Blocking:
Blocking is the process of gently shaping and stretching your finished knitted piece to even out the stitches and improve its appearance. To block your chunky blanket, you can lay it flat on a clean surface or use blocking mats. Gently smooth out any wrinkles or uneven areas, and pin the edges to maintain the desired shape. Allow the blanket to dry completely before unpinning and removing it from the blocking surface.
2. Fringe or edging:
Adding fringe or an edging can enhance the overall look of your chunky blanket. For a classic fringe, cut strands of yarn double the desired length and attach them evenly spaced along the edge of your blanket. Alternatively, you can choose to add a decorative edging, such as a picot edge or a crochet border. Explore different options and select a style that complements your blanket.
3. Washing and care:
Before using your chunky blanket or gifting it to someone, take some time to read the care instructions for the yarn you used. Different fibers require different care methods. Some yarns may be machine washable, while others may need to be hand-washed or dry-cleaned. Follow the recommended instructions to ensure that your blanket stays in its best condition for years to come.
4. Enjoy your creation:
Now that your chunky blanket is complete, it’s time to enjoy the fruits of your labor. Curl up with your blanket on a cool evening, drape it over your favorite chair, or gift it to a loved one. Admire the texture, warmth, and beauty of your hand-knitted creation.
Congratulations on successfully completing your chunky blanket! The process may have been labor-intensive, but the end result is a cozy and stylish piece that reflects your creativity and skill. Cherish your handmade creation and bask in the warmth it brings to your home.
With this final step, you have completed the journey of hand-knitting a chunky blanket. We hope this guide has been helpful and that you continue to explore the joy of knitting and creating beautiful projects.
Conclusion
Hand-knitting a chunky blanket is a fulfilling and rewarding endeavor that allows you to unleash your creativity and create a cozy, personalized piece for your home. Throughout this article, we have guided you through the step-by-step process of hand-knitting a chunky blanket, from choosing the right yarn and knitting needles to casting on stitches, knitting the blanket, binding off stitches, and adding the finishing touches.
By selecting the perfect yarn, whether it be soft merino wool, acrylic blends, or luxurious chenille yarn, you set the foundation for a blanket that is not only visually appealing but also comfortable and functional. The choice of knitting needles, opting for large circular needles to accommodate the thickness of the yarn, ensures a smooth and enjoyable knitting experience.
Casting on stitches is the starting point of your blanket, followed by the rhythmic process of knitting rows with knit stitches, creating the fabric that will keep you warm and cozy. With the flexibility to add colors, stripes, or explore different knitting techniques, you can truly personalize your chunky blanket and make it a reflection of your style.
Binding off stitches provides a neat and finished edge, and the final touches such as blocking, adding fringe or edging, and following proper care instructions ensure that your chunky blanket remains beautiful and long-lasting.
As you complete your hand-knit chunky blanket, take a moment to appreciate the effort, creativity, and skill that went into its creation. It’s not just a blanket; it’s a labor of love and a testament to your dedication to the craft.
So, wrap yourself in the warmth of your handmade creation, or gift it to someone special. Let your chunky blanket become a cherished item in your home, bringing comfort, style, and a touch of your personality to any space.
Congratulations on embarking on this wonderful knitting journey and successfully completing your chunky blanket project. We hope that this article has provided you with the guidance and inspiration you need to continue exploring the world of knitting and creating beautiful, handcrafted pieces.
Now, go ahead and embrace your newfound knitting skills, and enjoy the cozy bliss of your hand-knitted chunky blanket!
Frequently Asked Questions about How To Hand-Knit A Chunky Blanket
Was this page helpful?
At Storables.com, we guarantee accurate and reliable information. Our content, validated by Expert Board Contributors, is crafted following stringent Editorial Policies. We're committed to providing you with well-researched, expert-backed insights for all your informational needs.

0 thoughts on “How To Hand-Knit A Chunky Blanket”