Articles
How To Make A Blizzard At Home With A Blender
Modified: August 28, 2024
Learn how to make a delicious homemade blizzard using just a blender and a few simple ingredients. Follow our step-by-step guide and enjoy this icy treat anytime!
(Many of the links in this article redirect to a specific reviewed product. Your purchase of these products through affiliate links helps to generate commission for Storables.com, at no extra cost. Learn more)
Introduction
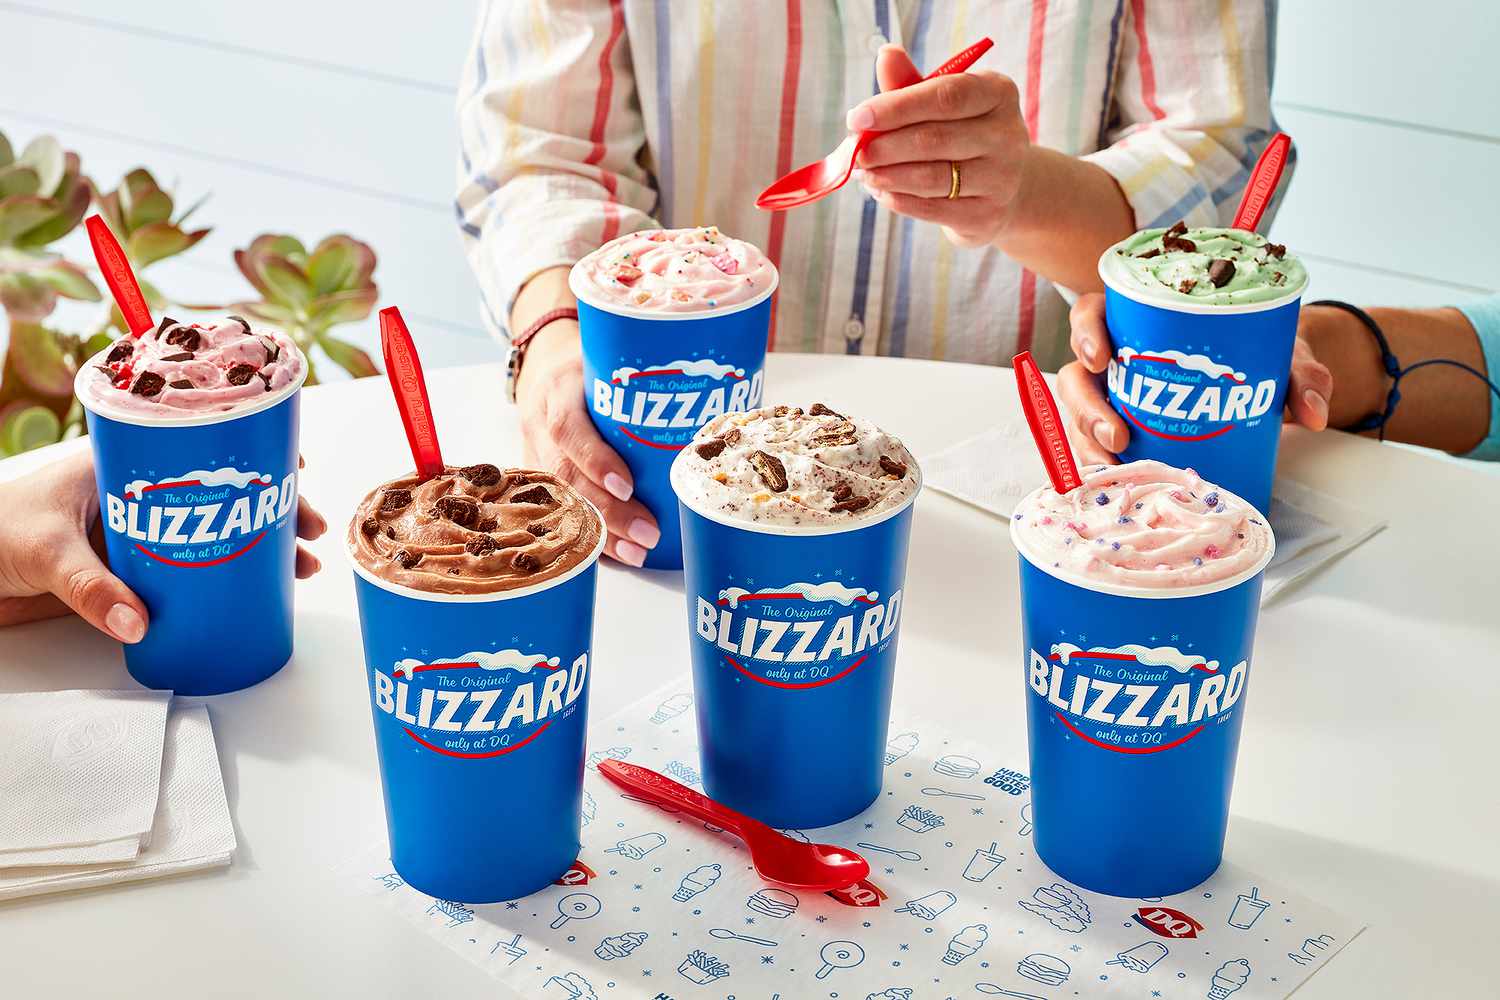
Craving a delicious and refreshing treat to beat the heat? Look no further than a homemade Blizzard made right in your own blender! A Blizzard is a popular frozen dessert from Dairy Queen that combines creamy soft-serve ice cream with a variety of mix-ins, resulting in a perfect blend of flavors and textures. While it may seem like a challenging task to recreate this beloved treat at home, it’s actually quite simple.
In this article, we will guide you through the step-by-step process of making a Blizzard at home using a blender. You’ll need a few basic ingredients and a blender to create your very own custom Blizzard flavor. So, grab your favorite ice cream and get ready to indulge in a frosty, creamy delight.
Before we dive into the details, let’s take a look at the materials you’ll need to get started on your homemade Blizzard adventure.
Key Takeaways:
- Create your own custom Blizzard at home using a blender, with just a few basic ingredients and simple steps. Enjoy the satisfaction of making a delicious frozen treat from scratch and get creative with flavor combinations!
- Indulge in the joy of serving and savoring your homemade Blizzard, garnished with your favorite toppings. Share the delight with friends and family, or simply revel in the satisfaction of creating a unique and delicious frozen treat at home.
Read more: How To Make Soup In Blender
Materials Needed
To make a Blizzard at home with a blender, you’ll need the following materials:
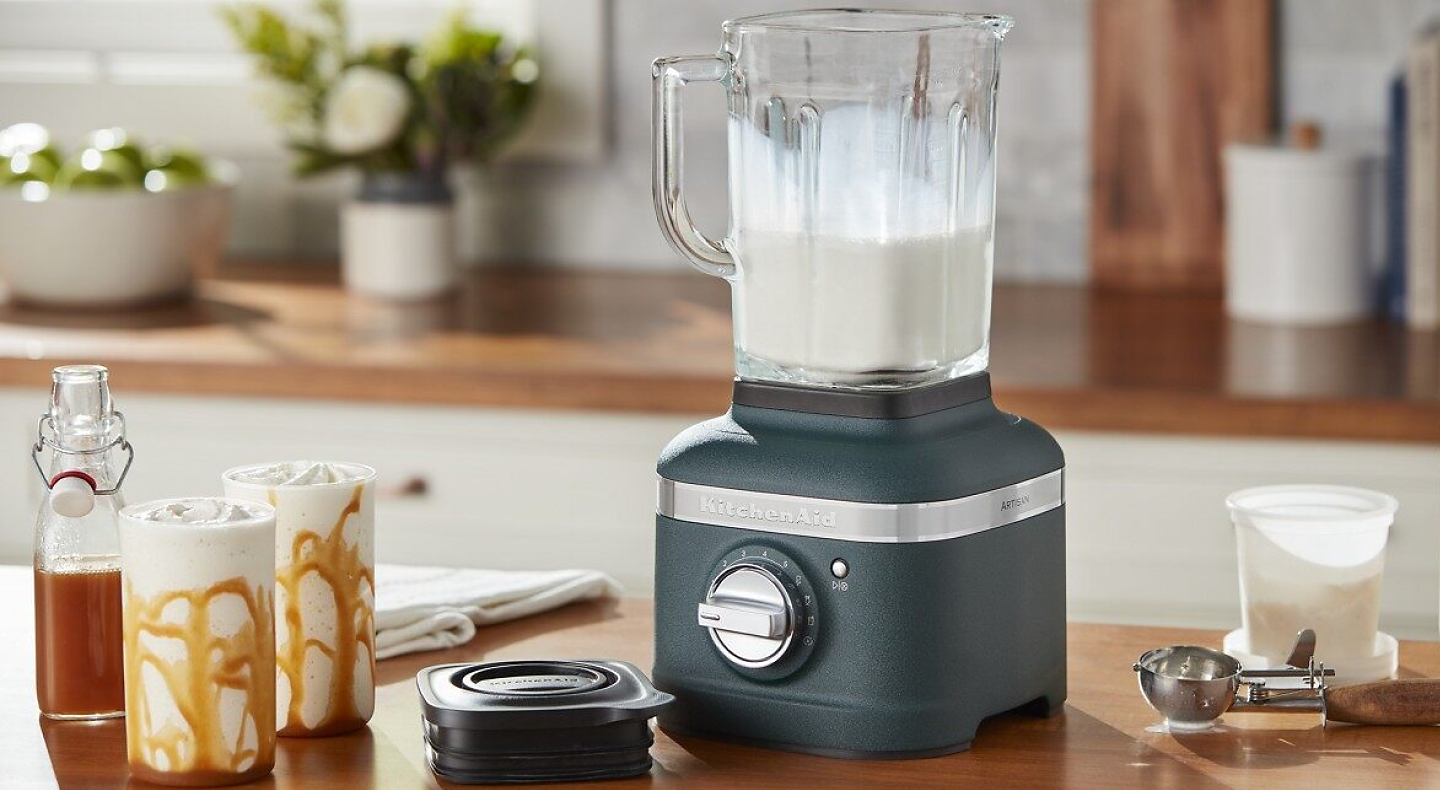
- A high-powered blender: To blend the ingredients smoothly and effectively, a blender with a strong motor is recommended. This will ensure a creamy and well-mixed Blizzard.
- Ice cream: Choose your favorite flavor of ice cream as the base for your Blizzard. Whether it’s classic vanilla, rich chocolate, or a unique flavor like mint chocolate chip, the choice is yours. Make sure the ice cream is frozen solid before starting.
- Milk: To achieve the right consistency for your Blizzard, you’ll need a splash of milk. The amount of milk will depend on your preference for a thicker or thinner Blizzard.
- Flavorings: Get creative and add flavorings of your choice to customize your Blizzard. Some popular options include chocolate syrup, caramel sauce, crushed cookies, candy pieces, or fresh fruit.
- A tall glass or mug: To serve your homemade Blizzard and enjoy it to the fullest, have a tall glass or mug ready.
- Spoon or straw: Don’t forget to grab a spoon or a straw to savor every delicious bite of your homemade Blizzard.
Once you have gathered all the necessary materials, you’re ready to move on to the next step of creating your very own Blizzard.
Step 1: Gather Ingredients
Before you start making your Blizzard, it’s essential to gather all the ingredients you’ll need. This ensures a smooth and enjoyable process without any interruptions. Here’s a quick rundown of the ingredients you’ll need:
- Ice cream: Choose your favorite flavor of ice cream. Make sure it’s frozen solid to achieve the perfect creamy texture.
- Milk: You’ll need a splash of milk to help blend the ingredients smoothly. The amount of milk will depend on your desired consistency.
- Flavorings: Get creative and choose from a variety of flavorings such as chocolate syrup, caramel sauce, crushed cookies, candies, or fresh fruit.
Once you have all these ingredients ready, move on to the next step of preparing your blender.
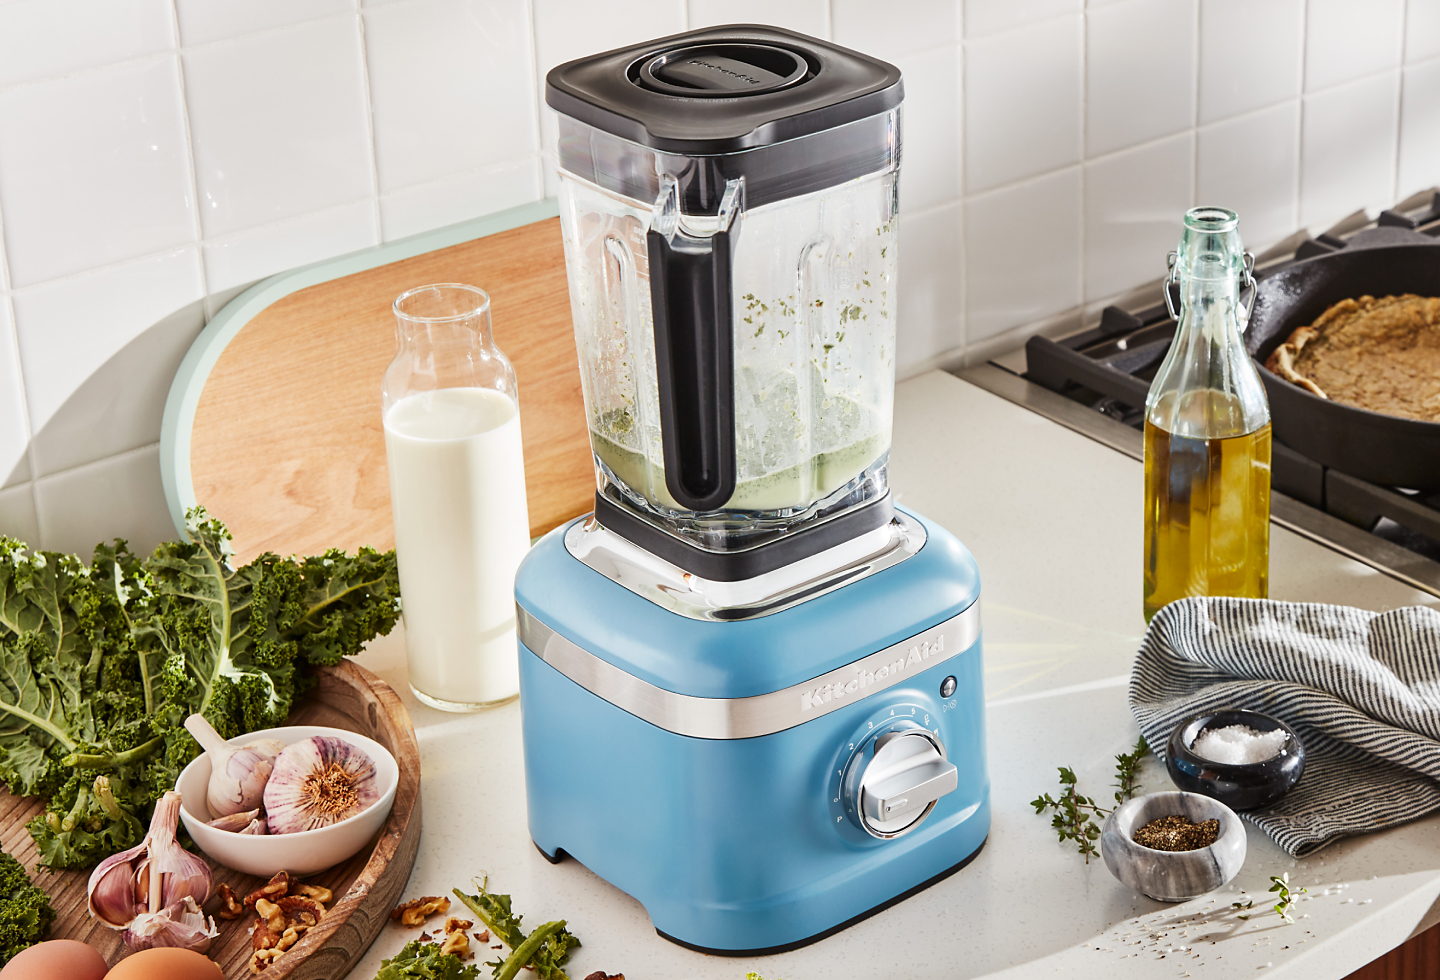
Step 2: Prepare Blender
Now that you have gathered all the necessary ingredients, it’s time to prepare your blender for the Blizzard-making process. Follow these simple steps:
- Ensure that your blender is clean and ready for use. Give it a quick rinse if needed.
- Make sure the blades are securely in place and the pitcher is properly attached to the base.
- Double-check that the blender is plugged into an outlet and ready to go.
With your blender prepared, it’s time to move on to the next step of adding the ice cream to create a creamy base for your Blizzard.
Step 3: Add Ice Cream
Now that your blender is prepared, it’s time to add the star ingredient: the ice cream. Follow these simple steps to add the ice cream to your blender:
- Scoop the desired amount of frozen ice cream into the blender pitcher. The amount of ice cream will depend on the serving size you prefer.
- For a single serving, a couple of generous scoops of ice cream should do the trick.
- Be sure to use a sturdy spoon or ice cream scoop to prevent any mishaps while scooping.
Once you have added the ice cream to the blender, it’s time to move on to the next step of adding milk to create the perfect consistency for your Blizzard.
Add a small amount of milk or cream to the blender with ice and your desired flavorings. Blend on high until the mixture reaches a thick, creamy consistency.
Read more: How To Make A Frappuccino With A Blender
Step 4: Add Milk
After adding the ice cream to your blender, the next step is to add milk. Milk helps to create a smooth and creamy texture in your Blizzard. Follow these steps to add milk:
- Add a splash of milk to the blender. The amount of milk will depend on your preference for a thicker or thinner Blizzard. Start with a small amount and add more as needed.
- Using a measuring cup or simply pouring directly from the milk carton, add approximately ¼ to ½ cup of milk. This will help to loosen up the ice cream and make it easier to blend.
- Remember, you can always add more milk later if you want a thinner consistency.
Once you have added the milk, you’re ready to move on to the next step and add flavorings to enhance the taste of your Blizzard.
Step 5: Add Flavorings
Now that you have the ice cream and milk combined in the blender, it’s time to take your Blizzard to the next level by adding flavorings. This is where you can let your creativity shine and customize your Blizzard to your taste preferences. Here’s how to add flavorings:
- Choose your desired flavorings to add to the blender. Popular options include chocolate syrup, caramel sauce, crushed cookies, candies, or fresh fruit.
- Add the flavorings directly into the blender pitcher on top of the ice cream and milk. The amount will depend on how strong you want the flavor to be.
- Remember that a little goes a long way when it comes to flavorings, so start with a small amount and add more as desired.
- Feel free to get creative and mix and match different flavorings to create your signature Blizzard.
Once you have added the flavorings, it’s time to move on to the next step and blend all the ingredients together.
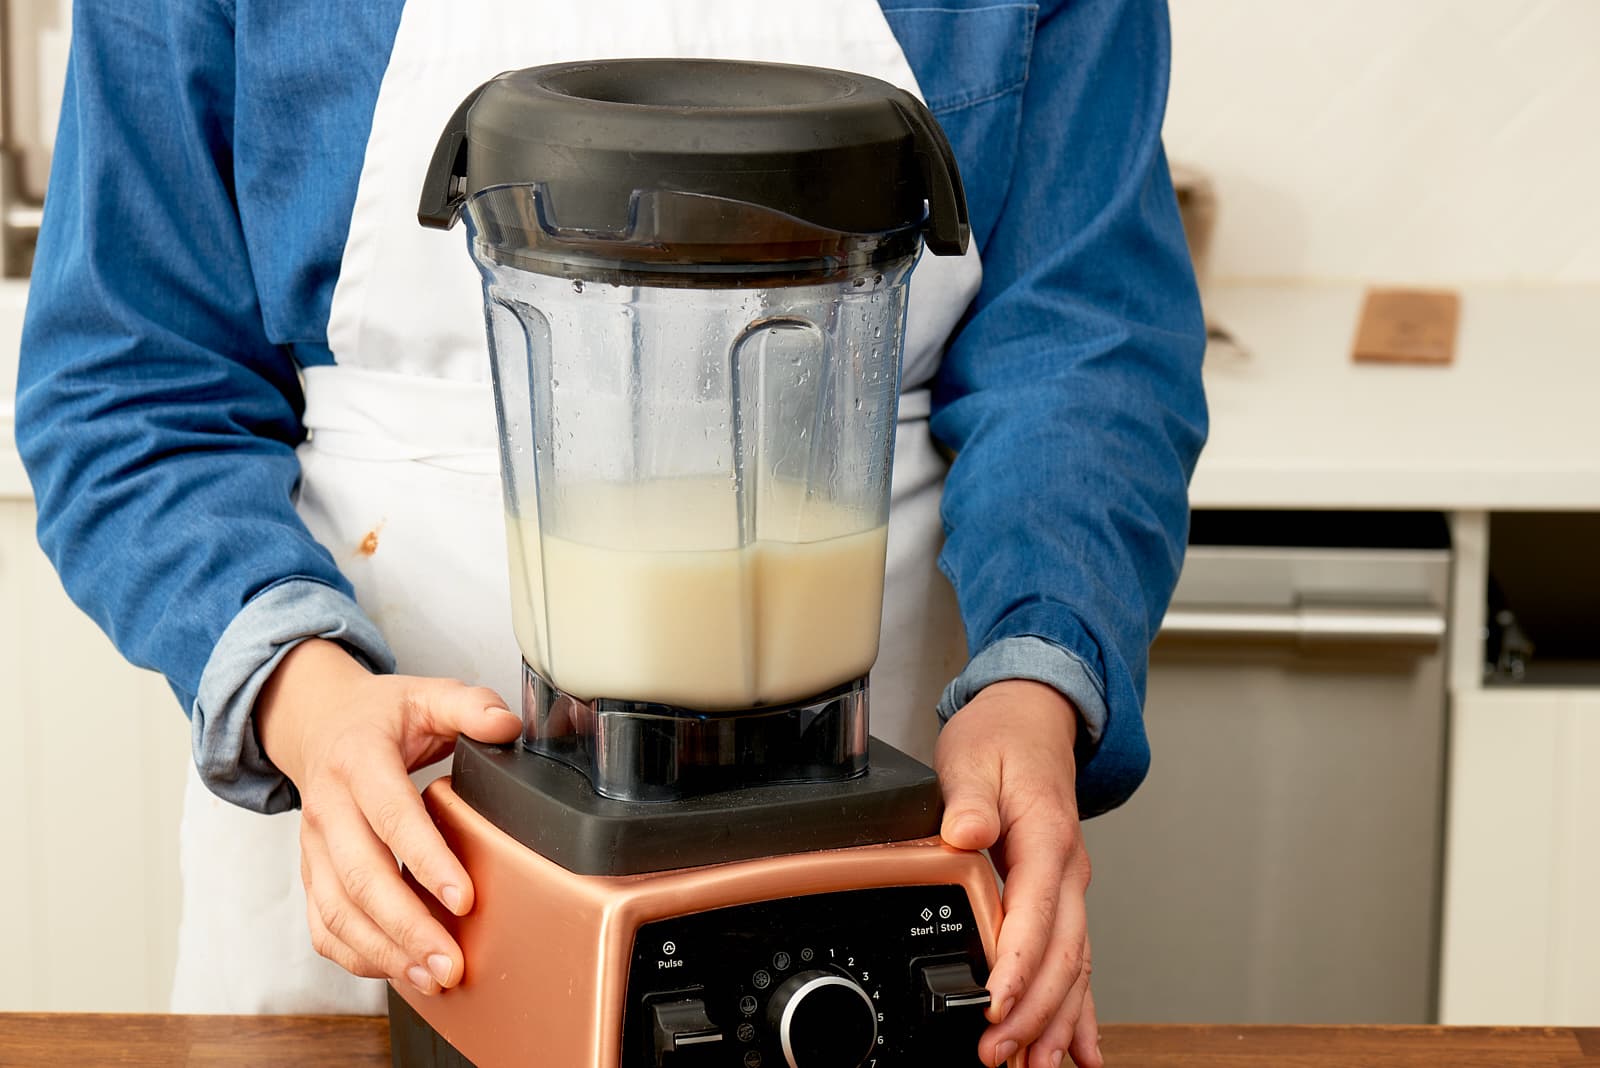
Step 6: Blend Ingredients
Now that you have all the ingredients in the blender, it’s time to blend them together to create the perfect Blizzard consistency. Follow these steps to blend the ingredients:
- Secure the lid onto the blender pitcher to prevent any spills.
- Place the pitcher onto the base of the blender and ensure it is properly aligned.
- Turn on the blender to the desired speed setting. Start with a low speed and gradually increase it to ensure thorough blending without any lumps.
- Blend the ingredients for about 30 seconds to 1 minute, or until the mixture is smooth and well combined.
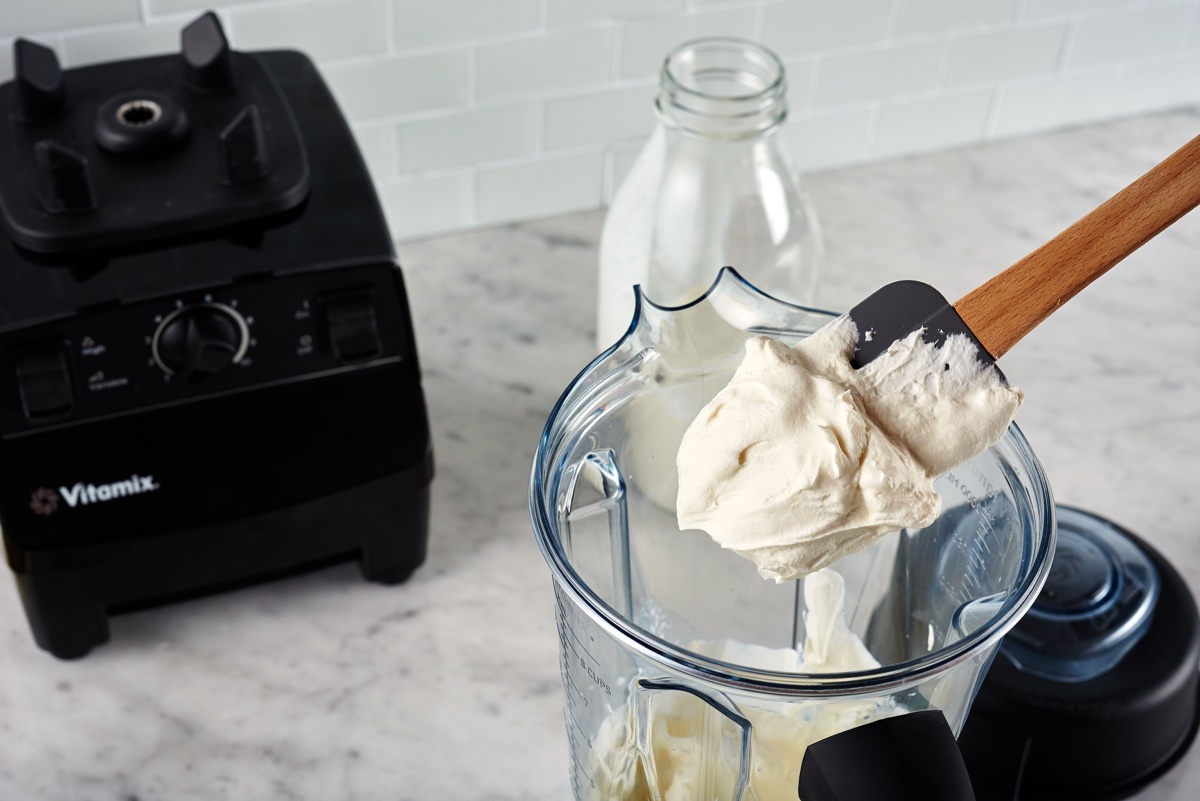
- Stop the blender and remove the pitcher from the base. Use a spatula to scrape down the sides if needed.
Once you have blended the ingredients to your satisfaction, it’s time to move on to the next step of adjusting the consistency of your Blizzard.
Step 7: Adjust Consistency
After blending the ingredients, you may need to adjust the consistency of your Blizzard to achieve your desired texture. Follow these steps to make any necessary adjustments:
- Take a look at the texture of your blended Blizzard. If it’s too thick, you can add a little more milk and blend again until you reach the desired consistency.
- If your Blizzard is too thin, you can add a small amount of extra ice cream and blend again to thicken it up.
- Remember that it’s easier to add more ingredients gradually than to try to thicken a Blizzard that has become too runny, so adjust the consistency slowly.
Take a moment to taste your Blizzard at this stage and make any additional adjustments to the flavorings or sweetness if needed. Once the consistency is just right and you’re happy with the taste, it’s time for the final step: serving and enjoying your homemade Blizzard!
Read more: How To Make A Slushy With A Blender
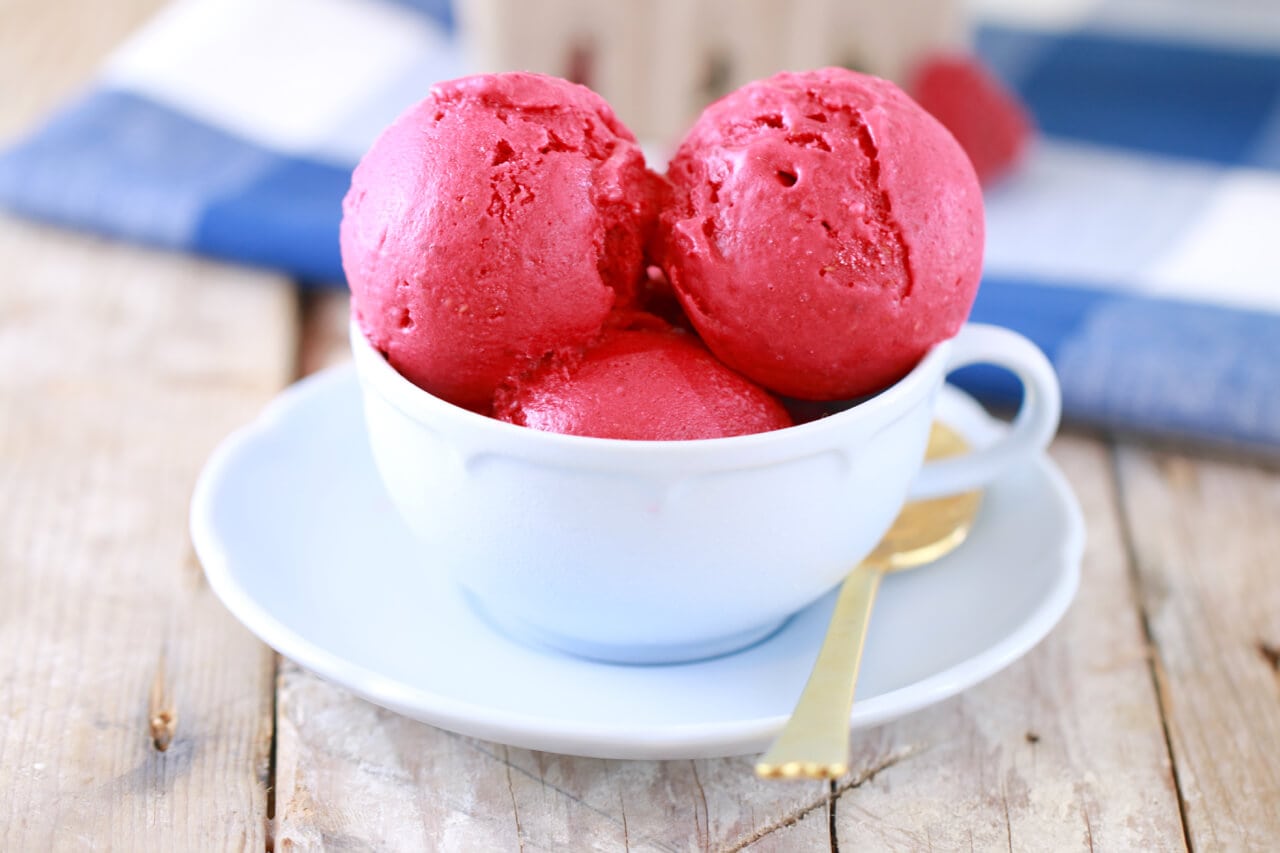
Step 8: Serve and Enjoy
Congratulations! You’ve successfully created a homemade Blizzard using a blender. Now it’s time to serve and enjoy your delicious frozen treat. Follow these steps:
- Prepare a tall glass or mug to serve your Blizzard. You can also use a bowl if you prefer.
- Pour the blended Blizzard into your chosen serving container.
- Garnish your Blizzard with additional toppings if desired, such as whipped cream, sprinkles, or a drizzle of chocolate sauce.
- Grab a spoon or a straw and dig in! Take a moment to savor the creamy texture and burst of flavors in each bite.
- Marvel at your homemade Blizzard creation and revel in the satisfaction of making such a delicious treat from scratch.
Whether you enjoy your Blizzard alone or share it with friends and family, the joy and satisfaction of creating this frozen delight at home are truly unparalleled. Get creative with your flavor combinations and experiment with different mix-ins to make every Blizzard experience unique.
So, go ahead and indulge in your homemade Blizzard creation. You’ve earned it!
Frequently Asked Questions about How To Make A Blizzard At Home With A Blender
Was this page helpful?
At Storables.com, we guarantee accurate and reliable information. Our content, validated by Expert Board Contributors, is crafted following stringent Editorial Policies. We're committed to providing you with well-researched, expert-backed insights for all your informational needs.


0 thoughts on “How To Make A Blizzard At Home With A Blender”