Articles
How To Make A Bunk Bed Ladder
Modified: August 17, 2024
Learn how to make a sturdy bunk bed ladder with this step-by-step guide. Find expert articles on building and designing custom bunk bed ladders.
(Many of the links in this article redirect to a specific reviewed product. Your purchase of these products through affiliate links helps to generate commission for Storables.com, at no extra cost. Learn more)
Introduction
Building a bunk bed ladder is not only a practical addition to your bunk bed but also a fun DIY project that allows you to customize the ladder to fit your needs and style. Whether you’re building a bunk bed for your children, guests, or even for a vacation home, a sturdy and safe ladder is essential.
Having a ladder makes it easier to access the top bunk without having to rely on climbing up the side rails, which can be tricky and potentially dangerous. Plus, it adds a touch of convenience and functionality to your bunk bed design.
In this article, we will guide you through the process of making your own bunk bed ladder. We’ll cover the materials and tools you’ll need, as well as a step-by-step tutorial on how to create a sturdy and safe ladder. So grab your tools and let’s get started!
Key Takeaways:
- Building a bunk bed ladder is a fun DIY project that adds convenience and safety to your bunk bed, while also allowing you to showcase your creativity and craftsmanship.
- By creating your own bunk bed ladder, you not only save money, but also have the opportunity to customize it to match your personal style and preferences.
Read also: 10 Amazing Bunk Bed Ladder for 2025
Materials and Tools Required
Before diving into the construction process, it’s important to gather all the necessary materials and tools. Here is a list of what you’ll need:
Materials:
- Wooden planks or boards
- Screws or nails
- Wood glue
- Sandpaper
- Wood finish (stain or paint)
Tools:
- Measuring tape
- Saw (circular saw or handsaw)
- Power drill
- Screwdriver or nail gun
- Sanding block or orbital sander
- Paintbrush or foam brush
Ensure that you have all the materials and tools readily available before starting the project. It’s also a good idea to wear safety goggles and gloves to protect yourself during the construction process.
Step 1: Measure and Cut the Ladder Sides
The first step in building a bunk bed ladder is to measure and cut the ladder sides. The ladder sides will provide the vertical support for the ladder rungs. Follow these steps:
- Take accurate measurements of the height from the floor to the top of the bunk bed platform. This measurement will determine the length of your ladder sides.
- Using the measurements, mark the length on your wooden planks or boards. It’s recommended to use sturdy and thick wood for added stability.
- Double-check your measurements and use a saw (circular saw or handsaw) to cut the wooden planks or boards along the marked lines. Ensure that the cuts are straight and accurate.
Once you have cut the ladder sides to the desired length, you are ready to move on to the next step: attaching the ladder rungs.
Read more: How To Buy Bunk Beds
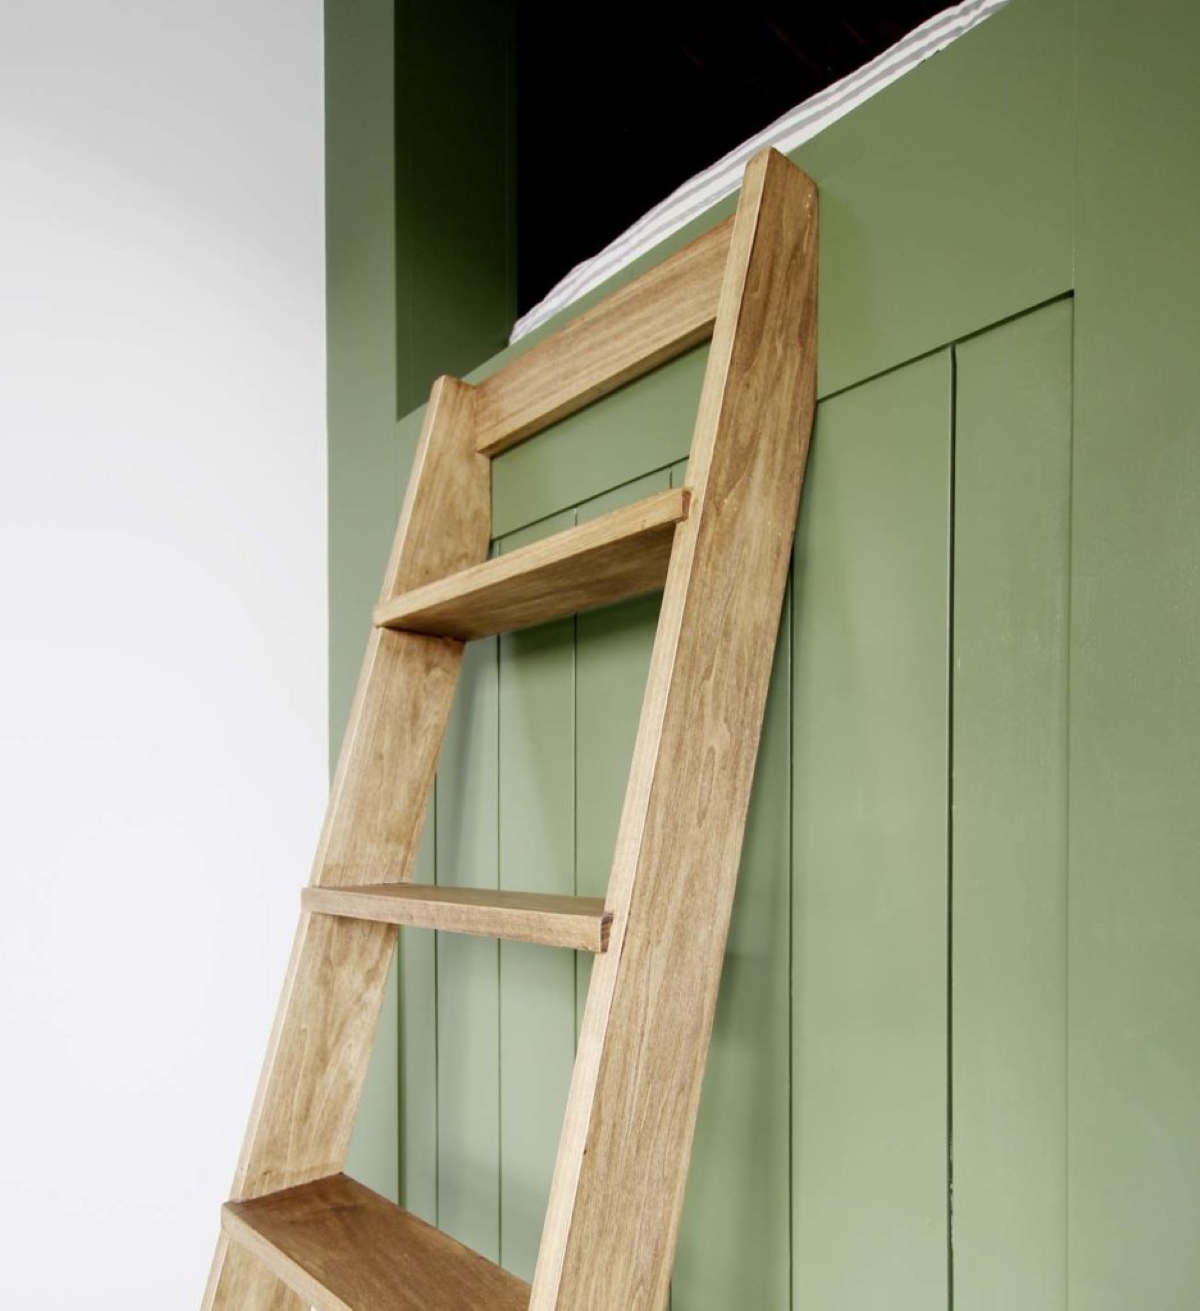
Step 2: Attach the Rungs
Now that you have your ladder sides ready, it’s time to attach the ladder rungs. The rungs will provide the horizontal steps for climbing up and down the ladder. Follow these steps:
- Measure and mark equal distances along the ladder sides where you want to place the ladder rungs. The spacing between each rung can vary depending on your preference, but a typical spacing is around 10 to 12 inches.
- Ensure that the ladder rungs are cut to the desired length. Measure and mark the length on your wooden planks or boards.
- Using a power drill, create pilot holes at each marked spot on the ladder sides. The pilot holes will prevent the wood from splitting when you attach the rungs.
- Apply wood glue to both ends of each ladder rung and position them in the pilot holes. Make sure they are aligned properly and secure.
- Once the rungs are in position, use screws or nails to firmly attach them to the ladder sides. Repeat this step for each rung until the ladder is complete.
Double-check that all the rungs are securely attached and that the ladder is stable before moving on to the next step: sanding and finishing.
Step 3: Sand and Finish the Ladder
After attaching the ladder rungs, it’s important to sand and finish the ladder to ensure a smooth and polished appearance. Follow these steps:
- Begin by using sandpaper or an orbital sander to sand down any rough edges or uneven surfaces on the ladder. Sand the ladder sides, rungs, and all other visible areas.
- Start with a coarse-grit sandpaper to remove any splinters or imperfections. Gradually switch to finer-grit sandpaper to achieve a smoother finish.
- Once you’ve sanded the ladder, use a damp cloth to wipe away any dust or debris. This will prepare the wood surface for finishing.
- Choose a wood finish that suits your preference – whether it’s a stain to enhance the natural beauty of the wood or a paint color that complements your bunk bed design.
- Apply the chosen wood finish using a paintbrush or foam brush, following the manufacturer’s instructions. Ensure that you cover all exposed surfaces of the ladder.
- Allow the finish to dry completely, typically for at least 24 hours. Check the manufacturer’s guidelines for the recommended drying time.
Once the ladder is dry and the finish is set, you’re ready for the final step: installing the ladder on the bunk bed.
When making a bunk bed ladder, ensure the ladder is securely attached to the bed frame to prevent any accidents. Use strong, durable materials for the ladder to support the weight of the person climbing.
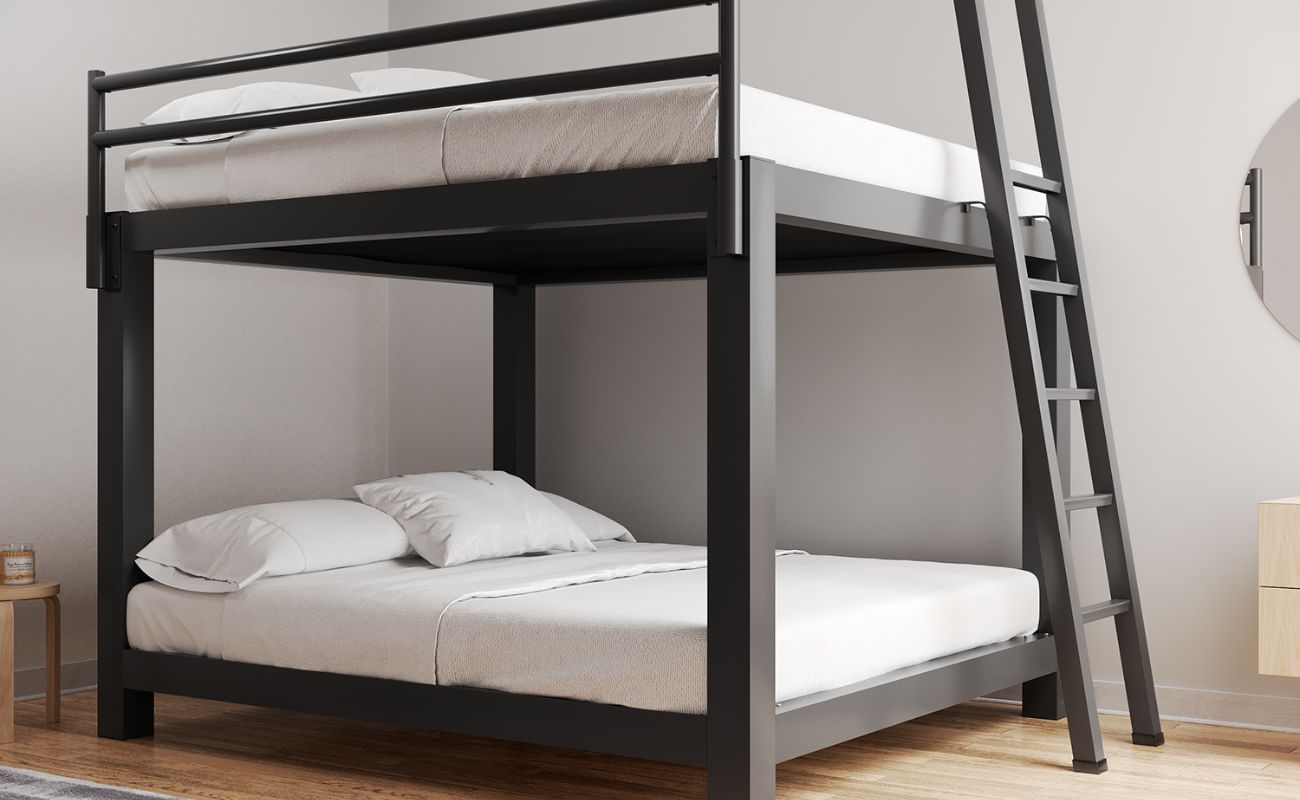
Step 4: Install the Ladder on the Bunk Bed
Now that your ladder is complete and finished, it’s time to install it onto the bunk bed. Follow these steps:
- Carefully position the ladder against the side of the bunk bed where you want it to be attached. Ensure that it is aligned properly and at a convenient angle for climbing.
- Mark the spots on the bunk bed frame where the ladder will be attached. Use a pencil or marker to indicate the screw or nail locations.
- If the bunk bed frame is made of wood, drill pilot holes at the marked spots to prevent wood from splitting when attaching the ladder.
- Using screws or nails, secure the ladder to the bunk bed frame by attaching it at each marked spot. Ensure that the ladder is securely fastened and stable.
- Test the ladder by applying pressure and shaking it slightly to ensure that it can support weight and withstand movement without any wobbling or loosening.
- Once the ladder is installed, step back and admire your work! Your bunk bed ladder is now ready to be used.
Remember to periodically check the ladder’s stability and tighten any loose screws or nails as needed. Safety should always be a top priority when using the ladder.
With the ladder now installed on your bunk bed, it offers a safe and convenient way to access the top bunk. Enjoy the enhanced functionality and the added aesthetic appeal of your custom-made bunk bed ladder!
Conclusion
Building your own bunk bed ladder is a rewarding DIY project that not only adds convenience and safety to your bunk bed, but also allows you to showcase your creativity and craftsmanship. By following the steps outlined in this article, you can create a sturdy and stylish ladder that perfectly complements your bunk bed design.
Remember to gather all the necessary materials and tools before starting the project, and take accurate measurements to ensure the ladder fits securely on your bunk bed. Taking the time to measure, cut, attach, sand, and finish the ladder will result in a high-quality and long-lasting finished product.
Installing the ladder on the bunk bed and checking for stability is vital in ensuring the safety of anyone using it. Regularly inspect the ladder, tighten any loose screws or nails, and make any necessary adjustments to maintain its stability and reliability.
By creating your own bunk bed ladder, you not only save money compared to purchasing one, but you also have the opportunity to customize it to match your personal style and preferences. Whether you choose to paint it a vibrant color, stain it to highlight the natural beauty of the wood, or incorporate decorative elements, the ladder can become a standout feature in your bunk bed setup.
So gather your materials, sharpen your tools, and enjoy the process of building your own bunk bed ladder. With a little effort and creativity, you can create a functional and visually appealing ladder that adds both practicality and charm to your bunk bed.
Frequently Asked Questions about How To Make A Bunk Bed Ladder
Was this page helpful?
At Storables.com, we guarantee accurate and reliable information. Our content, validated by Expert Board Contributors, is crafted following stringent Editorial Policies. We're committed to providing you with well-researched, expert-backed insights for all your informational needs.


0 thoughts on “How To Make A Bunk Bed Ladder”