Home>Furniture>Bedroom Furniture>How To Build A Bunk Bed Frame

Bedroom Furniture
How To Build A Bunk Bed Frame
Modified: October 20, 2024
Learn how to build a sturdy bunk bed frame for your bedroom. Find step-by-step instructions and helpful tips on building bedroom furniture.
(Many of the links in this article redirect to a specific reviewed product. Your purchase of these products through affiliate links helps to generate commission for Storables.com, at no extra cost. Learn more)
Introduction
Building a bunk bed frame can be a rewarding and practical DIY project that not only saves you money but also adds a touch of personalization to your bedroom decor. Whether you’re looking to optimize space in a small bedroom or create a fun and functional sleeping arrangement for siblings, a bunk bed frame is a versatile and stylish choice.
In this article, we’ll guide you through the step-by-step process of building a bunk bed frame. From gathering the necessary tools and materials to putting the finishing touches on your project, we’ll cover everything you need to know to create a sturdy and attractive bunk bed frame that will provide years of comfortable sleep.
Before we dive into the construction process, it’s essential to have a clear understanding of the design you want to achieve. Bunk beds come in various styles, from traditional designs to modern and space-saving options. Consider the overall aesthetic of your bedroom, the size of the room, and any specific safety features you may require.
Once you have a plan in mind, gather these essential tools and materials:
- Measuring tape
- Circular saw or miter saw
- Drill and drill bits
- Screwdriver (or screw gun)
- Sander or sandpaper
- Wood glue
- Wood screws
- Lumber (check the specific measurements needed for your chosen design)
- Safety goggles and gloves
Ensure that you have a well-ventilated workspace and take all necessary safety precautions when working with power tools.
Now, let’s move on to the first step of building your bunk bed frame: measuring and cutting the lumber.
Key Takeaways:
- Building a bunk bed frame is a rewarding DIY project that maximizes space and adds a personalized touch to your bedroom decor. Prioritize safety, follow the step-by-step guide, and enjoy the cozy sleep it provides.
- From measuring and cutting lumber to assembling the frame and adding optional safety features, creating a bunk bed allows you to unleash your creativity and personalize your sleeping space. Enjoy the space-saving benefits and happy memories it brings!
Read more: How To Build A Bed Frame
Step 1: Gather the Required Tools and Materials
Before you start building your bunk bed frame, it’s important to gather all the necessary tools and materials. Having everything on hand will make the construction process smoother and more efficient. Here’s a list of the tools and materials you’ll need:
- Measuring tape: This will help you accurately measure the dimensions of the lumber and ensure precise cuts.
- Circular saw or miter saw: You’ll need either of these saws to cut the lumber to the desired lengths. A circular saw is a versatile tool that can make straight cuts, while a miter saw allows for more precise angled cuts.
- Drill and drill bits: These will be used to drill pilot holes and screw the pieces of the bunk bed frame together.
- Screwdriver or screw gun: You’ll need either of these tools to drive in the screws securely.
- Sander or sandpaper: This will be used to smooth out any rough edges or surfaces of the lumber.
- Wood glue: Wood glue will add extra strength to the joints of the bunk bed frame.
- Wood screws: These screws will be used to secure the various components of the bunk bed frame together.
- Lumber: The type and amount of lumber you’ll need depend on your chosen bunk bed design. Make sure to measure and cut the lumber to the specified dimensions.
- Safety goggles and gloves: Safety should always be a priority when working with power tools and sharp objects. Protect your eyes with safety goggles and your hands with gloves.
Once you have all the tools and materials ready, you can proceed to the next step: measuring and cutting the lumber.
Step 2: Measure and Cut the Lumber
Now that you have gathered all the necessary tools and materials, it’s time to measure and cut the lumber for your bunk bed frame. Accuracy is key in this step to ensure that all the components fit together perfectly.
Start by referring to your bunk bed design plan and measure out the required dimensions for each piece of lumber. Use a measuring tape to mark the appropriate lengths on the lumber, taking into account any angles or cuts that need to be made.
Next, using a circular saw or miter saw, carefully cut the lumber according to your measurements. Double-check your measurements and make sure the cuts are clean and precise. It’s a good idea to label each piece of lumber to keep track of which part it belongs to.
During this step, it’s important to prioritize safety. Always wear safety goggles to protect your eyes from flying wood chips and gloves to prevent any accidental cuts or scrapes.
Once you have cut all the necessary pieces of lumber, do a test fit to ensure that everything lines up correctly and fits together as planned. If adjustments need to be made, take note of the necessary modifications and make the appropriate cuts.
Remember, take your time with this step and be meticulous in measuring and cutting the lumber. Accuracy at this stage will greatly contribute to the overall stability and structural integrity of your bunk bed frame.
With the lumber properly measured and cut, you’re ready to move on to the next step: assembling the basic frame structure.
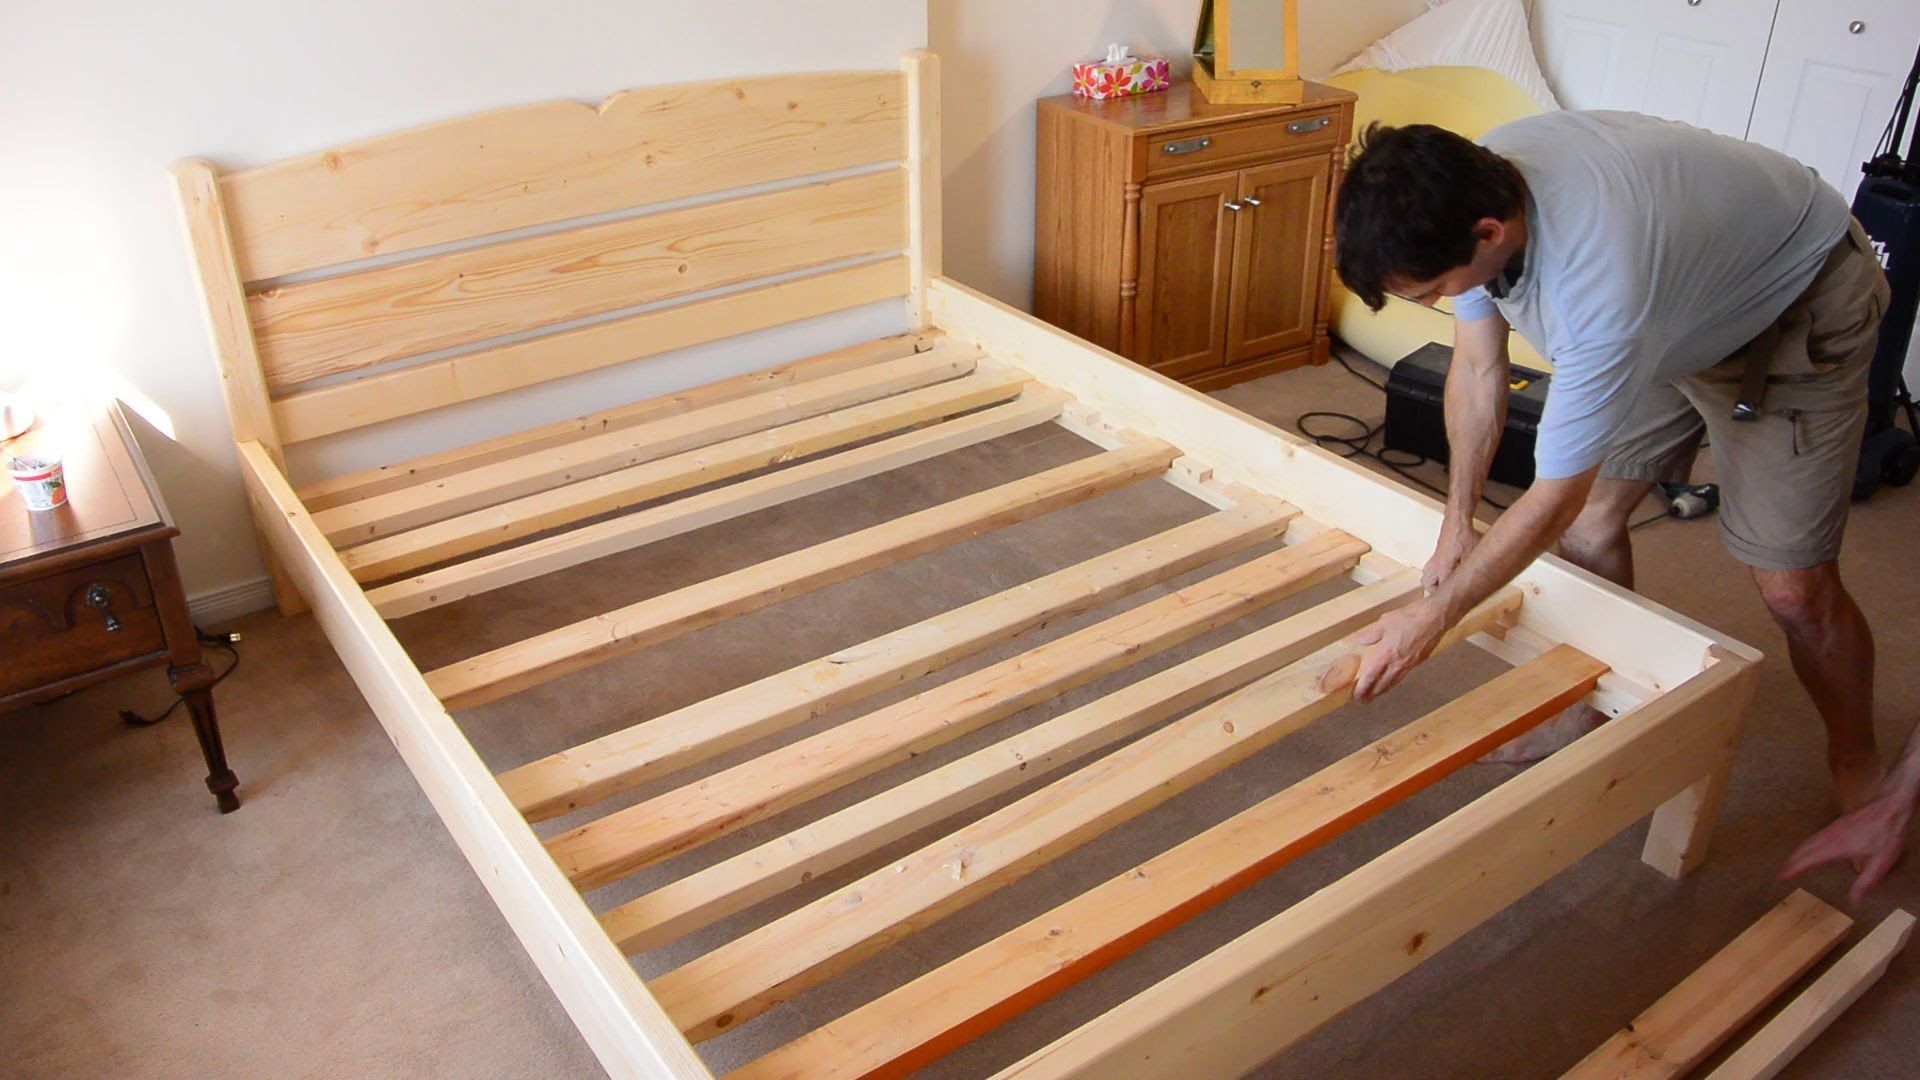
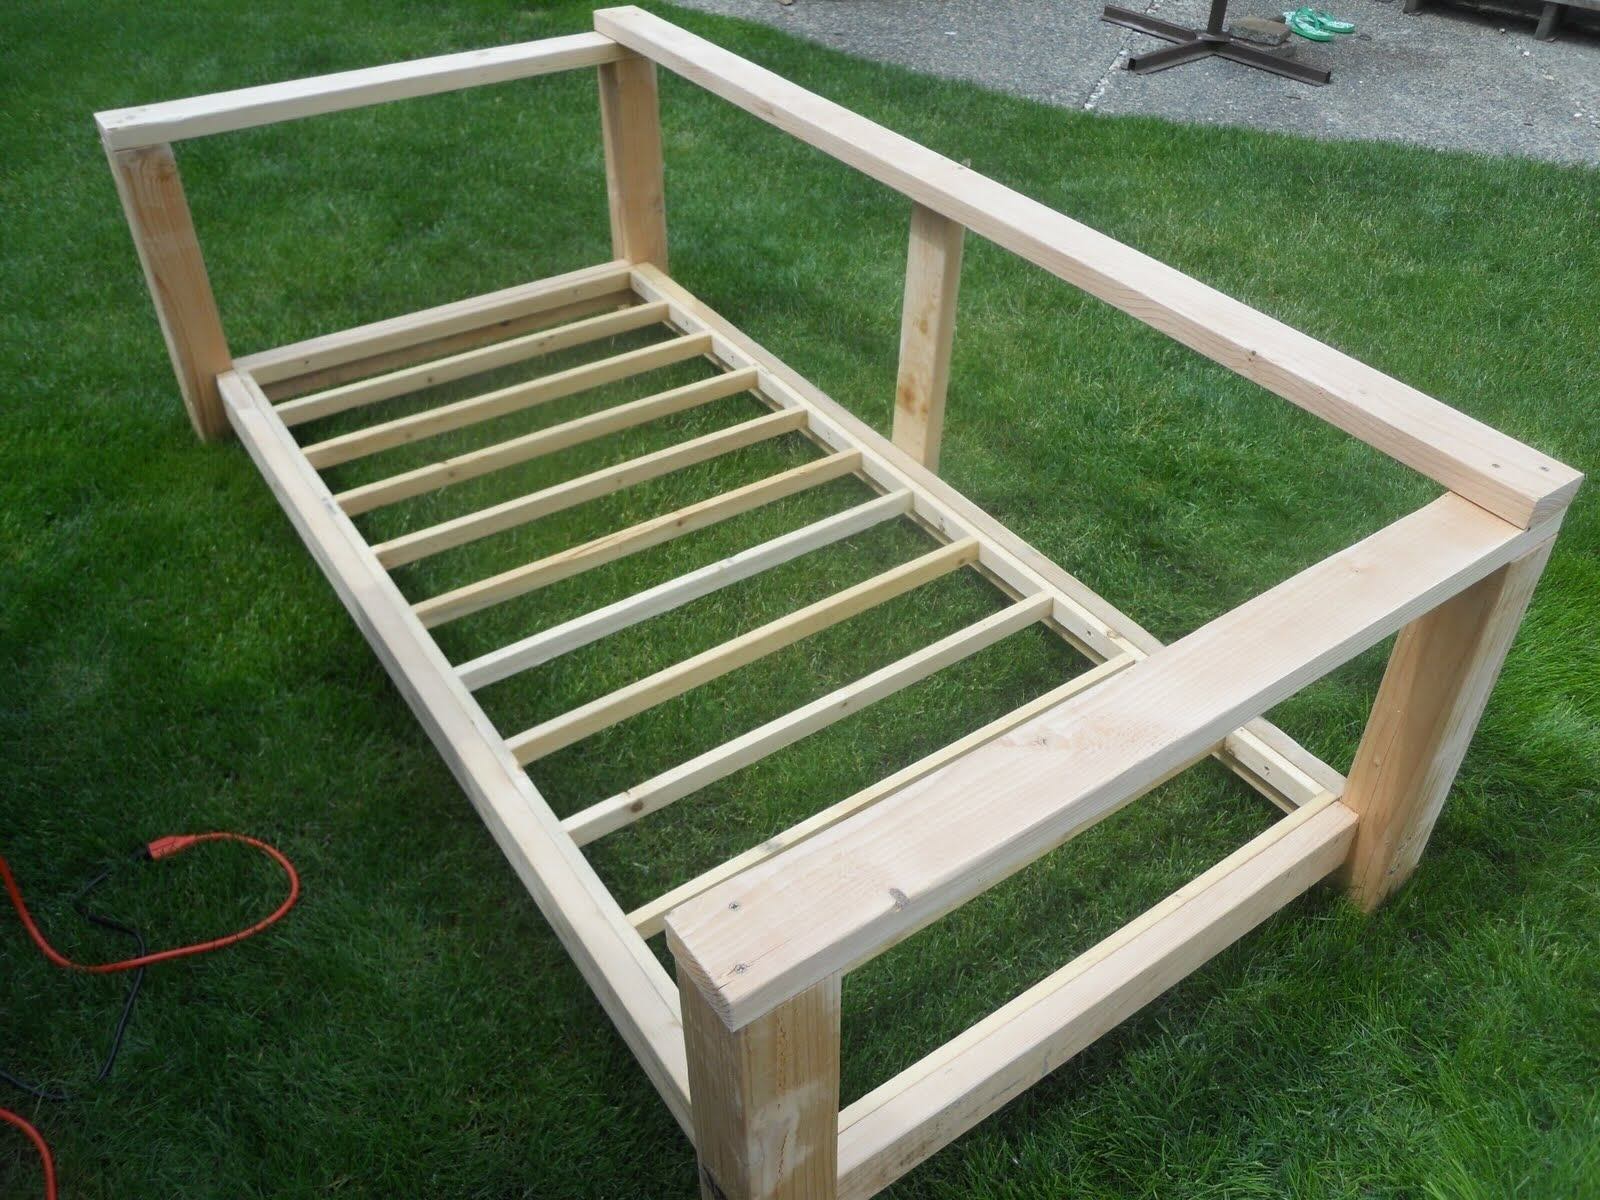
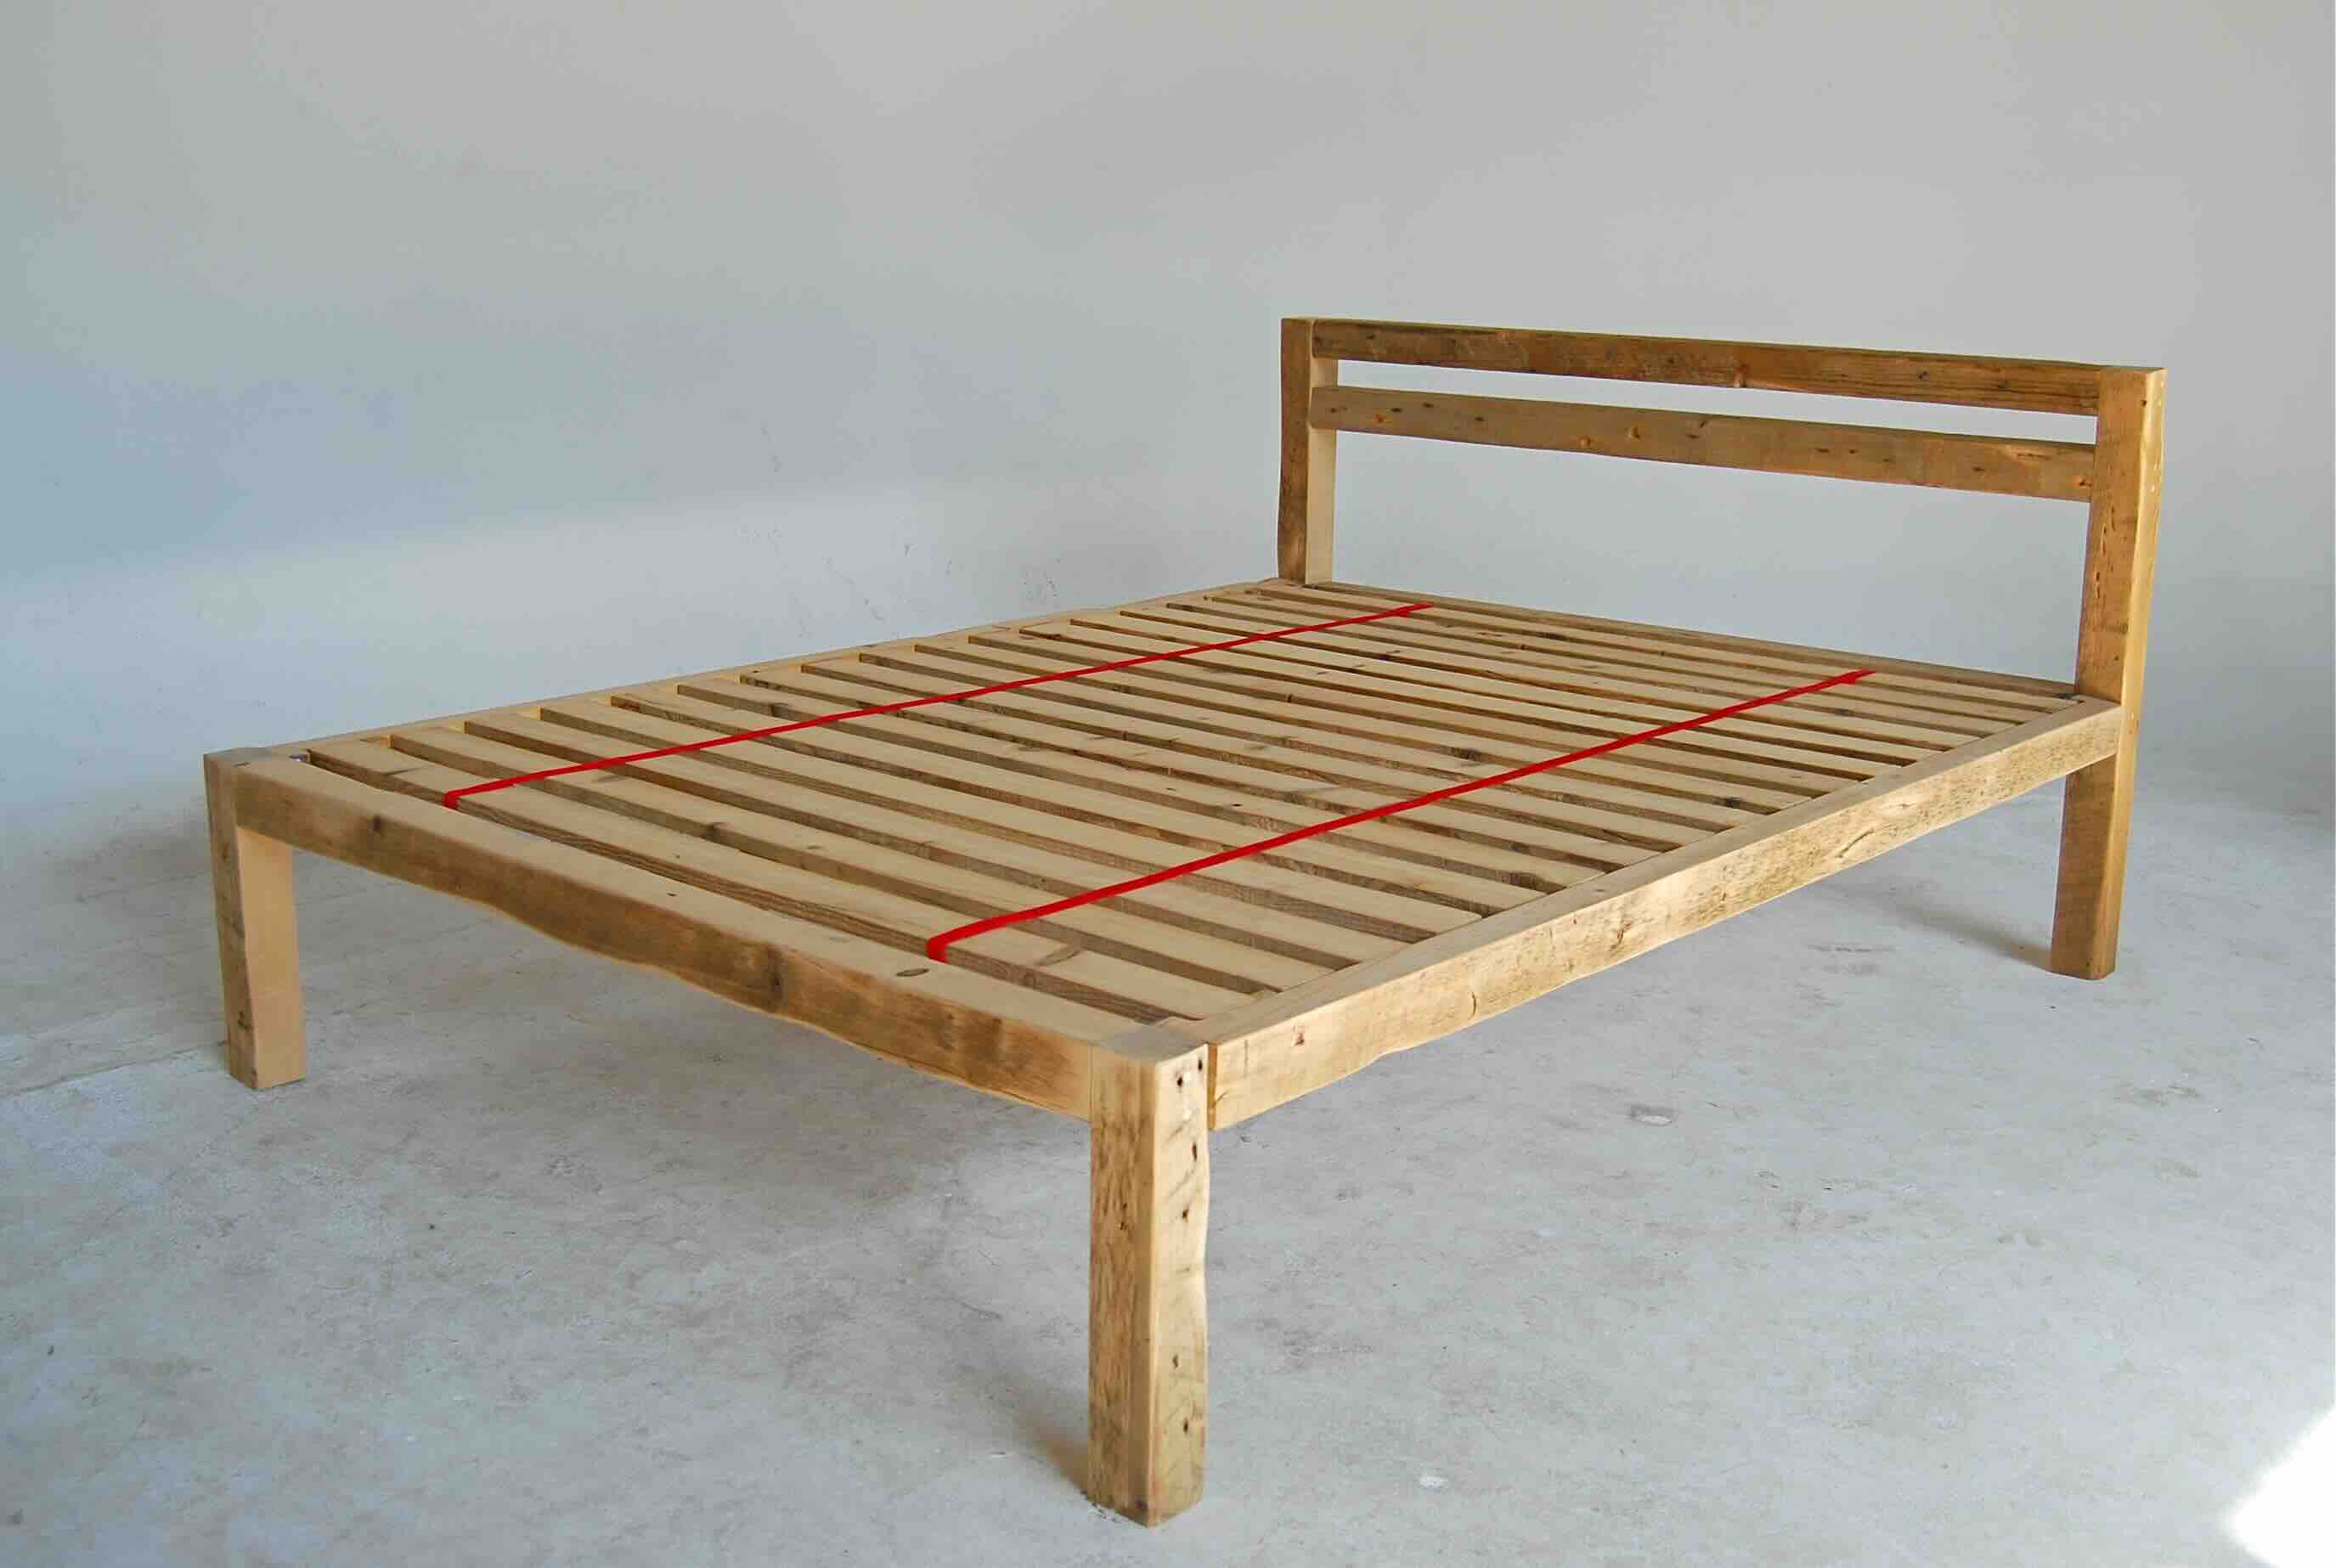
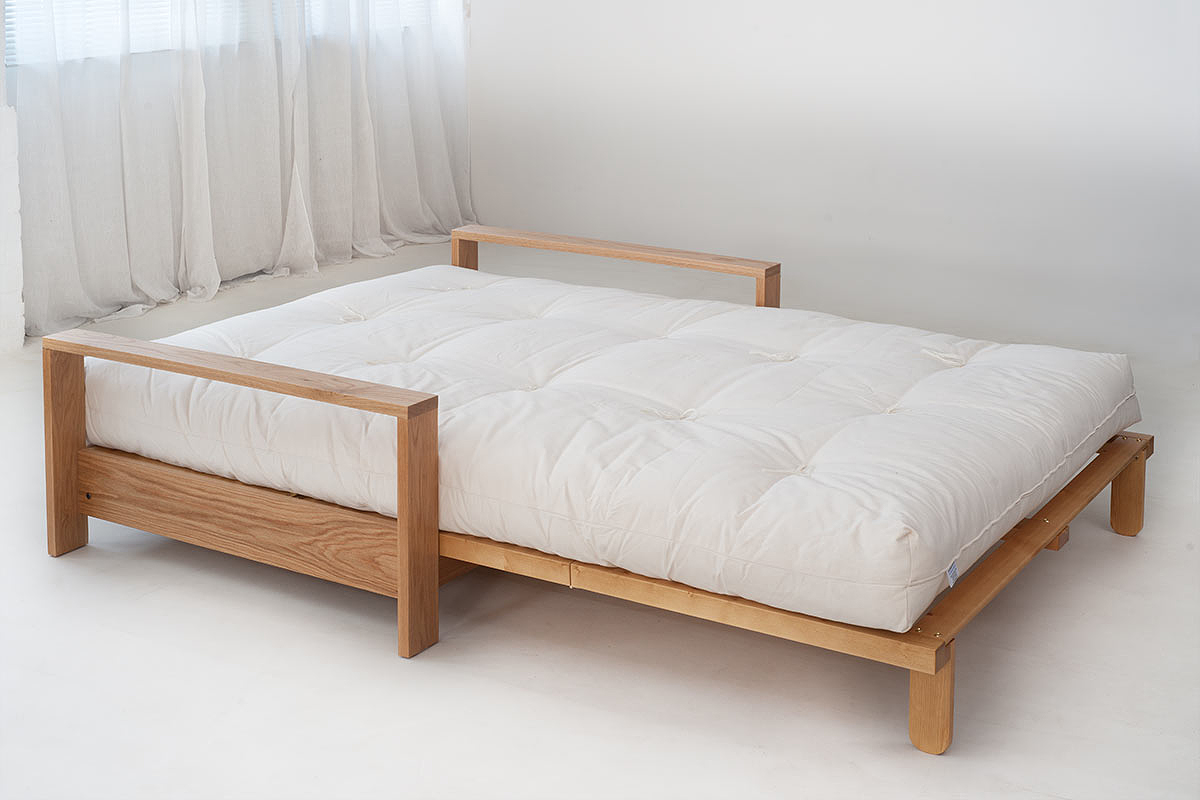
Step 3: Assemble the Basic Frame Structure
Now that you have your lumber cut to the correct dimensions, it’s time to start assembling the basic frame structure of your bunk bed. This step will form the foundation of your bunk bed and provide the necessary support for the mattress and sleeping occupants.
Start by laying out the main frame components on a flat and stable surface. Follow your bunk bed design plan and arrange the pieces according to their intended positions. This will give you a visual reference and make it easier to understand the assembly process.
Using a drill and appropriate drill bits, pre-drill pilot holes in the lumber pieces. This will prevent splitting and ensure a secure hold when you drive in the screws later on. Apply wood glue to the edges where the pieces will be joined together for added strength.
Begin by attaching the side rails to the head and footboards. Align the pieces carefully and use wood screws to secure them in place. It’s recommended to have a helper hold the pieces steady as you drill and screw them together.
Once the side rails are attached, connect the support slats between them. These slats will provide additional stability and support for the mattress. Space them evenly and secure them to the side rails using screws.
After the support slats are in position, reinforce the corners of the frame with corner brackets. These brackets will add extra stability and help prevent any wobbling or shifting of the bunk bed.
Double-check the squareness and alignment of the frame structure. If necessary, make any adjustments before proceeding to the next step. It’s crucial to ensure that the frame is level and uniform.
With the basic frame structure assembled, your bunk bed is starting to take shape. The next step will involve installing the bed rails, which will provide necessary safety and prevent accidental falls during sleep.
Continue the construction process by moving on to Step 4: Install the Bed Rails.
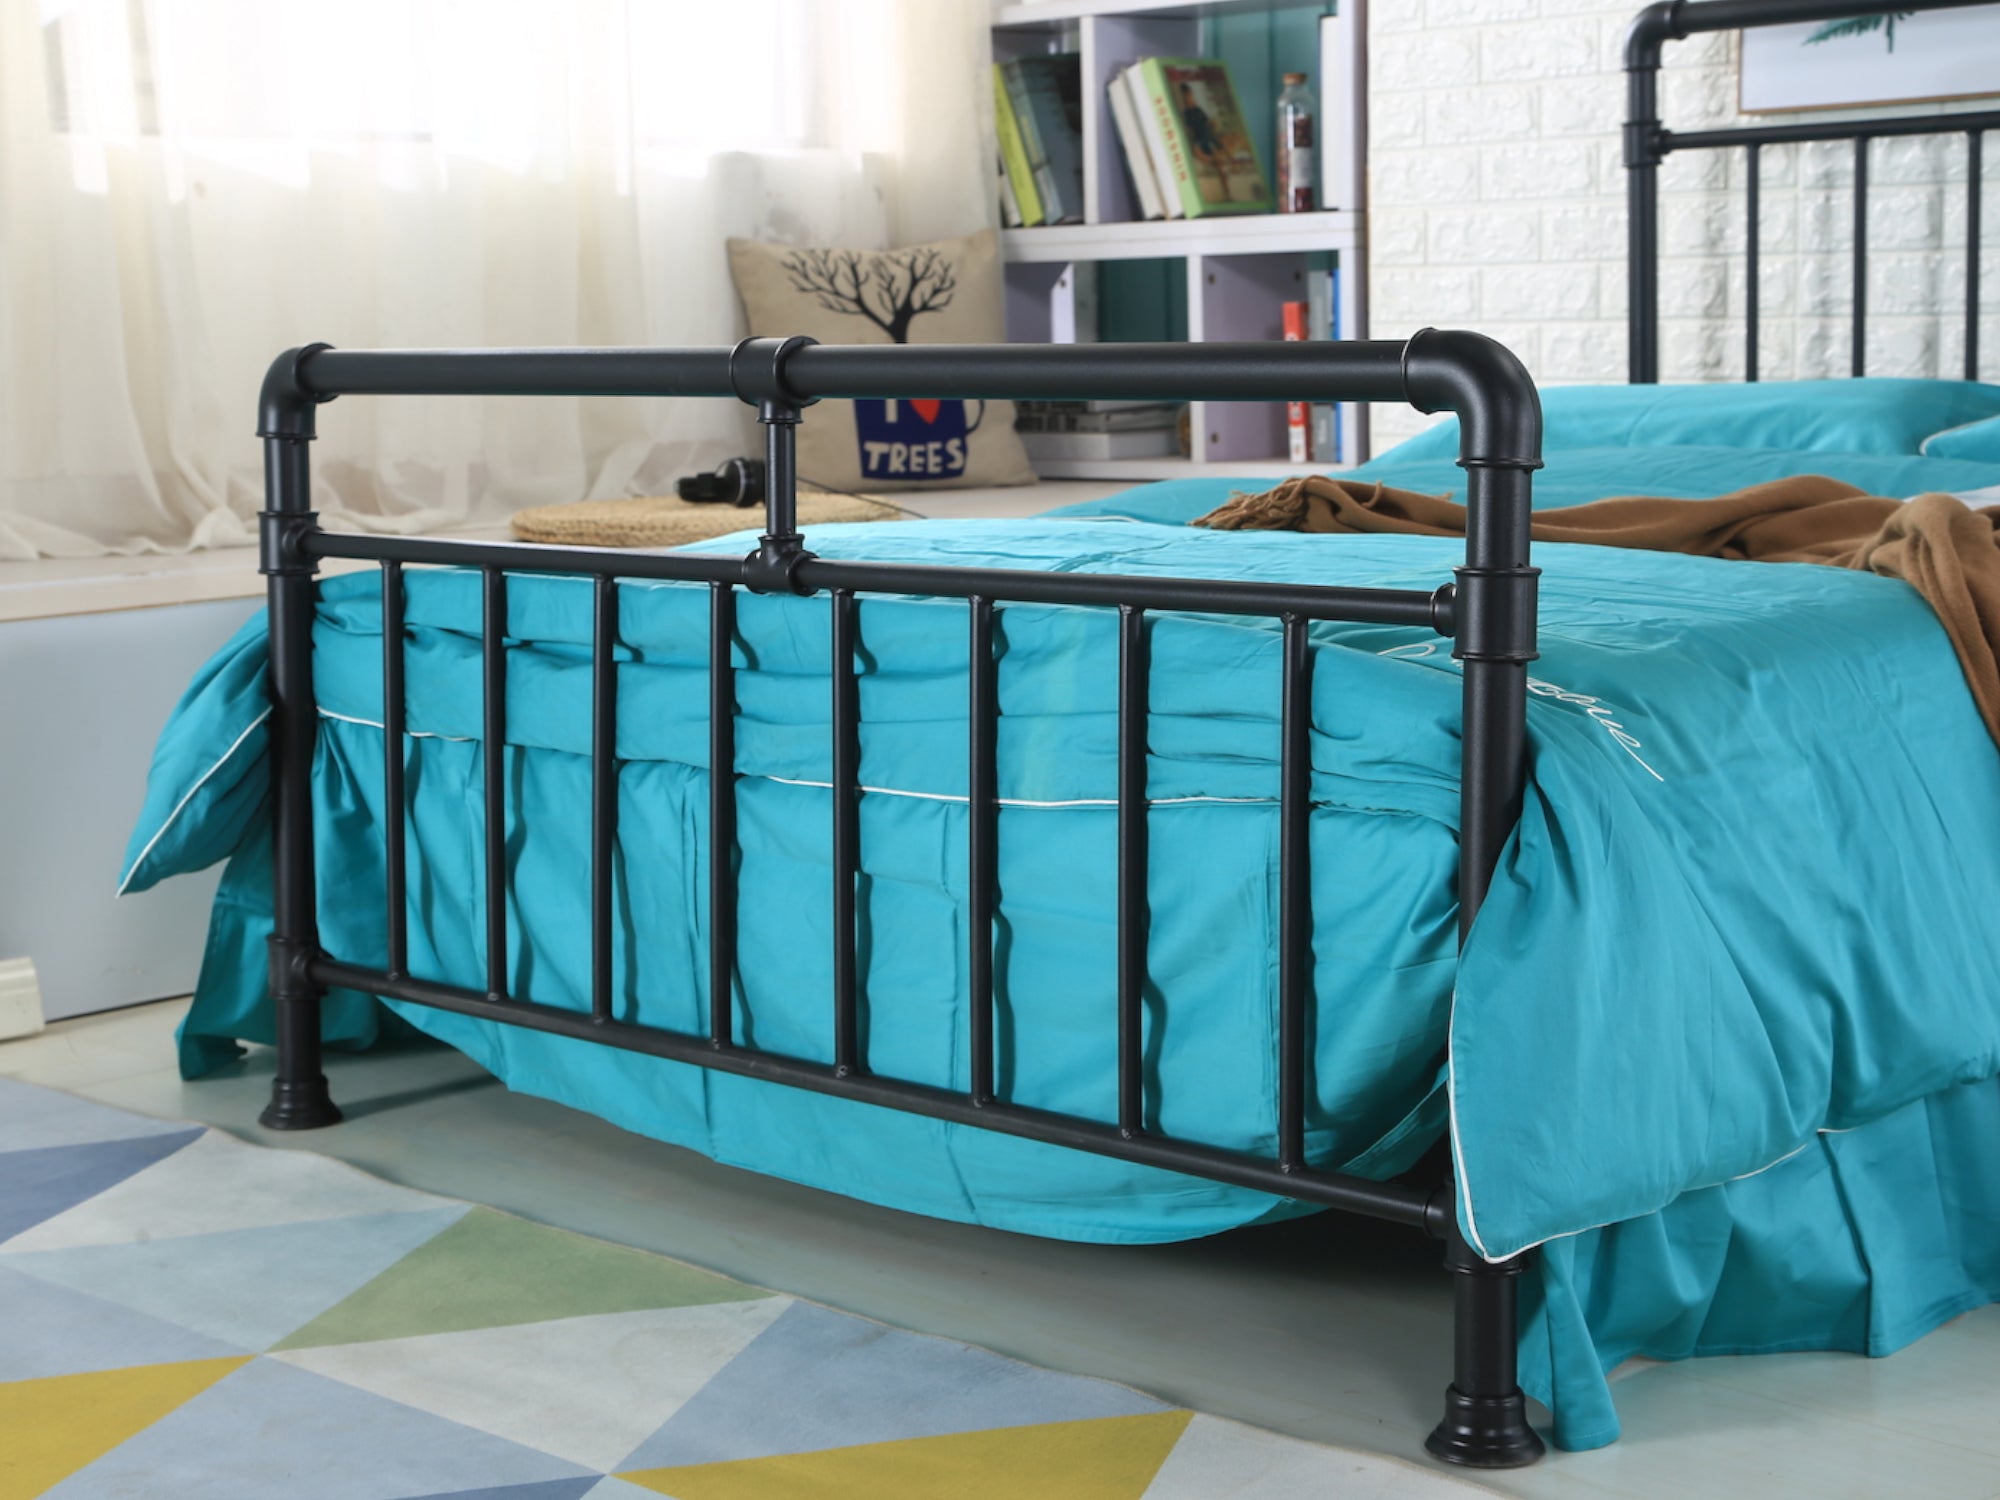
Step 4: Install the Bed Rails
Once you have assembled the basic frame structure of your bunk bed, it’s time to install the bed rails. The bed rails are essential for providing safety and preventing accidental falls during sleep, especially on the top bunk.
Start by measuring and marking the positions where the bed rails will be attached to the frame. It’s important to ensure that the rails are evenly spaced and aligned properly. Use a measuring tape and a pencil to mark the locations accurately.
Next, position the bed rails according to your markings and secure them to the frame using screws. Be sure to pre-drill pilot holes to prevent splitting and ensure a secure attachment. It’s recommended to use at least two screws per rail connection to ensure stability.
In addition to attaching the bed rails to the frame, consider reinforcing the connections with angle brackets. These brackets can provide extra support and help distribute the weight evenly across the frame.
Once the bed rails are securely attached, give them a firm tug to ensure they are stable and won’t come loose. Safety is paramount, so make any necessary adjustments or reinforcements if you notice any weak spots.
Remember, if you’re building a bunk bed with multiple levels, repeat this step for each level, ensuring that the bed rails are installed correctly and securely on each level.
With the bed rails installed, your bunk bed is now safer and more secure. The next step will involve securing the ladder, providing easy access to the top bunk. Continue the construction process by moving on to Step 5: Secure the Ladder.
Read more: How To Buy Bunk Beds
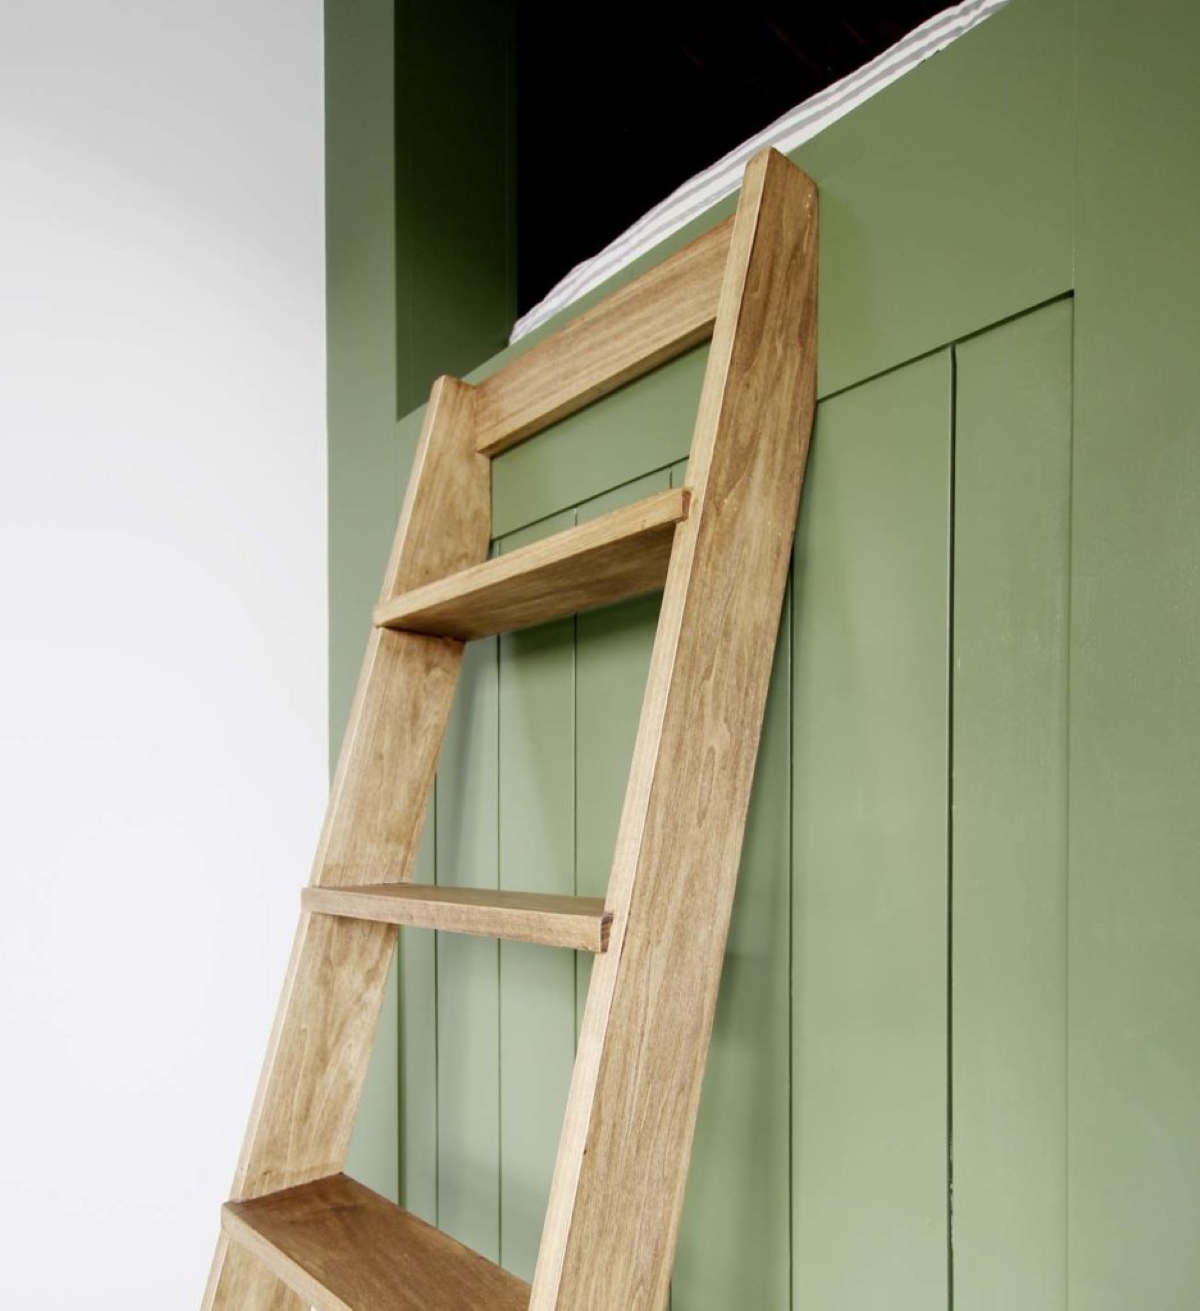
Step 5: Secure the Ladder
Now that you have installed the bed rails, it’s time to secure the ladder to your bunk bed frame. The ladder will provide easy and safe access to the top bunk, ensuring that occupants can climb up and down without the risk of injury.
Start by deciding on the placement of the ladder. Typically, the ladder is attached to the side of the bunk bed frame, near the foot end. Position the ladder at a comfortable angle, ensuring that it is not too steep or too shallow.
Measure and mark the positions where the ladder will be attached to the frame. It’s important to ensure that the ladder is centered and aligned properly. Use a measuring tape and a pencil to mark the locations accurately.
Next, using screws and a drill, secure the ladder to the frame. It’s recommended to pre-drill pilot holes to prevent splitting and ensure a secure attachment. You may also consider using wood glue in addition to the screws for extra strength.
Make sure to attach the ladder firmly to the bed frame, giving it a gentle tug to ensure it is stable and won’t come loose. The ladder should feel secure and able to support weight without any wobbling or shifting.
Additionally, if you want to enhance safety, consider adding non-slip treads or grips to the ladder rungs. This will provide better traction and reduce the risk of slipping when climbing up or down the ladder.
Once the ladder is securely attached, test it by climbing up and down to ensure its stability and functionality. If you notice any weak spots or areas that need reinforcement, make the necessary adjustments before proceeding further.
With the ladder securely in place, your bunk bed is almost complete. The next step will involve sanding and finishing the frame to create a polished and smooth surface. Continue the construction process by moving on to Step 6: Sand and Finish the Frame.
When building a bunk bed frame, make sure to use sturdy and durable materials to ensure the safety and stability of the structure. Additionally, double-check all measurements and angles to ensure a proper fit and alignment of the bed frame.
Step 6: Sand and Finish the Frame
After completing the construction of your bunk bed frame, it’s time to give it a finished and polished look by sanding and applying a suitable finish. Sanding the frame will smooth out any rough edges or surfaces, while finishing will protect the wood and enhance its appearance.
Start by using a sander or sandpaper to sand the entire surface of the bunk bed frame. Begin with a coarse grit and gradually move to finer grits to achieve a smooth and even finish. Sand in the direction of the wood grain to avoid causing any scratches or damage.
Prioritize sanding the parts of the frame that will be frequently touched, such as the railings, ladder, and edges. Also, pay attention to any visible imperfections or rough areas and sand them until they are no longer noticeable.
Once you have finished sanding, remove any dust or debris from the frame. Use a clean, damp cloth to wipe down the surface, ensuring that it is clean and ready for finishing.
Now it’s time to choose the finish for your bunk bed frame. You can opt for paint, stain, or a combination of both, depending on your desired aesthetic and level of protection. Paint will add color and protection, while stain will enhance the natural beauty of the wood.
Before applying the finish, ensure proper ventilation in your workspace, and follow the instructions on the paint or stain can for application and drying time. Use a brush or roller to apply the finish evenly, following the direction of the wood grain.
Allow the finish to dry completely before moving or using the bunk bed. This may take several hours or even overnight, depending on the type of finish used.
Once the finish has dried, inspect the bunk bed frame for any areas that might need touch-ups or additional coats. Apply more coats if desired, ensuring that each coat has dried fully before applying the next.
With the bunk bed frame sanded and finished, you’re almost ready to use it. However, for added safety, consider the optional step of adding safety rails or guardrails, which will provide extra protection for sleepers. Continue the construction process by moving on to Step 7: Optional: Add Safety Rails or Guardrails.
Step 7: Optional: Add Safety Rails or Guardrails
While the bed rails installed in Step 4 provide a level of safety, you may want to consider adding additional safety rails or guardrails to further enhance the security of your bunk bed. These optional additions can provide extra protection, especially for younger children or those who are restless sleepers.
Start by measuring and determining the height at which you want the safety rails or guardrails to be installed. The height should be appropriate for the intended users and provide a sufficient barrier to prevent accidental falls.
Next, mark the positions along the side rails where the safety rails or guardrails will be attached. Ensure that the marks are evenly spaced and aligned properly for a symmetrical appearance.
Using screws and a drill, secure the safety rails or guardrails to the side rails. Pre-drill pilot holes to prevent splitting and ensure a secure attachment. Consider using wood glue for added strength.
Make sure to attach the safety rails or guardrails securely, giving them a firm tug to ensure they are stable and won’t come loose. They should be able to withstand pressure and provide a sturdy barrier.
When installing the safety rails or guardrails, also consider the spacing between the bars or slats. The spacing should be designed to prevent a child’s head from getting stuck, while still allowing adequate visibility and airflow.
It’s important to note that safety rails or guardrails can be installed on both the top and bottom bunks, depending on the design and preference. Repeat the installation process for each level of the bunk bed if desired.
Once the safety rails or guardrails are securely installed, test them by applying pressure and making sure they can withstand the weight and movements. Double-check all connections and make any necessary adjustments before moving on to the next step.
The addition of optional safety rails or guardrails will provide you with peace of mind, knowing that your bunk bed offers an extra layer of protection. If you choose to enhance the appearance of your bunk bed, consider the optional step of painting or staining the frame. Continue the construction process by moving on to Step 8: Optional: Paint or Stain the Frame.
Step 8: Optional: Paint or Stain the Frame
Adding a fresh coat of paint or stain to your bunk bed frame can be a great way to enhance its appearance and match it with the overall décor of your bedroom. This optional step allows you to personalize the bunk bed and make it truly your own.
Before painting or staining, ensure that the bunk bed frame is clean and free from any dust or debris. Use a clean, damp cloth to wipe down the surface, allowing it to dry completely before proceeding.
If you choose to paint the frame, start by applying a primer. This will help create a smooth and even surface for the paint and improve its durability. Follow the manufacturer’s instructions and allow the primer to dry fully.
Once the primer is dry, you can start applying your chosen paint color. Use a brush or roller to apply the paint evenly, following the grain of the wood. Consider applying multiple coats for a richer and more vibrant finish.
If you prefer to stain the frame, choose a stain color that complements the existing wood or matches your desired aesthetic. Apply the stain using a brush or cloth, following the grain of the wood. Wipe off any excess stain to achieve the desired depth of color.
After painting or staining, allow the bunk bed frame to dry completely according to the manufacturer’s instructions. This may take several hours or even overnight, depending on the type of paint or stain used.
Once the paint or stain is dry, inspect the frame for any areas that might need touch-ups or additional coats. Apply more coats if desired, ensuring that each layer has dried fully before applying the next.
Adding a protective topcoat is also recommended to seal and protect the painted or stained surface. Apply the topcoat according to the product instructions, allowing it to dry completely before using the bunk bed.
With the bunk bed frame painted or stained, you have successfully completed this optional step. Now, you’re ready to set up the mattresses and enjoy your newly constructed bunk bed. Continue the process by moving on to Step 9: Set Up the Mattresses.
Read more: How To Build A Tall Bed Frame
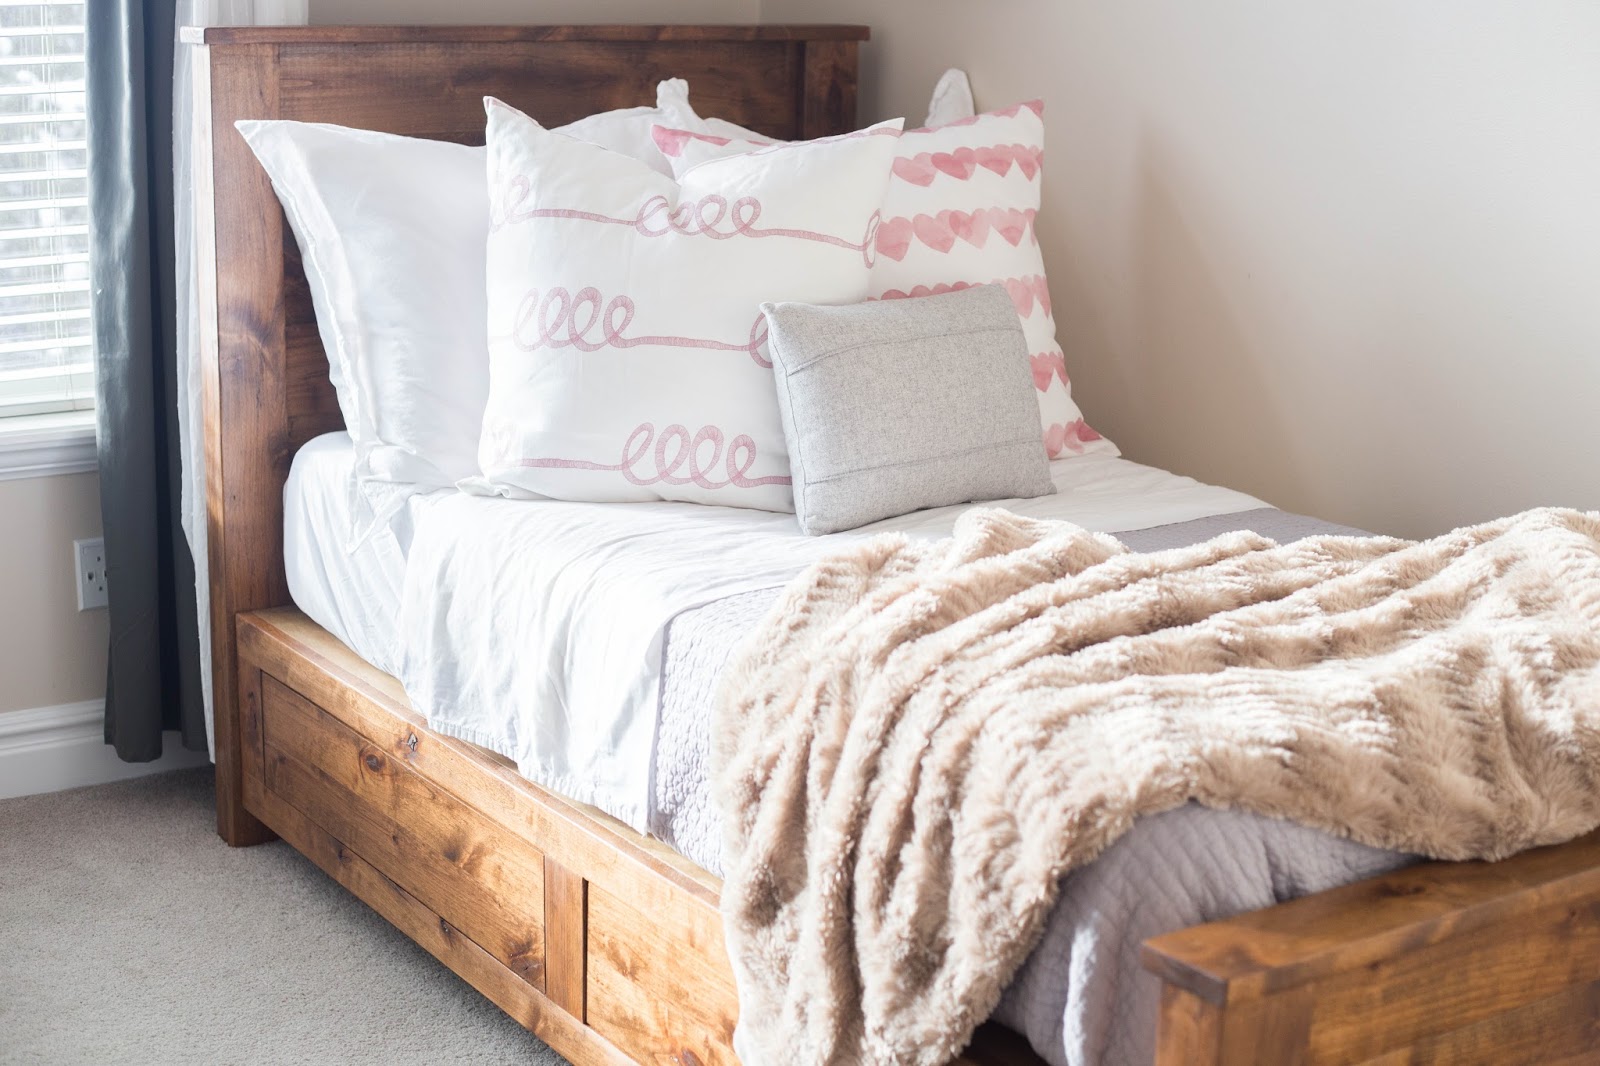
Step 9: Set Up the Mattresses
With your bunk bed frame fully constructed and finished, it’s time to set up the mattresses and make your bunk bed ready for comfortable sleep. Properly setting up the mattresses will ensure a cozy and safe sleeping environment for you or your loved ones.
Start by measuring the dimensions of your bunk bed frame to determine the appropriate mattress sizes. Ensure that the mattresses fit snugly within the bed frame, leaving no gaps or overhang.
Place the bottom mattress on the lower bunk, ensuring that it sits evenly on the support slats or platform. Adjust the position as needed to achieve a centered and balanced placement.
For added comfort and support, consider using a mattress pad or topper. This can help cushion the mattress and provide an extra layer of softness.
For the top bunk, carefully lift the mattress and place it onto the bed rails or platform. Make sure the mattress is positioned securely and aligned with the bed frame to minimize movement.
If desired, add a mattress protector or cover to help keep the mattresses clean and protected. These covers can help extend the lifespan of the mattresses and provide an extra layer of hygiene.
Ensure that the ladder is easily accessible and stable for climbing up and down between the bunk levels. Double-check all connections and tighten any loose screws or bolts for added safety.
Finally, test the stability and security of the bunk bed by gently shaking the frame and ensuring that it does not wobble or shift. Make any necessary adjustments or reinforcements to ensure a secure and stable sleeping environment.
Once you have successfully set up the mattresses and ensured the stability of your bunk bed, it’s time to enjoy your new sleeping arrangement. Whether it’s for children, guests, or your own sleep needs, your bunk bed is now ready to provide a comfortable and inviting space.
Congratulations! You have completed all the steps to build and set up your bunk bed frame. By following this guide, you have created a functional, sturdy, and visually pleasing piece of furniture that will provide years of restful sleep. Remember to periodically check the bunk bed for any signs of wear and perform maintenance as needed to keep it in excellent condition.
Enjoy your new bunk bed and the space-saving benefits it brings to your bedroom!
Conclusion
Building a bunk bed frame is a rewarding and practical DIY project that allows you to maximize space and add a personalized touch to your bedroom decor. By following the step-by-step guide provided in this article, you have learned how to gather the necessary tools and materials, measure and cut the lumber, assemble the basic frame structure, install bed rails and a ladder, sand and finish the frame, and optionally add safety rails or guardrails and paint or stain the frame.
Throughout the process, it’s important to prioritize safety by using the appropriate safety gear, taking precautions when working with power tools, and ensuring the stability and solidity of the frame. Additionally, by applying a suitable finish and adding optional safety features, you have enhanced the appearance and functionality of your bunk bed.
Remember to take your time, follow the instructions carefully, and pay attention to detail to ensure a well-constructed and secure bunk bed. Whether you’re building a bunk bed for your own use, for your children, or for guests, you can rest assured knowing that you have created a comfortable and safe sleeping solution.
Now that you have completed the construction and setup of your bunk bed, it’s time to enjoy the space-saving benefits and the cozy sleep it provides. Whether it’s for siblings sharing a room, maximizing space in a small bedroom, or adding an extra sleeping arrangement for guests, your bunk bed will serve as a functional and stylish addition to your home.
As you embark on this DIY journey and create your own bunk bed frame, remember to unleash your creativity and put your personal touch into the design. From choosing the type of wood to deciding on paint colors or stains, have fun and let your imagination guide you.
Thank you for following this guide, and congratulations on successfully building your own bunk bed frame. May your new bunk bed bring you and your loved ones restful nights of sleep and happy memories for years to come!
Frequently Asked Questions about How To Build A Bunk Bed Frame
Was this page helpful?
At Storables.com, we guarantee accurate and reliable information. Our content, validated by Expert Board Contributors, is crafted following stringent Editorial Policies. We're committed to providing you with well-researched, expert-backed insights for all your informational needs.


0 thoughts on “How To Build A Bunk Bed Frame”