Articles
How To Make A Bed Skirt For Dorm Bed
Modified: February 25, 2024
Discover step-by-step instructions for creating your own DIY bed skirt for a dorm bed in this comprehensive articles. Elevate your dorm room decor with this simple yet stylish project.
(Many of the links in this article redirect to a specific reviewed product. Your purchase of these products through affiliate links helps to generate commission for Storables.com, at no extra cost. Learn more)
Introduction
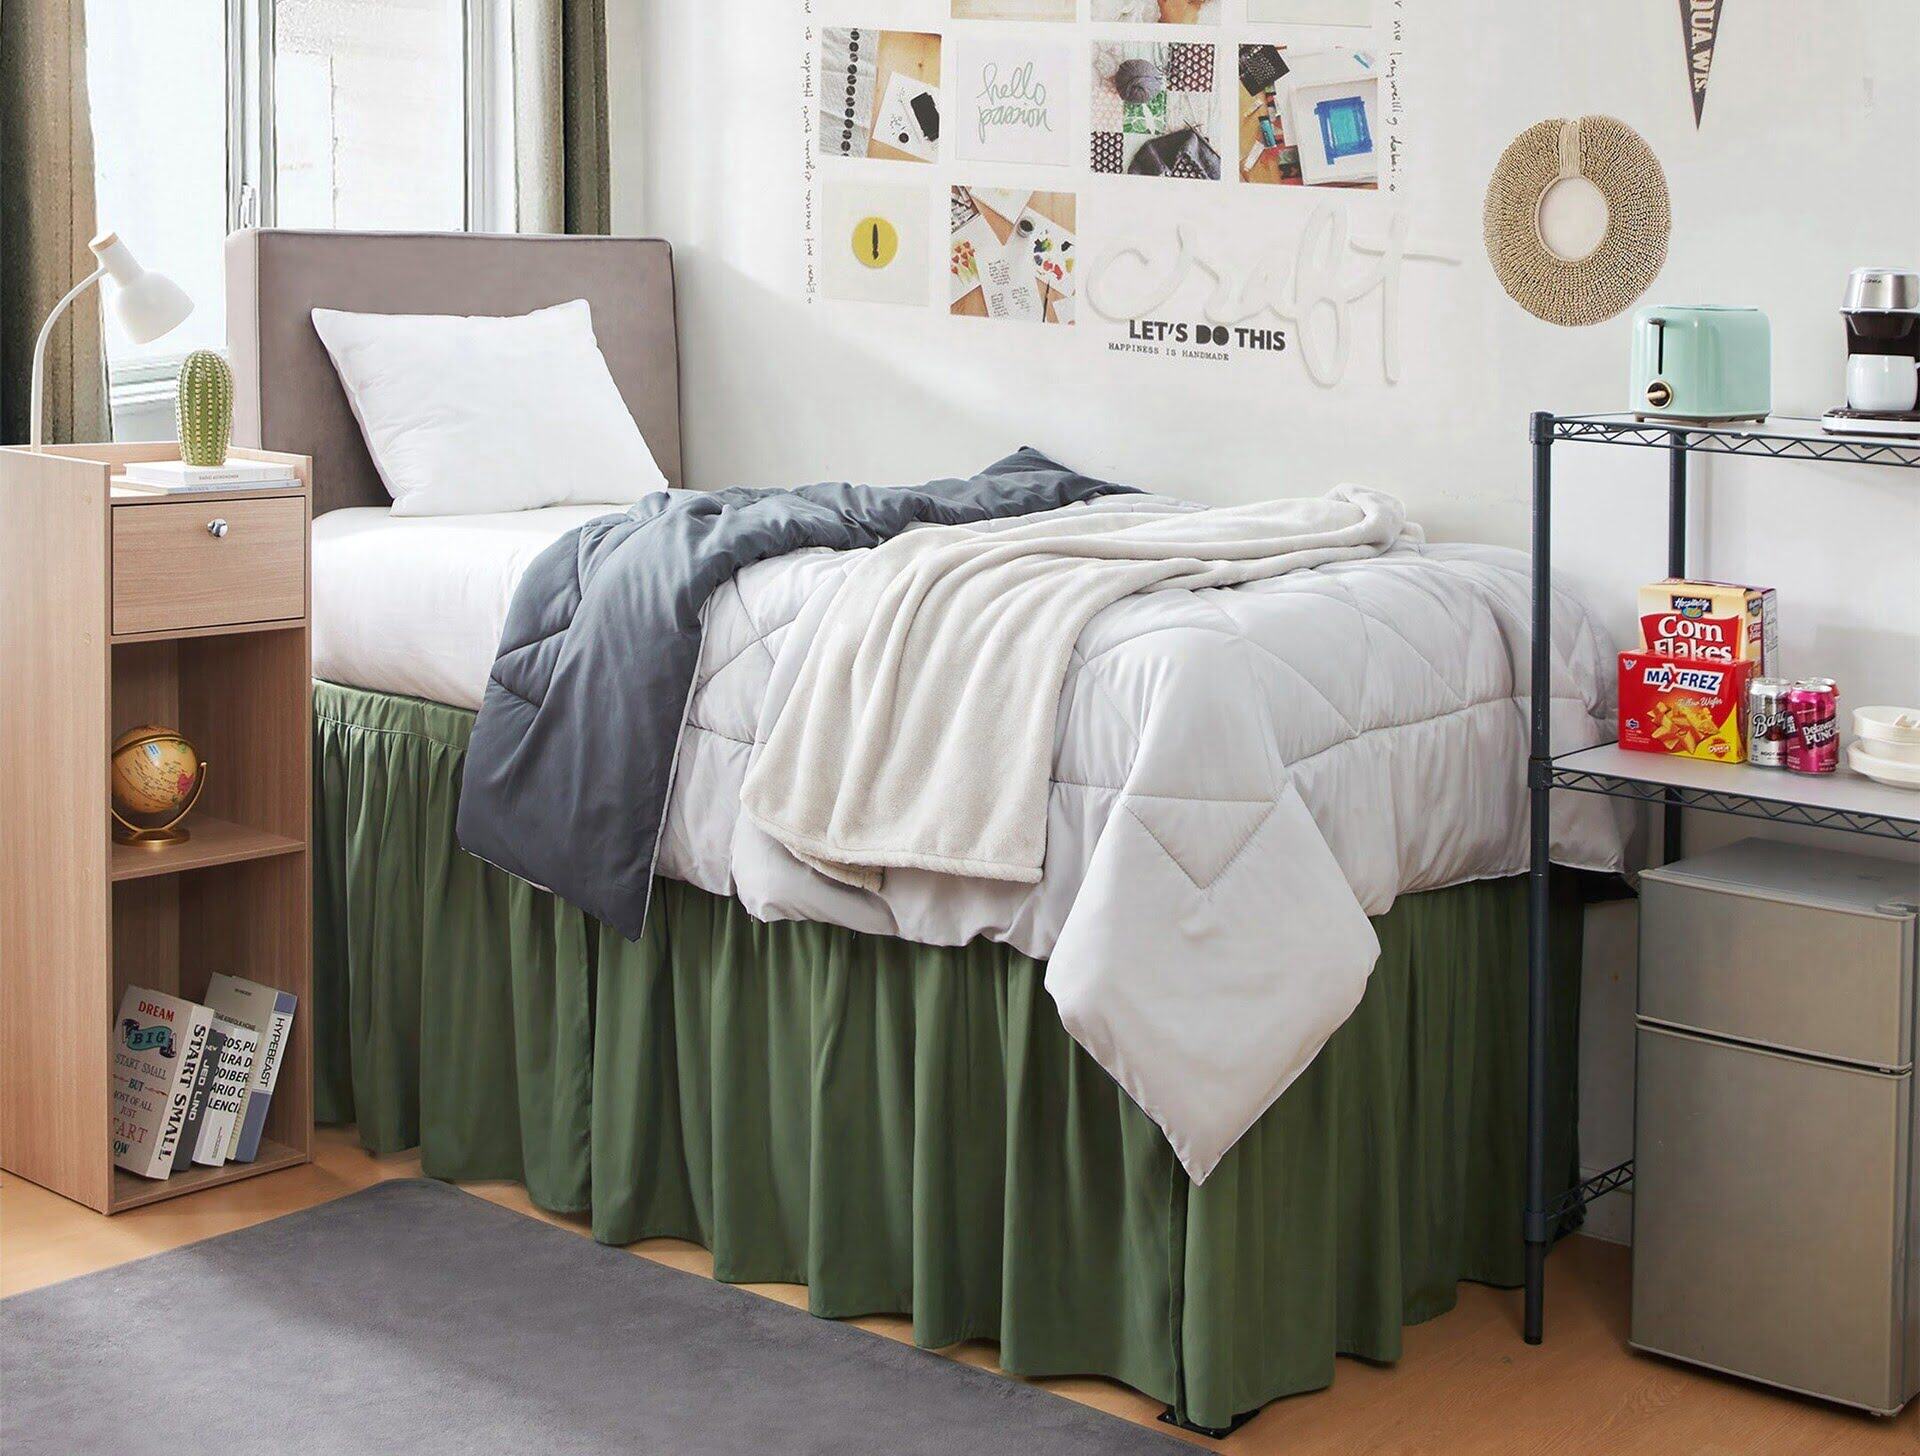
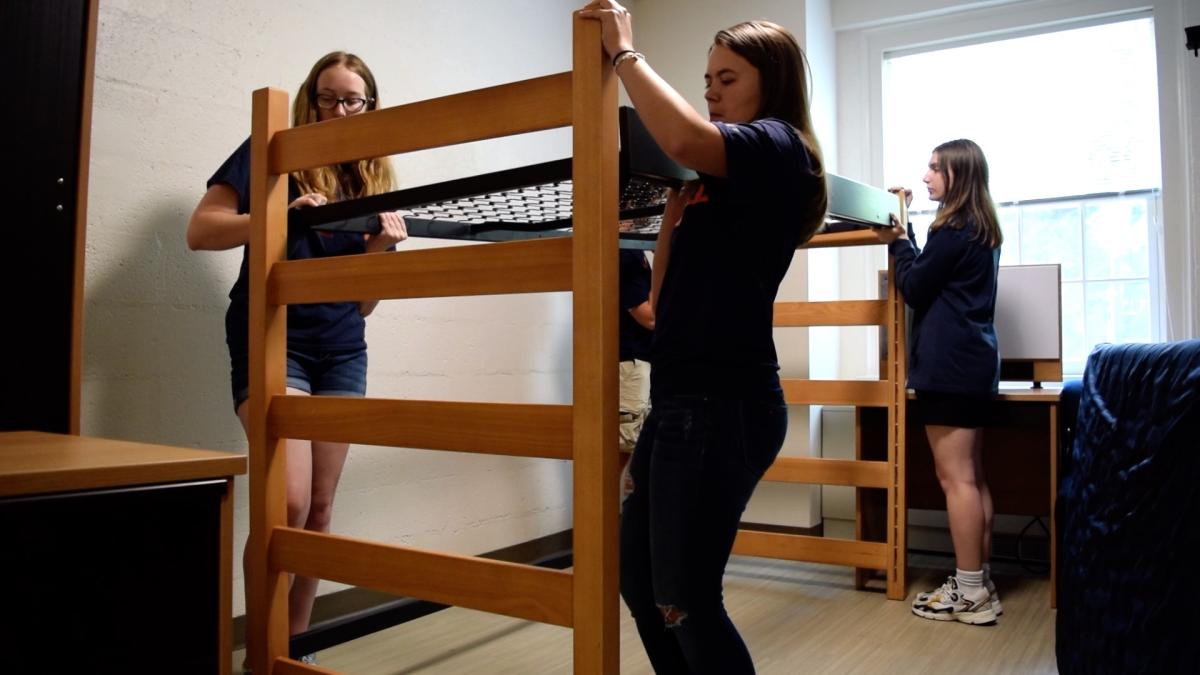
Welcome to our guide on how to make a bed skirt for a dorm bed. Whether you’re a college student excitedly preparing your dorm room or a parent helping your child get ready for the next chapter of their life, adding a bed skirt can greatly enhance the overall look and feel of the bed and room.
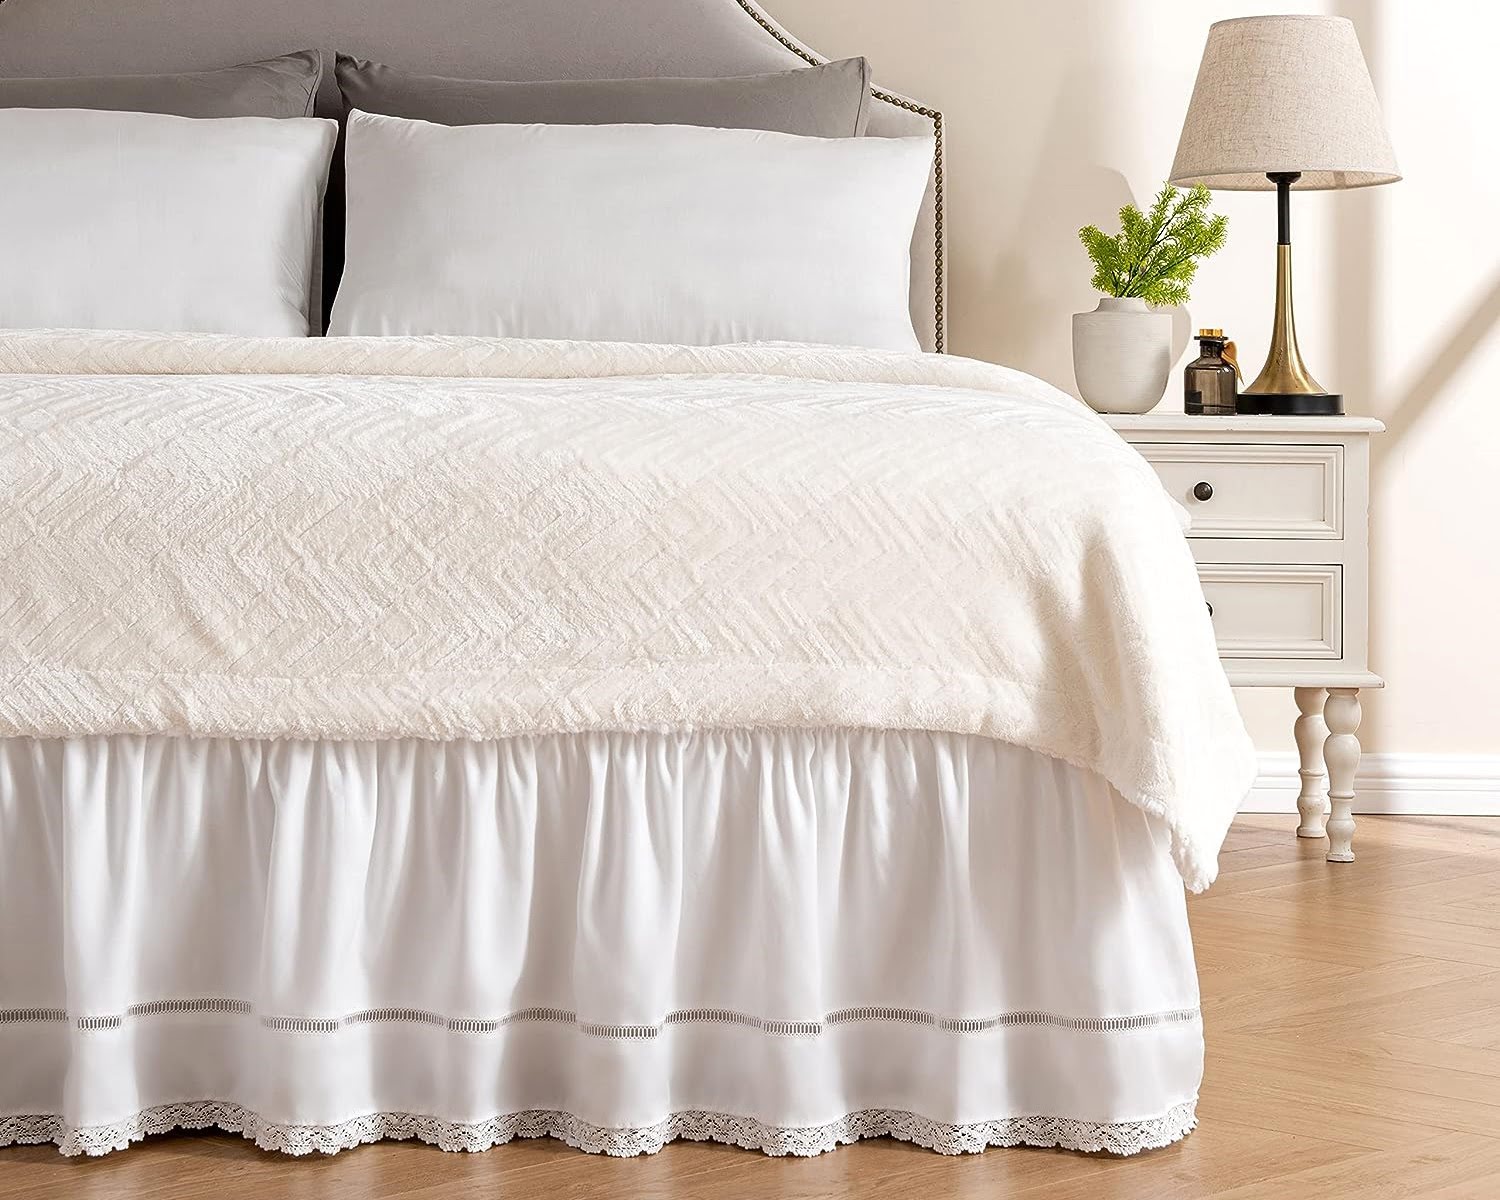
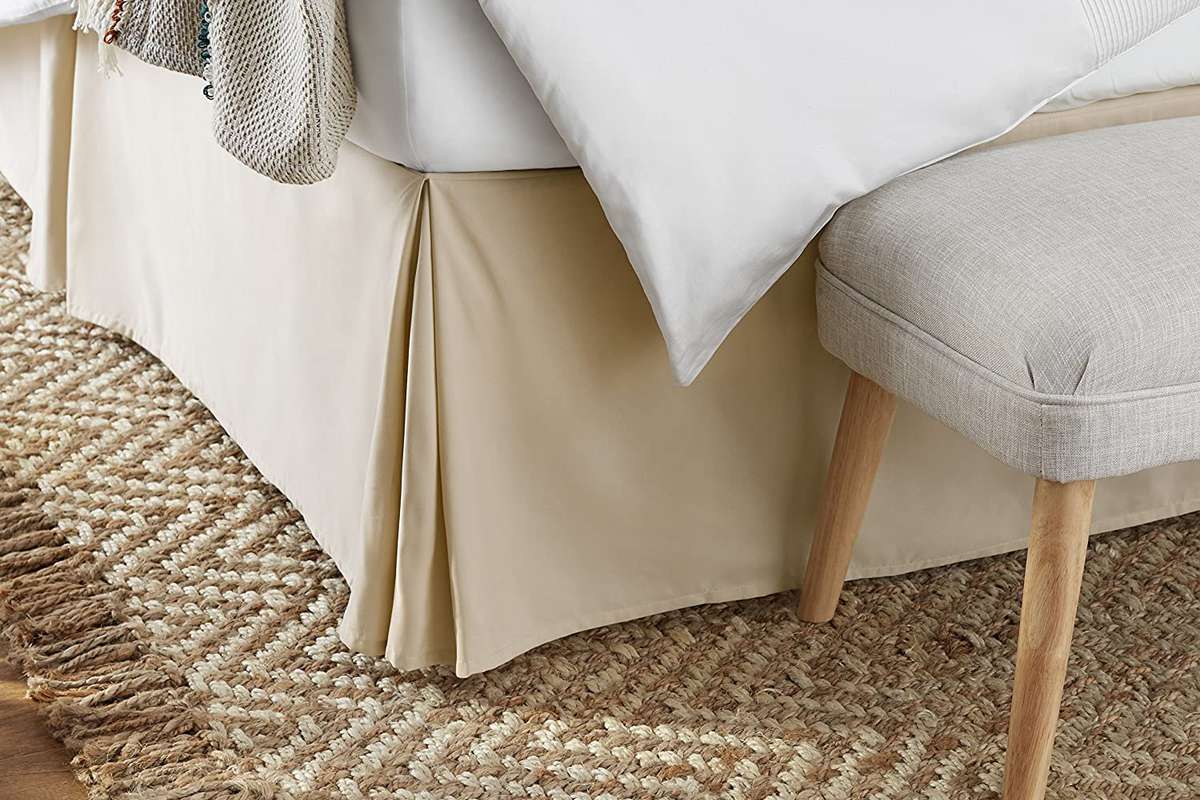
A bed skirt, also known as a dust ruffle, is a decorative covering that extends from the mattress base to the floor, hiding the bed frame and providing a polished and finished appearance. It not only adds a touch of style and sophistication to the room but also serves a functional purpose by preventing dust and debris from collecting under the bed.
While you can easily purchase a bed skirt from a store, making your own allows you to customize it to match your personal style, color scheme, and dorm room decor. Plus, it’s a fun and rewarding DIY project that doesn’t require advanced sewing skills.
In this article, we will guide you through the process of making a bed skirt for a dorm bed, from gathering the necessary materials to attaching the skirt securely to the bed frame. So, let’s dive in and get started on creating a beautiful and practical bed skirt for your dorm room!
Key Takeaways:
- Elevate your dorm room decor and keep dust at bay by crafting a personalized bed skirt that matches your style and fits your bed perfectly. Enjoy the process and showcase your creativity!
- Transform your dorm room into a cozy retreat with a DIY bed skirt. Add pleats or ruffles for an elegant touch, and follow care instructions to keep it looking fresh for years to come.
Read also: 8 Unbelievable Dorm Bed Skirt for 2024
Materials and Supplies Needed
Before you begin making your bed skirt, it’s important to gather all the necessary materials and supplies. Here’s a list of what you’ll need:
- Fabric: Choose a fabric that complements your dorm room decor and matches your personal style. You’ll need enough fabric to cover the three sides of the bed and reach the floor. Measure the length and width of the mattress, and add the desired drop length plus a few inches for seam allowances.
- Scissors or rotary cutter: These will be used to cut the fabric and any other necessary materials.
- Thread: Select a thread color that matches or complements your chosen fabric.
- Pins: These will hold the fabric in place while sewing.
- Sewing machine: While you can hand-sew the bed skirt, a sewing machine will make the process faster and more efficient.
- Elastic or bed skirt pins: Depending on your preference, you’ll need either elastic or bed skirt pins to attach the skirt to the mattress or bed frame.
- Measuring tape: This will help you accurately measure the dimensions of the bed and fabric.
- Iron and ironing board: These will be used to press the fabric and create crisp and neat seams.
Once you have gathered all the necessary materials, you’re ready to move on to the next steps in making your very own bed skirt for your dorm bed.
Measurements and Cutting
Now that you have all the materials and supplies ready, it’s time to take accurate measurements and cut the fabric for your bed skirt. Follow these steps:
- Measure the length and width of the mattress: Use a measuring tape to determine the dimensions of the mattress. Write down the measurements for reference.
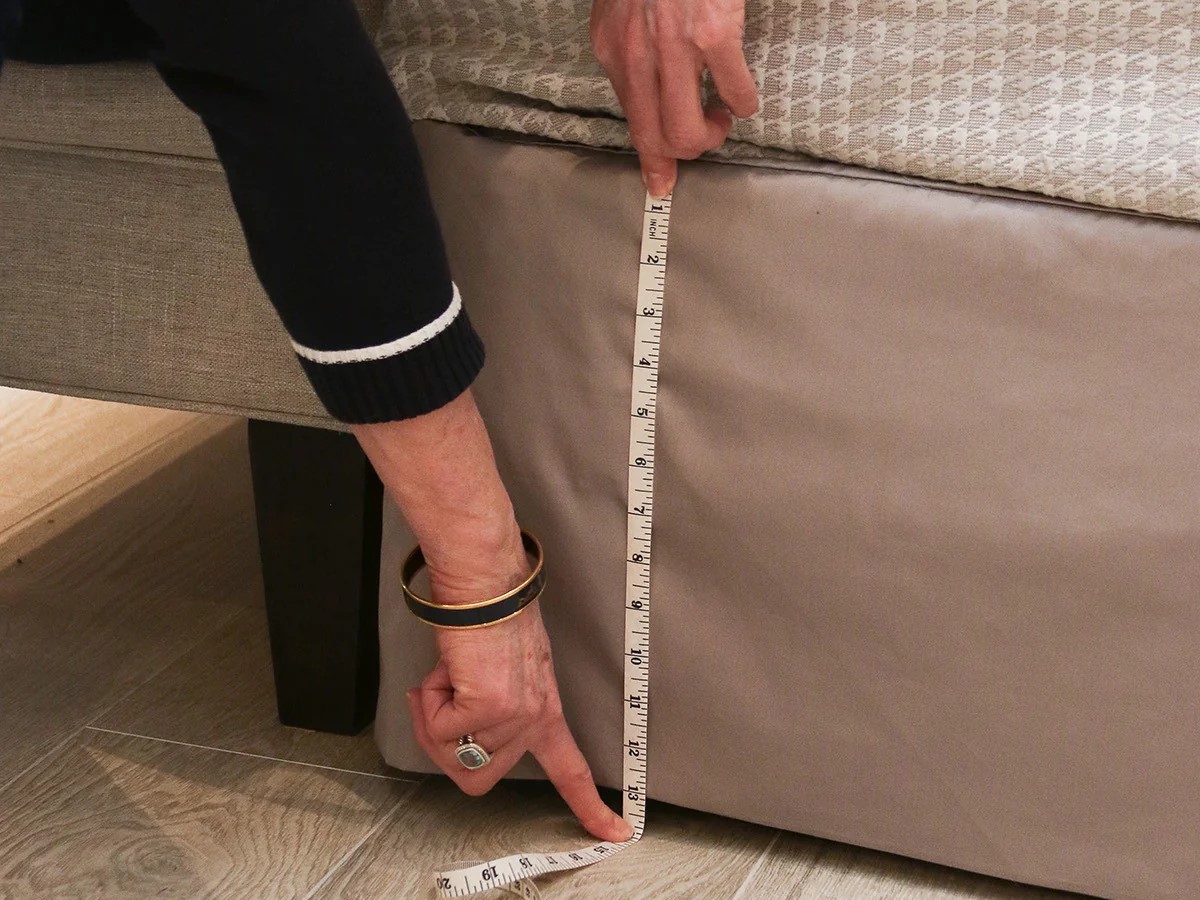
- Calculate the desired drop length: The drop length is the distance from the top of the mattress to the floor. Measure how far you want the bed skirt to hang and add a few inches for seam allowances.
- Measure the three sides of the bed: Start from one side of the mattress and measure along the edge to the foot of the bed, then up to the other side. Repeat this process for the two sides of the bed, adding the desired drop length to each measurement.
- Cut the fabric panels: Using the measurements you took in the previous step, cut three fabric panels to the appropriate sizes. The width of each panel should be equal to the width of the bed, and the length should match the measurements you took for each side of the bed.
Once you have cut the fabric panels, make sure to double-check the measurements to ensure accuracy. This step is crucial as it will determine the fit and appearance of your bed skirt.
Remember to leave a small seam allowance along the edges of each panel for sewing. A ½-inch allowance is typically sufficient, but you can adjust it based on personal preference and the thickness of the fabric.
Now that you have your fabric panels cut to the appropriate sizes, you’re ready to move on to the next step of sewing the panels together to create your bed skirt.
Sewing the Panels
With your fabric panels ready, it’s time to sew them together to create the bed skirt. Follow these steps:
- Arrange the fabric panels: Lay the panels out in the desired order and orientation, making sure they align evenly along the edges.
- Pin the panels together: Use pins to secure the fabric panels together along the edges. Start at one corner and proceed to pin all the way to the other corner, ensuring that the fabric stays in place while sewing.
- Optional: serge or zigzag stitch the edges: To prevent fraying and add durability, you can use a serger or a zigzag stitch on the raw edges of the fabric panels. This step is not essential, but it can enhance the overall finish of the bed skirt.
- Begin sewing: Using a sewing machine and a straight stitch, start sewing along the pinned edges of the fabric panels. Remember to remove the pins as you sew and guide the fabric smoothly under the machine’s needle.
- Backstitch at the beginning and end: To secure the stitches, backstitch a few stitches at the beginning and end of each seam. This will prevent the seams from unraveling over time.
- Repeat for all the edges: Sew all the edges of the fabric panels until you have a complete rectangle that matches the size and shape of the bed.
Once you have sewn the fabric panels together, remove any loose threads and give the bed skirt a gentle press with an iron to create crisp, clean edges. Now, your bed skirt is taking shape!
Stay tuned for the next step, where we will guide you through attaching the bed skirt securely to the mattress or bed frame.
Attaching the Skirt to the Bed
Now that you have sewn the fabric panels together to create the bed skirt, it’s time to attach it securely to the mattress or bed frame. Depending on your preference and the type of bed you have, there are two common methods for attaching the bed skirt: using elastic or bed skirt pins.
Read more: How To Make A Bed Skirt
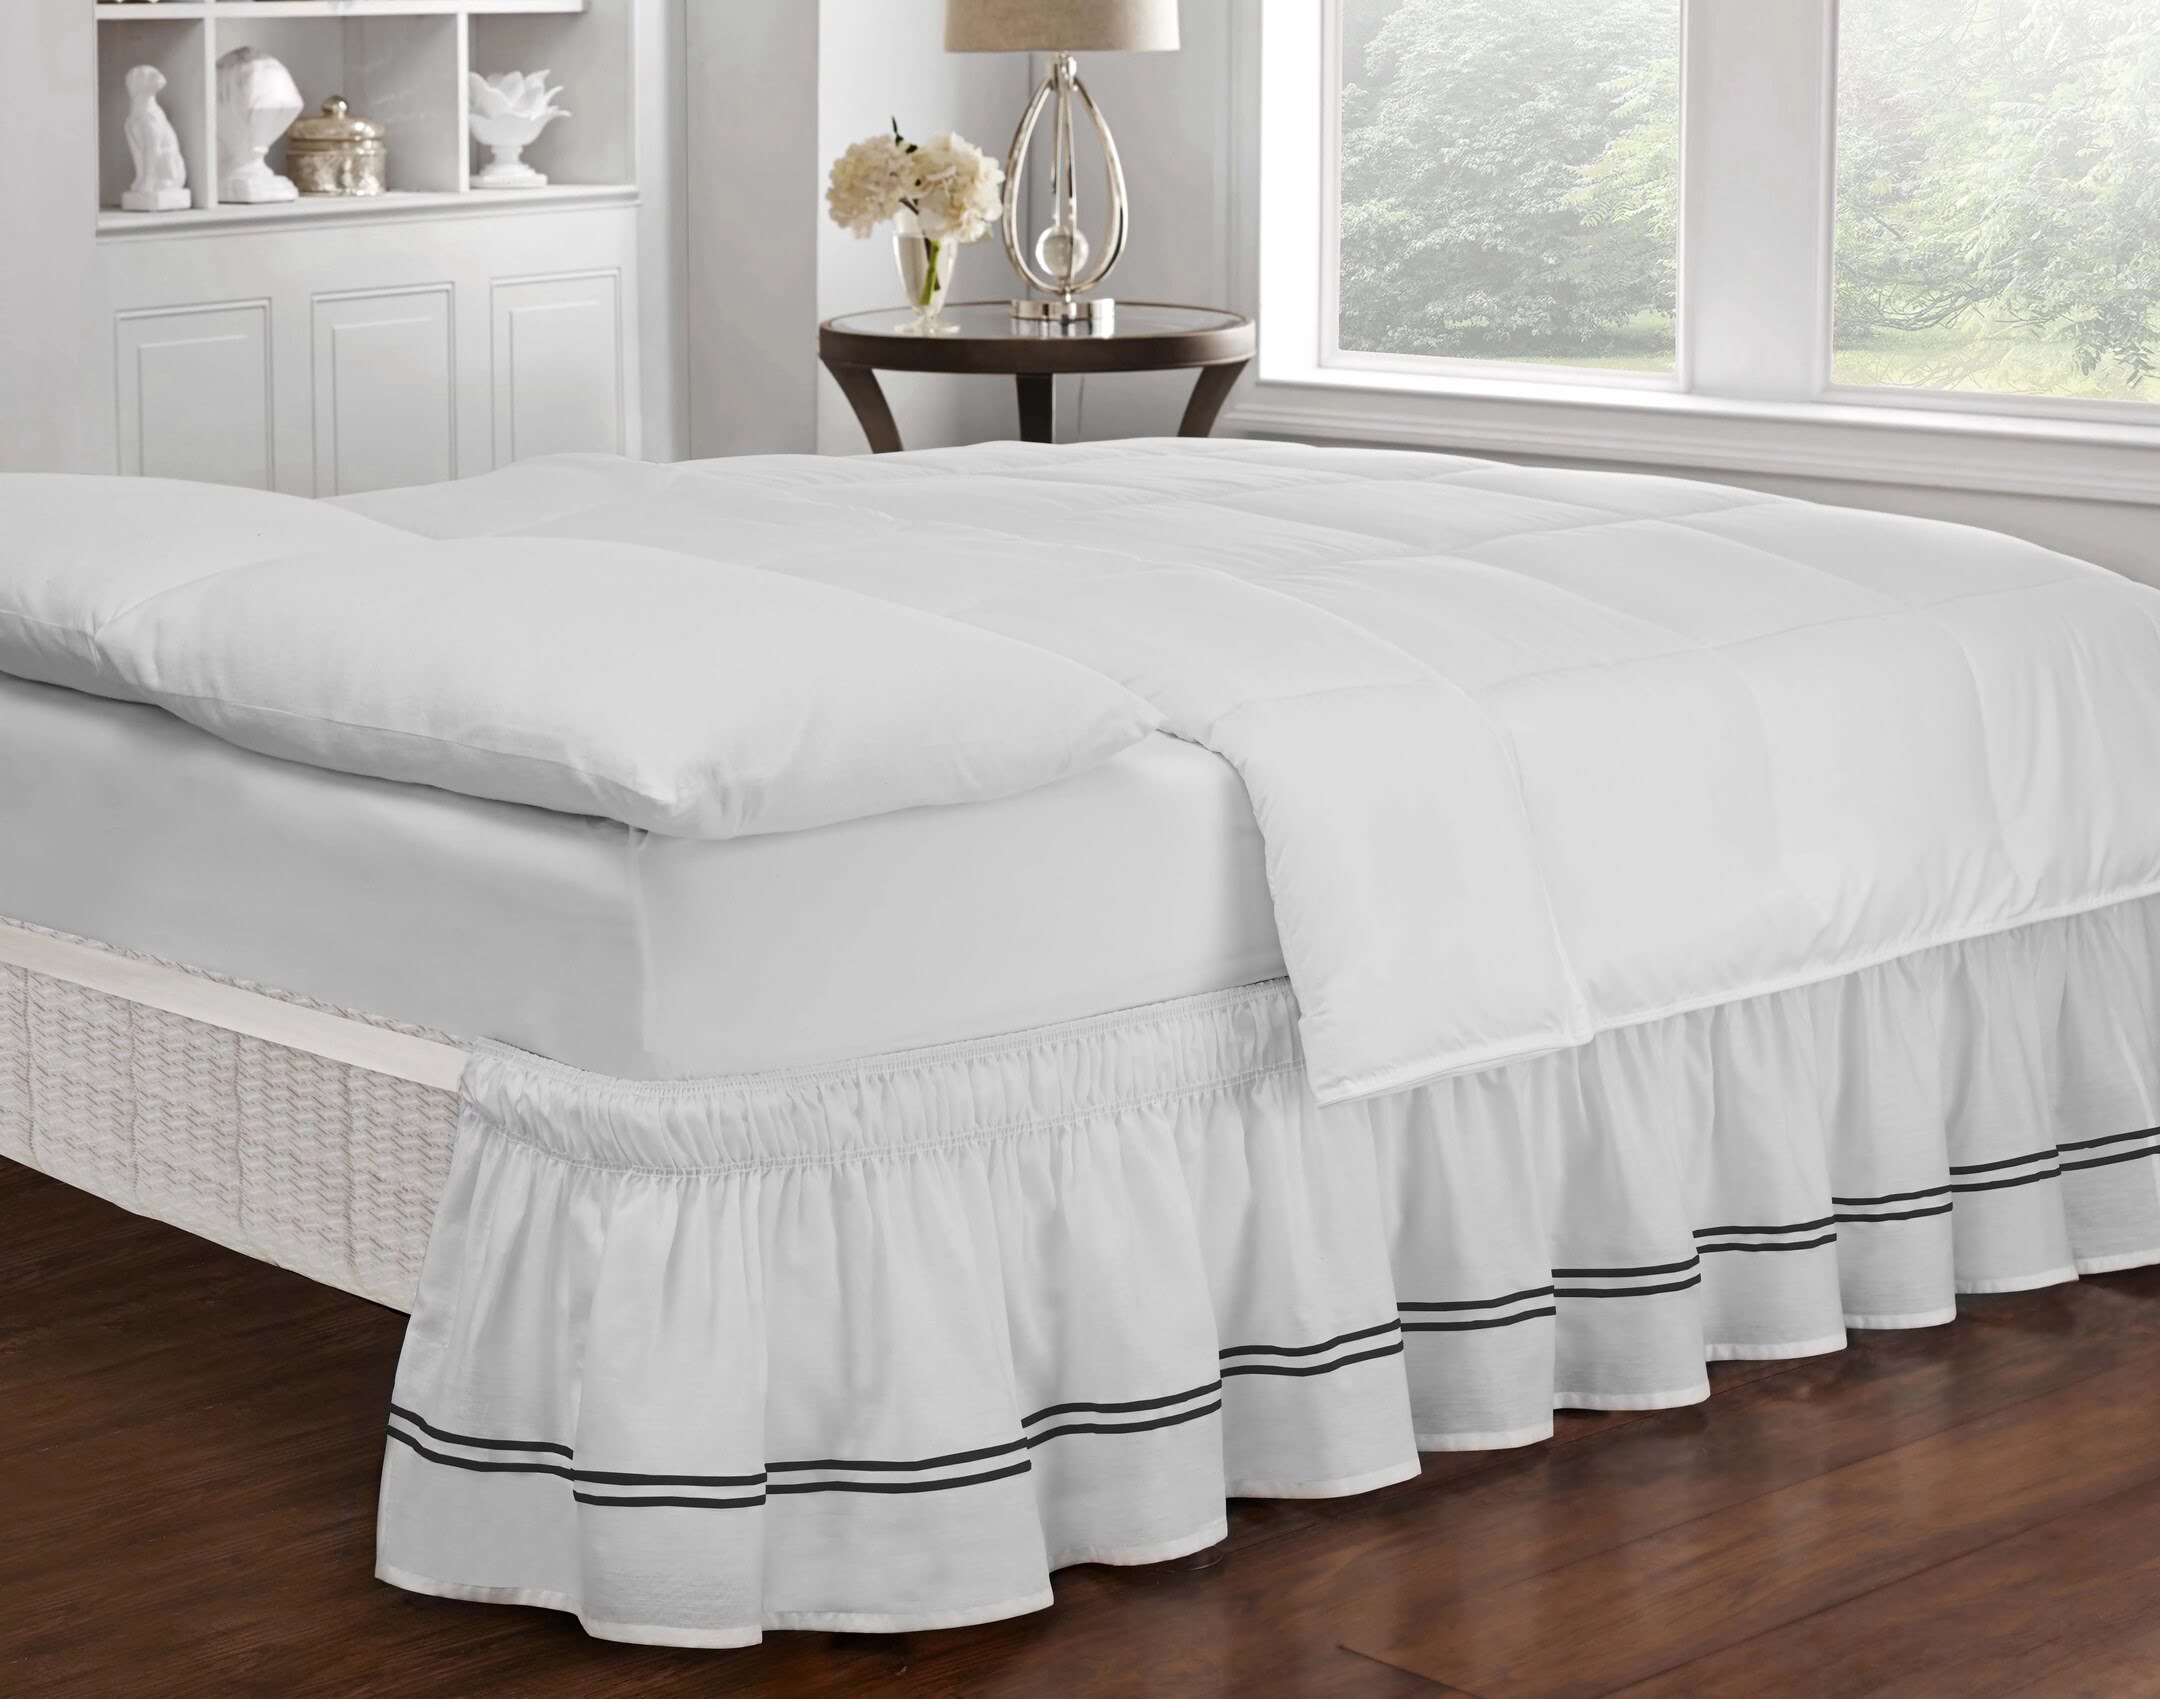
Using Elastic
- Measure and cut the elastic: Measure the perimeter of the mattress or bed frame, excluding the headboard and footboard. Cut a piece of elastic that matches this measurement, ensuring it is not too tight or too loose.
- Pin the elastic to the bed skirt: Insert the elastic inside the folded edge of the bed skirt, aligning it with the top edge. Pin the elastic securely in place, evenly distributing the tension.
- Sew the elastic to the bed skirt: Using a sewing machine and a stretch stitch or a zigzag stitch, sew along the pinned edge of the bed skirt to attach the elastic. Make sure to stretch the elastic slightly as you sew to allow for ease of application.
- Secure the corners: Fold and sew the corners of the bed skirt to create neat and secure corners. Trim any excess fabric if necessary.
Using Bed Skirt Pins
- Position the bed skirt: Place the bed skirt on the bed, ensuring that it hangs evenly and covers the sides of the bed frame.
- Insert the bed skirt pins: Starting at one corner, insert a bed skirt pin through the fabric and into the mattress or bed frame. Repeat this process for each corner and every few inches along the sides of the bed.
- Continue inserting the pins: Work your way around the bed, inserting bed skirt pins at regular intervals to secure the bed skirt in place.
- Adjust the bed skirt: Once all the pins are in place, ensure that the bed skirt hangs evenly and adjust it as needed until you are satisfied with the appearance.
Once you have attached the bed skirt using your preferred method, give it a final press with an iron to smooth out any wrinkles and ensure a polished look. Stand back and admire your handiwork!
Next, we will cover the finishing touches and provide care instructions for your newly made bed skirt.
Finishing Touches and Care Instructions
With your bed skirt securely attached to the bed, it’s time to add the finishing touches and ensure that it stays looking fresh and beautiful. Here are a few final steps and care instructions:
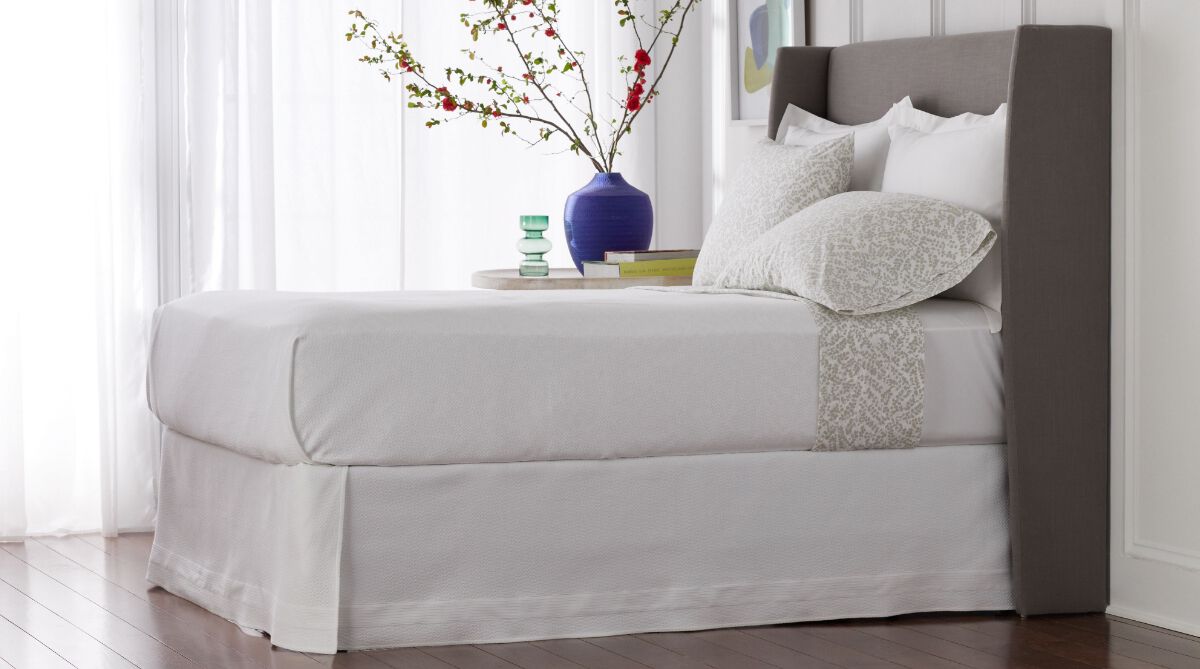
Pleats or Ruffles
For an extra decorative touch, you can create pleats or ruffles along the top edge of the bed skirt. To create pleats, fold the fabric and secure it in place with pins before attaching it to the bed. For ruffles, gather the fabric along the top edge and sew it in place. Experiment with different styles and techniques to achieve the desired look.
Read more: How To Make A Pleated Crib Bed Skirt
Care Instructions
Proper care will help maintain the appearance and longevity of your bed skirt. Here are some general care instructions:
- Regularly dust or vacuum the bed skirt to prevent the buildup of dust and debris.
- Check the care label of the fabric and launder the bed skirt accordingly. Most fabrics can be machine washed on a gentle cycle with mild detergent and dried on a low heat setting.
- If necessary, iron the bed skirt on a low to medium heat setting to remove any wrinkles or creases.
- Before storing the bed skirt, ensure it is completely dry to prevent mold or mildew growth. Fold it carefully and store it in a clean and dry place.
Following these care instructions will help keep your bed skirt looking fresh and tidy for years to come.
Showcase Your Style
Now that you have successfully made and attached a bed skirt to your dorm bed, take a moment to step back and admire the enhancement it brings to your room. The bed skirt adds a stylish touch while also serving a practical purpose.
Consider complementing the bed skirt with coordinating bedding, pillows, and decor to create a cohesive and inviting dorm room. Let your personal style shine through these thoughtful design choices and transform your dorm space into a cozy and welcoming retreat.
That concludes our guide on how to make a bed skirt for a dorm bed. We hope you found it helpful and enjoyed getting creative with this DIY project. Happy crafting!
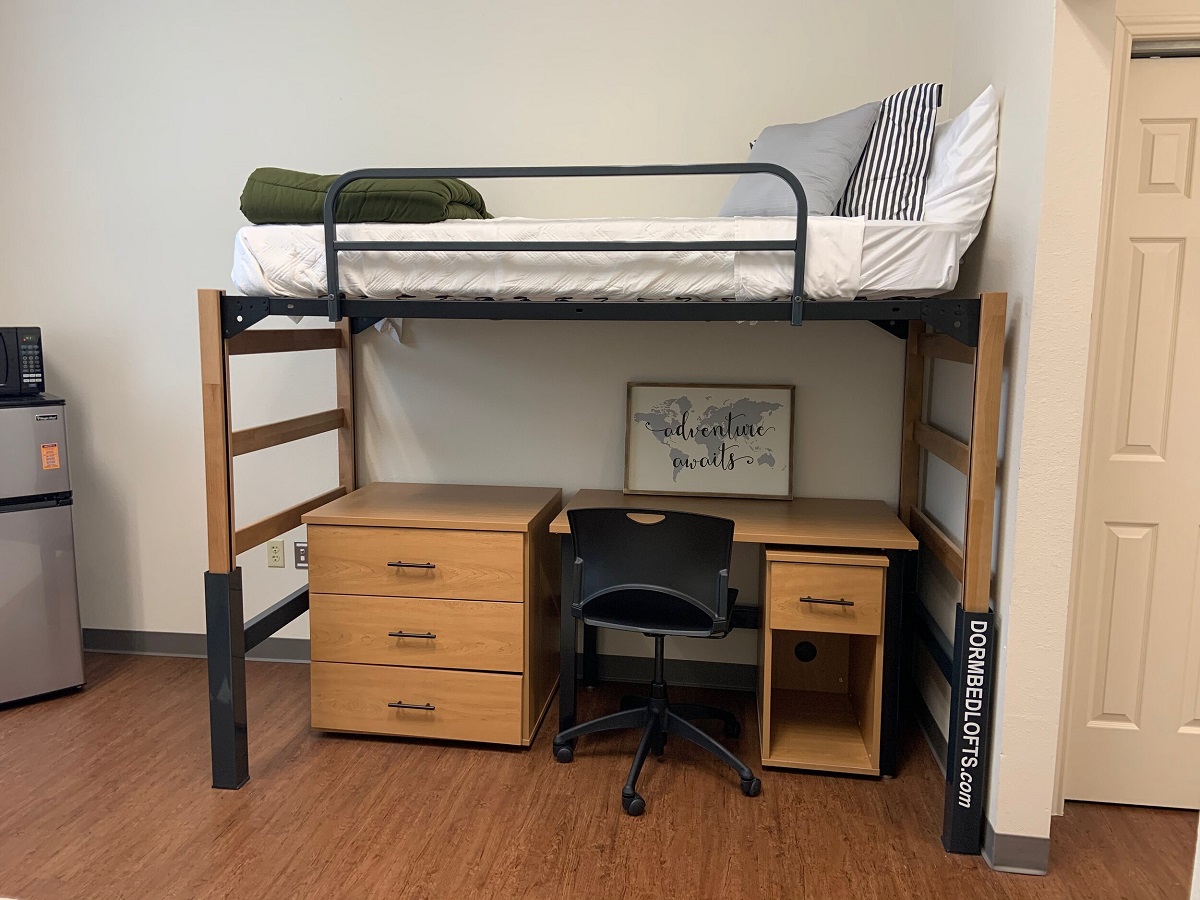
When making a bed skirt for a dorm bed, be sure to measure the length, width, and height of the bed to ensure a proper fit. Use a durable fabric that can withstand frequent washing and consider adding Velcro or elastic to secure the skirt in place.
Conclusion
Creating a bed skirt for your dorm bed is a fantastic way to add a stylish and polished touch to your room while keeping dust and debris out from under the bed. By following the steps outlined in this guide and utilizing your creativity, you can design a bed skirt that perfectly matches your personal style and dorm room decor.
Making your bed skirt also allows you to customize it to fit your specific bed dimensions and desired drop length. Whether you choose to use elastic or bed skirt pins to attach it, the end result will be a beautifully crafted bed skirt that adds a functional and aesthetic element to your dorm room.
Remember to take accurate measurements, cut the fabric carefully, sew the panels together, and securely attach the bed skirt to the bed. Adding pleats or ruffles can give your bed skirt an extra touch of elegance, allowing you to showcase your unique style.
Once your bed skirt is complete, make sure to follow the care instructions to keep it looking fresh and presentable. Regular dusting, proper laundering, and careful storage will ensure that your bed skirt maintains its beauty and functionality for years to come.
Creating your own bed skirt for your dorm bed is a satisfying DIY project that allows you to personalize your living space and express your creativity. So, grab your fabric, sewing machine, and supplies, and embark on this fun and rewarding endeavor to transform your dorm room into a cozy and inviting sanctuary.
Thank you for joining us in this journey of making a bed skirt for a dorm bed. We hope you found this guide helpful and inspiring. Now, go ahead and make your bed skirt, and enjoy the beauty and comfort it brings to your dorm room!
Frequently Asked Questions about How To Make A Bed Skirt For Dorm Bed
Was this page helpful?
At Storables.com, we guarantee accurate and reliable information. Our content, validated by Expert Board Contributors, is crafted following stringent Editorial Policies. We're committed to providing you with well-researched, expert-backed insights for all your informational needs.


0 thoughts on “How To Make A Bed Skirt For Dorm Bed”