Articles
How To Fold Blankets On A Ladder
Modified: August 27, 2024
Learn how to fold blankets on a ladder easily with these helpful articles. Organize your space and keep your blankets neat and tidy.
(Many of the links in this article redirect to a specific reviewed product. Your purchase of these products through affiliate links helps to generate commission for Storables.com, at no extra cost. Learn more)
Introduction
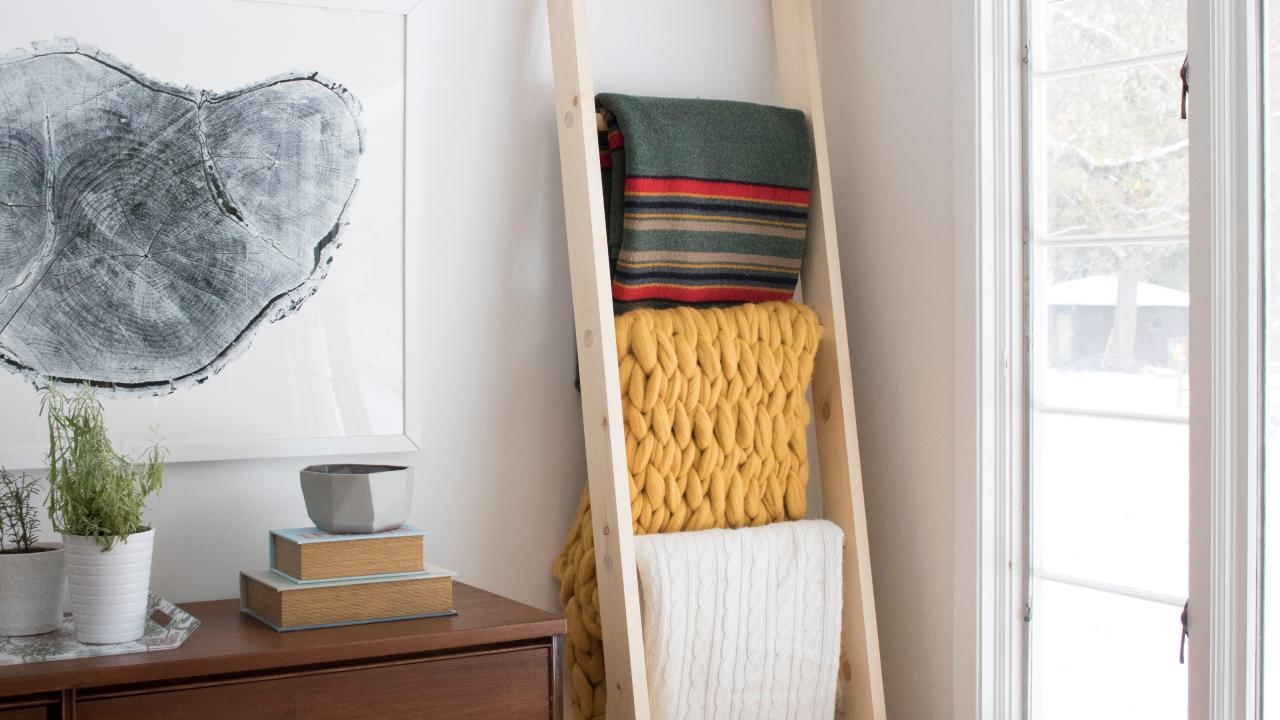
Blankets are essential for providing warmth and comfort, but they can quickly take up space and create clutter in your home. Properly folding and organizing blankets is an excellent way to maximize storage and maintain a tidy living space. While there are various methods to fold blankets, one efficient technique is to use a ladder.
A ladder provides a sturdy structure to drape and fold blankets, making the process quick and hassle-free. Not only does using a ladder keep your blankets organized, but it also adds a touch of style to your living space. Whether you have a decorative ladder or a functional one, this article will guide you through the steps to fold blankets on a ladder effortlessly.
In this article, you will learn how to properly set up the ladder, prepare the blankets for folding, fold the blankets neatly, secure the folded blankets, and store them efficiently. By following these steps, you can create a visually appealing storage solution for your blankets and keep them easily accessible whenever you need them.
So, let’s dive into the details and discover how you can efficiently fold blankets on a ladder!
Key Takeaways:
- Efficiently fold and store blankets on a ladder to maximize space and add style to your living space. Follow simple steps to set up the ladder, prepare and fold blankets, secure them in place, and choose storage options for a clutter-free home.
- Showcase the patterns and textures of your blankets while keeping them easily accessible. Utilize a ladder to neatly fold and display blankets, adding functionality and elegance to your living space.
Read more: How To Fold Blankets Into Pillows
Step 1: Setting up the ladder
The first step in folding blankets on a ladder is to set up the ladder in an appropriate location. Choose a spot in your home where the ladder can be easily accessible and where you have enough space to maneuver around it. Additionally, ensure that the ladder is stable and secure before proceeding with folding the blankets.
If you have a decorative ladder specifically designed for displaying blankets, position it in a prominent area such as the living room or bedroom. This allows the ladder to serve as both a functional storage solution and a decorative piece. However, if you don’t have a specialized ladder, a regular ladder can work just as well.
Here are the steps to set up the ladder:
- Choose a location: Select a suitable location in your home for the ladder. Consider factors such as accessibility and available space.
- Clean the area: Make sure the area where you plan to set up the ladder is clean and free from any obstructions.
- Position the ladder: Place the ladder upright in the chosen location. Ensure that all legs are firmly on the ground and the ladder is stable.
- Adjust the ladder height (optional): If your ladder is adjustable, set it to a height that is convenient for you to reach and fold the blankets.
- Secure the ladder (optional): For added stability, you can anchor the ladder to the wall or floor using brackets or straps. This is especially important if you have children or pets in the house.
Once you have set up the ladder, you are ready to move on to the next step: preparing the blankets for folding.
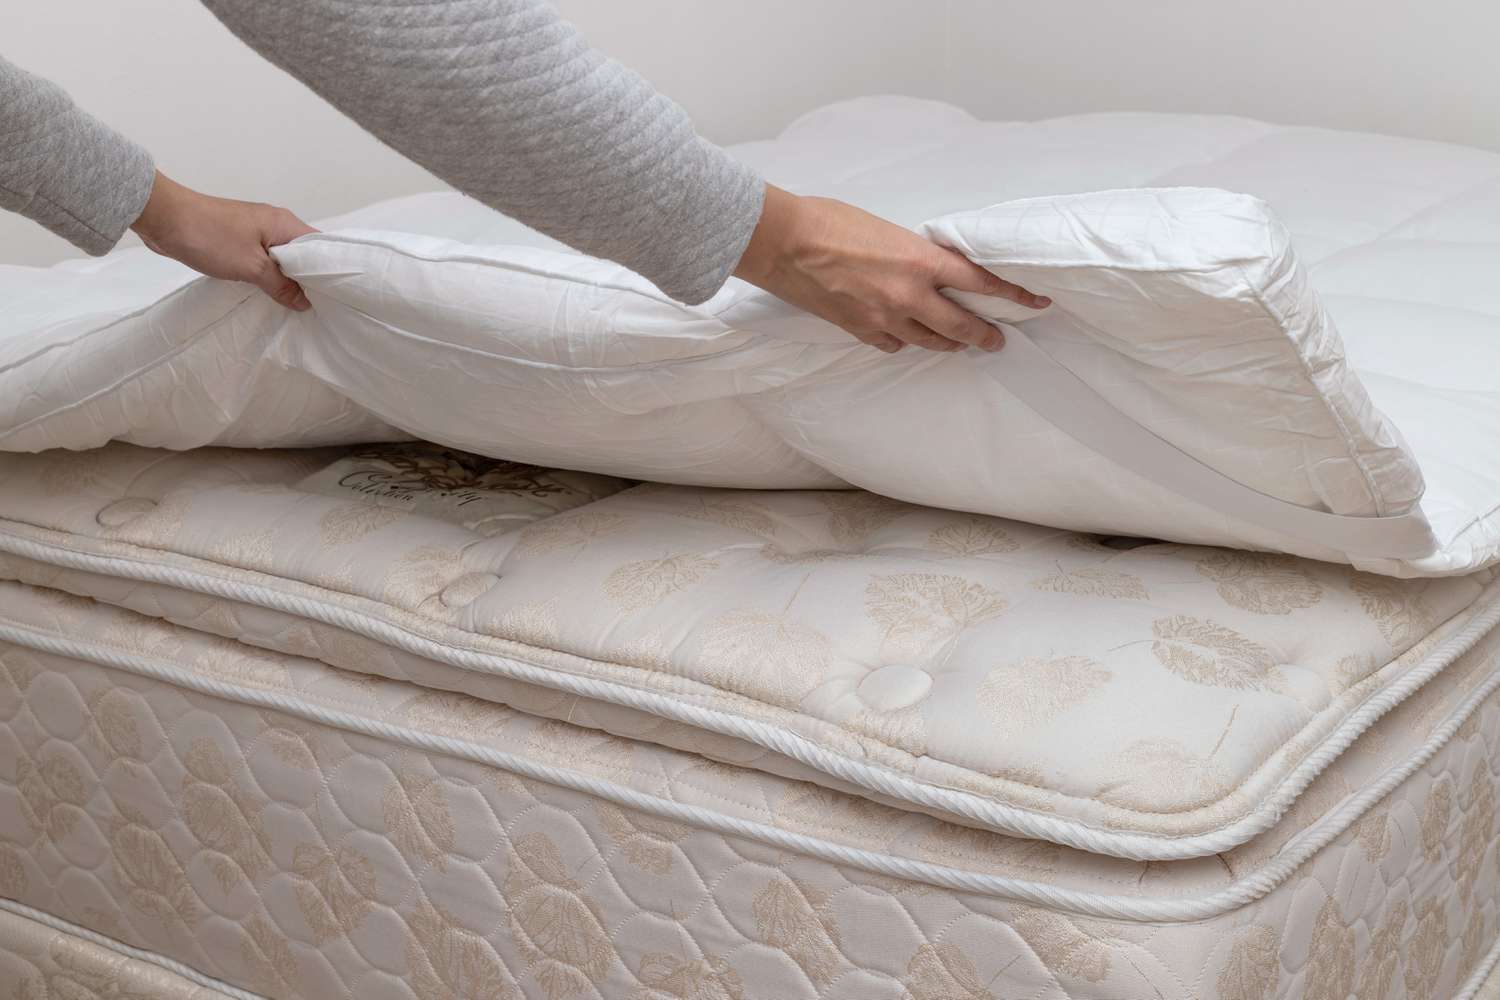
Step 2: Preparing the blankets
Before you start folding your blankets on the ladder, it’s important to prepare them properly. This step ensures that the blankets are clean, free from any wrinkles, and ready to be neatly folded and displayed. Here’s how you can prepare your blankets:
- Wash and dry: If your blankets are dirty, give them a wash according to the care instructions. Use a gentle cycle and mild detergent to maintain the quality of the fabric. After washing, ensure that the blankets are completely dry before proceeding.
- Iron or steam: If your blankets have stubborn wrinkles or creases, iron them or use a handheld steamer to remove the wrinkles. This step will make folding easier and give your blankets a neat appearance.
- Fold edges: Start by folding any loose edges or fringes of the blankets inward. This creates clean edges and prepares the blankets for a structured fold.
Taking the time to properly prepare your blankets ensures that they look their best when folded on the ladder. It also helps to maintain the overall appearance and longevity of the blankets. Once your blankets are prepared, you’re ready to move on to the next step: folding the blankets on the ladder.
Step 3: Folding the blanket
Now that you have set up the ladder and prepared your blankets, it’s time to start folding them. Folding blankets on a ladder allows for a structured and visually pleasing display. Follow these steps to fold your blankets neatly:
- Start at the bottom: Begin by draping the blanket over one of the ladder’s rungs from the bottom up. Make sure the blanket is centered and evenly hanging on both sides.
- Even out the sides: Adjust the blanket on the rung to ensure that both sides are equal in length. This will create a balanced and symmetrical appearance.
- Fold in thirds: Starting from the bottom, fold the blanket in thirds by bringing the bottom edge up towards the rung. Smooth out any wrinkles or folds as you go.
- Repeat with remaining blankets: If you have multiple blankets to fold, repeat the above steps for each blanket. Position them on different rungs of the ladder, ensuring a visually appealing arrangement.
By following these steps, you will achieve a neat fold that showcases the pattern or texture of the blanket. This method also allows for easy access to the blankets when you need them. Once you have folded the blankets, it’s time to move on to the next step: securing the folded blankets.
When folding blankets on a ladder, start by laying the blanket flat across the ladder rungs. Then, fold the sides in towards the middle, and continue folding until the blanket is a manageable size for storage.
Step 4: Securing the folded blanket
After folding the blankets on the ladder, it’s important to secure them to prevent them from slipping or falling off. This step ensures that your folded blankets remain in place and maintain their organized appearance. Here’s how you can secure the folded blankets:
- Use decorative accents: Consider using decorative accents such as ribbon, twine, or fabric straps to secure the folded blankets. Wrap them around the folded blanket vertically or horizontally, and tie them in a knot or bow for a stylish touch.
- Use binder clips or clothespins: Another practical option is to use binder clips or clothespins to hold the folded blanket in place on the ladder rung. Attach them to the edge of the blanket, ensuring a secure grip.
- Utilize ladder rungs: In some cases, the ladder rungs themselves can provide enough support to keep the folded blanket in place. Ensure that the folded edge of the blanket is securely tucked under the rung for stability.
- Consider adhesive hooks or clips: If your ladder has a smooth surface or you prefer a more permanent securing method, adhesive hooks or clips can be attached to the ladder to hold the folded blanket in place.
Choose a securing method that suits your preference and complements the overall aesthetic of your space. Keep in mind that securing the folded blankets not only adds stability but also enhances the decorative aspect of your ladder display. Once you have secured the folded blankets, it’s time to move on to the final step: storing the folded blankets.
Read more: How To Fold A Horse Blanket
Step 5: Storing the folded blankets
Once you have successfully folded and secured your blankets on the ladder, it’s important to store them properly to maintain their pristine condition and maximize space efficiency. Here are some tips on storing the folded blankets:
- Consider a blanket ladder: If you’re using a dedicated blanket ladder, you can keep the folded blankets displayed on the ladder itself. This allows for easy access and creates a visually appealing storage solution.
- Utilize wall hooks: If you have limited floor space or prefer a vertical storage option, you can hang the folded blankets on wall hooks. Place the hooks at an appropriate height, ensuring that the blankets hang freely without any creases.
- Opt for storage bins or baskets: For a more organized and concealed storage option, consider placing the folded blankets in storage bins or baskets. Label the bins or use transparent containers to easily identify which blankets are inside.
- Utilize under-bed storage: If you’re short on storage space, under-bed storage can be a practical solution. Fold the blankets appropriately and place them in large, sealable bags or storage containers designed for under-bed storage.
- Rotate the blankets: To maintain the quality of the blankets, it’s a good practice to rotate the folded blankets periodically. This ensures that all blankets are exposed to air and reduces the chances of mustiness or stagnant odors.
Choose a storage method that best suits your space, needs, and personal preferences. By storing the folded blankets properly, you will ensure that they are well-maintained and readily accessible whenever you need them.
With the completion of step 5, you have successfully learned how to fold and store your blankets on a ladder. By following these steps, you can create an organized and visually appealing display that adds functionality and style to your living space. Enjoy the convenience of neatly folded blankets and the enhanced aesthetics of your ladder storage solution!
For more home organization tips and tricks, check out our other articles. Happy folding!
Conclusion
Folding blankets on a ladder is a practical and visually appealing method to keep your blankets organized and easily accessible. By following the steps outlined in this article, you have learned how to set up the ladder, prepare the blankets, fold them neatly, secure them in place, and store them efficiently.
With a well-organized ladder display, you can not only minimize clutter but also enhance the overall aesthetics of your living space. The process of folding blankets on a ladder is simple yet effective, allowing you to showcase the patterns, colors, and textures of your blankets while keeping them within reach whenever you need them.
Remember to choose a suitable location for your ladder, prepare the blankets by washing and removing wrinkles, fold them in thirds, and secure them using decorative accents, binder clips, or ladder rungs. Finally, explore storage options such as blanket ladders, wall hooks, storage bins, or under-bed storage to store the folded blankets efficiently.
By incorporating these steps into your home organization routine, you can create a harmonious and clutter-free environment. The ladder not only serves as a functional tool but also adds a touch of style and elegance to your living space.
So, why wait? Grab a ladder, gather your blankets, and start folding! Enjoy the benefits of a well-organized storage system and experience the satisfaction of a tidy and inviting home.
For more tips and tricks on home organization, be sure to explore our other articles. Happy folding and organizing!
Now that you've mastered folding blankets on a ladder, why not dive deeper into related topics? For those who love creating and fixing things themselves, our article on why DIY projects are so rewarding will surely spark your interest. If your living space feels cramped, our organizing tips for small living rooms offer clever solutions to reclaim your area. Finally, for everyone struggling with blanket clutter as the seasons change, our guide on the best blanket storage solutions for the upcoming year can't be missed. Each read provides unique insights and practical advice to enhance your home life.
Frequently Asked Questions about How To Fold Blankets On A Ladder
Was this page helpful?
At Storables.com, we guarantee accurate and reliable information. Our content, validated by Expert Board Contributors, is crafted following stringent Editorial Policies. We're committed to providing you with well-researched, expert-backed insights for all your informational needs.


0 thoughts on “How To Fold Blankets On A Ladder”