Home>Furniture & Design>Interior Design Trends>How To Make A Homemade Projector With A Glass Cup
Interior Design Trends
How To Make A Homemade Projector With A Glass Cup
Modified: March 25, 2024
Learn how to create a DIY projector using a glass cup and explore the latest interior design trends for your home. Transform your space with these innovative ideas!
(Many of the links in this article redirect to a specific reviewed product. Your purchase of these products through affiliate links helps to generate commission for Storables.com, at no extra cost. Learn more)
Introduction
Creating a homemade projector using a glass cup is a fascinating and innovative DIY project that combines creativity with practicality. This simple yet ingenious endeavor allows you to transform everyday materials into a functional and entertaining device. By harnessing the power of light and optics, you can construct a rudimentary projector that can display images from your smartphone onto a larger surface, such as a wall or a screen. This DIY project is not only a fun and educational activity but also a testament to the ingenuity and resourcefulness of the human mind.
The process of making a homemade projector with a glass cup involves harnessing the principles of light refraction and projection. By utilizing a few basic materials and following a series of straightforward steps, you can construct a device that amplifies the display of your smartphone, creating a larger and more immersive viewing experience. This project is an excellent way to explore the fundamentals of optics and gain a deeper understanding of how light behaves when passing through different mediums.
As you embark on this creative journey, you will have the opportunity to experiment with various materials and observe firsthand how they interact to produce a specific optical effect. The satisfaction of building a functional projector from everyday items, such as a glass cup and a few other household materials, is both rewarding and empowering. Moreover, the resulting homemade projector can serve as a conversation piece, showcasing your resourcefulness and DIY prowess to friends and family.
In the following sections, we will delve into the materials needed and the step-by-step process of creating a homemade projector with a glass cup. By following these instructions and exercising a bit of patience and precision, you can bring this imaginative project to life and enjoy the fruits of your labor. Let's embark on this exciting DIY adventure and unlock the potential of a simple glass cup to transform the way you view and interact with digital content.
Key Takeaways:
- Transform a glass cup into a homemade projector to magnify smartphone images onto a larger surface, combining creativity and practicality for an immersive DIY experience.
- By harnessing light and optics, a simple glass cup can become a functional projector, showcasing the transformative power of resourcefulness and DIY exploration.
Read more: How To Make A Projector With A Glass Cup
Materials Needed
To embark on the journey of creating a homemade projector with a glass cup, you will need a few essential materials that are readily available in most households or can be easily obtained from local stores. These items will form the foundation of your DIY project, enabling you to harness the power of light and optics to construct a functional and innovative device. Here are the materials you will need to bring your homemade projector to life:
-
Glass Cup: The centerpiece of this DIY project, the glass cup will serve as the primary component for creating the projection lens. It's important to select a glass cup with a smooth, uniform surface and minimal distortion to ensure optimal light refraction.
-
Smartphone: Your smartphone will act as the source of the images or videos that will be projected onto a larger surface. Ensure that your smartphone has a bright and clear display to enhance the quality of the projected images.
-
Utility Knife or Scissors: You will need a utility knife or a pair of scissors to cut and modify certain materials during the construction process. Exercise caution and precision when using these tools to ensure safety and accuracy.
-
Black Construction Paper or Cardboard: This material will be used to create a simple enclosure or housing for the projection lens, helping to block out excess light and improve the clarity of the projected images.
-
Tape: A reliable and sturdy tape, such as duct tape or electrical tape, will be essential for securing various components together and ensuring the stability of the homemade projector.
-
Magnifying Glass or Clear Plastic Lens: While not mandatory, a magnifying glass or a clear plastic lens can enhance the projection capabilities of the homemade projector, especially if the glass cup alone does not provide sufficient magnification.
-
Optional: Tripod or Stand: If you prefer a hands-free setup, a small tripod or a stable stand can be used to support the smartphone and the projector, allowing for a more convenient and stable viewing experience.
By gathering these materials, you will have everything you need to commence the construction of your homemade projector with a glass cup. Each item plays a crucial role in the assembly process, contributing to the functionality and performance of the projector. With these materials at your disposal, you are ready to move on to the next step and begin the exciting process of creating your very own DIY projector.
Step 1: Prepare the Glass Cup
The first step in creating a homemade projector with a glass cup involves preparing the glass cup to serve as the primary component for the projection lens. This crucial stage sets the foundation for the optical capabilities of the projector, as the shape and quality of the glass cup will directly impact the clarity and magnification of the projected images. Here's a detailed guide on how to prepare the glass cup for this innovative DIY project:
-
Select a Suitable Glass Cup: Begin by choosing a glass cup with a smooth and uniform surface, free from significant distortions or imperfections. The clarity and quality of the glass will influence the projection capabilities of the homemade projector, so it's essential to pick a glass cup that offers optimal light transmission.
-
Clean the Glass Cup: Thoroughly clean the glass cup to remove any dust, fingerprints, or smudges that could obstruct the passage of light. Use a gentle glass cleaner or a mixture of mild soap and water to ensure that the surface of the glass cup is pristine and free from any obstructions.
-
Positioning the Glass Cup: Place the glass cup upside down on a flat and stable surface, ensuring that it remains steady and secure throughout the preparation process. The inverted position of the glass cup will facilitate the creation of the projection lens, allowing for precise modifications to be made to the base of the cup.
-
Trimming the Base: Using a utility knife or a pair of scissors, carefully trim the base of the glass cup to create a flat and level surface. This modification is essential to ensure that the glass cup can effectively refract and project light without distortion or interference. Exercise caution and precision when trimming the base to achieve a smooth and even surface.
-
Optional: Enhancing the Lens: If desired, you can further enhance the projection capabilities of the glass cup by attaching a magnifying glass or a clear plastic lens to the base. This additional lens can amplify the magnification and clarity of the projected images, especially if the glass cup alone does not provide sufficient optical power.
By meticulously preparing the glass cup according to these steps, you will lay the groundwork for a high-quality projection lens that forms the heart of your homemade projector. The careful selection and modification of the glass cup are pivotal in ensuring the effectiveness and performance of the projector, setting the stage for the subsequent stages of assembly and testing. With the glass cup now primed and ready, you are poised to move on to the next phase of creating your DIY projector using everyday materials and ingenuity.
Step 2: Create the Projection Lens
With the glass cup prepared as the foundation, the next pivotal step in crafting a homemade projector involves creating the projection lens. This crucial component is responsible for refracting and magnifying the light emitted from the smartphone's display, ultimately projecting the images onto a larger surface. By harnessing the principles of optics and light refraction, you can fashion a simple yet effective projection lens using the modified glass cup and a few additional materials. Here's a detailed guide on how to create the projection lens for your DIY projector:
-
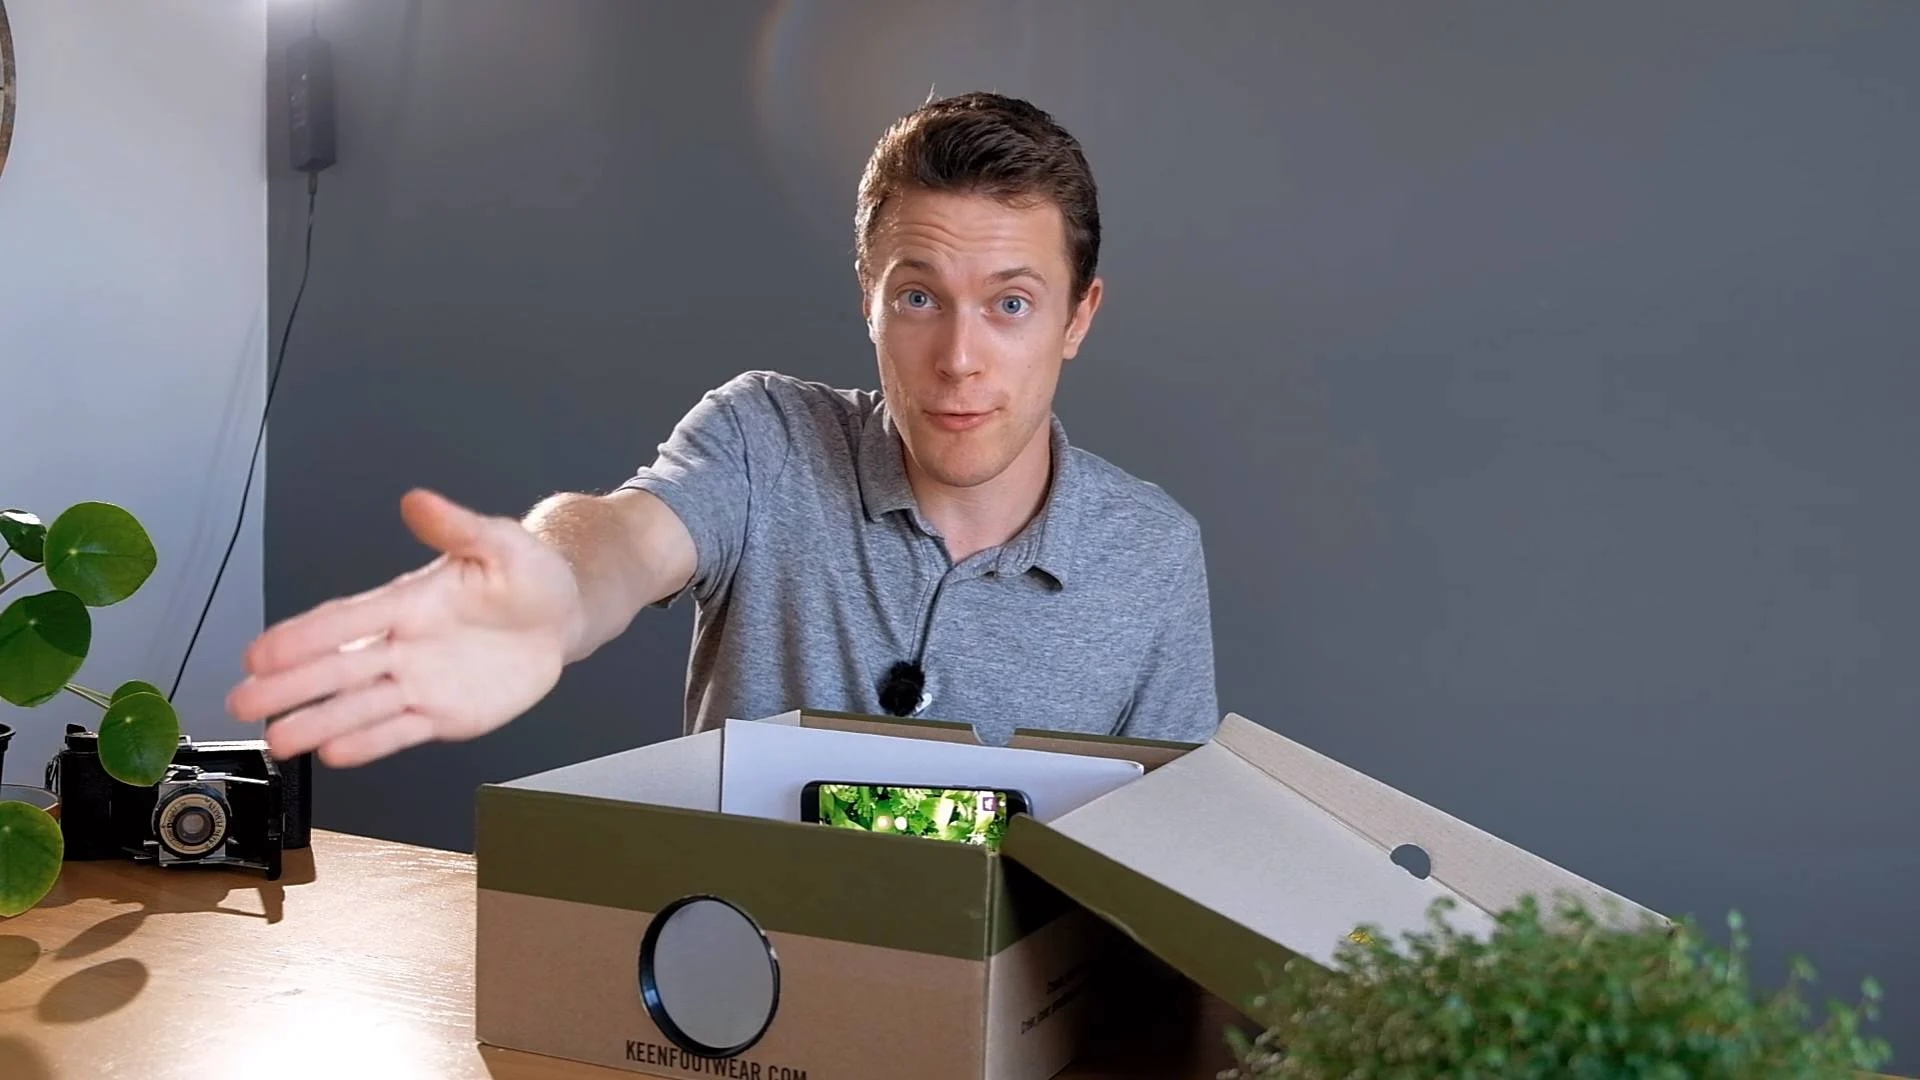
Positioning the Smartphone: Begin by placing the smartphone, with the desired image or video displayed on the screen, directly beneath the prepared glass cup. Ensure that the smartphone is aligned with the center of the base of the glass cup, allowing for optimal light transmission and projection.
-
Adjusting the Distance: Fine-tune the distance between the smartphone's screen and the base of the glass cup to achieve the desired focus and magnification. Experiment with slight adjustments to find the optimal position that yields clear and well-defined projected images.
-
Enclosure Construction: To enhance the projection capabilities and minimize external light interference, construct a simple enclosure around the glass cup using black construction paper or cardboard. This enclosure will help create a darkened environment within which the projected images can be more vividly displayed.
-
Securing the Components: Use tape to securely affix the smartphone in place beneath the glass cup, ensuring that it remains steady and aligned throughout the projection process. Additionally, secure the constructed enclosure around the glass cup to maintain a controlled environment for projection.
-
Optional Enhancement: For those seeking to further amplify the magnification and clarity of the projected images, consider incorporating a magnifying glass or a clear plastic lens between the smartphone's screen and the base of the glass cup. This supplementary lens can augment the projection capabilities, especially when projecting larger images onto a distant surface.
By meticulously following these steps, you will successfully create the projection lens for your homemade projector, harnessing the optical properties of the glass cup to project images from your smartphone onto a larger surface. This pivotal stage brings together the principles of light refraction and projection, culminating in the formation of a functional and innovative DIY projector. With the projection lens now in place, you are ready to proceed to the next phase of assembling the components and testing the performance of your homemade projector.
To make a homemade projector with a glass cup, use a smartphone and a magnifying glass. Place the magnifying glass in the opening of the glass cup and position the smartphone underneath. Turn on the smartphone’s flashlight and adjust the distance and focus to project the image onto a wall or screen.
Step 3: Assemble the Projector
Assembling the homemade projector with a glass cup marks a pivotal stage in bringing together the various components to create a functional and innovative device. This step involves integrating the prepared glass cup, the projection lens, and the smartphone to form a cohesive unit that can effectively project images onto a larger surface. By carefully assembling the projector and ensuring the alignment and stability of its components, you can optimize its performance and enhance the viewing experience. Here's a detailed guide on how to assemble the projector and bring your DIY creation to life:
-
Positioning the Glass Cup: Begin by securing the prepared glass cup in a stable and upright position, ensuring that it remains steady and aligned for the projection process. The flat and trimmed base of the glass cup should be positioned to face the smartphone, serving as the primary interface for light refraction and projection.
-
Aligning the Projection Lens: Ensure that the projection lens, created using the modified glass cup and any additional magnifying elements, is precisely aligned with the smartphone's display. This alignment is crucial for optimizing the focus and clarity of the projected images, allowing for a seamless and immersive viewing experience.
-
Stabilizing the Smartphone: Use tape or a secure mounting mechanism to affix the smartphone in place beneath the glass cup, maintaining a consistent and centered position. The stability of the smartphone is essential for maintaining the alignment and focus required for effective light projection.
-
Enclosure Integration: If a simple enclosure was constructed around the glass cup during the creation of the projection lens, ensure that it is securely integrated with the assembled components. The enclosure serves to minimize external light interference and create a controlled environment for projection, enhancing the visibility and clarity of the projected images.
-
Optional Support Mechanism: If a tripod or stand is being utilized to support the smartphone and the projector, ensure that it is securely positioned and aligned with the assembled components. This support mechanism can contribute to a more stable and convenient viewing setup, especially for prolonged use of the homemade projector.
By meticulously assembling the various components according to these steps, you will bring the homemade projector to fruition, creating a functional and innovative device that harnesses the principles of light and optics. The careful integration and alignment of the glass cup, projection lens, and smartphone culminate in the formation of a DIY projector that can transform the way you interact with digital content. With the projector now assembled, you are ready to proceed to the final phase of testing its performance and experiencing the magic of your homemade creation.
Read more: How To Make Glass Cups With Cricut
Step 4: Test the Projector
Testing the homemade projector with a glass cup is an exciting and pivotal phase that allows you to witness the culmination of your efforts and creativity. This crucial step involves projecting images from your smartphone onto a larger surface, such as a wall or a screen, to evaluate the performance and functionality of the DIY projector. By conducting thorough testing and making any necessary adjustments, you can ensure that the projector delivers clear, vibrant, and well-defined images, providing an immersive viewing experience. Here's a detailed guide on how to test the homemade projector and unleash its full potential:
-
Preparation: Begin by selecting a suitable location with ample space and minimal ambient light to conduct the testing of the homemade projector. A dimly lit or darkened environment is ideal for optimizing the visibility and clarity of the projected images, allowing for a more immersive viewing experience.
-
Positioning the Projector: Set up the assembled homemade projector in a stable and secure position, ensuring that it remains steady and aligned for the testing process. If a tripod or stand is being used to support the projector, verify that it is positioned at the optimal distance and angle for projection.
-
Activating the Smartphone: Power on the smartphone and navigate to the desired image or video that you intend to project using the homemade projector. Ensure that the display brightness is set to an appropriate level to enhance the visibility and impact of the projected images.
-
Aligning the Projection: Position the smartphone beneath the glass cup, aligning it with the projection lens to facilitate the transmission of light and the projection of images onto the chosen surface. Fine-tune the distance and focus to achieve clear and well-defined projections.
-
Initiating Projection: Activate the projection by initiating the display of the chosen image or video on the smartphone. Observe the projected images as they appear on the designated surface, assessing their clarity, brightness, and overall visual impact.
-
Adjustments and Optimization: If necessary, make minor adjustments to the positioning of the smartphone, the focus of the projection lens, or the ambient lighting to optimize the clarity and visibility of the projected images. Experiment with different content and settings to gauge the versatility and performance of the homemade projector.
-
Evaluation and Enjoyment: Evaluate the quality and impact of the projected images, taking note of any areas that may require further refinement or enhancement. Take the time to enjoy the immersive viewing experience facilitated by your DIY projector, appreciating the ingenuity and resourcefulness that brought it to life.
By meticulously testing the homemade projector according to these steps, you can gain valuable insights into its performance and capabilities, allowing you to fine-tune and optimize its functionality. The testing phase serves as a rewarding culmination of your DIY endeavor, showcasing the transformative power of a simple glass cup and everyday materials in creating a functional and innovative device. With the projector successfully tested and its performance evaluated, you can revel in the satisfaction of witnessing your creative vision come to life, opening up new possibilities for immersive and engaging visual experiences.
Conclusion
In conclusion, the journey of creating a homemade projector with a glass cup has been a testament to the ingenuity and resourcefulness that can transform everyday materials into functional and innovative devices. Through the careful selection and preparation of a simple glass cup, coupled with the principles of light refraction and projection, we have unlocked the potential to amplify and project images from a smartphone onto a larger surface. This DIY project has not only been a creative and educational endeavor but also a testament to the transformative power of human ingenuity.
As we reflect on the process of preparing the glass cup, creating the projection lens, assembling the projector, and testing its performance, we have witnessed the convergence of art and science in a practical and accessible form. The careful modifications made to the glass cup, the alignment of the projection lens, and the integration of the smartphone have culminated in the formation of a functional and innovative DIY projector. This device, born from a glass cup and a few additional materials, has the potential to enhance the viewing experience and transform the way we interact with digital content.
The homemade projector serves as a testament to the potential for creativity and innovation that resides within each of us. By harnessing the principles of optics and light, we have demonstrated the ability to create a device that amplifies and projects digital content, offering a glimpse into the possibilities that arise from resourcefulness and DIY exploration. This project not only provides a platform for immersive visual experiences but also serves as a conversation piece, showcasing the transformative power of a simple glass cup and the ingenuity of its creator.
As we conclude this DIY journey, we are reminded of the boundless potential for innovation that exists within the realm of everyday materials and creative exploration. The homemade projector with a glass cup stands as a testament to the transformative power of DIY ingenuity, offering a glimpse into the endless possibilities that can be unlocked through resourcefulness and a touch of creativity. With this innovative device at our disposal, we are poised to embark on a new era of immersive visual experiences, all stemming from the humble beginnings of a glass cup and a spark of creativity.
Frequently Asked Questions about How To Make A Homemade Projector With A Glass Cup
Was this page helpful?
At Storables.com, we guarantee accurate and reliable information. Our content, validated by Expert Board Contributors, is crafted following stringent Editorial Policies. We're committed to providing you with well-researched, expert-backed insights for all your informational needs.


0 thoughts on “How To Make A Homemade Projector With A Glass Cup”