Articles
How To Make Homemade Pillows
Modified: October 18, 2024
Learn how to make homemade pillows with our informative articles. Create custom designs and patterns for a cozy and personalized touch.
(Many of the links in this article redirect to a specific reviewed product. Your purchase of these products through affiliate links helps to generate commission for Storables.com, at no extra cost. Learn more)
Introduction
There’s something special about a homemade pillow. It adds a personal touch to your living space, reflects your unique style, and provides a sense of comfort and coziness. Whether you’re a DIY enthusiast or simply looking to save some money, making your own pillows is a rewarding and fun project.
In this article, we will guide you step-by-step on how to make homemade pillows that will elevate the comfort and aesthetics of your home. From choosing the right fabric to stuffing the pillow and adding custom touches, we’ve got you covered. So, let’s dive in and get started!
Before we begin, let’s gather the materials you’ll need for this project:
- Fabric
- Scissors
- Sewing machine or needle and thread
- Pillow filling (polyester fiberfill, foam, or feather/down)
- Zipper or buttons (if you want a closure)
- Optional: decorative elements like lace, ribbons, or appliques
Now that you have everything ready, let’s move on to the first step – choosing the right fabric for your homemade pillows.
Key Takeaways:
- Create personalized and cozy homemade pillows by choosing the right fabric, measuring and cutting with precision, and adding decorative touches like embroidery and contrasting fabrics.
- Unleash your creativity and sewing skills to make unique pillows that reflect your style and personality, adding a personal touch to your living space.
Read more: How To Make A Homemade Fan
Materials Needed
Before you embark on making homemade pillows, it’s important to gather all the necessary materials for the project. Here’s a list of what you’ll need:
- Fabric: Choose a fabric that suits your style and complements your home decor. Cotton, linen, or upholstery fabric are popular choices. Make sure to buy enough fabric to cover the size of the pillow you want to make.
- Scissors: A good pair of fabric scissors will make cutting the fabric easier and more precise.
- Sewing machine or needle and thread: Depending on your sewing skills and preference, you can use a sewing machine or sew by hand using a needle and thread.
- Pillow filling: Decide on the type of filling you want for your pillows. Polyester fiberfill is a common choice as it is affordable and easy to work with. Foam or feather/down filling can provide a more luxurious and comfortable feel. Choose the filling based on your personal preference and the purpose of the pillow.
- Zipper or buttons: If you want to add a closure to your pillow cover, you’ll need a zipper or buttons. This allows you to easily remove the cover for cleaning or to change the pillow insert.
- Optional decorative elements: If you want to add some flare to your homemade pillows, consider using decorative elements such as lace, ribbons, or appliques. These can enhance the overall look and add a personalized touch.
Once you have gathered all the materials, you’re ready to move on to the next steps: choosing the fabric and measuring and cutting the fabric.
Choosing the Fabric
Choosing the right fabric for your homemade pillows is key to creating a beautiful and durable finished product. Here are some things to consider when selecting fabric:
- Style: Think about the style and theme you want to achieve. If you prefer a modern and minimalist look, go for solid-colored or geometric patterned fabrics. For a more traditional or bohemian vibe, opt for floral prints or textured fabrics.
- Durability: Consider the durability of the fabric, especially if the pillows will be used frequently. Upholstery fabric or heavyweight cotton are good options for pillows that will experience a lot of wear and tear.
- Texture: The texture of the fabric can add dimension and interest to your pillows. Experiment with different textures such as velvet, linen, or faux fur to enhance the overall design.
- Care instructions: Check the care instructions of the fabric before purchasing. Some fabrics may require special care, such as dry cleaning or delicate washing, which can affect the longevity of your pillows.
- Color coordination: Consider the color scheme of your room when choosing the fabric. You can either select fabric that complements the existing colors or use the pillows as an opportunity to introduce a pop of color or pattern.
Once you have a clear idea of the style and characteristics you want in your fabric, visit a local fabric store or browse online to find the perfect fabric for your homemade pillows. Don’t be afraid to ask for samples or consult with a fabric expert to ensure you make the right choice.
Now that you have selected your fabric, let’s move on to the next step: measuring and cutting the fabric.
Measuring and Cutting the Fabric
After choosing the fabric for your homemade pillows, it’s time to measure and cut the fabric to the desired size. This step is crucial to ensure a proper fit and a polished end result. Here’s a guide on how to measure and cut the fabric:
- Measure the pillow insert: Take accurate measurements of the pillow insert you’ll be using. Measure the width, length, and height of the pillow. It’s important to add extra inches to the measurements to account for seam allowances and the thickness of the pillow filling.
- Prepare the fabric: Lay the fabric on a flat surface with the right side facing down. Smooth out any wrinkles or creases to ensure accurate cutting. If necessary, iron the fabric beforehand to get rid of any wrinkles.
- Mark the dimensions: Use a fabric pencil or tailor’s chalk to mark the dimensions of the pillow on the wrong side of the fabric. Make sure to include the measurements you took earlier, along with the seam allowances. A seam allowance of about ½ inch is usually sufficient but adjust it according to your preference.
- Cut the fabric: Use sharp fabric scissors to cut along the marked lines. Take your time and cut carefully to ensure straight lines and clean edges. If you have a large piece of fabric, you may need to fold it in half and cut two pieces to create the front and back of the pillow cover.
Once you have cut the fabric pieces, double-check the measurements to ensure they match the size of your pillow insert. If everything looks good, you’re ready to move on to the next step: sewing the pillow cover.
Remember, precision and accuracy are key when measuring and cutting the fabric. Taking the time to do it properly will result in a well-fitted and professional-looking homemade pillow.
Sewing the Pillow Cover
Now that you have measured and cut the fabric for your homemade pillows, it’s time to sew the pillow cover. Whether you’re using a sewing machine or sewing by hand, here’s a step-by-step guide on how to sew your pillow cover:
- Place fabric pieces right sides together: Take the two fabric pieces you cut earlier and place them on top of each other with the right sides facing in. Make sure to align the edges properly.
- Pin the fabric pieces together: Use straight pins to secure the fabric pieces together. Start pinning at one corner and work your way around, leaving a small opening on one side for turning the pillow cover right side out.
- Start sewing: Using a sewing machine or needle and thread, sew along the edges of the fabric, removing the pins as you go. Remember to backstitch at the beginning and end to secure the stitches.
- Leave the opening: When you reach the spot where you want the opening to be, backstitch a few times to reinforce the stitches and leave a small gap for turning the cover right side out.
- Trim the corners: Trim the excess fabric from the corners to reduce bulk and help create crisp corners when you turn the pillow cover right side out.
- Turn the cover right side out: Carefully reach inside the opening and grab the corners of the fabric, then pull the cover through the opening to turn it right side out. Use a blunt object, like the back of a pen or a chopstick, to gently push out the corners for a neat finish.
- Press the cover: Use an iron on a low heat setting to press the pillow cover, removing any wrinkles and creases. Be cautious not to apply too much heat if you’re using delicate fabric.
Once you’ve completed these steps, your pillow cover should be sewn and turned right side out. The opening you left will be used to insert the pillow filling, which we will cover in the next steps.
Now that your pillow cover is sewn, it’s time to decide on the closure option. You can either add a zipper or buttons to secure the pillow cover, or leave it open for a slip-on style. Let’s explore the options in detail.
Read more: How To Make A Homemade Plunger
Adding a Zipper or Button Closure
Adding a closure to your homemade pillow cover not only provides a finished look but also allows for easy removal and cleaning of the cover. There are two common options for closures: a zipper or buttons. Here’s how to add each closure:
Zipper Closure:
- Measure the length of the opening: Use a measuring tape to determine the length of the opening on your pillow cover.
- Choose the zipper: Select a zipper that matches the length of the opening. It’s best to choose a similar color or a complementary one to blend with the fabric.
- Pin the zipper in place: Open the zipper and place it face down on the right side of one fabric piece, aligning the edge of the zipper tape with the edge of the fabric opening. Pin it in place.
- Sew the zipper: Using a zipper foot on your sewing machine, sew the zipper in place, staying close to the zipper teeth. Repeat the same process with the other side of the zipper, pinning and sewing it to the other fabric piece.
- Secure the ends: Once the zipper is attached, sew across the bottom of the zipper, backstitching at the beginning and end to secure it firmly.
Button Closure:
- Measure and mark the button placement: Decide on the number and placement of buttons on your pillow cover. Space them evenly along the opening, ensuring they will align when the cover is closed.
- Attach the buttons: Sew the buttons onto one fabric piece, following the markings made in the previous step. Use a strong needle and thread to ensure they are securely attached.
- Create buttonholes: On the other fabric piece, carefully create buttonholes that correspond to the placement of the buttons. You can use your sewing machine’s buttonhole feature or create them manually using a zigzag stitch or hand sewing techniques.
Adding a zipper or button closure not only gives a polished look to your pillow cover but also provides functionality and convenience. Choose the closure option that suits your style and sewing skills.
Now that you have added the closure, it’s time to move on to the next step: stuffing the pillow with the filling of your choice.
Stuffing the Pillow
Now that you have completed the sewing and added the closure to your homemade pillow cover, it’s time to stuff the pillow with the filling of your choice. The filling you select will determine the level of comfort and support your pillow provides. Here are some common options:
Read more: How To Make A Homemade Duster
Polyester Fiberfill:
Polyester fiberfill is a popular choice for pillow stuffing as it is lightweight, hypoallergenic, and affordable. It provides a fluffy and pliable fill that can be easily adjusted to your desired level of firmness. To stuff your pillow with polyester fiberfill, follow these steps:
- Open the zipper or button closure to access the pillow insert.
- Take handfuls of the polyester fiberfill and fluff it up to distribute the fibers evenly.
- Start filling the pillow cover with the fiberfill, starting from one corner and working your way to the other side.
- Gently push the fiberfill into the corners and ensure that it fills the cover evenly.
- Continue filling until you achieve the desired level of firmness, making sure not to overstuff the pillow.
- Close the zipper or button closure securely to complete the stuffing process.
Foam Filling:
Foam filling provides a more supportive and firm pillow. It is ideal for those who prefer a pillow with more structure and contouring. If you choose foam filling, follow these steps:
- Cut the foam to the dimensions of your pillow cover, ensuring it fits snugly.
- Open the zipper or button closure to access the pillow insert.
- Insert the foam into the cover, making sure it fits securely.
- Adjust the foam if necessary to ensure it fills the cover evenly.
- Close the zipper or button closure securely to complete the stuffing process.
Feather/Down Filling:
Feather and down fillings provide a luxurious and soft pillow. They offer excellent breathability and can be easily molded for personalized comfort. If you opt for feather/down filling, follow these steps:
- Open the zipper or button closure to access the pillow insert.
- Fluff up the feather/down filling and distribute it evenly.
- Fill the pillow cover with the feather/down filling, starting from one corner and working your way to the other side.
- Ensure that the filling is evenly distributed and no clumps are formed.
- Close the zipper or button closure securely to complete the stuffing process.
Once you have stuffed the pillow to your liking, give it a gentle shake or fluff to distribute the filling evenly throughout the pillow. Your homemade pillow is now complete and ready to adorn your living space with style and comfort!
In the next step, we will explore different options for decorating your pillow cover to add a personal touch.
Different Pillow Filling Options
When it comes to filling your homemade pillows, you have a variety of options to choose from. The filling you select will depend on your personal preferences, desired level of comfort, and the purpose of the pillow. Here are some common pillow filling options:
Read more: How To Make A Homemade Duster
Polyester Fiberfill:
Polyester fiberfill is a popular choice for pillows due to its affordability, lightweight nature, and hypoallergenic properties. It provides a soft and pliable fill that can be easily adjusted to achieve your desired level of firmness. Polyester fiberfill is available in different densities, allowing you to customize the comfort level of your pillow.
Foam:
Foam fillings offer excellent support and retain their shape well. Memory foam, in particular, conforms to the shape of your head and neck, providing optimal comfort and alignment for a good night’s sleep. Foam fillings are available in various densities and firmness levels, allowing you to find the perfect fit for your needs.
Feathers and Down:
Feather and down fillings provide a luxurious and plush pillow experience. Feathers provide support, while down adds softness and fluffiness. Pillows filled with feathers and down are highly moldable and conform to the shape of your head and neck, creating a personalized sleeping experience. Keep in mind that those with allergies may need to opt for hypoallergenic alternatives to feathers and down.
Buckwheat Hulls:
Buckwheat hulls are a natural and organic filling option. They offer excellent support and ventilation, promoting airflow and reducing the risk of heat retention during sleep. Buckwheat hulls conform to the shape of your head, neck, and body, providing optimal support and pressure relief. They can be added or removed to adjust the pillow’s loft and firmness level.
Read more: How To Make Homemade Dishwasher Soap
Cotton:
Cotton is a natural and breathable filling option for pillows. It provides a soft and comfortable feel while remaining hypoallergenic. Cotton-filled pillows are easy to care for, as they can machine wash and dry. They are a great option for those who prefer a more eco-friendly and natural bedding choice.
When selecting your pillow filling, consider your personal preferences, any specific needs you may have, and the desired comfort level. Take the time to research and test different fillings to find the one that provides optimal support and comfort for your homemade pillows.
In the next step, we will explore different options for decorating your pillow cover to add a personal touch.
Decorating the Pillow Cover
Once you have sewn and stuffed your homemade pillow, it’s time to add some decorative touches to make it truly unique and reflect your personal style. Here are some creative ideas for decorating your pillow cover:
Embroidery:
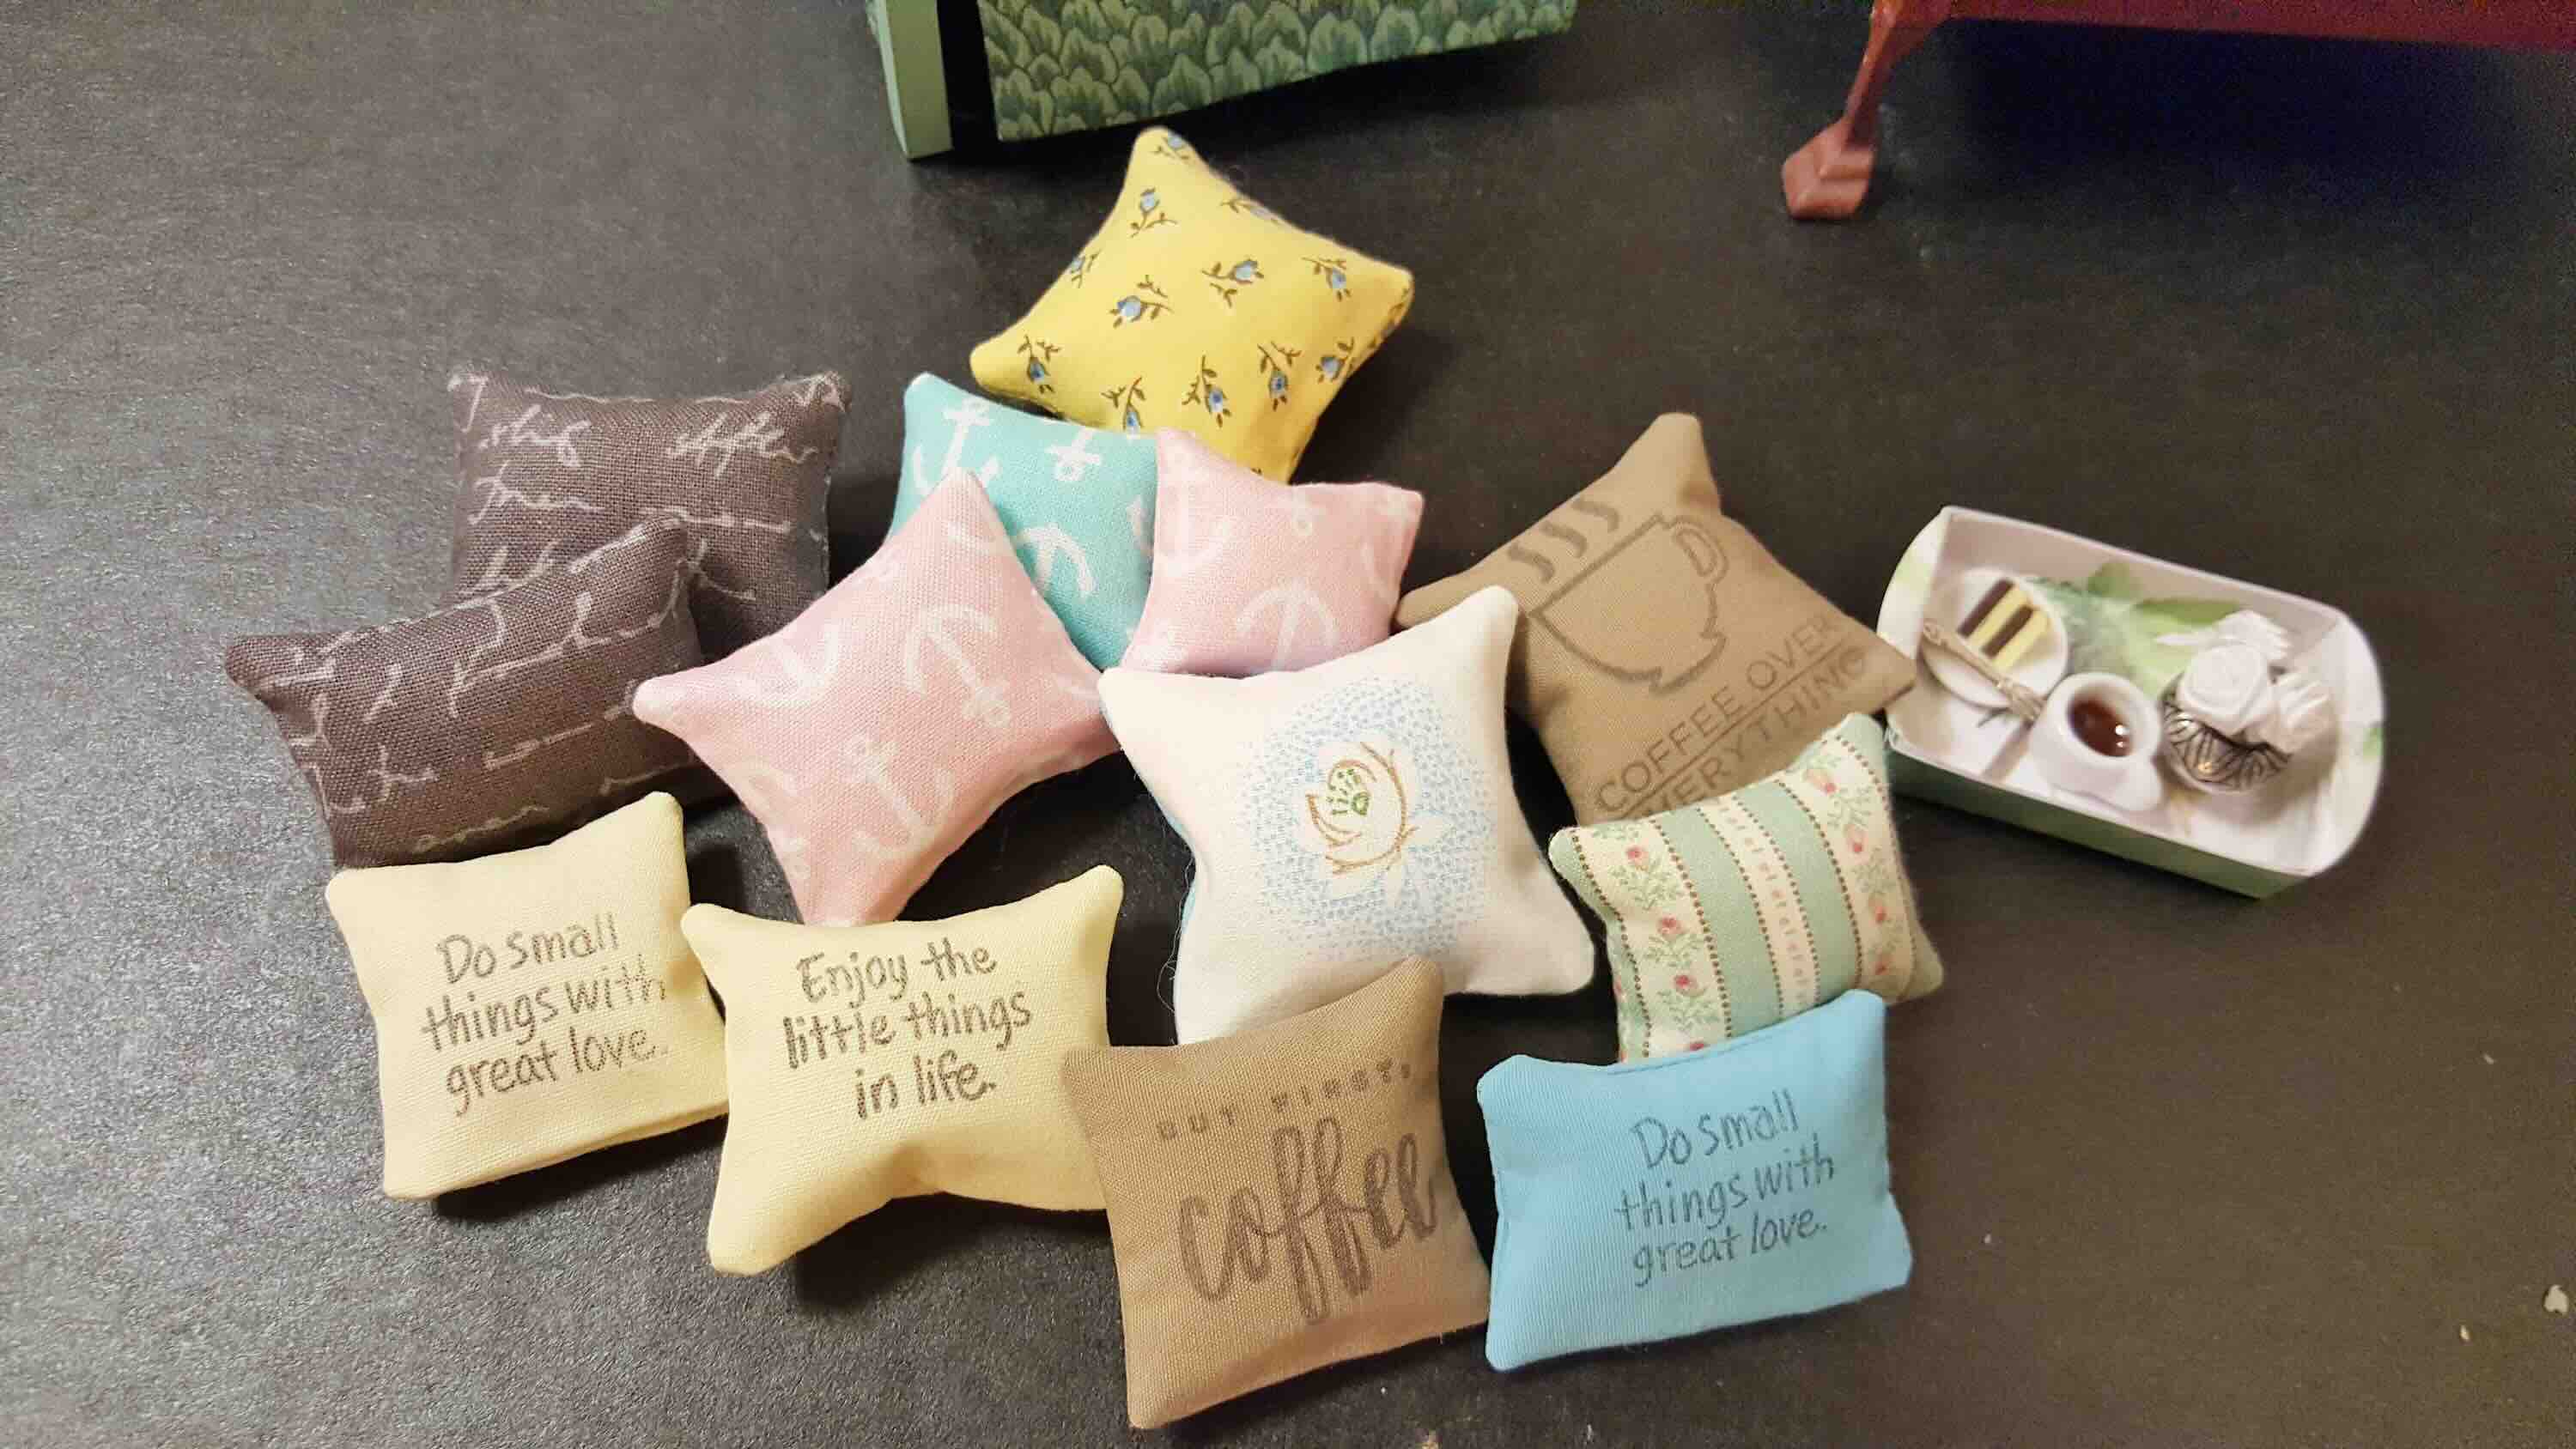
Embroidery is a beautiful way to add intricate designs, patterns, or monograms to your pillow cover. You can use embroidery thread in different colors and stitch styles to create stunning and personalized designs. Whether you opt for floral motifs, geometric patterns, or your initials, embroidery adds a touch of elegance and craftsmanship to your pillows.
Appliques:
Appliques are fabric or decorative pieces that are attached to the surface of the pillow cover. You can cut out shapes, letters, or designs from contrasting fabrics and stitch or glue them onto the pillow cover. Appliques can add texture, color, and visual interest to your pillows, allowing you to create unique and eye-catching designs.
Read more: How To Make Outdoor Pillows
Lace and Trims:
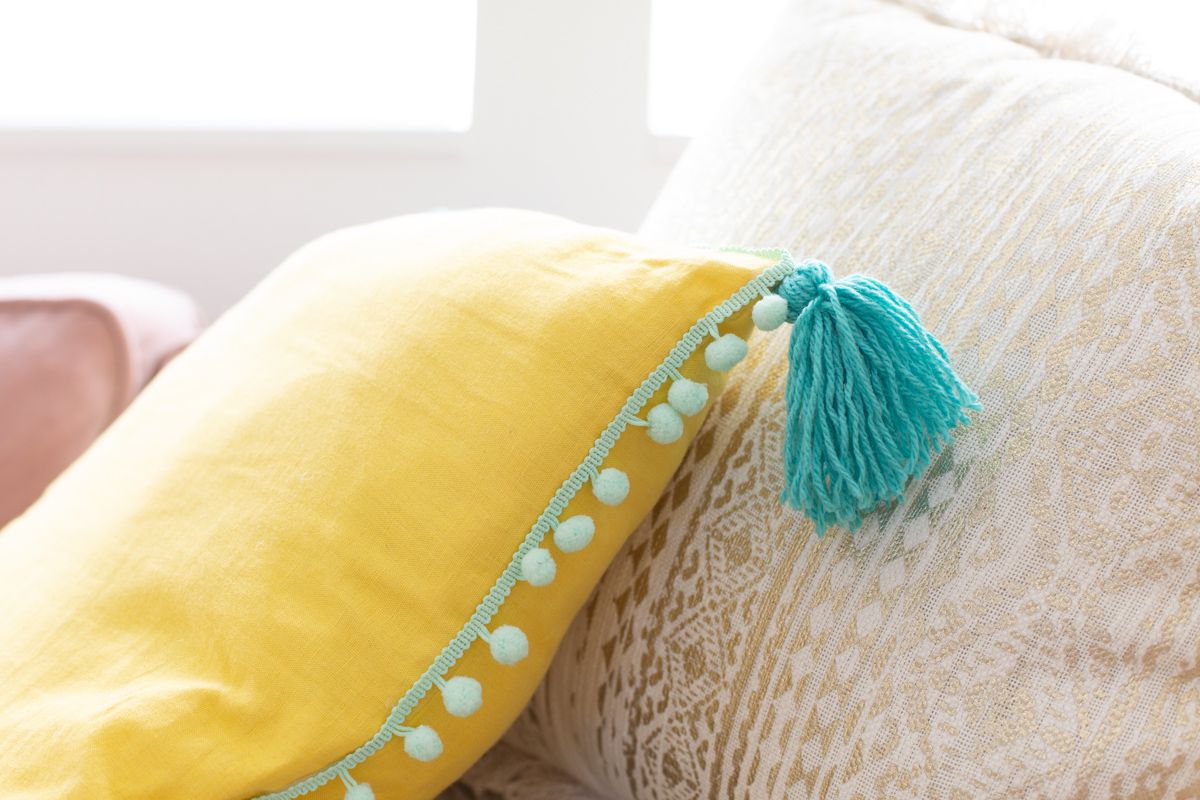
Lace and trims are perfect for adding a touch of delicacy and femininity to your pillows. You can sew lace trim along the edges of the pillow cover or use lace inserts to create intricate patterns. Similarly, adding decorative trims such as ribbons, ruffles, or pompoms can bring a playful and whimsical element to your pillows.
Fabric Paint or Stencils:
If you have artistic flair, you can use fabric paint or stencils to create customized designs on your pillow covers. Use fabric-safe paints and brushes or sponge rollers to apply your chosen designs onto the fabric. Stencils can help you achieve precise patterns, shapes, or images. Let your creativity flow and design pillows that are uniquely yours.
Contrasting Fabrics:
Another way to decorate your pillow cover is by using contrasting fabrics or fabric combinations. Mix and match fabrics with different patterns, textures, or colors to create visually appealing pillows. You can create a patchwork design, use fabric panels, or combine fabrics with different prints for a modern and eclectic look.
Take these ideas as a starting point and let your imagination guide you. The sky’s the limit when it comes to decorating your pillow cover. Experiment with different techniques and materials to create pillows that are true reflections of your style and personality.
Once your pillow cover is decorated to your satisfaction, it’s time to step back and admire your work. You have created a one-of-a-kind pillow that adds a personal touch to your living space.
In the next section, we will conclude this article with some final thoughts.
Conclusion
Congratulations! You have now learned how to make homemade pillows from start to finish. By choosing the right fabric, measuring and cutting with precision, sewing the pillow cover, stuffing it with the filling of your choice, and adding your personal touch, you have created beautiful and unique pillows that reflect your style and personality.
Not only are homemade pillows a cost-effective alternative to store-bought options, but they also allow you to unleash your creativity and add a personal touch to your living space. Whether you’re looking to enhance the comfort of your couch, create a cozy reading nook, or add a decorative element to your bed, these pillows will do the trick.
Remember, the key to successful homemade pillows lies in attention to detail, quality materials, and a touch of creativity. Whether you’re a beginner or an experienced DIY enthusiast, with each pillow you make, you’ll gain more confidence and improve your sewing skills.
So, gather your materials, select the perfect fabric, and let your imagination run wild. From embroidery and appliques to fabric paint and contrasting fabrics, explore different techniques to bring your pillow cover to life. Don’t be afraid to experiment and make each pillow a reflection of your personal style.
Now that you have the knowledge and skills to make your own pillows, it’s time to get started. Gather your sewing supplies, select your fabric, and embark on this exciting and rewarding project. Create pillows that will not only provide comfort and support but also bring a smile to your face every time you see them.
Enjoy the process of designing and crafting your homemade pillows and be proud of what you’ve accomplished. Happy stitching!
Frequently Asked Questions about How To Make Homemade Pillows
Was this page helpful?
At Storables.com, we guarantee accurate and reliable information. Our content, validated by Expert Board Contributors, is crafted following stringent Editorial Policies. We're committed to providing you with well-researched, expert-backed insights for all your informational needs.


0 thoughts on “How To Make Homemade Pillows”