Articles
How To Make A Homemade Fan
Modified: August 20, 2024
Discover step-by-step articles on how to make a homemade fan and stay cool during hot summer days. Easy DIY instructions and materials needed.
(Many of the links in this article redirect to a specific reviewed product. Your purchase of these products through affiliate links helps to generate commission for Storables.com, at no extra cost. Learn more)
Introduction
Welcome to the world of DIY projects, where creativity and functionality come together. Making your own homemade fan is not only a rewarding experience but also a practical solution to beat the heat during summer or whenever you need a little extra breeze. In this article, we will guide you through the step-by-step process of creating your very own homemade fan.
Building a homemade fan allows you to customize its design and functionality according to your specific needs. Whether you want a small desk fan for your office or a larger fan to cool down a room, you have the freedom to create a fan that suits your requirements.
Not only is making a homemade fan a fun and engaging project, but it can also save you money. Commercial fans can be quite expensive, especially if you’re looking for high-quality and durable options. By taking the DIY approach, you can create a fan at a fraction of the cost, using easily accessible materials and a few simple tools.
Now, let’s dive into the exciting world of DIY fan building and get started with the materials needed for this project.
Key Takeaways:
- Beat the heat and save money by creating your own personalized homemade fan. Enjoy the satisfaction of DIY creativity while staying cool and comfortable during hot summer days.
- Unleash your creativity and embark on a rewarding DIY journey to build a powerful and personalized cooling solution. Enjoy the fun and practicality of creating your own homemade fan.
Read more: How To Make Homemade Pillows
Materials Needed
Before embarking on your homemade fan project, let’s gather all the necessary materials. Most of these items can be found in your local hardware store or online. Here’s what you’ll need:
- A small electric motor
- Fan blades (plastic or metal)
- Mounting brackets
- Fan housing (plastic or metal)
- Power source (battery or DC adapter)
- Wire cutters
- Wire strippers
- Soldering iron and solder
- Hot glue gun
- Screws and screwdriver
It’s important to ensure that the motor you choose is appropriate for the size of the fan you want to build. The fan blades should be compatible with the motor, and the housing should be able to accommodate them. Consider the power source as well, whether you prefer a battery-operated fan for portability or a DC adapter for continuous use.
Once you have gathered all the necessary materials, it’s time to move on to the next step: constructing the fan blades.
Step 1: Gather Supplies
Before you start constructing your homemade fan, it’s important to gather all the necessary supplies and tools. Here’s a checklist of what you’ll need:
- Small electric motor
- Fan blades (plastic or metal)
- Mounting brackets
- Fan housing (plastic or metal)
- Power source (battery or DC adapter)
- Wire cutters
- Wire strippers
- Soldering iron and solder
- Hot glue gun
- Screws and screwdriver
Make sure to choose a small electric motor that is suitable for the size of fan you want to build. The fan blades should be compatible with the motor, and the housing should be able to accommodate them.
Once you have gathered all the supplies, find a clean and well-lit workspace where you can comfortably work on your homemade fan project. Now that you’re ready, let’s move on to the next step: constructing the fan blades.
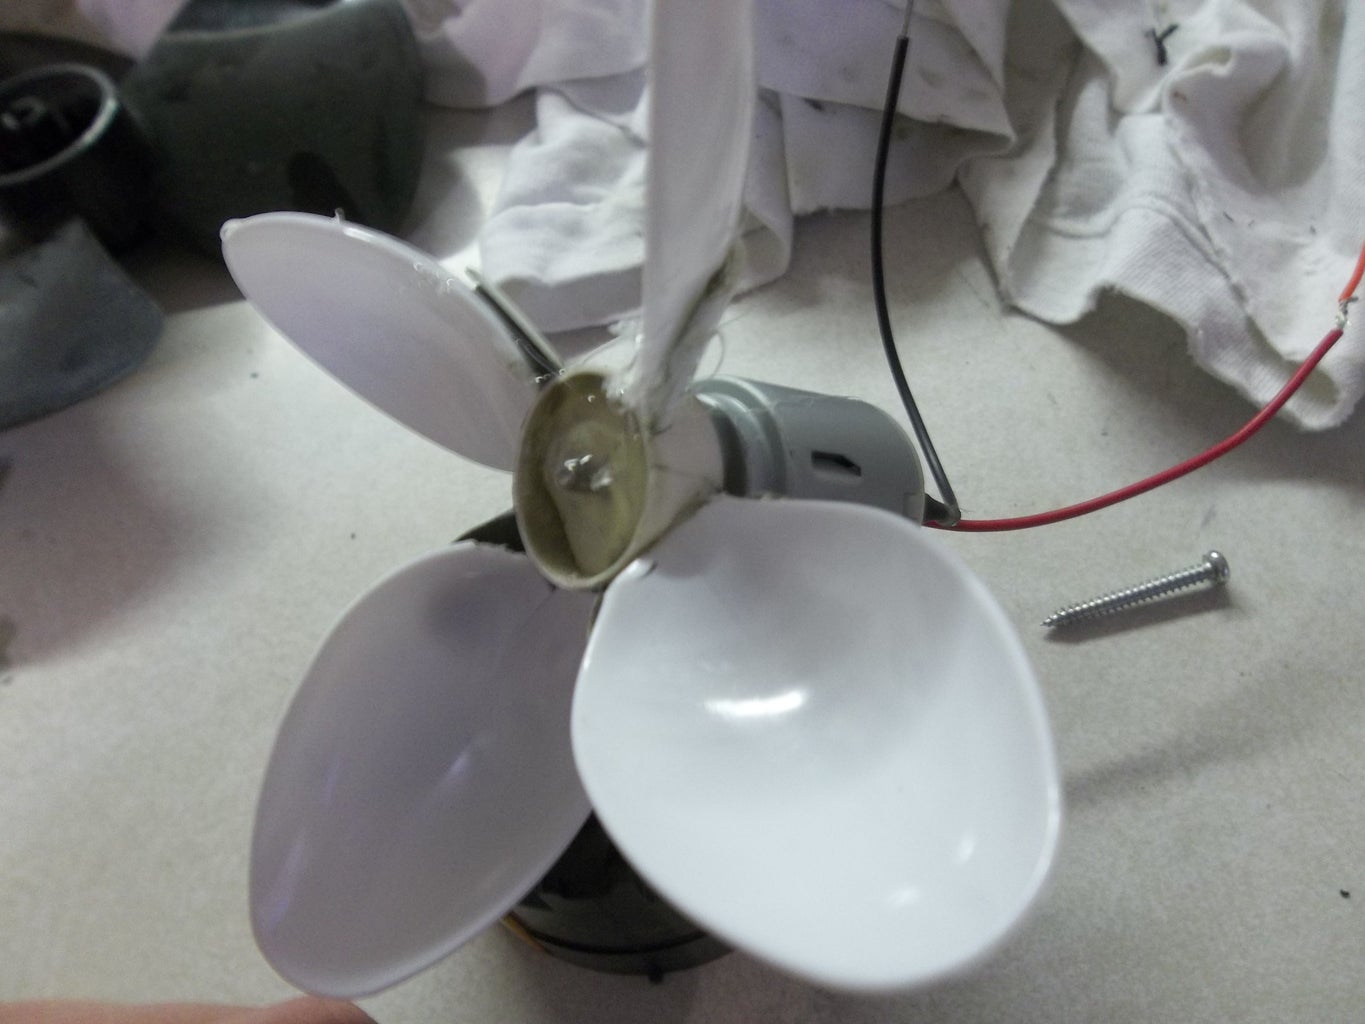
Step 2: Construct the Fan Blades
Now that you have all the necessary supplies, it’s time to start constructing the fan blades for your homemade fan. The fan blades are responsible for creating the airflow and generating the breeze. Here’s how to go about it:
- Take the fan blade material (plastic or metal) and measure the desired length for each blade. It’s recommended to have at least three blades for optimal performance.
- Using a marker or pencil, mark the measurements on the fan blade material.
- Using a sturdy pair of scissors or a hacksaw, carefully cut along the marked lines to create the fan blades.
- Once you have cut out the fan blades, use sandpaper to smooth the edges and remove any sharp or rough surfaces.
- Next, it’s time to attach the fan blades to the motor. Use the mounting brackets provided to securely fasten the blades onto the spindle of the motor. Make sure they are balanced and evenly spaced for optimum performance.
- Once the fan blades are securely attached to the motor, give them a gentle spin to ensure they rotate smoothly without any obstructions.
Now that the fan blades are constructed and attached to the motor, it’s time to move on to the next step: assembling the fan housing.
Step 3: Attach the Blades to the Motor
With the fan blades constructed and ready, it’s time to attach them to the motor. This step is crucial, as it ensures that the blades are securely mounted and properly aligned for optimal airflow. Here’s how to do it:
- First, make sure the motor is turned off and disconnected from any power source.
- Take the motor and locate the spindle or shaft at the center. This is where the fan blades will be attached.
- Using the mounting brackets provided, position them around the spindle, ensuring that they are evenly spaced and aligned.
- Place the fan blades onto the mounting brackets, making sure they are secure and properly aligned. Use screws or other fasteners provided to firmly attach the blades to the brackets.
- Once the blades are attached, give them a gentle spin to check if they rotate freely and without any obstructions. If there is any resistance or wobbling, adjust the position of the blades and tighten the screws as needed.
It’s important to ensure that the blades are properly balanced and aligned to maintain smooth and efficient airflow. Improperly attached blades can cause vibrations, noise, and reduced performance. Take your time in this step to ensure a secure and accurate attachment of the blades to the motor.
With the blades securely attached, we can move on to the next step: assembling the fan housing.
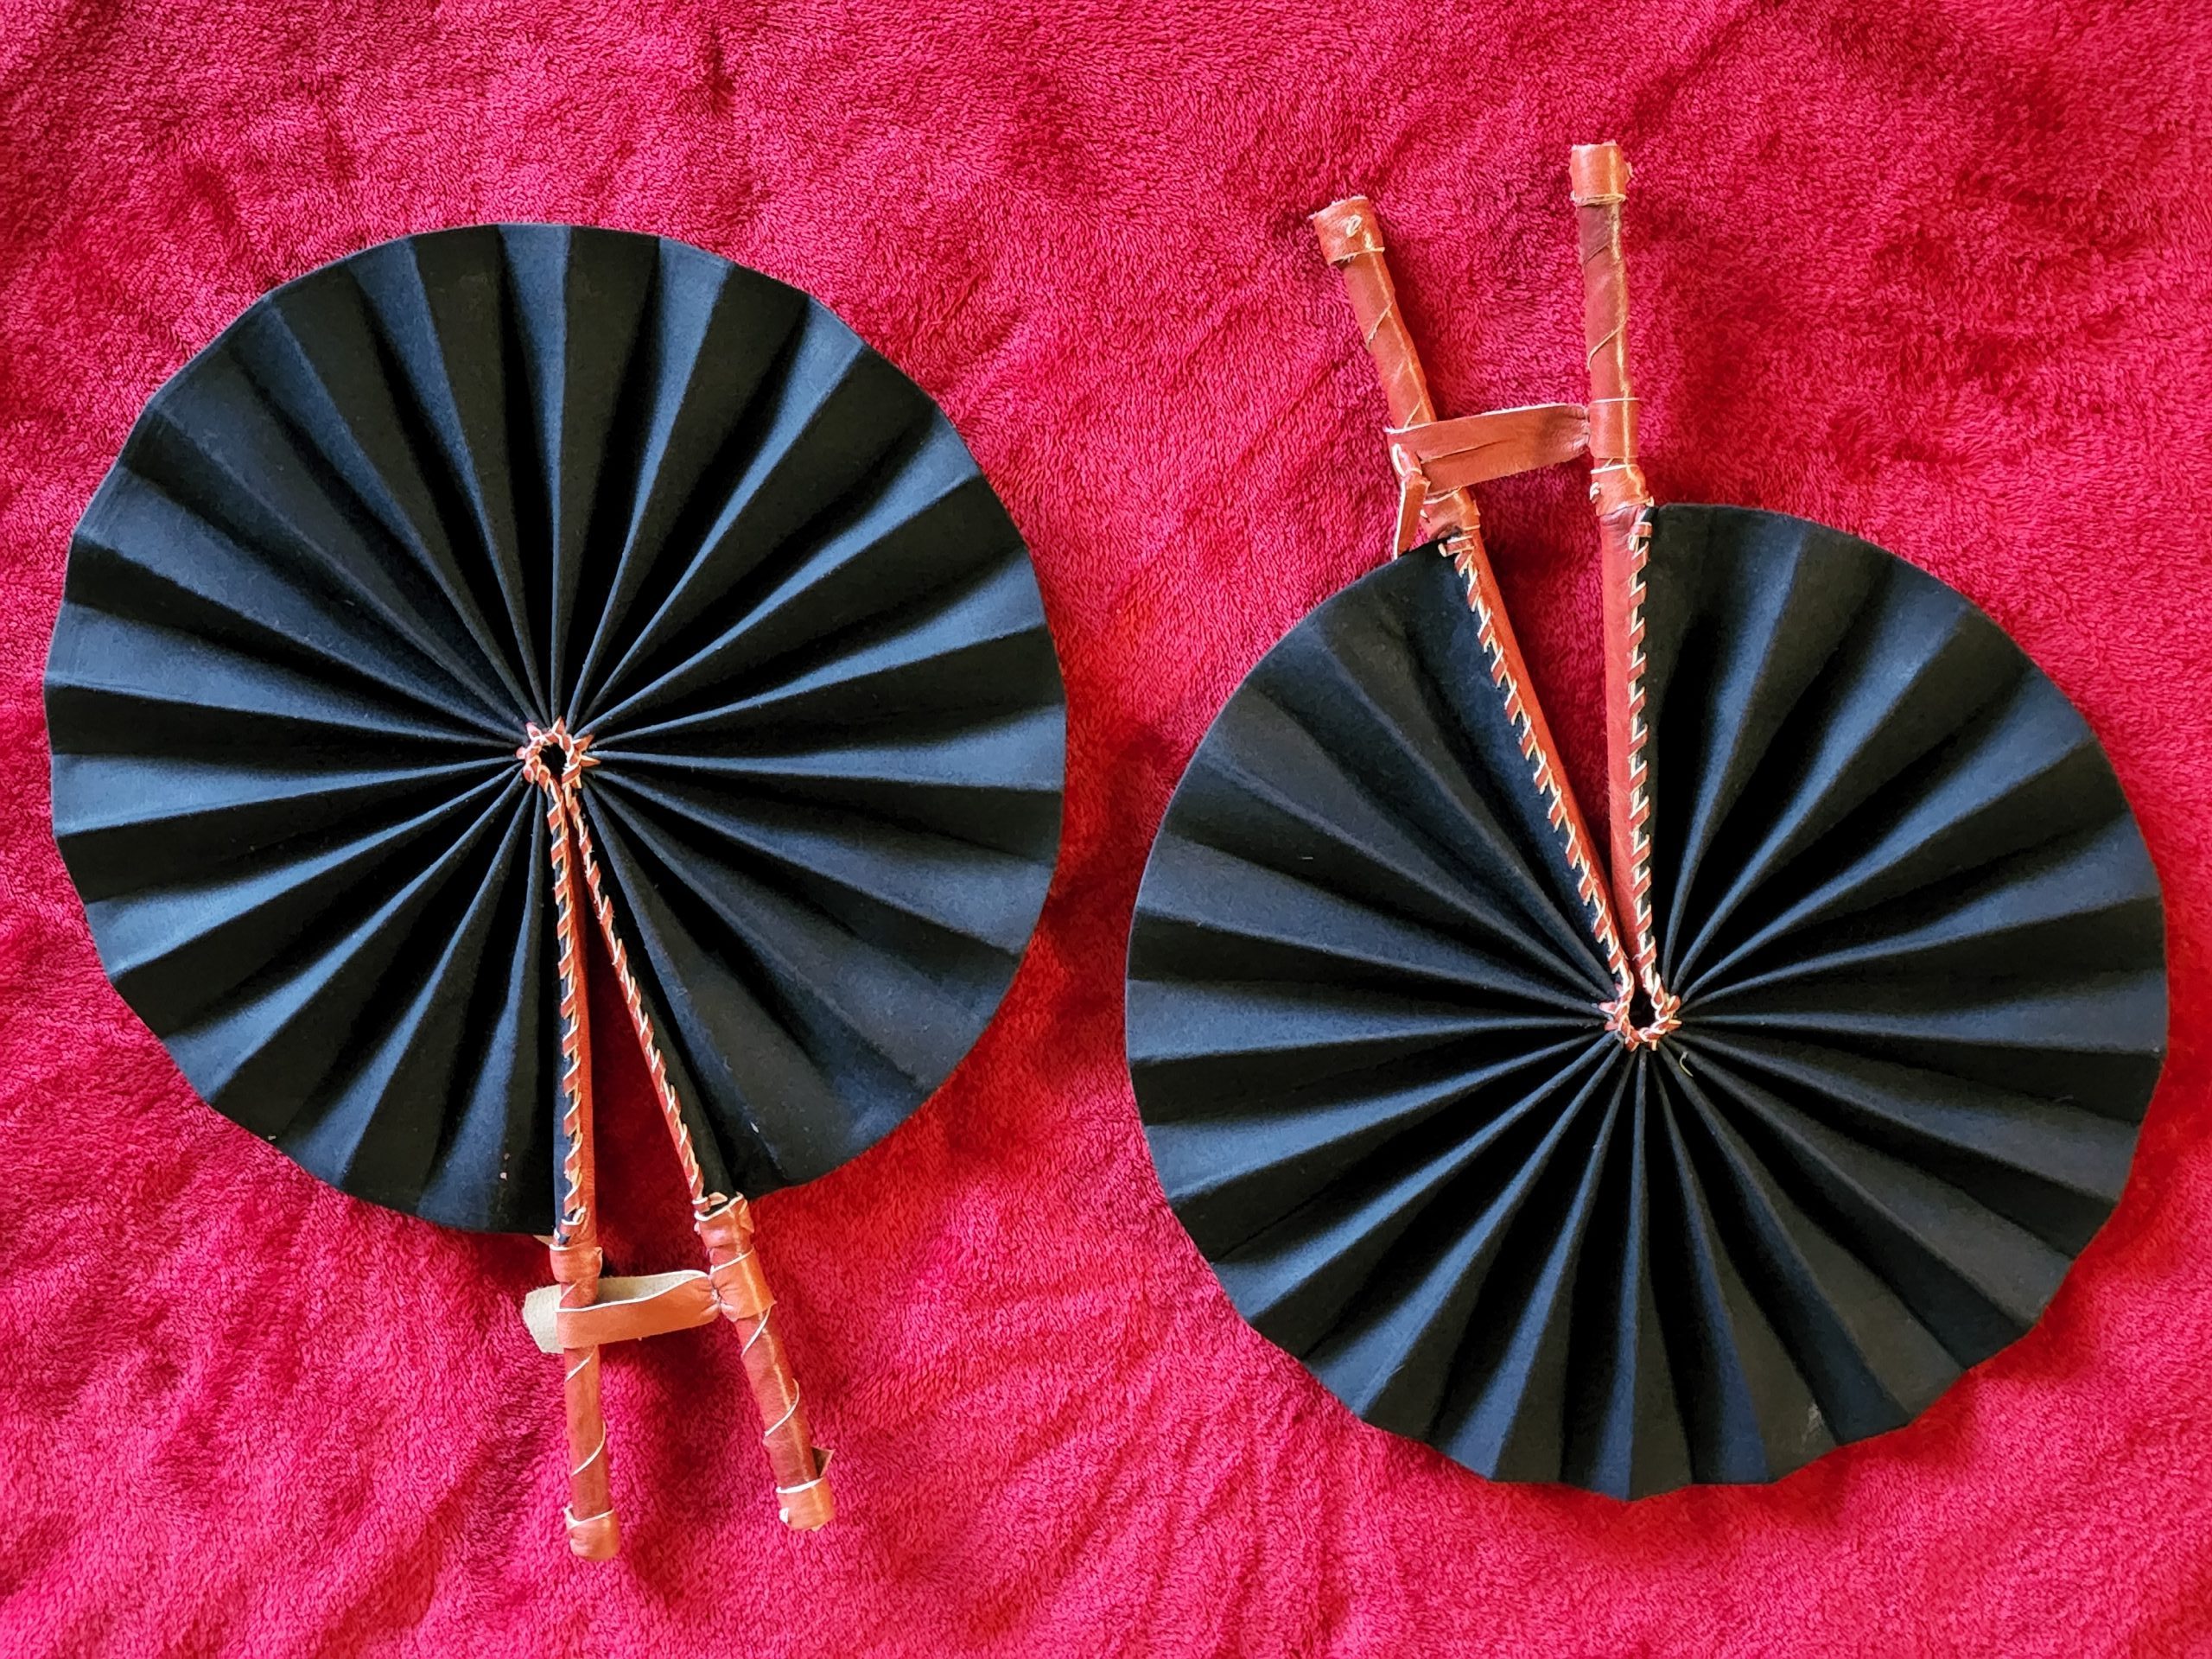
To make a homemade fan, use a sturdy piece of cardboard or plastic as the base, attach a handle, and then secure a piece of paper or fabric to the base to create the fan. You can also add decorations or designs to personalize it.
Read more: How To Make A Homemade Plunger
Step 4: Assemble the Fan Housing
Now that the fan blades are securely attached to the motor, it’s time to assemble the fan housing. The fan housing protects the motor and blades while also directing the airflow for maximum efficiency. Here’s how to assemble the fan housing:
- Begin by laying out the pieces of the fan housing. If it comes in multiple parts, ensure that you have all the necessary components.
- Follow the manufacturer’s instructions, if available, to properly align and connect the different parts of the fan housing. Use screws or other fasteners, if provided, to securely attach the pieces together. If there are no specific instructions, align the parts based on their design and fit.
- Ensure that the fan blades are properly positioned within the housing. They should have enough clearance to rotate freely without touching the walls of the housing.
- Once the housing is assembled, give it a gentle shake or tap to ensure that all the parts are securely connected and there are no loose or wobbly connections. Make any necessary adjustments or tighten any loose screws.
- Inspect the housing for any gaps or openings that may affect the airflow. Use tape or adhesive if needed to seal any gaps and ensure that the air is directed through the proper channels.
Assembling the fan housing is an important step in the construction process as it provides protection to the motor and blades while allowing for efficient airflow. Take your time to ensure a sturdy and secure housing before moving on to the next step: connecting the power source.
Step 5: Connect the Power Source
Now that the fan housing is assembled, it’s time to connect the power source. Whether you’re using a battery or a DC adapter, properly connecting the power source is crucial for the fan to operate effectively. Follow these steps to connect the power source to your homemade fan:
- Determine the type of power source you will be using for your fan. This could be a battery pack or a DC adapter.
- If you’re using a battery pack, make sure it is fully charged or insert fresh batteries into the compartment. Ensure that the batteries are inserted correctly, following the polarity markings.
- If you’re using a DC adapter, plug it into a nearby power outlet while ensuring that the voltage and current ratings are compatible with the fan motor.
- Locate the power input port on the motor or the fan housing. It may be labeled as “DC in” or something similar.
- Take the power cord from the battery pack or DC adapter and connect it to the power input port of your fan. Ensure a secure connection to avoid any loose or unstable power supply.
- Double-check the connection to ensure that it is secure and that there are no exposed wires or potential hazards.
Once the power source is connected, you’re almost ready to test your homemade fan. However, before proceeding, make sure to conduct a final inspection of all the connections and ensure that everything is safe and properly connected.
With the power source connected, let’s move on to the final step: testing your homemade fan.
Step 6: Test your Homemade Fan
Congratulations! You’ve reached the final step of creating your homemade fan. Now it’s time to test your creation and see the fruits of your labor. Follow these steps to test your homemade fan:
- Ensure that the power source is securely connected to the fan.
- Switch on the power source, whether it’s the battery pack or the DC adapter.
- Observe the fan blades to see if they start spinning. You should feel a gentle breeze as the fan begins to operate.
- Verify that the fan blades are rotating smoothly without any jerking or wobbling. If there are any issues, switch off the power source and inspect the fan for any loose connections or obstructions.
- If everything looks good, adjust the fan speed (if applicable) using the controls provided with your power source or motor.
- Stand in front of your homemade fan and enjoy the refreshing breeze!
Take a moment to appreciate your creative skills and the satisfaction of building your own homemade fan. You now have a functional fan that you can use to cool down on hot summer days or improve air circulation in any room.
Remember to always exercise caution and observe safety guidelines when using electrical devices. Avoid placing the fan near any flammable or hazardous materials, and keep it out of reach of children and pets.
With your homemade fan successfully tested, you can now enjoy its cooling benefits whenever you need it. Well done!
Conclusion
Creating your own homemade fan is a fun and rewarding DIY project that allows you to customize a cooling solution according to your needs. By following the step-by-step process outlined in this article, you’ve learned how to construct the fan blades, attach them to the motor, assemble the fan housing, connect the power source, and test your creation.
Not only does building a homemade fan provide you with a cost-effective alternative to commercial fans, but it also offers a sense of accomplishment and creativity. You have the freedom to choose the materials, design, and functionality of your fan, making it a truly personalized and unique device.
Remember to gather all the necessary supplies, follow safety precautions, and take your time during each step of the process. This will ensure that your homemade fan operates efficiently and safely.
Whether you use your homemade fan to keep cool during hot summer days, create better air circulation in a room, or simply enjoy the satisfaction of building something with your own hands, this DIY project is both practical and enjoyable.
So why not unleash your creativity and start building your own homemade fan today? Beat the heat, save money, and embark on a rewarding DIY journey that will leave you with a powerful and personalized cooling solution.
Happy fan building!
Frequently Asked Questions about How To Make A Homemade Fan
Was this page helpful?
At Storables.com, we guarantee accurate and reliable information. Our content, validated by Expert Board Contributors, is crafted following stringent Editorial Policies. We're committed to providing you with well-researched, expert-backed insights for all your informational needs.


0 thoughts on “How To Make A Homemade Fan”