Articles
How To Make Rope Ladder
Modified: October 18, 2024
Learn how to make a durable and versatile rope ladder with our step-by-step articles. Perfect for outdoor adventures and DIY projects.
(Many of the links in this article redirect to a specific reviewed product. Your purchase of these products through affiliate links helps to generate commission for Storables.com, at no extra cost. Learn more)
Introduction
A rope ladder is a versatile and practical tool that can be useful in various situations. Whether you’re an adventure enthusiast, a DIY enthusiast, or simply looking for a unique project to tackle, knowing how to make a rope ladder can come in handy. With a rope ladder, you can gain access to elevated areas, create a means of escape in emergency situations, or even add an interesting element to a treehouse or backyard playset.
In this article, we will guide you through the process of constructing a rope ladder step by step. We’ll cover everything from choosing the right materials and tools to measuring, cutting, and attaching the ladder rungs. By the end, you’ll have a sturdy and reliable rope ladder that you can use for various purposes.
Before we dive into the details, it’s important to note that safety should always be a top priority when working with any construction project, including a rope ladder. Ensure that you follow proper safety guidelines and take precautions while building and using your ladder.
Now, let’s get started on our journey to create a rope ladder!
Key Takeaways:
- Choosing the right rope, measuring and cutting with precision, and reinforcing the ladder are crucial steps in creating a safe and reliable rope ladder. Prioritizing safety and functionality is essential for a successful DIY project.
- Customizing the ladder with decorative enhancements, adjustable length, handrails, or folding options adds versatility and personalization. Exploring alternative materials and water-resistant ropes can further enhance the ladder’s functionality.
Read more: How To Climb Rope Ladder
Materials and Tools Needed
To make a rope ladder, you will need the following materials:
- Rope – Choose a strong and durable rope that is suitable for ladder construction. Nylon or polypropylene ropes are commonly used for this purpose.
- Rung material – You can use wooden dowels, PVC pipes, or even sturdy branches as ladder rungs.
- Measuring tape – This will help you accurately measure the length of the ladder rungs and the spacing between them.
- Sharp knife or scissors – These will be used for cutting the rope to the desired lengths.
- Marker or pencil – This will help you mark the measurements on the rope.
- Lighter or heat source – This is optional but can be used to melt the ends of the cut rope to prevent fraying.
Additionally, you will need the following tools:
- Tape measure – Useful for measuring and marking the spacing between the ladder rungs.
- Saw or cutting tool – This will be needed if you are using wooden dowels or branches as ladder rungs.
- Drill or awl – If you’re using wooden dowels, you’ll need a drill or an awl to create holes in the dowels for attaching them to the ropes.
- Knot tying tools – These can include a handbook of knots or tools such as rope clamps or carabiners to securely attach the rungs to the ladder ropes.
Having the right materials and tools will make the ladder-making process smoother and more efficient. Before you start building, ensure that you have gathered all the necessary items.
Step 1: Choosing the Right Rope
Choosing the right rope is crucial for the stability and durability of your rope ladder. Here are some factors to consider when selecting rope for ladder construction:
Strength: The rope should be strong enough to bear the weight it will be subjected to. Consider the maximum weight capacity you expect the ladder to hold and choose a rope with a suitable strength rating. Nylon or polypropylene ropes are commonly used for their strength and durability.
Diameter: The diameter of the rope will affect the grip and comfort of using the ladder. A thicker diameter may provide a more secure grip but can be more challenging to handle and tie knots with. Consider the intended use of the ladder and choose a diameter that is comfortable for gripping.
Flexibility: The flexibility of the rope will impact how the ladder moves and bends. A more flexible rope allows for easier maneuverability and can conform to uneven surfaces, making it suitable for outdoor use. However, if you prefer a sturdier and more rigid ladder, you can opt for a less flexible rope.
Water and UV resistance: If you plan to use your rope ladder outdoors, it is important to choose a rope that is resistant to water and UV rays. This will ensure the longevity and reliability of the ladder, even in different weather conditions.
Type of rope: There are different types of ropes available, such as braided, twisted, or kernmantle ropes. Each type has its own characteristics and strengths. You can choose a rope based on your specific requirements and preferences.
Price: Consider your budget when selecting a rope for your ladder. While it is important not to compromise on quality, there are ropes available at various price points, allowing you to find one that suits your needs without breaking the bank.
Once you have considered these factors, you can visit your local hardware store or search online for ropes that meet your requirements. It’s always a good idea to consult with an expert or read customer reviews to ensure that you are purchasing a reliable and suitable rope for your rope ladder construction project.
Step 2: Measuring and Cutting the Rope
Once you have selected the appropriate rope for your ladder, the next step is to measure and cut the rope to the desired lengths for each ladder rung. Follow these steps:
1. Measure the required length: Decide on the desired length for each ladder rung. It is recommended to have uniform spacing between the rungs for stability and ease of use. Use a measuring tape to measure the desired distance between each rung. If you are unsure about the spacing, a common measurement is around 12 to 18 inches (30 to 45 cm) between each rung.
2. Mark the measurements: Using a marker or pencil, mark the measurement on the rope. Make sure to mark the same measurement on each rope to ensure consistency. These marks will serve as your guide for cutting the rope to the desired lengths.
3. Cut the rope: With a sharp knife or scissors, carefully cut the rope at the marked points. Take your time to ensure clean and straight cuts. If your rope has a tendency to fray, you can use a lighter or heat source to melt and seal the ends of the cut rope to prevent fraying.
4. Repeat the process: Continue measuring, marking, and cutting the rope for each ladder rung until you have the desired number of rungs for your ladder.
It’s important to note that the number of ladder rungs you need will depend on the height and purpose of your ladder. Consider the intended use and the reach you require when determining the number of rungs. For safety reasons, it’s better to have more rungs rather than fewer, especially if you plan to use the ladder for extended periods or for climbing to significant heights.
Remember to double-check your measurements before cutting the rope to ensure accuracy. Taking your time during this step will result in a well-proportioned and functional rope ladder.
Step 3: Creating the Rung Spacing
Creating the proper spacing between each ladder rung is essential for the functionality and comfort of the rope ladder. Follow these steps to determine the appropriate spacing and mark the rope at the desired intervals:
1. Consider the ladder’s purpose: Think about how you intend to use the ladder and the comfort level you desire. If it’s for a treehouse or a playset, you may want smaller spacing between rungs to accommodate children. For more practical purposes like an emergency escape ladder, a slightly larger spacing may be appropriate.
2. Determine the spacing: A common guideline is to have a spacing of around 12 to 18 inches (30 to 45 cm) between each rung. This range provides a good balance between stability and ease of climbing. However, you can adjust the spacing based on your specific requirements and preferences.
3. Mark the intervals: Using a measuring tape, starting from the bottom of the ladder, measure the desired spacing interval and mark it on each rope section. For example, if you decide on a spacing of 12 inches, measure 12 inches (30 cm) from the bottom and make a mark. Repeat this process for each rope section.
4. Double-check the markings: Once you have marked the spacing intervals on each rope section, double-check the markings to ensure consistency. This will ensure that the rungs are evenly spaced and the ladder is properly balanced.
By carefully determining the rung spacing and marking the intervals on the ropes, you will ensure that your rope ladder is comfortable and safe to use. Remember, it’s better to spend a little extra time in this step to ensure accuracy and balance.
When making a rope ladder, use strong and durable rope such as nylon or polypropylene for the rungs, and ensure the rungs are evenly spaced for stability and safety.
Read more: How To Use Rope On Extension Ladder
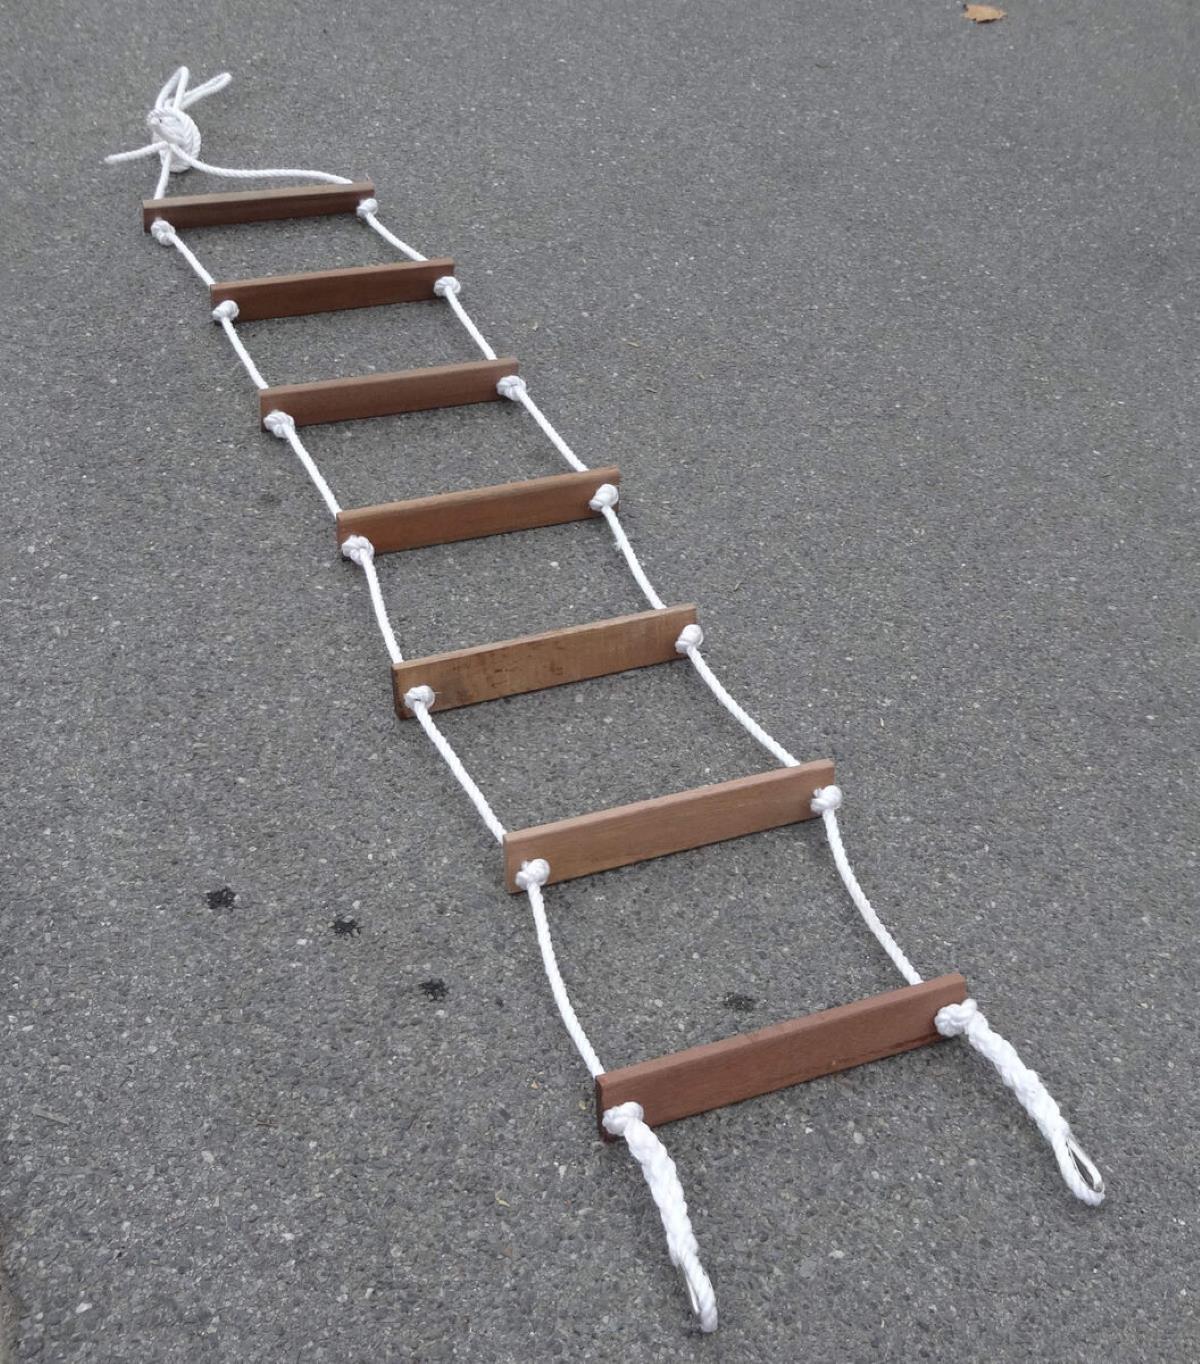
Step 4: Attaching the Rungs
Now that you have measured, cut, and marked the rope for your ladder rungs, it’s time to attach the rungs to the ropes. There are several methods and techniques you can use to secure the rungs in place. Here are some common approaches:
1. Knots: One of the simplest and most popular ways to attach rungs to the ropes is by using knots. There are different types of knots you can use, such as the square knot or the taut-line hitch. These knots can be tied in such a way that the rungs are securely fastened to the ropes. Make sure to tighten the knots properly to avoid any slippage or loosening over time.
2. Rope clamps or ferrules: Rope clamps or ferrules are metal or plastic fittings that can be crimped or tightened onto the rope to create a secure attachment point for the rungs. These clamps or ferrules come in various sizes and styles, and they can provide a reliable and sturdy connection between the rungs and the ropes. Follow the manufacturer’s instructions for proper installation of the clamps or ferrules.
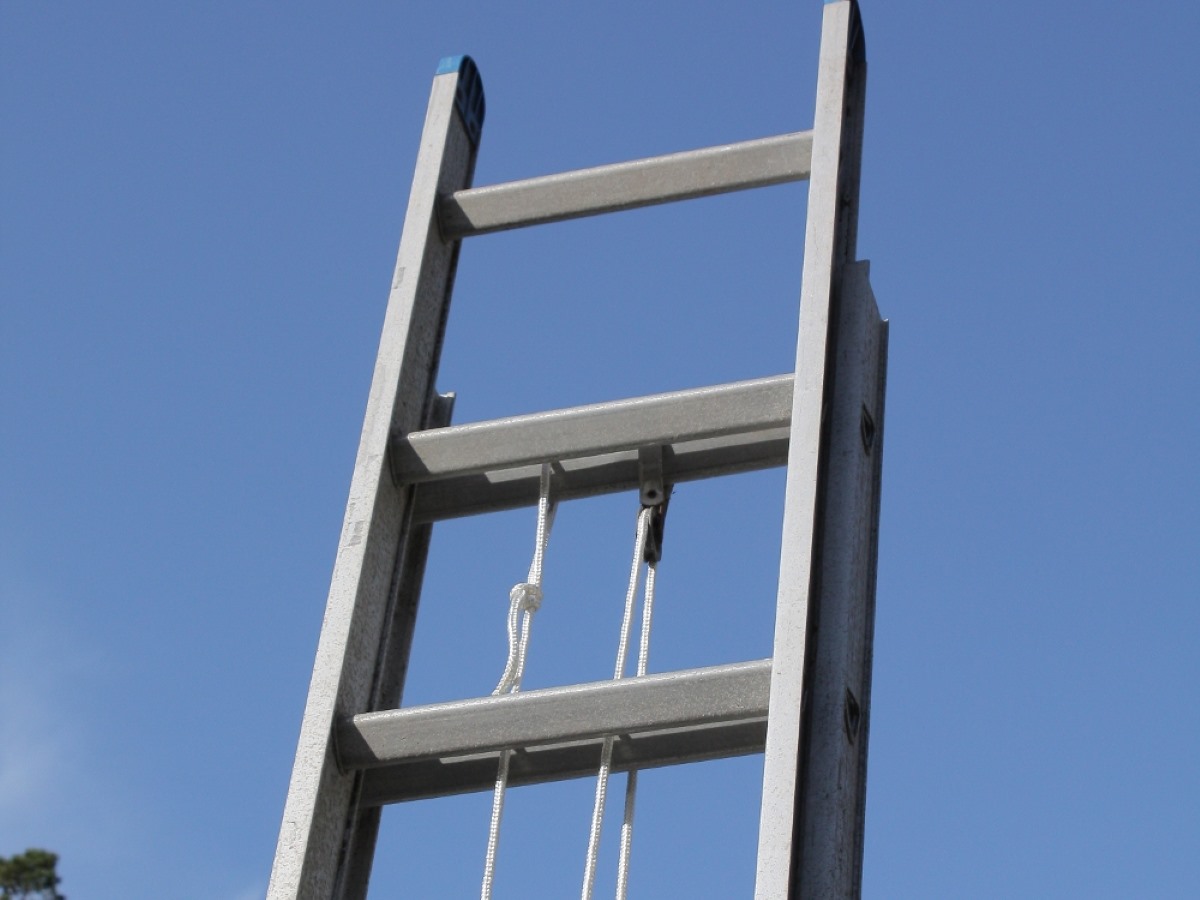
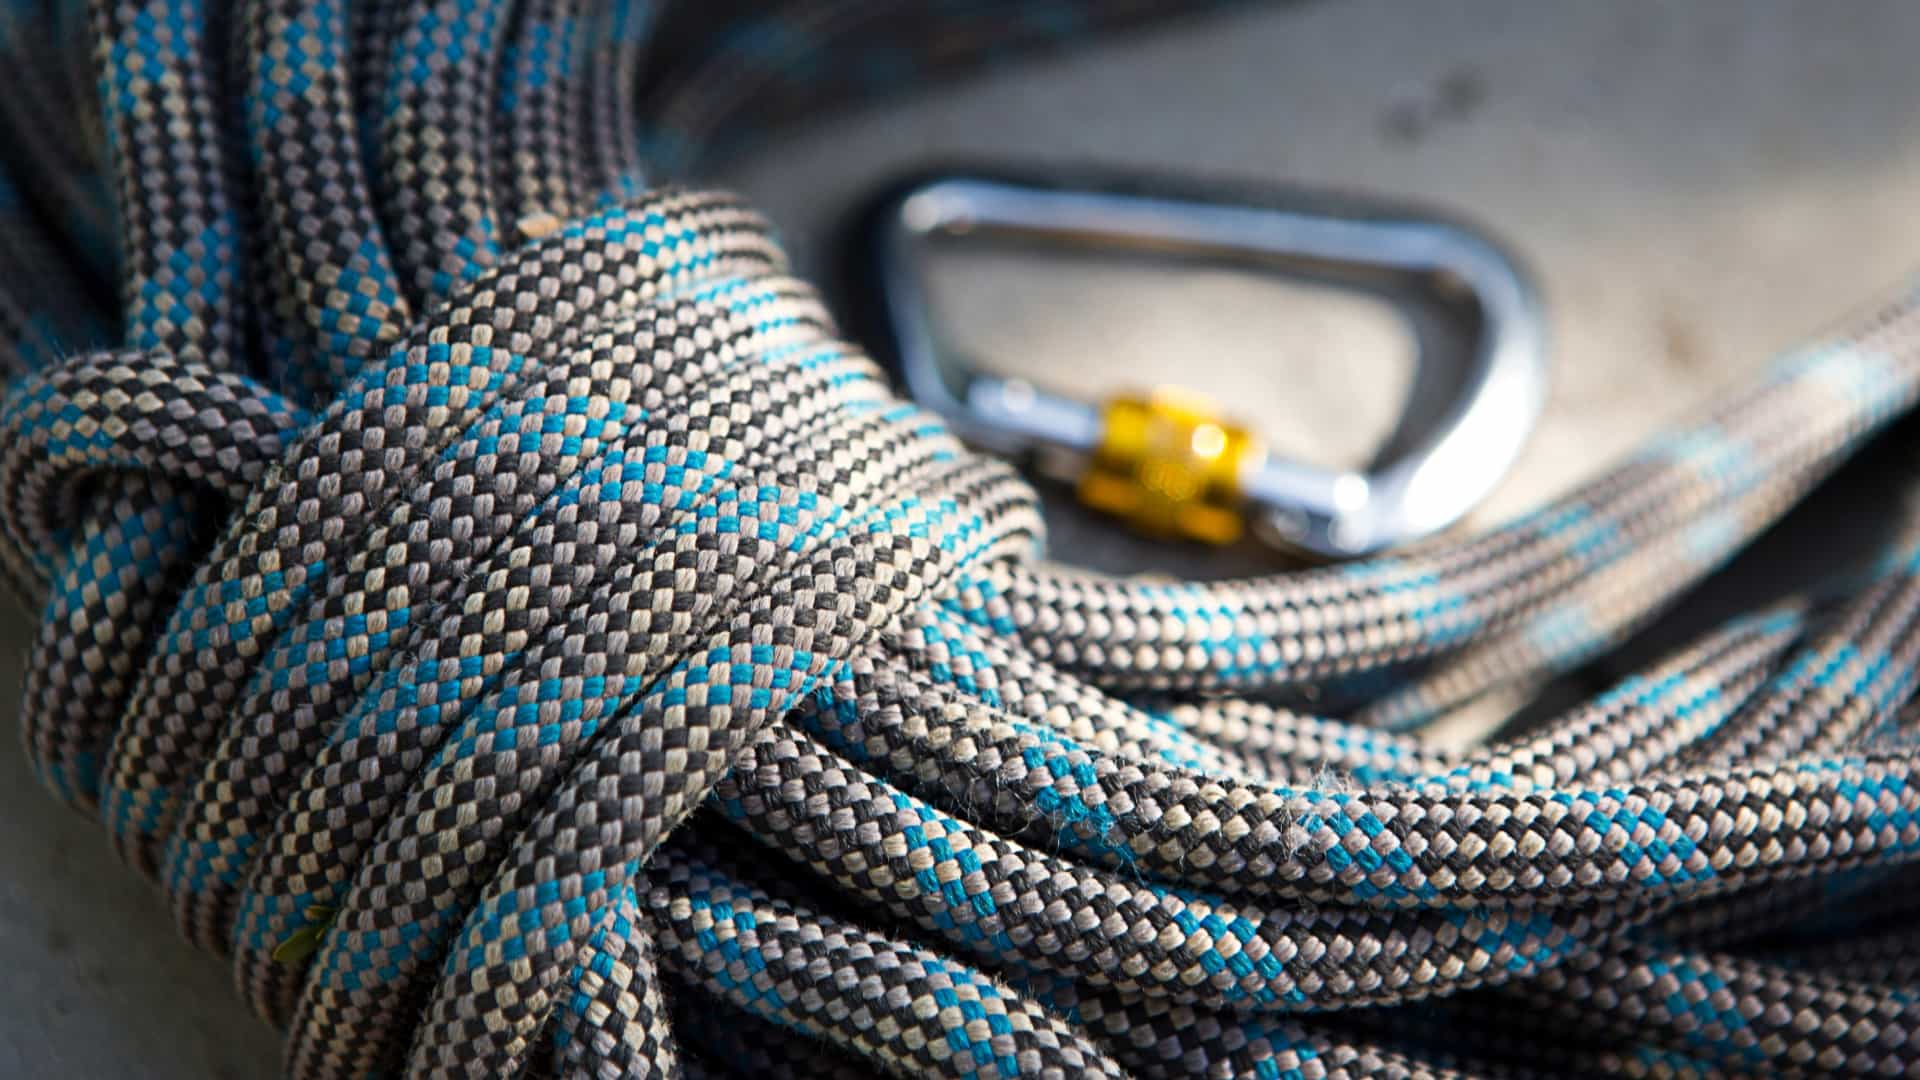
3. Carabiners or clips: Carabiners or clips are commonly used to attach rungs to the ropes. These devices have a hinged gate that allows for easy attachment and detachment. You can attach the carabiners or clips to the rungs and then hook them onto the ropes, providing a secure connection. Ensure that the carabiners or clips are of high quality and have a sufficient weight-bearing capacity.
4. Lashing or wrapping: Lashing or wrapping involves using a separate piece of cord or rope to tightly bind the rungs to the main rope. This method provides a secure and adjustable attachment. Begin by wrapping the cord tightly around the rung and main rope, creating a criss-cross pattern until the rung is firmly attached. Tie knots at the end to secure the wrap in place.
When choosing a method for attaching the rungs, consider the level of stability, ease of assembly, and durability you desire. It’s crucial to ensure that the rungs are firmly attached to the ropes to prevent any accidents or injuries while using the ladder.
As you attach each rung, double-check for stability and make any necessary adjustments to ensure that the ladder is secure and balanced. Taking the time to properly secure the rungs will result in a safe and reliable rope ladder.
Step 5: Strengthening the Ladder
Once you have attached the rungs to the ropes, it’s important to take additional steps to reinforce and strengthen the ladder. This will ensure the durability and strength of the ladder, making it safer and more reliable to use. Here are some recommendations for strengthening your rope ladder:
1. Check for any weak points: Inspect the entire ladder for any weak points or areas that may need reinforcement. Look for loose knots, frayed rope, or any signs of wear and tear. Address these issues before proceeding to reinforce the ladder.
2. Add extra support: Depending on the intended use and weight capacity of your ladder, you may consider adding additional support or bracing. This can involve attaching extra ropes or cords between the ladder rungs to provide cross support and stability. Alternatively, you can use wooden dowels or metal rods as diagonal braces in between the ropes to reinforce the ladder structure.
3. Strengthen the attachment points: Pay special attention to the points where the rungs are attached to the ropes. Ensure that the knots, clamps, or other fastening techniques are securely tightened and will not slip or come undone. You can also reinforce these attachment points by adding extra wraps of rope or using adhesive-grade epoxy to further secure the connection.
4. Use additional materials: Consider using additional materials to enhance the strength and durability of the ladder. For example, you can wrap the rope ends with duct tape or use heat shrink tubing to reinforce them. You can also use rubber sleeves or padding around the rungs to provide a better grip and reduce wear and tear.
5. Test for stability: Once you have reinforced the ladder, it’s important to test its stability and weight-bearing capacity. Gradually apply weight to the ladder and check for any signs of weakness or instability. Make any necessary adjustments or reinforcement if needed.
Remember, the strength and durability of your rope ladder play a crucial role in ensuring your safety while using it. Taking the time to strengthen the ladder and address any weak points will provide you with a reliable and long-lasting ladder that you can use with confidence.
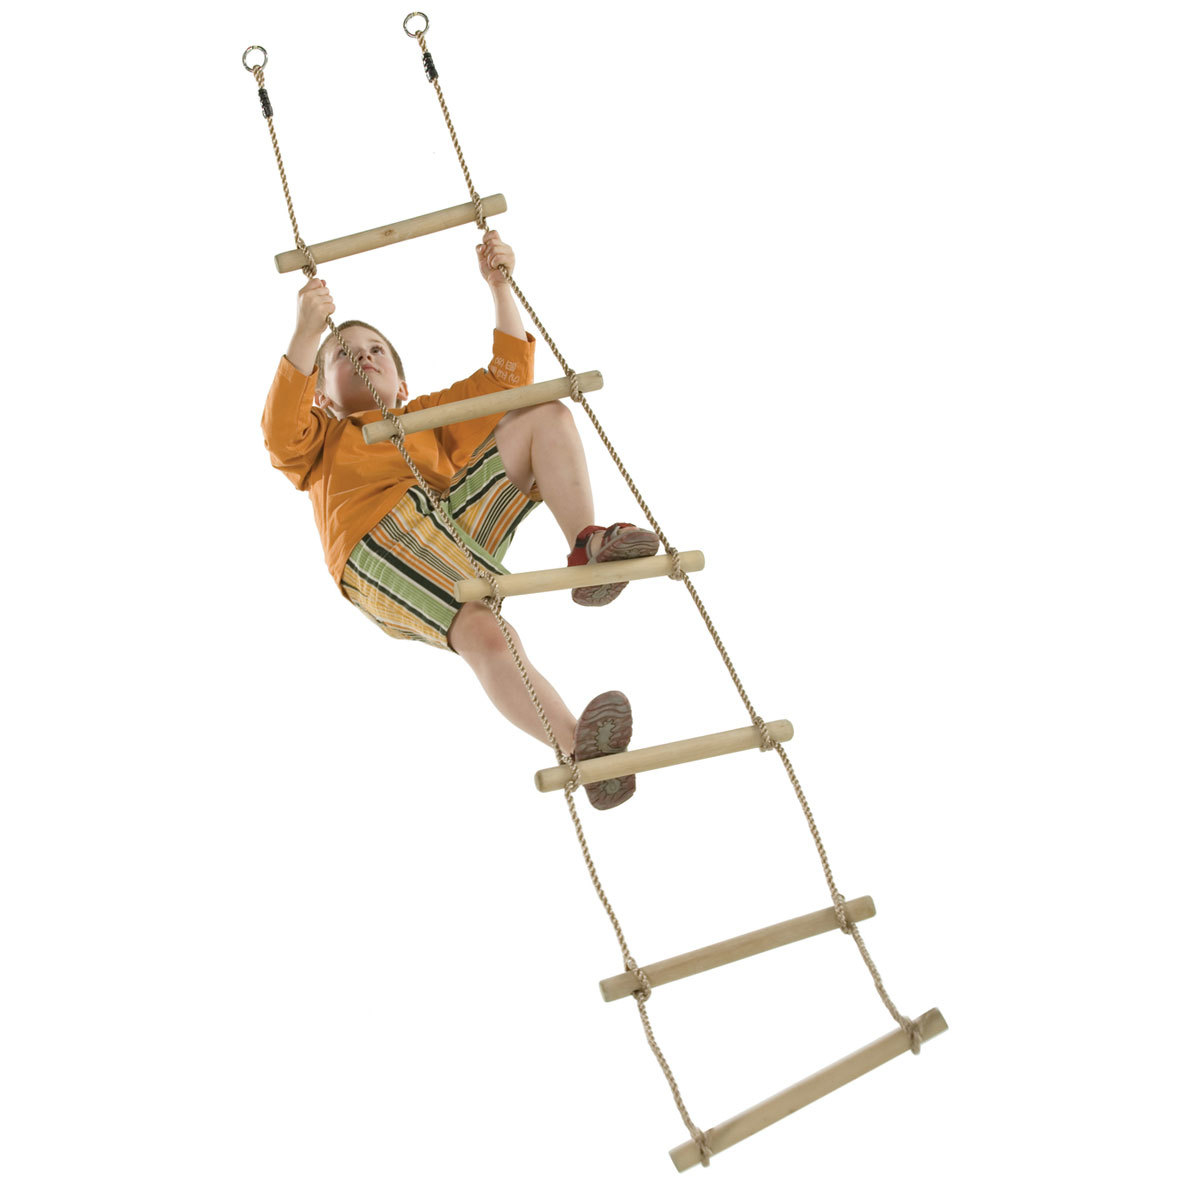
Step 6: Testing and Safety Measures
After constructing and reinforcing your rope ladder, it’s essential to thoroughly test its stability and weight-bearing capacity before using it. Additionally, taking certain safety precautions while using the ladder is crucial. Here are the recommended steps:
1. Test for stability: Before relying on the ladder, carefully test it for stability and strength. Gradually apply weight to the ladder, making sure it can support the intended load. Check for any signs of wobbling, bending, or stretching. If you notice any instability or concerns, reinforce the ladder or make necessary adjustments before actual use.
2. Check the weight-bearing capacity: Pay attention to the weight-bearing capacity of your ladder, and ensure that it is suitable for the intended use. Avoid exceeding the ladder’s weight limit to prevent accidents and damage. If you are uncertain about the ladder’s capacity, consult the manufacturer or an expert for guidance.
3. Inspect regularly: Regularly inspect your rope ladder for any signs of wear and tear, such as frayed ropes or loose attachments. Check the rungs, ropes, and knots for any damage or weakening. Replace any worn-out or damaged components to maintain the ladder’s safety and functionality.
4. Secure the ladder: When using the ladder, ensure it is securely anchored or supported. If attaching it to a structure, ensure the attachment points are strong and stable. If using it against a tree or freestanding structure, check for any movement or instability. Take extra care when climbing or moving on the ladder to avoid jerky movements or sudden shifts in weight distribution.
5. Use proper climbing techniques: While climbing the rope ladder, maintain a firm grip on the rungs and use proper climbing techniques. Hold onto the ladder securely, placing one hand on each side for balance. Ascend and descend the ladder slowly and cautiously. Avoid jumping or making sudden movements that could destabilize the ladder.
6. Ensure proper footing: When using the rope ladder, make sure you have a stable and even surface to stand on. Avoid using the ladder on slippery or uneven terrain. If needed, secure the ladder’s base with stakes or anchors to prevent it from shifting or sliding.
7. Never leave unattended: Never leave the rope ladder unattended, especially if there are children or unauthorized users around. Properly store or secure the ladder when not in use to prevent accidents or misuse.
By following these safety precautions and regularly inspecting your rope ladder, you can ensure a safe and enjoyable experience. Remember, safety should always be a priority when using any type of ladder or climbing equipment.
Conclusion
In conclusion, knowing how to make a rope ladder can be a valuable skill. By following the key steps outlined in this guide, you can construct a safe and reliable ladder for various purposes. Let’s recap the important points:
To begin, gather the necessary materials and tools, including a strong and suitable rope, rungs, measuring tape, a knife or scissors, a marker or pencil, and optionally, a lighter or heat source. Take the time to choose the right rope based on factors such as strength, flexibility, and water resistance.
Next, measure and cut the rope to the desired lengths for each ladder rung. Make sure to double-check your measurements and cut cleanly and straight. Then, create the rung spacing by determining the appropriate distance between each rung and marking the rope accordingly.
After that, attach the rungs to the ropes using knots, clamps, carabiners, or lashing techniques. Ensure that the rungs are securely fastened to the ropes to prevent slippage or loosening. Consider adding extra support or bracing if necessary to strengthen the ladder structure.
Reinforce the ladder by checking for weak points and reinforcing the attachment points. Use additional materials like tape or padding for added durability. Test the ladder for stability and weight-bearing capacity before relying on it. Regularly inspect the ladder for wear and tear, and replace any damaged components as needed.
Finally, always prioritize safety. Take precautions while using the ladder, such as securing it properly, using proper climbing techniques, ensuring a stable footing, and never leaving it unattended. Safety should be a top priority to prevent accidents and injuries.
A properly constructed and well-maintained rope ladder can provide you with a versatile tool for accessing elevated areas, emergency situations, or adding a unique element to your outdoor space. By following the steps outlined in this guide and prioritizing safety, you can enjoy the benefits of a functional and safe rope ladder.
So, gather your materials, put on your safety gear, and embark on the journey of creating your own rope ladder. Enjoy the process and the satisfaction of completing a practical and rewarding DIY project!
Read more: How To Build A Rope Ladder For A Treehouse
Additional Tips and Variations
While the basic steps outlined in this guide cover the essentials of making a rope ladder, there are additional tips and variations you can consider to customize your ladder or enhance its functionality. Here are some ideas to explore:
1. Decorative enhancements: Add a touch of creativity and personality to your rope ladder by incorporating decorative elements. You can paint the rungs in vibrant colors, wrap the ropes with decorative twine, or attach decorative knots or beads for added visual appeal.
2. Adjustable ladder length: Consider making your ladder adjustable in length. This can be accomplished by using ropes with adjustable fasteners or implementing a pulley system. An adjustable ladder allows for flexibility in various environments or applications.
3. Rope ladder with handrails: If safety is a significant concern, you can design your ladder to include handrails. Attach additional ropes on each side of the ladder, creating a handrail system for extra support and stability while climbing.
4. Folding ladder: For portability and ease of storage, you can design your ladder to fold or collapse. This can be achieved by using hinges or joints that allow the ladder to fold into a more compact size when not in use.
5. Knotless ladder: Instead of using traditional knots, you can explore alternative techniques such as splicing or braiding the ropes to attach the rungs. Knotless alternatives provide a sleeker and more streamlined appearance to the ladder.
6. Rope ladder for water use: If you plan to use your ladder in water environments, such as for boat boarding or water rescue, consider using ropes that are specifically designed for water use. These ropes are typically resistant to mildew, rot, and degradation caused by exposure to water.
7. Material alternatives: While traditional materials like wooden dowels or PVC pipes are commonly used for ladder rungs, you can explore alternative materials such as metal rods, bamboo, or even recycled materials like old bicycle handlebars or tree branches. Just ensure that the materials you select are sturdy and able to withstand the intended use.
Remember, customization options are limitless, and you can adapt the ladder design to suit your specific needs and preferences. However, always prioritize safety and functionality when incorporating modifications or enhancements.
By considering these additional tips and variations, you can create a unique and personalized rope ladder that meets your specific requirements or adds that extra touch to your project. Enjoy the process of exploration and customization as you bring your rope ladder design to life!
Frequently Asked Questions about How To Make Rope Ladder
Was this page helpful?
At Storables.com, we guarantee accurate and reliable information. Our content, validated by Expert Board Contributors, is crafted following stringent Editorial Policies. We're committed to providing you with well-researched, expert-backed insights for all your informational needs.


0 thoughts on “How To Make Rope Ladder”