Home>Furniture & Design>Outdoor Furniture>How To Build Outdoor Wood Steps
Outdoor Furniture
How To Build Outdoor Wood Steps
Modified: May 6, 2024
Learn how to build outdoor wood steps with our comprehensive guide. Create a beautiful and functional addition to your outdoor space with our expert tips and advice. Discover the best outdoor furniture, furniture, and design ideas.
(Many of the links in this article redirect to a specific reviewed product. Your purchase of these products through affiliate links helps to generate commission for Storables.com, at no extra cost. Learn more)
Introduction
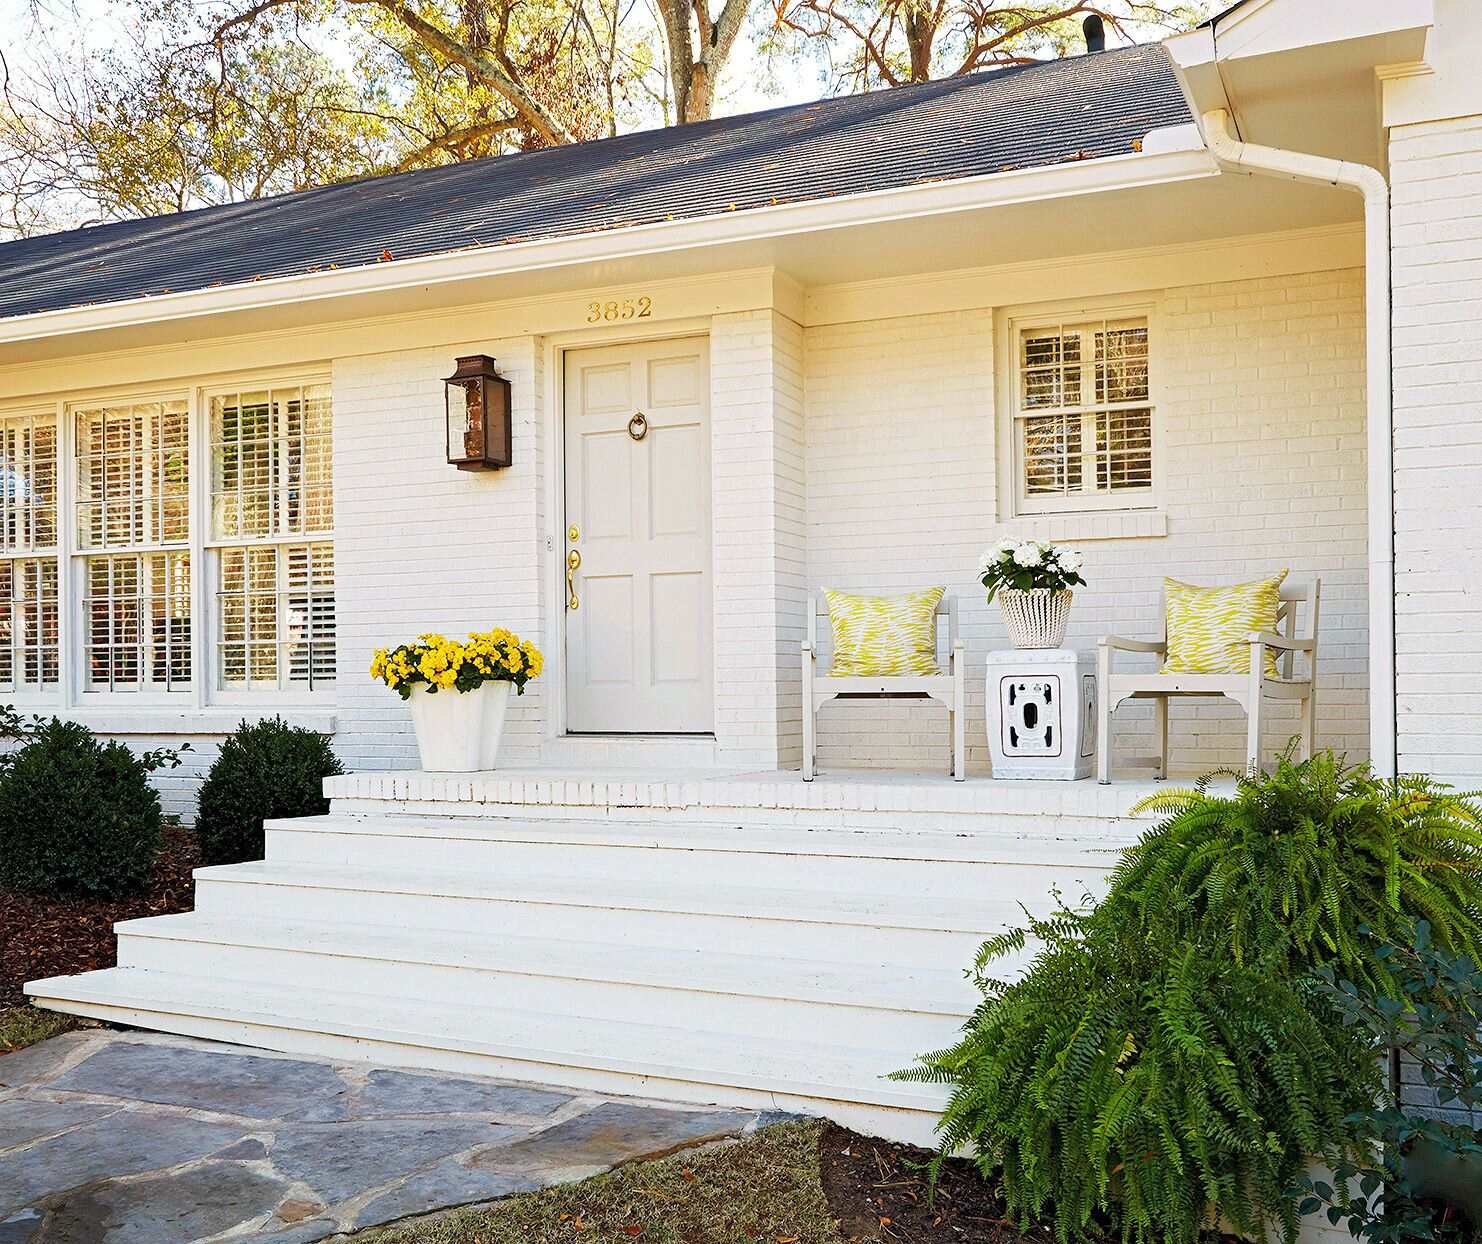
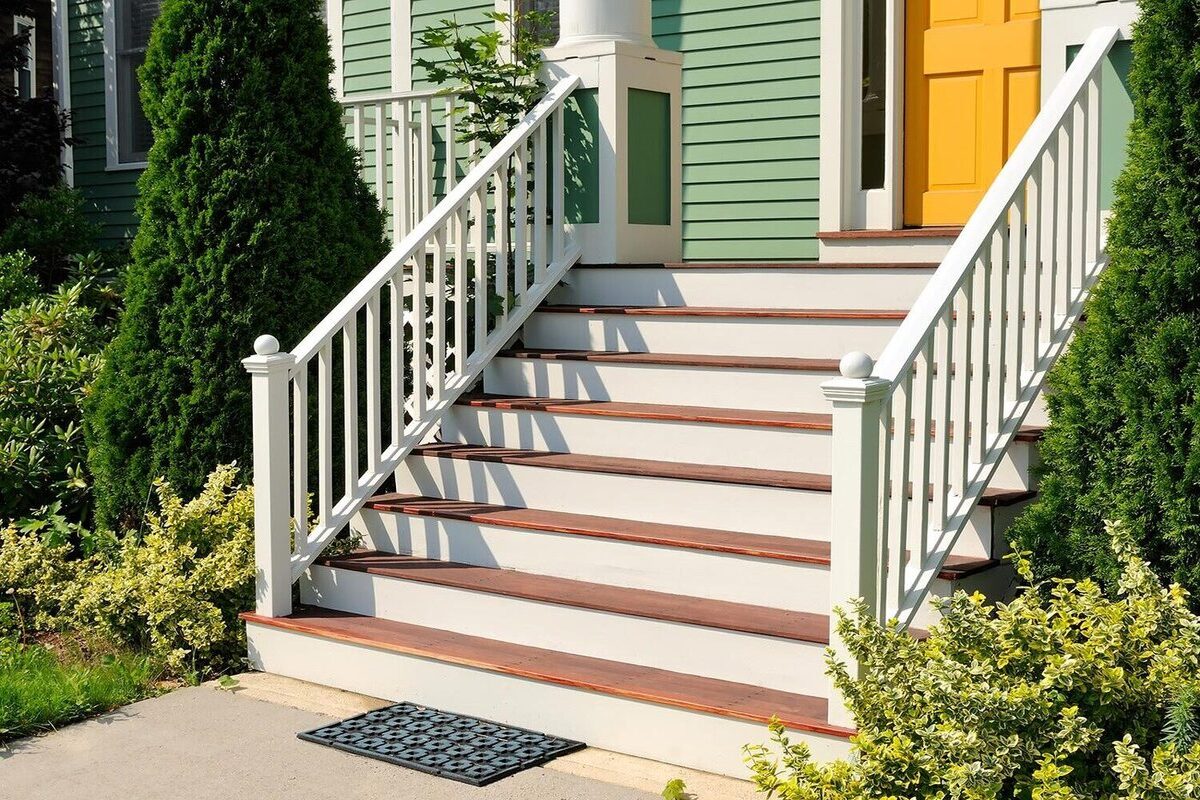
Are you looking to enhance the functionality and aesthetic appeal of your outdoor space? Building wood steps is an excellent way to add accessibility and charm to your landscape. Whether you want to create a welcoming entrance to your home or connect different levels of your garden, wooden steps can be a practical and visually appealing solution.
In this comprehensive guide, we will walk you through the process of building outdoor wood steps. From gathering the necessary materials and tools to installing the steps and optional handrails, we've got you covered. By following these steps, you can embark on a rewarding DIY project that will elevate the beauty and usability of your outdoor area.
So, roll up your sleeves, grab your tools, and let's dive into the exciting world of woodworking and outdoor design. Whether you're a seasoned DIY enthusiast or a novice looking to expand your skills, this guide will equip you with the knowledge and confidence to tackle this project with success. Let's get started!
Key Takeaways:
- Building outdoor wood steps is a rewarding DIY project that adds charm and accessibility to your outdoor space. With careful planning and construction, you can create a durable and visually appealing pathway.
- Adding handrails to outdoor wood steps enhances safety and accessibility. By considering materials, installation, and compliance, you can create a thoughtful and practical addition to your outdoor design.
Read more: How To Build An Outdoor Step
Step 1: Gather Materials and Tools
Before diving into the construction of outdoor wood steps, it’s essential to gather all the necessary materials and tools. By ensuring that you have everything on hand, you can streamline the building process and minimize interruptions. Here’s a comprehensive list of what you’ll need:
Materials:
- Pressure-treated lumber: Opt for high-quality, durable lumber that can withstand outdoor elements.
- Gravel or crushed stone: This will be used for creating a stable base for the steps.
- Landscape fabric: To prevent weed growth and maintain the integrity of the base.
- Paver base or sand: Essential for leveling and stabilizing the base of the steps.
- Concrete mix: If you're planning to install handrails, you'll need concrete for securing the posts.
- Screws and nails: Choose weather-resistant fasteners to ensure the longevity of your wood steps.
- Wood sealer or stain: For protecting the steps from moisture and UV damage.
Tools:
- Tape measure: Essential for taking accurate measurements during the planning phase.
- Level: To ensure that the steps are perfectly horizontal and aligned.
- Shovel: For excavating and preparing the ground for the base of the steps.
- Circular saw: To cut the lumber to the desired dimensions.
- Drill/driver: For fastening the components together securely.
- Hammer: For driving nails and providing additional force when needed.
- Protective gear: Safety glasses, gloves, and a dust mask to prioritize safety during construction.
By gathering these materials and tools, you’ll set the stage for a smooth and efficient construction process. With everything at your fingertips, you’ll be well-prepared to move on to the next step: measuring and planning your wood steps.
Step 2: Measure and Plan
Before you start building your outdoor wood steps, it’s crucial to take precise measurements and develop a well-thought-out plan. This step sets the foundation for a successful construction process and ensures that your steps will fit seamlessly into your outdoor space. Here’s how to approach the measuring and planning phase:
Read more: How To Build Handrails For Outdoor Steps
Assess the Site:
- Identify the location where the steps will be installed. Consider the existing landscape, the slope of the terrain, and any obstacles that may affect the placement of the steps.
- Take note of the desired width and height of each step. This will determine the number of treads and risers needed for your design.
- Consider the overall aesthetic and functionality of the steps. Will they serve as a grand entrance to your home or provide access to a specific area of your outdoor space?
Take Accurate Measurements:
- Use a tape measure to determine the total rise, which is the vertical distance from the lower to the upper landing.
- Calculate the number of steps needed by dividing the total rise by the ideal height of each riser. This will help you achieve consistent and safe step dimensions.
- Measure the total run, which is the horizontal distance the steps will cover. This will influence the depth of each tread and the overall footprint of the steps.
Create a Detailed Plan:
- Sketch a rough design of the steps, including the dimensions, placement, and any additional features such as landings or curves.
- Consider the materials you’ll be using and how they will complement the surrounding landscape and architecture.
- Plan the construction sequence, taking into account the preparation of the ground, the assembly of the base, and the installation of the steps.
By meticulously measuring and planning your outdoor wood steps, you’ll lay the groundwork for a construction process that is efficient, precise, and tailored to your specific outdoor environment. With a clear plan in place, you’ll be ready to move on to the next step: preparing the ground for the installation of the steps.
Step 3: Prepare the Ground
Creating a stable and level foundation is essential for the structural integrity and longevity of your outdoor wood steps. Properly preparing the ground ensures that the steps will be secure and safe for regular use. Here’s a step-by-step guide to preparing the ground for the installation of your wood steps:
Read more: How To Build Outdoor Steps On A Slope
Clear the Area:
- Remove any vegetation, rocks, or debris from the designated area where the steps will be installed. This will provide a clean and clear workspace for the construction process.
- Ensure that the ground is compact and free from any soft or unstable spots that could compromise the stability of the steps.
Excavate the Soil:
- Use a shovel to excavate the soil to the depth required for the base of the steps. The depth will depend on the height of the steps and the type of base you plan to construct.
- Create a level surface by removing any excess soil and using a level to ensure uniformity across the entire area.
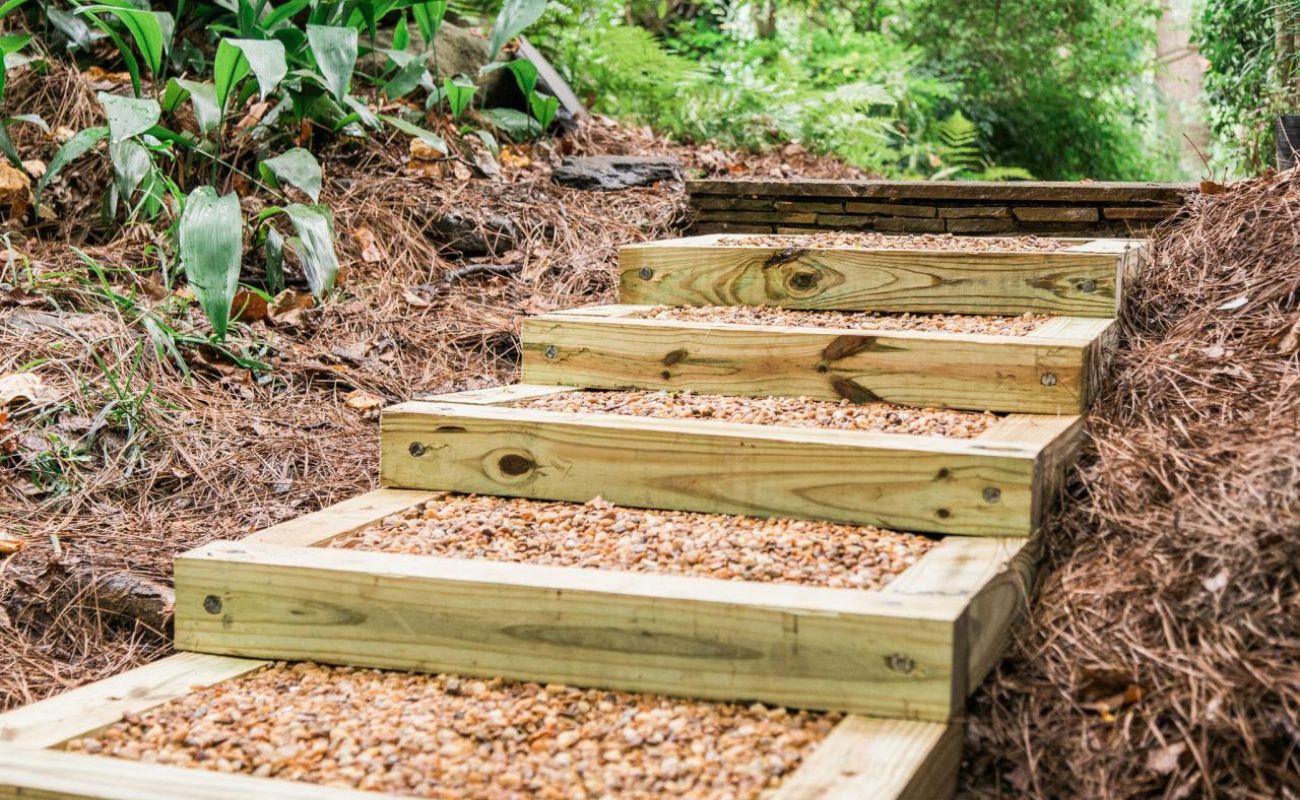
Install the Base Material:
- Spread a layer of gravel or crushed stone over the excavated area. This will provide drainage and create a stable base for the steps.
- Compact the base material using a tamper to ensure a firm and level foundation. This step is crucial for preventing settling and shifting over time.
- Consider using landscape fabric to inhibit weed growth and maintain the integrity of the base material.
Level the Base:
- Use a level to confirm that the base is even and free from any significant variations in elevation. Adjust the base material as needed to achieve a consistent and level surface.
- Verify that the base is in line with the planned dimensions and layout of the steps, making any necessary adjustments before proceeding to the next phase of construction.
By meticulously preparing the ground for your outdoor wood steps, you’ll establish a sturdy and reliable foundation for the subsequent stages of construction. With the groundwork complete, you’ll be ready to progress to the next step: building the base for the steps.
Read more: How To Build Wood Outdoor Furniture
Step 4: Build the Base
Constructing a solid and well-designed base is fundamental to the stability and durability of your outdoor wood steps. The base provides the support and structure necessary to ensure that the steps remain secure and safe for regular use. Here’s a detailed overview of how to build the base for your wood steps:
Frame the Base:
- Begin by framing the perimeter of the step area using pressure-treated lumber. This frame will contain the base material and provide a defined boundary for the steps.
- Ensure that the frame is square and level, using a tape measure and a level to confirm the accuracy of the dimensions and alignment.
Add the Base Material:
- Pour a layer of paver base or sand within the framed area, spreading it evenly to create a level surface. This material will serve as the immediate foundation for the steps.
- Compact the base material using a tamper to achieve a firm and stable surface that will support the weight of the steps and the individuals using them.
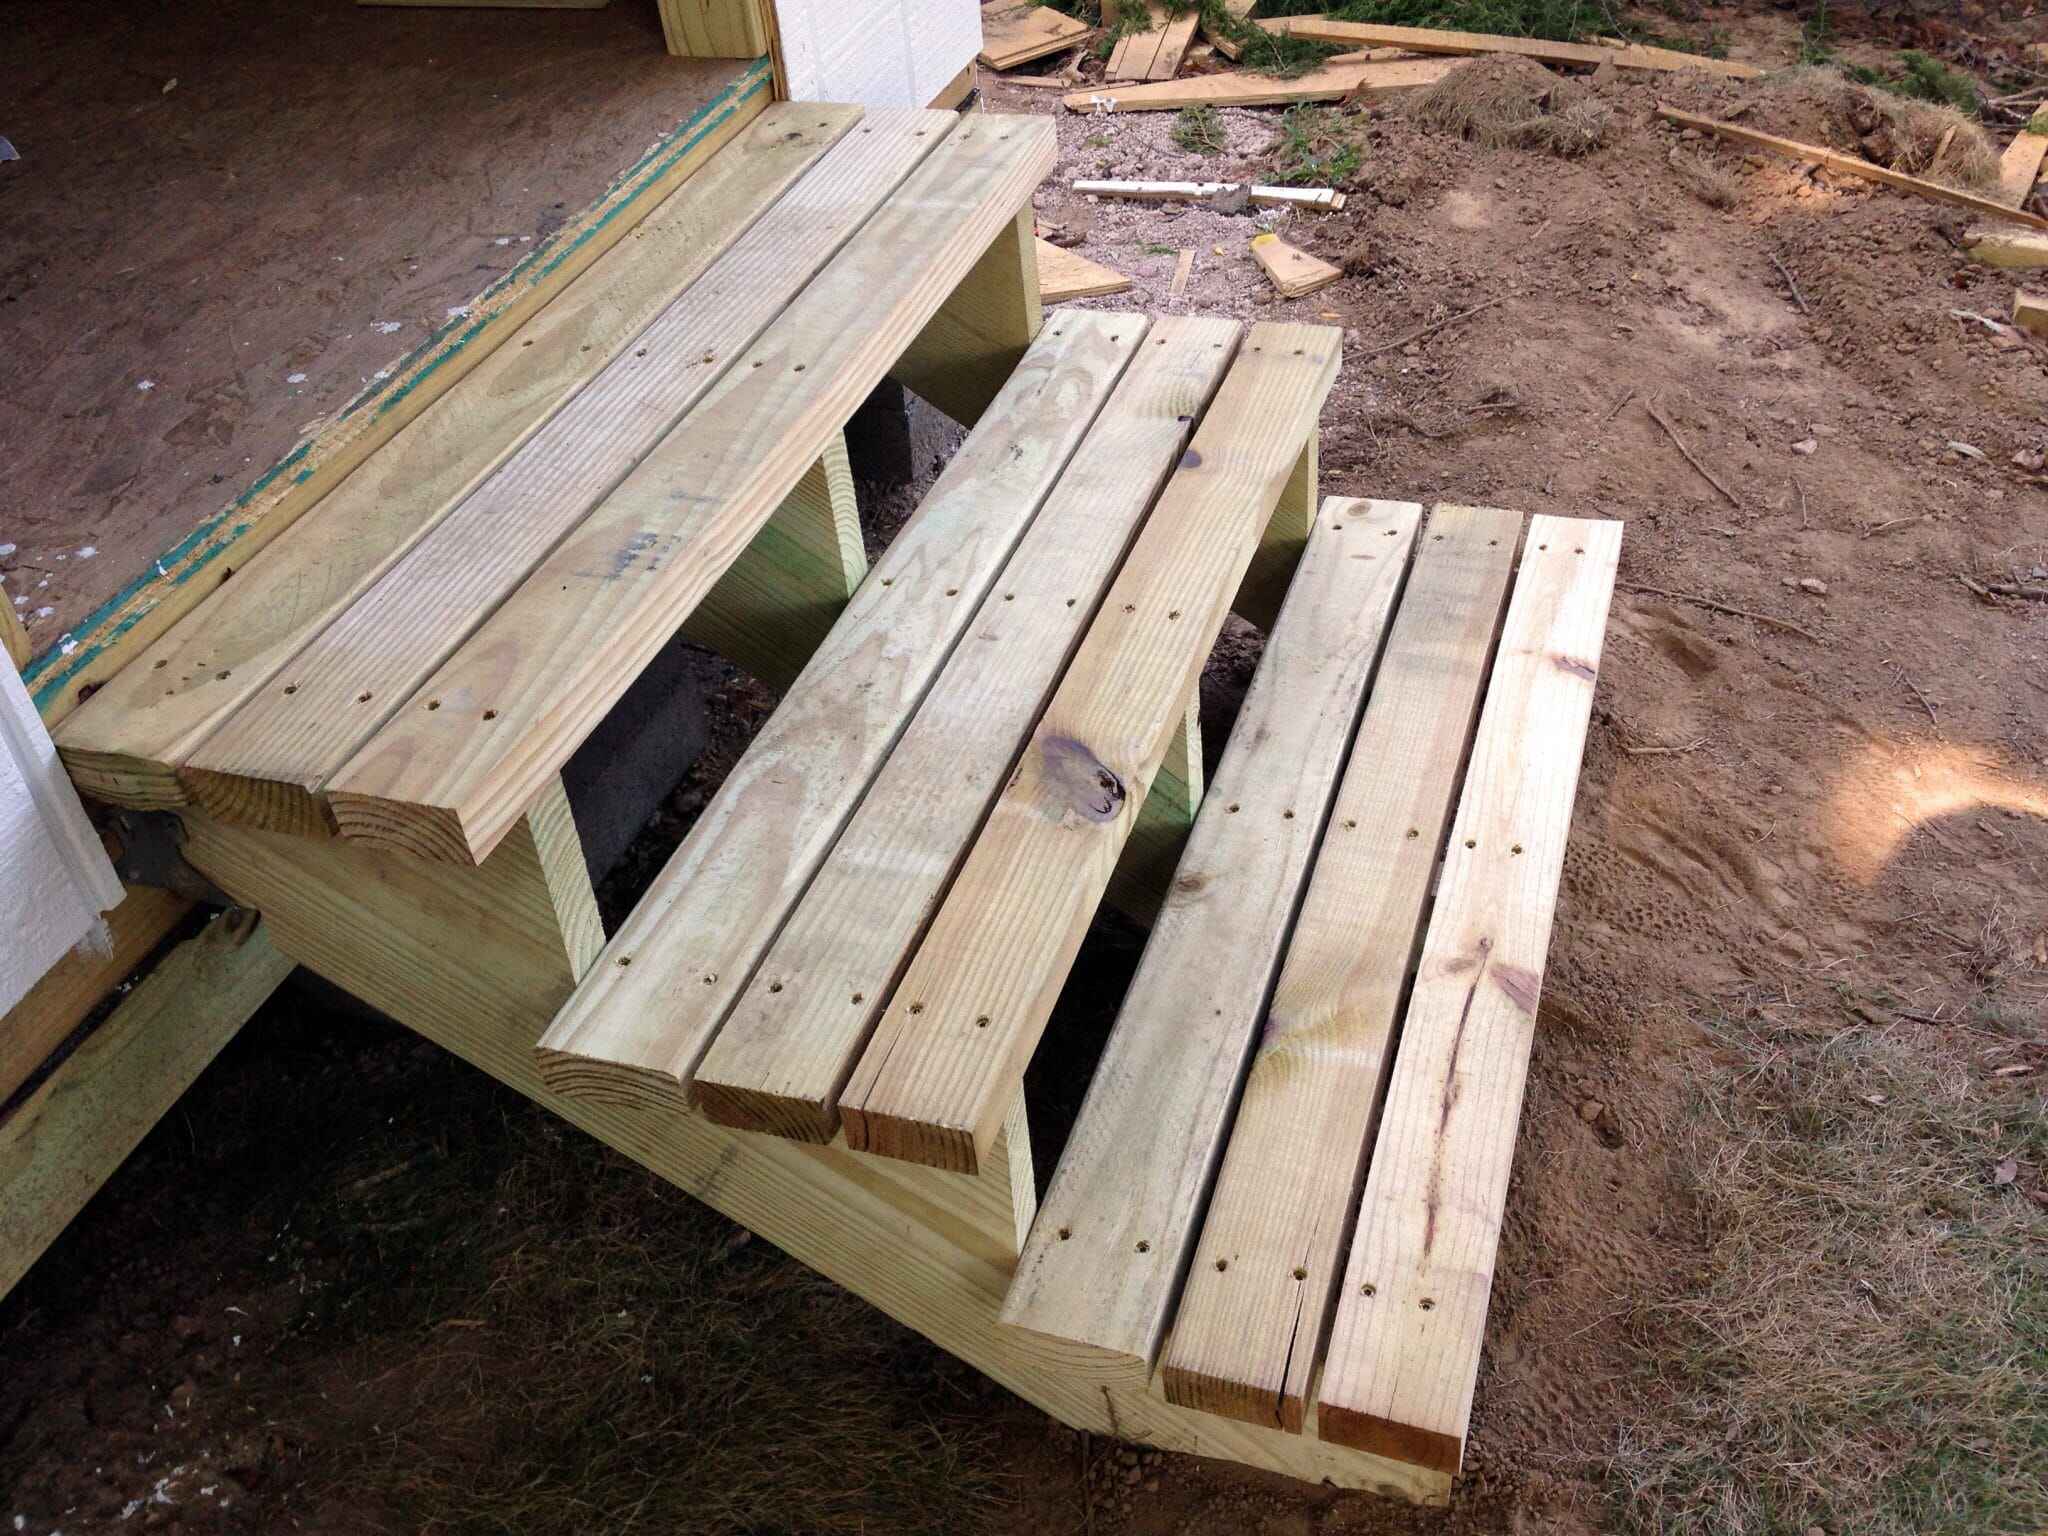
Install the First Tread:
- Place the first tread, or step, on top of the compacted base material, ensuring that it is level and securely positioned within the frame.
- Fasten the tread to the frame using weather-resistant screws or nails, anchoring it firmly to the base of the steps.
Read more: How To Build Outdoor Wood Burning Furnace
Continue Adding Treads:
- Repeat the process of adding treads, ensuring that each one is evenly spaced and securely attached to the base and adjacent treads.
- Use a level to confirm that each tread is horizontal and aligned with the others, making any necessary adjustments to maintain uniformity.
By meticulously constructing the base for your outdoor wood steps, you’ll establish a solid and reliable foundation for the final phase of the construction process. With the base in place, you’ll be ready to move on to the next step: installing the steps to complete the project.
Step 5: Install the Steps
With the base firmly in place, it’s time to proceed with the exciting phase of installing the actual steps. This step brings your vision to life as the functional and aesthetic aspects of your outdoor wood steps take shape. Here’s a comprehensive guide to installing the steps with precision and care:
Secure the Treads:
- Position each tread on the base, ensuring that it is aligned with the previous tread and appropriately spaced to accommodate safe and comfortable stepping.
- Secure each tread to the base using weather-resistant screws or nails, driving them through the tread and into the base material for a secure attachment.
Address the Riser Space:
- If your design includes risers, attach them to the front of each tread to create a closed vertical face between the steps. This enhances the safety and visual appeal of the steps.
- Ensure that the risers are evenly positioned and securely fastened to the treads, providing a consistent and stable structure for the steps.
Verify Alignment and Stability:
- Use a level to confirm that each step is horizontal and aligned with the adjacent steps, making any necessary adjustments to maintain uniformity.
- Test the stability of the steps by applying pressure to various areas, ensuring that they remain secure and free from wobbling or shifting.
Apply Protective Finish:
- Consider applying a protective wood sealer or stain to the steps to safeguard them against moisture, UV exposure, and general wear and tear from outdoor conditions.
- Applying a finish not only enhances the appearance of the steps but also extends their lifespan, allowing you to enjoy their beauty and functionality for years to come.
By meticulously installing the steps of your outdoor wood construction, you’ll bring your project to fruition, culminating in a functional and visually appealing addition to your outdoor space. With the steps securely in place, you’re ready to consider the optional final step: adding handrails to further enhance the safety and aesthetics of the steps.
Step 6: Add Handrails (Optional)
While not always necessary, adding handrails to your outdoor wood steps can significantly enhance safety and accessibility, especially if the steps span multiple levels or are frequently used by individuals who may benefit from additional support. Here’s a detailed overview of how to add handrails to your wood steps:
Assess the Need:
- Determine whether the specific location and design of your steps warrant the installation of handrails. Consider factors such as the height of the steps, the intended users, and any applicable building codes or safety guidelines.
- Assess the aesthetic impact of handrails, ensuring that they complement the overall design of the steps and the surrounding outdoor environment.
Read more: How To Build Brick Steps
Select the Handrail Material:
- Choose a material for the handrails that aligns with the style and durability requirements of your outdoor space. Common options include pressure-treated wood, metal, or composite materials.
- Consider the maintenance and longevity of the chosen material, aiming for a solution that offers both visual appeal and long-term reliability.
Install the Handrail Posts:
- Determine the placement of the handrail posts, ensuring that they are securely anchored to the ground or adjacent structures for maximum stability.
- Use concrete to secure the posts in place, providing a solid and permanent foundation for the handrails.
Attach the Handrails:
- Fasten the handrails to the installed posts, ensuring that they are level and securely attached to provide reliable support for individuals using the steps.
- Confirm that the handrails are at a comfortable and ergonomic height, promoting ease of use and safety for all users.
Verify Compliance and Safety:
- Check local building codes and safety regulations to ensure that the installed handrails meet the necessary standards for height, strength, and accessibility.
- Test the handrails for stability and weight-bearing capacity, ensuring that they provide the intended support and safety features for the steps.
By considering the optional addition of handrails to your outdoor wood steps, you can further enhance the functionality and safety of the structure, catering to the needs of users while adding a thoughtful and practical element to your outdoor design. With the completion of this step, your wood steps project will be fully realized, providing both practicality and visual appeal to your outdoor space.
Read more: How To Build An Angled Deck Step-by-Step
Conclusion
Congratulations on completing the journey of building outdoor wood steps! From the initial planning and preparation to the final touches, you’ve embarked on a rewarding DIY project that has transformed your outdoor space. By following the comprehensive steps outlined in this guide, you’ve not only created a functional and accessible pathway but also added a touch of craftsmanship and design to your landscape.
As you reflect on the process, consider the sense of accomplishment that comes with mastering woodworking skills and enhancing your outdoor environment. Your newly constructed wood steps serve as a testament to your dedication and creativity, providing a practical and visually appealing feature that seamlessly integrates with your surroundings.
With the completion of this project, you’ve also gained valuable insights into the world of outdoor construction and design. Whether you’re a seasoned DIY enthusiast or a newcomer to the realm of woodworking, the skills and knowledge you’ve acquired can be applied to future projects, further enriching your home and outdoor living spaces.
As you admire the finished wood steps, take a moment to appreciate the craftsmanship and attention to detail that have gone into their creation. The durable materials, precise measurements, and thoughtful design elements have culminated in a structure that not only serves a practical purpose but also adds character and charm to your outdoor area.
By embracing the process of building outdoor wood steps, you’ve not only expanded your skill set but also contributed to the overall functionality and beauty of your home. As you enjoy the fruits of your labor, take pride in the fact that you’ve created a lasting and impactful addition to your outdoor environment, enriching your daily experiences and leaving a mark of craftsmanship for years to come.
So, as you bask in the satisfaction of a completed project, take a moment to envision the possibilities that lie ahead. Whether it’s further enhancing your outdoor space or embarking on new woodworking endeavors, the skills and creativity you’ve cultivated will continue to shape and elevate your living environment.
Congratulations once again on successfully building outdoor wood steps. Your dedication and craftsmanship have left an indelible mark on your home, reflecting your passion for creating functional, beautiful, and enduring outdoor spaces.
Ready to tackle more DIY projects for your outdoor space? Our guide on outdoor projects offers creative and simple ideas that will spruce up any yard or patio. From unique garden beds to custom seating areas, each project brings fresh excitement to your home. Don't miss out on transforming your outdoor area into a delightful retreat for family and friends. Dive into our guide and start crafting today!
Frequently Asked Questions about How To Build Outdoor Wood Steps
Was this page helpful?
At Storables.com, we guarantee accurate and reliable information. Our content, validated by Expert Board Contributors, is crafted following stringent Editorial Policies. We're committed to providing you with well-researched, expert-backed insights for all your informational needs.


0 thoughts on “How To Build Outdoor Wood Steps”