
Tableware
How To Make Rope Coasters
Modified: January 19, 2024
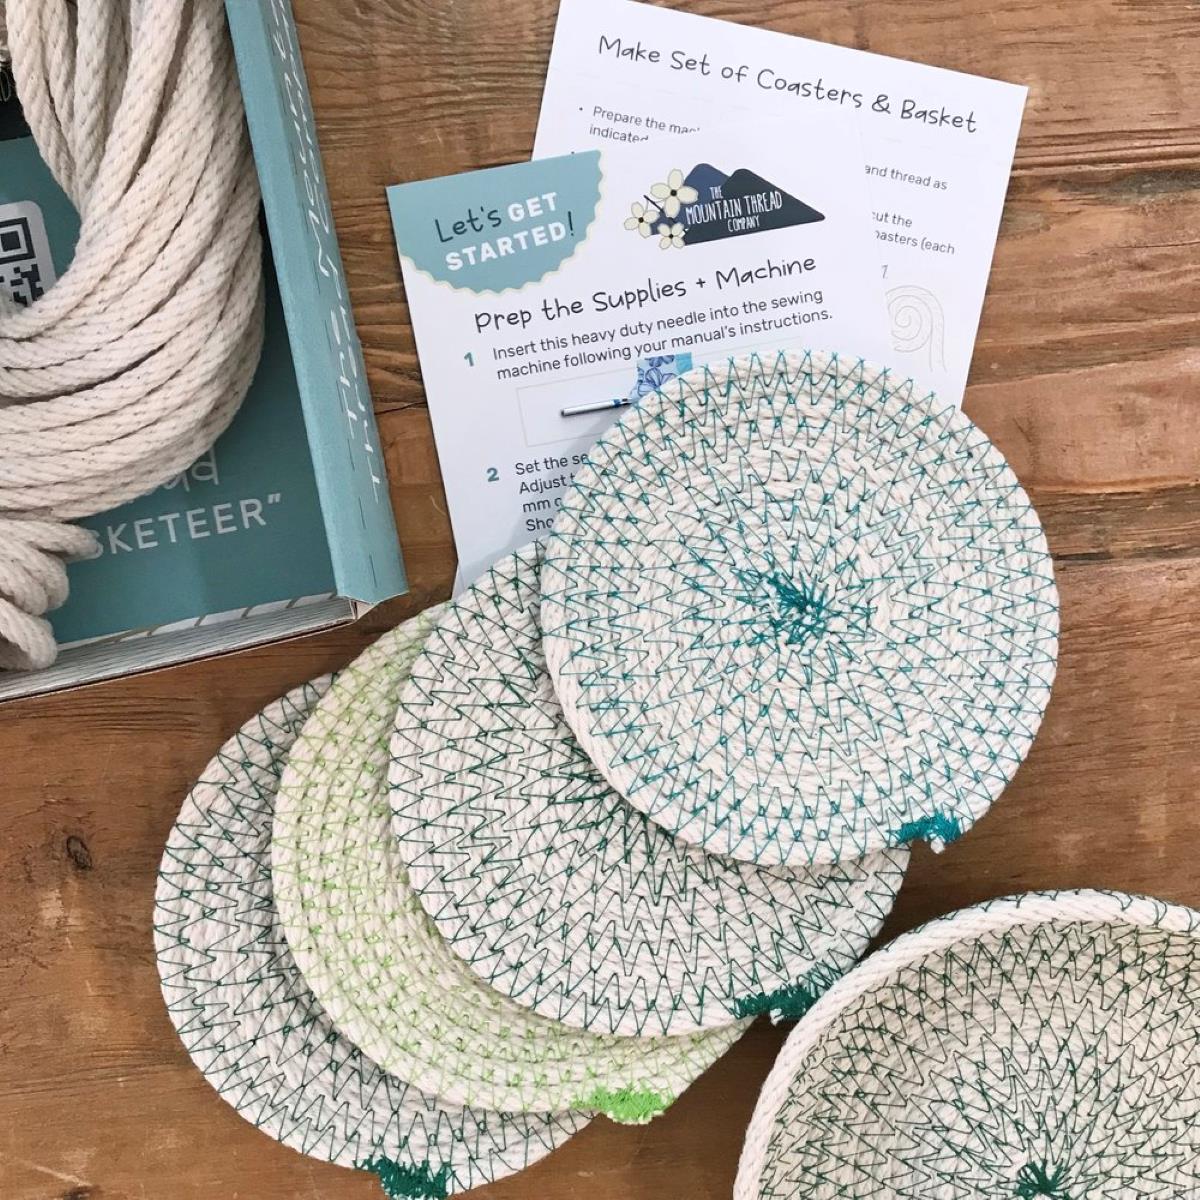
Learn how to make beautiful rope coasters to add a rustic touch to your tableware collection. Simple and stylish DIY project for crafting enthusiasts.
(Many of the links in this article redirect to a specific reviewed product. Your purchase of these products through affiliate links helps to generate commission for Storables.com, at no extra cost. Learn more)
Introduction
Tableware plays an integral role in our daily lives, serving as not just functional items but also as an expression of creativity and personal style. From plates and bowls to glasses and cutlery, every element of tableware adds to the overall dining experience. One often overlooked accessory that can elevate your table setting is a set of rope coasters.
Rope coasters offer a unique and rustic touch to any dining table or coffee table. They are not only practical in protecting surfaces from hot or cold beverages but also add a touch of natural charm to your home decor. Making rope coasters is a fun and creative DIY project that allows you to customize the design, colors, and materials to match your personal taste.
In this article, we will guide you through the process of creating your own rope coasters. Whether you are a seasoned crafter or a beginner looking for a new creative outlet, this step-by-step tutorial will help you bring your vision to life.
Before we dive into the crafting process, let’s gather the materials you will need.
Key Takeaways:
- Elevate your table setting with DIY rope coasters, adding rustic charm and personal style to your home decor. Customize colors and materials to reflect your unique taste and creativity.
- Enjoy the satisfaction of crafting personalized rope coasters, perfect for protecting surfaces and adding a touch of natural charm to your tableware. Experiment with designs and materials to match your home’s aesthetic.
Read more: How To Make Rope Ladder
Materials Needed
To make your own rope coasters, you will need the following materials:
- Rope: Choose a rope that suits your preferred style. Natural jute rope or cotton rope are popular options for a rustic look, while colorful nylon rope can add a vibrant touch. The thickness of the rope is also a matter of personal preference.
- Scissors: A pair of sharp scissors will be necessary for cutting the rope to the desired lengths.
- Glue: You will need a strong adhesive that can bond the rope securely. A hot glue gun or fabric glue are suitable options.
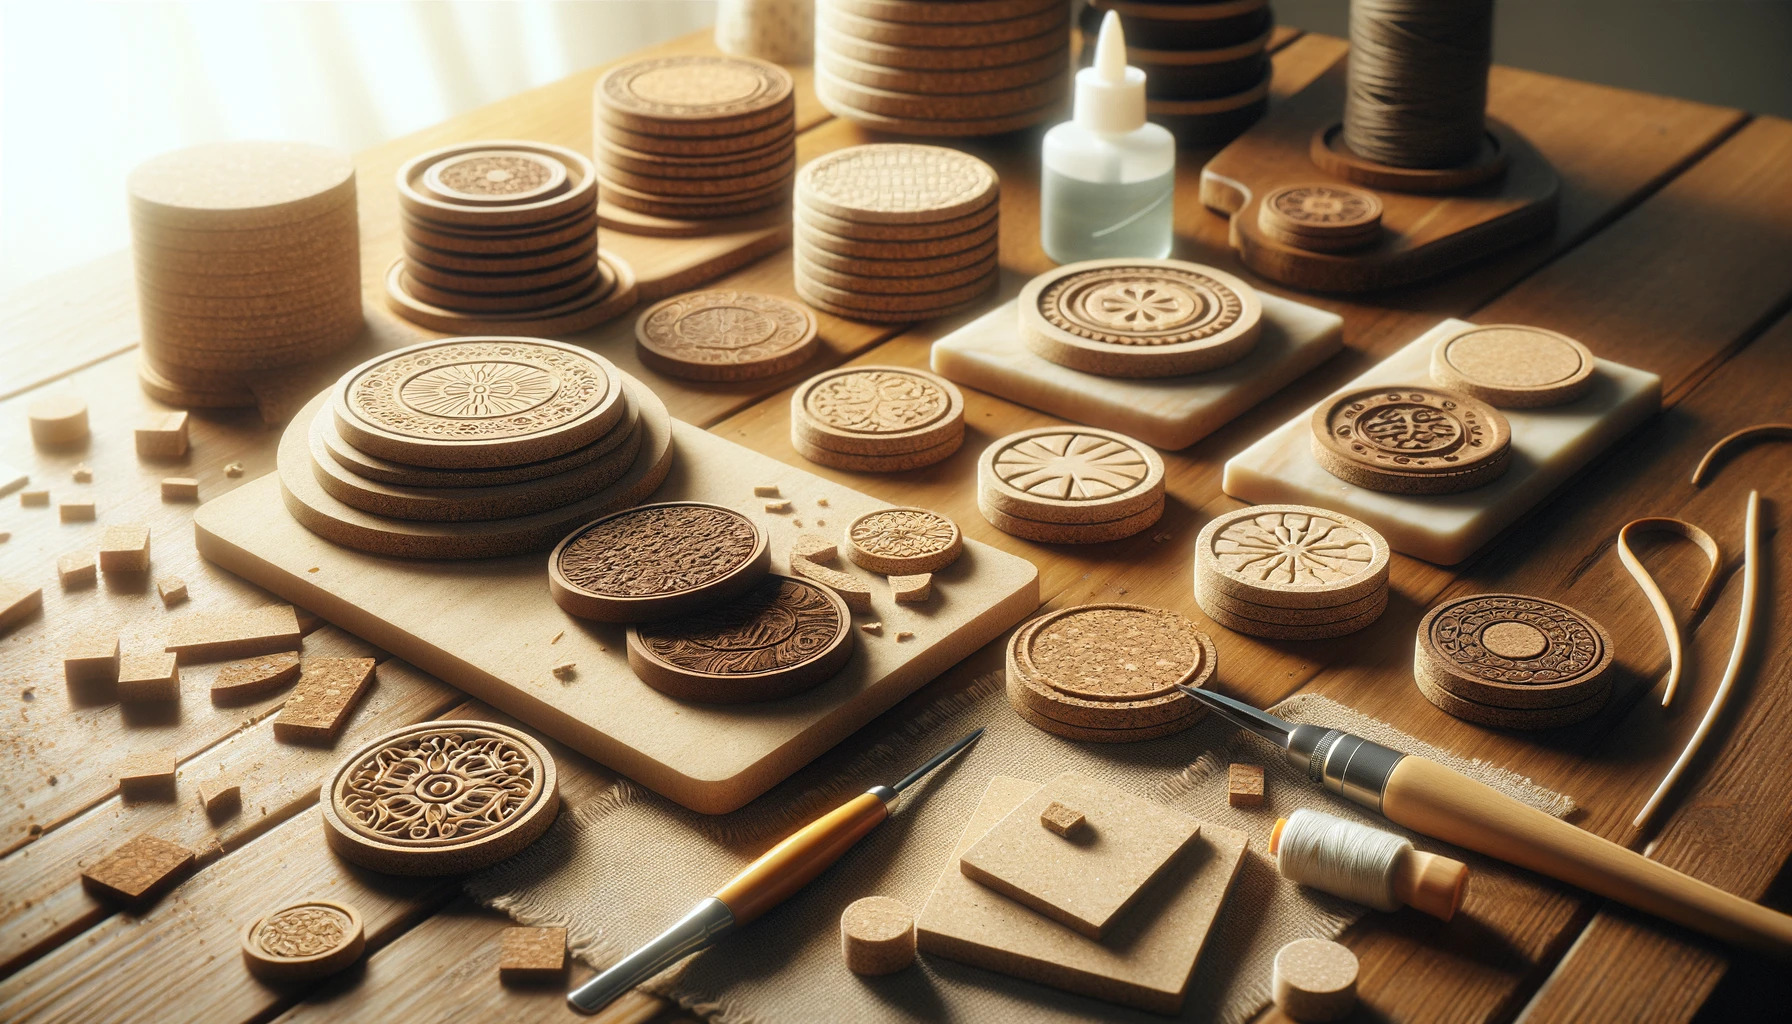
- Cardboard or Cork Sheets: These will serve as the base for your coasters. You can use either cardboard cut into circles or precut cork sheets specifically made for coasters.
- Optional: Decorative elements such as beads, shells, or fabric scraps can be added to personalize your coasters.
Now that you have gathered all the necessary materials, let’s move on to the step-by-step process of creating rope coasters.
Step 1: Gather the Supplies
Before you begin crafting your rope coasters, it’s important to gather all the supplies in one place. This will ensure that you have everything you need within reach, making the process seamless and efficient.
Start by laying out your rope, scissors, glue, and base material (either cardboard or cork sheets). If you have chosen to incorporate any decorative elements, such as beads or fabric scraps, have them ready as well.
Make sure your work area is clean and well-organized. Having a clutter-free space will give you ample room to work and prevent any accidental mishaps.
Take a moment to visualize the design and style you want for your rope coasters. Consider the color scheme, thickness of the rope, and any additional embellishments you plan to include. By having a clear vision in mind, you can proceed with confidence and create coasters that truly reflect your personal taste.
Now that you have all your supplies ready, let’s move on to the next step: preparing the work area.
Step 2: Prepare the Work Area
Having a well-prepared work area is essential for a smooth and enjoyable crafting experience. Before you start making your rope coasters, take the time to organize and set up your workspace.
First, find a flat and spacious surface where you can comfortably work. A table or a large countertop would be ideal. Ensure that the area is clean and free from any dust or debris that could interfere with the adhesive bonding process.
Next, lay down a protective covering on your work surface. This could be a plastic tablecloth, old newspapers, or a large sheet of craft paper. This will prevent any accidental spills or glue mishaps from damaging the surface of your table or countertop.
Now, gather all your crafting supplies and arrange them neatly within easy reach. Place your rope, glue, scissors, and base materials in a strategic manner, making it convenient for you to grab what you need without any hassle.
If you are planning to incorporate any decorative elements into your coasters, ensure that they are organized and easily accessible as well. Separate them into small containers or bowls so that you can easily pick and choose what you want to use without searching through a cluttered pile.
Having a well-organized and clutter-free work area will not only make the crafting process more efficient but also enhance your overall enjoyment. Now that your work area is ready, it’s time to move on to the next step: creating the base of the rope coasters.
Step 3: Create the Base
The base of your rope coasters acts as the foundation for the project. It provides a stable and flat surface for the coils of rope to be attached to. There are two common materials that can be used as the base: cardboard and cork sheets.
If you choose to use cardboard, start by tracing circles onto the cardboard using a template or a circular object of your desired coaster size. You can use a compass or a round object like a mug or a bowl. Ensure that the circles are smooth and evenly sized.
Once you have traced the circles, use a pair of sharp scissors to carefully cut them out. Take your time to make precise cuts, as this will contribute to the overall quality of your coasters.
If you prefer a more durable and professional-looking base, you can opt for cork sheets. These can be purchased pre-cut into coaster-sized circles. Simply select the appropriate size to match your desired coaster dimensions.
Whether you choose cardboard or cork as the base, ensure that the circles are cut to a size that accommodates the diameter of your rope coils. You want the coils to fit snugly onto the base without any gaps or overlap.
At this stage, you have successfully created the base for your rope coasters. The next step will involve coiling the rope around the base to form the coaster’s shape.
Read more: How To Make Coasters Waterproof
Step 4: Start Coiling the Rope
With the base prepared, it’s time to start coiling the rope to create the body of your rope coasters. This step involves wrapping the rope around the base in a spiral pattern, gradually building up the height and shape of the coaster.
Begin by applying a small amount of glue to the center of the base. This will be your starting point for the rope coil. Place one end of the rope onto the glued section and hold it in place until the glue is secure.
Next, start coiling the rope around the center, gluing it down periodically. Apply a small amount of glue to the base and press the rope onto it, making sure it adheres firmly. Continue this process, working your way outward in a spiral pattern.
As you coil the rope, be mindful of the tension and alignment. Aim for even spacing and avoid any gaps or overlapping between the rope coils. This will ensure a clean and professional-looking finish.
Continue adding glue and coiling the rope until you reach the desired size for your coaster. If you want a thicker coaster, you can apply multiple layers of rope by gluing each new coil on top of the previous one.
Remember to periodically press down and secure the rope to the base to ensure a strong adhesion. Do this especially at the beginning and end of each coil to prevent the rope from unraveling.
Take your time and work methodically throughout this process, paying attention to detail. Coiling the rope is the defining step that gives your coasters their unique shape, so it’s important to take care and maintain a consistent and precise technique.
Once you have completed the coiling process, you can move on to the next step: securing the coiled rope in place.
When making rope coasters, use a hot glue gun to secure the rope in place and create a sturdy and durable coaster. This will ensure that the rope stays in place and the coaster lasts longer.
Step 5: Secure the Coils
Now that you have coiled the rope around the base to create the body of your rope coasters, it’s time to secure the coils in place. This step ensures that your coasters remain intact and sturdy, ready to withstand the weight of plates, glasses, or mugs.
Start by applying a generous amount of glue to the underside of the final coil. This will serve as the anchor point for securing the rest of the coils.
Press down firmly to ensure a strong bond between the final coil and the base. Hold it in place until the glue sets and the coil feels secure.
Next, work your way around the outer edge of the coaster, applying glue to the underside of each coil and pressing it down onto the base. Make sure each coil is firmly adhered to the base and to the previous coil.
Continue this process until all the coils are securely glued in place. Pay attention to any loose or wobbly areas and add extra glue to reinforce those spots.
While securing the coils, it’s important to maintain the shape and alignment of the coaster. Check that the coils are evenly spaced and positioned to create a symmetrical and balanced appearance.
Once you have completed securing all the coils, allow the glue to dry completely. This may take a few hours, but it’s crucial for the adhesive to set fully to ensure the longevity of your rope coasters.
Once the glue is dry and the coils feel secure, you can proceed to the next step: trimming any excess rope.
Step 6: Trim Excess Rope
After securing the coils of rope in place, it’s time to tidy up the appearance of your rope coasters by trimming any excess rope. This step will give your coasters a clean and finished look.
Start by examining the edges of the coaster. If there is any rope hanging over the edge or sticking out unevenly, use a sharp pair of scissors to carefully trim it. Ensure that you cut as close to the base as possible without cutting into the coils or base material.
Take your time during this process and make precise cuts. It’s better to remove a little at a time rather than cutting off too much at once. You can always trim more if needed, but you can’t undo a cut that has already been made.
Continue trimming the excess rope around the entire perimeter of the coaster until you are satisfied with the appearance. Be sure to check for any missed areas or uneven cuts and make any necessary adjustments.
As you trim the excess rope, be mindful of the overall shape of the coaster. Maintain a consistent edge and ensure that the coaster remains round or the desired shape you are aiming for.
Once you have trimmed all the excess rope and achieved the desired clean look, you can move on to the next step: applying a protective finish to your rope coasters.
Note: If you prefer a more rustic and natural look, you can skip this step and leave the rope coasters as they are. However, applying a protective finish will help increase their durability and lifespan.
Step 7: Apply a Protective Finish
Applying a protective finish to your rope coasters can help prolong their lifespan and make them more resistant to spills and stains. This step is especially important if you plan to use the coasters with hot or cold beverages.
There are various options for a protective finish, depending on the desired outcome and the materials you have available.
If you have chosen a natural jute or cotton rope, you can consider using a fabric protector spray. This will create a barrier on the surface of the rope, making it easier to clean and repelling liquid spills.
If you prefer a matte or slightly glossy finish, you can opt for a clear acrylic spray or a clear varnish. These products will provide a layer of protection without altering the appearance of the rope.
Before applying the protective finish, ensure that the coaster is clean and free from any dust or debris. If necessary, gently wipe the surface with a clean, dry cloth.
Next, follow the instructions on the chosen protective finish product. Shake the spray can or stir the varnish well to ensure proper application.
Hold the spray can or brush the varnish onto the coaster surface, making even and smooth strokes. Be careful not to apply too much product to avoid drips or an uneven finish.
Allow the protective finish to dry completely according to the product instructions. This may take a few hours or even overnight, depending on the type of finish you have used.
Once the protective finish is dry, your rope coasters will have an added layer of durability and resistance to spills and stains. They will be ready to serve as stylish and functional accessories on your table.
Now that the protective finish is applied, you can move on to the next step: letting the coasters dry completely.
Read more: How To Make Cricut Coasters
Step 8: Let the Coasters Dry
After applying the protective finish to your rope coasters, it’s important to allow them to dry completely before using or handling them. This step ensures that the finish sets properly and enhances the overall durability of the coasters.
Check the instructions on the product you used for the protective finish to determine the recommended drying time. It may vary depending on the specific brand and type of finish you chose.
Place the coasters in a well-ventilated area away from direct sunlight or heat sources. This will help facilitate the drying process without causing any damage or discoloration to the coasters.
Be patient during this step and avoid touching or moving the coasters until they are completely dry. Rushing the drying process may cause smudging or leave marks on the protective finish.
If you applied the protective finish using a spray or varnish, it’s best to let the coasters dry overnight to ensure optimal results. This will give ample time for the finish to cure and harden, providing maximum protection for your coasters.
Once the coasters are fully dry, you can check for any visible signs of tackiness or stickiness. If necessary, give them a little more time to dry before handling them or placing them on your table.
Remember, the drying time can vary depending on the environmental conditions, humidity levels, and the specific product used. It’s always better to err on the side of caution and allow for extra drying time to ensure the best outcome for your rope coasters.
With the coasters fully dried, you are now ready to enjoy their functionality and aesthetic appeal. Let’s move on to the final step: your completed rope coasters await!
Step 9: Enjoy Your Rope Coasters
Congratulations! You have successfully completed the steps to create your own rope coasters. Now it’s time to sit back, relax, and enjoy the fruits of your creativity and craftsmanship.
Place your newly-made rope coasters on your dining table, coffee table, or any other surface where you want to protect and enhance the aesthetic appeal. These coasters not only serve a practical purpose of preventing heat or moisture damage but also add a touch of rustic charm to your home decor.
Take pride in the fact that you have crafted something unique and personalized. Your rope coasters are a reflection of your style and creative flair.
Use these coasters during family gatherings, parties, or even for your everyday sips. They will serve as conversation starters and a delightful addition to any table setting.
One of the advantages of making your own rope coasters is the ability to customize them to your liking. Feel free to experiment with different colors, materials, and patterns to create a set of coasters that perfectly complements your home’s interior design.
Remember to clean your rope coasters regularly to maintain their pristine appearance. Wipe them down with a damp cloth or gently spot clean any spills or stains as soon as possible to prevent them from setting into the rope fibers.
Furthermore, if you find your rope coasters becoming damp or wet, allow them to air dry completely before placing them back on your furniture to prevent any potential moisture damage.
By taking proper care of your rope coasters, they will continue to serve you well for years to come, adding a touch of charm and functionality to your home decor.
Now, sit back, relax, and enjoy the satisfaction of knowing that your unique rope coasters are not only a testament to your DIY skills but also a delightful addition to your home. Cheers!
That concludes our step-by-step guide on how to make rope coasters. We hope you had fun creating these versatile and charming accessories for your home. Start using them, show them off, and let them elevate your tableware game!
Conclusion
Tableware is more than just practical objects; they are extensions of our personal style and taste. With the addition of rope coasters, you can elevate your table setting and add a touch of rustic charm to your home decor.
In this comprehensive guide, we walked you through the step-by-step process of creating your own rope coasters. From gathering the supplies to applying a protective finish, each step was designed to help you create a set of unique and personalized coasters.
By using materials such as rope, scissors, glue, and base materials like cardboard or cork sheets, you were able to coil the rope into a sturdy and visually appealing design. Applying a protective finish added durability and resistance to spills, ensuring that your coasters can withstand the test of time.
Whether you’re a seasoned crafter or new to DIY projects, making rope coasters is an enjoyable and fulfilling endeavor. It allows you to tap into your creativity while adding a practical and decorative element to your home.
Don’t be afraid to experiment with different rope colors and styles to match your personal taste and home decor. You can also consider adding some decorative elements like beads or shells to make your coasters even more unique and reflective of your personal style.
Now that you have completed your rope coasters, it’s time to enjoy them. Place them on your table, invite your friends and family over, and let the compliments roll in. Not only will they serve as functional accessories, protecting your furniture from hot or cold beverages, but they will also add a touch of natural charm to your space.
Remember to take proper care of your rope coasters by cleaning them regularly and allowing them to dry when exposed to moisture. With proper maintenance, your coasters will continue to enhance your table settings and delight your guests for years to come.
We hope you found this guide helpful and that you have gained the inspiration and confidence to create your own rope coasters. So gather your supplies, unleash your creativity, and enjoy the process of crafting beautiful and functional tableware accessories.
Thank you for joining us on this crafting journey, and may your rope coasters bring joy and style to your home for many future gatherings.
Frequently Asked Questions about How To Make Rope Coasters
Was this page helpful?
At Storables.com, we guarantee accurate and reliable information. Our content, validated by Expert Board Contributors, is crafted following stringent Editorial Policies. We're committed to providing you with well-researched, expert-backed insights for all your informational needs.

0 thoughts on “How To Make Rope Coasters”