Home>Furniture>Outdoor Furniture>How To Make Steps For A Patio

Outdoor Furniture
How To Make Steps For A Patio
Modified: September 1, 2024
Learn how to make steps for your patio using outdoor furniture. Create a stylish and functional outdoor space with our step-by-step guide.
(Many of the links in this article redirect to a specific reviewed product. Your purchase of these products through affiliate links helps to generate commission for Storables.com, at no extra cost. Learn more)
Introduction
Welcome to our comprehensive guide on how to make steps for a patio. Adding steps to your patio not only enhances the functionality and accessibility of the space, but it also adds an aesthetically pleasing element to your outdoor area. Whether you are looking to create a small set of steps or a grand staircase, this guide will provide you with the step-by-step instructions you need to achieve your vision.
Before we dive into the process, let’s first go over the materials and tools you will need for this project.
Key Takeaways:
- Planning and designing your patio steps is crucial for creating a safe and visually appealing outdoor space. Consider measurements, style, materials, and safety to ensure a well-constructed staircase.
- Proper preparation, installation, and securing of the steps are essential for stability and longevity. Pay attention to details, such as leveling, alignment, and finishing touches, to create a welcoming patio area.
Read more: How To Build A Step On A Patio
Materials and Tools Needed
Before you begin constructing your patio steps, ensure that you have the necessary materials and tools on hand. Here is a list of what you will need:
- Concrete blocks or patio pavers
- Gravel
- Sand
- Pressure-treated lumber
- Galvanized screws
- Level
- Tape measure
- Shovel
- Tamper
- Masonry adhesive
- Rubber mallet
- Saw
- Drill
- Protective gloves and eyewear
Make sure to gather all the necessary materials and have the tools easily accessible before you start building your patio steps. This will ensure a smoother and more efficient construction process.
Step 1: Designing the Patio Steps
The first step in constructing steps for your patio is to plan and design the layout. Consider the dimensions and overall design of your patio, as well as any specific requirements or preferences you may have. Here are a few factors to consider when designing your patio steps:
1. Measurements: Measure the height and width of the area where you want to install the steps. This will help determine the number of steps needed and the dimensions of each step.
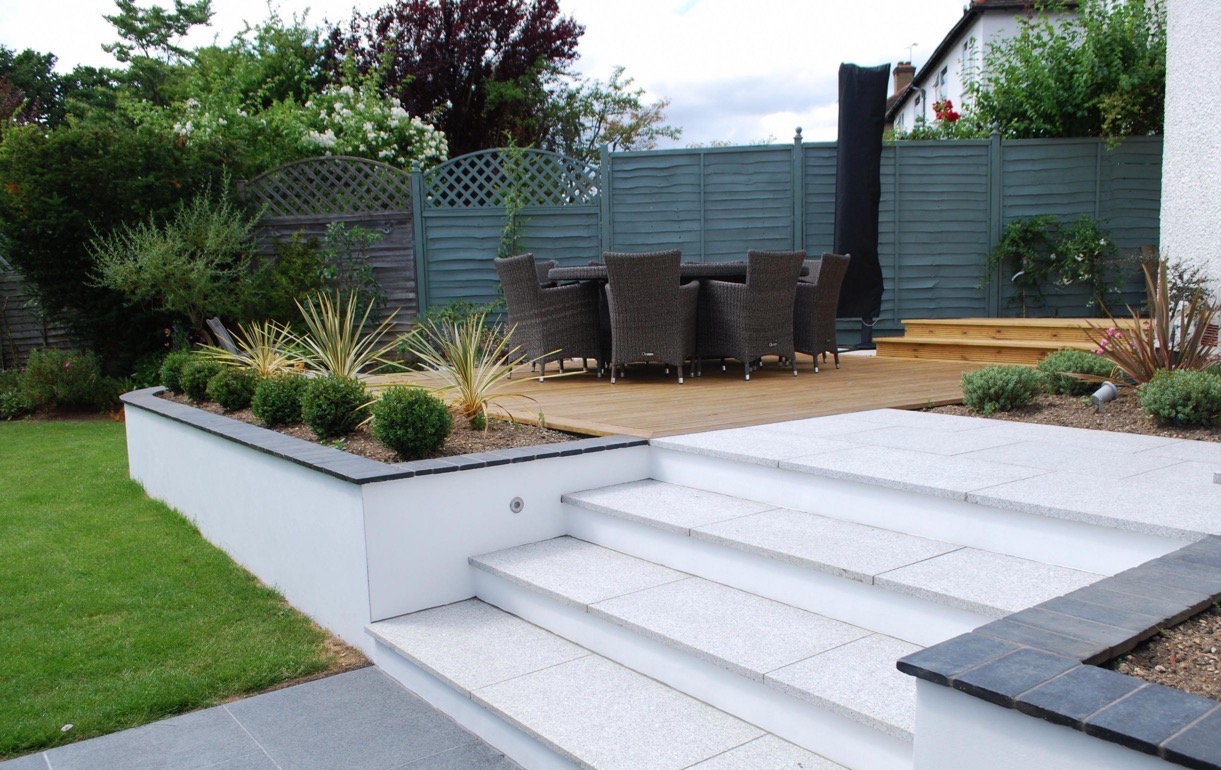
2. Style: Decide on the style and design of your steps. You can choose from various options such as curved, straight, or cascading steps, depending on your personal preference and the overall aesthetic of your patio.
3. Safety: Keep safety in mind when designing your steps. Ensure that the tread depth and rise height of each step are within the recommended guidelines to provide a comfortable and safe walking surface.
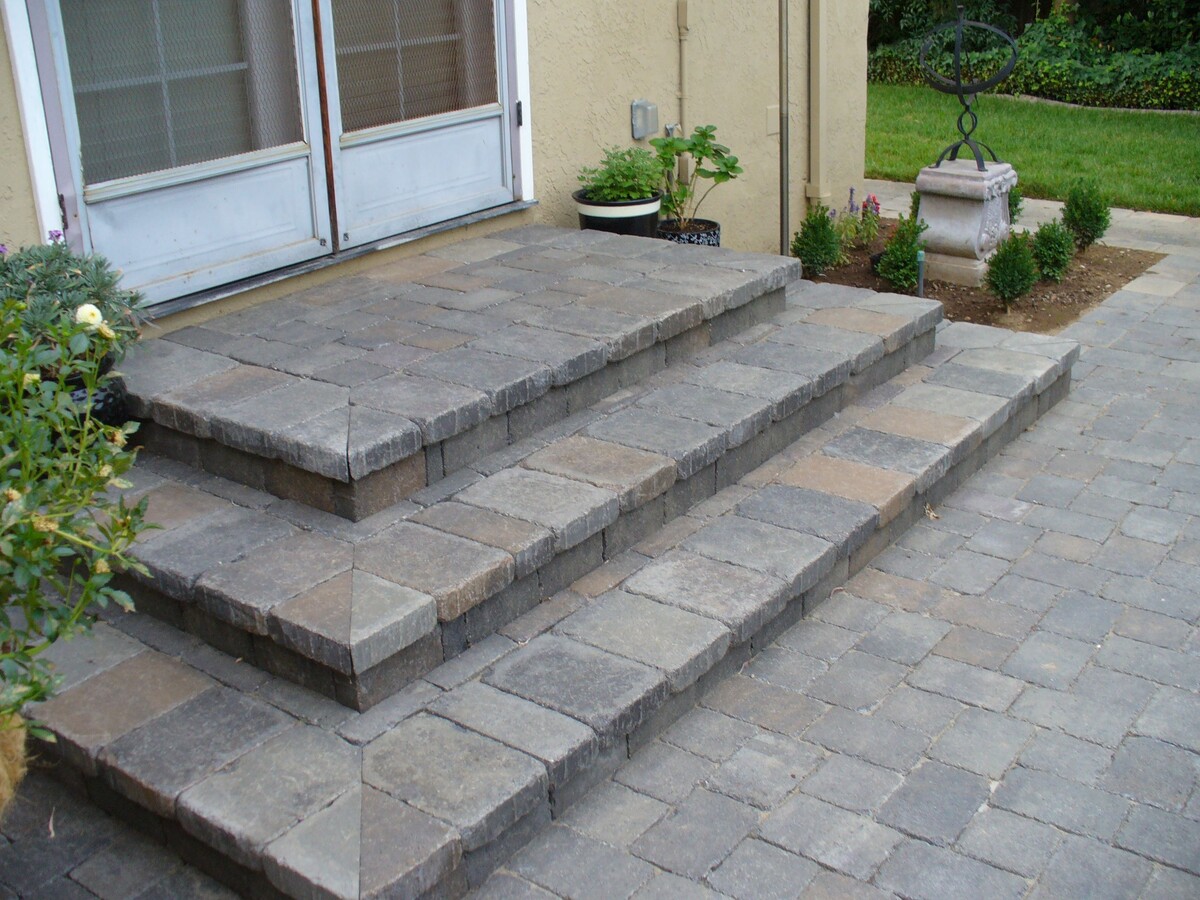
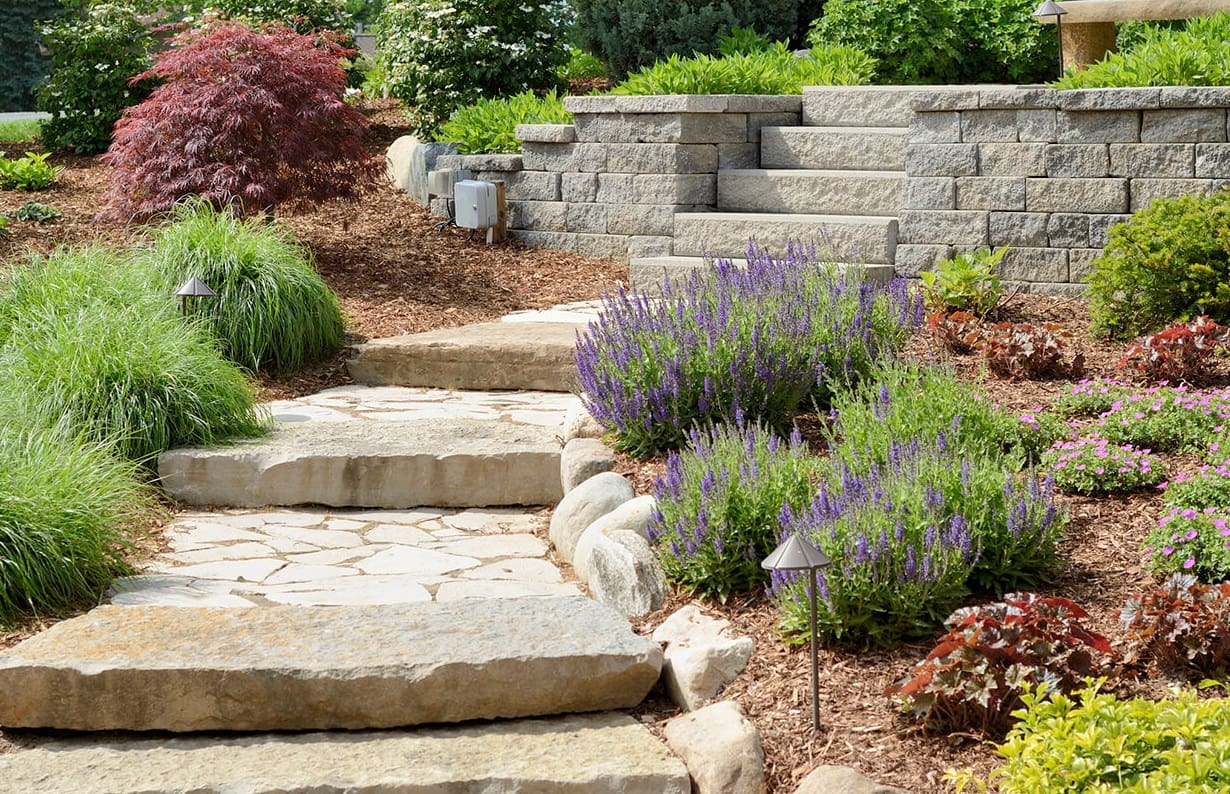
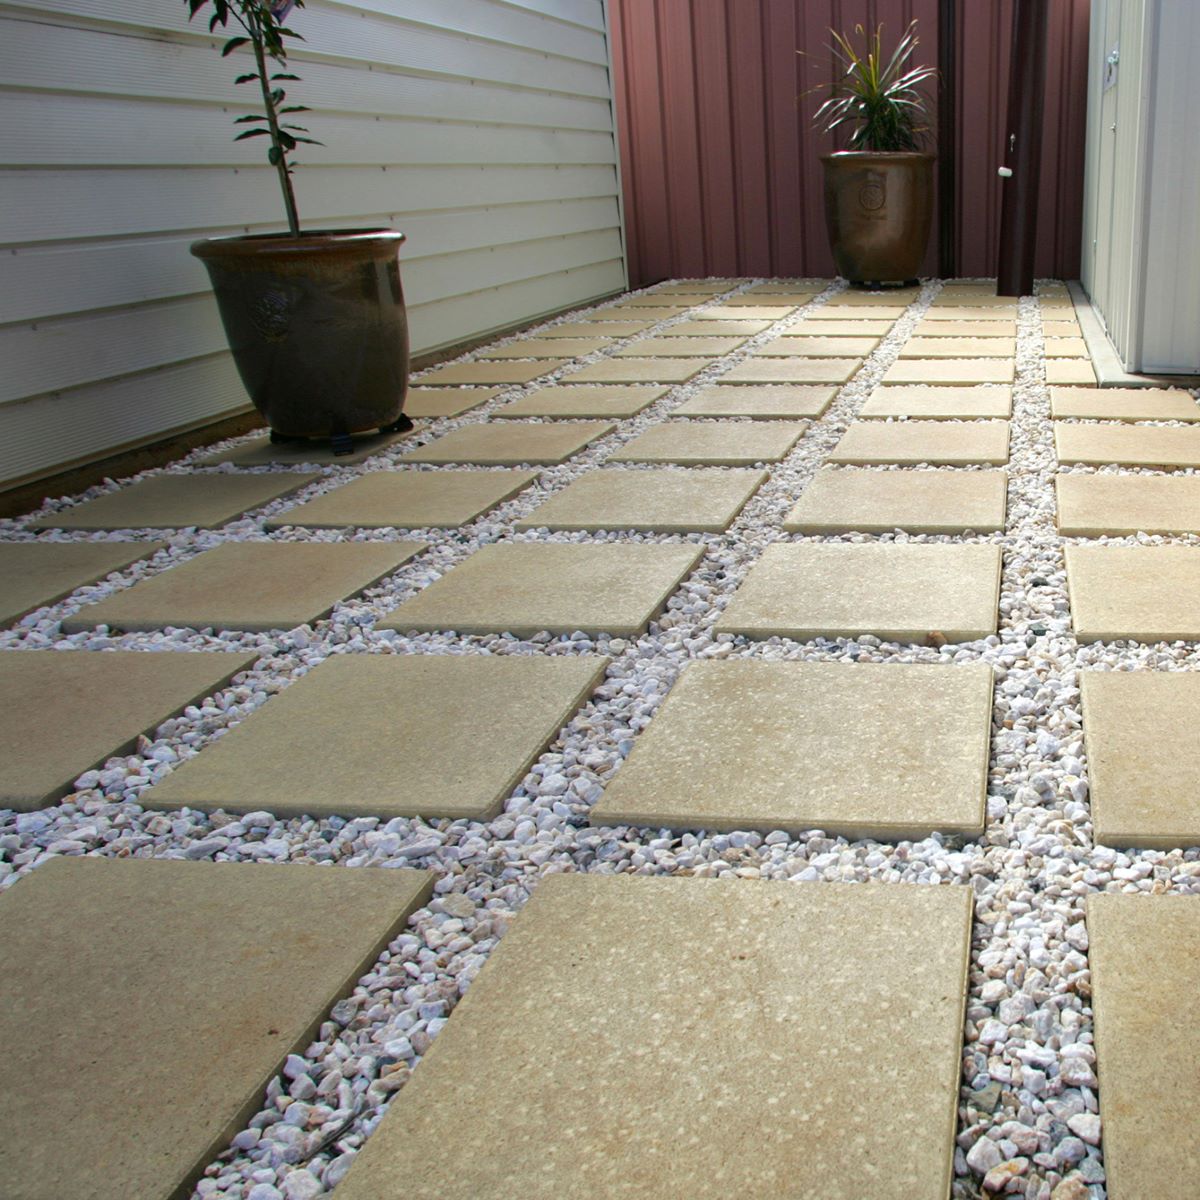
4. Materials: Consider the materials you want to use for your steps. Concrete blocks and patio pavers are common options for patio steps, but you can also opt for natural stone or wood for a more rustic look.
5. Handrails: Determine if you want to install handrails for added safety and support along the sides of your steps.
By carefully planning and designing your patio steps, you can ensure that they not only complement your patio design but also provide a functional and safe access point to your outdoor space.
Step 2: Measuring and Marking the Area
Once you have designed the layout for your patio steps, it’s time to measure and mark the area where the steps will be installed. Follow these steps to ensure accurate measurements:
- Clear the Area: Remove any existing plants, stones, or debris in the area where the steps will be located. This will give you a clean and level surface to work with.
- Mark the Starting Point: Determine where you want the first step to be located. Use a tape measure to mark the spot on the ground with a small stake or flag.
- Measure the Rise and Run: Measure the desired rise (height) and run (depth) of each step. The rise should be consistent for all steps, while the run can vary depending on the design and available space. Use a tape measure to mark the measurements on the ground.
- Mark the Tread Line: Use a level and a chalk line to mark a straight line across the ground, indicating where the front edge of each step will be. This will help you maintain a consistent and level surface for the steps.
- Add Stringers: If you are using wooden steps, measure and mark the locations for the stringers (support beams) on the ground. Ensure that they are evenly spaced and aligned with the tread line.
By carefully measuring and marking the area, you will have a clear guide to follow during the construction process. This will help ensure that your patio steps are level, well-spaced, and structurally sound.
Step 3: Excavating the Ground
With the area marked and measurements in place, it’s time to excavate the ground to create a level foundation for your patio steps. Follow these steps to excavate the ground:
- Start Digging: Using a shovel, begin digging out the area within the marked boundaries of your steps. Remove the top layer of grass, soil, and any other debris. Dig to a depth that allows for a solid base to be created.
- Check for Level: As you dig, use a level to ensure that the ground is evenly excavated and sloped, if necessary. This will help ensure that your steps are level and have a proper drainage system.
- Remove any Rocks or Roots: While excavating, be sure to remove any rocks, tree roots, or other obstructions that may hinder the construction of your steps. This will help create a smooth and even foundation.
- Compact the Soil: Once the ground is excavated, use a tamper or compactor to compact the soil. This will provide a stable base for your steps and prevent shifting or settling over time.
By properly excavating the ground, you are creating a solid and sturdy foundation for your patio steps. This will ensure that your steps are well-supported and will withstand the test of time.
Step 4: Preparing the Base
After excavating the ground, it’s important to properly prepare the base for your patio steps. This step is crucial for ensuring stability and longevity. Follow these steps to prepare the base:
- Add a Layer of Gravel: Start by adding a layer of gravel to the excavated area. The gravel will serve as a stable base and aid in drainage. Spread it evenly and use a rake to smooth it out.
- Compact the Gravel: Use a tamper or compactor to compact the gravel layer. This will provide a solid and stable base for your steps. Make sure to tamp down the entire area, paying attention to the edges and corners.
- Add a Layer of Sand: Once the gravel is compacted, add a layer of sand on top. The sand will help level the surface and provide a smooth base for laying the concrete blocks or patio pavers.
- Level the Sand: Use a screed board or a long straight board to level the sand layer. Drag the board across the surface in a back-and-forth motion, filling any low spots and removing excess sand.
By properly preparing the base, you are ensuring that your patio steps have a solid and level foundation. This will help prevent uneven settling and provide a stable surface for the construction of your steps.
When making steps for a patio, make sure to use sturdy materials like concrete or stone to ensure durability. Additionally, consider the slope and size of the steps to provide safe and comfortable access to the patio.
Step 5: Installing the First Step
Now that the base is prepared, it’s time to start building your patio steps. In this step, you will install the first step, which will serve as the foundation for the rest of the steps. Follow these steps to install the first step:
- Apply Adhesive: Apply a layer of masonry adhesive on top of the prepared base where the first step will be placed. This will help secure the step in place and prevent shifting.
- Place the First Step: Carefully place the first concrete block or patio paver on top of the adhesive, aligning it with the marked tread line. Use a level to ensure that the step is perfectly level and adjust as needed.
- Tap with a Rubber Mallet: Gently tap the step down with a rubber mallet to ensure that it is firmly seated on the base and adhesive. This will help secure the step in place and eliminate any air pockets.
- Check for Level: Use a level to double-check that the step is still level in all directions. Make any necessary adjustments by tapping gently with the rubber mallet.
- Check Alignment: Ensure that the step is aligned with the marked tread line and is evenly spaced from any adjacent structures or walls. Make adjustments as needed.
- Clean off Excess Adhesive: Wipe off any excess adhesive that may have squeezed out from under the step. This will give your steps a clean and professional look.
By properly installing the first step, you are establishing a solid foundation for the rest of your patio steps. Taking the time to ensure that the first step is level, aligned, and securely in place will set the stage for a well-constructed and visually appealing set of steps.
Step 6: Building the Remaining Steps
Once the first step is installed, it’s time to continue building the remaining steps of your patio. Follow these steps to construct the remaining steps:
- Apply Adhesive: Apply masonry adhesive on top of the previous step where the next step will be placed. Ensure that the adhesive covers the entire surface of the previous step.
- Place the Next Step: Carefully place the next concrete block or patio paver on top of the adhesive. Align it with the marked tread line and check for levelness. Use a rubber mallet to gently tap it into place.
- Check Alignment and Levelness: Double-check that the step is aligned with the tread line and is level in all directions. Make any necessary adjustments by tapping with the rubber mallet.
- Repeat the Process: Continue applying adhesive and placing each subsequent step until you have built all the desired steps for your patio. Take your time to ensure that each step is level, aligned, and securely in place.
- Allow Adhesive to Cure: Follow the manufacturer’s instructions on the masonry adhesive to determine the curing time. It is essential to allow the adhesive to fully cure before moving on to the next step.
By systematically building the remaining steps, you will create a cohesive and visually pleasing set of patio steps. Taking care to align, level, and securely place each step will result in a sturdy and functional staircase for your outdoor space.
Step 7: Securing the Steps in Place
Once all the steps are in place, it’s important to secure them to ensure stability and longevity. Follow these steps to secure the steps in place:
- Drill Pilot Holes: Use a drill to create pilot holes through the side of each step and into the step below it. This will allow you to secure the steps together using galvanized screws.
- Insert Galvanized Screws: Insert galvanized screws into the pilot holes and tighten them until the steps are securely fastened together. Be careful not to overtighten, as this may cause the steps to crack or shift.
- Check for Stability: Once all the screws are in place, test the stability of the steps by applying pressure and gently rocking them. Ensure that there is no wobbling or shifting.
- Secure Handrails (Optional): If you have chosen to install handrails, secure them to the sides of the steps using appropriate hardware and fasteners. This will provide additional safety and support.
Securing the steps in place is essential for ensuring their long-term stability and structural integrity. By properly fastening the steps together and adding handrails if desired, you are creating a safe and dependable staircase for your patio.
Read more: Step-by-Step Guide To Making A Pillowcase
Step 8: Finishing Touches
Now that your patio steps are securely in place, it’s time to add the finishing touches to complete the project. Follow these steps to give your steps a polished and cohesive look:
- Clean the Steps: Use a broom or a brush to sweep off any dust, debris, or excess sand from the surface of the steps. This will give them a clean and presentable appearance.
- Apply Sealant (Optional): Consider applying a sealant to the surface of the steps to protect them from weather damage and enhance their durability. Follow the manufacturer’s instructions for application and drying time.
- Add Lighting (Optional): If desired, you can install lighting fixtures along the sides or underneath the steps to provide illumination and enhance safety during nighttime.
- Landscaping: Enhance the surrounding area with landscaping elements such as plants, flowers, or decorative rocks. This will further beautify your patio steps and integrate them seamlessly into your outdoor space.
- Accessorize: Consider adding decorative elements such as potted plants, outdoor furniture, or rugs to enhance the overall aesthetic of your patio area.
By paying attention to the finishing touches, you can elevate the visual appeal of your patio steps and create a welcoming and inviting outdoor space. Remember to regularly maintain and clean your steps to ensure their longevity and continued beauty.
Conclusion
Congratulations! You have successfully learned how to make steps for a patio. By following the step-by-step instructions in this guide, you have transformed your outdoor space into an accessible and aesthetically pleasing area. Patio steps not only enhance the functionality of your patio, but they also add character and style to your outdoor living space.
Throughout the process, you have learned the importance of careful planning, accurate measurements, and proper installation techniques. From designing the layout and excavating the ground to building and securing the steps, each step has contributed to creating a solid and stable staircase.
Remember to always prioritize safety when building patio steps. Ensure that the steps are level, well-aligned, and securely fastened. If handrails are installed, they provide an added layer of safety and support.
Lastly, don’t forget the finishing touches. Clean your steps thoroughly, consider applying a sealant for protection, and add lighting or landscaping elements to enhance their appearance.
We hope this guide has helped you in creating beautiful and functional patio steps. Enjoy the enhanced accessibility and the inviting atmosphere it brings to your outdoor space. Happy stepping!
Frequently Asked Questions about How To Make Steps For A Patio
Was this page helpful?
At Storables.com, we guarantee accurate and reliable information. Our content, validated by Expert Board Contributors, is crafted following stringent Editorial Policies. We're committed to providing you with well-researched, expert-backed insights for all your informational needs.


0 thoughts on “How To Make Steps For A Patio”