
Articles
How To Make A Slushy With A Blender
Modified: August 28, 2024
Learn how to make a refreshing slushy with just a blender. Check out our articles for easy step-by-step guides and flavor variations.
(Many of the links in this article redirect to a specific reviewed product. Your purchase of these products through affiliate links helps to generate commission for Storables.com, at no extra cost. Learn more)
Introduction
Are you craving a refreshing and icy treat to beat the summer heat? Look no further than a delicious homemade slushy made with a blender! Whether you’re hosting a backyard barbecue or simply enjoying a sunny day, a slushy is a perfect way to cool down and indulge in a sweet and icy treat.
In this article, we will guide you on how to make a slushy with a blender. We will cover everything from choosing the right ingredients to serving up a refreshing drink that will impress your family and friends. So, get ready to embark on a slushy-making adventure!
Before we dive into the nitty-gritty of making a slushy, let’s talk about the essential ingredients you will need.
Key Takeaways:
- Beat the summer heat with a homemade slushy made in a blender! Experiment with flavors, freeze your blender jar, and get creative with toppings for a refreshing and satisfying icy treat.
- Create the perfect slushy by choosing high-quality ingredients, blending to the right consistency, and serving with flair. Embrace your inner slushy connoisseur and enjoy the delightful, icy adventure!
Choosing the right ingredients
When it comes to making a slushy, the key to success lies in selecting the right ingredients. Here are the essential components you will need:
- Ice: Ice is the primary ingredient that gives the slushy its icy texture. Make sure to have a good supply of ice cubes on hand. You can use regular ice cubes or crush them for a finer texture.
- Sweetener: To add that touch of sweetness to your slushy, you will need a sweetener of your choice. Traditional options include sugar, honey, or simple syrup. Alternatively, you can use natural sweeteners like agave or stevia for a healthier twist.
- Liquid: To create the slushy base, you will need a liquid component. Popular choices include fruit juice, soda, or even coconut water for a tropical flair. Experiment with different flavors to find your favorite combination.
- Flavorings: To elevate your slushy experience, consider adding flavorings. This could include fresh fruit, such as berries or citrus slices, or flavored syrups like vanilla or cherry. Be creative and experiment with different combinations to discover unique flavors.
Remember to use high-quality ingredients to ensure the best-tasting slushy. Fresh fruits and natural sweeteners can make a significant difference in the overall flavor profile.
Now that you have your ingredients ready, let’s move on to preparing your blender!
Preparing your blender
Before you start making your slushy, it’s essential to ensure that your blender is clean and ready to use. Here’s how to prepare your blender for the slushy-making process:
- Clean the blender: Start by giving your blender a thorough cleaning. Wash the blender jar, lid, and blades with warm soapy water. Rinse and dry them well to remove any residue or odors from previous use.
- Freeze the blender jar: For the best slushy results, it’s a good idea to freeze the blender jar beforehand. Place the empty blender jar in the freezer and leave it for a few hours or overnight. The frozen jar will help maintain the cold temperature and ensure a slushy consistency.
- Check the blender’s capacity: Take a moment to check the capacity of your blender. Ensure that it can hold enough liquid and ice to make the desired amount of slushy. If needed, adjust the recipe accordingly to fit your blender’s capacity.
Now that your blender is clean, frozen, and ready to go, let’s move on to the next step in creating your slushy – making the slushy base!
Making the slushy base
With your blender prepared, it’s time to start making the slushy base. Follow these steps to create the perfect foundation for your slushy:
- Add ice to the blender: Begin by adding a generous amount of ice cubes to the frozen blender jar. The ice will be the main component that creates the slushy texture.
- Add liquid: Next, pour in the liquid of your choice. This could be fruit juice, soda, or any other liquid you have selected. The amount of liquid will depend on the desired consistency of the slushy. Start with a small amount and gradually add more as needed.
- Add sweetener: To add sweetness to your slushy, include your preferred sweetener. This could be sugar, honey, or a natural sweetener like agave syrup. Remember to start with a small amount and adjust according to your taste preferences.
Once you have added the ice, liquid, and sweetener, it’s time to blend everything together. Secure the lid on the blender tightly and make sure it’s properly positioned.
Next, turn on the blender and gradually increase the speed to crush and blend the ice. Blend the mixture until the ice is completely crushed and you achieve a slushy consistency.
Now that you have the slushy base ready, it’s time to get creative and add flavors and variations to make your slushy truly unique!
Adding flavors and variations
Now that you have the slushy base prepared, it’s time to take your slushy to the next level by adding flavors and variations. Here are some ideas to get you started:
- Fresh fruit: Add a burst of natural flavor to your slushy by incorporating fresh fruit. Whether it’s strawberries, blueberries, mangoes, or watermelon, the options are endless. Chop the fruit into small pieces and mix them into the slushy base before blending.
- Flavored syrups: Experiment with different flavored syrups to create unique slushy combinations. Vanilla, cherry, raspberry, or even lavender syrup can add a delightful twist to your slushy. Add a splash or two to the slushy base and blend to incorporate.
- Spices and herbs: Don’t be afraid to add a dash of spice or a sprinkle of herbs to your slushy. Cinnamon, ginger, mint, or basil can elevate the flavor profile and add a refreshing kick to your drink.
- Carbonation: For a fizzy twist, consider adding a splash of soda or sparkling water to your slushy. This will give it a delightful effervescence and make it even more refreshing.
Feel free to get creative and mix and match flavors to suit your taste preferences. Don’t hesitate to try out different combinations and experiment with various ingredients until you find the perfect flavor profile.
Now that you’ve added your desired flavors and variations, it’s time to blend everything together to create the ultimate slushy experience!
Add a little extra flavor to your slushy by using frozen fruit instead of ice. This will give your slushy a natural sweetness and a burst of fruity flavor.
Read more: How To Make A Coke Slushie In A Blender
Blending the slushy mixture
With all the flavors and variations added to your slushy, it’s time to blend everything together to achieve the perfect consistency and texture. Here’s how to blend your slushy mixture:
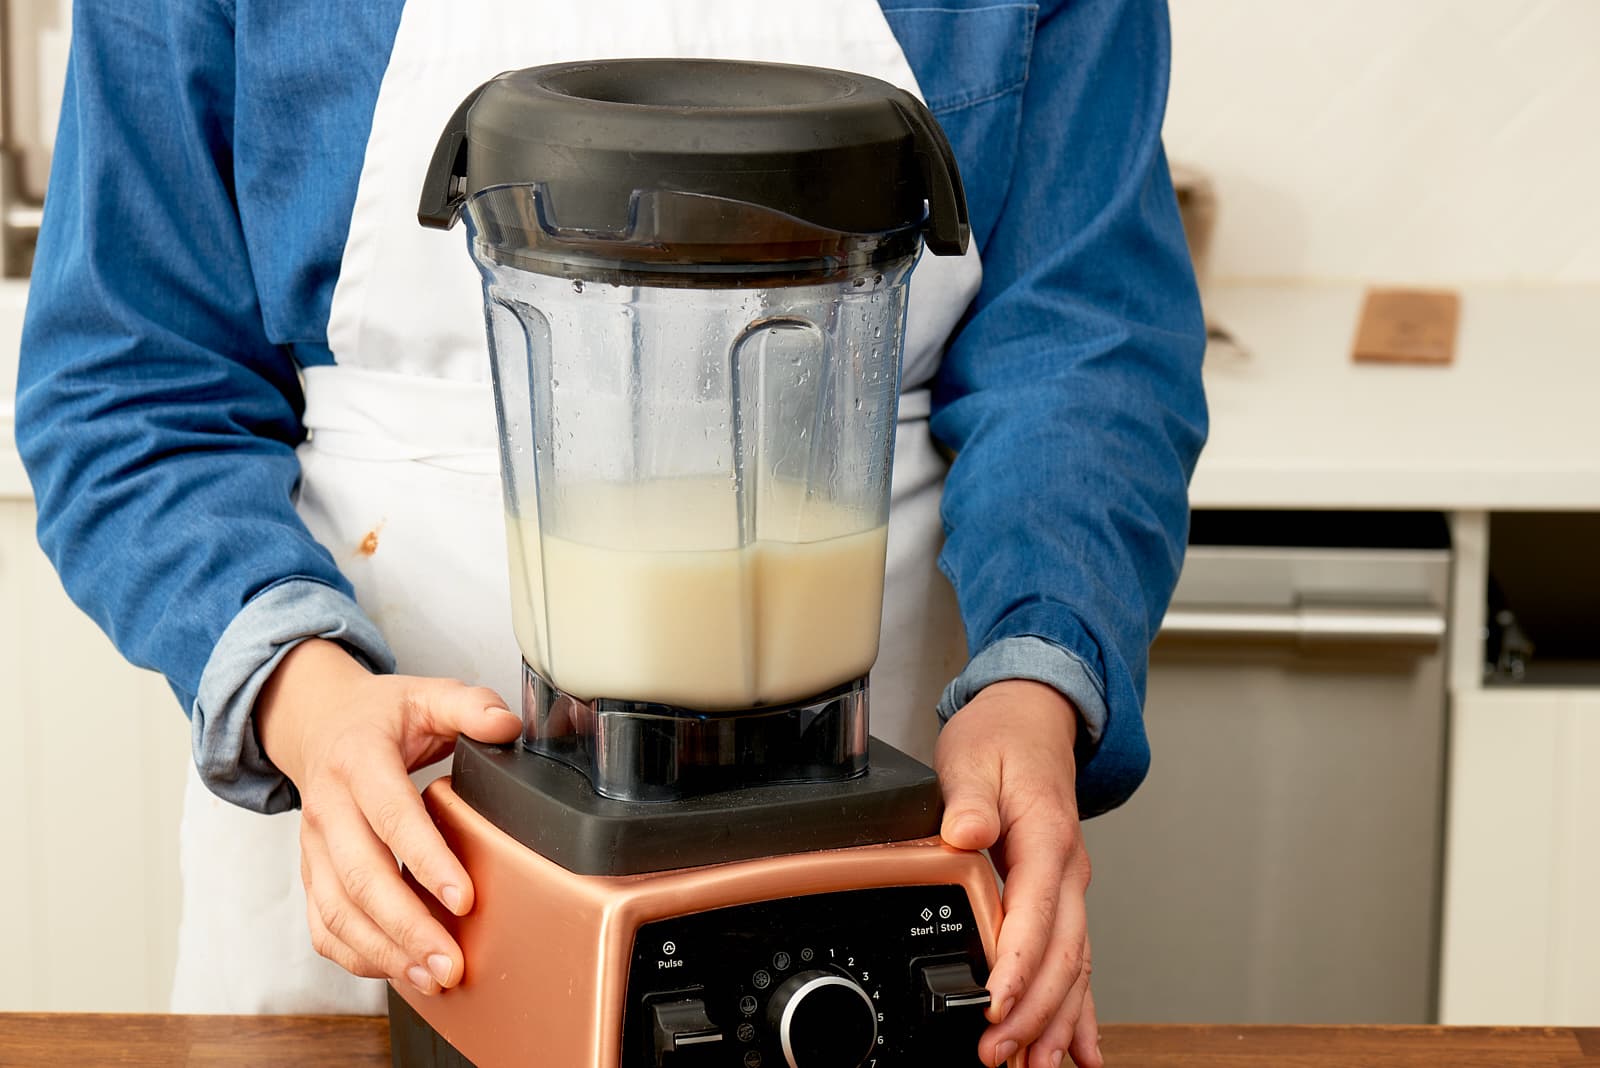
- Secure the lid: Make sure the lid of your blender is tightly secured to prevent any spills during the blending process. Double-check that it is properly positioned before proceeding.
- Start with pulse blending: Begin by pulsing the blender a few times. This helps to break down any large ice chunks and mix the flavors together.
- Blend on high speed: Gradually increase the speed of the blender to its highest setting. Blend the mixture for about 30 seconds to 1 minute, or until you achieve a smooth and slushy consistency.
- Check the consistency: Stop the blender and check the consistency of the slushy. If you prefer a thicker slushy, add more ice and blend again. If it’s too thick, add a little more liquid and blend until desired consistency is reached.
Continue blending, adjusting the ice and liquid as needed until you reach the desired texture. Be mindful not to overblend, as this may result in a watery slushy.
Once you are satisfied with the consistency and texture of your slushy, it’s time to serve it up and enjoy the fruits of your labor!
Serving and enjoying your slushy
Now that your slushy is perfectly blended and ready to be enjoyed, it’s time to serve it up and savor the refreshing flavors. Here are some tips on how to serve and enjoy your slushy:
- Choose the right glass: Select a tall glass or a fun-themed cup to serve your slushy. The visual appeal adds to the overall experience.
- Garnish with a twist: Add a fun garnish to your slushy for that extra touch. Consider adding a slice of fruit, a sprig of mint, or a colorful straw to make it visually appealing.
- Serve immediately: Slushies are best enjoyed immediately after blending to maintain the icy texture and flavors. Serve your slushy as soon as possible to experience the optimal taste and refreshment.
- Get creative with toppings: Take your slushy to the next level by adding delicious toppings. Some popular options include whipped cream, sprinkles, crushed candies, or even a drizzle of chocolate syrup.
- Enjoy with a straw or spoon: Slushies can be enjoyed by sipping through a straw or consumed with a spoon. Experiment with different methods to find the one that brings you the most enjoyment.
Remember to take your time and savor each sip or spoonful of your slushy. Let the flavors dance on your taste buds and embrace the cooling sensation it provides.
Now that you know how to serve and enjoy your slushy, let’s explore some tips and tricks for achieving the best results every time.
Tips and tricks for the best results
To ensure that your slushy-making experience is a success, here are some helpful tips and tricks to keep in mind:
- Use frozen fruit: For an added burst of flavor, consider using frozen fruit instead of fresh fruit. Not only does it enhance the taste, but it also helps to keep your slushy chilled.
- Experiment with ratios: Finding the perfect balance of ice, liquid, and sweetener can be a matter of personal preference. Feel free to adjust the quantities to suit your taste. If your slushy is too sweet, add more liquid or ice to balance it out.
- Pre-chill your liquid: If you want your slushy to stay icy cold, try chilling the liquid component in the refrigerator before blending. This helps to maintain the icy texture for longer.
- Add a touch of acidity: If your slushy tastes a bit too sweet, balancing it with a touch of acidity can help. Consider adding a squeeze of lemon or lime juice to cut through the sweetness.
- Freeze leftovers: If you have any leftover slushy, pour it into freezer-safe containers and place them in the freezer. This way, you can enjoy your slushy at a later time without compromising on the taste and texture.
- Play with presentation: Slushies are not only delicious but also visually appealing. Have fun with different presentations by layering different flavors or adding colorful garnishes for an Instagram-worthy treat.
Remember, making slushies at home allows you to unleash your creativity, so feel free to experiment with different combinations of flavors and ingredients.
Now that you have all the tips and tricks, it’s time to embark on your slushy-making journey and enjoy the icy, refreshing delights!
Conclusion
Congratulations! You are now equipped with the knowledge and skills to make a delicious slushy using your blender. Whether you’re planning a summer party, indulging in a sweet treat, or simply seeking a refreshing way to beat the heat, a homemade slushy is the perfect solution.
By carefully choosing the right ingredients, preparing your blender, and experimenting with flavors and variations, you can create a slushy that is tailored to your taste preferences. Don’t be afraid to get creative and try different combinations of fruits, syrups, and spices to find your own signature slushy flavor.
Remember to blend the slushy mixture to the perfect consistency, transforming it into a refreshing icy drink. Serve it up in a tall glass, garnish it with your favorite toppings, and enjoy the flavors and textures as they mingle on your palate.
Throughout your slushy-making journey, keep in mind the tips and tricks shared in this article. They will help you achieve the best results and ensure that every slushy you create is a refreshing masterpiece.
So, go ahead and embrace your inner slushy connoisseur. Share this delightful treat with family and friends, or simply enjoy it as a personal indulgence. Making a slushy with a blender is not only a delicious experience but also a fun and creative way to beat the summer heat.
Now it’s time to unleash your imagination and dive into the world of slushy-making. Cheers to many icy and satisfying slushy adventures!
Frequently Asked Questions about How To Make A Slushy With A Blender
Was this page helpful?
At Storables.com, we guarantee accurate and reliable information. Our content, validated by Expert Board Contributors, is crafted following stringent Editorial Policies. We're committed to providing you with well-researched, expert-backed insights for all your informational needs.




0 thoughts on “How To Make A Slushy With A Blender”