Articles
How To Make A Slushie In The Freezer
Modified: August 24, 2024
Learn how to make a delicious slushie in the freezer with our step-by-step guide. Read our informative articles to become a slushie expert!
(Many of the links in this article redirect to a specific reviewed product. Your purchase of these products through affiliate links helps to generate commission for Storables.com, at no extra cost. Learn more)
Introduction
Making a refreshing slushie at home is easier than you may think. While traditional slushies are often made using a specialized slushie machine or blender, you can still achieve a delicious slushie consistency using just your freezer. In this article, we will guide you through the step-by-step process of making a slushie in the freezer, using simple materials and ingredients you likely already have in your kitchen.
Whether you’re looking to beat the summer heat or simply crave a cool treat, a homemade slushie is the perfect solution. It’s a versatile drink that can be customized with your favorite flavors and enjoyed by both kids and adults alike.
So, let’s dive in and discover how to make a delectable slushie right at home, without any fancy equipment!
Key Takeaways:
- Beat the heat with a homemade slushie using just your freezer and a few simple ingredients. Customize flavors, add sweeteners, and enjoy a refreshing treat in just a few hours!
- Create your own icy bliss with a DIY slushie. Experiment with fruit juices, sodas, and sweeteners to craft a personalized frozen delight. Serve immediately for the perfect fluffy texture.
Read more: How To Make A Slushy With A Blender
Materials and Ingredients
Before you begin making your homemade slushie, it’s important to gather all the necessary materials and ingredients. The good news is that you probably already have most of these items in your kitchen. Here’s what you’ll need to get started:
- 1 cup of your preferred fruit juice or soda
- 2 cups of ice cubes
- Sweetener, such as sugar or honey (optional)
- A freezer-safe container with a lid
- A spoon or fork for stirring
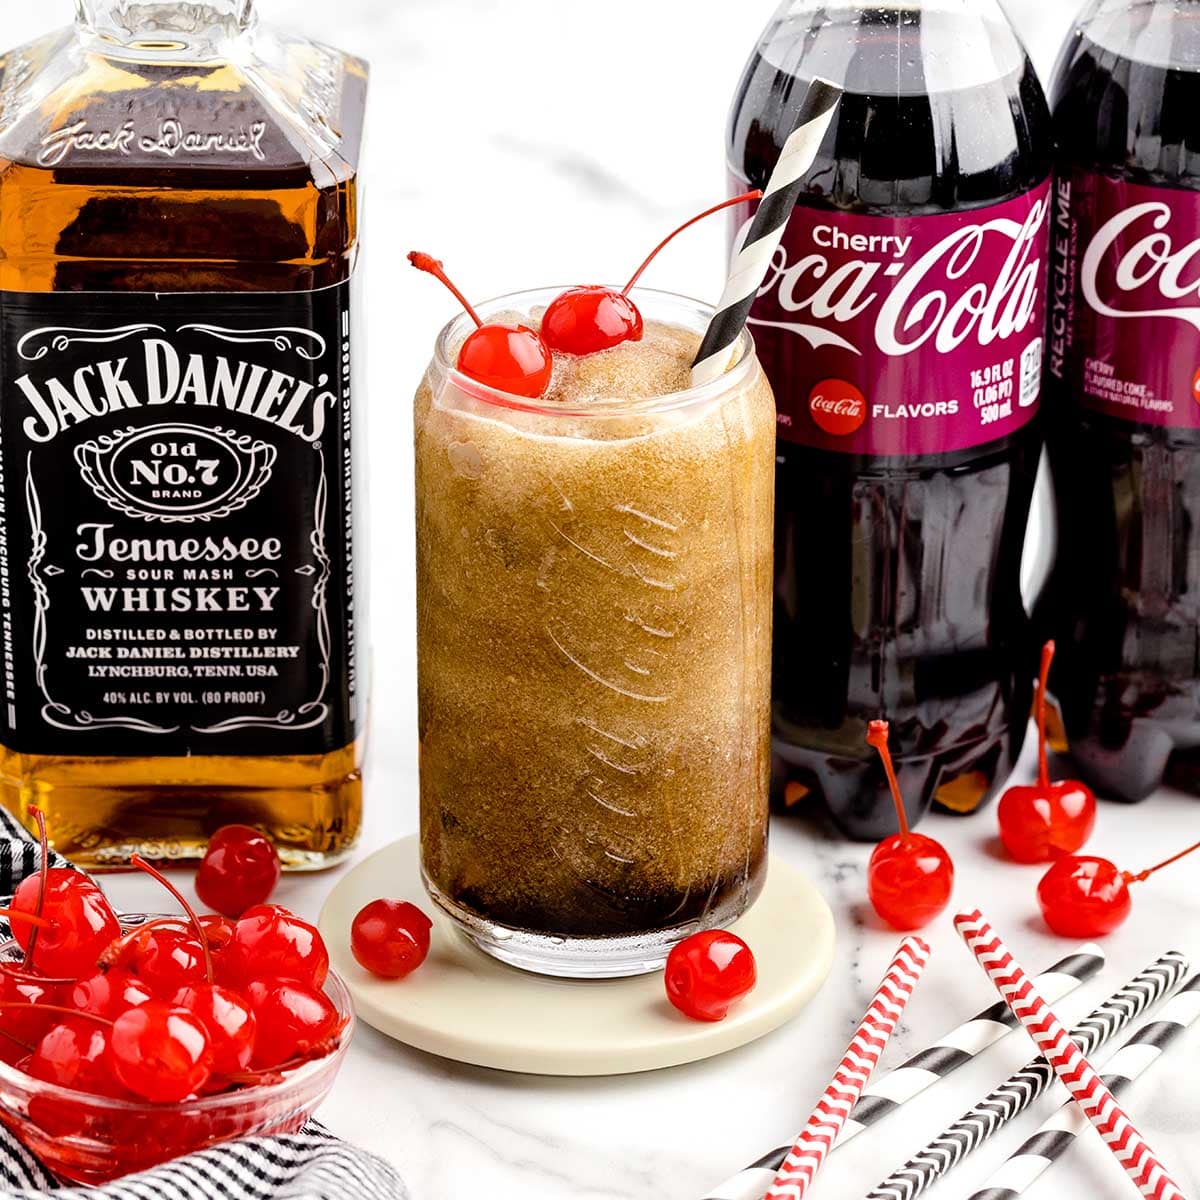
When it comes to the fruit juice or soda, feel free to choose your favorite flavor. Popular options include orange juice, lemonade, cola, or any other fruit-flavored soda. You can even get creative and mix different flavors together to create your own unique concoction.
If you prefer a sweeter slushie, you can add a sweetener of your choice. Keep in mind that some fruit juices or sodas may already contain added sugar, so you may not need to add additional sweetener. Adjust the sweetness to your taste preferences.
Now that you have all the necessary materials and ingredients, it’s time to move on to the next step – preparing the slushie mixture.
Step 1: Preparing the Slushie Mixture
To start making your slushie, you’ll need to prepare the slushie mixture. This involves combining your chosen fruit juice or soda with any desired sweetener. Here’s how:
- Take your freezer-safe container and pour in the fruit juice or soda. Use a measuring cup to ensure you add the right amount.
- If you prefer a sweeter slushie, now is the time to add your sweetener of choice. Start with a small amount, such as a teaspoon of sugar or honey, and adjust to taste.
- Stir the mixture well until the sweetener is completely dissolved.
Remember, you can experiment with different flavors and combinations to create your perfect slushie. Feel free to mix and match juices and sodas to find your favorite blend.
Once your slushie mixture is ready, it’s time to freeze it and transform it into a refreshing icy treat. Let’s move on to the next step!
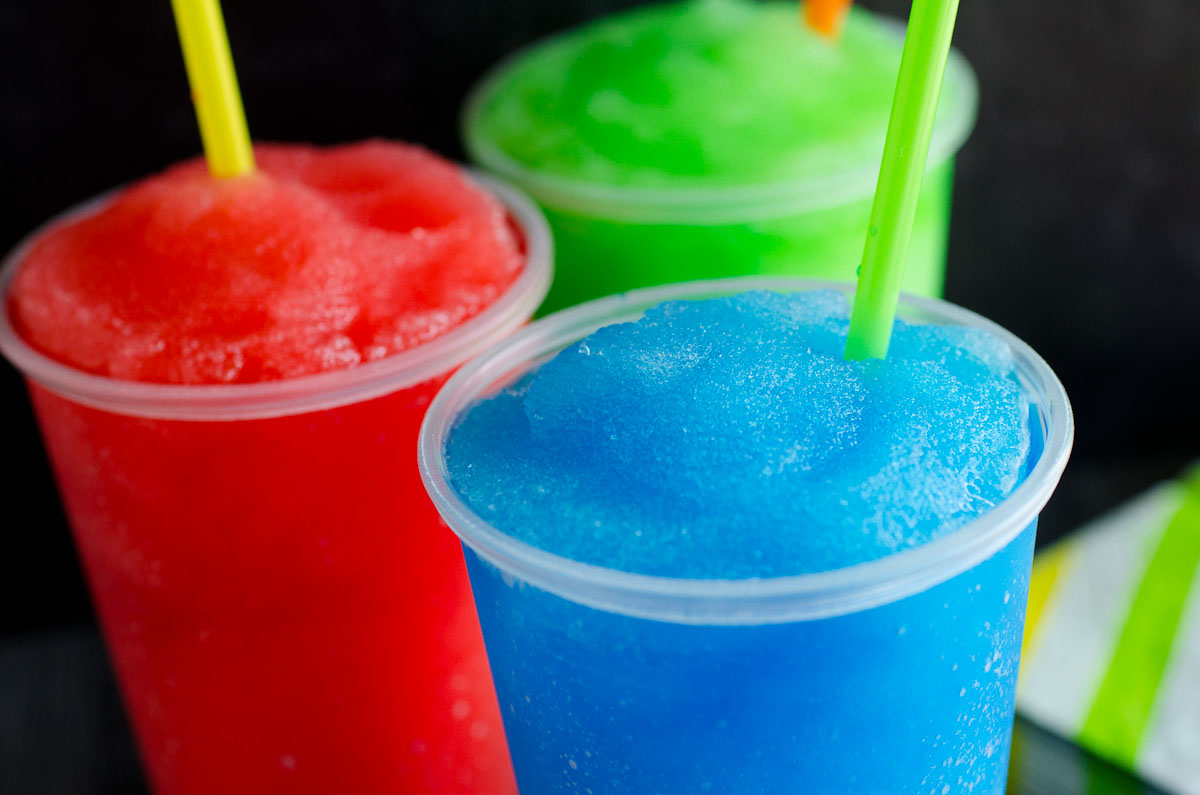
To make a slushie in the freezer, blend together your desired fruit juice or soda with ice until it reaches a slushie consistency. Pour the mixture into a shallow dish and freeze for 1-2 hours, stirring every 30 minutes for a smooth texture.
Step 2: Freezing the Slushie
Now that your slushie mixture is prepared, it’s time to pop it into the freezer and let the magic happen. Follow these steps to freeze your slushie:
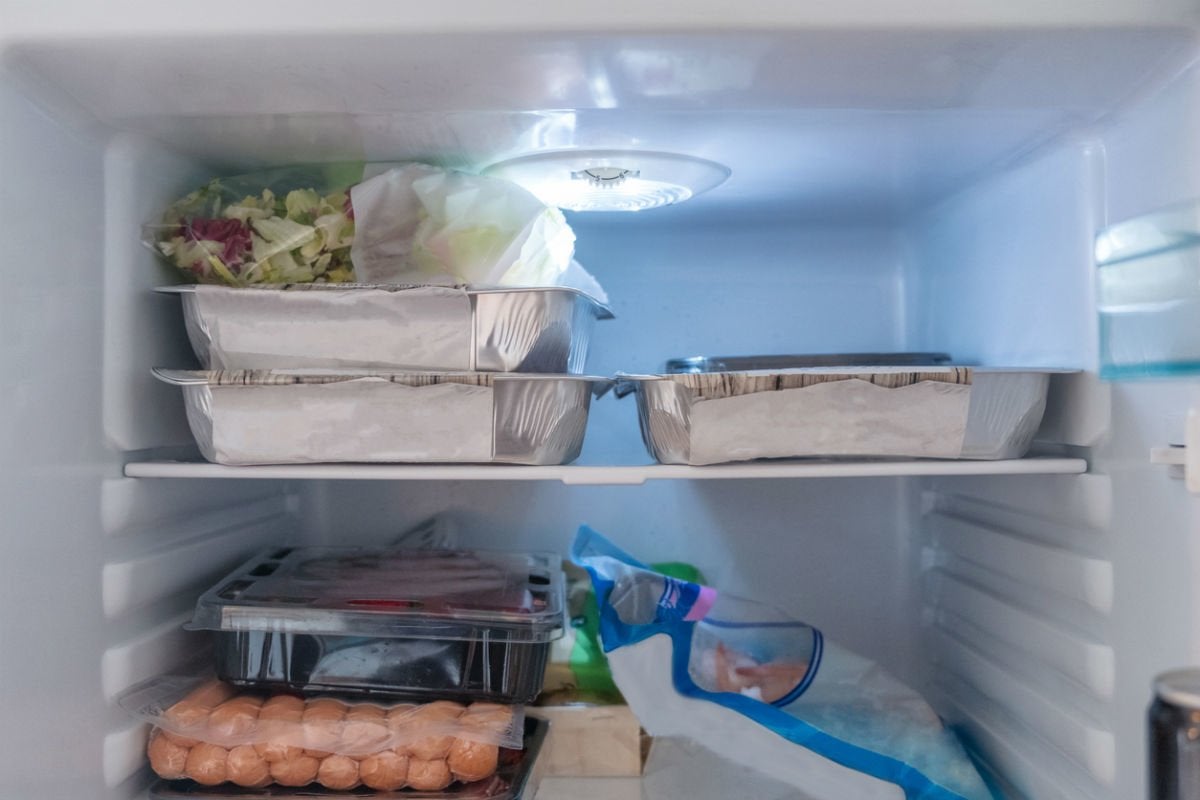
- Carefully transfer your prepared slushie mixture into the freezer-safe container. Make sure to leave some space at the top as the slushie will expand as it freezes.
- Secure the lid tightly on the container to prevent any leaks or spills.
- Place the container in the freezer and allow it to freeze for about 2-3 hours. The exact time may vary depending on the temperature of your freezer.
It’s important to note that during the freezing process, the slushie mixture will start to solidify. However, we want to create a slushie texture, so we’ll need to break it up and create those icy flakes. Let’s move on to the next step to find out how!
Step 3: Checking and Stirring the Slushie
After the slushie mixture has been in the freezer for about 2-3 hours, it’s time to check on its progress and give it a good stir. Follow these steps:
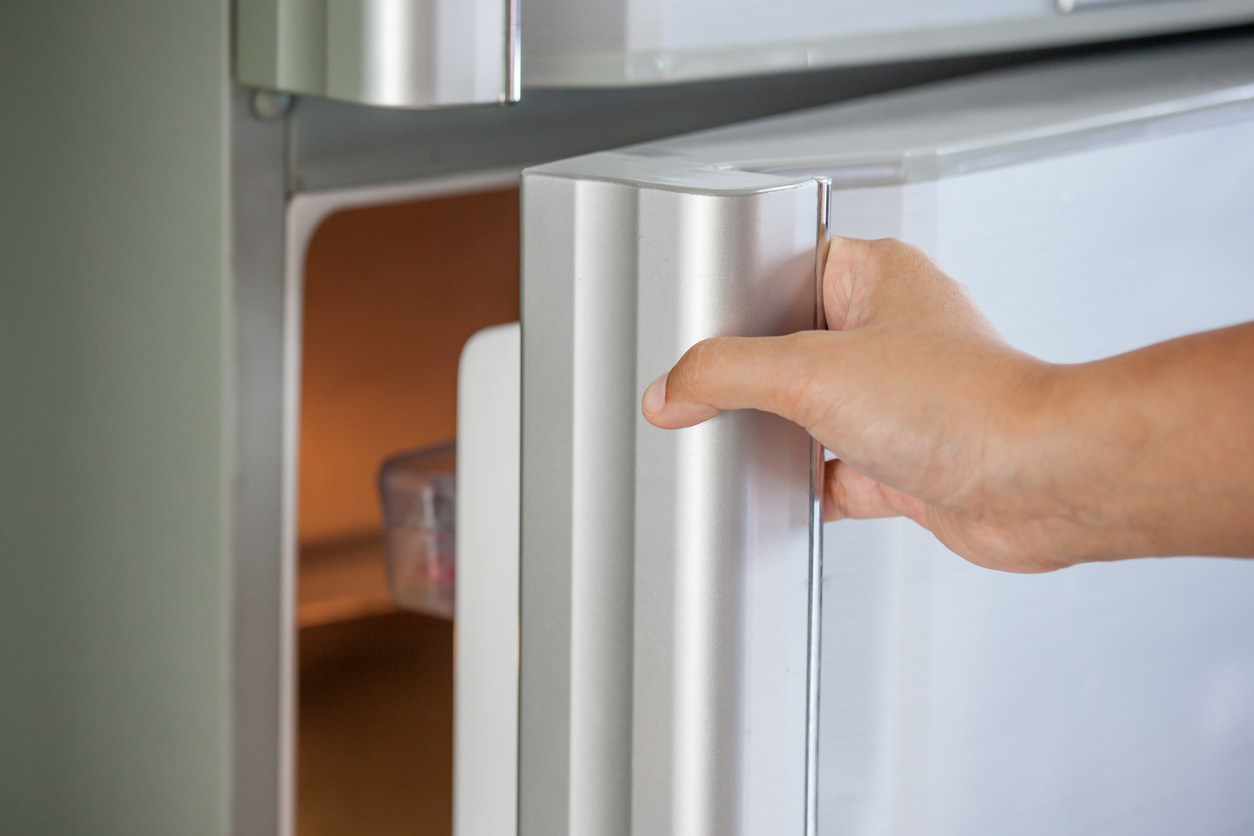
- Remove the slushie container from the freezer.
- Using a fork or a spoon, gently scrape and stir the frozen mixture. This will help break up any large chunks and create the desired slushie consistency.
- Pay attention to any areas that may still be liquid or frozen solid. Use your utensil to evenly distribute the frozen parts and blend everything together.
- If the slushie is still too liquid or hasn’t reached the desired consistency, place it back in the freezer for an additional 30 minutes to an hour before stirring again.
Repeat this process of checking, stirring, and freezing until you achieve the perfect slushie texture. The goal is to have fluffy, icy flakes that are easy to spoon and enjoy.
Once your slushie has reached the desired consistency, it’s time for the final step—serving and savoring your homemade creation!
Step 4: Serving and Enjoying
Congratulations! You’ve successfully made your own slushie in the freezer. Now it’s time to serve it up and enjoy the fruits of your labor. Follow these final steps:
- Remove the slushie container from the freezer and give it a quick stir to loosen up the flakes.
- Grab a tall glass or your favorite slushie cup and fill it with the freshly made slushie.
- You can garnish your slushie with a slice of fruit or a colorful straw to make it even more inviting.
- Sit back, relax, and take a moment to savor the cool and refreshing taste of your homemade slushie.
Feel free to experiment with different toppings and add-ons to make your slushie extra special. You can sprinkle some colored sugar on top, add a dollop of whipped cream, or even drizzle some chocolate syrup for a decadent touch.
Remember, slushies are best enjoyed immediately after they’re made to preserve the desired texture. If you have any leftover slushie, you can store it in the freezer for a short period of time, but be aware that it may not retain the same fluffy consistency once thawed.
Now that you know how to make a slushie in the freezer, get creative and have fun experimenting with different flavors and combinations. Whether it’s a nostalgic favorite or a brand-new creation, your homemade slushie is sure to be a hit.
So go ahead, beat the heat and enjoy the icy bliss of a homemade slushie. Cheers!
Frequently Asked Questions about How To Make A Slushie In The Freezer
Was this page helpful?
At Storables.com, we guarantee accurate and reliable information. Our content, validated by Expert Board Contributors, is crafted following stringent Editorial Policies. We're committed to providing you with well-researched, expert-backed insights for all your informational needs.


0 thoughts on “How To Make A Slushie In The Freezer”