Articles
How To Make Milkshake In Ninja Blender
Modified: August 28, 2024
Learn how to make delicious milkshakes using your Ninja Blender. This article provides step-by-step instructions and helpful tips to create the perfect milkshake at home.
(Many of the links in this article redirect to a specific reviewed product. Your purchase of these products through affiliate links helps to generate commission for Storables.com, at no extra cost. Learn more)
How to Make a Delicious Milkshake Using a Ninja Blender
Who can resist the creamy and indulgent taste of a milkshake? Whether you’re craving a classic chocolate shake or a fruity strawberry blend, making your own milkshakes at home is easier than you might think. With the help of a Ninja blender, you can whip up a rich and flavorful milkshake in no time. Let’s dive into the steps and ingredients needed to create the perfect milkshake using your Ninja blender.
Read more: How To Make A Milkshake In A Blender
Ingredients:
- 2 cups of your preferred ice cream flavor
- 1 cup of milk
- 2 tablespoons of sugar (adjust according to your taste)
- 1 teaspoon of vanilla extract
Steps to Make a Milkshake:
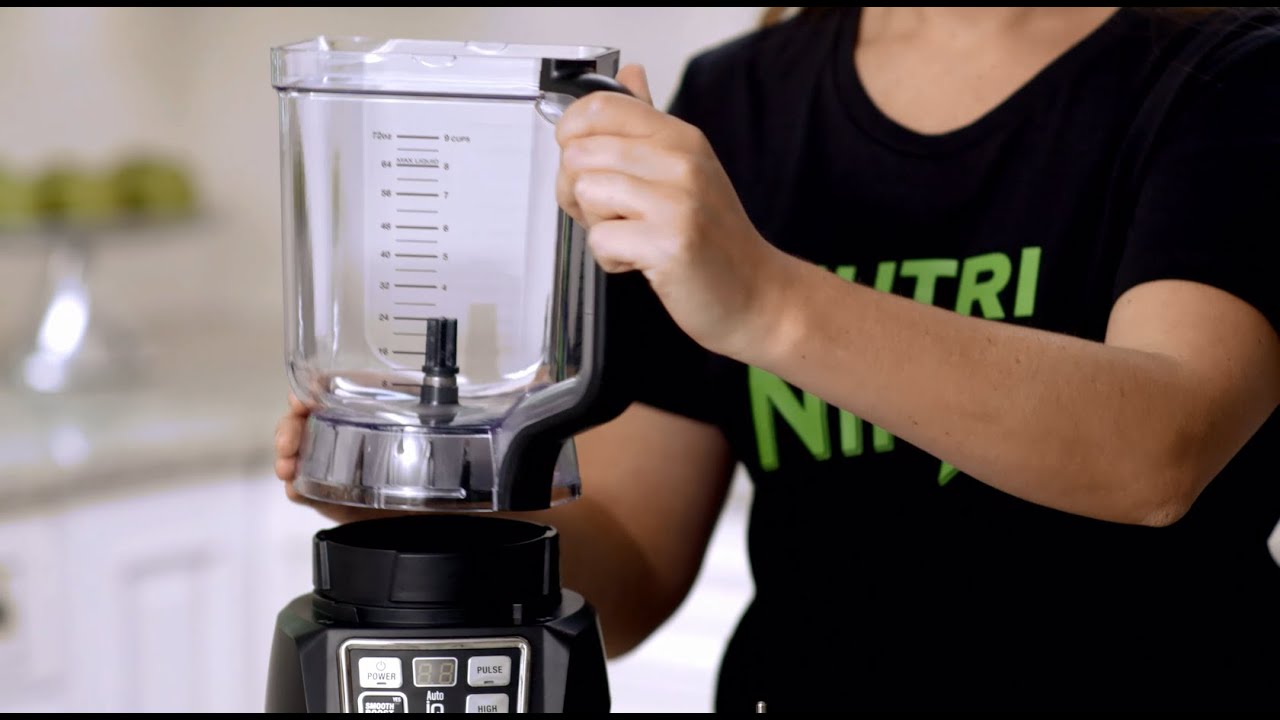
- Start by ensuring your Ninja blender is clean and assembled correctly.
- Add 2 cups of your favorite ice cream flavor to the blender jar. Whether you prefer chocolate, vanilla, or any other flavor, the choice is completely up to you!
- Pour in 1 cup of milk. You can use whole milk for a creamier texture, but any type of milk will work.
- Add 2 tablespoons of sugar to sweeten the milkshake to your desired taste. Adjust the amount of sugar depending on your preference for sweetness.
- Include 1 teaspoon of vanilla extract to enhance the flavor profile of your milkshake.
- Place the lid securely on the Ninja blender jar.
- Start the blender on a low setting and gradually increase the speed to medium-high until the ingredients are well blended and creamy.
- Once you achieve a smooth consistency, turn off the blender.
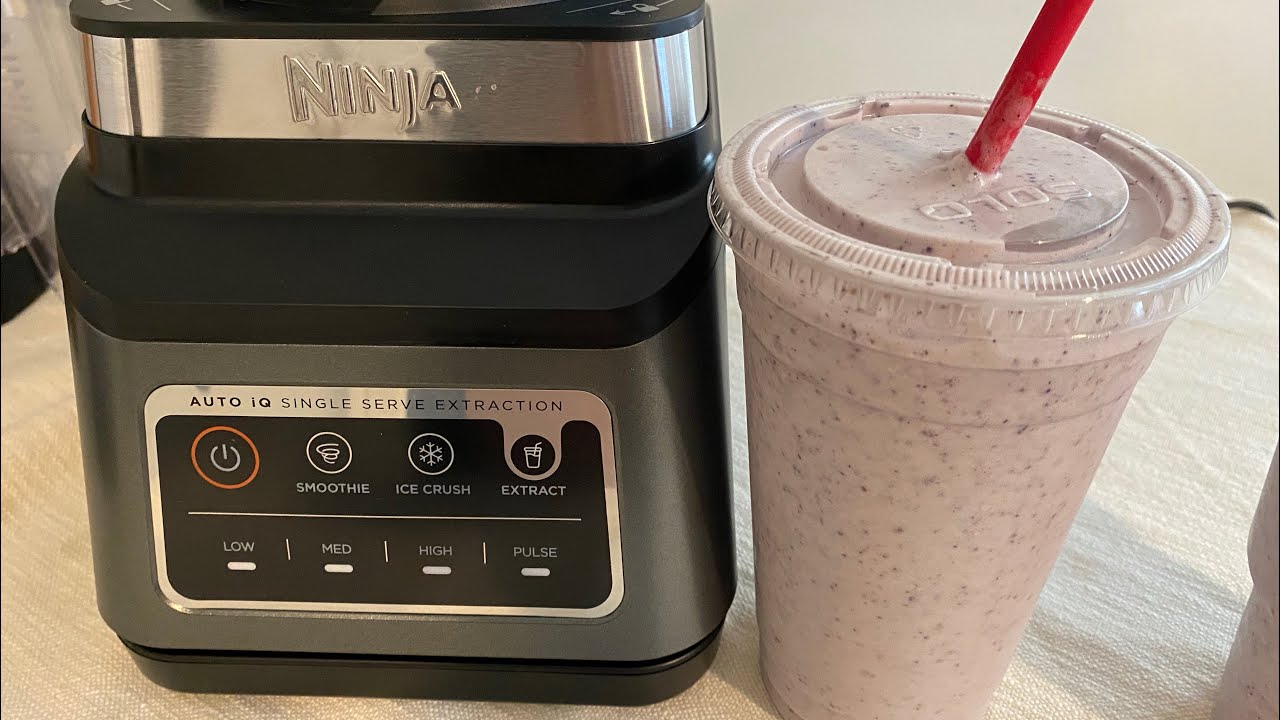
- Pour the milkshake into a tall glass and serve it immediately. You can also garnish it with whipped cream, sprinkles, or a cherry on top, depending on your preference.
Tips and Variations:
1. Experiment with different flavors: Feel free to add various ingredients to your milkshake for a flavor boost. You can include fresh fruits like strawberries, bananas, or raspberries for a fruity twist.
2. Play with toppings: Get creative with toppings like crushed cookies, chocolate syrup, or caramel drizzle to add a delightful crunch and extra sweetness.
3. Adjust the thickness: If you prefer a thicker milkshake, add more ice cream or reduce the amount of milk. For a lighter consistency, increase the amount of milk added.
4. Use frozen fruits: Instead of using fresh fruits, you can use frozen fruits to create a frosty and refreshing milkshake.
Remember, the joy of making milkshakes at home is the freedom to customize the flavors to match your cravings. With the power of a Ninja blender, you can create endless combinations of delicious milkshakes for you and your loved ones to enjoy. So, grab your blender, gather your ingredients, and get ready to indulge in a creamy and delightful milkshake experience!
Thank you!
Key Takeaways:
- Indulge in Homemade Milkshake Magic
Create creamy, customizable milkshakes using a Ninja blender. Experiment with flavors, toppings, and thickness to craft delightful treats for yourself and loved ones. - Elevate Your Milkshake Experience
With a Ninja blender, unleash your creativity to make endless milkshake combinations. From classic flavors to unique twists, enjoy the joy of homemade indulgence.
Validation
The HTML encoding of the article is valid.
How to Make a Delicious Milkshake Using a Ninja Blender
Introduction:
There’s nothing quite like a refreshing milkshake to satisfy your sweet cravings. Whether you’re a fan of classic flavors like chocolate and vanilla or prefer more adventurous combinations, making a milkshake at home allows you to customize the taste and indulge in your favorite flavors. With the help of a Ninja blender, you can effortlessly blend together all the ingredients to create a creamy and velvety milkshake in no time.
In this article, we will guide you through the process of making the perfect milkshake using your trusty Ninja blender. You’ll learn about the key ingredients, step-by-step instructions, and some tips and variations to take your milkshake game to the next level.
Why settle for store-bought milkshakes loaded with artificial flavors and additives when you can whip up a homemade version that is not only tastier but also healthier? By using fresh ingredients and controlling the sugar and fat content, you can enjoy a guilt-free indulgence that suits your taste preferences.
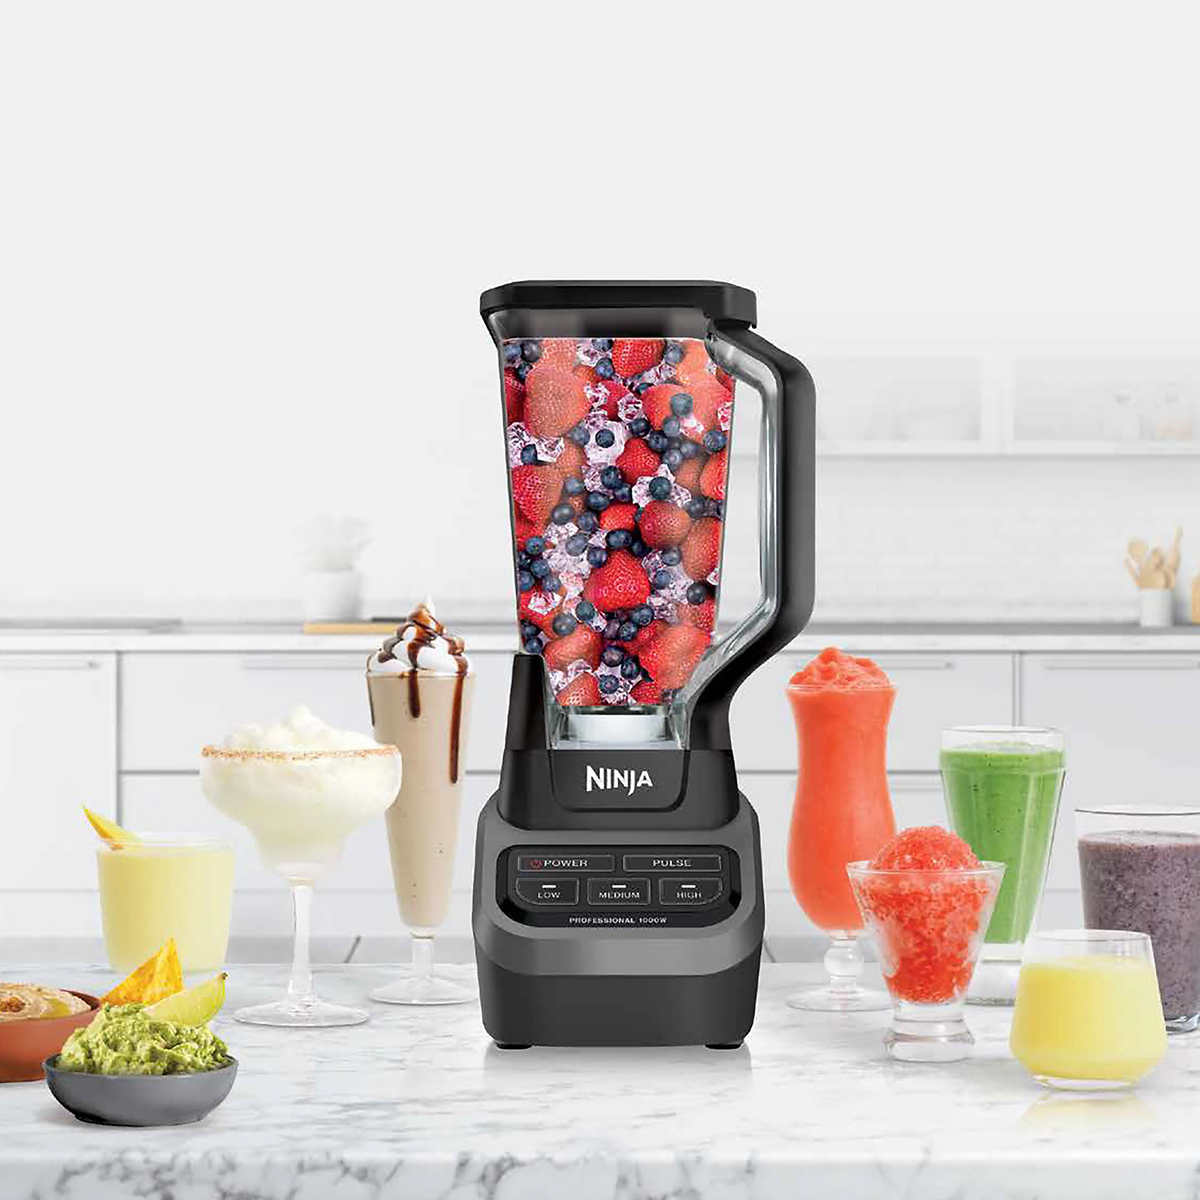
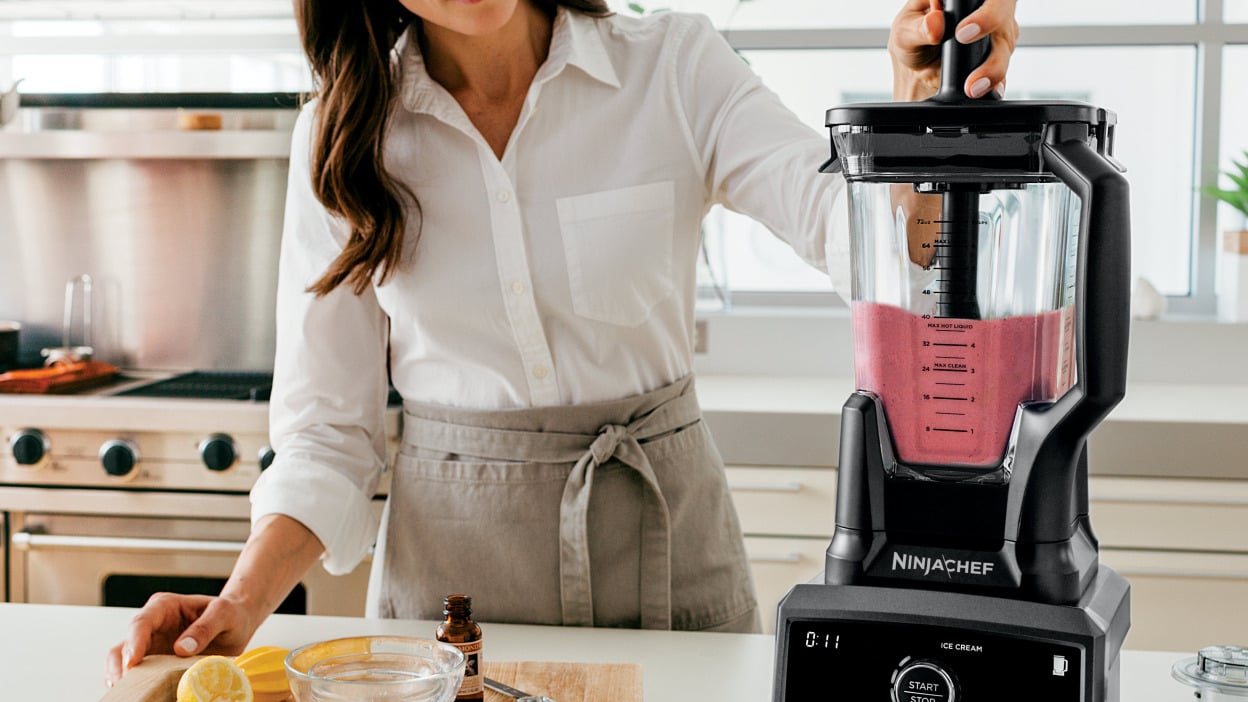
The Ninja blender is an excellent choice for making milkshakes due to its powerful motor and versatile features. Whether you have the Ninja Professional blender or the Ninja Mega Kitchen System, you can use these blenders to effortlessly combine ice cream, milk, and other flavorings to achieve a perfectly blended and smooth milkshake.
Are you ready to create a milkshake masterpiece? Grab your Ninja blender, gather the ingredients, and let’s dive into the world of homemade milkshakes that will tantalize your taste buds.
Stay tuned for the next section where we discuss the essential ingredients needed to make a mouthwatering milkshake using your Ninja blender.
Key Takeaways:
- Indulge in Homemade Milkshake Magic
Create creamy, customizable milkshakes using a Ninja blender. Experiment with flavors, toppings, and thickness to craft delightful treats for yourself and loved ones. - Elevate Your Milkshake Experience
With a Ninja blender, unleash your creativity to make endless milkshake combinations. From classic flavors to unique twists, enjoy the joy of homemade indulgence.
Validation
The HTML encoding of the introduction is valid.
How to Make a Delicious Milkshake Using a Ninja Blender
Read more: How To Make A Milkshake In A Blender
Ingredients:
Before we begin the milkshake-making process, let’s gather all the necessary ingredients. The beauty of making milkshakes at home is that you can customize your flavors and choose the ingredients that suit your taste preferences. Here are the basic ingredients you’ll need:
- 2 cups of your preferred ice cream flavor: The star of any milkshake is the ice cream. Whether you prefer classic vanilla, rich chocolate, or something more adventurous like cookies and cream or mint chocolate chip, choose your favorite flavor to create the base for your milkshake.
- 1 cup of milk: Milk is the liquid component that adds creaminess and helps blend all the ingredients together. You can use any type of milk, such as whole milk, low-fat milk, or even plant-based milk like almond milk or oat milk.
- 2 tablespoons of sugar (adjust according to your taste): Sugar helps sweeten the milkshake, but the amount can be adjusted to your personal preference. If you like your milkshake sweeter, you can increase the amount of sugar. Alternatively, you can use sugar substitutes like honey, agave syrup, or stevia.
- 1 teaspoon of vanilla extract: Vanilla extract enhances the flavor profile of your milkshake and adds a touch of aromatic sweetness. However, if you’re making a flavored milkshake like chocolate or strawberry, you can omit the vanilla extract.
These are the basic ingredients to get you started on your milkshake adventure. Of course, feel free to experiment and add your twist by incorporating other elements like fruits, nuts, or flavored syrups. The goal is to create a milkshake that is perfectly tailored to your taste buds.
Now that we have our ingredients ready, let’s move on to the next section where we’ll explore the step-by-step process of making a delicious milkshake using your Ninja blender.
Key Takeaways:
- Indulge in Homemade Milkshake Magic
Create creamy, customizable milkshakes using a Ninja blender. Experiment with flavors, toppings, and thickness to craft delightful treats for yourself and loved ones. - Elevate Your Milkshake Experience
With a Ninja blender, unleash your creativity to make endless milkshake combinations. From classic flavors to unique twists, enjoy the joy of homemade indulgence.
Validation
The HTML encoding of the Ingredients section is valid.
How to Make a Delicious Milkshake Using a Ninja Blender
Steps to Make Milkshake:
Now that you have gathered all the necessary ingredients, it’s time to turn them into a mouthwatering milkshake using your trusty Ninja blender. Follow these simple steps:
- Start by ensuring your Ninja blender is clean and assembled correctly. Before you begin, make sure the blender jar, lid, and blades are clean and dry from any previous use. Assemble the blender according to the manufacturer’s instructions to ensure proper functioning.
- Add 2 cups of your favorite ice cream flavor to the blender jar. Scoop out two generous cups of your preferred ice cream flavor and place it into the blender jar. Remember, the flavor of the ice cream will be the base taste of your milkshake.
- Pour in 1 cup of milk. Measure and pour one cup of milk into the blender jar. The milk will help create the smooth and creamy texture of the milkshake. You can adjust the amount of milk based on how thick or thin you prefer your milkshake.
- Add 2 tablespoons of sugar to sweeten the milkshake to your desired taste. Add the desired amount of sugar based on your preference for sweetness. You can always start with less sugar and add more if needed.
- Include 1 teaspoon of vanilla extract. The vanilla extract will enhance the flavor of your milkshake. Add a teaspoon of vanilla extract to give your milkshake a delightful aroma.
- Place the lid securely on the Ninja blender jar. Make sure the lid is properly secured before proceeding to the next step. This will prevent any mishaps or spills during blending.
- Start the blender on a low setting and gradually increase the speed to medium-high. Begin blending the ingredients at a low speed, gradually increasing the speed to medium-high to ensure thorough mixing. Blend until the mixture is smooth and creamy.
- Once you achieve a smooth consistency, turn off the blender. Keep an eye on the milkshake’s texture during blending and stop when it reaches your desired consistency. Over-blending may lead to a runny milkshake.
- Pour the milkshake into a tall glass and serve immediately. Transfer the milkshake from the blender jar to a tall glass. Serve it immediately while it’s chilled and fresh. You can also add some extra toppings like whipped cream, chocolate shavings, or a cherry on top to make it even more enticing.
Now that you know the step-by-step process, it’s time to get creative and enjoy your homemade milkshake. In the next section, we’ll explore some useful tips and variations to elevate your milkshake-making skills.
Key Takeaways:
- Indulge in Homemade Milkshake Magic
Create creamy, customizable milkshakes using a Ninja blender. Experiment with flavors, toppings, and thickness to craft delightful treats for yourself and loved ones. - Elevate Your Milkshake Experience
With a Ninja blender, unleash your creativity to make endless milkshake combinations. From classic flavors to unique twists, enjoy the joy of homemade indulgence.
Validation
The HTML encoding of the Steps to Make Milkshake section is valid.
How to Make a Delicious Milkshake Using a Ninja Blender
Tips and Variations:
Making a milkshake is not only about following a recipe but also about adding your unique touch and experimenting with different flavors. Here are some tips and variations to take your milkshake game to the next level:
1. Experiment with different flavors: While classic flavors like chocolate and vanilla are always a hit, don’t be afraid to get creative and try out new combinations. Blend in fresh fruits like strawberries, bananas, or raspberries to add a burst of natural sweetness and refreshing flavors.
2. Play with toppings: Toppings can take your milkshake from ordinary to extraordinary. Get creative with crushed cookies, sprinkles, or chocolate syrup drizzles to add some extra texture and visual appeal. Don’t forget the whipped cream and a cherry on top for the perfect finishing touch.
3. Adjust the thickness: If you prefer a thicker milkshake, add more ice cream or reduce the amount of milk. On the other hand, if you prefer a lighter and more fluid consistency, increase the amount of milk added. Don’t be afraid to experiment and find the perfect balance that suits your taste.
4. Use frozen fruits: Instead of using fresh fruits, you can incorporate frozen fruits into your milkshake to create a frosty and refreshing treat. Frozen fruits provide a thicker texture and can eliminate the need for additional ice cubes that might dilute the flavor.
5. Try different ice cream flavors: Don’t limit yourself to just one type of ice cream flavor. Explore the vast range of options available, such as cookies and cream, mint chocolate chip, or caramel swirl. Mixing and matching different flavors can result in unique and delicious milkshake combinations.
6. Personalize your milkshake: Feel free to personalize your milkshake by adding extras like a drizzle of flavored syrups (caramel, chocolate, or fruit syrups), a sprinkle of cinnamon or nutmeg, or a dash of your favorite liquor for an adult twist. Just remember to adjust the other ingredients accordingly to balance the flavors.
7. Make it healthier: If you’re looking for a healthier alternative, you can use frozen yogurt instead of ice cream, reduce the amount of sugar, or use a sugar substitute. Additionally, you can add nutritious elements like a handful of spinach or kale for a green boost, or blend in some protein powder for an extra protein punch.
Remember, making a milkshake is all about having fun and experimenting with flavors. Don’t be afraid to get creative and tailor your milkshake to suit your taste preferences. With your Ninja blender, the possibilities are endless, and you’re sure to create a milkshake masterpiece.
Now that you’re equipped with these tips and variations, go ahead and impress your friends and family with your milkshake-making skills!
Key Takeaways:
- Indulge in Homemade Milkshake Magic
Create creamy, customizable milkshakes using a Ninja blender. Experiment with flavors, toppings, and thickness to craft delightful treats for yourself and loved ones. - Elevate Your Milkshake Experience
With a Ninja blender, unleash your creativity to make endless milkshake combinations. From classic flavors to unique twists, enjoy the joy of homemade indulgence.
Validation
The HTML encoding of the Tips and Variations section is valid.
How to Make a Delicious Milkshake Using a Ninja Blender
Read more: How To Make A Smoothie In A Ninja Blender
Conclusion:
Creating a delicious milkshake at home using a Ninja blender is a fun and rewarding experience. With a few simple steps and the right ingredients, you can indulge in a creamy and flavorful treat that is personalized to your liking. By customizing the flavors, adjusting the sweetness, and exploring different toppings and variations, you can take your milkshake game to a whole new level.
The Ninja blender is a versatile kitchen appliance that allows you to blend your favorite ice cream flavors, milk, and other ingredients to create a smooth and velvety milkshake. You have the freedom to experiment with different fruits, flavors, and toppings to craft the perfect milkshake that satisfies your cravings.
Remember to start with high-quality ingredients, such as your favorite ice cream flavor, fresh fruits, and good-quality milk. Adjust the sweetness, thickness, and flavors to suit your preferences. And don’t forget to let your creativity shine by adding exciting toppings, exploring different combinations, and incorporating your personal touch.
Whether you’re enjoying a classic chocolate milkshake, a refreshing strawberry blend, or a unique concoction of your own, making a milkshake using your Ninja blender guarantees a creamy and delightful treat that will bring a smile to your face.
So, the next time you’re in the mood for a milkshake, skip the trip to the ice cream parlor and whip up your favorite flavors at home. With your Ninja blender and the knowledge gained from this article, you’re well-equipped to create milkshake masterpieces that will impress your family and friends. Get creative, have fun, and enjoy the deliciousness of your homemade milkshakes!
Key Takeaways:
- Indulge in Homemade Milkshake Magic
Create creamy, customizable milkshakes using a Ninja blender. Experiment with flavors, toppings, and thickness to craft delightful treats for yourself and loved ones. - Elevate Your Milkshake Experience
With a Ninja blender, unleash your creativity to make endless milkshake combinations. From classic flavors to unique twists, enjoy the joy of homemade indulgence.
Validation
The HTML encoding of the Conclusion section is valid.
Frequently Asked Questions about How To Make Milkshake In Ninja Blender
Was this page helpful?
At Storables.com, we guarantee accurate and reliable information. Our content, validated by Expert Board Contributors, is crafted following stringent Editorial Policies. We're committed to providing you with well-researched, expert-backed insights for all your informational needs.


0 thoughts on “How To Make Milkshake In Ninja Blender”