Articles
How To Start The Ninja Blender
Modified: October 18, 2024
Learn how to start the Ninja Blender with our comprehensive articles. Master the art of blending and unleash your inner ninja in the kitchen.
(Many of the links in this article redirect to a specific reviewed product. Your purchase of these products through affiliate links helps to generate commission for Storables.com, at no extra cost. Learn more)
Introduction
Welcome to the world of the Ninja Blender! If you’re looking to take your blending game to the next level, then you’ve come to the right place. The Ninja Blender is a versatile and powerful kitchen appliance that can handle a wide range of blending tasks, from making smoothies and soups to crushing ice and blending ingredients for baking. In this article, we will guide you through the process of getting started with your Ninja Blender, providing you with all the information you need to make the most of this incredible tool.
With its sleek design and advanced features, the Ninja Blender is more than just a regular blender. It is equipped with innovative technology that ensures smooth and consistent blending, making it a favorite among both professional chefs and home cooks. Whether you’re a novice in the kitchen or a seasoned culinary expert, the Ninja Blender can help you achieve the perfect blend every time.
Before we dive into the specifics of setting up and using your Ninja Blender, it’s important to note a few safety precautions. Like any kitchen appliance, it’s essential to follow proper guidelines to ensure your safety and the longevity of your blender. Always read the instruction manual thoroughly and familiarize yourself with the safety instructions before using the blender for the first time.
Now, let’s proceed to the next section where we’ll guide you through the process of unpacking your Ninja Blender and getting it ready for use.
Key Takeaways:
- Safety first! Always prioritize safety when using your Ninja Blender by following the provided safety precautions, ensuring a stable surface, and handling blades with care to prevent accidents and ensure a safe blending experience.
- Unleash your creativity and explore the endless culinary possibilities with your Ninja Blender. From making smoothies and soups to crushing ice and blending ingredients for baking, your Ninja Blender is a versatile kitchen companion ready to help you achieve the perfect blend every time.
Read more: How To Open A Ninja Blender
Safety Precautions
When operating any kitchen appliance, including the Ninja Blender, it’s important to prioritize safety. Here are some key safety precautions to keep in mind:
- Read the Instruction Manual: Before using the Ninja Blender, thoroughly read and understand the instruction manual. This will provide you with important safety information specific to your blender model.
- Ensure a Stable Surface: Always place the Ninja Blender on a stable and level surface to prevent it from tipping over during operation.
- Secure the Blender: Make sure that the blender jar or pitcher is securely locked onto the base before operating the blender.
- Avoid Overfilling: Do not exceed the maximum fill line indicated on the blender jar or pitcher. Overfilling can cause spillage and potentially lead to injury.
- Handle Blades with Care: The blades of the Ninja Blender are sharp. Use caution when handling and cleaning them to avoid accidental cuts or injuries.
- Unplug Before Cleaning: Always unplug the blender from the power source before cleaning or handling the blades.
- Keep Hands Away from Moving Parts: Never insert your hands or any objects into the blender jar or pitcher while the blender is in operation.
- Disconnect Power Cord: When not in use, disconnect the power cord from the electrical outlet to prevent accidental starting or operation.
- Keep Children and Pets Away: For the safety of children and pets, keep them away from the blender while it is in use.
- Do Not Operate with Damaged Parts: If any parts of the Ninja Blender are damaged, do not use the blender until they have been replaced.
By following these safety precautions, you can ensure a safe and enjoyable blending experience with your Ninja Blender. Now, let’s move on to the next section where we’ll guide you through the process of unpacking and assembling your blender.
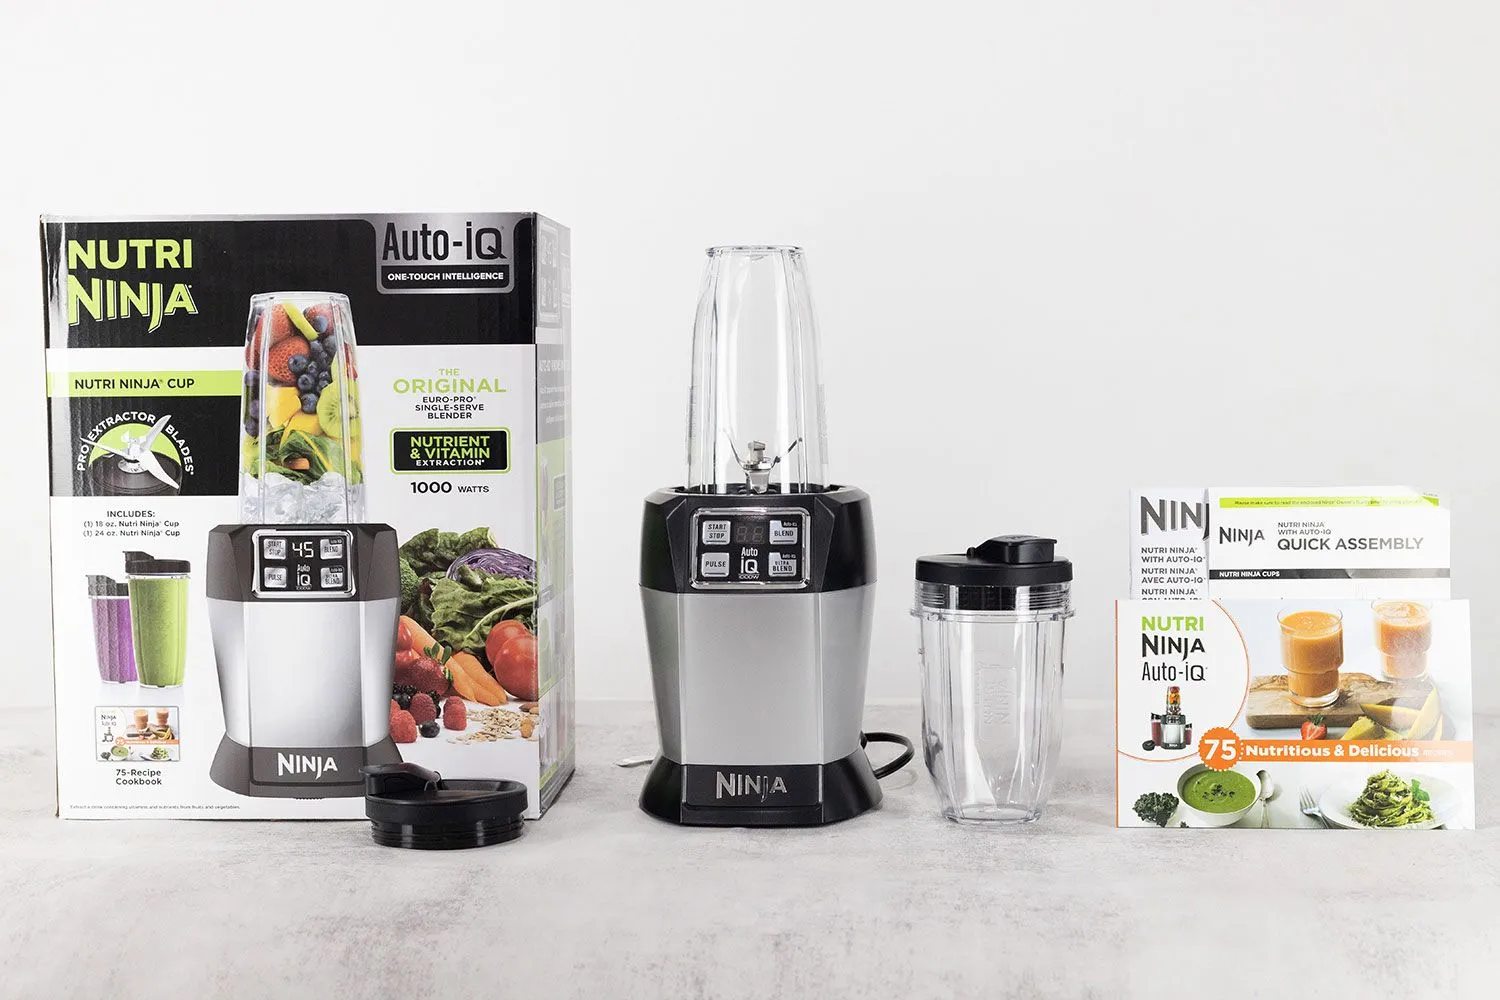
Unpacking the Ninja Blender
Congratulations on your new Ninja Blender! Before you can start using it, you’ll need to unpack it properly. Follow these steps to safely unpack your blender:
- Locate the box containing your Ninja Blender and place it on a flat surface.
- Using scissors or a box cutter, carefully cut the tape securing the top flaps of the box.
- Gently remove the top flaps to reveal the contents inside.
- Take out the blender motor base and set it aside.
- Check if there are any additional accessories or attachments included with your blender. Remove them from the box and set them aside for later use.
- Remove the blender jar or pitcher from the box, being cautious not to drop or mishandle it.
- Inspect the blender jar to ensure it is free from any damage or defects. If you notice any issues, contact the customer support of Ninja Blender for assistance.
- Take a moment to familiarize yourself with the different components of the blender, such as the lid, blades, and base.
- Carefully remove any packaging materials or protective covers from the blender components.
- Place the blender motor base on a stable and level surface, ready for assembly.
Now that you have successfully unpacked the Ninja Blender, it’s time to move on to the next section where we’ll guide you through the process of assembling the blender.
Assembling the Ninja Blender
Now that you have unpacked all the components of your Ninja Blender, it’s time to assemble them so you can start blending. Follow these simple steps to properly assemble your blender:
- Place the blender motor base on a sturdy and level surface.
- Take the blender jar or pitcher and ensure it is clean and dry.
- Align the arrows on the blender jar or pitcher with the arrows on the motor base.
- Gently place the blender jar or pitcher onto the motor base, making sure it is properly seated.
- Rotate the blender jar or pitcher clockwise until it locks into place. You may hear a click indicating that it is securely attached.
- Next, take the blender lid and check for any seals or attachments.
- Align the lid with the spout of the blender jar or pitcher.
- Place the lid onto the jar or pitcher and press down firmly to ensure a tight seal.
- Now, it’s time to attach the blending blades. Take the blades and line up the arrow on the blade assembly with the arrow on the blender jar or pitcher.
- Gently place the blade assembly onto the blender jar or pitcher and twist it clockwise until it is securely attached.
That’s it! Your Ninja Blender is now fully assembled and ready to be used. Before you start blending, make sure to familiarize yourself with the control panel and the various functions of your blender. In the next section, we will guide you through the control panel and how to use the different blender functions effectively.
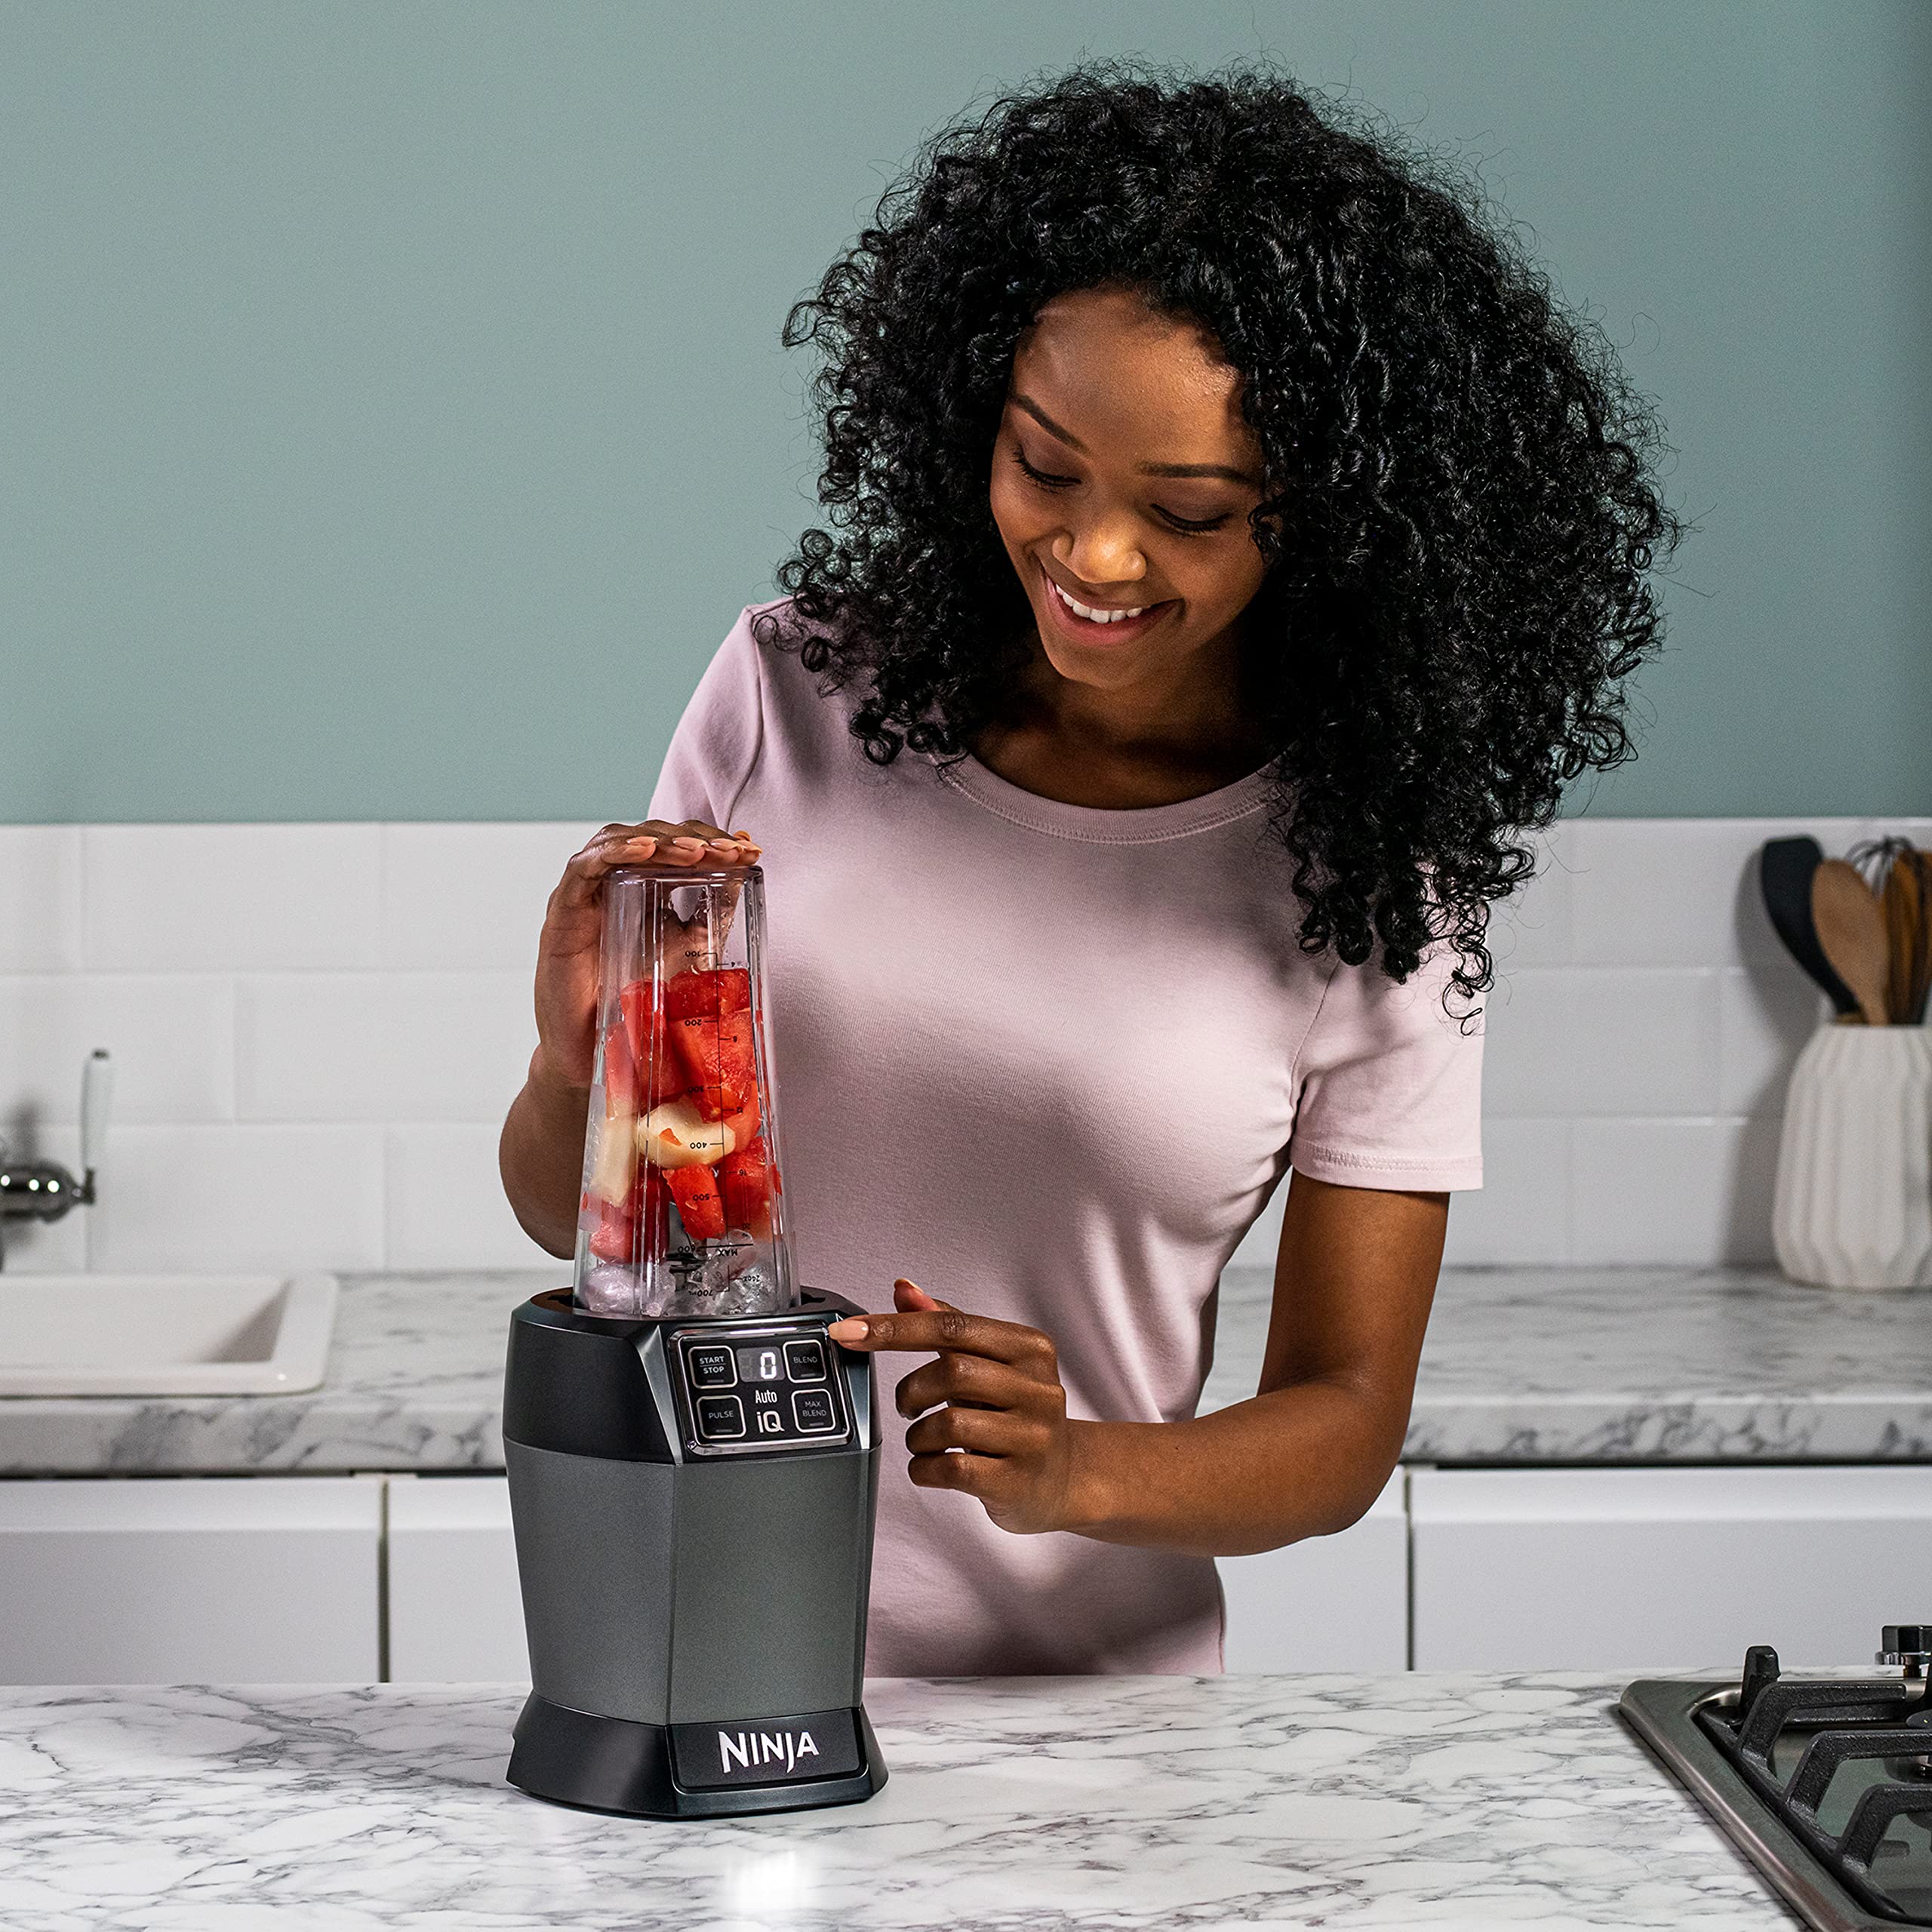
Understanding the Control Panel
Before you start using your Ninja Blender, it’s important to understand the control panel and the different functions available. While the exact layout of the control panel may vary depending on the model of your blender, most Ninja Blenders feature a similar set of controls. Here is a general overview of the common features you may find on the control panel:
- Power Button: This button is used to turn the blender on and off. It is typically represented by a symbol that resembles a power switch.
- Speed Settings: Most Ninja Blenders offer multiple speed settings to adjust the blending intensity. These settings are usually represented by numbers or symbols, with higher numbers indicating faster speeds.
- Pulse Function: The pulse function provides short bursts of blending power, allowing you to control the blending process more precisely. It is commonly represented by a symbol that resembles a dashed line or a pulse icon.
- Auto Programs: Some Ninja Blender models come equipped with pre-set auto programs for specific tasks, such as making smoothies or crushing ice. These programs take the guesswork out of blending by automatically adjusting the blending speed and time for optimal results.
- Timer: Certain blender models feature a built-in timer that allows you to set a specific blending duration. This feature is helpful when following recipes that require precise blending times.
- Variable Speed Control: With this feature, you can manually adjust the blending speed while the blender is in operation. This gives you more control over the consistency of your blends.
It’s important to consult your blender’s instruction manual for specific information regarding the control panel layout and functionality of your particular model.
Now that you have a basic understanding of the control panel, let’s move on to the next section, where we’ll explore the various functions and settings you can utilize with your Ninja Blender.
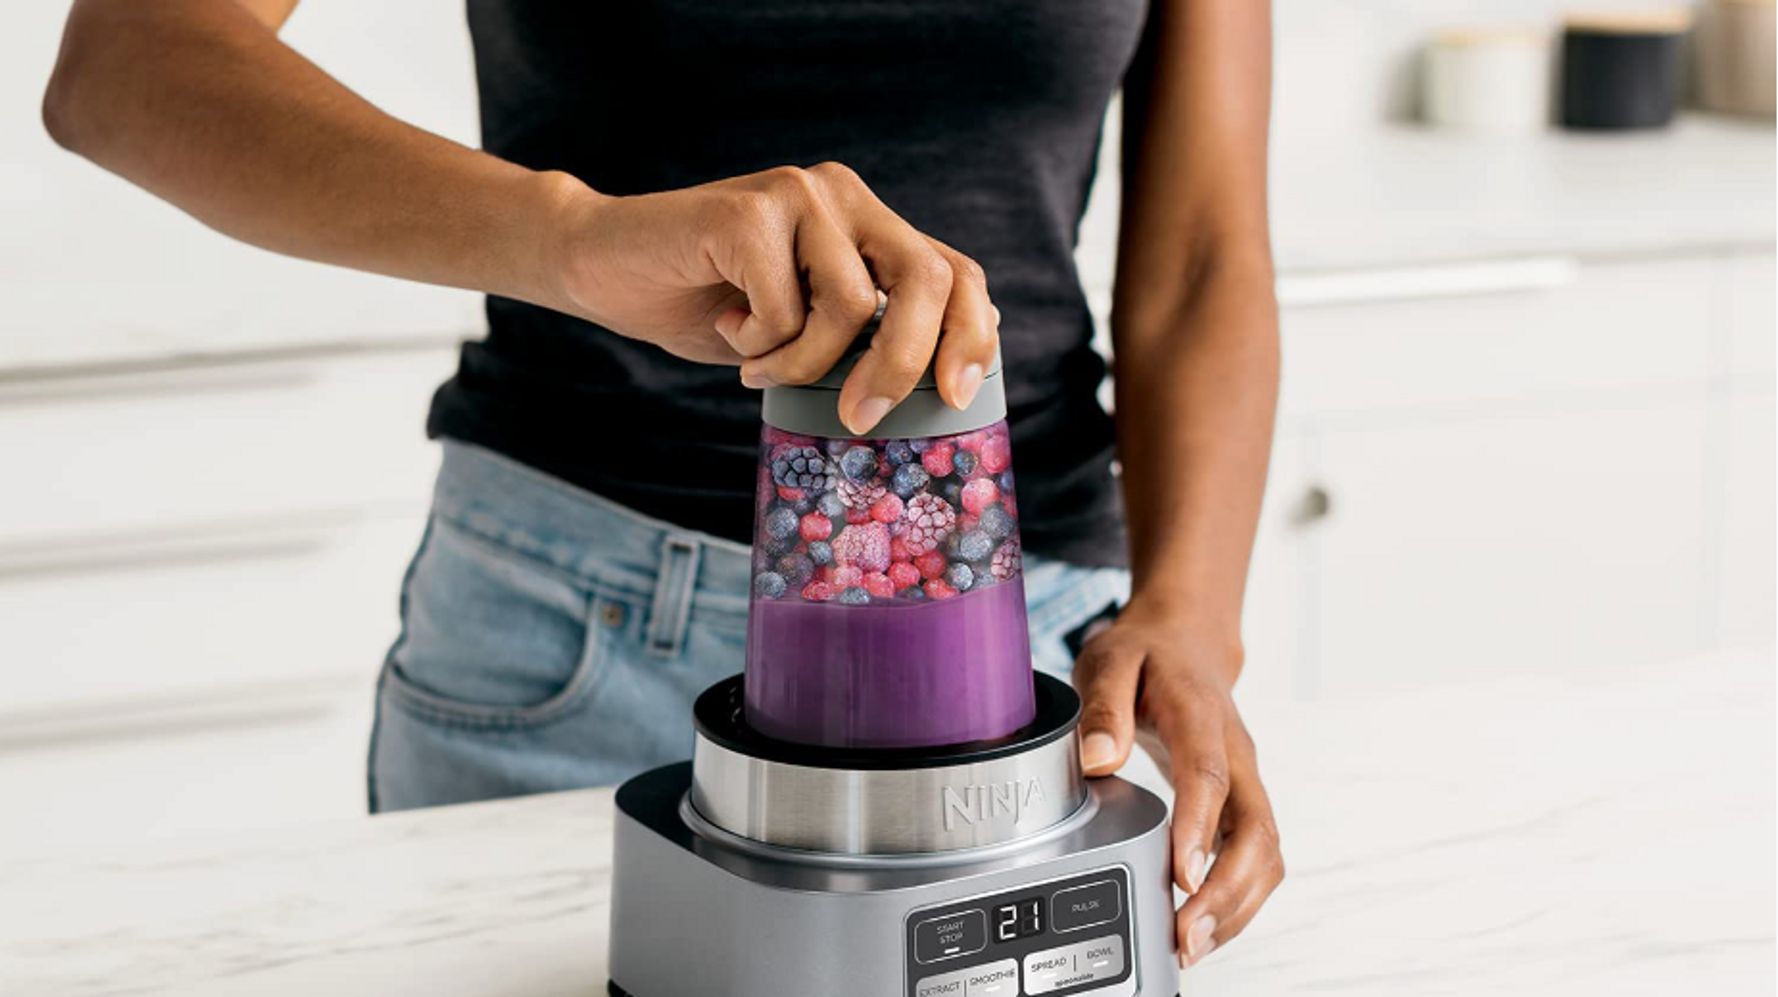
Before starting the Ninja Blender, make sure the pitcher is securely locked onto the base and the lid is properly in place. Also, ensure the power cord is plugged in and the power button is in the off position before plugging it in.
Read more: How To Turn On A Ninja Blender
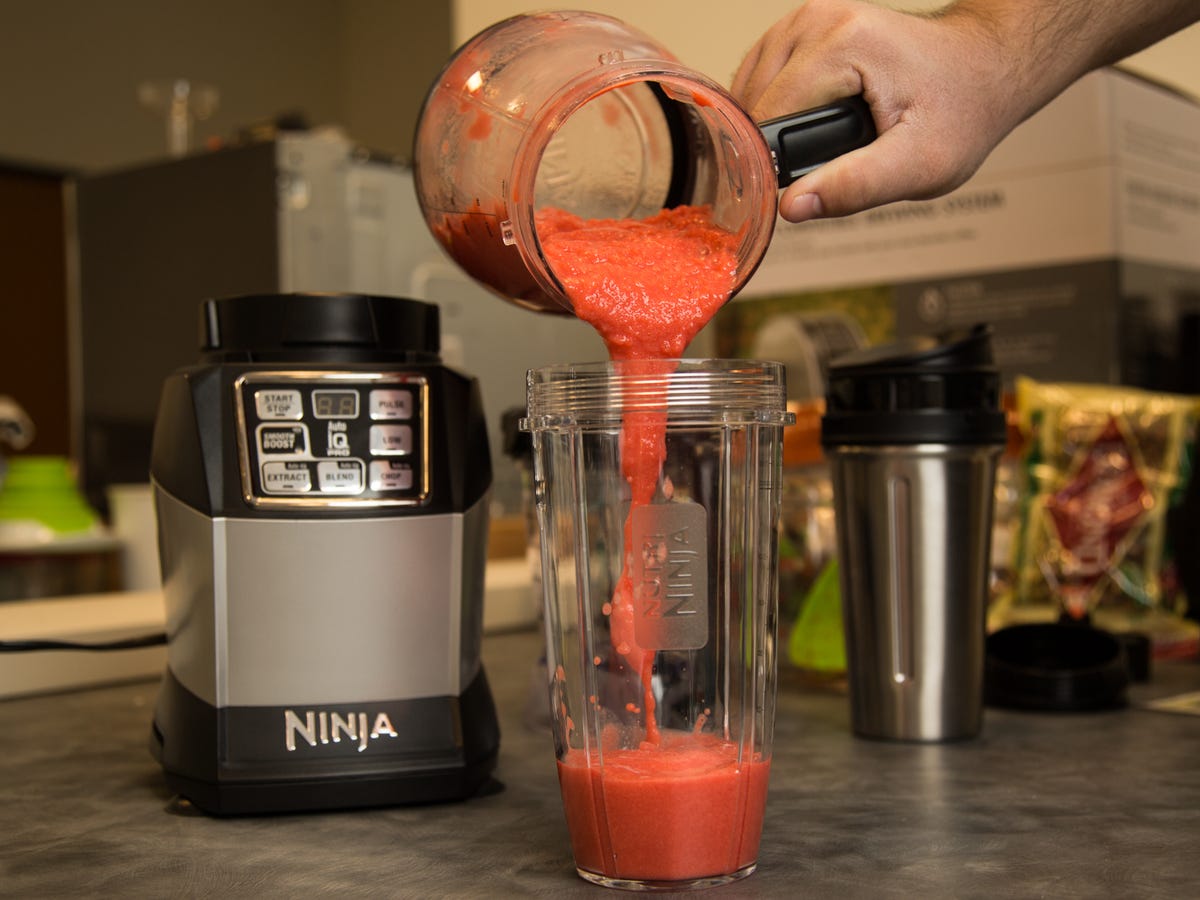
Using the Different Blender Functions
The Ninja Blender offers a wide range of functions that go beyond simple blending. Understanding and utilizing these functions will allow you to create a variety of recipes and achieve perfect results every time. Here are some of the different blender functions and how to use them effectively:
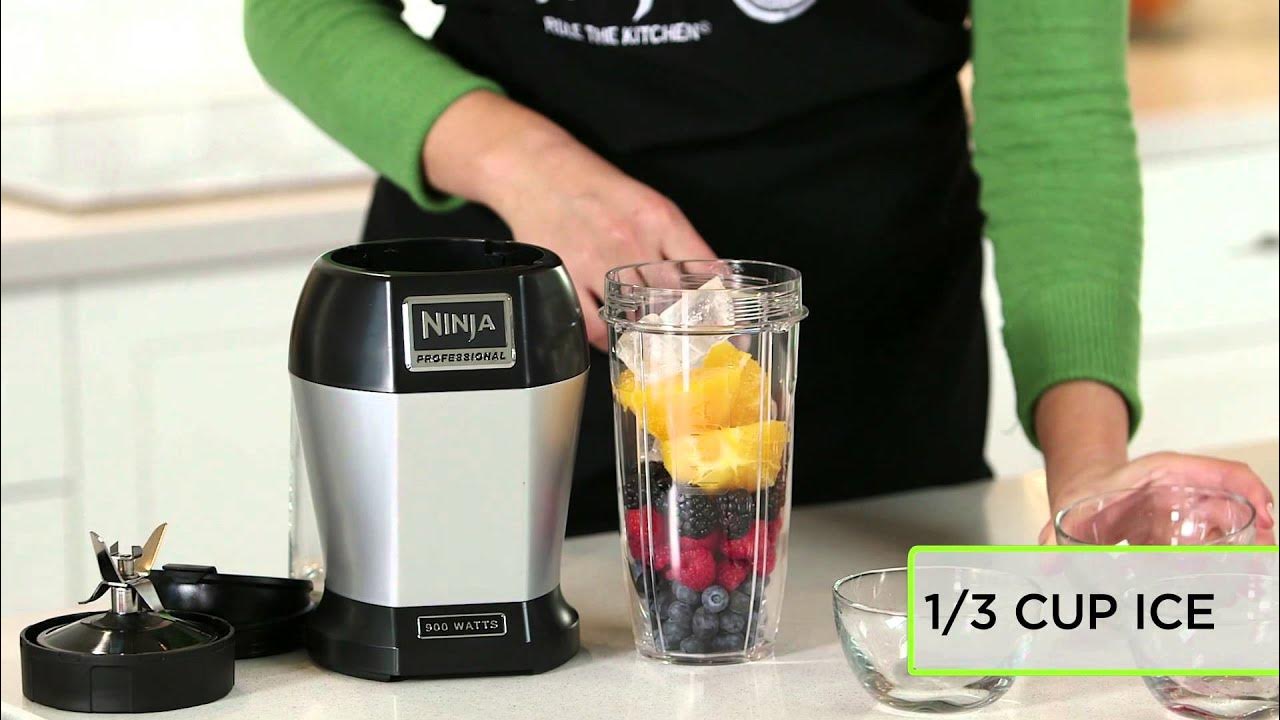
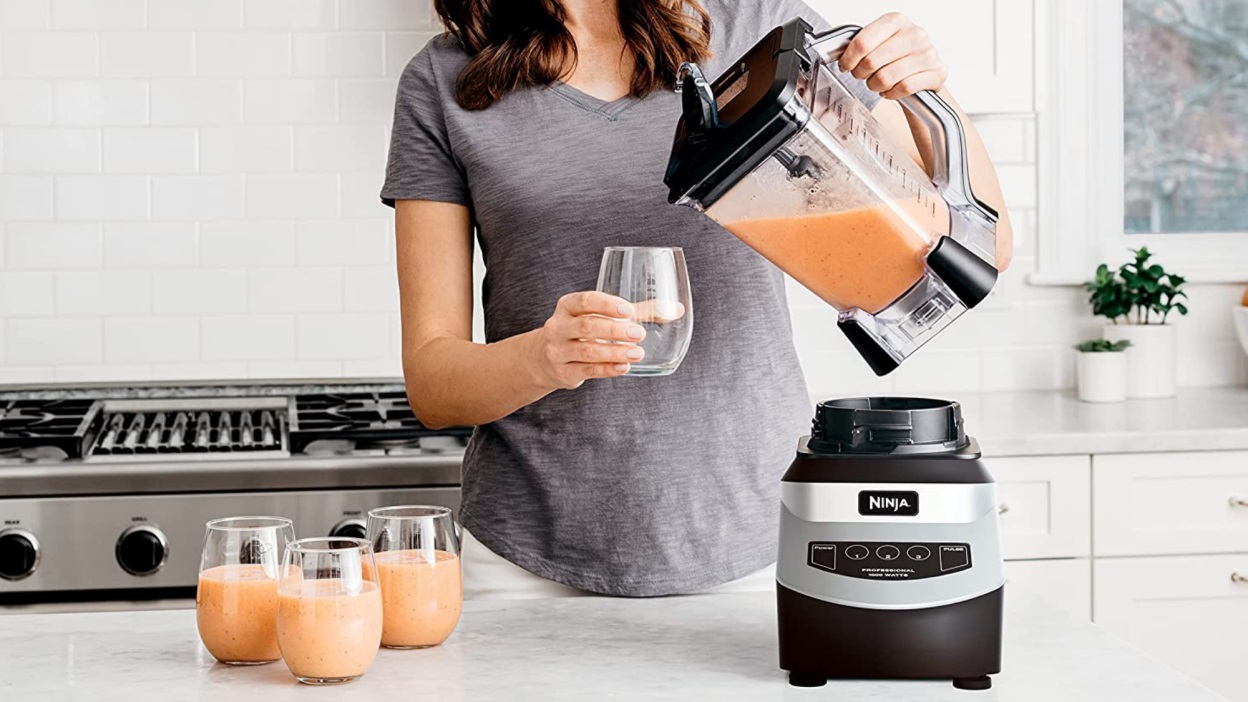
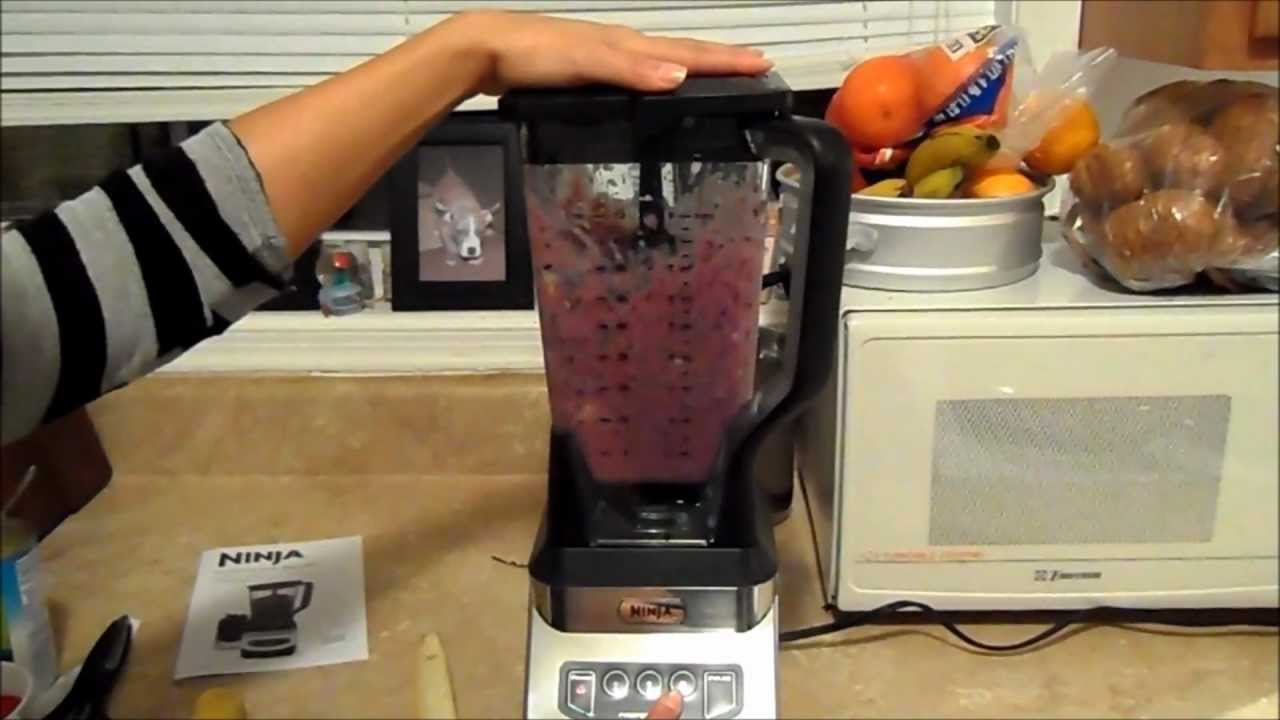
- Blend: The basic blending function is perfect for making smoothies, milkshakes, and purees. Simply add your ingredients to the blender jar or pitcher, secure the lid, and select your desired speed setting. Start with a low speed and gradually increase it until you reach your desired consistency.
- Pulse: The pulse function provides short bursts of blending power, which is ideal for tasks such as chopping vegetables, grinding spices, or breaking down ice. Start by adding the ingredients to the blender jar or pitcher, secure the lid, and press the pulse button. Pulse for a few seconds at a time until you achieve the desired texture.
- Cream/Whip: This function is perfect for making whipped cream, fluffy mousse, or light batters. Add your ingredients to the blender jar or pitcher, secure the lid, and select the cream/whip function. The blender will operate at a lower speed to incorporate air and create a light and airy texture.
- Ice Crush: When you want to crush ice for homemade frozen drinks or smoothies, the ice crush function comes in handy. Simply add the ice cubes to the blender jar or pitcher, secure the lid, and select the ice crush function. The blender will automatically adjust the speed and blending time to crush the ice to the desired consistency.
- Grind: If you need to grind ingredients like coffee beans, spices, or nuts, the grind function is perfect for the task. Add the ingredients to the blender jar or pitcher, secure the lid, and select the grind function. The blender will operate at a high speed to pulverize the ingredients into a fine powder or paste.
- Dough: Some Ninja Blender models come equipped with a dough function, allowing you to effortlessly knead and mix dough for bread, pizza, or pasta. To use this function, add the dough ingredients to the blender jar or pitcher, secure the lid, and select the dough function. The blender will mix and knead the dough to the ideal consistency.
Remember to consult your blender’s instruction manual for specific guidelines on using the different functions and to determine which functions are available with your particular model.
Now that you’re familiar with the various blender functions, let’s move on to the next section where we’ll share some useful tips and techniques to help you achieve the best blending results.
Blending Tips and Techniques
To help you become a blending master with your Ninja Blender, here are some useful tips and techniques to keep in mind:
- Start with Liquid: When blending solid ingredients, always start with a liquid base, such as water, juice, or milk. This will help create a smoother consistency and facilitate the blending process.
- Layer Ingredients: For optimal blending, it’s important to layer your ingredients properly. Start with the liquids at the bottom, followed by soft ingredients, and end with hard ingredients on top. This layering technique ensures efficient blending and prevents the motor from getting overloaded.
- Avoid Overfilling: It’s crucial not to exceed the maximum fill line indicated on the blender jar or pitcher. Overfilling can lead to leakage, improper blending, or damage to the blender. Stick to the recommended batch sizes for the best results.
- Pulse for Control: When blending more delicate ingredients or achieving a specific texture, use the pulse function in short bursts. This gives you better control over the process and prevents over-blending.
- Blend in Intervals: For longer blending times, such as making nut butter or thick sauces, blend in intervals, allowing the motor to rest between bursts. This prevents overheating and extends the life of your blender.
- Add Ice Last: When making icy drinks or smoothies, add the ice cubes or frozen ingredients last. This helps maintain the temperature and prevents the blender from getting overwhelmed by the cold ingredients.
- Use the Tamper: If your Ninja Blender comes with a tamper tool, use it to push ingredients down towards the blades during blending. This ensures all ingredients are evenly incorporated and helps achieve a smoother consistency.
- Experiment with Speeds: Don’t be afraid to experiment with different speed settings to achieve the desired texture and consistency. Start with a low speed and gradually increase if needed, paying attention to how each speed level affects the ingredients.
- Follow Recipe Guidelines: When following recipes, pay close attention to the recommended blending times and speeds. This ensures that you achieve the expected results and prevents over or under blending.
- Clean Immediately: After each use, clean your blender promptly to prevent food residues from drying and becoming difficult to remove. Refer to the cleaning and maintenance section for detailed instructions on how to clean your Ninja Blender.
By following these blending tips and techniques, you’ll be able to maximize the capabilities of your Ninja Blender and create a wide variety of delicious recipes. Now, let’s move on to the next section where we’ll discuss the cleaning and maintenance of your blender to keep it in optimal condition.
Cleaning and Maintenance
Proper cleaning and maintenance of your Ninja Blender are essential for its longevity and optimal performance. Follow these guidelines to keep your blender in top shape:
- Unplug and Disassemble: Before cleaning your blender, unplug it from the power source and disassemble the jar or pitcher, lid, and blade assembly. Refer to your blender’s instruction manual for detailed instructions on how to disassemble the specific components.
- Hand-Wash Components: Wash the blender jar or pitcher, lid, and blade assembly with warm soapy water. Use a sponge or soft brush to remove any food residues. Avoid using abrasive materials or harsh cleaners that could damage the surfaces.
- Clean Motor Base: Wipe the motor base with a damp cloth to remove any spills or splatters. Do not submerge the base in water or use excessive moisture, as it could damage the electrical components.
- Remove Stains and Odors: If your blender components develop stubborn stains or odors, you can soak them in a mixture of warm water and vinegar for a few hours. Rinse thoroughly and wash with warm soapy water afterward.
- Keep Blades Sharp: Check the condition of the blender blades regularly. If they become dull or damaged, contact Ninja Blender customer support for blade replacement options.
- Allow Components to Dry: After washing, place the blender components on a dish rack or towel to air dry completely before reassembling. This helps prevent moisture buildup and the growth of bacteria.
- Store Properly: When not in use, store your Ninja Blender in a dry and safe location. Keep the components neat and organized to prevent misplacement or damage.
- Regular Maintenance: Refer to your blender’s instruction manual for any specific maintenance requirements, such as lubricating moving parts or replacing filters. Following the manufacturer’s recommendations will help keep your blender running smoothly for years to come.
By following these cleaning and maintenance practices, you’ll ensure that your Ninja Blender stays in excellent condition and continues to deliver outstanding blending performance.
Now that you have all the information needed to unpack, assemble, use, and maintain your Ninja Blender, let’s move on to the next section where we’ll address some common issues you may encounter and provide troubleshooting solutions.
Troubleshooting Common Issues
While the Ninja Blender is a reliable and high-performing appliance, you may encounter some common issues along the way. Here are a few troubleshooting solutions for common problems:
- Blender Not Turning On: If your blender doesn’t turn on, make sure it is securely plugged into a functioning power outlet. Check the power cord for any damage and try plugging it into a different outlet. If the blender still doesn’t turn on, contact Ninja Blender customer support for assistance.
- Blades Not Rotating: If the blades are not rotating during blending, ensure that the blender components are properly assembled and tightly secured. If the issue persists, it could indicate a problem with the motor or blade assembly. Contact customer support for further guidance.
- Excessive Noise or Vibration: If your blender is making excessive noise or vibrating excessively during operation, it may be due to an unevenly loaded jar or pitcher. Ensure that the ingredients are evenly distributed and not overfilled. If the issue persists, it may indicate a motor problem, and you should contact customer support.
- Leaking Blender: If your blender is leaking, check if the blender jar or pitcher is securely locked onto the motor base. Make sure the lid is properly sealed. If leakage persists, there may be a defect in the blender components. Contact customer support for assistance or consider replacing the faulty parts.
- Poor Blending Results: If you’re experiencing uneven blending or inconsistent results, make sure to layer your ingredients correctly, with the liquids at the bottom and harder ingredients on top. Also, avoid overfilling the blender, as it can hinder proper blending. Adjust the blending time and speed settings as necessary for the desired consistency.
- Blender Overheating: If your blender overheats during use, it may be a sign of motor strain or overloading. Allow the blender to cool down for a few minutes before continuing. Ensure that you’re not overfilling the blender or blending for extended periods without breaks. If the issue persists, contact customer support for further assistance.
If you encounter any issues not mentioned above or if the troubleshooting solutions don’t resolve your problem, it’s recommended to contact Ninja Blender customer support for personalized assistance and guidance. They have the expertise to assist you in resolving any technical or performance-related issues.
Congratulations! You’re now equipped with the knowledge to unpack, assemble, use, clean, and troubleshoot your Ninja Blender. With this incredible appliance, you can confidently unleash your creativity in the kitchen and enjoy a wide range of delicious blends and recipes.
Now it’s time to put your Ninja Blender to work and embark on a journey of culinary exploration and culinary masterpieces. Happy blending!
Read more: How To Lock A Ninja Blender
Conclusion
Congratulations on completing this comprehensive guide to starting your Ninja Blender journey! You now have the knowledge and understanding needed to make the most of this powerful kitchen appliance. By following the steps outlined in this article, you have learned how to safely unpack and assemble your blender, navigate the control panel, and utilize the various functions and settings. You also gained valuable insights into blending tips and techniques for achieving the perfect texture and consistency, as well as cleaning and maintenance practices to keep your blender in top condition.
The Ninja Blender opens up a world of possibilities in the realm of blending and food preparation. Whether you’re whipping up refreshing smoothies, creating creamy soups, or experimenting with homemade sauces and spreads, your Ninja Blender will be a reliable partner in the kitchen.
Remember, it’s important to always prioritize safety by following the recommended safety precautions and guidelines. Additionally, the troubleshooting solutions provided will help you address common issues that may arise during your blending adventures.
Now it’s time to unleash your creativity and explore the endless culinary possibilities with your Ninja Blender. Experiment with different ingredients, flavors, and techniques to create unique and delicious blends that will impress family and friends.
Should you have any specific questions or encounter any challenges beyond what was covered in this guide, don’t hesitate to reach out to Ninja Blender’s customer support for assistance. They are dedicated to providing you with the guidance you need to make the most of your blender.
Thank you for choosing the Ninja Blender as your trusted kitchen companion. Now, let the blending begin!
Frequently Asked Questions about How To Start The Ninja Blender
Was this page helpful?
At Storables.com, we guarantee accurate and reliable information. Our content, validated by Expert Board Contributors, is crafted following stringent Editorial Policies. We're committed to providing you with well-researched, expert-backed insights for all your informational needs.


0 thoughts on “How To Start The Ninja Blender”