
Articles
How To Make Beans In Rice Cooker
Modified: September 2, 2024
Learn how to make beans in a rice cooker with this comprehensive guide. Discover tips, tricks, and delicious recipes in our articles.
(Many of the links in this article redirect to a specific reviewed product. Your purchase of these products through affiliate links helps to generate commission for Storables.com, at no extra cost. Learn more)
Introduction
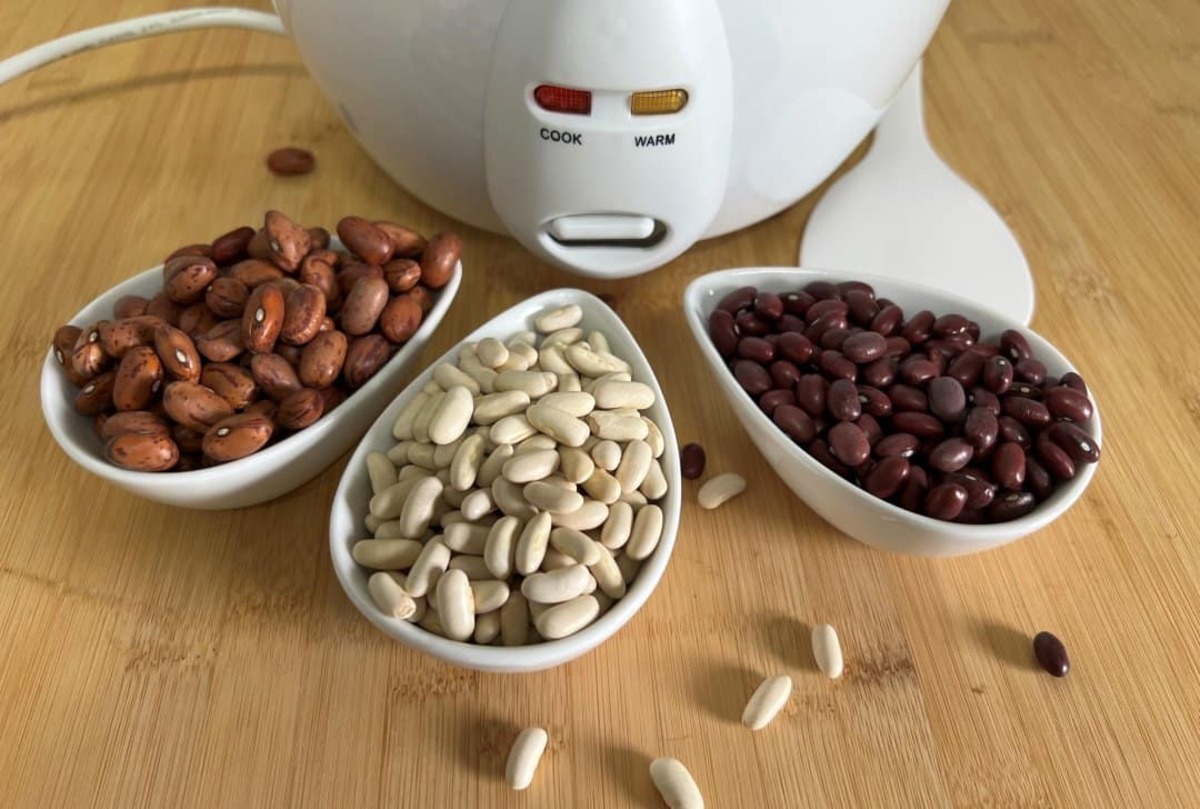
Beans are a versatile and nutritious ingredient that can be incorporated into a variety of dishes. Whether you prefer black beans, kidney beans, pinto beans, or any other variety, making beans in a rice cooker is a convenient and hassle-free method. With the right technique and ingredients, you can achieve perfectly cooked beans that are tender and packed with flavor.
In this article, we will guide you through the step-by-step process of making beans in a rice cooker. From soaking the beans to seasoning and serving, we will cover everything you need to know to master this cooking technique. So, grab your rice cooker and let’s get started on a delicious bean-filled culinary adventure!
Key Takeaways:
- Enjoy the convenience and versatility of making perfectly cooked beans in a rice cooker, from soaking to seasoning. Embrace the delicious flavors and nutritious benefits with this hassle-free cooking method.
- Elevate your bean-filled culinary adventure by experimenting with different types of beans, seasonings, and additional ingredients. Unleash your creativity and savor the endless possibilities of homemade beans in a rice cooker.
Read more: How To Make Black Beans In Rice Cooker
Materials Needed
Before diving into the process of making beans in a rice cooker, let’s make sure you have all the necessary materials. Here’s what you’ll need:
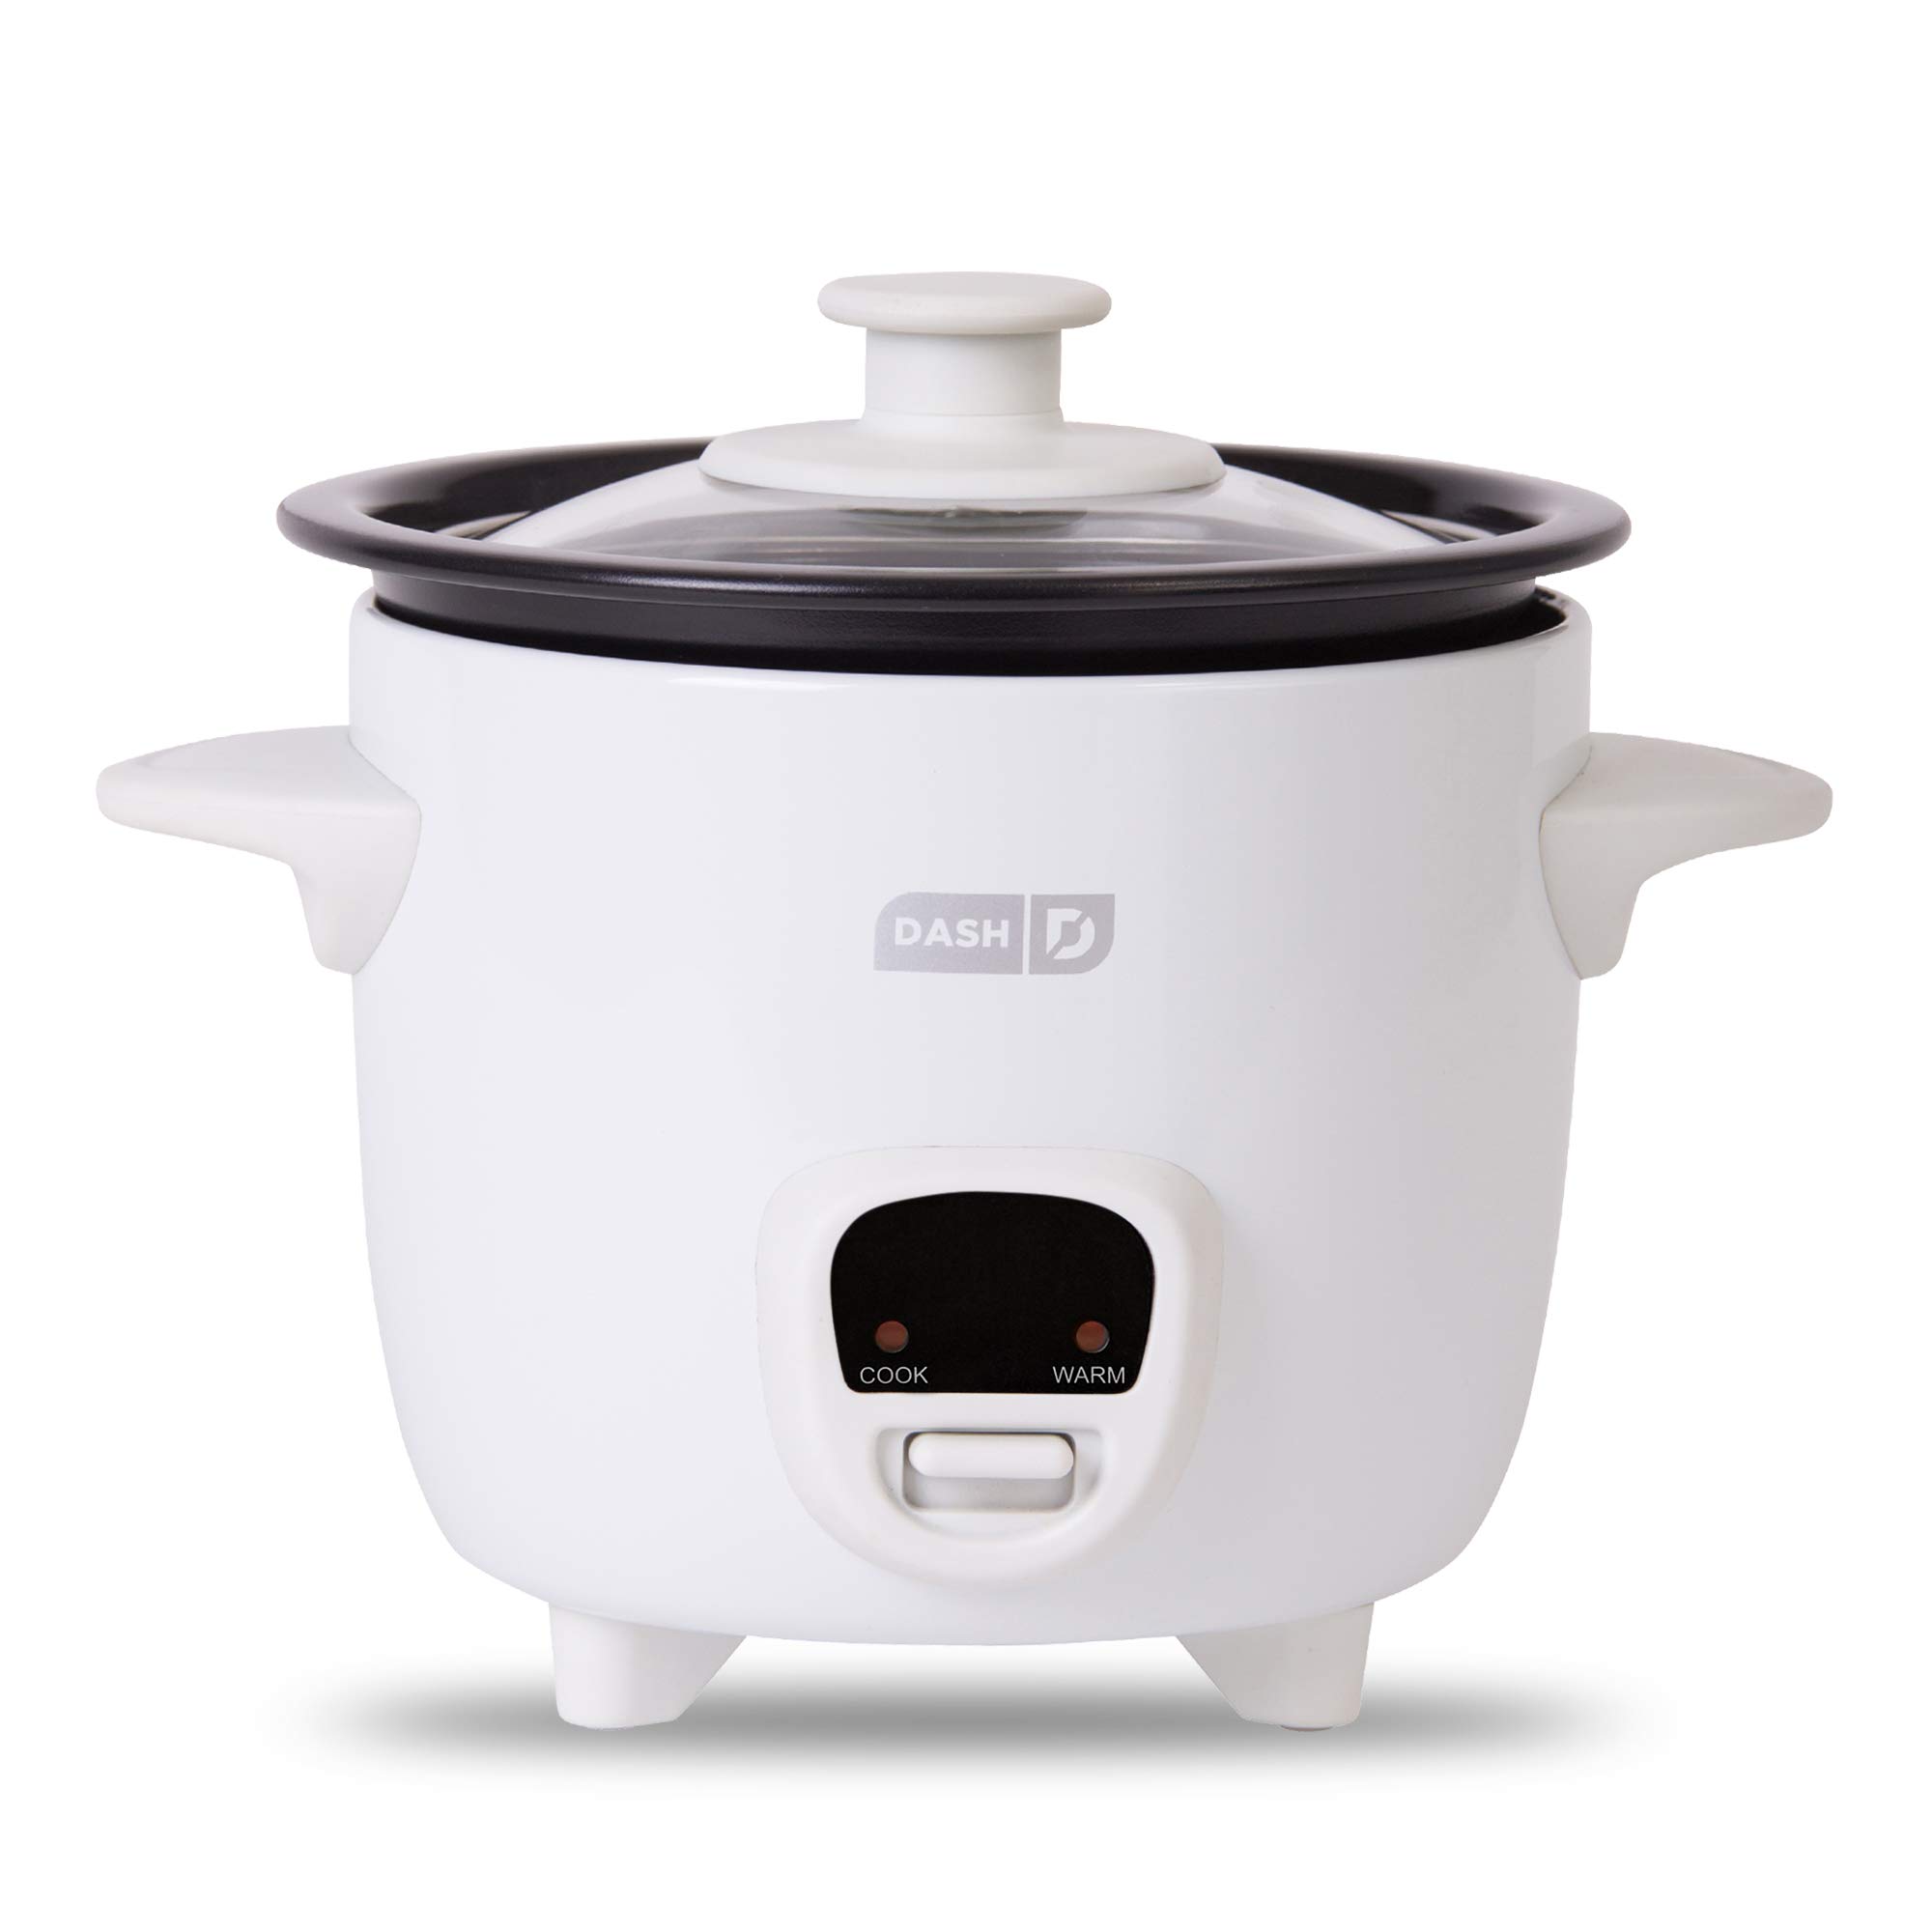
- A rice cooker: Ensure you have a functional and reliable rice cooker. It can be a simple basic model or a more advanced one with additional features.
- Beans: Choose your favorite variety of beans. Common options include black beans, kidney beans, pinto beans, chickpeas, and lentils. You can use dry beans or pre-soaked beans, depending on your preference and available time.
- Water: You’ll need enough water to cook the beans thoroughly. The amount of water will vary depending on the quantity of beans you are cooking, so have enough on hand.
- Seasonings: To add flavor to the beans, gather your preferred seasonings such as garlic, onion, spices, herbs, or even a stock cube. Customize the flavors to suit your taste.
- Optional Ingredients: You can also include additional ingredients like vegetables, diced tomatoes, or meat for added texture and taste.
- A measuring cup: This will help you measure the appropriate amounts of beans and water.
- A colander or strainer: You’ll need this for rinsing the beans before cooking.
- A wooden spoon or spatula: Useful for stirring the beans and checking for doneness.
- Containers: If you have leftovers, you’ll need airtight containers for storing the cooked beans.
Now that you have all the necessary materials, let’s move on to the step-by-step process of making beans in a rice cooker.
Step 1: Soaking the Beans
The first step in preparing beans in a rice cooker is to soak them. Soaking helps to soften the beans, reduce cooking time, and improve digestibility. Here’s how to do it:
- Measure the desired quantity of dry beans you would like to cook. Keep in mind that beans will double or triple in size after soaking.
- Place the beans in a colander or strainer and rinse them thoroughly under cold running water. This helps to remove any dirt or debris.
- Transfer the washed beans to a large bowl or pot and add enough water to fully submerge them. Use a ratio of about 3 cups of water for every 1 cup of dried beans.
- Allow the beans to soak for at least 4-8 hours or overnight. This helps to soften the beans and reduce cooking time. You can cover the bowl with a clean kitchen towel or plastic wrap.
- After the soaking time is complete, drain the soaking water from the beans using the colander or strainer.
- Rinse the soaked beans once again under cold water to remove any remaining debris or starch.
Soaking the beans is an essential step to ensure even cooking and a smoother texture. Once the beans are soaked, it’s time to move on to the next step of preparing the rice cooker.
Step 2: Preparing the Rice Cooker
Now that your beans are soaked and ready, it’s time to prepare the rice cooker for cooking. Follow these steps to ensure a successful cooking process:
- Make sure the inner pot of the rice cooker is clean and dry. This will prevent any residue or unwanted flavors from affecting the beans.
- Place the inner pot back into the rice cooker and ensure it is securely positioned.
- If your rice cooker has a removable steam vent or a separate venting cap, make sure it is in place.
- Plug in the rice cooker and ensure it is functioning properly.
- Now you’re ready to move on to the next step and start cooking the beans!
Preparing the rice cooker sets the stage for a successful cooking process. Once the rice cooker is ready, it’s time to move on to the next step of adding the beans and water.
Step 3: Adding the Beans and Water
With the rice cooker prepared, it’s time to add the soaked beans and water. Follow these steps to ensure proper measurements and a successful cooking process:
- Transfer the soaked and drained beans into the inner pot of the rice cooker.
- Measure the appropriate amount of water based on the ratio of 3 cups of water for every 1 cup of dried beans. The exact amount will depend on the quantity of beans you are cooking.
- Add the measured water to the rice cooker, ensuring that the beans are fully submerged.
- If desired, now is the time to add any additional ingredients such as diced tomatoes, vegetables, or meat for added flavor and texture.
- Give the beans and water a gentle stir to ensure they are evenly distributed.
- Place the lid on the rice cooker and secure it properly.
Adding the proper amount of water is crucial for cooking the beans to perfection. Too much water can make the beans mushy, while too little water can result in undercooked beans. Once you’ve added the beans and water, it’s time to move on to the next step of cooking the beans.
Read more: How To Cook Dry Beans In A Rice Cooker
Step 4: Cooking the Beans
Now that the beans and water are in the rice cooker, it’s time to start the cooking process. Follow these steps to ensure the beans are properly cooked:
- Plug in the rice cooker and turn it on, following the manufacturer’s instructions.
- Select the appropriate cooking setting for beans or “cook” mode. If your rice cooker has a timer, set it according to the recommended cooking time for the specific type of beans you are using. If not, the rice cooker will automatically adjust the cooking time based on the internal temperature.
- Allow the beans to cook undisturbed. It will usually take around 1 to 2 hours for the beans to cook fully, depending on the variety and quantity.
- Avoid opening the rice cooker lid frequently during the cooking process. This can lengthen the cooking time and affect the outcome.
- As the beans cook, you may notice steam escaping from the rice cooker. This is normal and indicates that the cooking process is in progress.
Cooking times can vary depending on the beans and your desired level of tenderness. Keep an eye on the rice cooker and check for doneness at the recommended cooking time. Once the cooking time is complete, it’s time to move on to the next step of checking the beans for doneness.
Add flavor to your beans in the rice cooker by using broth instead of water. This will give your beans a delicious, savory taste.
Step 5: Checking the Beans for Doneness
Checking the beans for doneness is an important step to ensure they are cooked to perfection. Here’s how to check if the beans are done:
- Open the lid of the rice cooker and carefully insert a wooden spoon or spatula into the pot.
- Gently press the spoon against a few beans to check their texture.
- The beans should be soft and tender, but not mushy. They should hold their shape and have a creamy consistency.
- If the beans are still firm or have a slight crunch, they need more cooking time. Close the lid and continue cooking for another 15-30 minutes.
- Repeat the doneness test until the beans are cooked to your liking.
Remember that cooking times can vary based on the type of beans, their freshness, and the desired level of tenderness. It’s important to regularly check the beans for doneness to avoid overcooking or undercooking. Once the beans are cooked to perfection, it’s time to move on to the next step of seasoning the beans.
Step 6: Seasoning the Beans
Now that your beans are cooked to perfection, it’s time to add flavor and seasonings to enhance their taste. Follow these steps to season the beans:
- Carefully remove the lid of the rice cooker and give the beans a gentle stir.
- Taste a small spoonful of beans to determine if they need any additional seasoning.
- Based on your taste preferences, add seasonings such as salt, pepper, garlic powder, onion powder, cumin, or any other spices and herbs you like.
- Stir the seasonings into the beans, ensuring they are evenly distributed throughout.
- Close the lid of the rice cooker and let the beans sit for a few minutes to allow the flavors to meld together.
Remember to start with a small amount of seasoning and gradually add more to achieve the desired taste. This way, you can adjust the flavors according to your personal preference. Once the beans are seasoned, it’s time to move on to the final step of serving the beans.
Step 7: Serving the Beans
After all the cooking and seasoning, it’s time to enjoy your deliciously cooked beans. Follow these steps to serve the beans:
- Turn off the rice cooker and unplug it from the power source for safety.
- Open the lid of the rice cooker and give the beans a final stir to ensure they are well mixed.
- Scoop out the desired amount of beans using a slotted spoon or ladle, allowing any excess liquid to drain back into the rice cooker.
- Transfer the beans to a serving dish or bowl.
- Garnish the beans with fresh herbs, such as cilantro or parsley, for added freshness and visual appeal.
- Serve the beans hot alongside your favorite accompaniments, such as rice, tortillas, bread, or salad.
Beans make a delicious and versatile addition to a variety of dishes. They can be enjoyed as a side dish, as a filling for tacos or wraps, or even as a main course. Get creative and explore different ways to incorporate the beans into your meals.
Store any leftovers in airtight containers and refrigerate them for up to 3-4 days. The beans can be reheated in the microwave or stovetop for later use.
Now that you’ve mastered the art of making beans in a rice cooker, it’s time to enjoy the delicious flavors and the convenience of this cooking method. Bon appétit!
Read more: How To Make Risotto In A Rice Cooker
Tips and Tricks
Here are some handy tips and tricks to help you achieve the best results when making beans in a rice cooker:
- If you don’t have time to soak the beans overnight, you can use the quick soak method. Simply rinse the beans and place them in a pot with water. Bring it to a boil, let it boil for 2 minutes, then remove from heat, cover, and let it soak for 1 hour before draining and cooking in the rice cooker.
- For added flavor, you can sauté onions, garlic, and other spices in a separate pan before adding them to the rice cooker with the beans. This will enhance the overall taste of the dish.
- Experiment with different seasonings and spices to create unique flavor profiles. Don’t be afraid to get creative and customize the beans to your liking.
- If you prefer a creamier texture, you can use an immersion blender or a potato masher to partially mash some of the cooked beans before serving.
- If you’re using pre-soaked beans, adjust the cooking time accordingly. Pre-soaked beans may require less cooking time than dry beans.
- For faster cooking, you can use a pressure cooker function if available on your rice cooker. This will reduce the cooking time significantly.
- Ensure that the rice cooker is placed on a stable surface and is not overcrowded with excess water or beans. This will help prevent any accidental spills or messes.
- Regularly clean your rice cooker to maintain its performance and longevity. Follow the manufacturer’s instructions for proper cleaning and maintenance.
By following these tips and tricks, you’ll be able to make delicious beans in your rice cooker every time. Enjoy the convenience and versatility of this cooking method!
Conclusion
Cooking beans in a rice cooker is a simple and convenient way to enjoy a nutritious and flavorful dish. With the right techniques and ingredients, you can achieve perfectly cooked beans that are tender, delicious, and packed with protein and fiber. Whether you’re a busy individual looking for a time-saving cooking method or simply someone who loves the convenience of a rice cooker, this method is sure to become a favorite in your kitchen.
In this article, we have walked you through the step-by-step process of making beans in a rice cooker. From soaking the beans to seasoning and serving, each step has been carefully explained to ensure your success. By following the tips and tricks provided, you can further enhance the flavors and textures of your beans, allowing you to create a truly unique and personalized dish.
Remember, don’t be afraid to experiment with different types of beans, seasonings, and additional ingredients to create new and exciting flavors. With the versatility of beans, the possibilities are endless.
So, go ahead and dust off your rice cooker, gather your ingredients, and embark on a delicious bean-filled culinary adventure. With a little bit of patience and creativity, you’ll be amazed at the delicious results you can achieve. Enjoy the convenience, nutrition, and the delightful flavors of homemade beans made in a rice cooker. Happy cooking!
Frequently Asked Questions about How To Make Beans In Rice Cooker
Was this page helpful?
At Storables.com, we guarantee accurate and reliable information. Our content, validated by Expert Board Contributors, is crafted following stringent Editorial Policies. We're committed to providing you with well-researched, expert-backed insights for all your informational needs.





0 thoughts on “How To Make Beans In Rice Cooker”