
Articles
How To Make Cushions For Outdoor Furniture
Modified: August 28, 2024
Learn how to make cushions for outdoor furniture with our step-by-step guide. Enhance the comfort and style of your patio with these DIY furniture cushions.
(Many of the links in this article redirect to a specific reviewed product. Your purchase of these products through affiliate links helps to generate commission for Storables.com, at no extra cost. Learn more)
Introduction
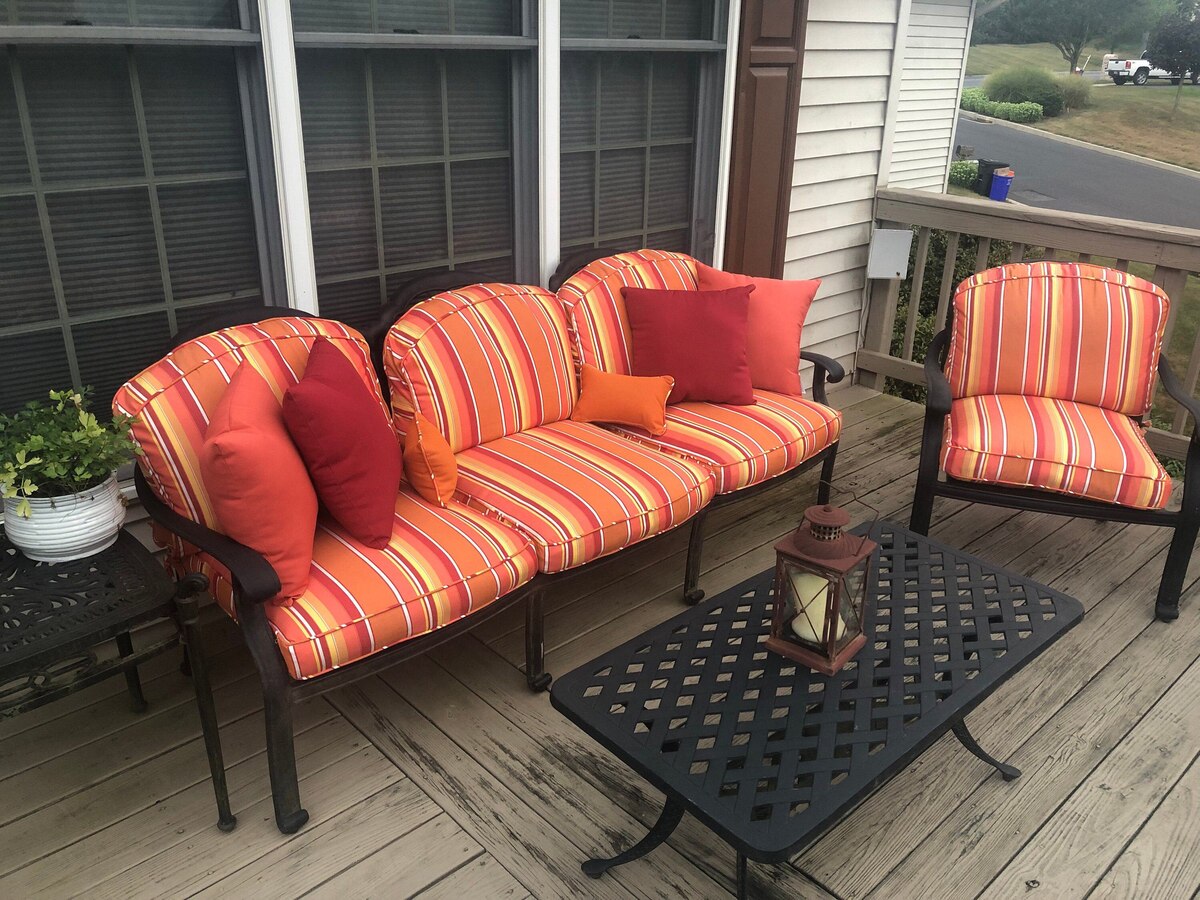
Welcome to our comprehensive guide on how to make cushions for outdoor furniture. If you’re looking to spruce up your patio or garden, having comfortable and stylish cushions is a must. Not only do cushions provide added comfort, but they can also add a pop of color and personality to your outdoor space.
One of the great things about making your own cushions is that you have complete control over the design, size, and materials used. You can customize the cushions to perfectly fit your outdoor furniture and choose fabrics that are durable and weather-resistant.
In this guide, we will take you through the step-by-step process of creating your own outdoor cushions. From choosing the right materials to sewing the final edges, we will cover it all. So, let’s dive in and create cushions that will make your outdoor space a cozy and inviting retreat.
Key Takeaways:
- Create custom, durable outdoor cushions by choosing weather-resistant fabrics, quality thread, and mold-resistant foam. Add zippers for easy cleaning and finish with decorative details for a personalized touch.
- Master the art of cushion-making for outdoor furniture with precise measurements, expert sewing, and attention to detail. Express your style and enjoy a cozy, inviting outdoor space with handmade cushions.
Read more: How To Store Cushions For Outdoor Furniture
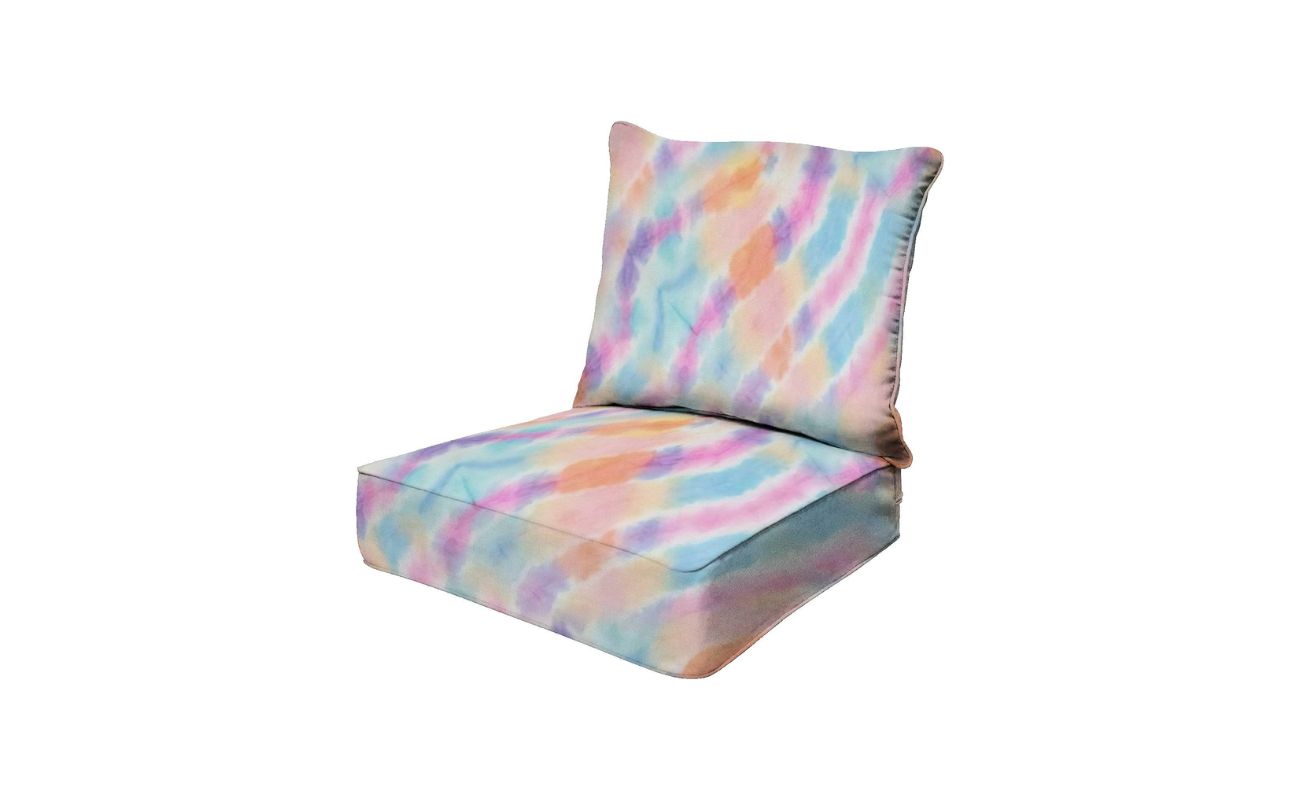
Choosing the Right Materials
When it comes to making outdoor cushions, selecting the right materials is crucial for durability and longevity. Since outdoor cushions are exposed to the elements, it’s important to choose fabrics and fillings that can withstand moisture, sun exposure, and general wear and tear. Here are some key materials to consider:
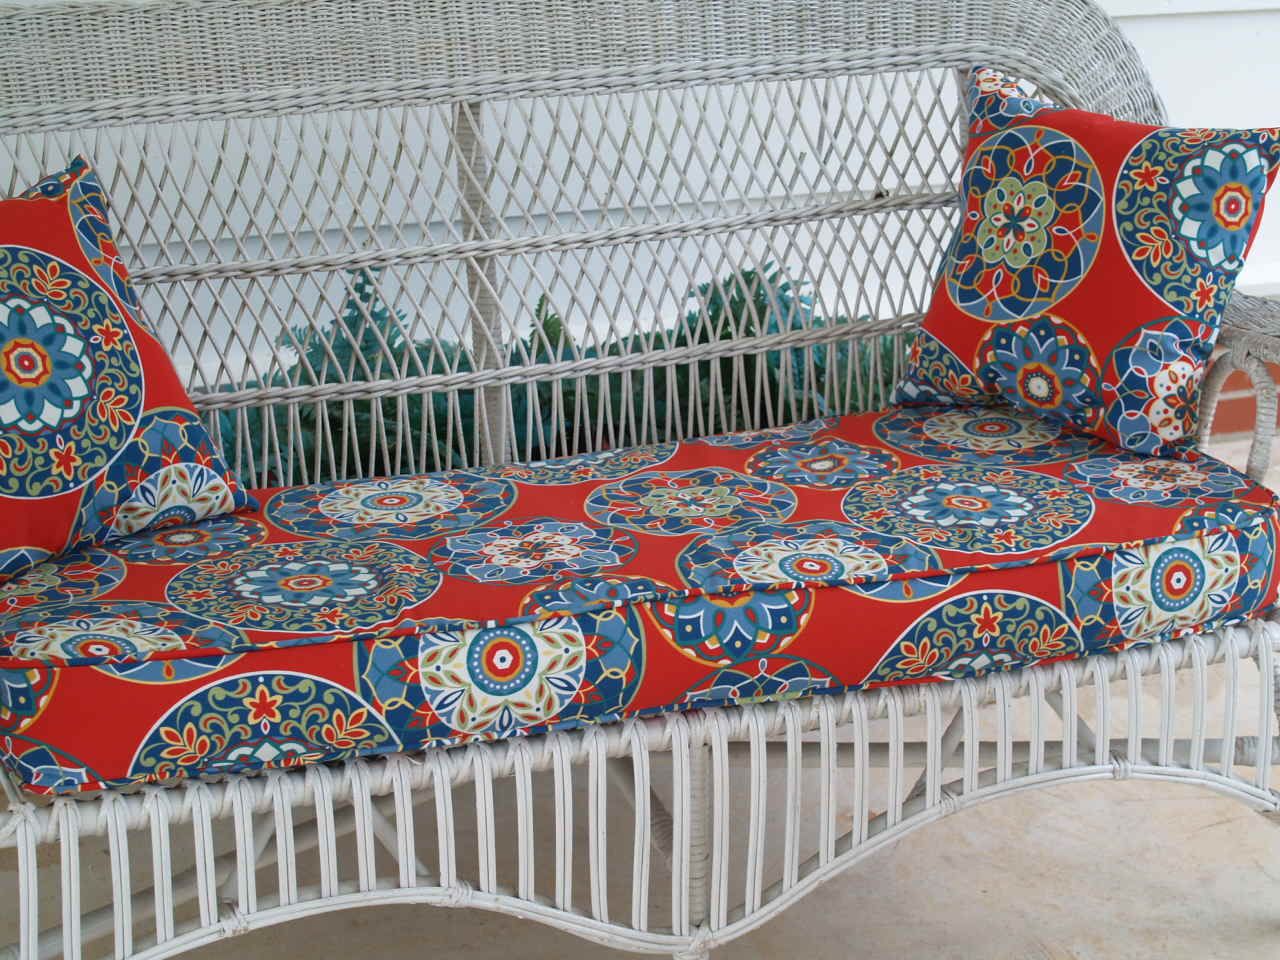
- Fabric: Look for fabrics that are specifically designed for outdoor use. These fabrics are often made from materials such as polyester or acrylic, which are resistant to fading and mildew. Additionally, opt for fabrics that have a high UV resistance to ensure they retain their color and quality even after prolonged sun exposure.
- Thread: Choose a high-quality and durable thread that is suitable for outdoor use. Look for polyester or nylon threads that are resistant to UV rays and can withstand outdoor elements.
- Zipper or closures: If you prefer removable cushion covers for easy cleaning, consider using weather-resistant zippers or closures. These can be made from materials such as nylon or plastic, which are less prone to rust or corrosion.
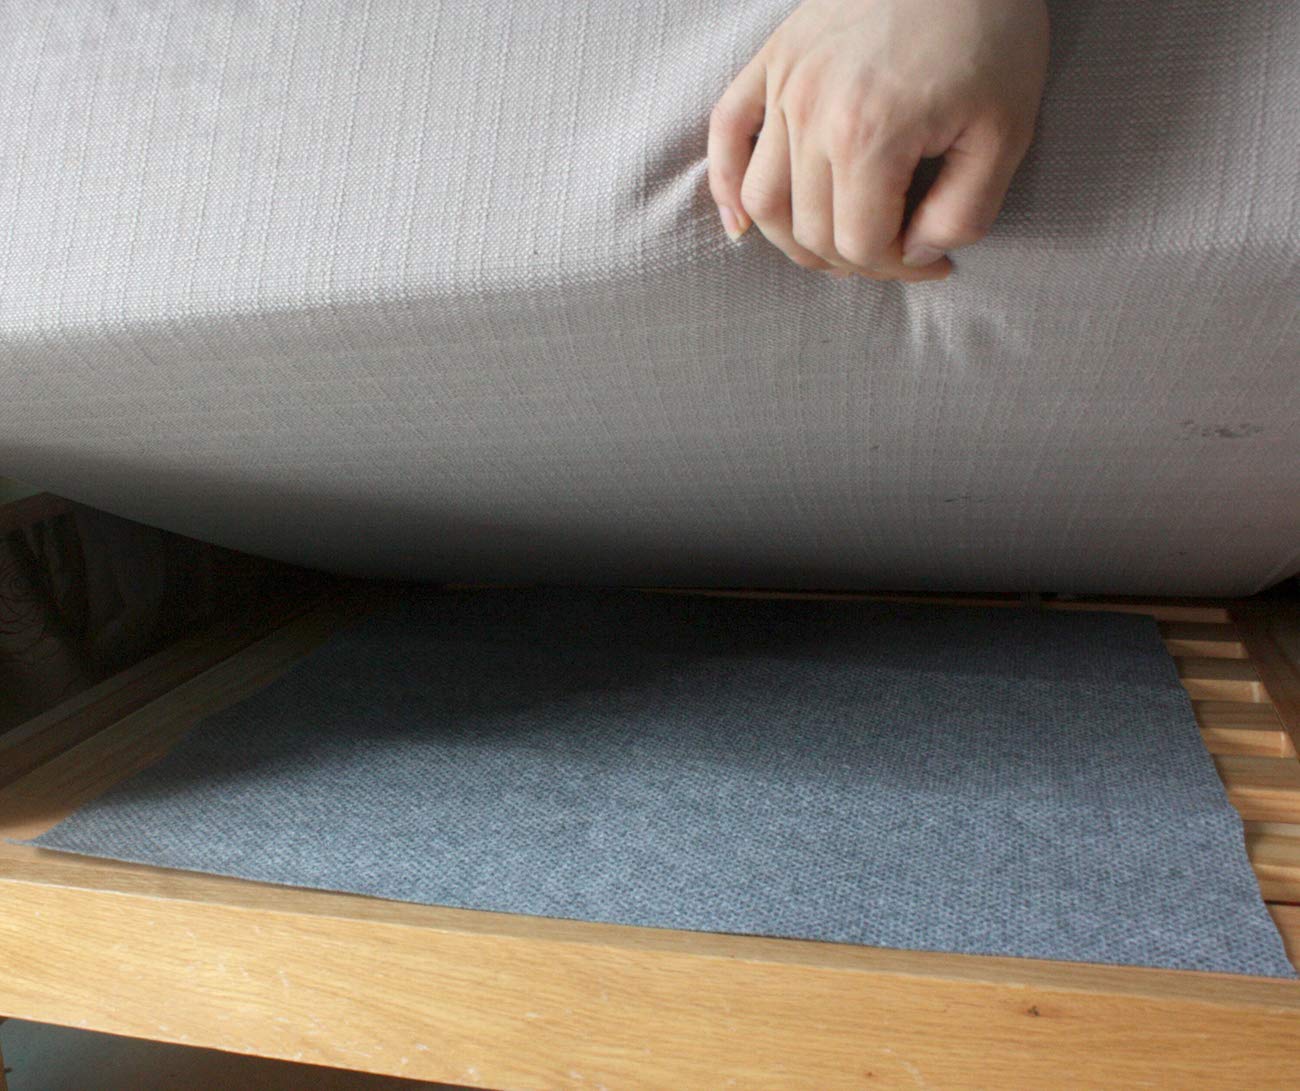
- Foam or cushion padding: When selecting foam or cushion padding, opt for materials that are specifically designed for outdoor use. Look for quick-drying and mold-resistant foam that can withstand exposure to moisture.
- Waterproofing: To further enhance the durability of your outdoor cushions, consider applying a waterproofing spray or coating to the fabric. Waterproofing treatments can help repel water and prevent the growth of mold and mildew.
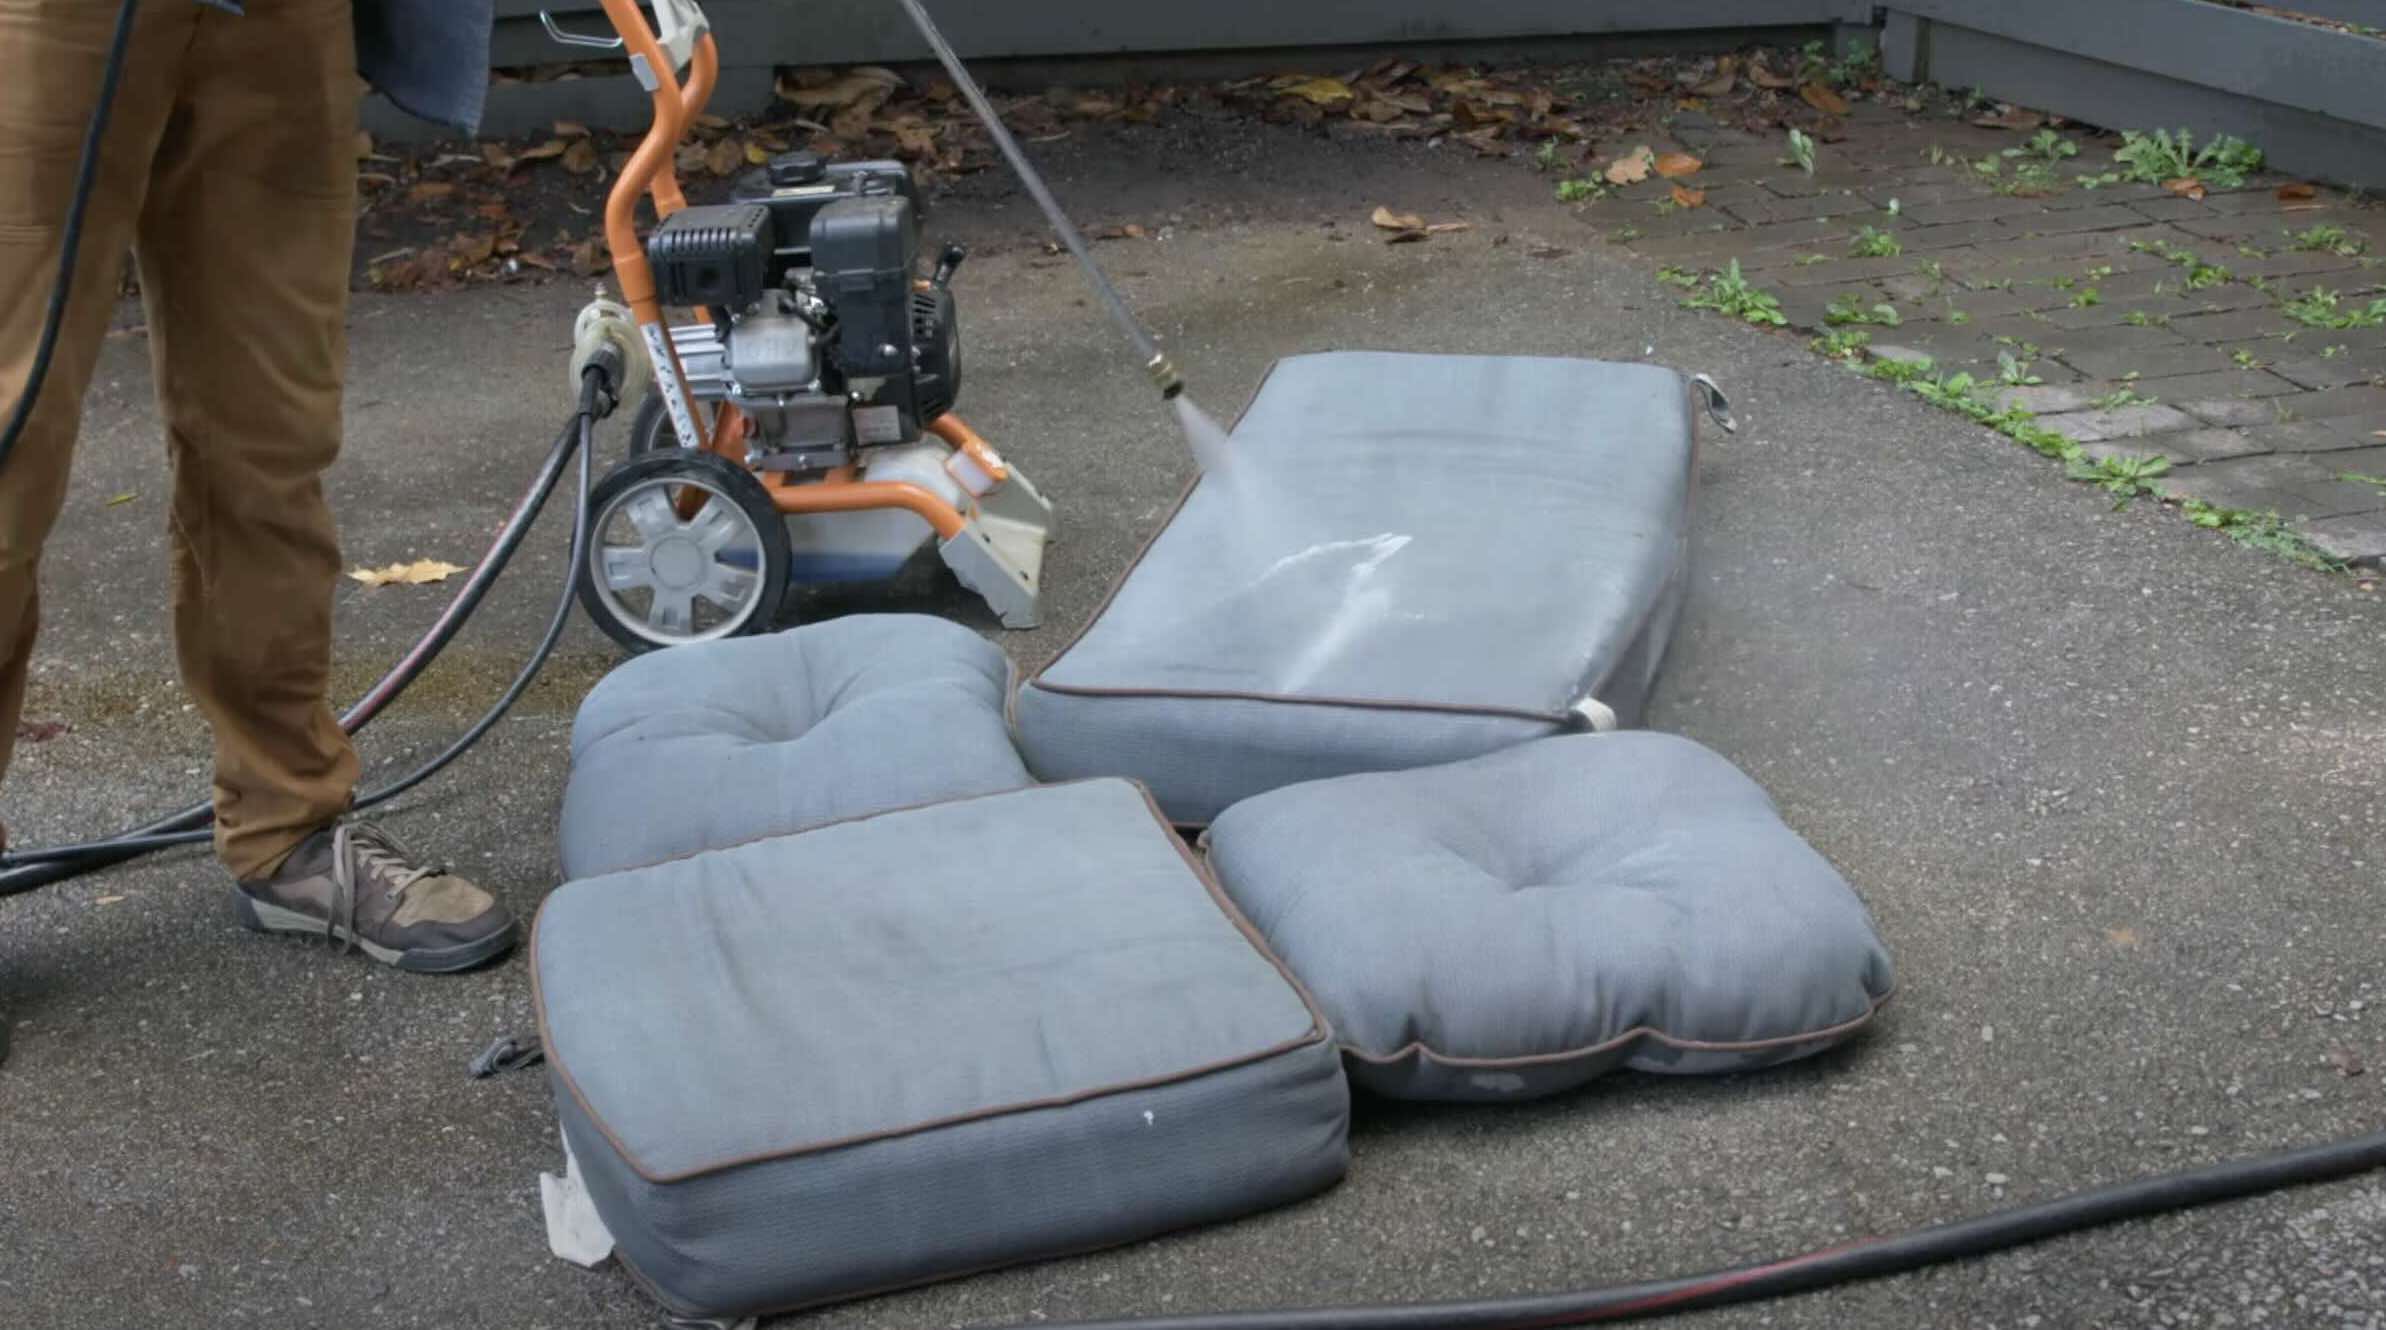
Remember to consider your specific climate and weather conditions when choosing materials. If you live in an area with high humidity or frequent rain, prioritize fabrics and fillings that are highly resistant to moisture.
By selecting the right materials for your outdoor cushions, you can ensure they stay looking great and withstand outdoor conditions for years to come. Now that you know what to look for in terms of materials, let’s move on to the next step: measuring and cutting the fabric.
Measuring and Cutting the Fabric
Accurate measurements are essential when making cushions for outdoor furniture. Before you start cutting the fabric, it’s important to measure your furniture accurately. Here’s a step-by-step guide on how to measure and cut the fabric for your cushions:
- Measure the dimensions: Use a tape measure to determine the length, width, and thickness of the cushions you want to make. Take accurate measurements of both the seat and back cushions.
- Add seam allowances: Once you have the measurements, add seam allowances to each side. A seam allowance of 1/2 to 1 inch is sufficient. This additional fabric will be used for sewing the cushion covers together.
- Mark and cut the fabric: Using a fabric marker or chalk, mark the measurements on the chosen fabric. Double-check the markings to ensure accuracy. Using a sharp pair of fabric scissors, carefully cut along the marked lines.
- Repeat for the second fabric layer: If you prefer a double-layered cushion cover for added durability, repeat the measuring and cutting process for the second layer of fabric. This layer will be sewn together with the main fabric layer.
When cutting the fabric, make sure to cut in straight lines and follow the markings accurately. This will ensure that your cushions have a neat and professional finish. Take your time with this step to ensure precision.
Remember to keep the fabric scraps for future use. They can come in handy for making additional details, such as ties or decorative elements for your cushions.
Now that you have measured and cut the fabric, it’s time to move on to the next step: sewing the cushion covers.
Sewing the Cushion Covers
Now that you have your fabric pieces ready, it’s time to sew the cushion covers. This step will bring your cushions one step closer to completion. Follow these steps to sew your cushion covers:
- Prepare the sewing machine: Set up your sewing machine with a suitable needle and thread. Ensure that your machine is in good working condition and properly threaded.
- Place the fabric pieces together: If you opted for a double-layered cushion cover, place the two fabric layers with their right sides facing each other. Align the edges and pin them in place to keep them secure during sewing.
- Start sewing: Begin sewing along one side of the cushion cover, using a straight stitch. Remember to backstitch at the beginning and end of the seam for added strength. Continue sewing around the edges, leaving one side open for inserting the foam or cushion padding.
- Trim excess fabric: Once you have sewn all four sides of the cushion cover, trim any excess fabric and clip the corners diagonally. This will help reduce bulkiness and create sharper corners when the cover is turned right side out.
- Turn the cushion cover right side out: Carefully turn the cushion cover right side out, using a pencil or blunt object to push out the corners. Take your time to ensure the corners are sharp and the cover is smooth.
Once you have completed these steps, you should have a basic cushion cover. Congratulations! But before moving on, take a moment to evaluate the fit of the cover on your cushion. If it’s too loose or too tight, you may need to make adjustments to the measurements before proceeding.
Now, let’s move on to the next step: adding zippers or closures to your cushion covers.
When making cushions for outdoor furniture, be sure to use outdoor fabric that is water and UV resistant to ensure durability and longevity.
Adding Zippers or Closures
Adding zippers or closures to your cushion covers will allow for easy removal and cleaning. This step is optional but highly recommended, as it makes maintenance and care of your outdoor cushions much simpler. Here’s how you can add zippers or closures to your cushion covers:
- Choose the type of closure: Decide whether you want to use zippers, Velcro, buttons, or other types of closures. Zippers are commonly used for their durability and ease of use.
- Measure and mark the closure placement: Determine where you want the closure to be located on your cushion cover. Measure and mark the placement on both the front and back panels of the cover.
- Prepare the cushion cover: If using zippers, unzip the zipper partially. Place the front and back panels together with their right sides facing each other, aligning the closure marks. Pin the panels together, ensuring that the zipper teeth match up correctly.
- Sew the closure: Using a zipper foot on your sewing machine, stitch along the marked closure line, starting and ending just before and after the zipper mark. Be sure to backstitch at the beginning and end for added strength.
- Attach the zipper or closure: Insert the zipper or attach the chosen closure according to its instructions. For zippers, sew the zipper into place using your sewing machine. For other closures, carefully sew or attach them by hand.
Adding zippers or closures to your cushion covers will not only make them easier to clean but also provide a secure and neat finish. Ensure that the closure is securely attached for long-lasting use.
Now that you have added zippers or closures to your cushion covers, it’s time for the final step: inserting foam or cushion padding into the covers.
Read more: How To Protect Outdoor Furniture Cushions
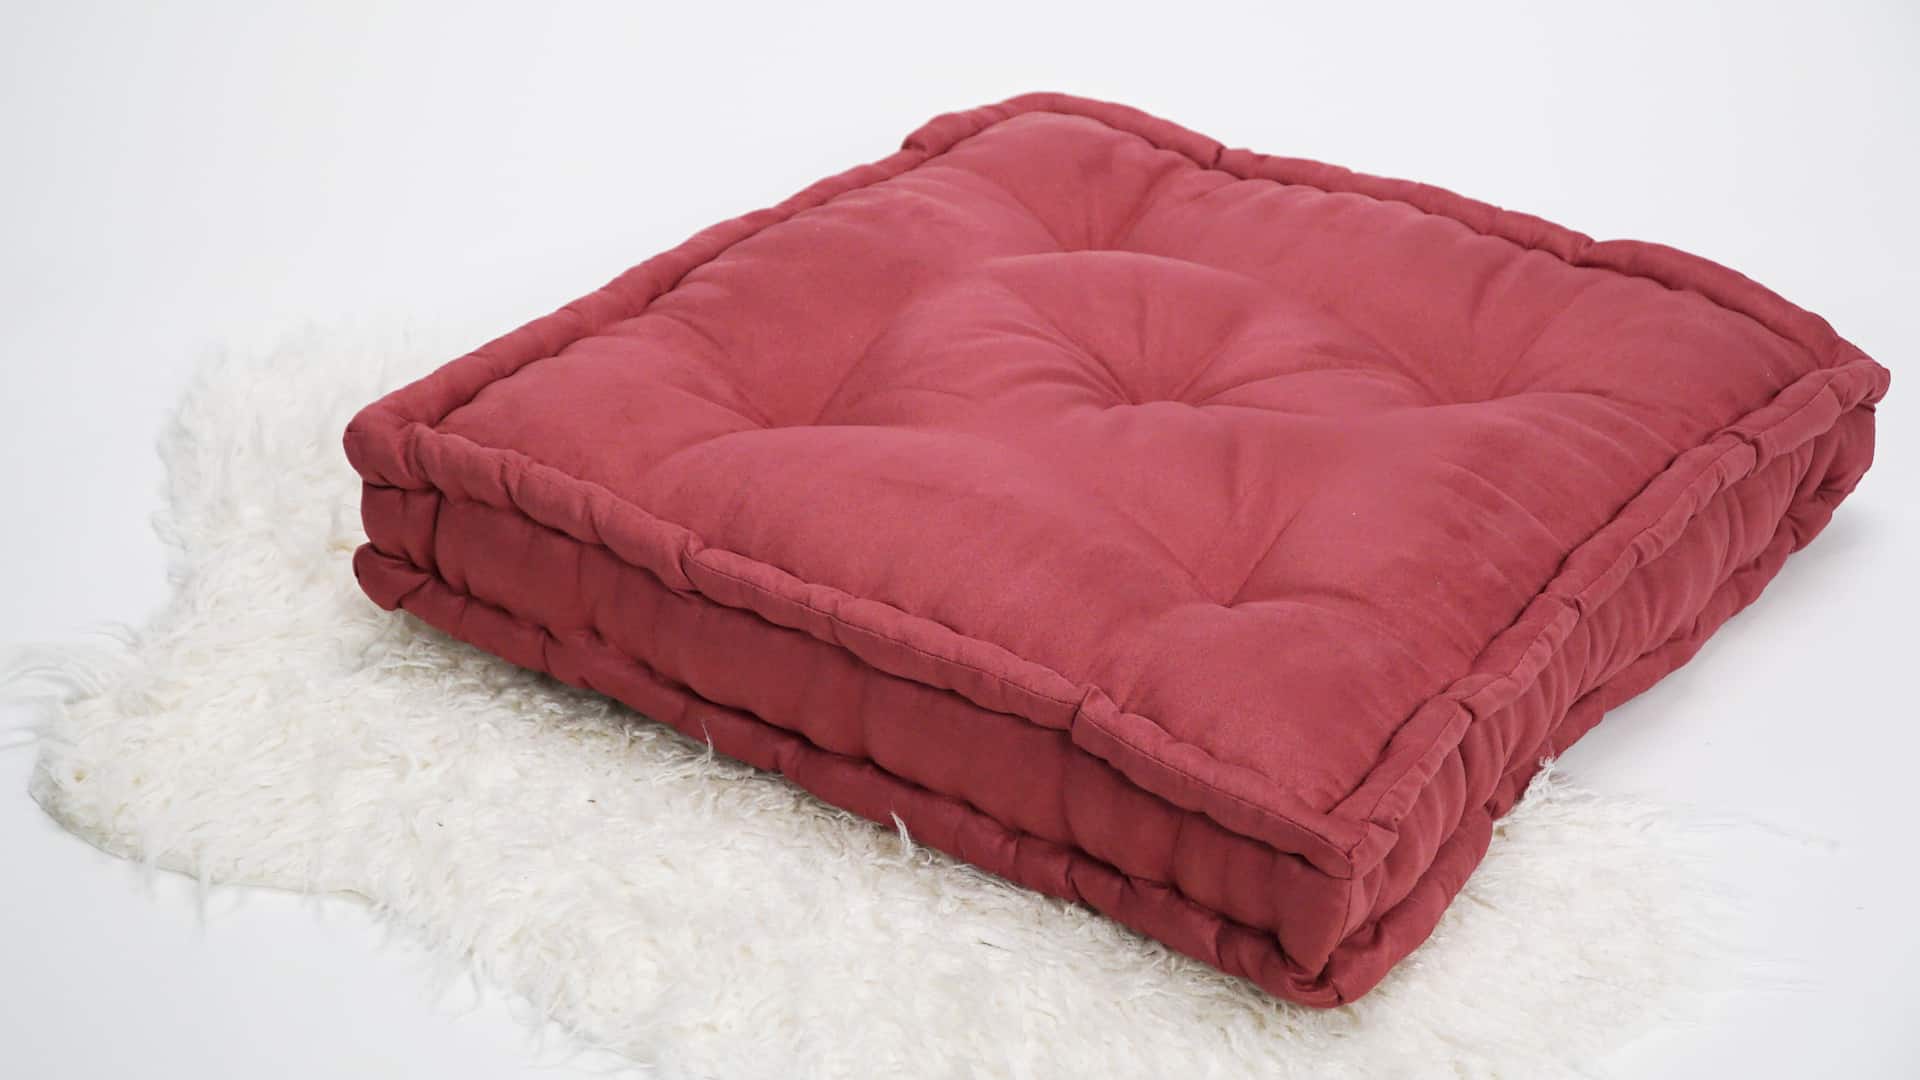
Inserting Foam or Cushion Padding
Now that your cushion covers are sewn and have closures, it’s time to insert foam or cushion padding to make them comfortable and supportive. Follow these steps to insert the foam or cushion padding into your covers:
- Measure and cut the foam or cushion padding: Measure the dimensions of your cushion covers to determine the size of the foam or cushion padding you’ll need. Use a sharp knife or scissors to cut the foam or padding accordingly. Make sure the foam or padding is slightly larger than the dimensions of the cover for a snug fit.
- Prepare the cushion cover: Open the closure of your cushion cover, whether it’s a zipper or other type of closure. Ensure that the closure is fully open and accessible for inserting the foam or padding.
- Insert the foam or padding: Carefully roll or fold the foam or padding to fit it through the opening of the cushion cover. Once inside, adjust the foam or padding to fill the cover evenly and completely. Smooth out any wrinkles or unevenness as you go.
- Close the cushion cover: Once the foam or padding is inserted fully and evenly, close the cushion cover by zipping up the zipper or securing the other type of closure. Ensure that the closure is securely fastened.
With the foam or cushion padding inserted, your cushions are now ready for use! Take a moment to fluff and adjust the foam or padding inside the covers to ensure optimal comfort and appearance.
Now that your cushions are complete, you can place them on your outdoor furniture and enjoy a cozy and inviting space. However, before you do, it’s a good idea to sew the final edges and add some finishing touches, which we’ll cover in the next step.
Sewing the Final Edges and Details
Before you place your newly made cushions on your outdoor furniture, it’s important to sew the final edges and add some finishing touches. This step will give your cushions a polished and professional appearance. Follow these steps to sew the final edges and add details:
- Trim any loose threads: Inspect your cushion covers for any loose threads or stray fibers. Carefully trim them with scissors to ensure a clean and neat look.
- Sew the final edges: Fold the open side of the cushion cover inward to create a clean edge. Pin it in place to secure the fold. Using a suitable stitch, sew along the edge to close it. You can use a straight stitch, a zigzag stitch, or a decorative stitch, depending on your preference.
- Add decorative elements: If desired, add some decorative elements to enhance the look of your cushions. You can sew on buttons, attach fabric ties, or add piping or trimmings along the edges. These details can add personality and style to your cushions.
- Inspect and make final adjustments: Take a moment to inspect your cushions for any loose stitches or areas that may need reinforcement. Make any necessary adjustments to ensure the cushions are durable and secure.
By sewing the final edges and adding details, you are adding those extra touches that elevate your cushions from simple to stunning. These final steps will give your cushions a professional finish and make them stand out in your outdoor space.
Congratulations! You have now completed the process of making your own cushions for outdoor furniture. With the right materials, accurate measurements, sewing skills, and attention to detail, you have created beautiful and comfortable cushions that will enhance your outdoor living experience.
Remember to clean and maintain your cushions regularly to ensure their longevity. Follow the care instructions for the fabric and foam or cushion padding to keep them looking and feeling their best.
Enjoy your newly made cushions and the cozy and inviting oasis they create in your outdoor space!
Conclusion
Congratulations on completing your journey to making your own cushions for outdoor furniture! By following this comprehensive guide, you have gained the knowledge and skills to create comfortable, stylish, and durable cushions that perfectly fit your outdoor space.
Choosing the right materials, accurate measuring and cutting, sewing the cushion covers, adding zippers or closures, inserting foam or cushion padding, sewing the final edges, and adding details are all essential steps in the process. Each step contributes to the overall quality and appearance of your cushions.
By making your own cushions, you have the freedom to customize every aspect, from the fabric selection to the decorative elements. This allows you to express your personal style and create a cohesive and inviting outdoor space that reflects your unique taste and preferences.
Remember to maintain and care for your cushions regularly, following the instructions for the fabric and foam or cushion padding. By doing so, your cushions will continue to provide comfort, durability, and beauty for years to come.
We hope this guide has been informative and helpful in your cushion-making journey. Whether you’re reviving old outdoor furniture or starting from scratch with a new set, the process of making your own cushions adds a personal touch and elevates the overall aesthetic of your outdoor space.
Now it’s time to sit back, relax, and enjoy the comfort and beauty of your handmade cushions in your outdoor oasis. Cheers to your creativity and craftsmanship!
Frequently Asked Questions about How To Make Cushions For Outdoor Furniture
Was this page helpful?
At Storables.com, we guarantee accurate and reliable information. Our content, validated by Expert Board Contributors, is crafted following stringent Editorial Policies. We're committed to providing you with well-researched, expert-backed insights for all your informational needs.

0 thoughts on “How To Make Cushions For Outdoor Furniture”