Home>Furniture & Design>Bathroom Accessories>How To Move A Bathtub Drain
Bathroom Accessories
How To Move A Bathtub Drain
Modified: October 19, 2024
Learn how to move a bathtub drain with our step-by-step guide. Find the best bathroom accessories and tools for the job. Upgrade your bathroom today!
(Many of the links in this article redirect to a specific reviewed product. Your purchase of these products through affiliate links helps to generate commission for Storables.com, at no extra cost. Learn more)
Introduction
Moving a bathtub drain may be necessary when renovating a bathroom, replacing a bathtub, or reconfiguring the layout of the plumbing fixtures. This process requires careful attention to detail and the use of specific tools and materials. By following the steps outlined in this guide, you can successfully relocate a bathtub drain and ensure that it functions properly.
Moving a bathtub drain involves removing the existing drain and installing a new one in a different location. This task requires a basic understanding of plumbing principles and the ability to work with common plumbing tools. While it may seem daunting at first, with the right guidance and a methodical approach, you can accomplish this project with confidence.
In the following sections, we will walk through the necessary steps to move a bathtub drain, from gathering the required tools and materials to testing for leaks after the installation. Each step is crucial to the overall success of the project, and attention to detail is key. Whether you are a seasoned DIY enthusiast or a homeowner looking to take on a new challenge, this guide will provide you with the knowledge and confidence to tackle the task at hand.
Moving a bathtub drain is a significant undertaking that can enhance the functionality and aesthetics of your bathroom. By relocating the drain, you can create space for a larger or differently positioned bathtub, optimize the layout of your bathroom fixtures, or accommodate a new design vision. With careful planning and execution, you can achieve the desired results and enjoy a bathroom that meets your specific needs and preferences.
Now, let's dive into the essential steps for moving a bathtub drain, starting with gathering the necessary tools and materials.
Key Takeaways:
- Moving a bathtub drain requires specific tools and materials, careful disassembly of old components, and precise installation of the new drain. Attention to detail and thorough leak testing are crucial for success.
- Relocating a bathtub drain can enhance bathroom functionality and aesthetics. With the right tools and methodical approach, DIY enthusiasts can confidently tackle this rewarding project for a more efficient and visually appealing bathroom.
Read more: How To Unfreeze Bathtub Drain
Step 1: Gather Necessary Tools and Materials
Before embarking on the task of moving a bathtub drain, it is essential to gather all the required tools and materials. Having the right equipment at your disposal will streamline the process and ensure that you can complete the project efficiently and effectively. Here's a comprehensive list of the tools and materials you will need:
Tools:
- Adjustable Wrench: This versatile tool will be used to loosen and tighten various plumbing connections.
- Plumbers' Putty: A sealing compound used to create watertight seals around the drain components.
- Pipe Wrench: Necessary for removing and installing pipe fittings and the drain assembly.
- Plunger: In case you encounter any blockages or need to clear the drain during the process.
- Hacksaw: For cutting and modifying pipes as needed.
- Screwdriver Set: Both flathead and Phillips screwdrivers may be required for different parts of the project.
- Plumbing Snake: Useful for clearing any obstructions in the drain line.
- Tubing Cutter: If you need to cut and modify copper pipes during the installation.
Materials:
- New Bathtub Drain: Ensure that the new drain is compatible with your bathtub and meets the required specifications.
- Plumber's Tape: Also known as Teflon tape, this will be used to seal threaded connections and prevent leaks.
- PVC Pipe and Fittings: If you are working with PVC pipes, make sure to have the necessary lengths and fittings for the new drain configuration.
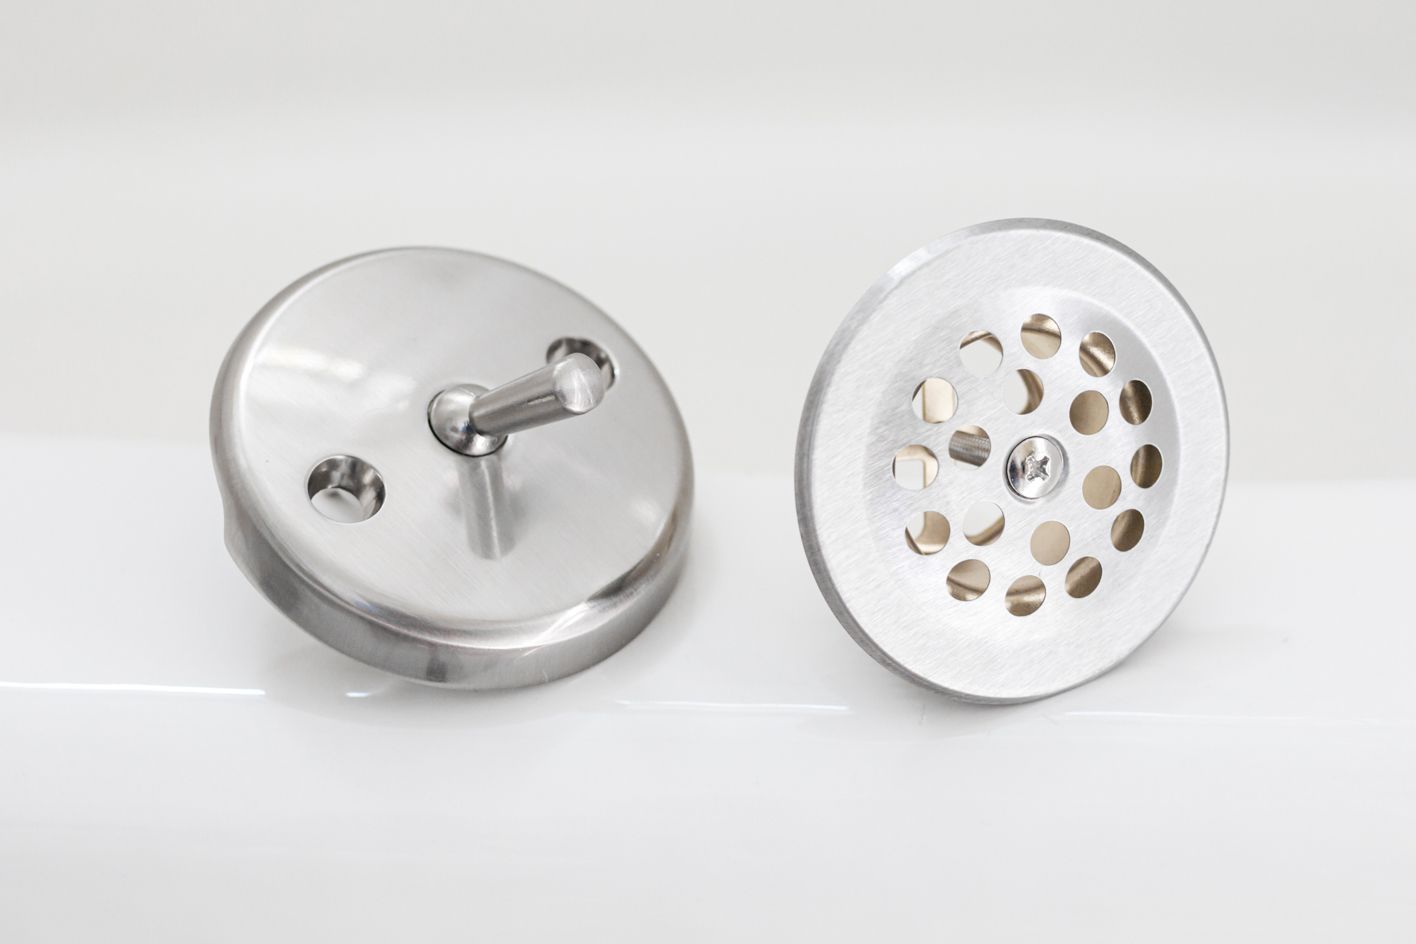
- Rubber Gasket: Often included with new drain kits, this gasket provides a watertight seal between the drain and the bathtub.
- Safety Gloves: Protect your hands while handling plumbing components and working in tight spaces.
- Safety Glasses: Essential for eye protection, especially when cutting or manipulating pipes.
By ensuring that you have all the required tools and materials on hand, you can proceed with confidence to the next steps of removing the old drain and installing the new one. Preparation is key to a successful project, and having the right equipment will make the process smoother and more manageable. With the necessary tools and materials at your disposal, you are ready to tackle the task of moving a bathtub drain with precision and efficiency.
Step 2: Remove the Old Drain
Removing the old drain is a critical step in the process of relocating a bathtub drain. This task requires careful disassembly of the existing drain components and may involve working in confined spaces. By following a systematic approach and utilizing the appropriate tools, you can effectively remove the old drain and prepare the area for the installation of the new drain.
Read more: How To Close Bathtub Drain
1. Access the Drain Components
Begin by gaining access to the underside of the bathtub. Depending on the specific design of your bathtub, this may involve removing a panel or accessing the drain through a crawl space. Once you have clear access to the drain components, use a flashlight to inspect the existing setup and familiarize yourself with the configuration.
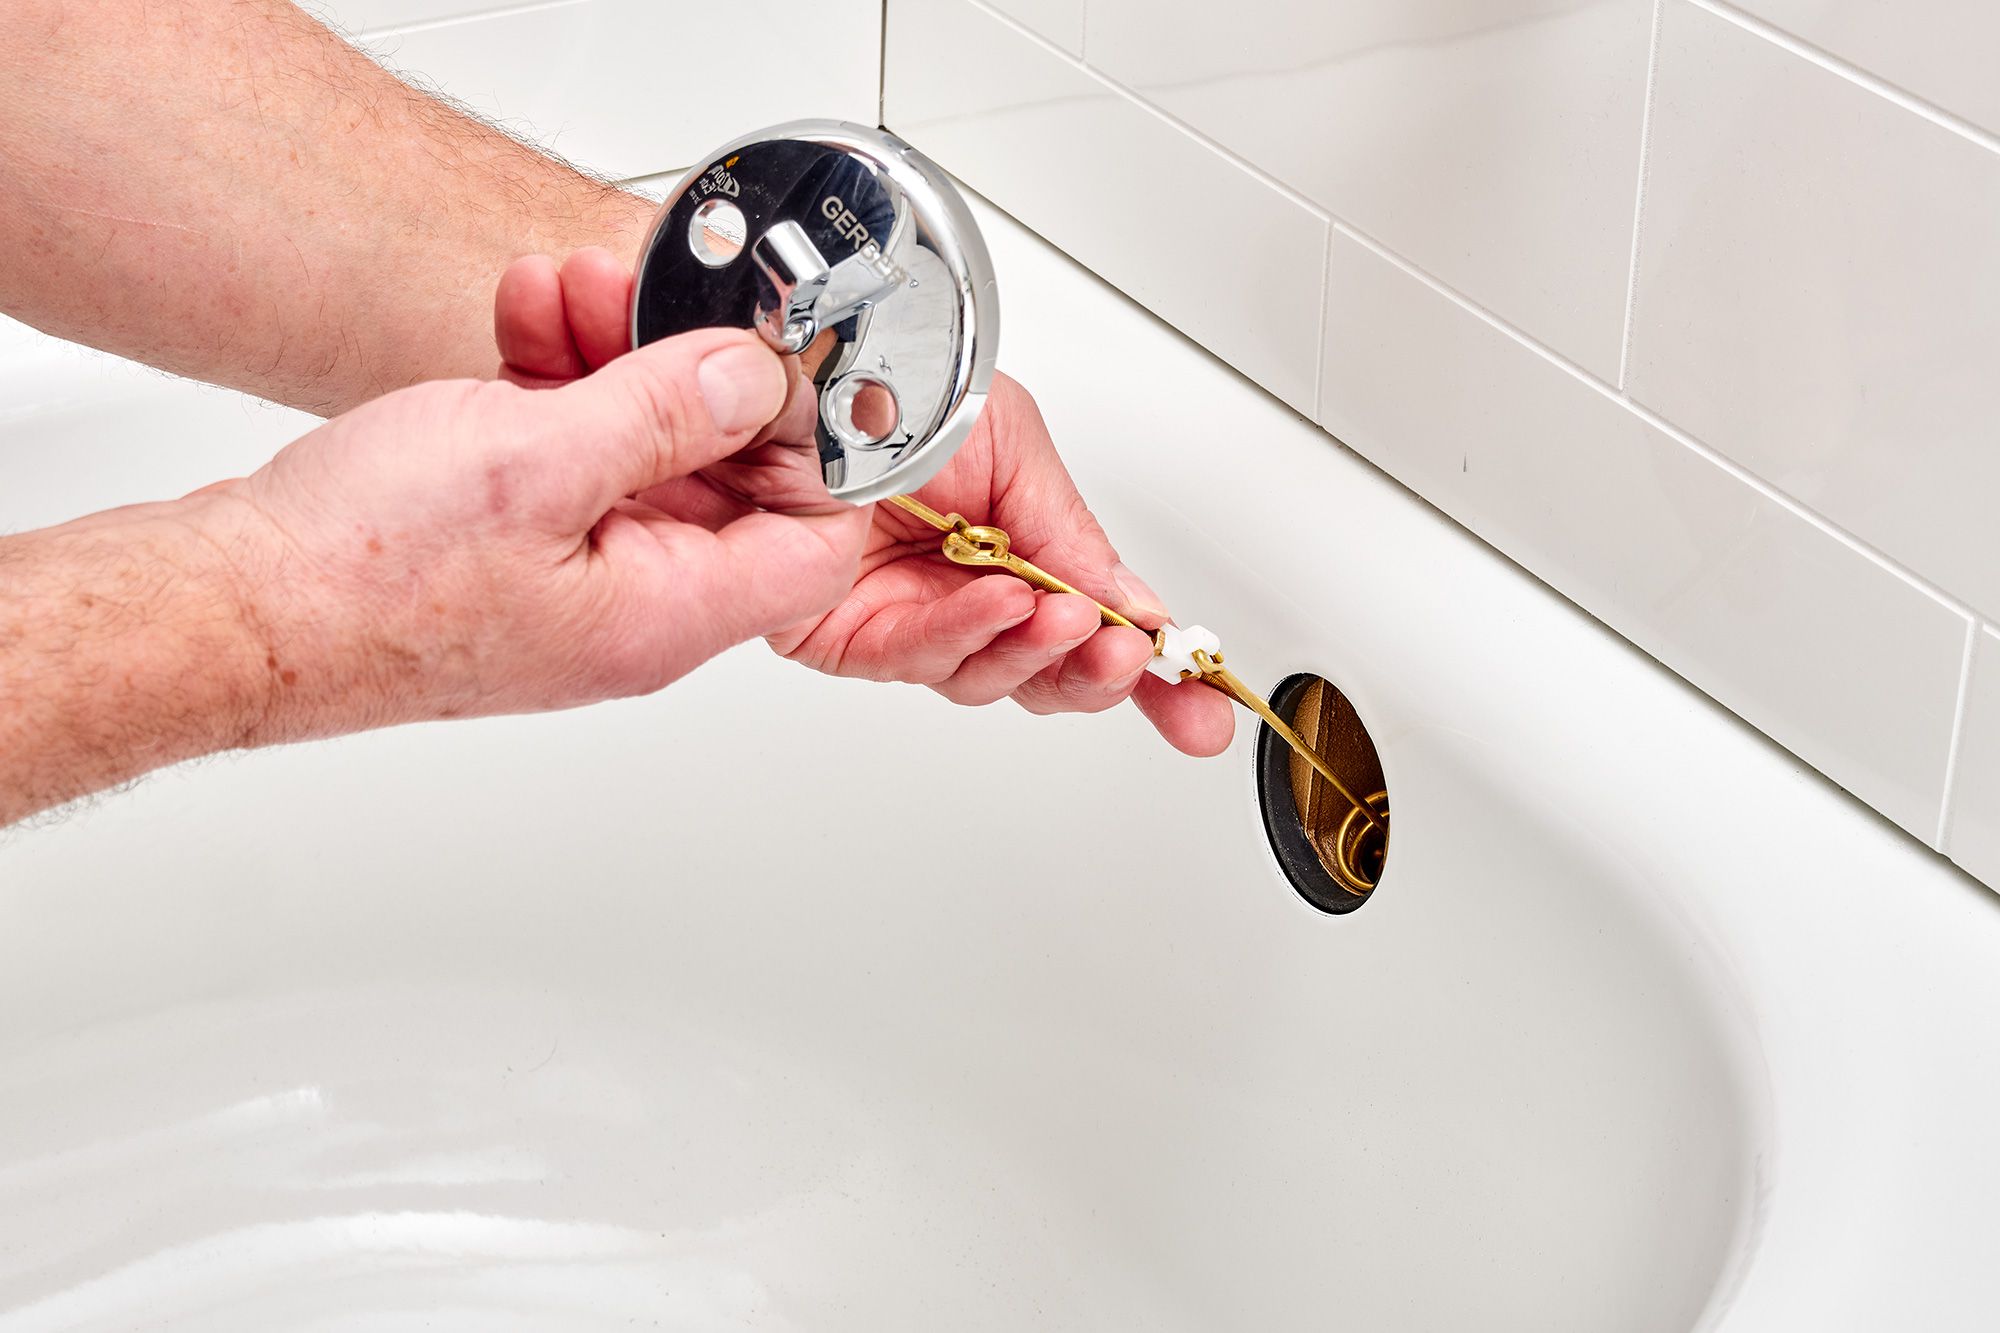
2. Disconnect the Drain Assembly
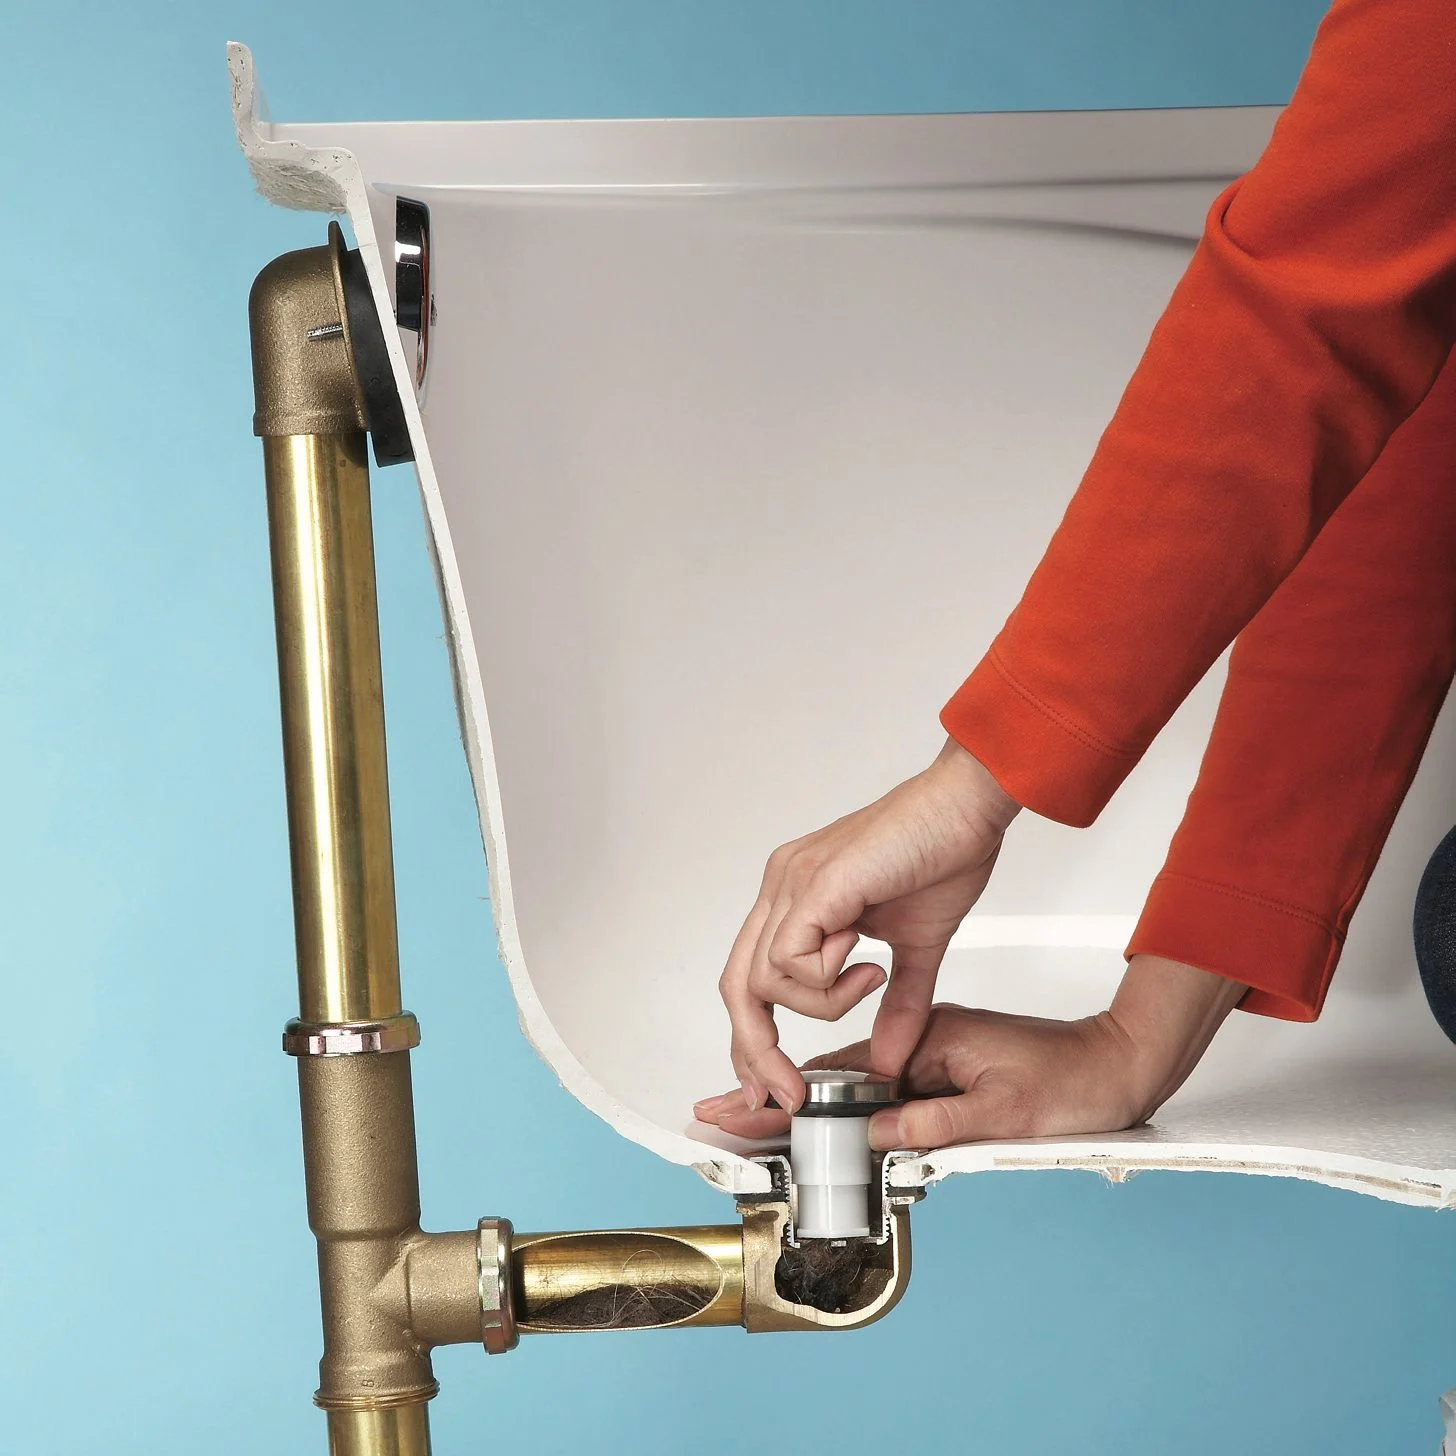
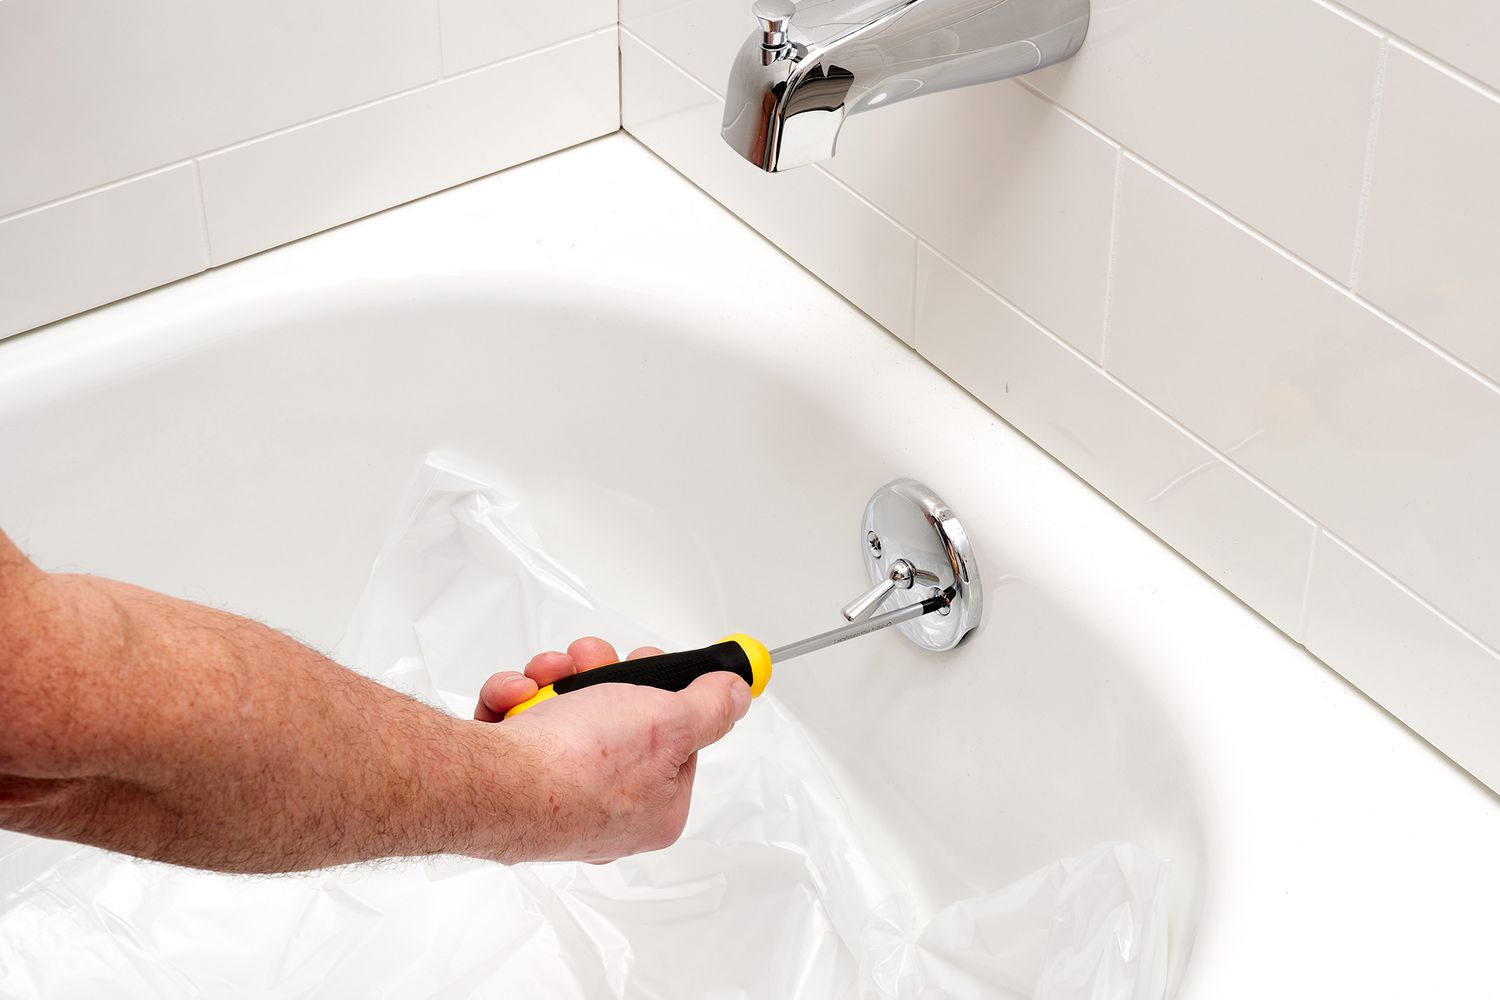
Using an adjustable wrench, carefully loosen and remove the slip nut that connects the P-trap to the drain tailpiece. The P-trap is the curved section of pipe beneath the drain, and the tailpiece extends from the drain opening. Once the slip nut is loosened, detach the P-trap from the tailpiece and set it aside. Be prepared for residual water to drain from the P-trap, and have a bucket or towel handy to catch any spills.
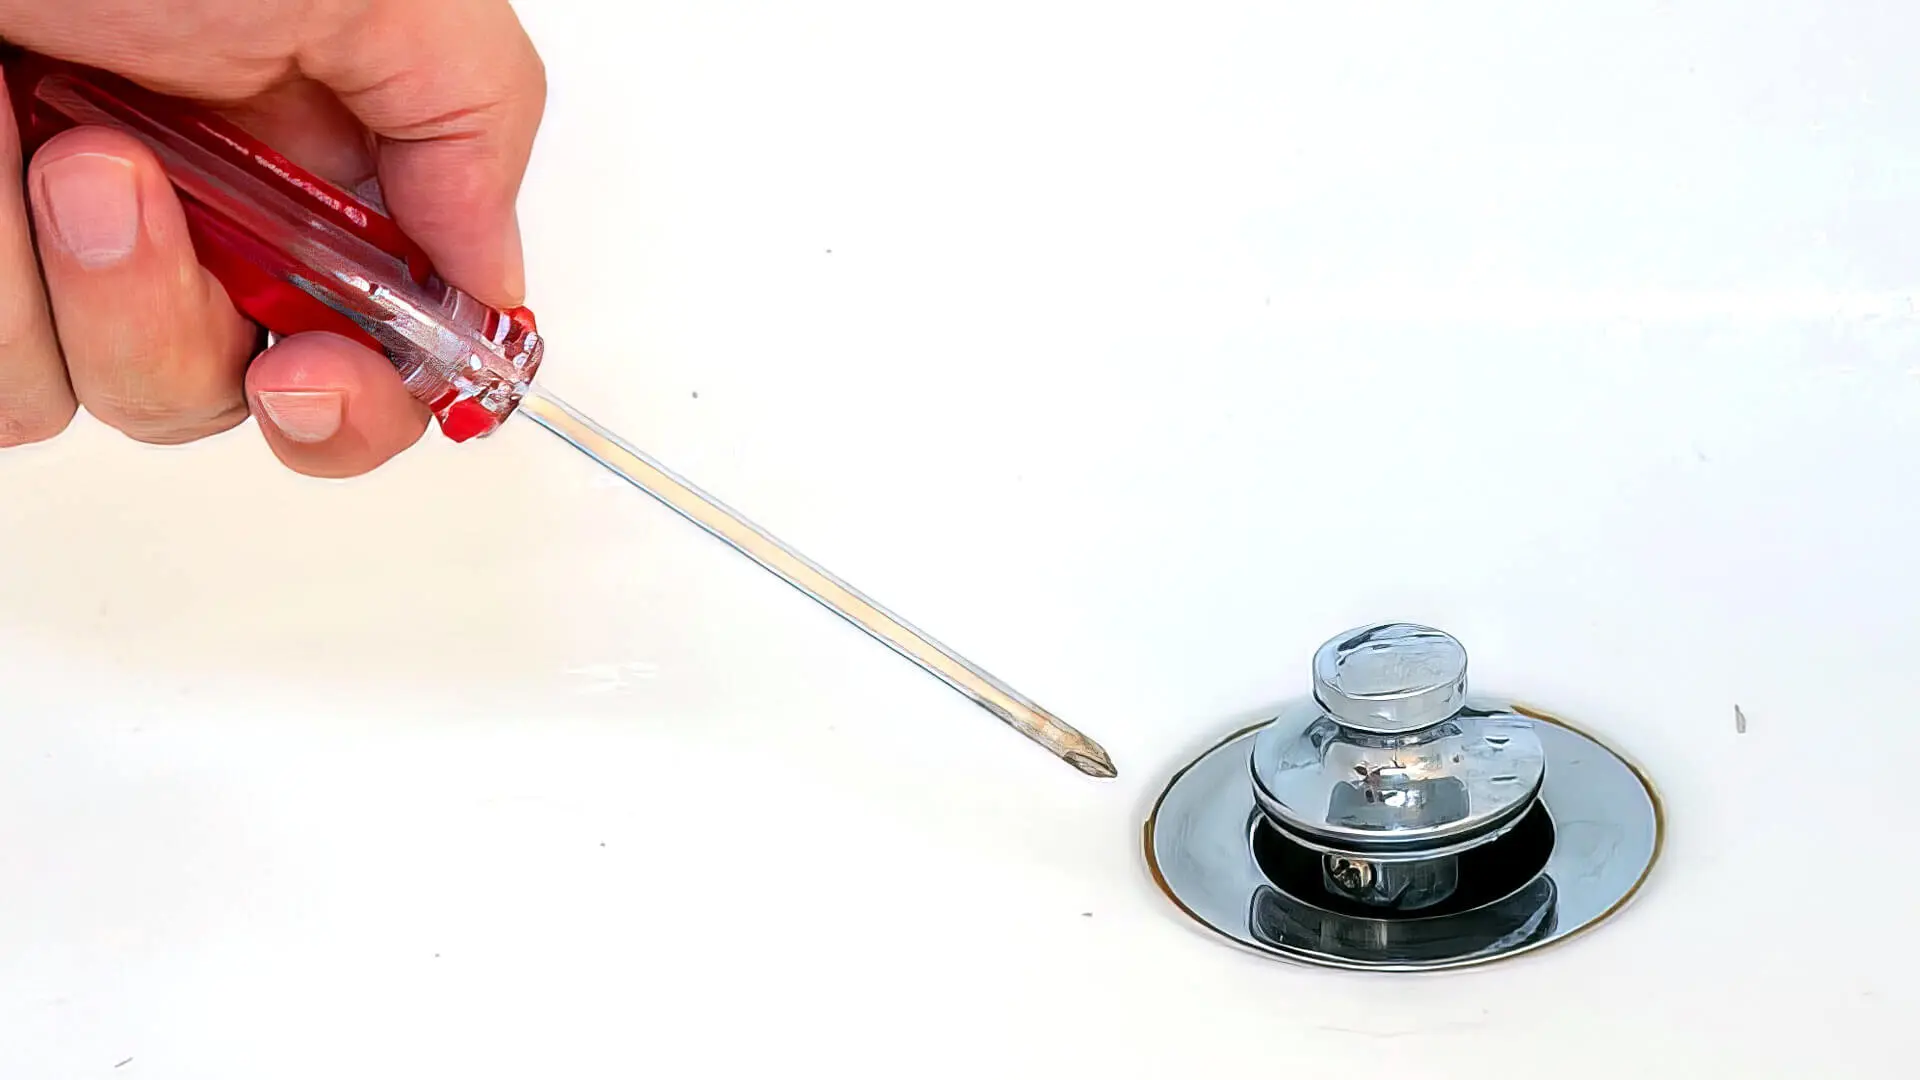
3. Loosen the Drain Flange
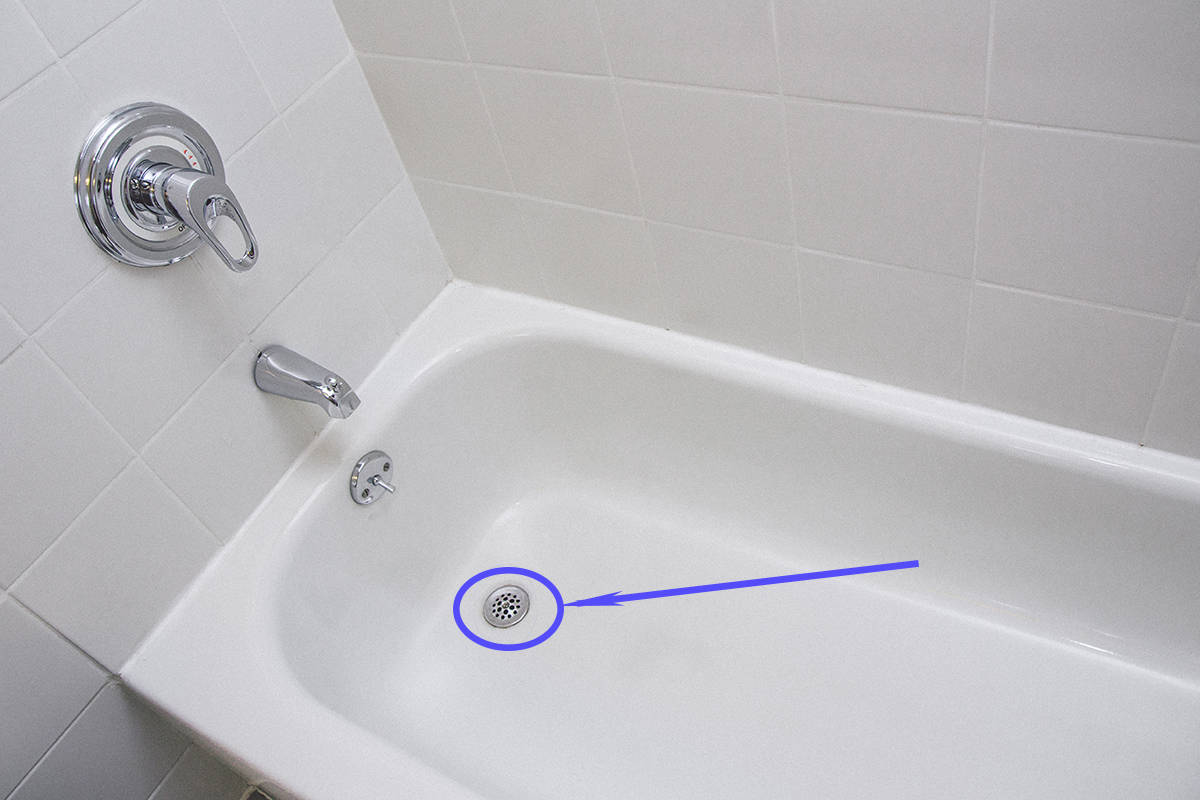
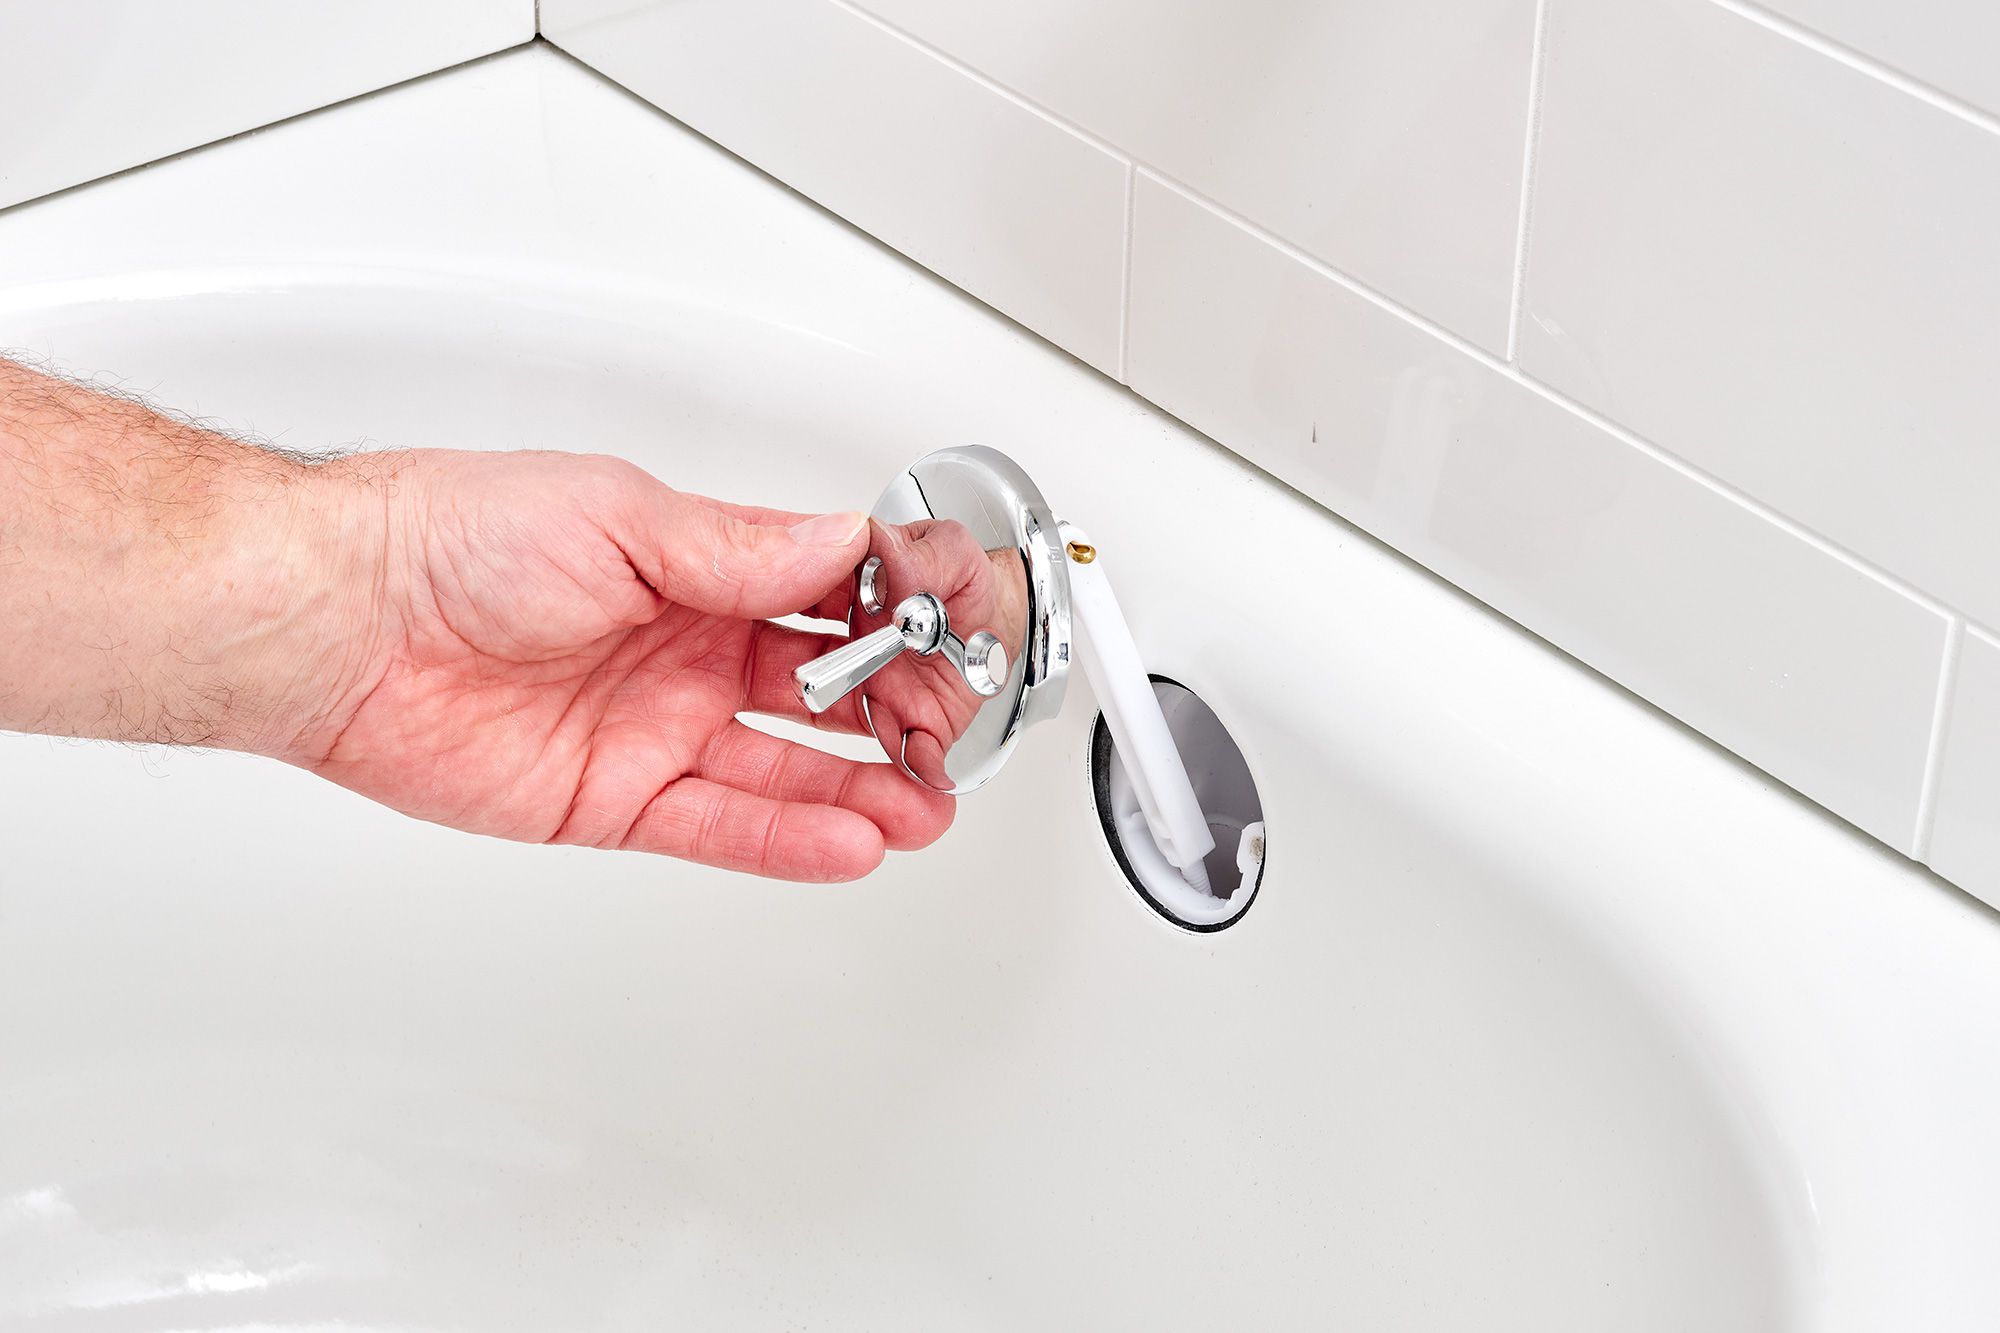
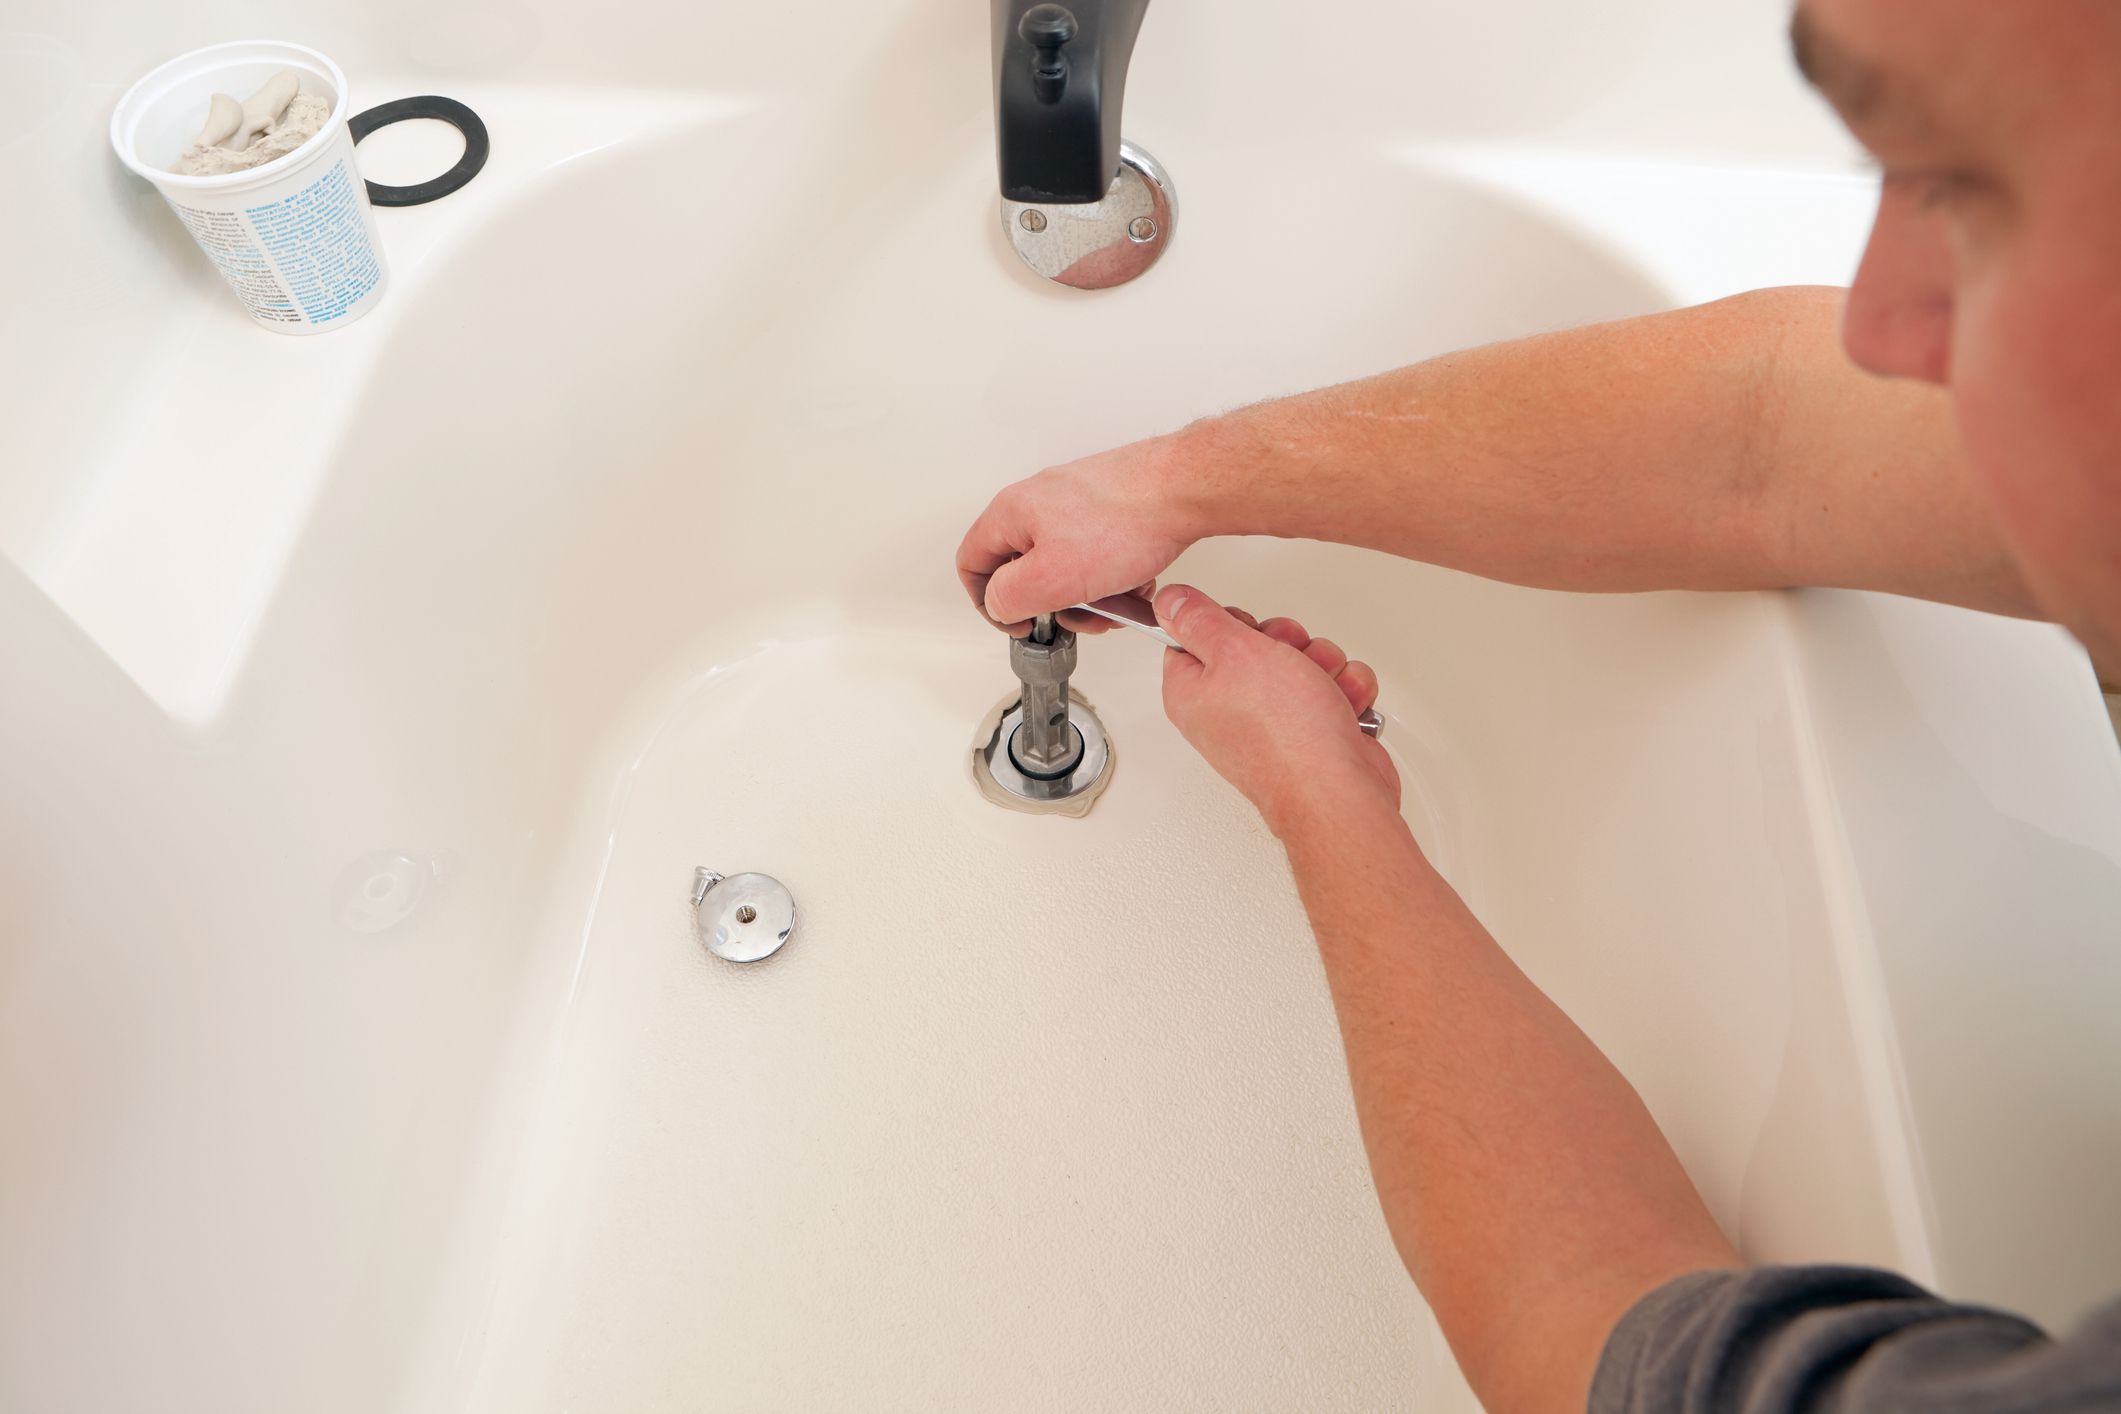
Next, locate the drain flange, which is the visible portion of the drain assembly inside the bathtub. Using a drain key or a smart dumbbell wrench, carefully loosen and remove the drain flange by turning it counterclockwise. This may require some effort, as the drain flange is typically secured with plumber's putty or a sealing compound. Once the drain flange is detached, set it aside for disposal.
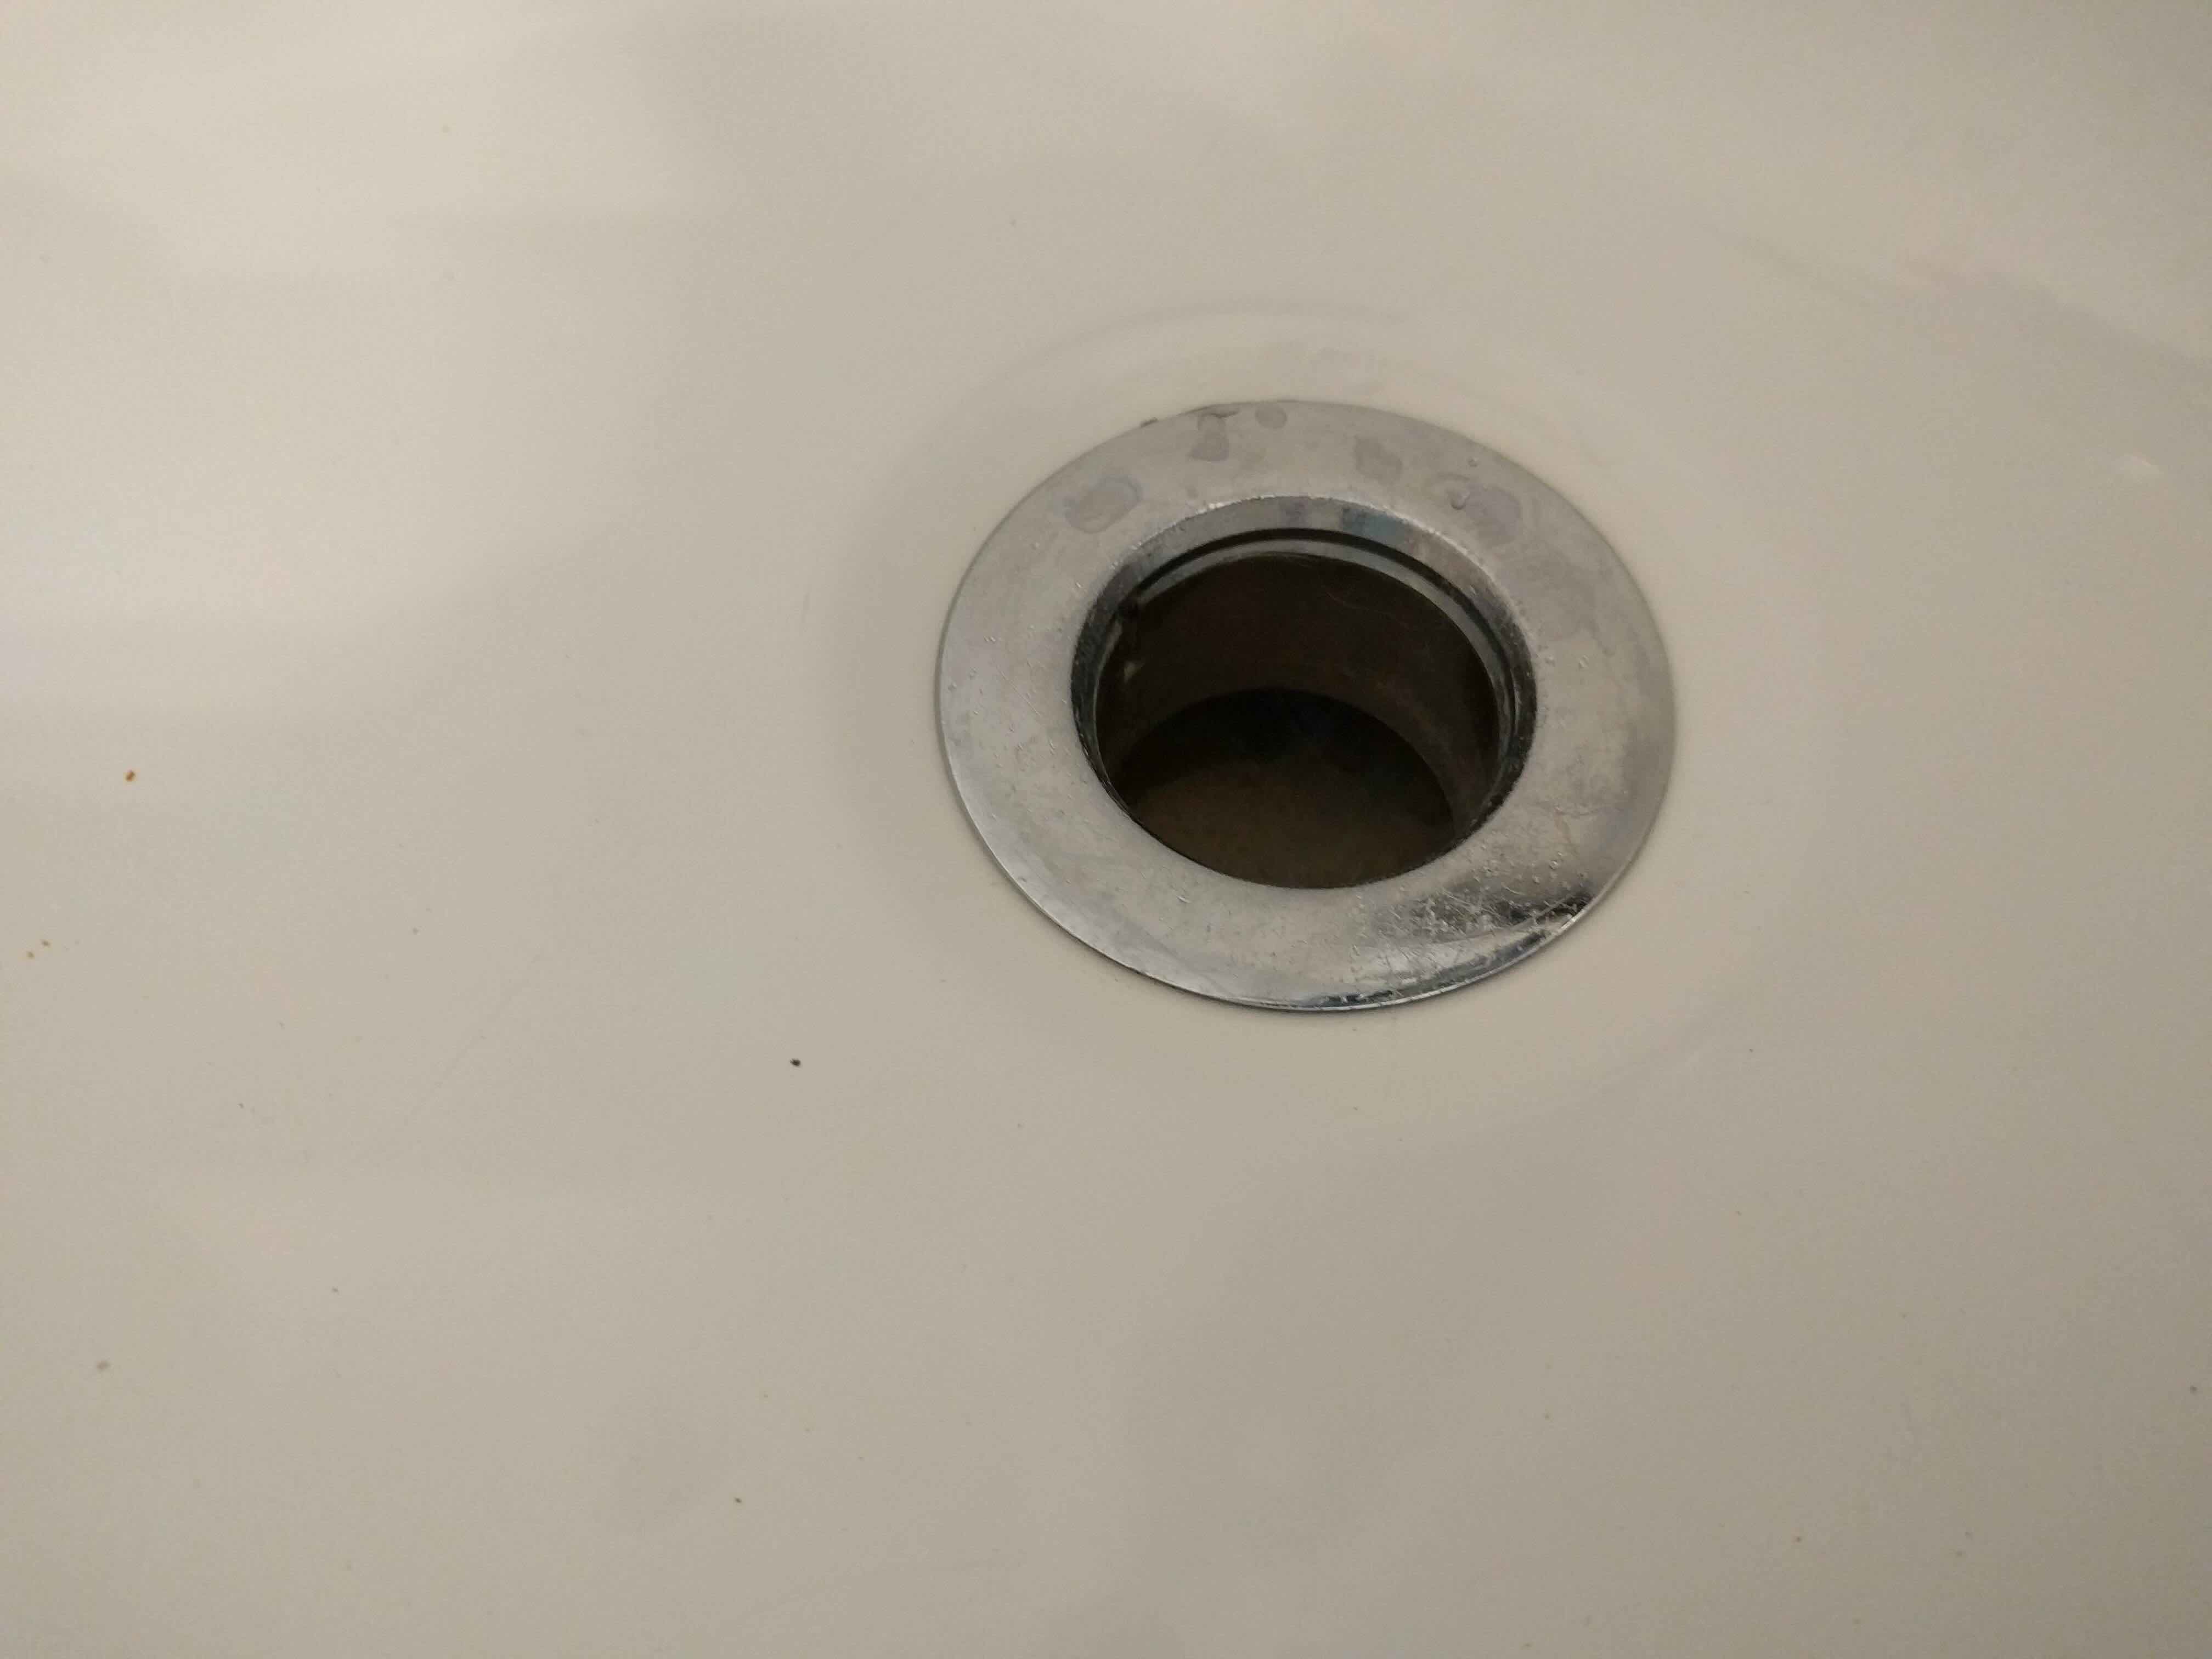
4. Inspect and Clean the Drain Opening
With the drain flange removed, take a moment to inspect the drain opening for any debris or buildup. Use a rag or brush to clean the area and ensure that it is free from any obstructions. A clean and smooth surface will facilitate the installation of the new drain and contribute to a watertight seal.
Read more: How To Vent A Bathtub Drain
5. Cap the Drain Pipe
To prevent sewer gases from entering the bathroom during the installation process, cap the exposed drain pipe temporarily. A rubber test cap or a clean rag secured with a rubber band can be used to seal the drain pipe until the new drain is ready to be installed.
By carefully following these steps, you can successfully remove the old bathtub drain and prepare the area for the installation of the new drain. With the old components removed and the drain opening cleaned, you are now ready to proceed to the next step of installing the new drain.
Step 3: Install the New Drain
With the old drain removed and the area prepared, it's time to install the new bathtub drain. This step involves positioning and securing the new drain components, ensuring proper alignment, and creating a watertight seal to prevent leaks. By following a systematic approach and paying attention to detail, you can successfully install the new drain and move closer to completing the project.
-
Position the New Drain Components
Begin by positioning the new drain components in the designated location. Place the rubber gasket provided with the new drain kit over the underside of the drain flange. This gasket will create a watertight seal between the drain and the bathtub, preventing water from seeping into the subfloor. -
Apply Plumber's Putty
Apply a thin, even layer of plumber's putty around the underside of the drain flange. This putty will further enhance the seal and provide additional protection against leaks. Ensure that the putty is evenly distributed and covers the entire contact area of the drain flange. -
Insert the Drain Flange
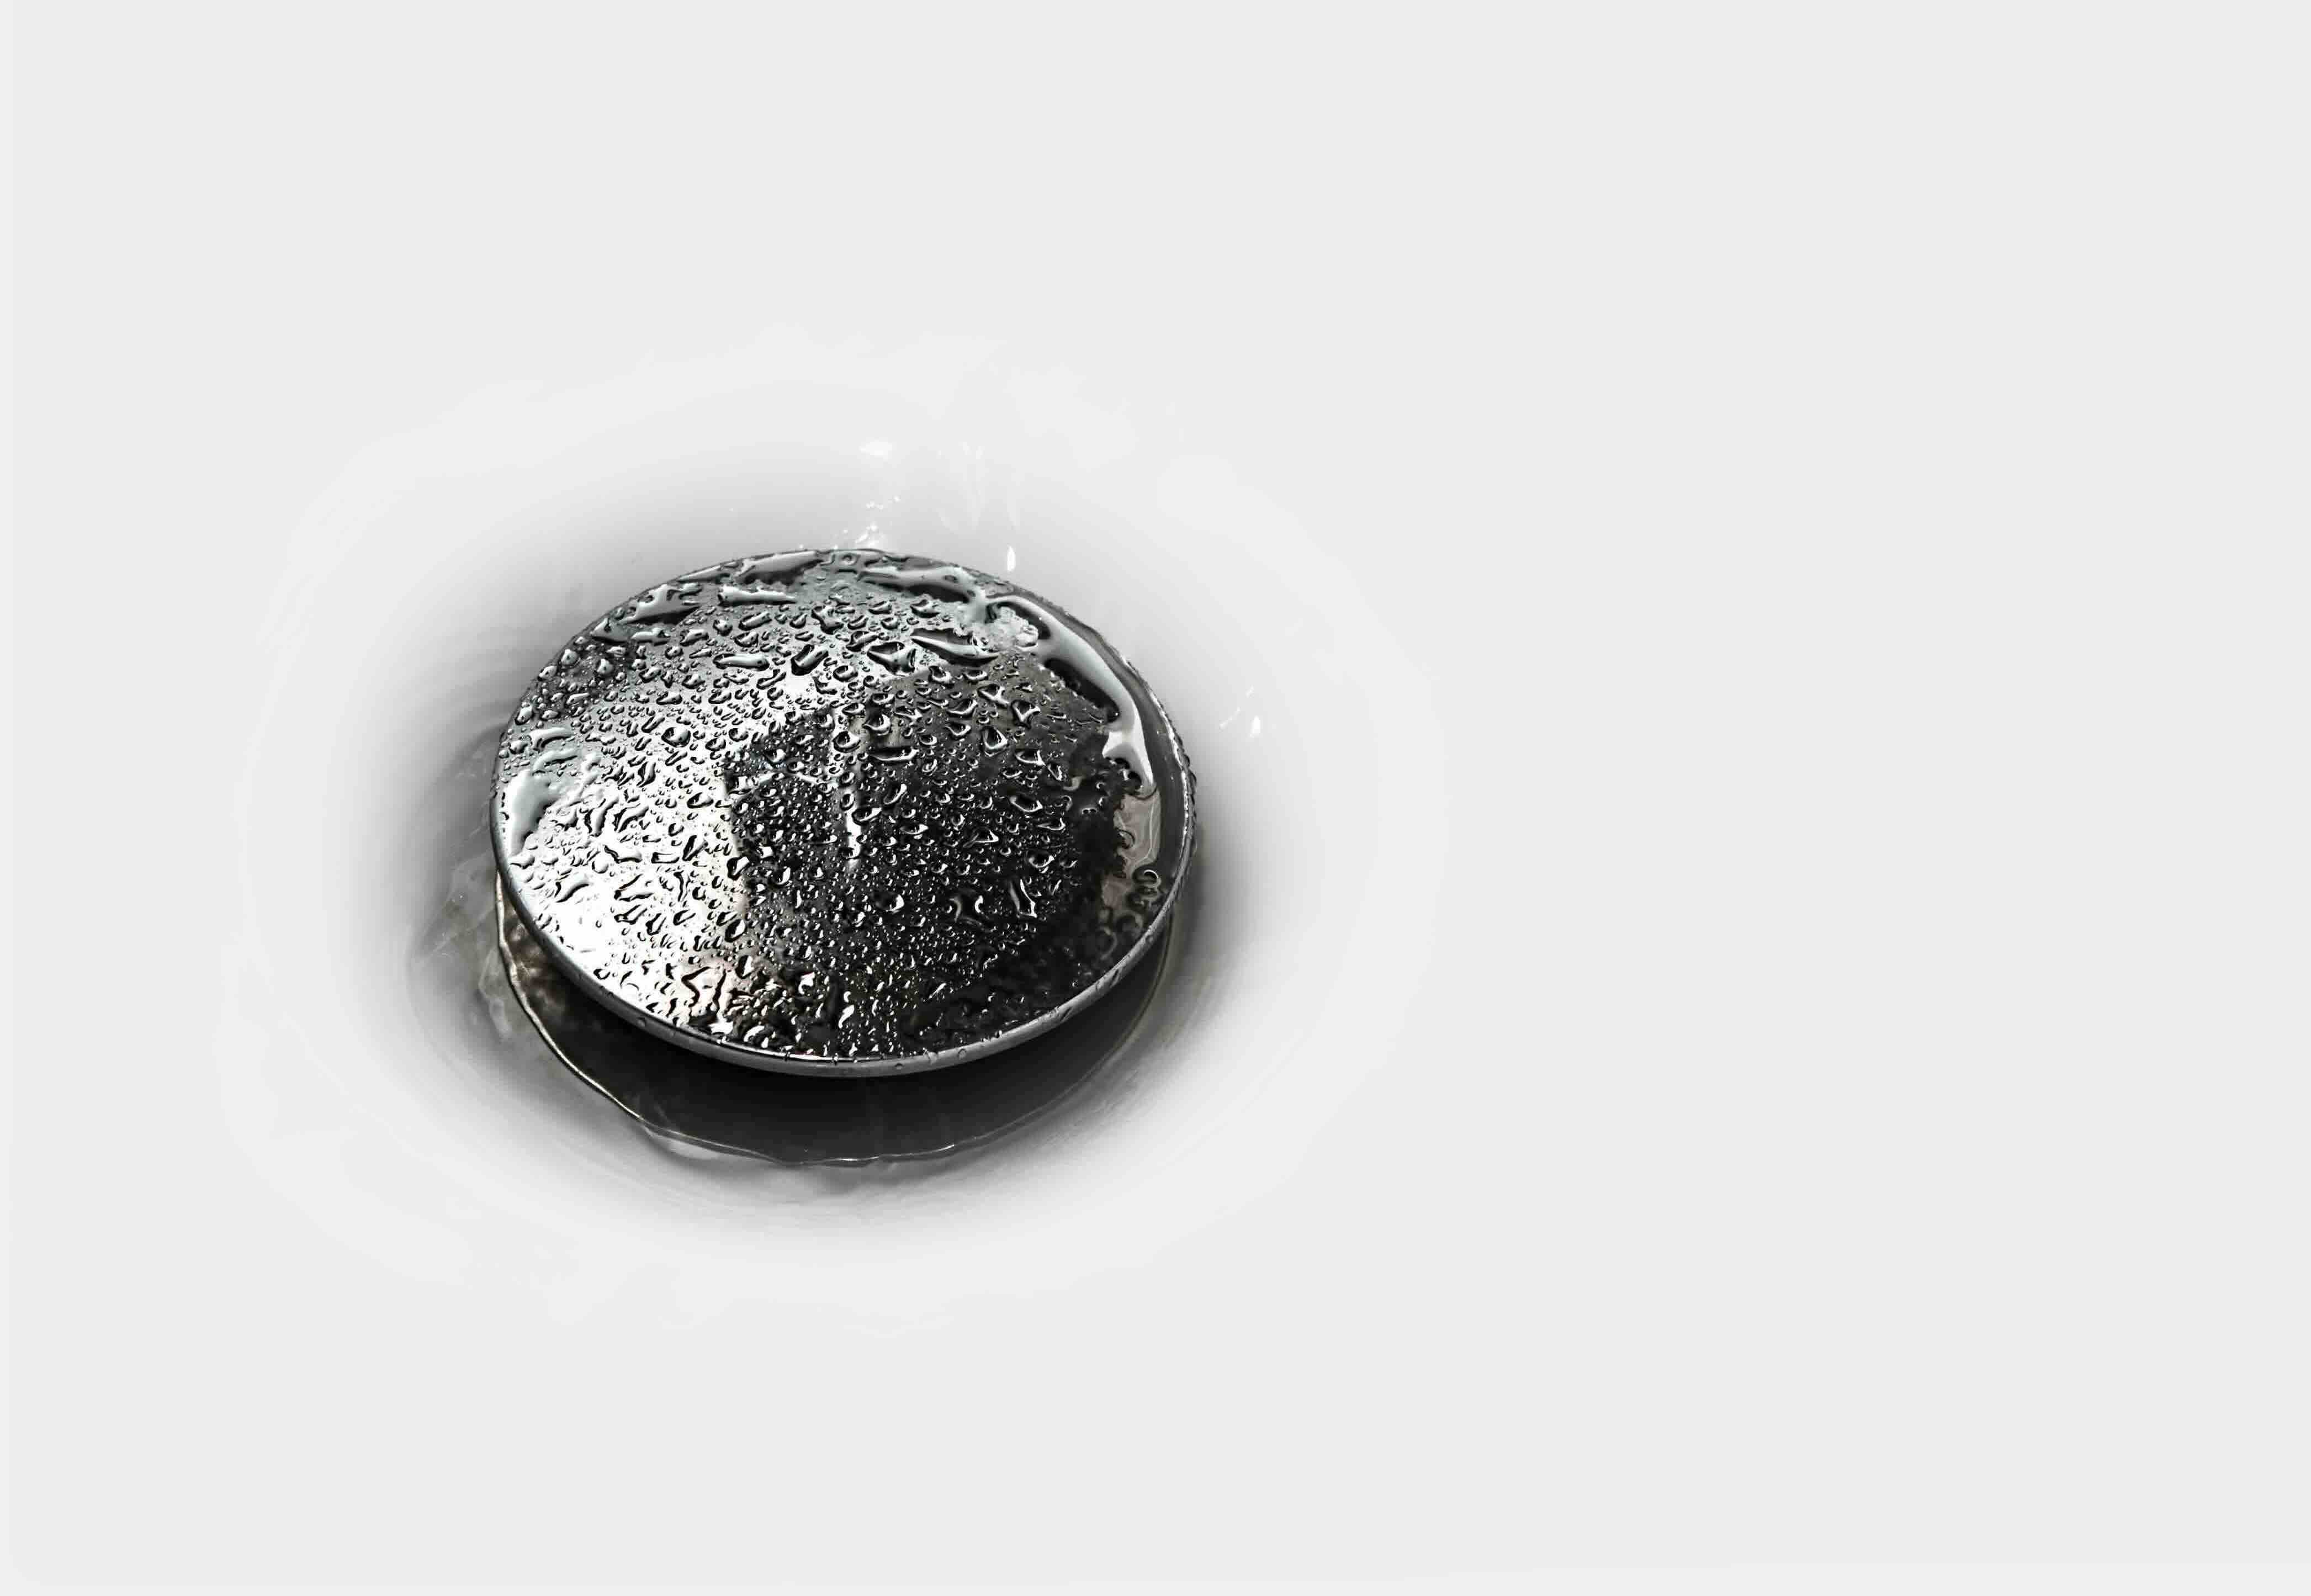
Carefully insert the drain flange into the drain opening, ensuring that it sits flush with the surface of the bathtub. Use gentle pressure to seat the drain flange securely, and wipe away any excess putty that may extrude from the edges. The goal is to create a snug and secure fit that will prevent water from penetrating the area around the drain. -
Secure the Drain Flange
Once the drain flange is in position, use a drain key or a smart dumbbell wrench to tighten it clockwise. This action will secure the drain flange in place and compress the rubber gasket, forming a watertight seal. Exercise caution to avoid over-tightening, as this could damage the gasket or the drain components. -
Connect the Drain Tailpiece
With the drain flange secured, connect the drain tailpiece to the underside of the bathtub. Use an adjustable wrench to tighten the slip nut and ensure a secure connection. The drain tailpiece should align with the P-trap, creating a smooth and continuous flow path for wastewater. -
Test the Drain
Before proceeding further, it's essential to test the newly installed drain for leaks. Fill the bathtub with water and allow it to drain completely. Observe the area around the drain for any signs of water leakage. If no leaks are detected, the new drain installation is successful.
By following these steps, you can effectively install the new bathtub drain and ensure that it functions as intended. With the new drain in place, you are one step closer to completing the process of moving a bathtub drain and achieving your desired bathroom configuration.
Step 4: Test for Leaks
After installing the new bathtub drain, it is crucial to perform a thorough leak test to ensure that the entire system functions properly and is free from any potential water seepage. This step is essential for validating the integrity of the installation and preventing future water damage or structural issues. By conducting a comprehensive leak test, you can identify and address any potential issues before completing the project.
To test for leaks, follow these steps:
-
Visual Inspection: Begin by visually inspecting the area around the newly installed drain. Look for any signs of water accumulation, dampness, or discoloration on the surface of the bathtub or the surrounding flooring. Additionally, check for any water droplets or moisture along the joints and connections of the drain components.
-
Fill the Bathtub: Fill the bathtub with water to a level that covers the drain opening. Allow the water to remain in the bathtub for an extended period, typically several hours, to simulate normal usage conditions. During this time, closely monitor the drain area for any indications of water leakage.
-
Check Underneath the Bathtub: While the bathtub is filled with water, access the area beneath the bathtub to inspect the drain connections and surrounding pipes. Look for any signs of water dripping, pooling, or seepage. Use a flashlight to illuminate the underside of the bathtub and carefully examine the entire drain assembly.
-
Inspect the P-Trap and Drain Tailpiece: Pay particular attention to the P-trap and the connection between the drain tailpiece and the P-trap. These areas are common locations for leaks to occur. Ensure that the connections are secure and that no water is escaping from the joints.
-
Observe for an Extended Period: After filling the bathtub, allow the water to remain in the tub for an extended period, such as overnight. This prolonged observation period will reveal any slow leaks or intermittent seepage that may not be immediately apparent during a brief test.
-
Addressing Leaks: If any leaks are detected during the test, promptly address them by tightening connections, reapplying plumber's putty, or replacing faulty components. It is essential to resolve any leaks before finalizing the installation to prevent water damage and ensure the long-term functionality of the bathtub drain.
By diligently conducting a comprehensive leak test, you can verify the success of the new drain installation and address any potential issues before they escalate. A thorough leak test provides peace of mind and confidence in the reliability of the bathtub drain, allowing you to proceed with the project knowing that the system is watertight and secure.
Conclusion
In conclusion, the process of moving a bathtub drain is a significant undertaking that requires careful planning, attention to detail, and the use of specific tools and materials. By following the outlined steps, you can successfully relocate a bathtub drain and ensure that it functions properly in its new configuration.
The initial step of gathering the necessary tools and materials sets the foundation for a smooth and efficient project. Having the right equipment at your disposal streamlines the process and minimizes potential disruptions. From adjustable wrenches and plumber's putty to new bathtub drains and safety gear, each item plays a crucial role in the successful completion of the task.
Removing the old drain involves a systematic approach to disassembling the existing components and preparing the area for the installation of the new drain. Careful attention to detail during this step sets the stage for a seamless transition to the new configuration.
Installing the new drain requires precision and a focus on creating a watertight seal. From positioning the new components to testing the drain for leaks, each sub-step contributes to the overall success of the installation. The use of plumber's putty, rubber gaskets, and thorough testing ensures that the new drain is securely in place and ready for use.
The final step of testing for leaks is a critical validation of the entire installation process. By conducting a comprehensive leak test, you can identify and address any potential issues before completing the project. This proactive approach ensures the long-term functionality and reliability of the bathtub drain.
In essence, moving a bathtub drain is a project that offers the opportunity to enhance the functionality and aesthetics of a bathroom. Whether it's part of a larger renovation or a standalone improvement, the successful relocation of a bathtub drain can contribute to a more efficient and visually appealing bathroom space.
By following the steps outlined in this guide and approaching the task with patience and attention to detail, homeowners and DIY enthusiasts can confidently tackle the process of moving a bathtub drain. With the right knowledge and preparation, this project can be a rewarding endeavor that results in a well-functioning and aesthetically pleasing bathroom feature.
Frequently Asked Questions about How To Move A Bathtub Drain
Was this page helpful?
At Storables.com, we guarantee accurate and reliable information. Our content, validated by Expert Board Contributors, is crafted following stringent Editorial Policies. We're committed to providing you with well-researched, expert-backed insights for all your informational needs.


0 thoughts on “How To Move A Bathtub Drain”