Home>Furniture>Outdoor Furniture>How To Make Outdoor Patio Cushions
Outdoor Furniture
How To Make Outdoor Patio Cushions
Modified: March 7, 2024
Discover the ultimate guide on how to make outdoor patio cushions. Enhance your outdoor furniture with these DIY tips and create a cozy oasis in your backyard.
(Many of the links in this article redirect to a specific reviewed product. Your purchase of these products through affiliate links helps to generate commission for Storables.com, at no extra cost. Learn more)
Introduction
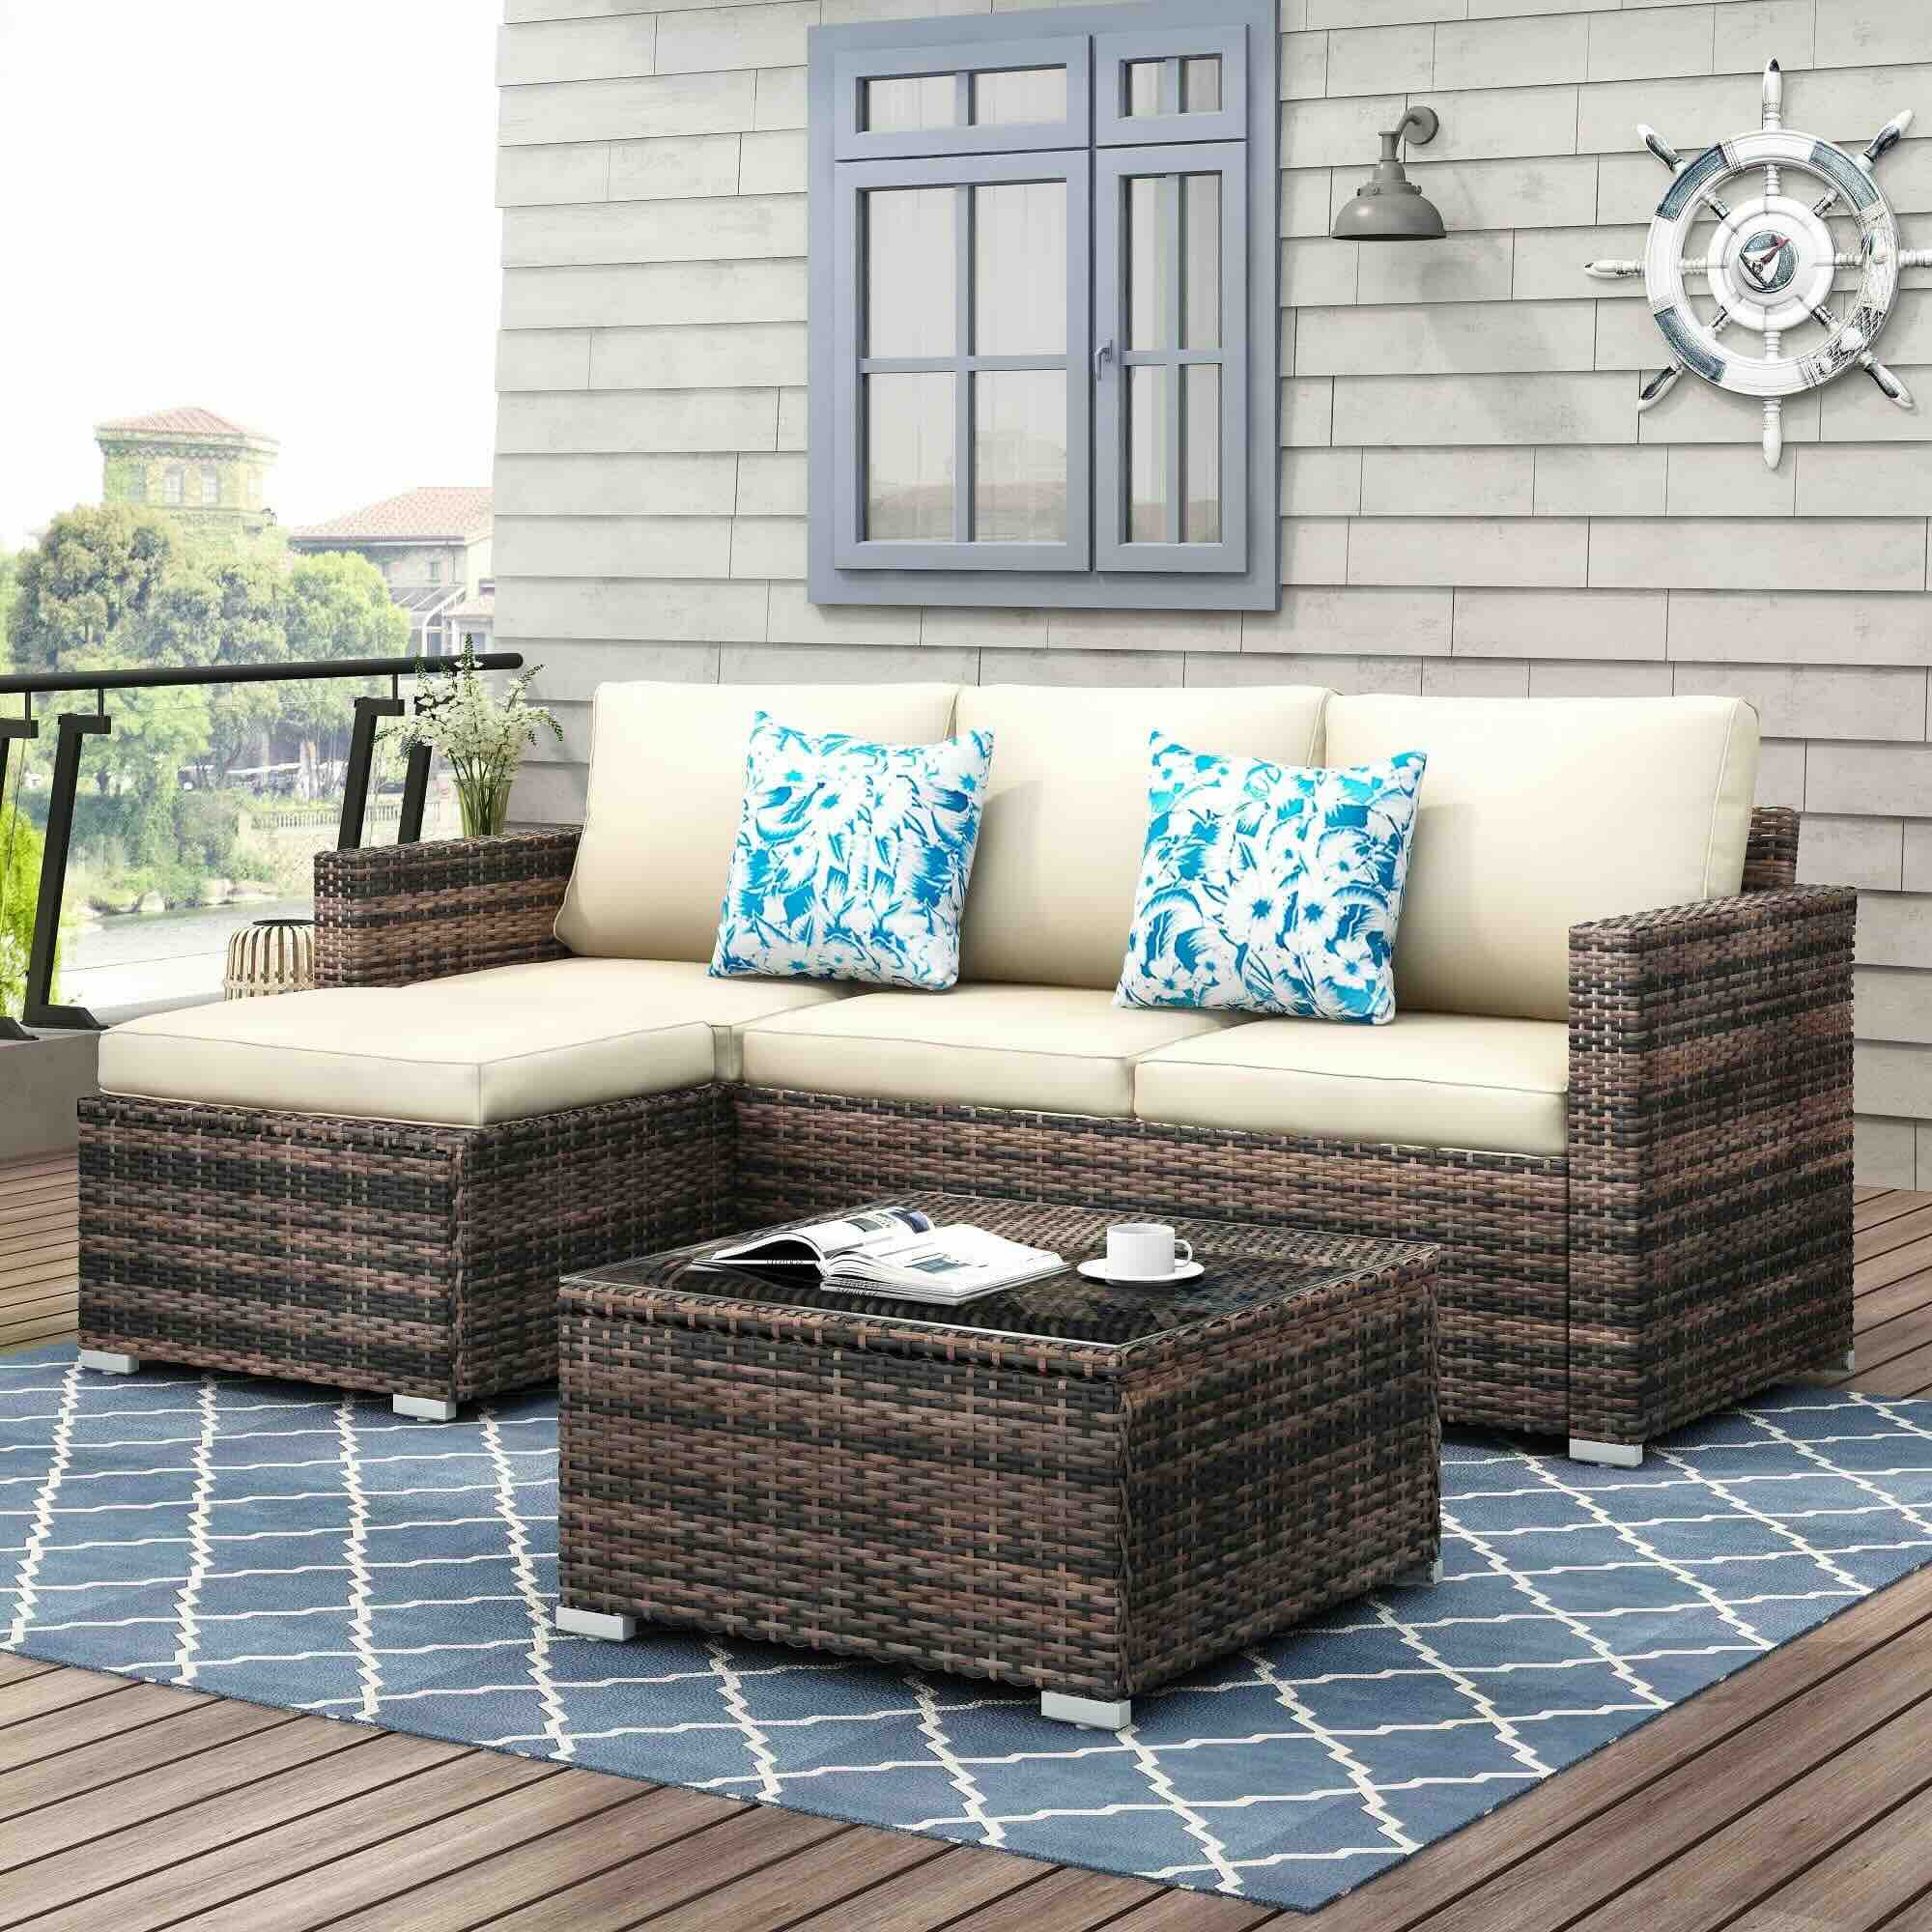
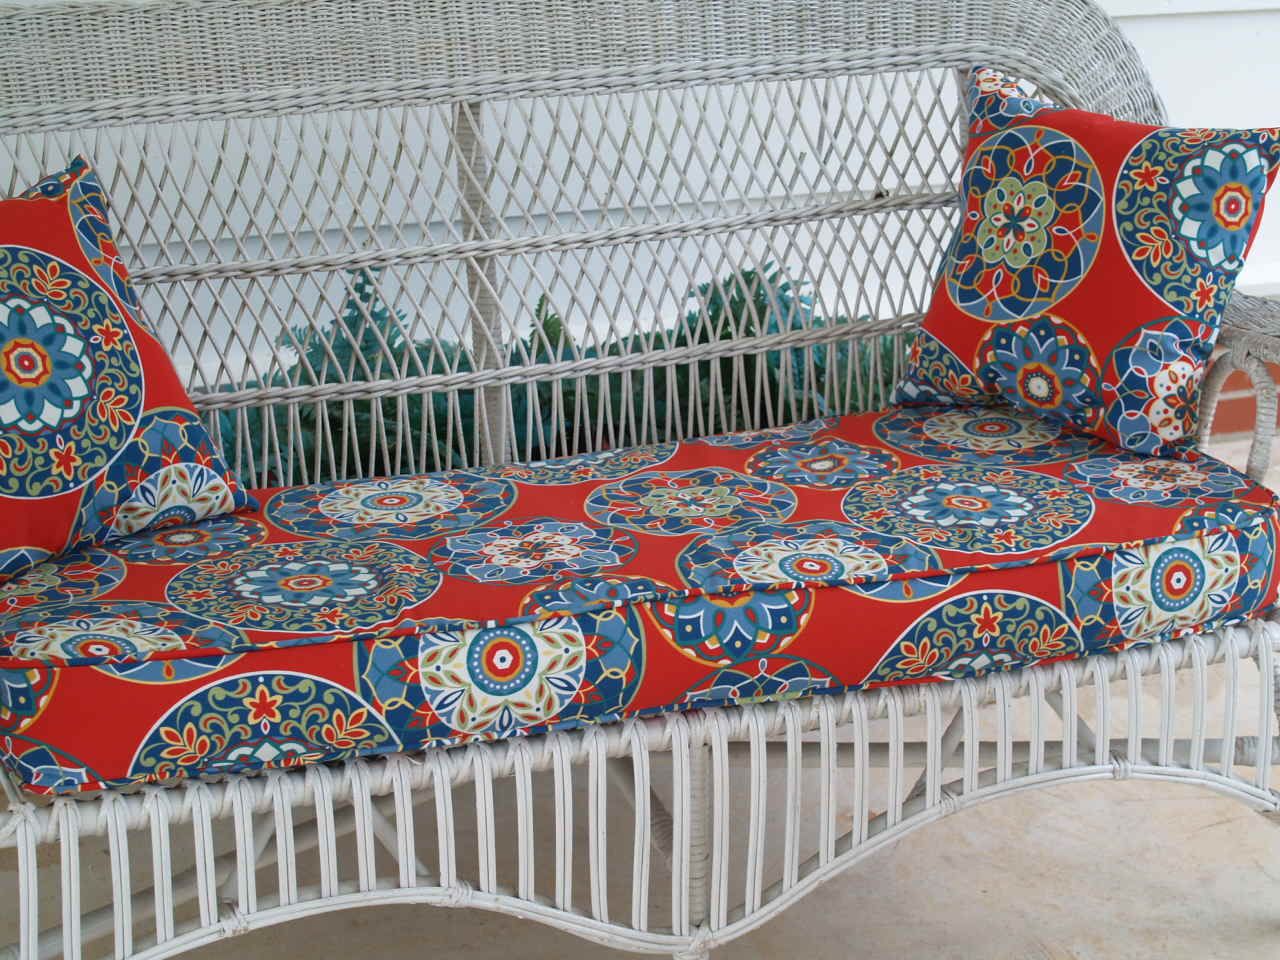
Welcome to the world of outdoor furniture! Whether you have just built a beautiful patio or have a cozy balcony, having comfortable and durable outdoor patio cushions is essential for enjoying the great outdoors. Not only do these cushions provide a soft place to sit, but they also add a touch of style and personality to your outdoor space.
But what if you can’t find the perfect cushions that match your aesthetic or fit your budget? Don’t worry! In this article, we will guide you through the process of creating your own outdoor patio cushions. From gathering materials to adding the finishing touches, we will provide you with all the information you need to make beautiful and comfortable cushions that are tailored to your taste.
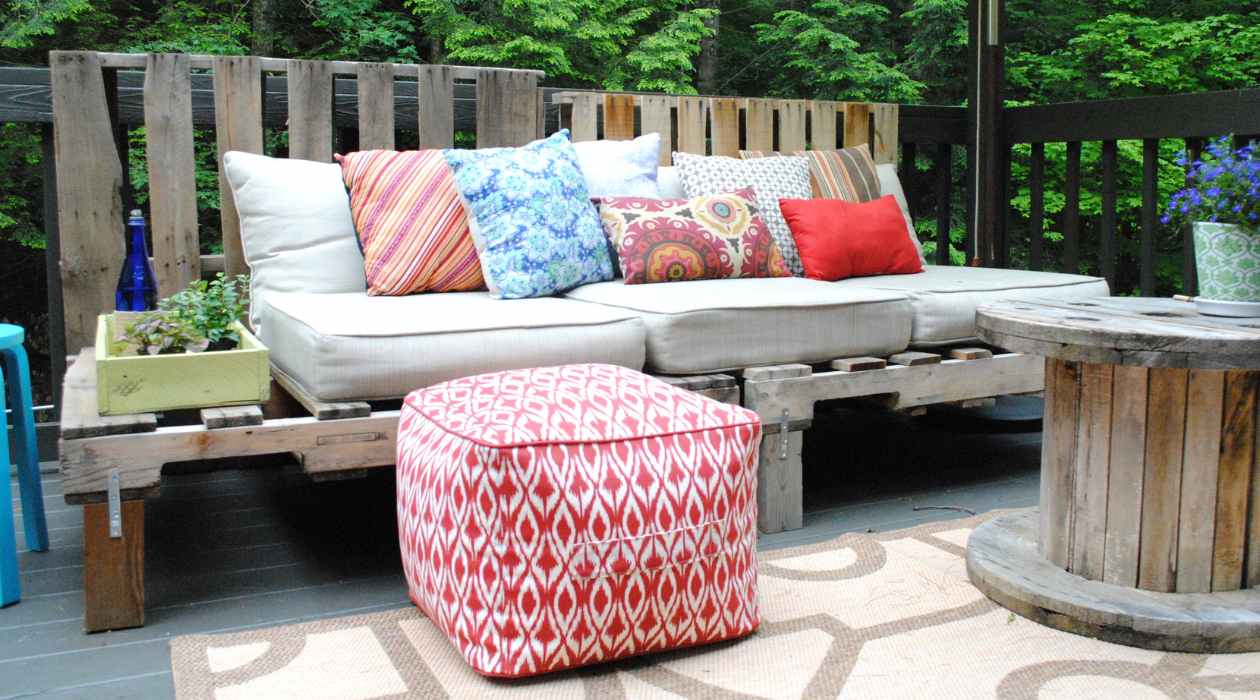
Creating your own outdoor patio cushions is not only a rewarding DIY project, but it also allows you to customize every aspect of the cushions to suit your preferences. You can choose the fabric, the size, and even add personalized details like ties or fasteners. So, let’s dive in and explore the step-by-step process of making outdoor patio cushions!
Key Takeaways:
- Create personalized outdoor patio cushions using durable fabric, foam inserts, and sewing techniques. Add optional ties or fasteners for a decorative touch and enjoy the comfort of your DIY cushions.
- Save money and customize your outdoor space by making your own outdoor patio cushions. Choose fade-resistant fabric, add foam inserts, and fluff for maximum comfort.
Read more: How To Cover Outdoor Patio Cushions
Step 1: Gathering Materials
Before you can start making your outdoor patio cushions, it’s important to gather all the necessary materials. Here’s a list of items you’ll need:
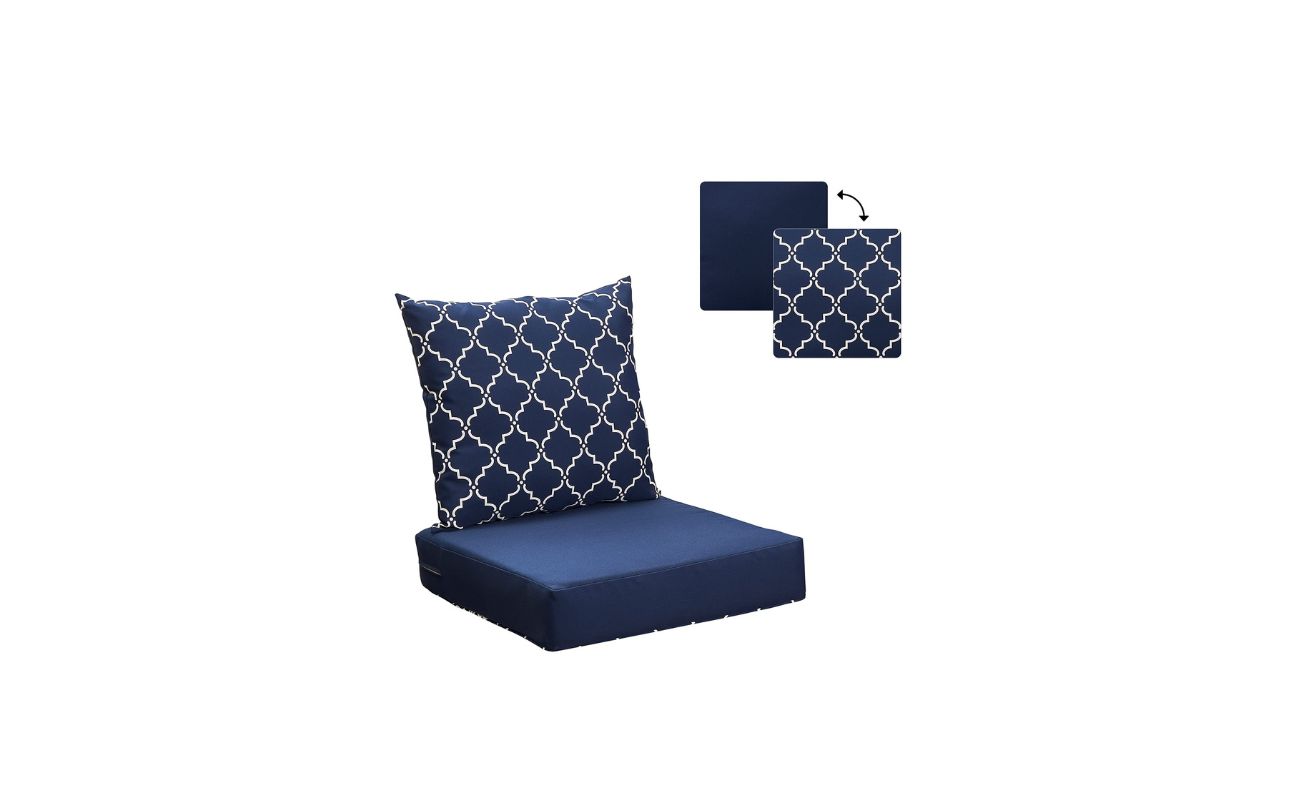
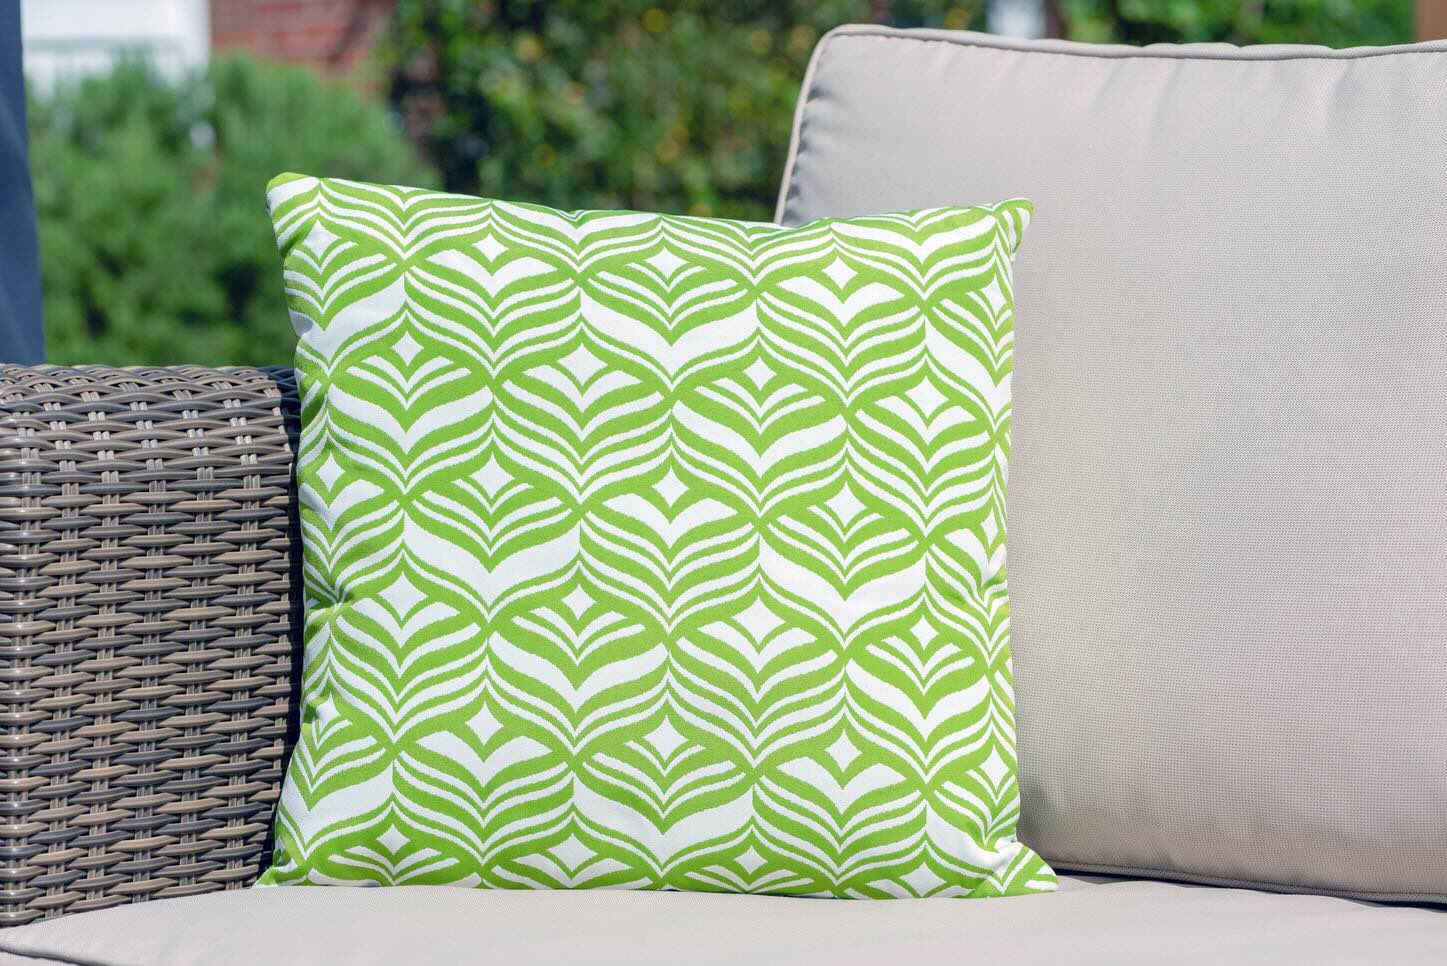
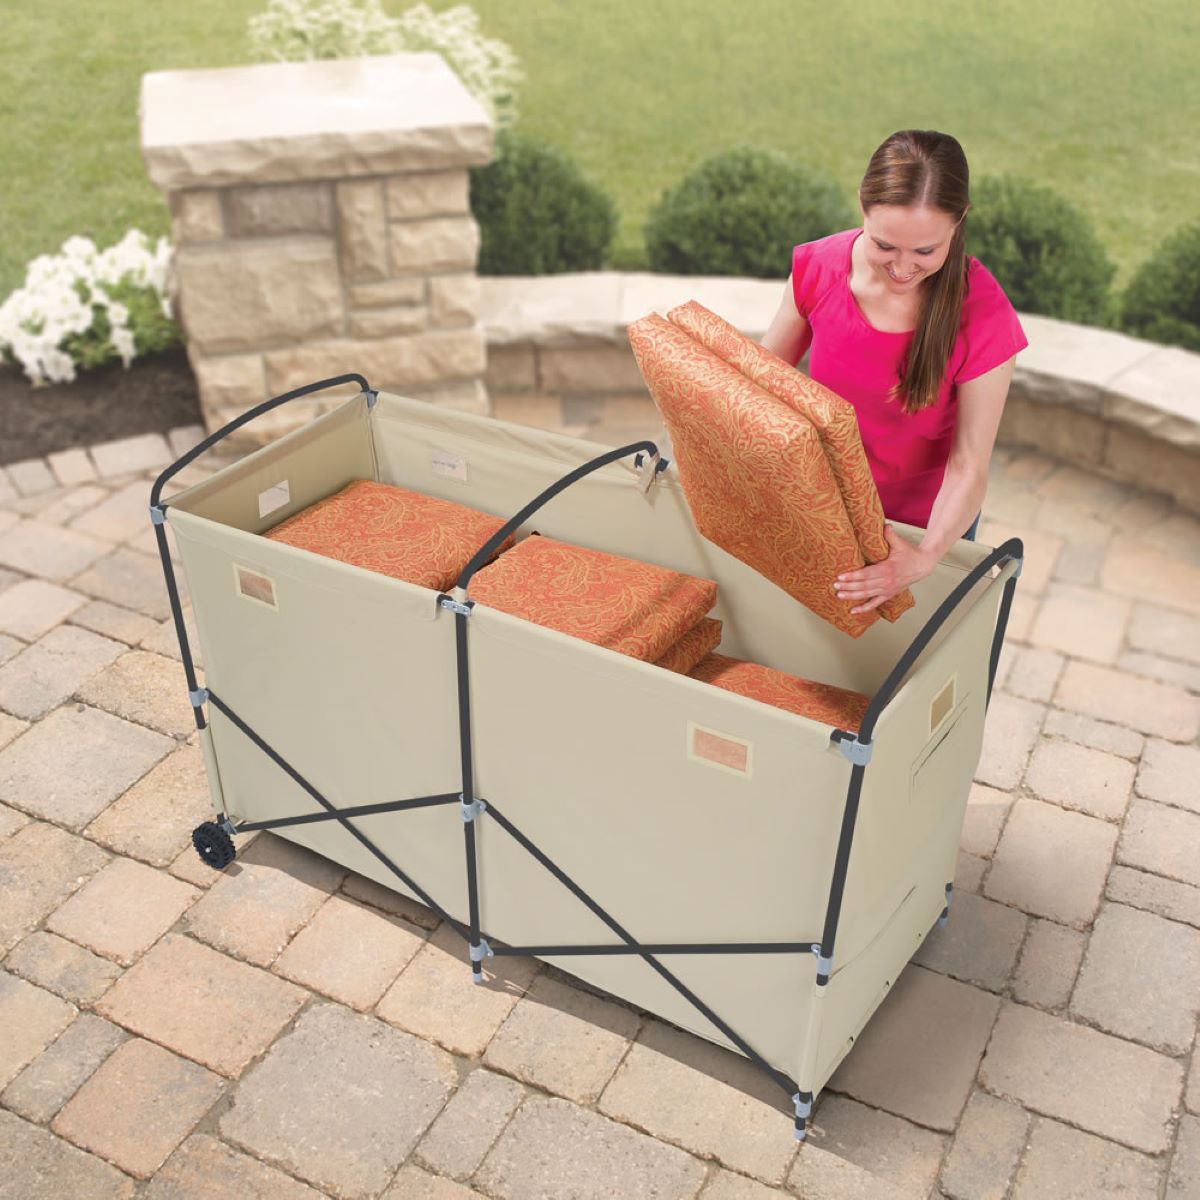
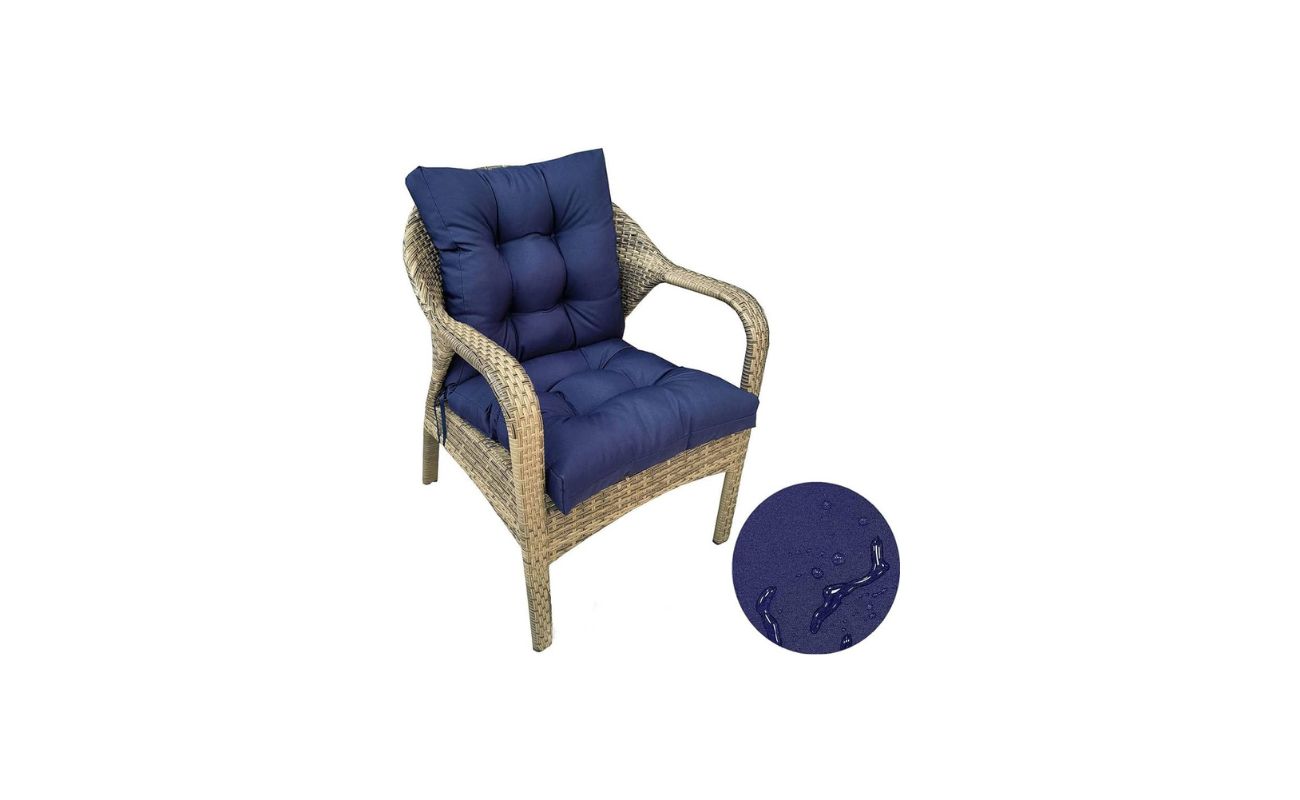
- Fabric: Choose a durable outdoor fabric that is fade-resistant and water-resistant. Look for fabric specifically designed for outdoor use. Common options include canvas, polyester, or acrylic fabric.
- Foam or Cushion Inserts: You’ll need foam or cushion inserts to provide comfort and support for your cushions. Measure the dimensions of your desired cushions and purchase foam or cushion inserts accordingly.
- Measuring Tape: A measuring tape will help you accurately measure the dimensions of your cushions.
- Scissors: You’ll need scissors to cut the fabric to size.
- Sewing Machine: A sewing machine will make the process of sewing the cushion covers much easier and faster. However, if you don’t have access to a sewing machine, you can use hand sewing techniques.
- Thread: Choose a thread that matches the color of your fabric.
- Sewing Pins: Sewing pins will help you secure the fabric in place while sewing.
- Hook and Loop Tape or Buttons (Optional): If you want to add closures to your cushion covers, consider using hook and loop tape or buttons.
Once you have gathered all the materials, you’re ready to move on to the next step: measuring and cutting the fabric for your outdoor patio cushions.
Step 2: Measuring and Cutting Fabric
Now that you have all your materials ready, it’s time to measure and cut the fabric for your outdoor patio cushions. Follow these steps:
- Measurements: Start by measuring the dimensions of your foam or cushion inserts. Add an extra inch to each measurement to account for seam allowances.
- Cutting the Fabric: Lay out your selected fabric on a flat surface and use a measuring tape to mark and measure the dimensions for each cushion. Use fabric scissors to cut along the marked lines. Take your time and cut as accurately as possible to ensure a neat finish.
- Matching Fabric Pieces: If you have multiple cushions, make sure to cut matching fabric pieces for each cushion. This will ensure consistency in the overall look of your outdoor patio furniture.
It’s important to note that if you are using a patterned fabric, you will need to pay attention to the pattern placement. Make sure to align the fabric pattern properly for each cushion to create a cohesive and visually appealing result.
Once you have cut the fabric pieces to the correct size, you can move on to the next step: sewing the cushion covers.
Step 3: Sewing the Cushion Cover
With the fabric cut to size, it’s time to sew the cushion covers for your outdoor patio cushions. Follow these steps:
- Preparing the Fabric: Before sewing, iron the fabric pieces to remove any wrinkles. This will make it easier to sew and result in a more professional finish.
- Aligning the Fabric: Take one fabric piece for the front of the cushion and one for the back. Place them right sides together, ensuring that any pattern or design is facing inward.
- Pinning the Fabric: Use sewing pins to secure the fabric pieces together along the edges. Leave a small gap on one side to insert the foam or cushion insert later.
- Sewing the Edges: Using a sewing machine or hand sewing techniques, sew along the edges of the fabric, leaving a 1/2 inch seam allowance. Backstitch at the beginning and end of each seam to secure the stitches.
- Trimming Excess Fabric: After sewing, trim any excess fabric and clip the corners diagonally. This will reduce bulk and help create sharp corners when you turn the cover right-side out.
- Turning the Cover Right-Side Out: Carefully turn the cover right-side out through the gap left for inserting the foam or cushion insert. Use a pencil or something similar to gently push out the corners for a crisp finish.
- Pressing the Cover: Give the cover a final press with an iron, making sure to smooth out any wrinkles or creases.
Repeat these steps for each cushion cover you are making. Once you have sewn the cushion covers, it’s time to move on to the next step: adding the foam or cushion insert.
Step 4: Adding the Foam Insert
Now that you have sewn the cushion cover, it’s time to add the foam or cushion insert. Follow these steps:
- Measuring the Foam: Take the foam or cushion insert and measure it against the opening of the cushion cover. Trim the foam if necessary to ensure a snug fit.
- Inserting the Foam: Insert the foam or cushion insert into the cushion cover through the gap left during the sewing process. Gently push the foam all the way into the cover, making sure it fills out the corners and edges.
- Smooth Out the Insert: Once the foam is inside the cover, use your hands to smooth it out and ensure it’s evenly distributed within the cushion cover. This will prevent any lumps or unevenness.
If you’re using loose filling instead of foam inserts, simply fill the cushion covers with the desired amount of loose filling, making sure to distribute it evenly. Close the gap by stitching it closed using a needle and thread or with a small hand stitch on the sewing machine.
Adding the foam or insert is an important step to create a comfortable and supportive cushion for your outdoor seating. Once the foam is inserted, you’re ready to move on to the next step: closing the cushion.
When making outdoor patio cushions, use outdoor fabric that is water and UV resistant to ensure durability and longevity.
Read more: How To Make Cushions For Patio Furniture
Step 5: Closing the Cushion
Now that you have inserted the foam or cushion insert, it’s time to close the cushion. Follow these steps:
- Closing the Gap: Begin by carefully pinning the gap closed where you inserted the foam or cushion insert. Make sure the fabric edges are aligned neatly.
- Hand Sewing: Using a needle and thread or a sewing machine, sew a straight stitch along the pinned edge to close the gap. Make sure to backstitch at the beginning and end to secure the stitches.
- Double Check: Once you have closed the gap, double-check the cushion to ensure it is securely sewn and there are no loose threads or openings.
By closing the cushion securely, you ensure that the foam or cushion insert remains in place and the overall appearance of the cushion is tidy and professional.
Congratulations! You have successfully closed your cushion. Now you can move on to the optional step of adding ties or fasteners to your cushions, or proceed to the next step: testing and fluffing the cushion.
Step 6: Adding Ties or Fasteners (Optional)
If you want to add an extra decorative touch or ensure that your outdoor patio cushions stay in place, you can consider adding ties or fasteners. Follow these steps:
- Selecting the Method: Decide whether you want to add ties or fasteners to your cushions. Ties can be made with coordinating fabric or ribbon, while fasteners can include options like hook and loop tape or buttons.
- Placement: Determine where you want to position the ties or fasteners on your cushions. Common placement options include the corners or the back of the cushion.
- Preparing the Ties or Fasteners: If you’re adding ties, cut strips of fabric or ribbon to the desired length and fold them in half. If you’re using fasteners, measure and cut them to the appropriate size.
- Attaching the Ties or Fasteners: Sew the ties or fasteners securely to the cushion cover using a needle and thread or a sewing machine. Make sure to reinforce the stitches for durability.
Adding ties or fasteners to your cushions not only adds a decorative element but also ensures that they stay in place, even in windy conditions. Plus, it gives you the flexibility to easily remove and wash the cushion covers when needed.
Once you have added the ties or fasteners (if desired), it’s time to move on to the final step: testing and fluffing the cushion.
Step 7: Testing and Fluffing the Cushion
Congratulations on completing your DIY outdoor patio cushions! The final step is to test and fluff the cushions to ensure they provide maximum comfort and support. Follow these steps:
- Testing the Cushion: Place the cushion on your outdoor furniture to test its comfort and fit. Sit on the cushion and assess its comfort level. Make sure it provides adequate support and feels comfortable to sit on.
- Adjustments: If you feel that the cushion needs additional fluffing or support, you can make adjustments. Simply unzip the cushion cover and add more filling, such as foam inserts or loose filling, as needed.
- Fluffing the Cushion: To create a plush and inviting appearance, give the cushion a good fluff. This involves plumping up the cushion by gently hitting or pounding it with your hands. This helps redistribute the filling for an even and attractive appearance.
- Final Assessment: After fluffing and testing the cushion, sit on it again to ensure it meets your desired level of comfort and support. Make any final adjustments if necessary.
By testing and fluffing your cushions, you ensure that they are comfortable and ready for use. Remember to periodically fluff your outdoor patio cushions to maintain their shape and appearance over time.
With your outdoor patio cushions now complete, you can sit back, relax, and enjoy the fruits of your DIY labor. Your personalized and comfortable cushions will enhance your outdoor living space and provide an inviting spot to unwind and enjoy the outdoors.
Enjoy your newly made outdoor patio cushions, and happy relaxing!
Conclusion
Congratulations on successfully creating your own outdoor patio cushions! By following the step-by-step process, you have not only saved money but also customized your cushions to fit your style and comfort preferences. These cushions will surely enhance your outdoor space and provide a cozy spot to relax and enjoy the outdoors.
Throughout this DIY project, you have learned how to gather the necessary materials, measure and cut fabric, sew the cushion covers, add the foam or cushion insert, close the cushions, and even add optional ties or fasteners. Each step was carefully explained to ensure that you have all the knowledge and tools required to achieve professional-looking results.
Remember, the materials you choose, such as fade-resistant and water-resistant outdoor fabric, will contribute to the longevity and durability of your cushions. Additionally, adding ties or fasteners can provide not only a decorative touch but also practicality by keeping your cushions securely in place.
Once your cushions are completed, don’t forget to test and fluff them for maximum comfort and appeal. Regular maintenance, such as periodically fluffing the cushions and cleaning them according to the fabric’s care instructions, will help prolong their lifespan and keep them looking fresh and inviting.
Now that you have the knowledge and skills to create your own outdoor patio cushions, the possibilities are endless. You can make cushions for different outdoor furniture pieces, change the colors and patterns to match the seasons, or even make new cushions as gifts for friends and family.
So, gather your materials, put on your creative hat, and start making your own outdoor patio cushions. With a little time and effort, you’ll have cushions that are not only comfortable and durable but also a reflection of your personal style and unique taste.
Enjoy the process of creating and the comfort of using your homemade outdoor patio cushions, and may your outdoor space become a haven of relaxation and enjoyment.
Frequently Asked Questions about How To Make Outdoor Patio Cushions
Was this page helpful?
At Storables.com, we guarantee accurate and reliable information. Our content, validated by Expert Board Contributors, is crafted following stringent Editorial Policies. We're committed to providing you with well-researched, expert-backed insights for all your informational needs.


0 thoughts on “How To Make Outdoor Patio Cushions”