
Articles
How To Make Guava Juice With A Juicer
Modified: December 6, 2023
Learn how to make delicious guava juice at home using a juicer. Follow our step-by-step article for a refreshing and healthy drink.
(Many of the links in this article redirect to a specific reviewed product. Your purchase of these products through affiliate links helps to generate commission for Storables.com, at no extra cost. Learn more)
Introduction
Welcome to the wonderful world of juicing, where fresh and delicious fruit juices can be easily made in the comfort of your own home. In this article, we will be exploring how to make guava juice using a juicer. Guava is a tropical fruit known for its sweet and tangy flavor, packed with essential vitamins and minerals. Whether you are looking for a refreshing drink to quench your thirst or a nutritious addition to your diet, guava juice is a perfect choice.
Guava juice offers a myriad of health benefits. It is rich in vitamin C, which helps boost your immune system and promotes healthy skin. It is also a good source of dietary fiber, aiding in digestion and keeping you feeling full for longer. Additionally, guava juice contains antioxidants that help combat free radicals in the body, reducing the risk of chronic diseases.
Now, let’s dive into the process of making delicious guava juice with a juicer. Before we begin, it’s important to choose the right guavas and ensure they are perfectly ripe.
Key Takeaways:
- Enjoy the tropical flavors and health benefits of homemade guava juice by selecting ripe guavas, preparing them, and using a juicer to create a refreshing and nutritious beverage.
- Get creative with your guava juice by experimenting with different fruits, herbs, and serving options to personalize your juicing experience and delight your taste buds.
Read more: How To Make Carrot Juice With A Juicer
Choosing the right guavas
When it comes to making guava juice, selecting the right guavas is essential to ensure the best flavor and quality of your juice. Here are some tips to help you choose the perfect guavas:
- Look for ripe guavas: Guavas should be ripe but still firm to the touch. Avoid guavas that are overly soft or show signs of bruising.
- Consider the color: The color of guavas can vary depending on the variety. Look for guavas with a bright, vibrant color. They should have a yellow or greenish-yellow hue, depending on the ripeness.
- Check the aroma: Take a whiff of the guavas. A ripe guava should have a sweet and fragrant aroma. If it smells sour or fermented, it may be overripe or spoiled.
- Size matters: Guavas come in different sizes, and there is no fixed rule for the ideal size. However, choose guavas that feel substantial and heavy for their size. They should feel dense and packed with juice.
- Consider organic options: If possible, opt for organic guavas to avoid any pesticide residue. Organic guavas are grown without the use of synthetic chemicals, ensuring a more natural and healthy juice.
Once you have selected the perfect guavas, it’s time to prepare them for juicing!
Preparing the guavas
Before you start juicing, it’s important to properly prepare the guavas. Here’s a step-by-step guide to help you:
- Wash the guavas: Begin by rinsing the guavas under cool water to remove any dirt or impurities on the skin.
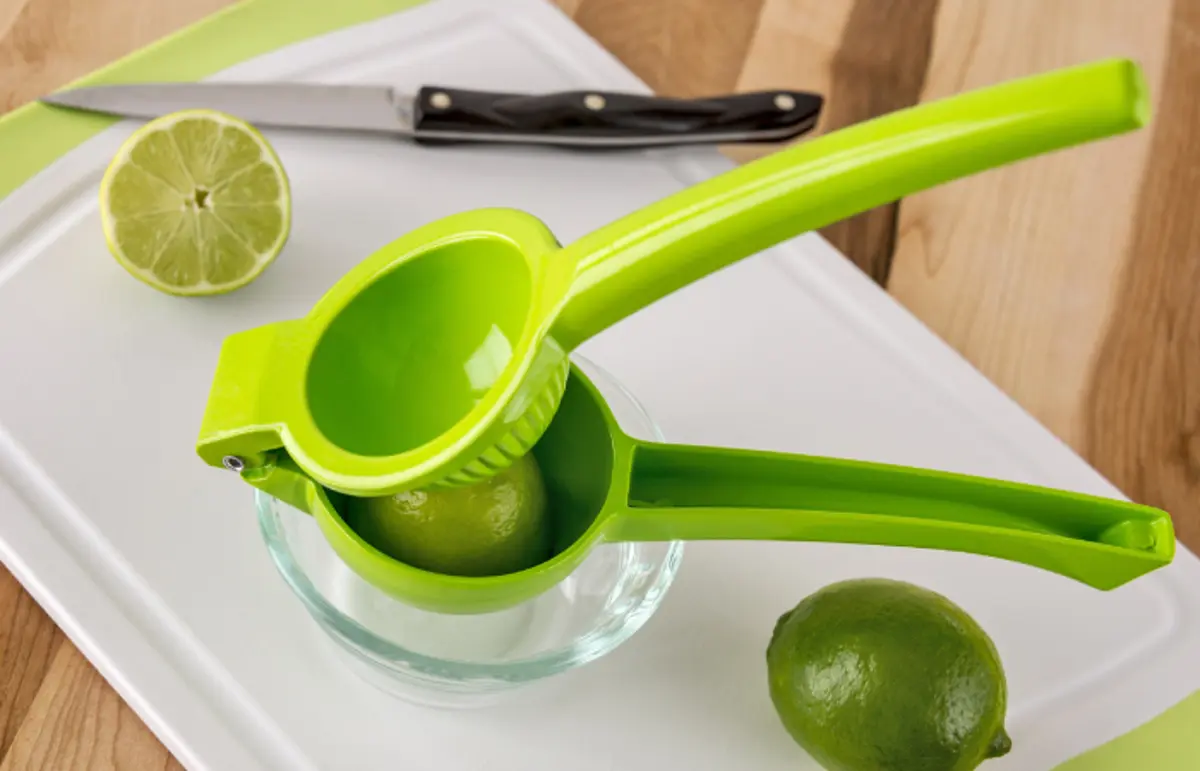
- Remove the skin: Depending on your preference, you can choose to leave the skin on or remove it. Guava skin is edible and adds extra fiber to your juice, but it can also have a slightly bitter taste. To remove the skin, use a knife to make a shallow cut around the circumference of the guava, then peel it off gently.
- Cut the guavas: Slice the guavas into smaller pieces that will fit into your juicer’s chute. Remove any seeds if desired, although the seeds are generally edible and won’t affect the taste of the juice.
- Optional: Add other fruits or ingredients: If you want to experiment with different flavors, you can add other fruits like pineapple, apple, or strawberries to your guava juice. This will enhance the taste and provide additional nutrients.
- Let the guavas chill: For a refreshing and cool guava juice, you can refrigerate the sliced guavas for a few hours before juicing. This will give your juice an extra refreshing touch.
Once the guavas are properly prepared, it’s time to set up your juicer and get ready to make delicious guava juice!
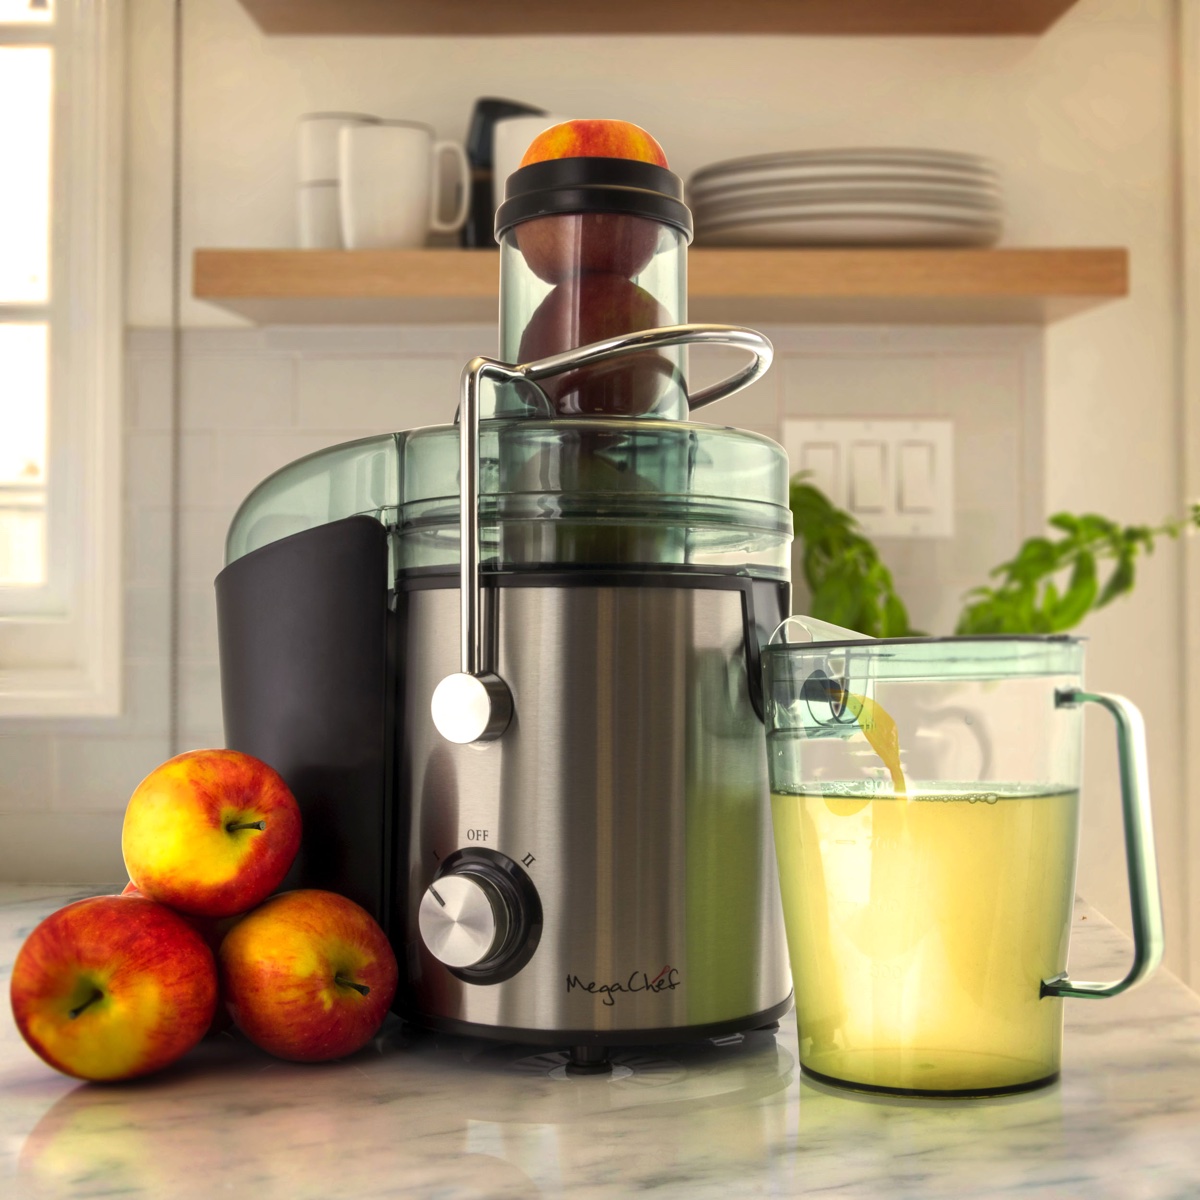
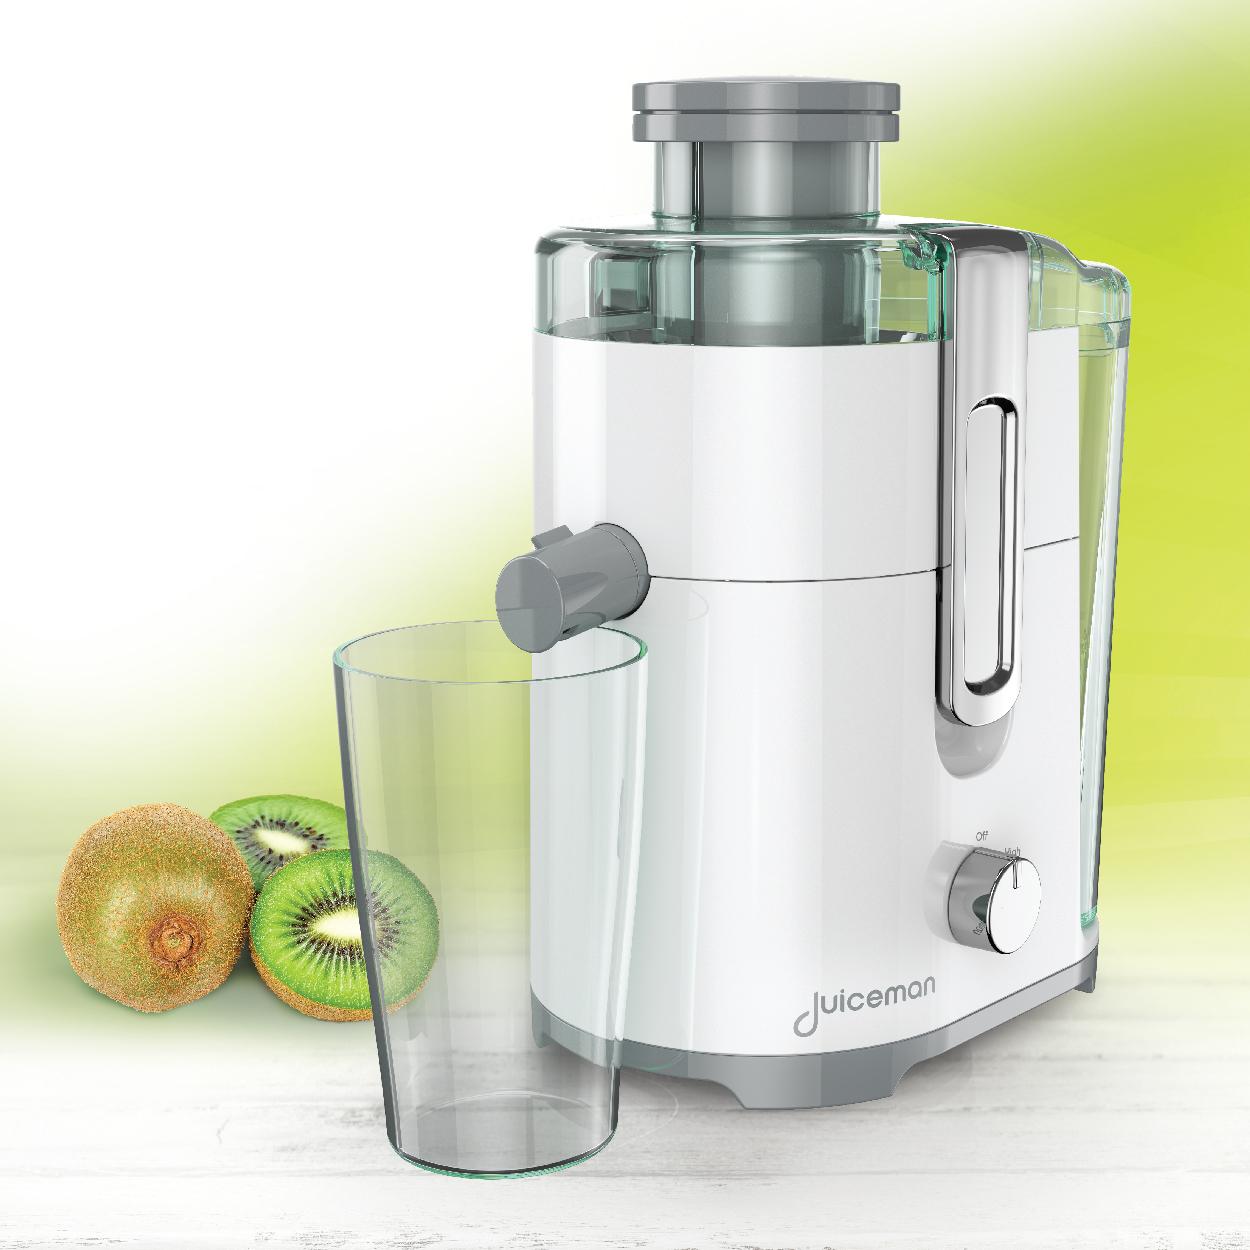
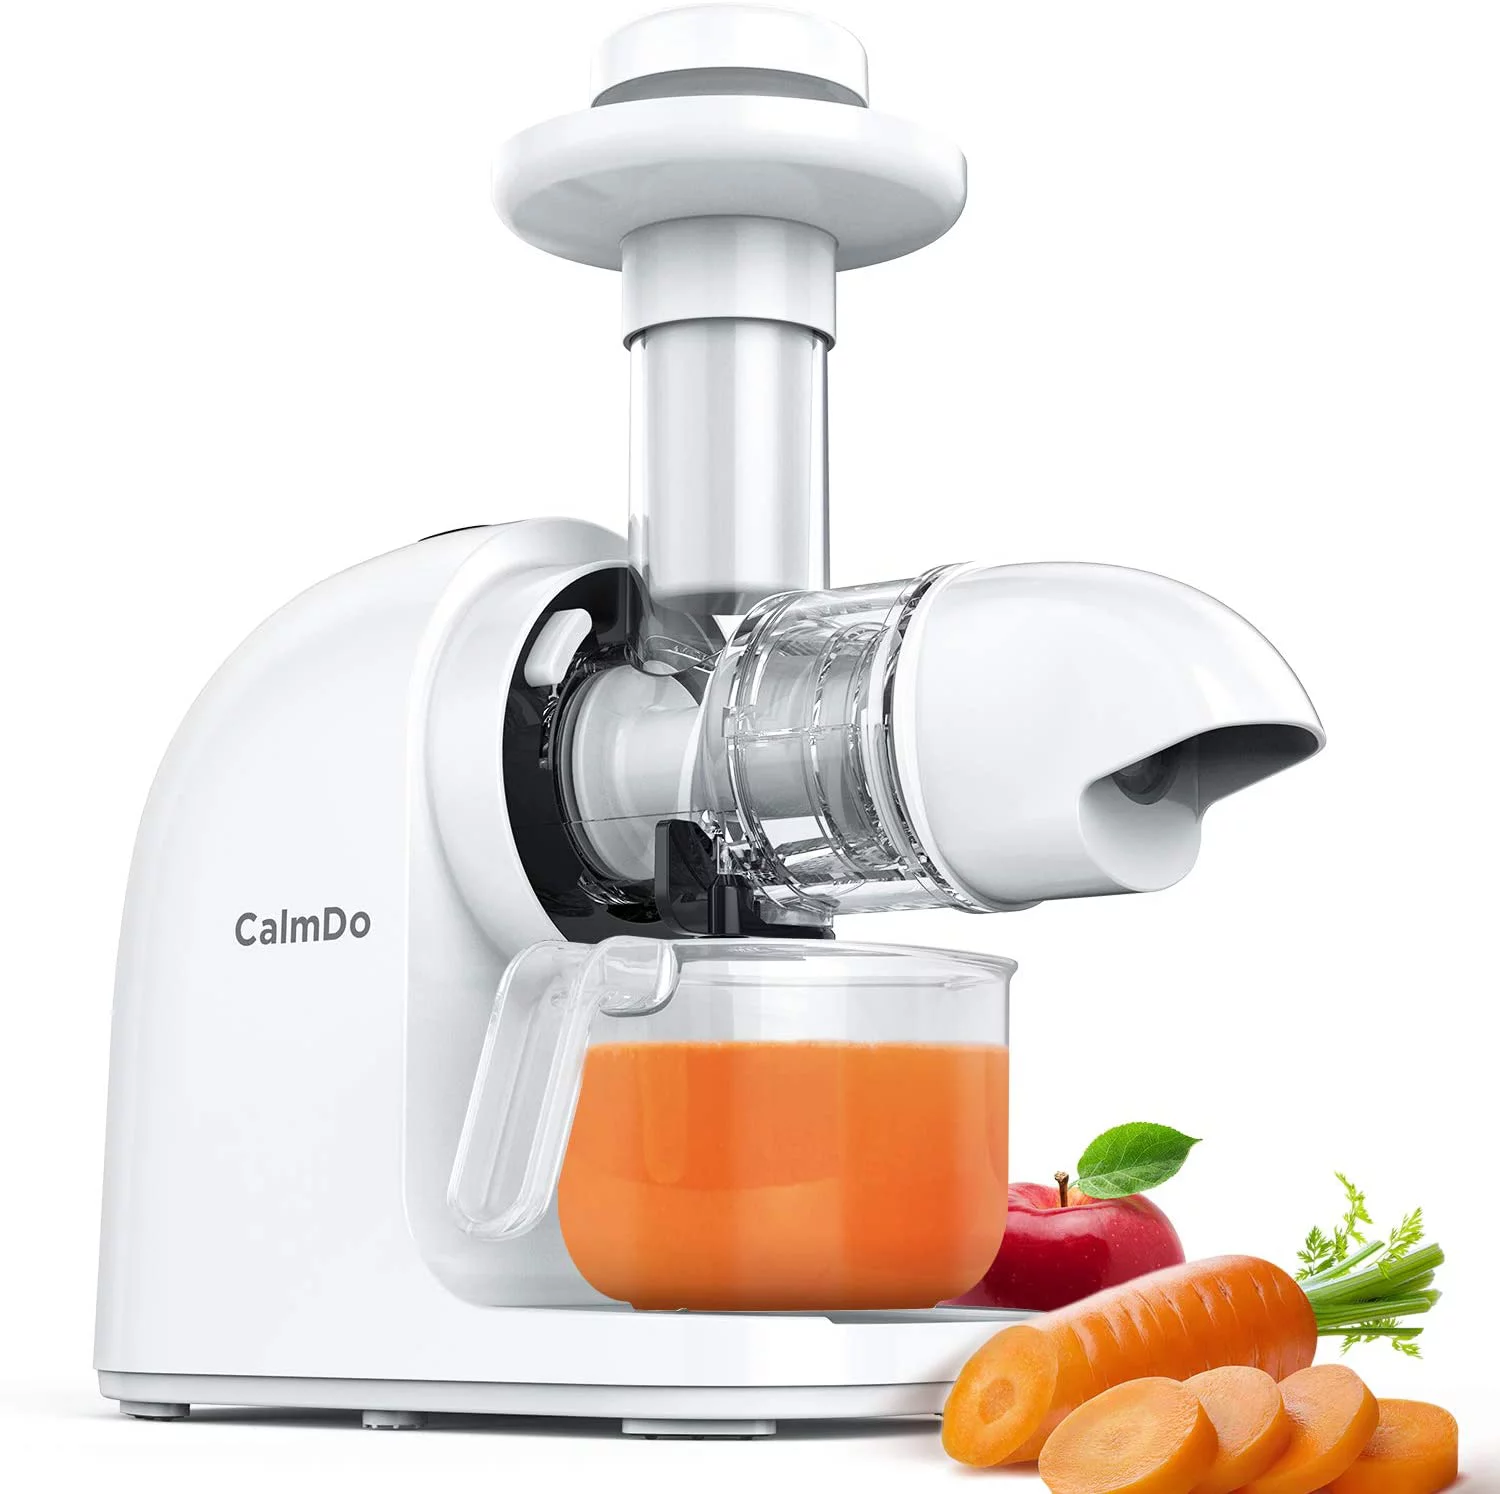
Setting up the juicer
Now that you have your guavas prepared, it’s time to set up your juicer. Follow these steps to ensure a smooth and efficient juicing process:
- Read the manufacturer’s instructions: Before setting up your juicer, it’s important to familiarize yourself with the specific instructions provided by the manufacturer. Each juicer may have different components and assembly requirements.
- Assemble the juicer: Start by assembling the necessary parts of your juicer according to the instructions. This typically involves attaching the juicing cone, juice collector, and any other components specific to your juicer model.
- Ensure the juicer is clean: Before using the juicer, make sure all parts are clean and free from any residue or debris. This will help maintain the cleanliness and hygiene of your guava juice.
- Position the juicer on a stable surface: Place your juicer on a sturdy and stable surface, ensuring it won’t move or tip over during the juicing process. This will prevent accidents and maintain the juicer’s functionality.
- Have a container ready: Prepare a container or glass to collect the freshly extracted guava juice. Make sure it is large enough to hold the desired amount of juice you want to make.
- Plug in the juicer: Connect the juicer to a power source and ensure it is properly plugged in and ready for use.
By following these steps, you can set up your juicer effectively and be well-prepared for the juicing process. With the juicer ready, it’s time to move on to making the guava juice!
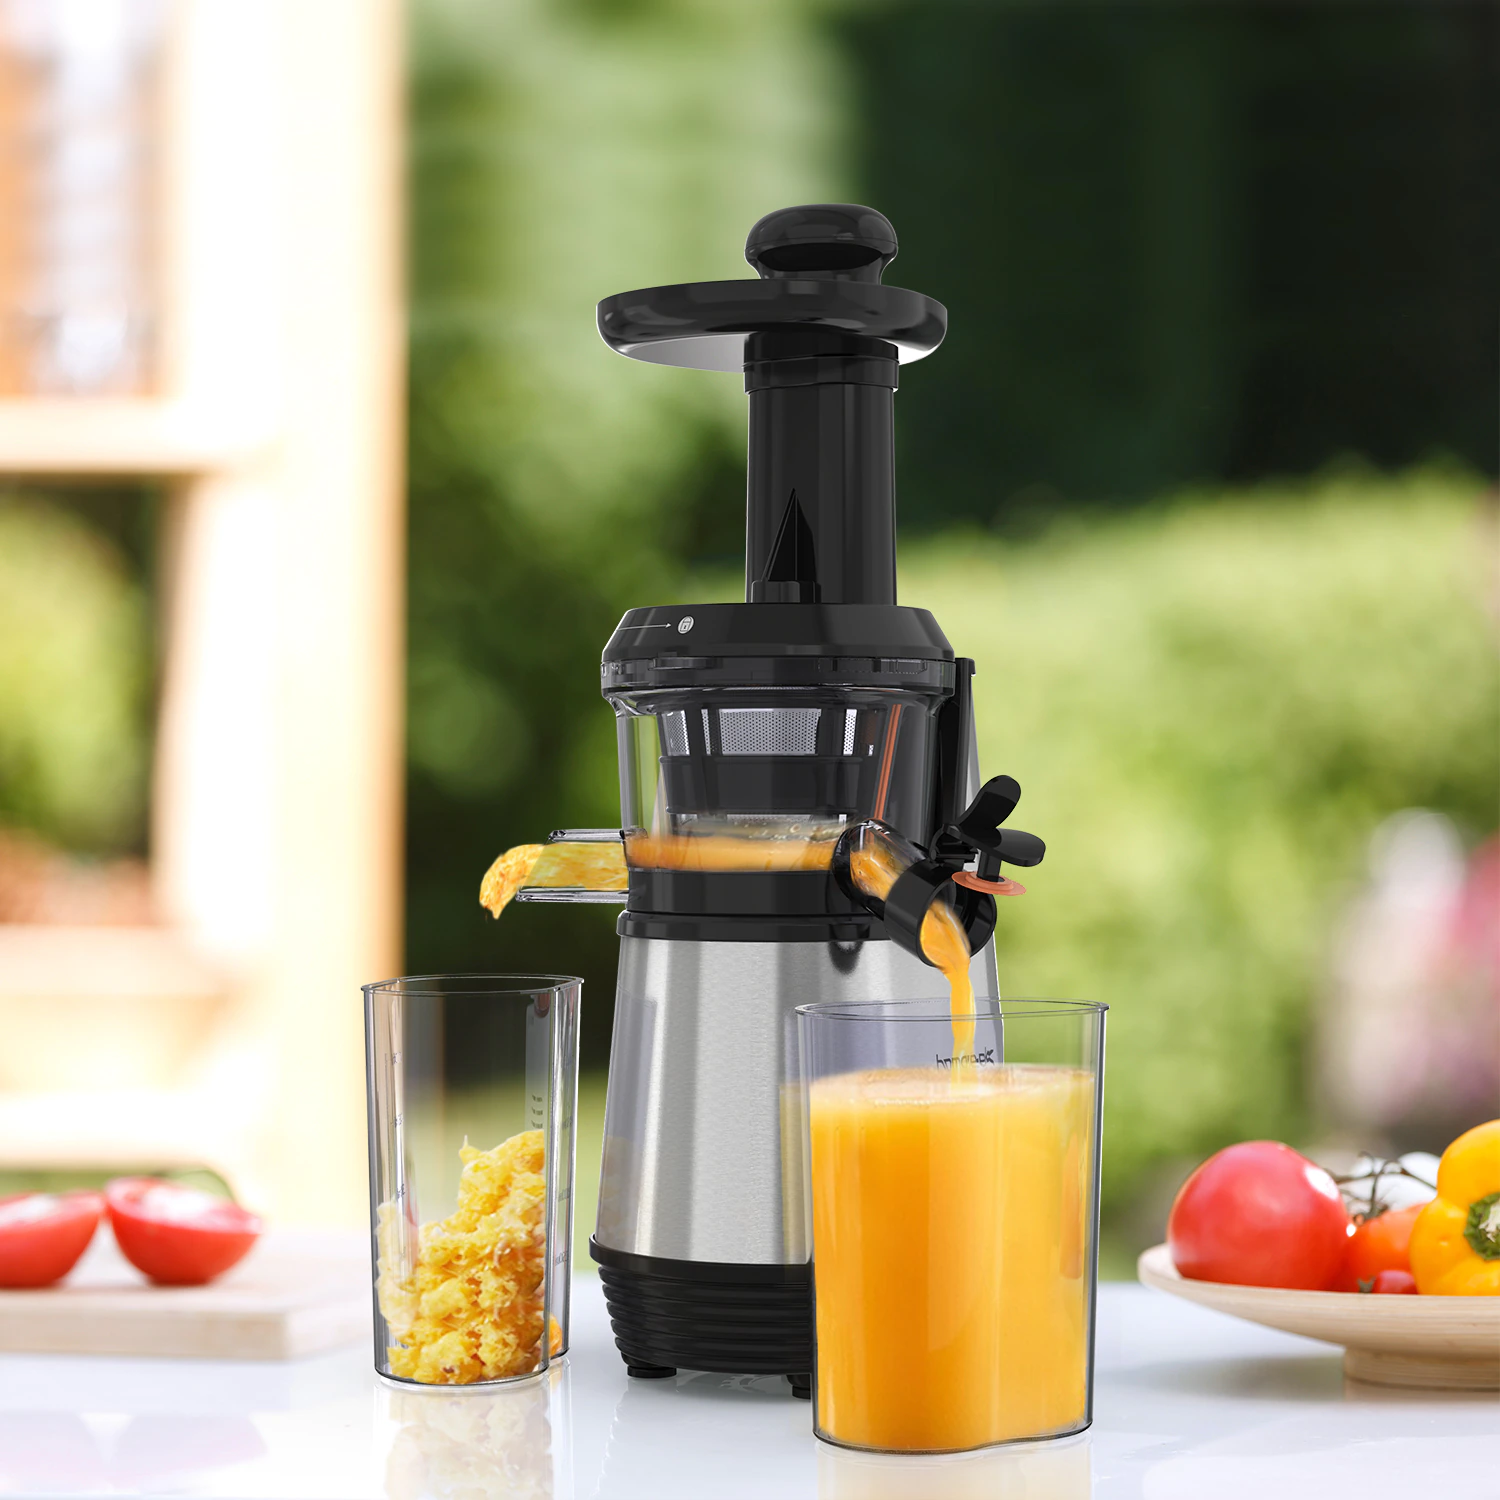
To make guava juice with a juicer, simply wash and cut the guavas into small pieces, then feed them into the juicer. Add a little water if the juice is too thick. Enjoy your fresh guava juice!
Making guava juice
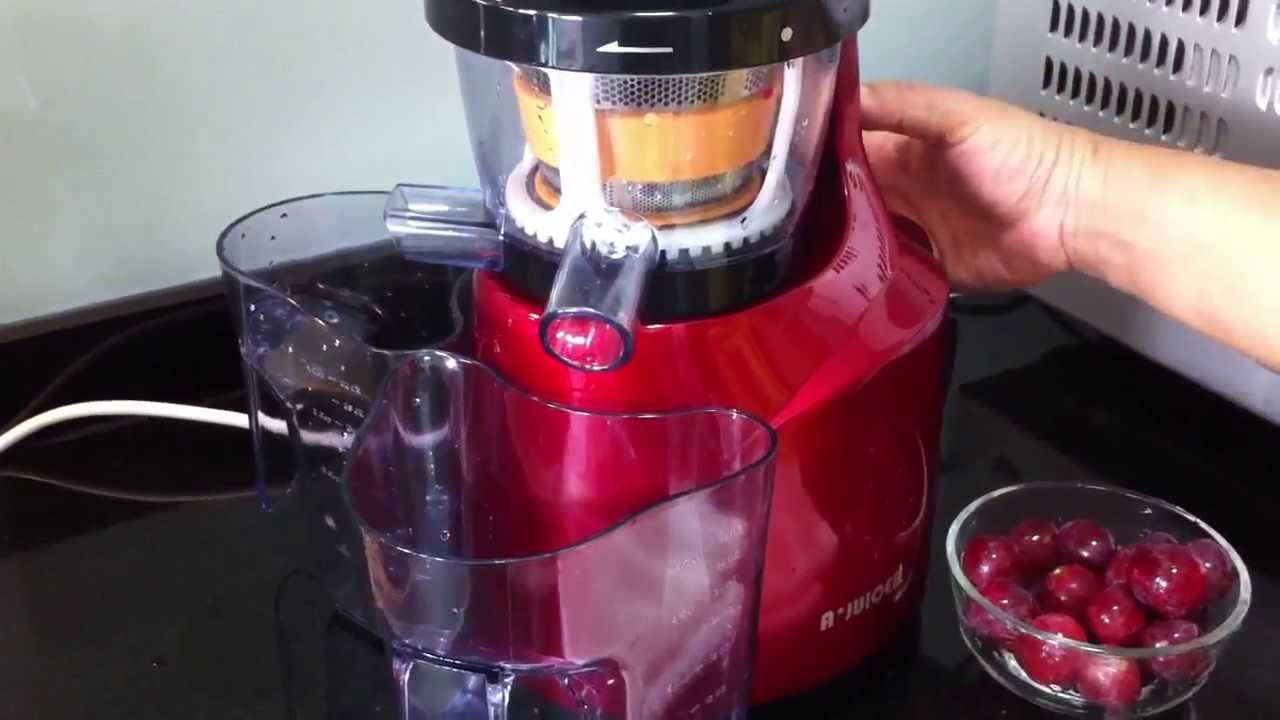
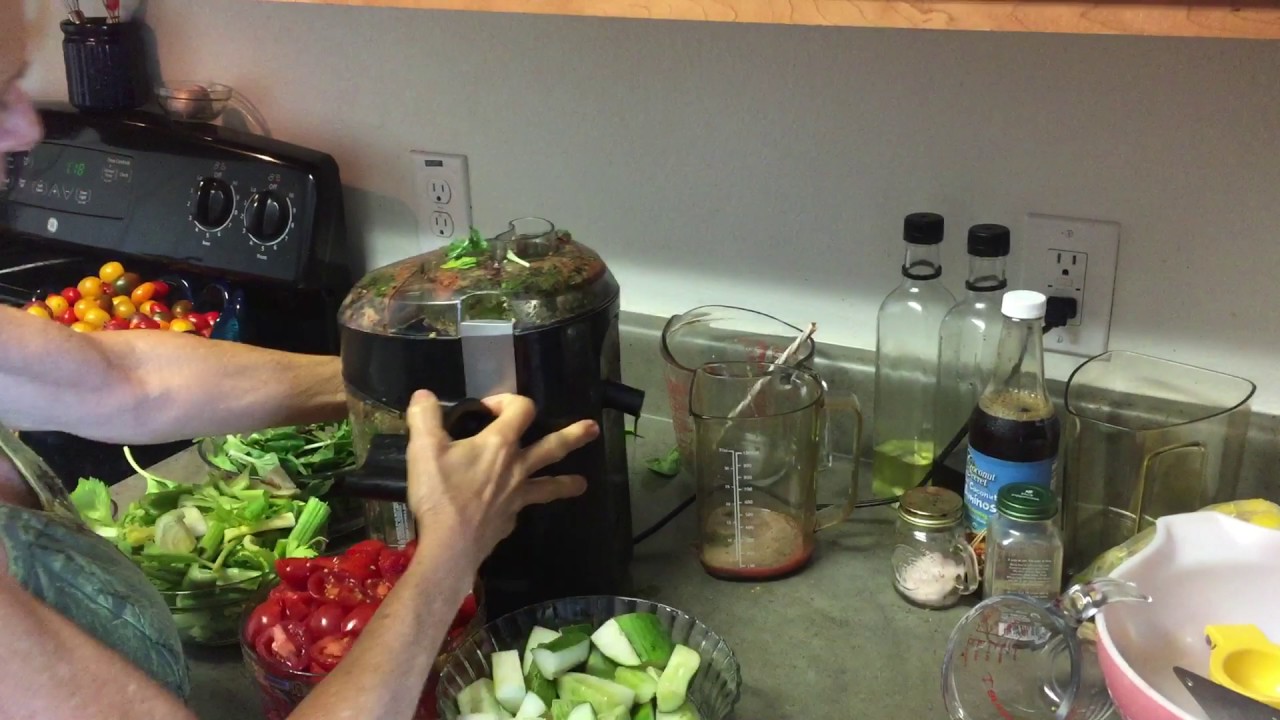
With your juicer set up and ready to go, it’s time to start making your delicious guava juice. Follow these steps to extract the juice from the prepared guavas:
- Turn on the juicer: Switch the juicer on and ensure it is running at the appropriate speed for juicing fruits.
- Add the guava slices: Place the prepared guava slices into the juicer’s chute, one by one. Allow the juicer to extract the juice from the guavas.
- Collect the juice: As the guavas are juiced, the extracted juice will flow into the juice collector or container that you placed under the juicer’s spout.
- Continue juicing: Repeat the process until all the guava slices have been juiced and the desired amount of guava juice has been collected. You can adjust the juicing speed or the pressure applied to the guavas depending on the consistency you prefer.
- Optional: Strain the juice: If you prefer a smoother texture, you can strain the guava juice through a fine-mesh sieve or cheesecloth to remove any pulp or seeds.
And there you have it – freshly made guava juice! Your juicer has efficiently extracted the flavors, nutrients, and vibrant colors from the guavas, resulting in a refreshing and nutritious beverage.
Now, let’s move on to the final steps – storing and serving your guava juice.
Read more: How To Make Tomato Juice With A Juicer
Storing and serving guava juice
Once you have made your delicious guava juice, it’s important to store it properly to maintain its freshness and flavor. Follow these guidelines for storing and serving your homemade guava juice:
- Refrigeration: Guava juice is best consumed fresh, but if you have any leftovers, store the juice in airtight containers or bottles and refrigerate it immediately. Guava juice can typically be stored in the refrigerator for up to 3-4 days.
- Freezing: If you want to extend the shelf life of your guava juice, you can freeze it. Transfer the juice into freezer-safe containers, leaving some room for expansion, and freeze for up to 2-3 months. Thaw the juice in the refrigerator before consuming.
- Serving temperature: Guava juice can be enjoyed chilled or at room temperature, depending on your preference. If you prefer it cold, refrigerate it for a few hours before serving. You can also add ice cubes for an extra refreshing touch.
- Garnishes: To enhance the presentation and flavor of your guava juice, you can add garnishes like a sprig of mint or a slice of lime. This adds a touch of visual appeal and a hint of citrusy freshness.
- Pairing: Guava juice can be enjoyed on its own as a refreshing beverage, but it also pairs well with other flavors. Consider serving it alongside breakfast, snacks, or even as a base for cocktails and mocktails.
- Experiment with additions: If you want to get creative, you can add a splash of lime juice, a dash of honey, or even a hint of ginger to your guava juice for extra flavor variations.
Remember to give your guava juice a good stir before serving to ensure that any settled pulp or sediment is evenly distributed. Enjoy the tangy and sweet flavors of your homemade guava juice!
Now that you know how to store and serve guava juice, let’s explore some tips and variations to take your guava juice experience to the next level.
Tips and variations
To enhance your guava juice-making experience and add a touch of creativity, here are some tips and variations you can explore:
- Add other fruits: Guava juice pairs well with a variety of fruits. Consider combining guava with pineapple, mango, or citrus fruits like orange or lemon for a tropical twist.
- Enhance the sweetness: If your guavas are not as sweet as you would like, you can add a natural sweetener like honey or agave syrup to balance the flavors. Adjust the amount based on your desired level of sweetness.
- Create a guava smoothie: For a thicker and creamier texture, blend your guava juice with a banana, yogurt, or coconut milk to create a delicious guava smoothie.
- Infuse with herbs: Experiment with infusing your guava juice with herbs like mint, basil, or even a hint of rosemary. This will add a refreshing and aromatic twist to the flavor profile.
- Add a splash of citrus: Squeeze a bit of fresh lime or lemon juice into your guava juice to add a zesty kick and enhance the tangy flavors.
- Make a sparkling guava beverage: Mix your guava juice with sparkling water or soda to create a fizzy and refreshing guava spritzer.
- Serve it with a twist: Garnish your guava juice with a slice of guava or a sprinkle of cinnamon to give it an extra visual appeal and unique taste.
- Experiment with spices: Add a pinch of ground ginger, cinnamon, or nutmeg to your guava juice for a warming and exotic flavor infusion.
- Double-strain for a smoother texture: If you prefer a silky-smooth texture, strain your guava juice twice through a fine-mesh sieve or cheesecloth to remove any remaining pulp.
- Use the leftover pulp: Don’t let the leftover pulp of your guava juice go to waste. Consider adding it to smoothies, baking recipes, or even incorporating it into homemade fruit sauces.
These tips and variations allow you to personalize and experiment with your guava juice, creating unique and flavorful combinations. Don’t be afraid to get creative and adapt the recipe to your taste preferences.
Now that you have a wealth of knowledge about making guava juice, it’s time to put this information into practice and enjoy the delightful flavors of your homemade guava juice.
Happy juicing!
Conclusion
Congratulations! You are now equipped with the knowledge and techniques to make delicious guava juice using a juicer. The process of selecting ripe guavas, preparing them, setting up your juicer, and extracting the juice can be a fun and rewarding experience.
Guava juice provides a multitude of health benefits, including a boost of vitamin C, dietary fiber, and antioxidants. By incorporating guava juice into your daily routine, you can enhance your overall well-being and enjoy the refreshing taste of this tropical fruit.
Remember to experiment with different flavors and variations to personalize your guava juice. Whether you choose to add other fruits, herbs, spices, or sweeteners, the possibilities are endless. Let your imagination run wild!
Once your guava juice is ready, store it properly in the refrigerator or freezer to maintain its freshness. Serve it chilled or at room temperature, and consider garnishing it with a slice of lime, a sprig of mint, or other creative touches.
Now that you have discovered the joy of making guava juice, feel free to share your newfound knowledge with family and friends. They will be impressed by your juicing skills and the delicious guava juice you can now create.
So, grab your juicer, select some ripe guavas, and start juicing! Enjoy the sweet and tangy flavors of homemade guava juice, and embrace the health benefits it offers. Cheers to your juicing adventures!
Frequently Asked Questions about How To Make Guava Juice With A Juicer
Was this page helpful?
At Storables.com, we guarantee accurate and reliable information. Our content, validated by Expert Board Contributors, is crafted following stringent Editorial Policies. We're committed to providing you with well-researched, expert-backed insights for all your informational needs.

0 thoughts on “How To Make Guava Juice With A Juicer”