Articles
How To Make Orange Juice In A Juicer
Modified: February 27, 2024
Looking for articles on how to make orange juice in a juicer? Discover easy steps and tips to create refreshing homemade orange juice with a juicer.
(Many of the links in this article redirect to a specific reviewed product. Your purchase of these products through affiliate links helps to generate commission for Storables.com, at no extra cost. Learn more)
Introduction
There’s nothing quite like a refreshing glass of orange juice to start your day off right. Packed with vitamin C and bursting with flavor, orange juice is a popular choice for breakfast tables around the world. While you can easily buy orange juice from the store, there’s something special about making your own freshly squeezed juice at home.
In this article, we will guide you through the process of making orange juice in a juicer. From selecting the right oranges to serving and storing the juice, we’ll cover all the steps to ensure you have a delicious and nutritious glass of orange juice to enjoy.
So, let’s dive in and discover how to make orange juice in a juicer!
Key Takeaways:
- Select ripe, organic oranges for juicing and experiment with different varieties to find your preferred flavor profile. Properly prepare and store the juice to maintain its freshness and taste.
- Elevate your orange juice-making game by incorporating tips like using room temperature oranges, experimenting with citrus combinations, and creatively using leftover pulp. Enjoy the process and savor the satisfaction of homemade juice.
Read more: How To Juice An Orange With Juicer
Choosing the Right Oranges
When it comes to making orange juice, selecting the right oranges is key to achieving the perfect balance of sweetness and tanginess. Here are some tips to keep in mind when choosing oranges for juicing:
- Look for ripe and juicy oranges: Opt for oranges that feel heavy for their size and have a firm, smooth skin. Avoid oranges that are overly soft or have blemishes.
- Choose organically grown oranges: If possible, choose organic oranges to avoid any potential pesticide residue on the skin, as you will be using the whole fruit in the juicing process.
- Consider the variety: There are different varieties of oranges available, each with its own unique flavor profile. Navel oranges are popular for juicing due to their sweet and slightly tangy taste, while Valencia oranges are known for their juiciness and well-balanced flavor.
- Go for seasonal oranges: Oranges are at their peak during the winter months, so it’s best to choose oranges that are in season for optimal taste and juiciness.
- Experiment with different varieties: Don’t be afraid to try different orange varieties to find your favorite flavor combination. Blood oranges, for example, have a distinct red flesh and offer a slightly sweeter taste.
By paying attention to these factors, you can ensure that you select the best oranges for making delicious and refreshing orange juice in your juicer.
Preparing the Oranges
Once you have chosen the perfect oranges for juicing, it’s time to prepare them before they go into the juicer. Follow these steps to ensure that your oranges are ready to yield the maximum amount of juice:
- Wash the oranges: Rinse the oranges under cool running water to remove any dirt or debris on the skin.
- Remove any stickers or labels: Check the oranges for any stickers or labels and peel them off completely.
- Roll the oranges: To make it easier to extract the juice, roll each orange firmly on a hard surface like the countertop. This helps break down the pulp inside and releases more juice.
- Cut the oranges: Using a sharp knife, cut the oranges in half horizontally. This will expose the juicy flesh inside and make it easier to juice.
- Remove any seeds: Check each orange half for any visible seeds and use a small spoon or knife to remove them. Discard the seeds and continue with the remaining oranges.
By following these preparation steps, you can ensure that your oranges are cleaned, primed, and ready to be juiced in the next stage.
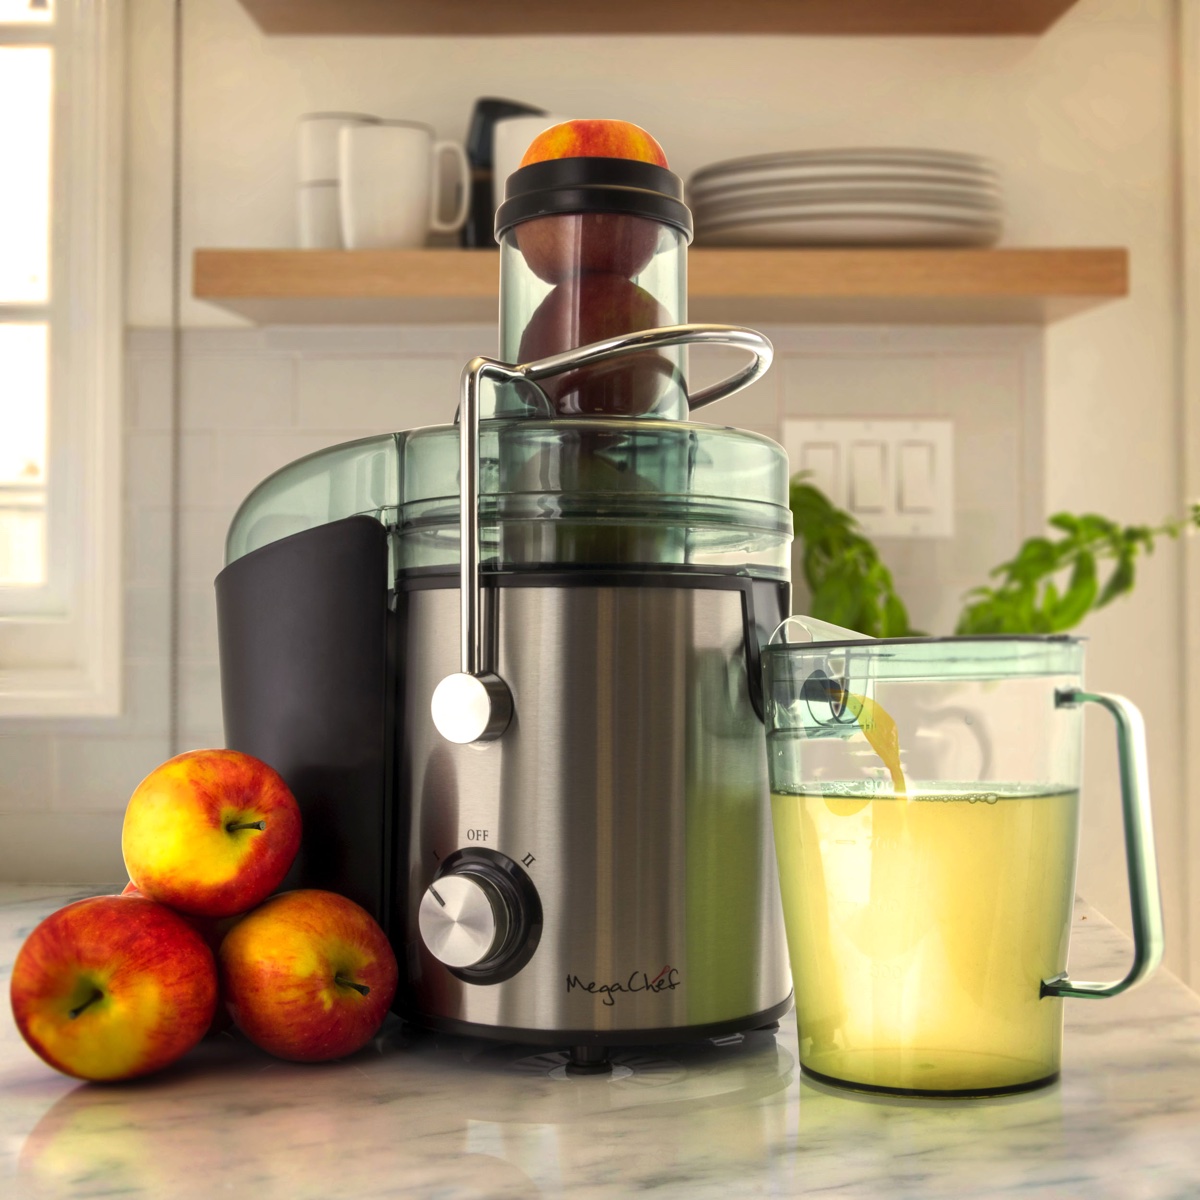
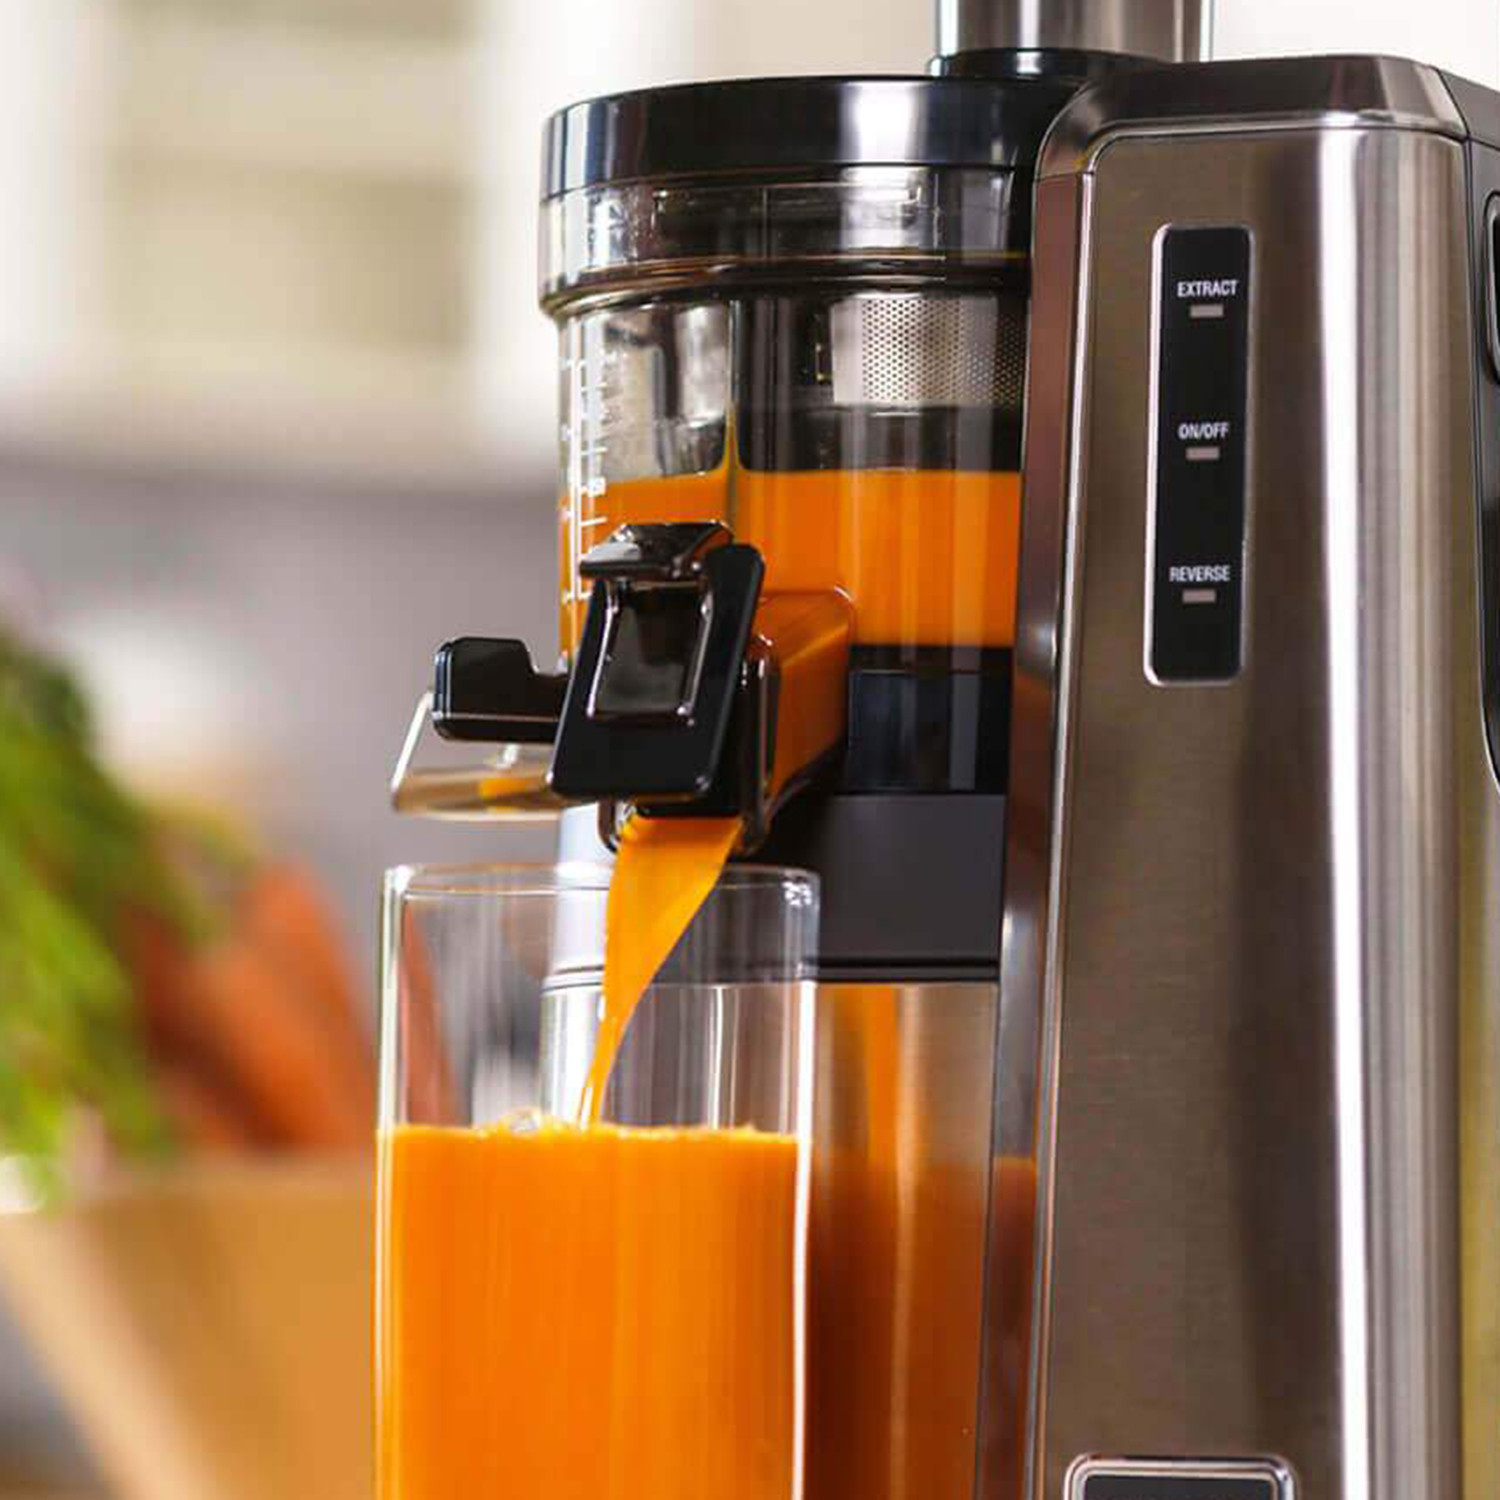
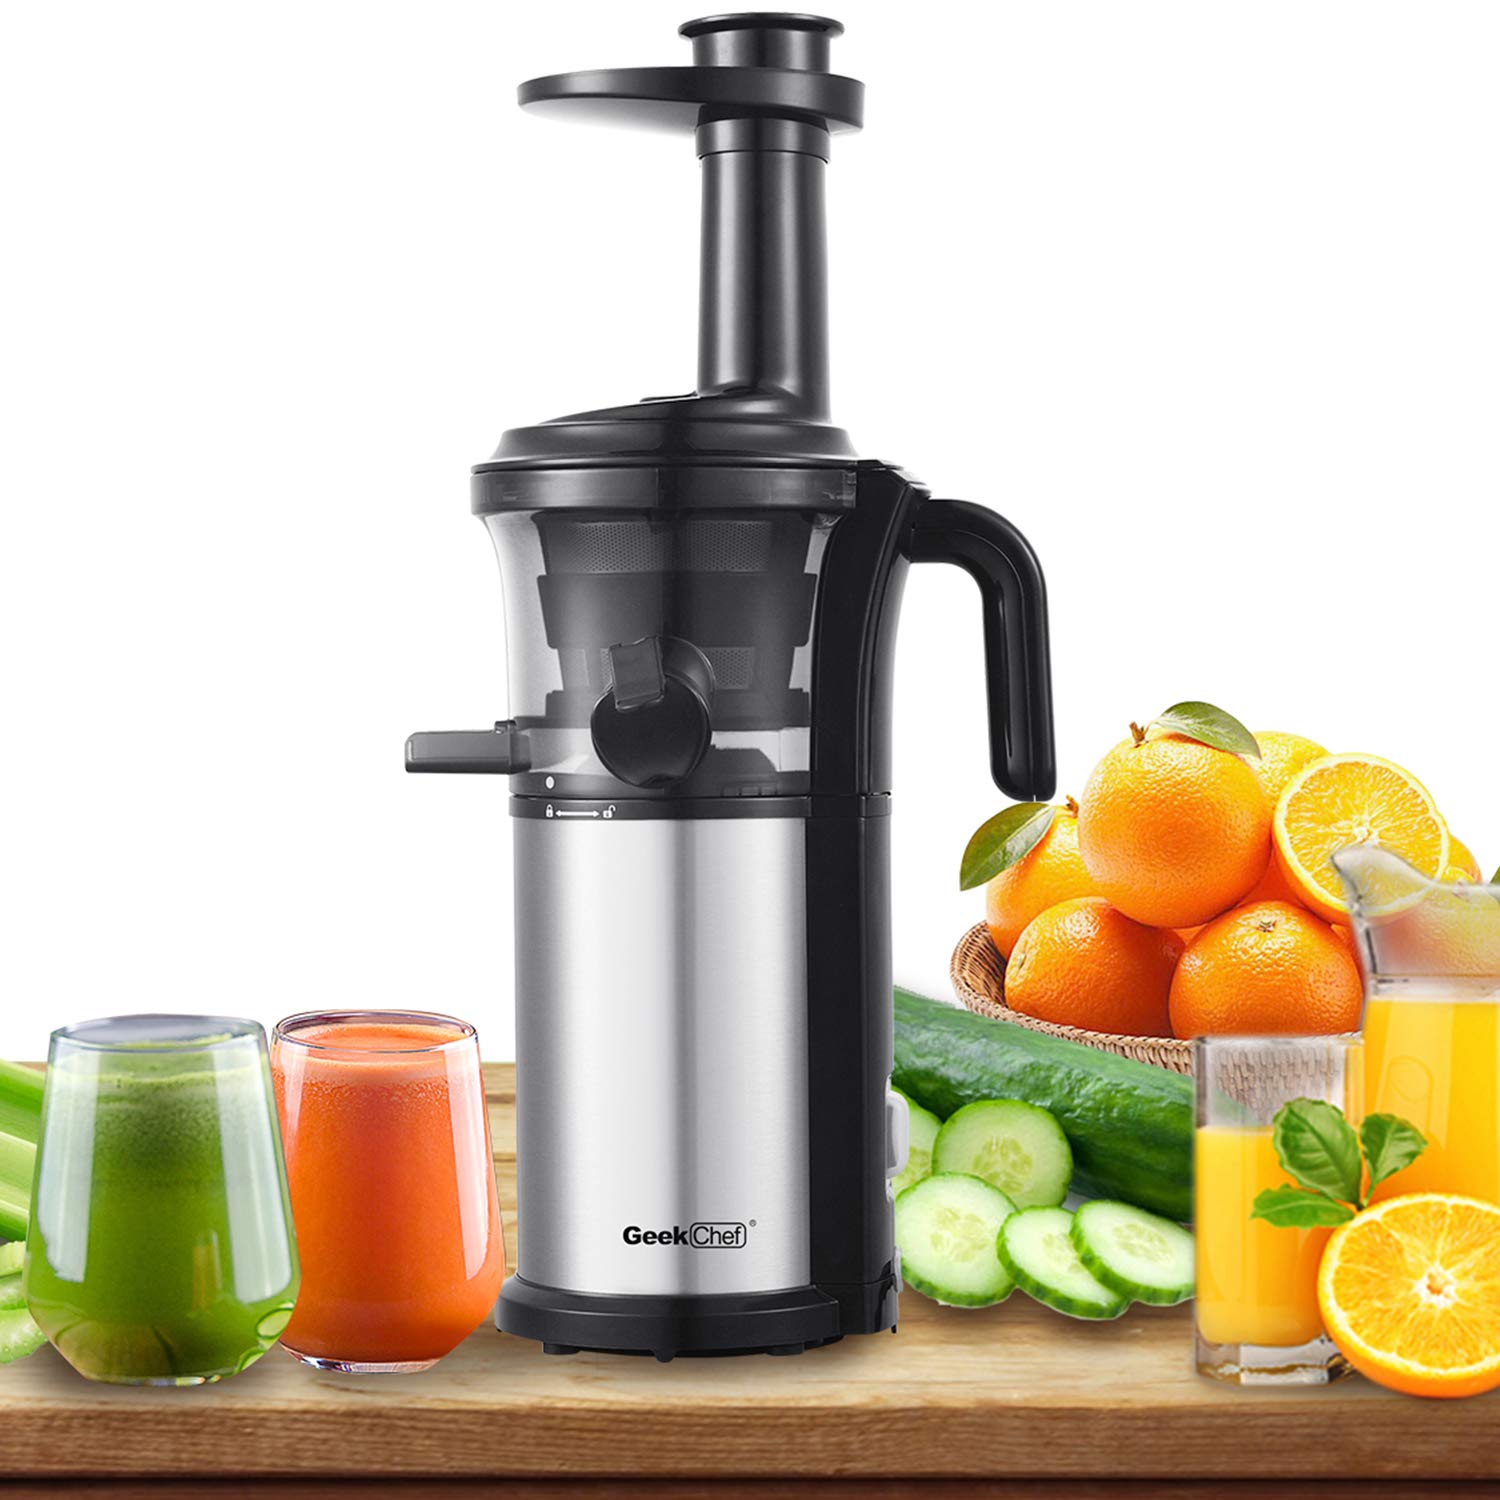
Setting up the Juicer
Now that your oranges are prepared, it’s time to set up your juicer for the juicing process. Here are the steps to get your juicer ready:
- Read the instructions: Every juicer is different, so it’s important to familiarize yourself with the specific instructions provided by the manufacturer. This will help you understand how to assemble and operate your juicer properly.
- Assemble the juicer: Follow the manufacturer’s instructions to assemble all the components of your juicer. This typically involves attaching the pulp container, juice collector, and any additional attachments or filters.
- Place a container under the spout: Position a large pitcher or container under the juice spout of your juicer to collect the freshly squeezed juice. Make sure it’s large enough to hold the desired amount of juice you want to extract.
- Preheat the juicer (optional): Some juicers require preheating before use. Refer to the instructions to see if your juicer needs this step and follow the recommended preheating time.
Once your juicer is properly assembled and the collection container is in place, you’re all set to start juicing the oranges and extracting the delicious juice.
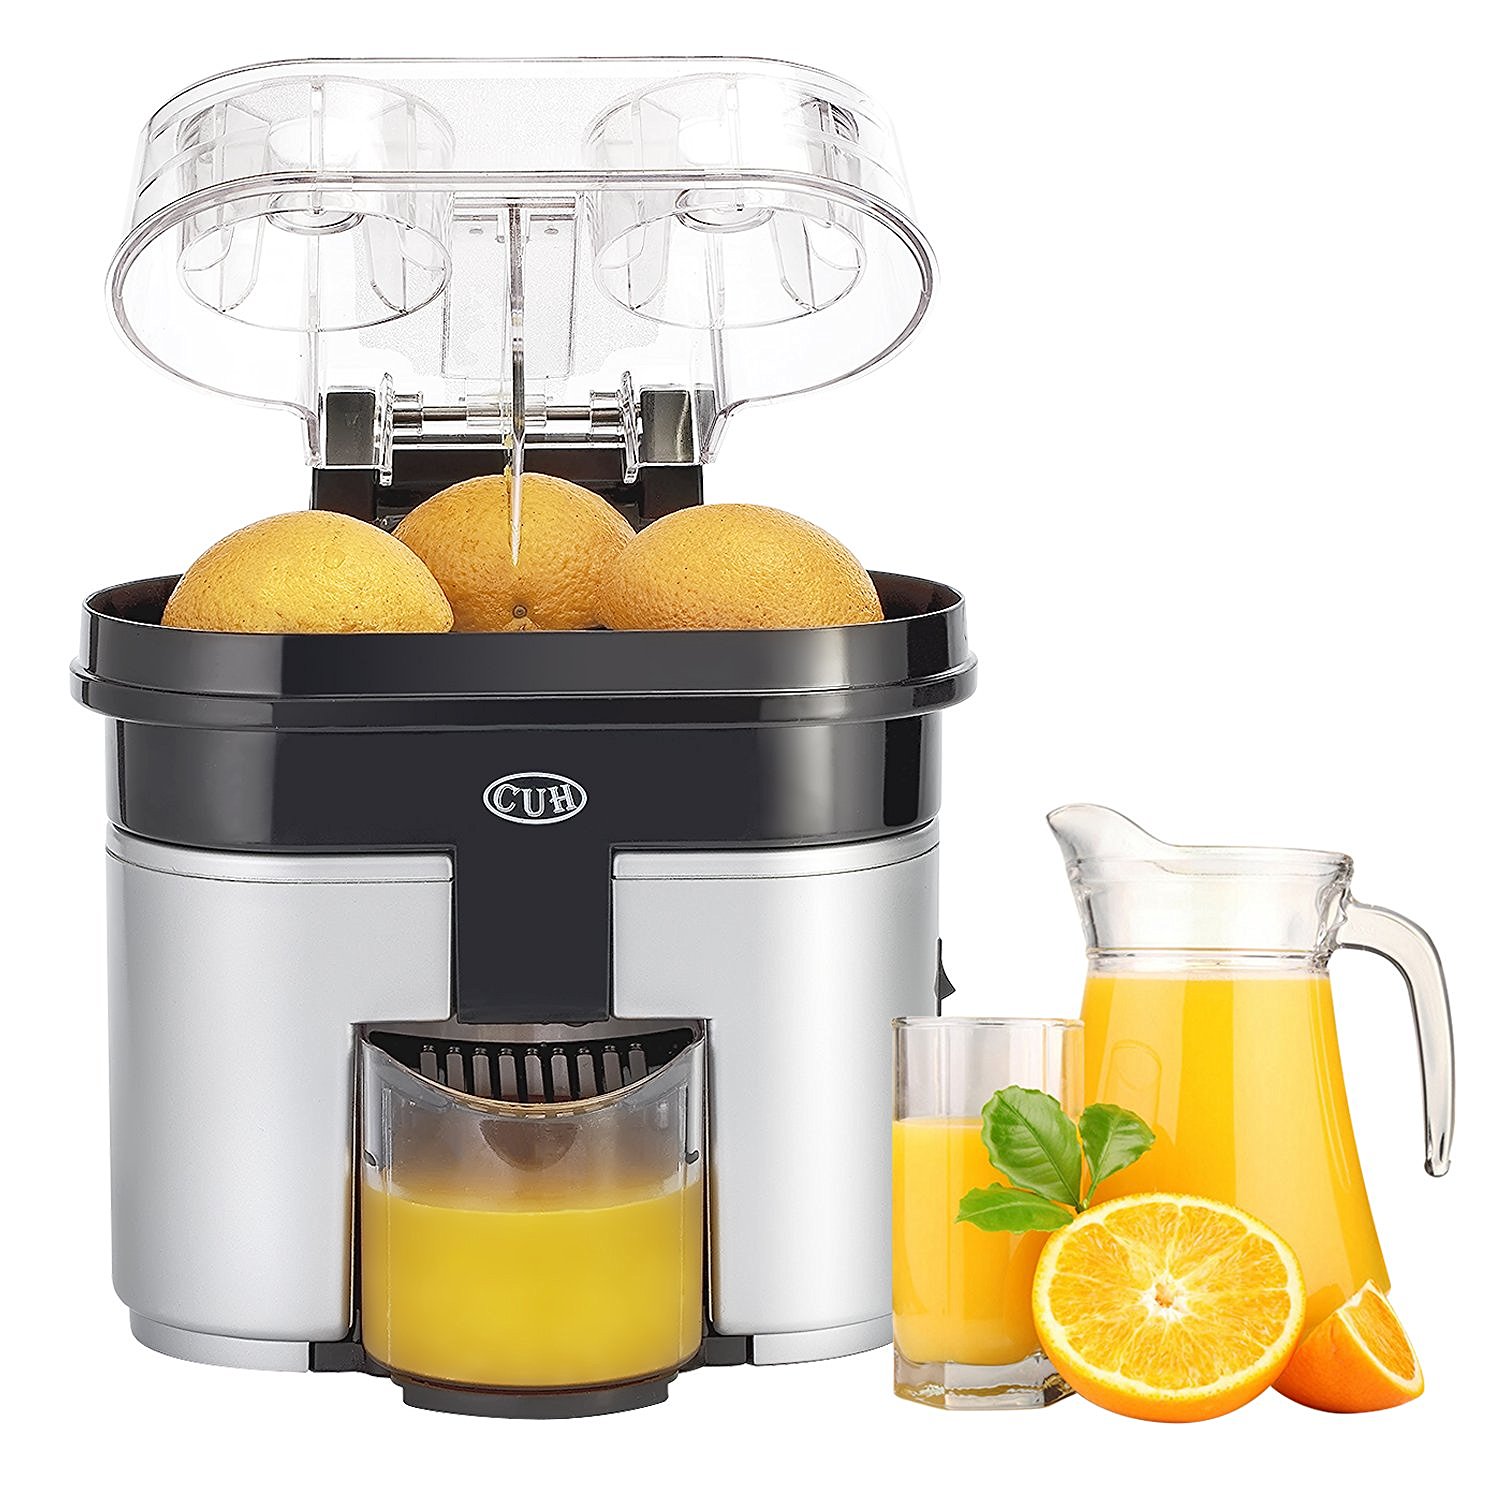
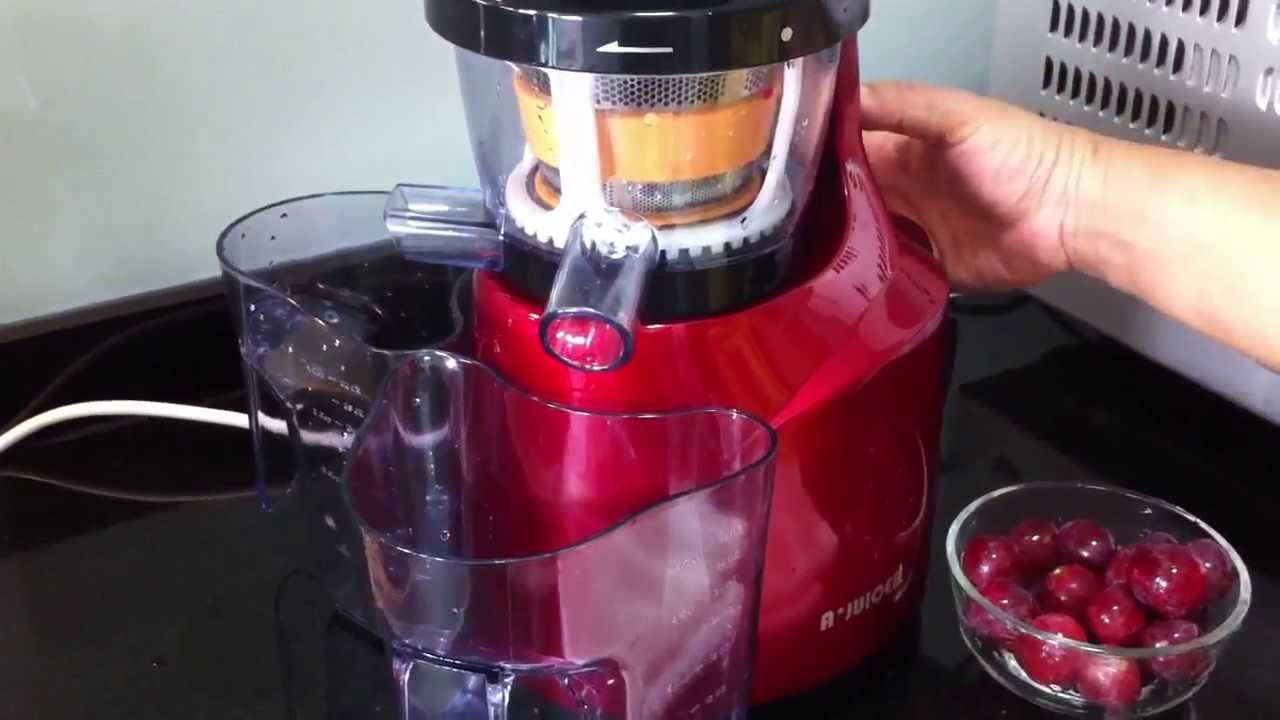
Juicing the Oranges
With your juicer set up and ready, it’s time to start juicing the prepared oranges. Follow these steps to extract the juice from the oranges:
- Place an orange half on the juicer: Take one of the prepared orange halves and place it on the juicer’s reamer, ensuring that the cut side is facing down.
- Apply gentle pressure: Press down on the orange half with gentle pressure, allowing the juicer to extract the juice from the fruit. Avoid applying excessive force, as it can result in bitterness from the pith being squeezed out.
- Rotate the orange: While applying pressure, twist and rotate the orange back and forth to extract the maximum amount of juice. This helps to ensure that you get the most juice possible from the orange.
- Continue with the remaining oranges: Repeat the process with the remaining prepared orange halves, one at a time, until all the oranges have been juiced.
As you juice the oranges, you will notice the fresh and tangy aroma filling the air as the juice flows into the collection container. Enjoy the process and take satisfaction in knowing that you are creating your own homemade orange juice.
When making orange juice in a juicer, it’s best to peel the oranges first to avoid any bitterness from the peel. Additionally, make sure to remove any seeds before juicing to prevent a bitter taste in the juice.
Read more: How To Make Orange Juice In A Blender
Straining the Juice (Optional)
Once you have juiced the oranges, you may choose to strain the juice to remove any pulp or seeds, depending on your preference. Straining the juice can result in a smoother and pulp-free texture. Here’s how you can strain the juice:
- Get a fine-mesh strainer: Place a fine-mesh strainer over a pitcher or container to strain the juice into.
- Pour the juice: Slowly pour the freshly squeezed orange juice into the strainer, allowing it to pass through while catching any pulp or seeds.
- Use a spoon to help: Gently stir the juice in the strainer with a spoon, if needed, to encourage the liquid to pass through the mesh while retaining any solids.
- Discard the pulp: Once the juice has been strained, discard the collected pulp and seeds. You can compost them or find other creative uses for them.
Straining the juice is optional, as some people prefer the added texture and fiber from the pulp. It’s all about personal preference, so feel free to experiment and see what suits your taste best.
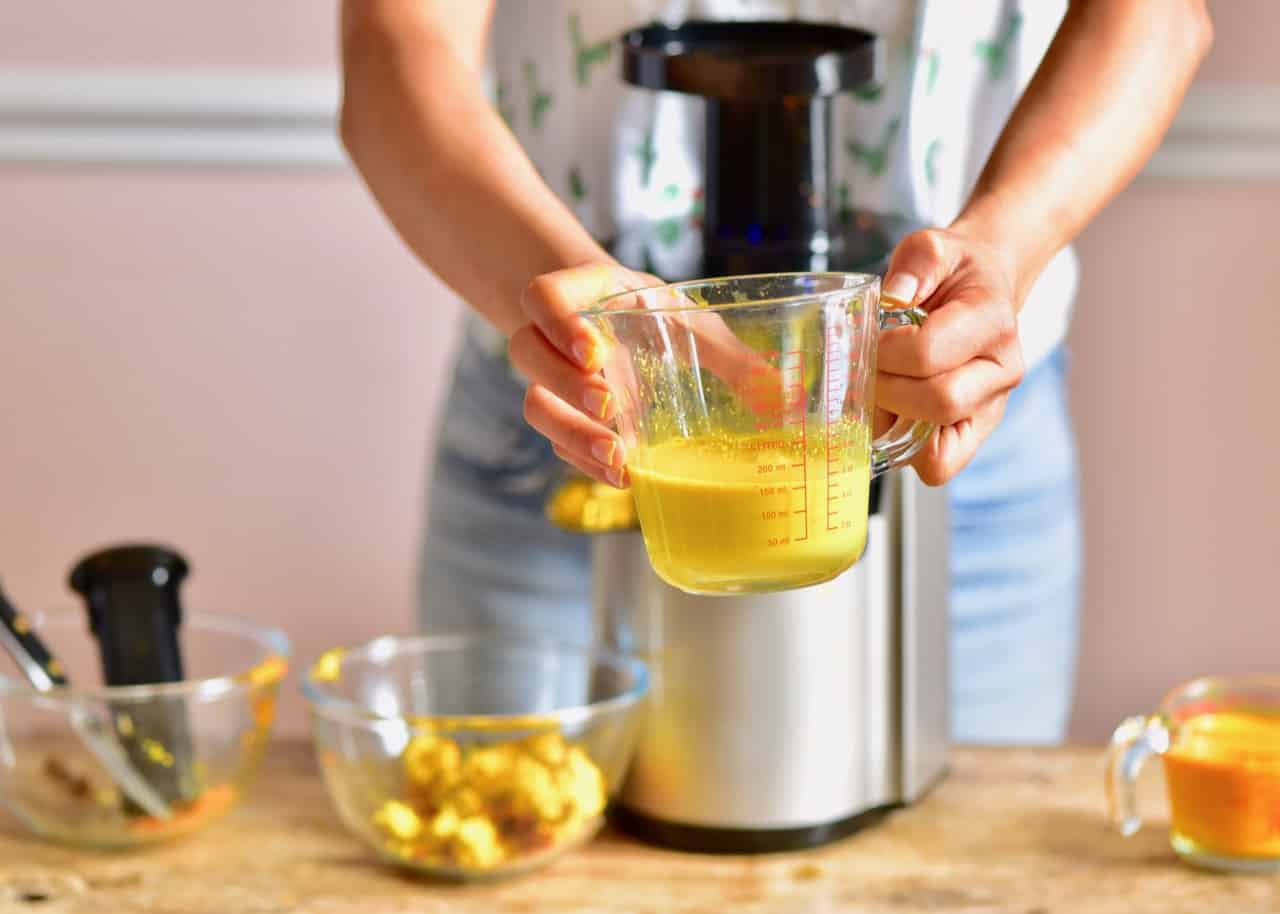
Serving and Storing the Orange Juice
Now that you have freshly squeezed orange juice, it’s time to enjoy it! Here are some tips for serving and storing your homemade orange juice:
Serving:
- Pour the orange juice into a glass or pitcher. You can add ice cubes for a refreshing chilled beverage.
- If desired, garnish the glass with a slice of orange or a sprig of mint for an extra touch of presentation.
- Enjoy the orange juice as is or add a splash of sparkling water or a pinch of sugar to adjust the sweetness to your liking.
Storing:
- For immediate consumption, freshly juiced orange juice can be stored in an airtight container in the refrigerator for up to 3-4 days.
- To maintain its freshness and taste, transfer the orange juice to a glass container, as it helps to preserve the flavor better than plastic.
- If you want to store the juice for a longer duration, consider freezing it. Pour the juice into ice cube trays or freezer-safe containers, leaving a little room for expansion, and freeze. Thaw the frozen juice cubes as needed.
- When storing the orange juice, make sure to keep it away from strong odors in the refrigerator, as it can absorb unwanted flavors.
Remember, freshly squeezed orange juice is best enjoyed when it’s freshly made. However, if you can’t consume it all at once, follow these storing guidelines to make the most out of your homemade orange juice.
Tips and Tricks for Making Orange Juice
To elevate your orange juice-making game, here are some tips and tricks that can help you achieve the best results:
- Use room temperature oranges: Allowing the oranges to come to room temperature before juicing can increase the juice yield.
- Try different citrus combinations: Experiment with different citrus fruits like grapefruits, lemons, and limes to create unique flavor profiles and add variety to your juice.
- Remove the peel but keep the pith: While removing the peel is necessary, leaving some of the white pith intact can enhance the nutritional value and add a slight bitter note to the juice.
- Store oranges properly: To ensure you always have fresh oranges on hand, store them in a cool, well-ventilated area away from direct sunlight.
- Juice immediately after cutting: For maximum freshness and flavor, juice the oranges immediately after cutting them to prevent the juice from oxidizing.
- Clean the juicer thoroughly: After each use, take the time to clean your juicer thoroughly to prevent any residue or build-up that can affect the taste and quality of future batches.
- Use the leftover pulp creatively: Instead of discarding the pulp, consider using it in recipes like muffins, cakes, or smoothies to minimize waste and add fiber to your diet.
- Add a squeeze of lemon: For an extra burst of citrus flavor, add a small squeeze of lemon juice to your orange juice. It can enhance the overall taste and freshness.
- Don’t overfill the juicer: To prevent overflow and make the juicing process easier, avoid overfilling the juicer’s feeding chute. Juice smaller batches if necessary.
- Experiment with sweetness: If you prefer a sweeter juice, you can add a touch of honey or maple syrup to your orange juice and stir well.
By incorporating these tips and tricks into your orange juice-making routine, you can enhance the flavor, freshness, and overall experience of your homemade juice.
Conclusion
Making orange juice in a juicer is a simple and rewarding process that allows you to enjoy the fresh and vibrant flavors of citrus right at home. By following the steps outlined in this article, you can create delicious and nutritious orange juice that is sure to brighten your mornings or any time of the day.
From selecting the right oranges to juicing them and optionally straining the juice, each step plays a crucial role in ensuring the best results. Remember to experiment with different orange varieties and citrus combinations to discover your favorite flavor profiles.
Whether you choose to serve the juice immediately or store it for later use, proper handling and storage techniques will maintain its freshness and taste.
And don’t forget to have fun with the process! Making your own orange juice allows you to appreciate the natural goodness of fresh oranges and gives you control over the ingredients. So, put on some music, enjoy the aroma of freshly squeezed juice, and relish the satisfaction of savoring something homemade.
So, why not grab some juicy oranges, fire up your juicer, and start creating your own delicious glass of orange juice today? Cheers to your juicing adventures and a healthier, more flavorful life!
Frequently Asked Questions about How To Make Orange Juice In A Juicer
Was this page helpful?
At Storables.com, we guarantee accurate and reliable information. Our content, validated by Expert Board Contributors, is crafted following stringent Editorial Policies. We're committed to providing you with well-researched, expert-backed insights for all your informational needs.


0 thoughts on “How To Make Orange Juice In A Juicer”