Articles
How To Make Apple Juice With Juicer
Modified: October 24, 2024
Learn how to make delicious apple juice with a juicer. Find step-by-step instructions, tips, and more in our informative articles.
(Many of the links in this article redirect to a specific reviewed product. Your purchase of these products through affiliate links helps to generate commission for Storables.com, at no extra cost. Learn more)
Introduction
Welcome to the wonderful world of homemade apple juice! There’s nothing quite like the taste of freshly made juice straight from the juicer. Whether you’re a health enthusiast or simply looking for a refreshing beverage, making apple juice with a juicer is a fantastic way to enjoy the natural goodness of apples.
Not only is homemade apple juice incredibly delicious, but it also allows you to have full control over the ingredients. Unlike store-bought juices that often contain added sugars and preservatives, making your own apple juice ensures a pure and wholesome drink.
In this article, we’ll guide you through the step-by-step process of making apple juice with a juicer. From gathering the ingredients and equipment to serving and enjoying your homemade creation, we’ve got you covered.
Before we dive into the juicing process, let’s take a moment to appreciate the numerous health benefits of apple juice. Apples are packed with essential vitamins, minerals, and antioxidants that can boost your overall well-being. Drinking apple juice can help support digestion, improve heart health, and even enhance cognitive function.
Now that we’ve sparked your interest, let’s gather the necessary ingredients and equipment to get started on this delicious and nutritious journey.
Key Takeaways:
- Enjoy the pure taste of homemade apple juice by following simple steps to juice fresh apples with a juicer. Take control of your ingredients and savor the natural goodness without any additives or preservatives.
- Embrace the health benefits and versatility of homemade apple juice. Experiment with different apple varieties, serve chilled, and toast to your newfound juicing skills. Cheers to a delicious and nutritious glass of pure apple goodness!
Read more: How To Make Apple Juice With Blender
Step 1: Gather the Ingredients and Equipment
Before you begin juicing your apples, it’s important to gather all the necessary ingredients and equipment. Here’s what you’ll need:
Ingredients:
- Fresh apples: Choose a variety of sweet and tart apples, such as Golden Delicious, Granny Smith, or Honeycrisp. Aim for organic apples if possible to avoid any pesticide residue.
- Filtered water: This will be used to dilute the juice if desired.
Equipment:
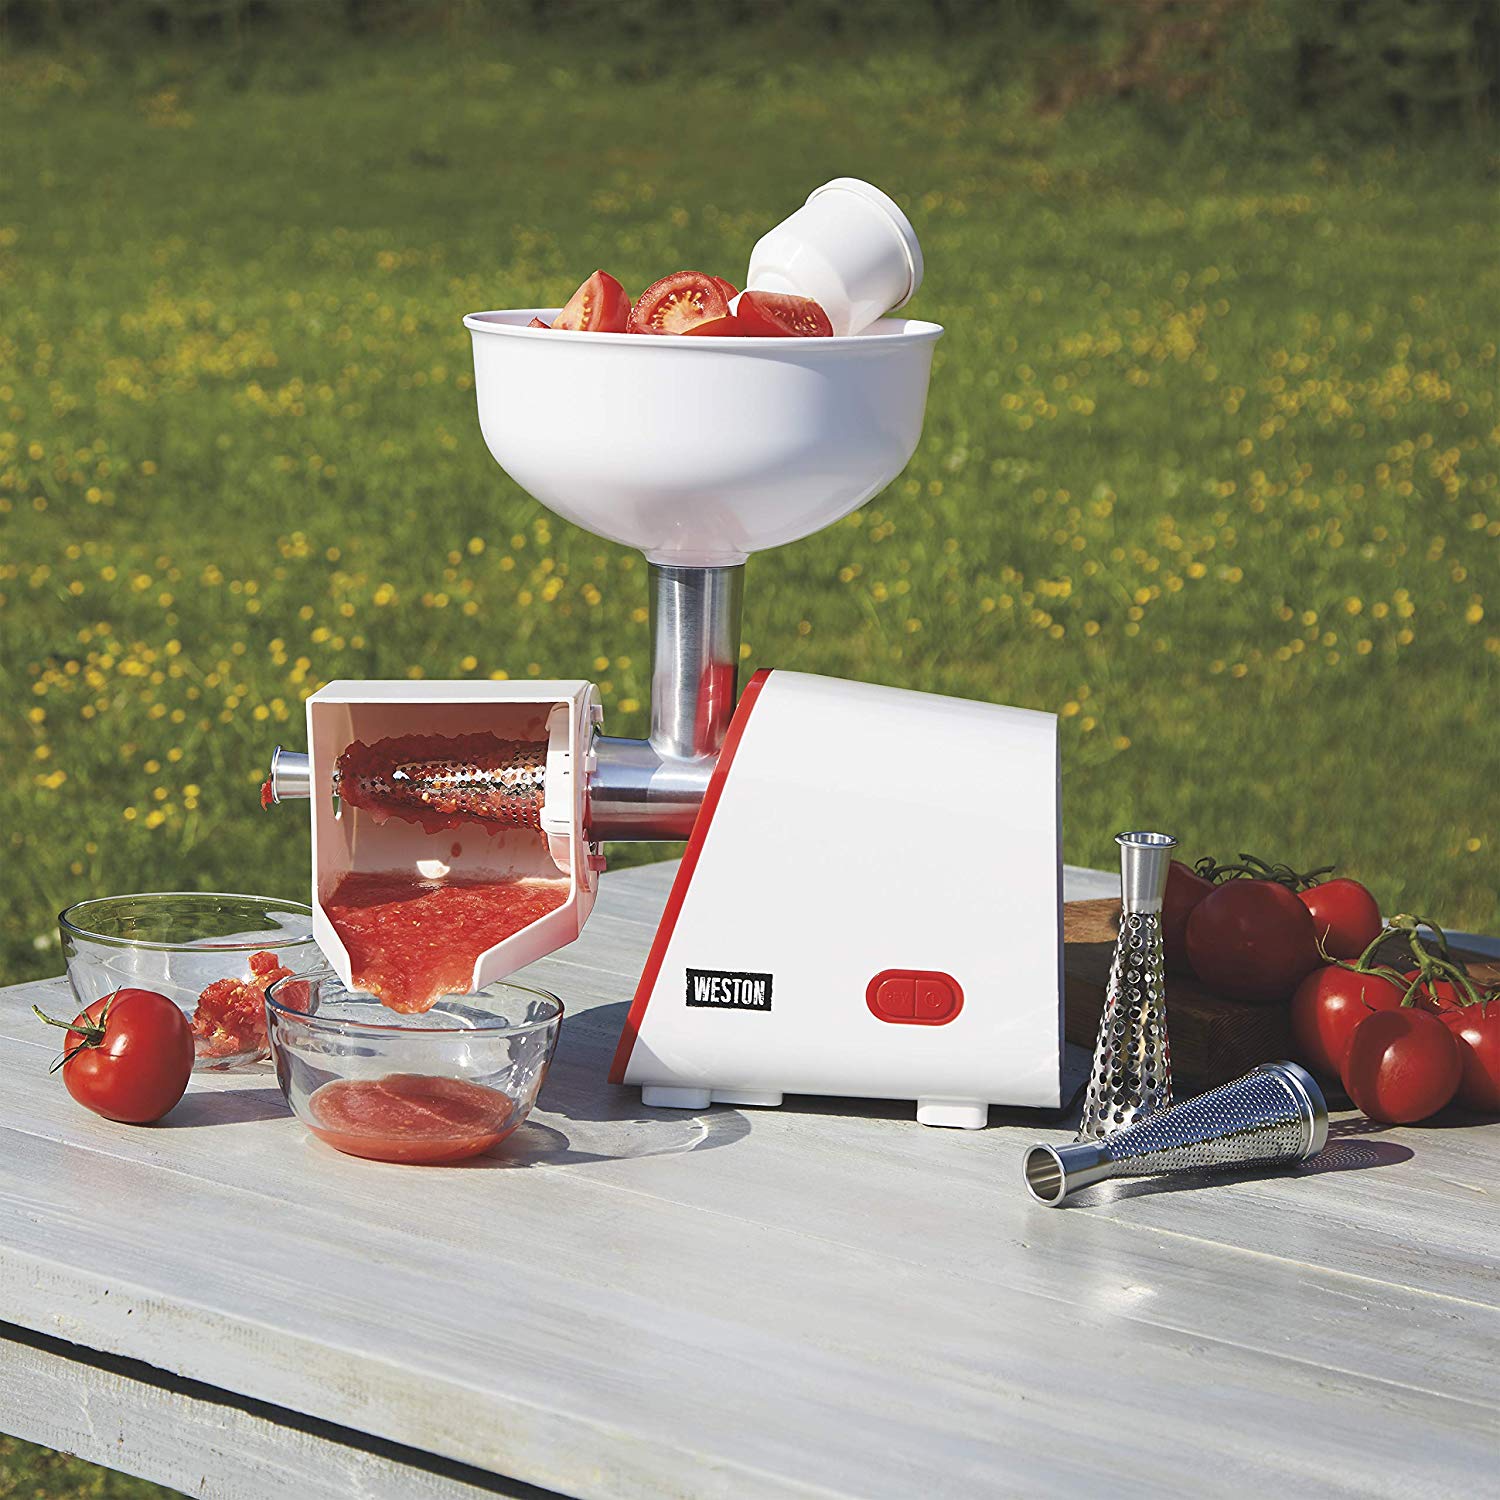
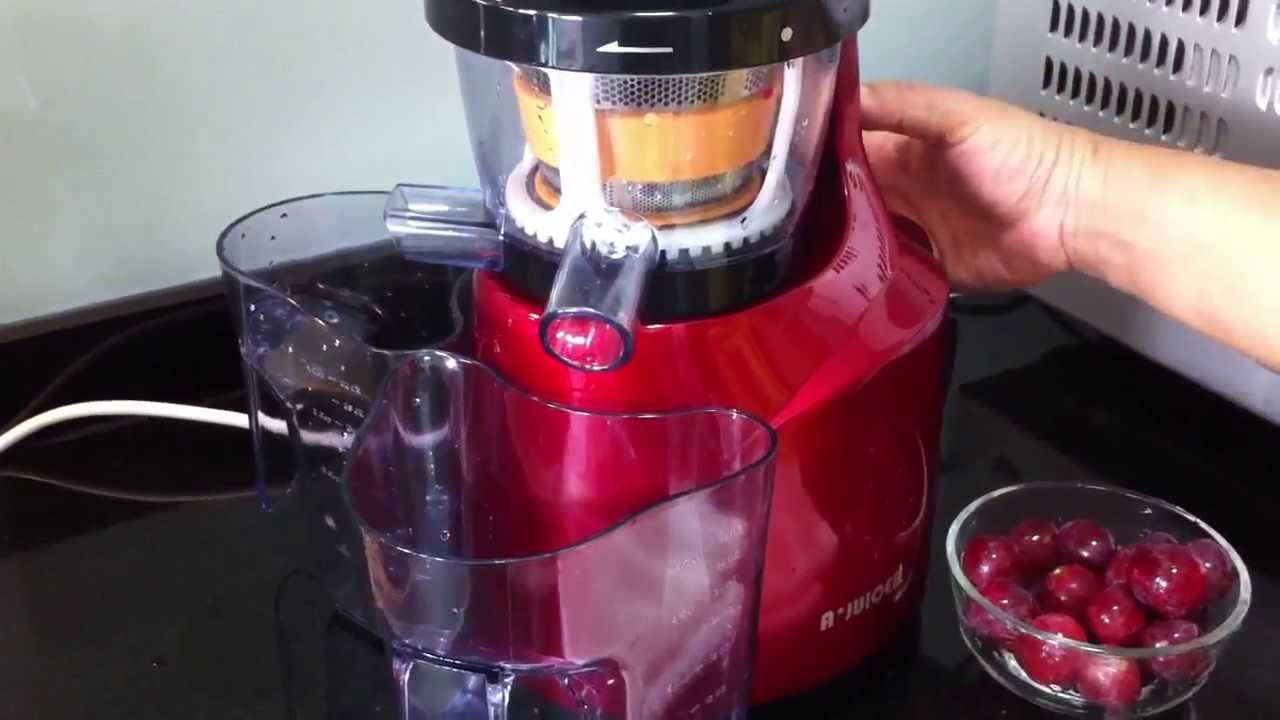
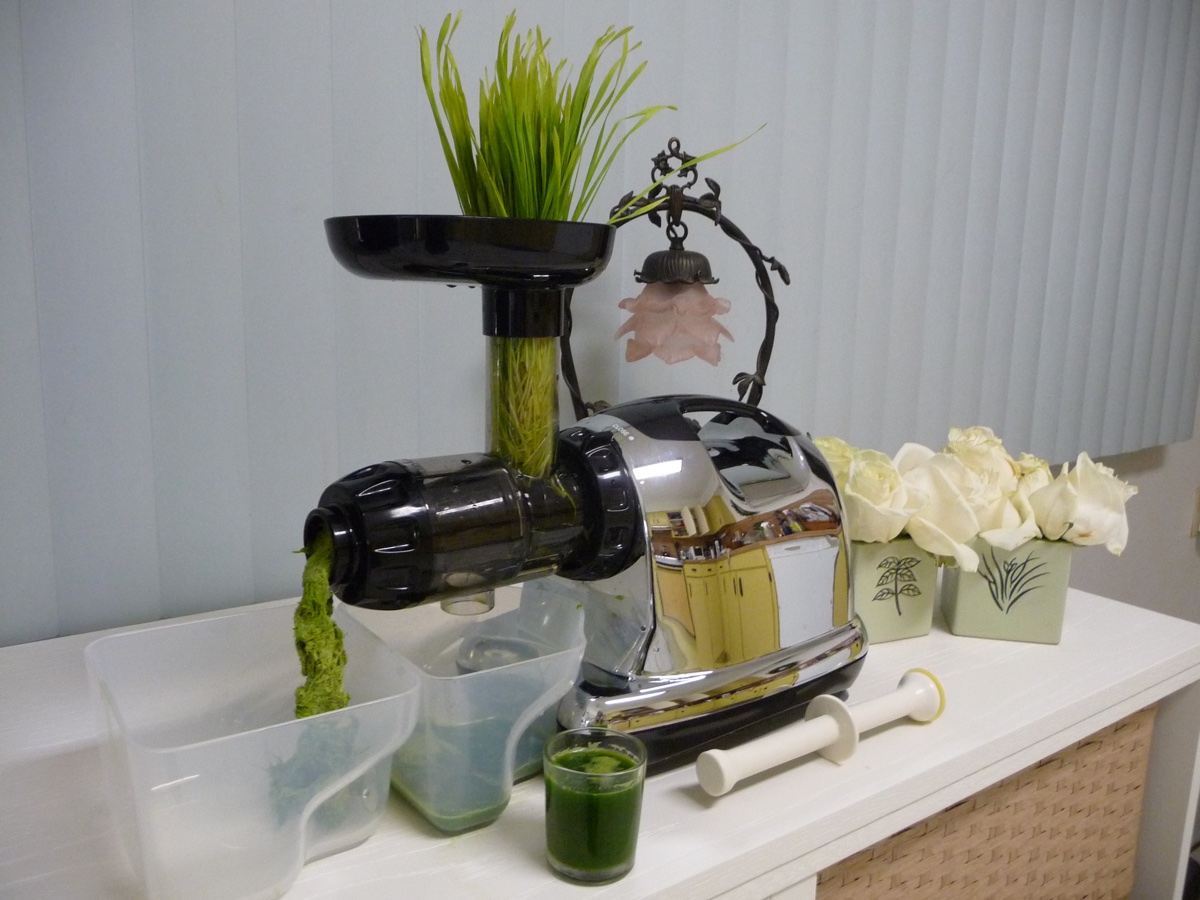
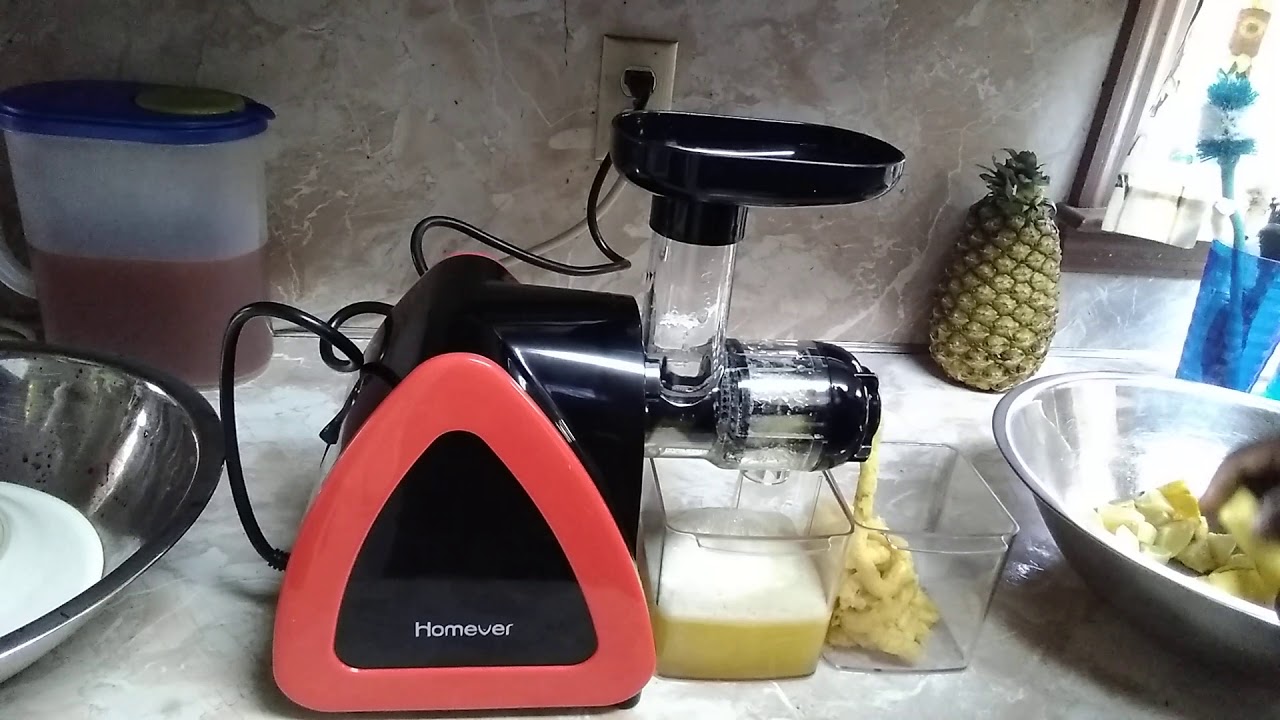
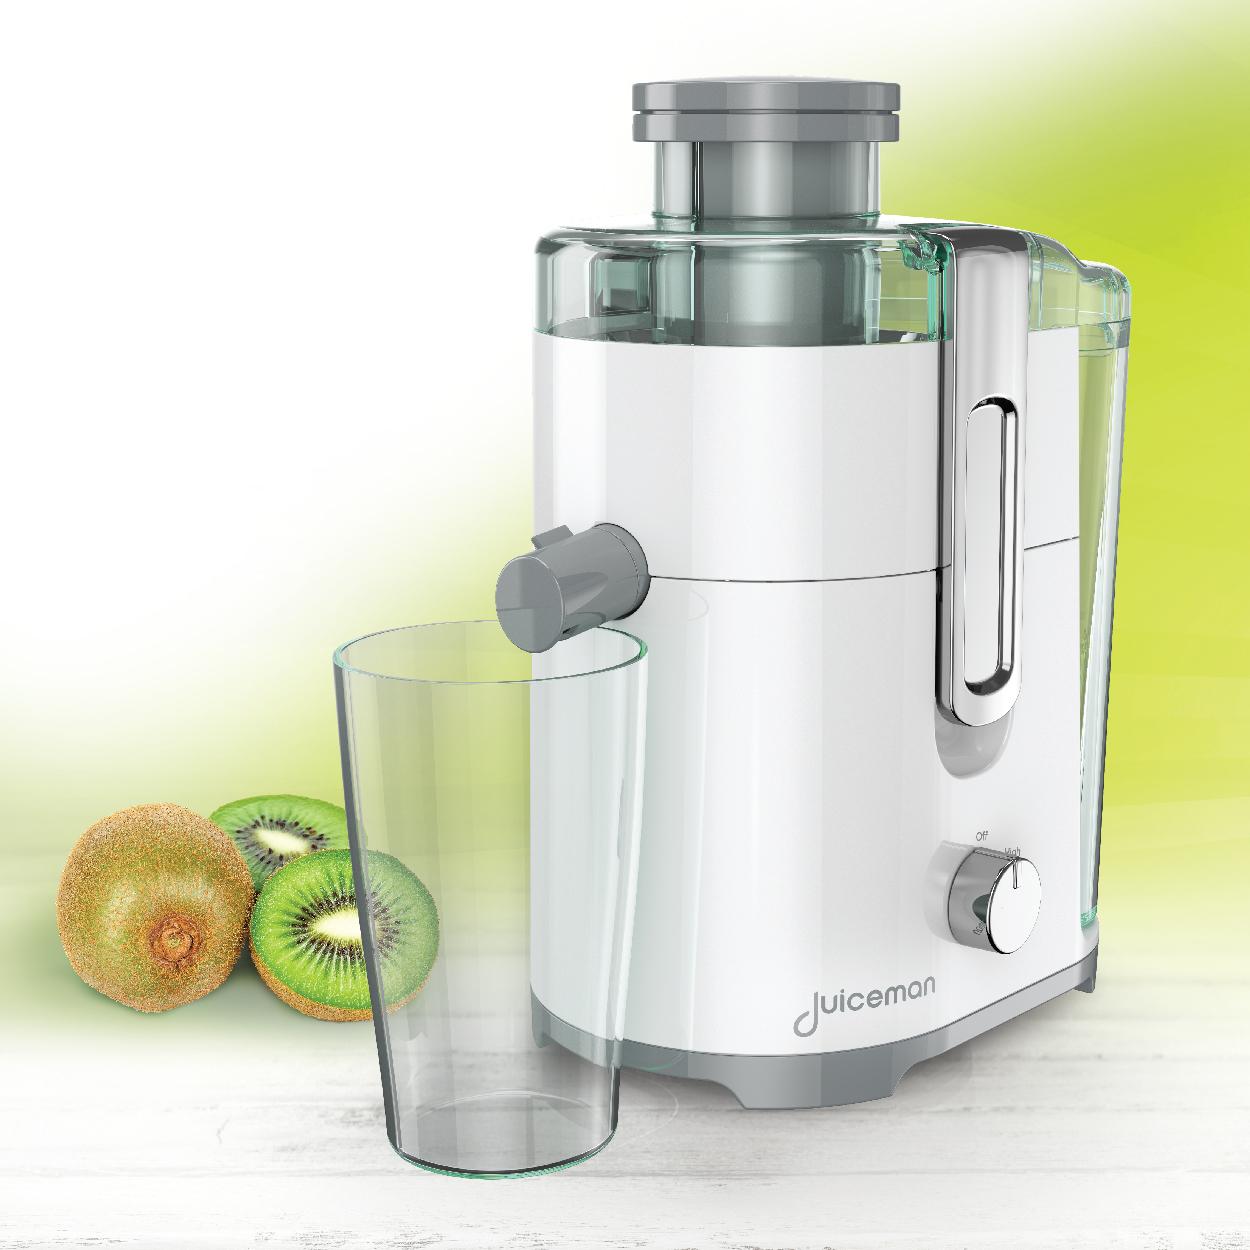
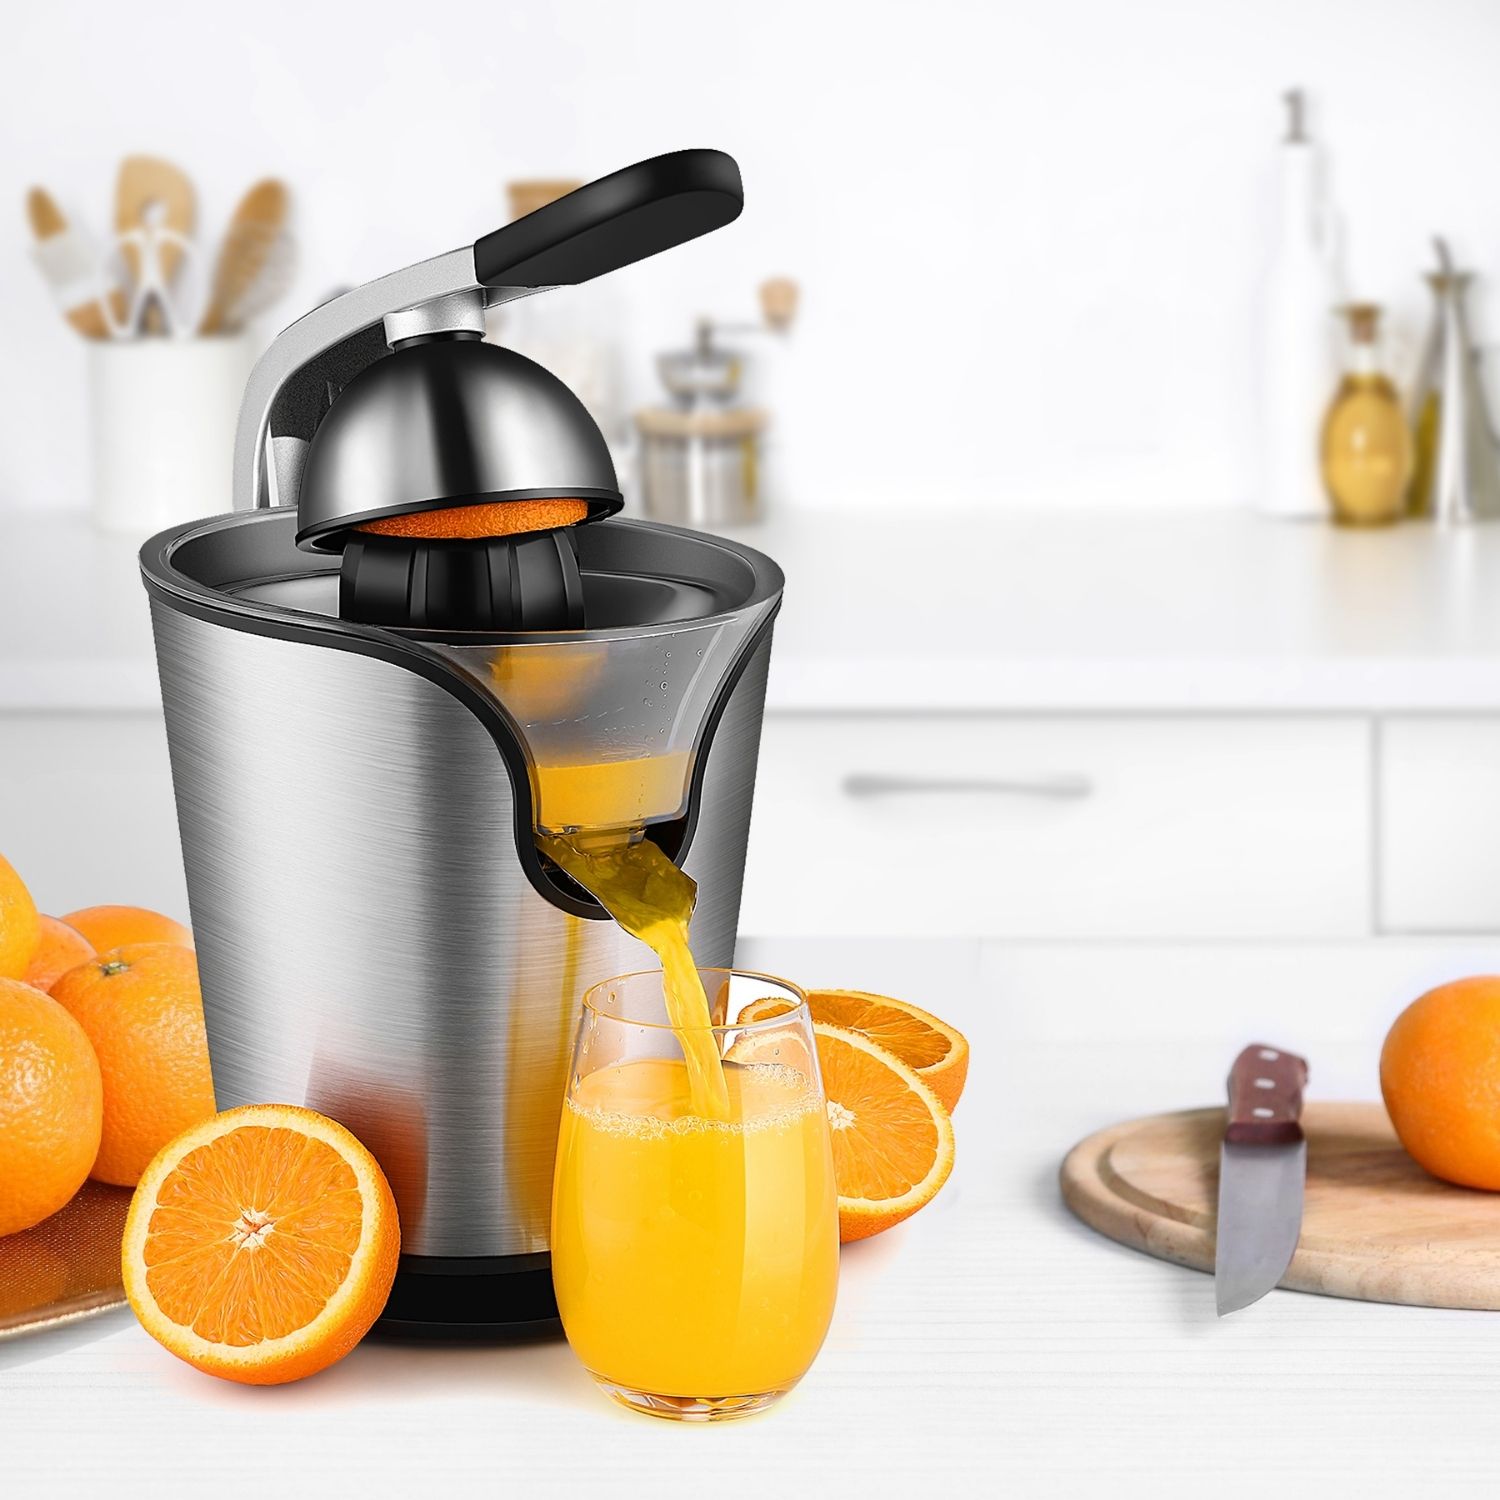
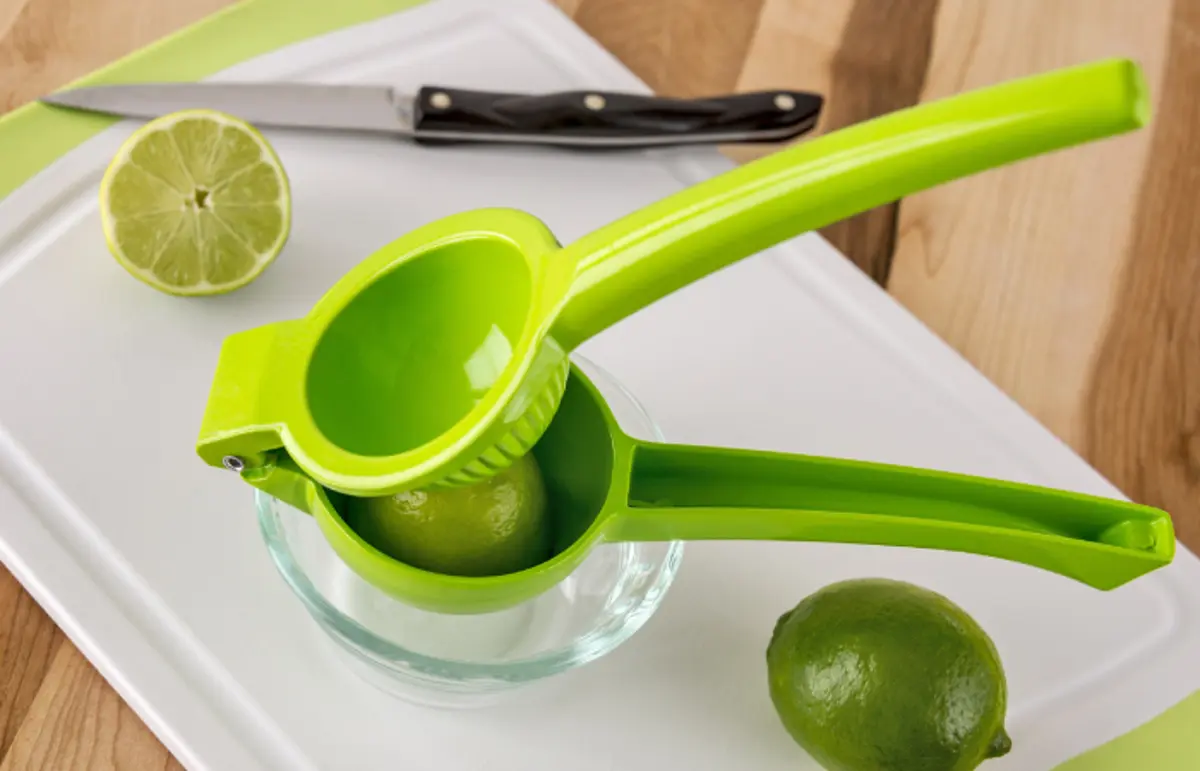
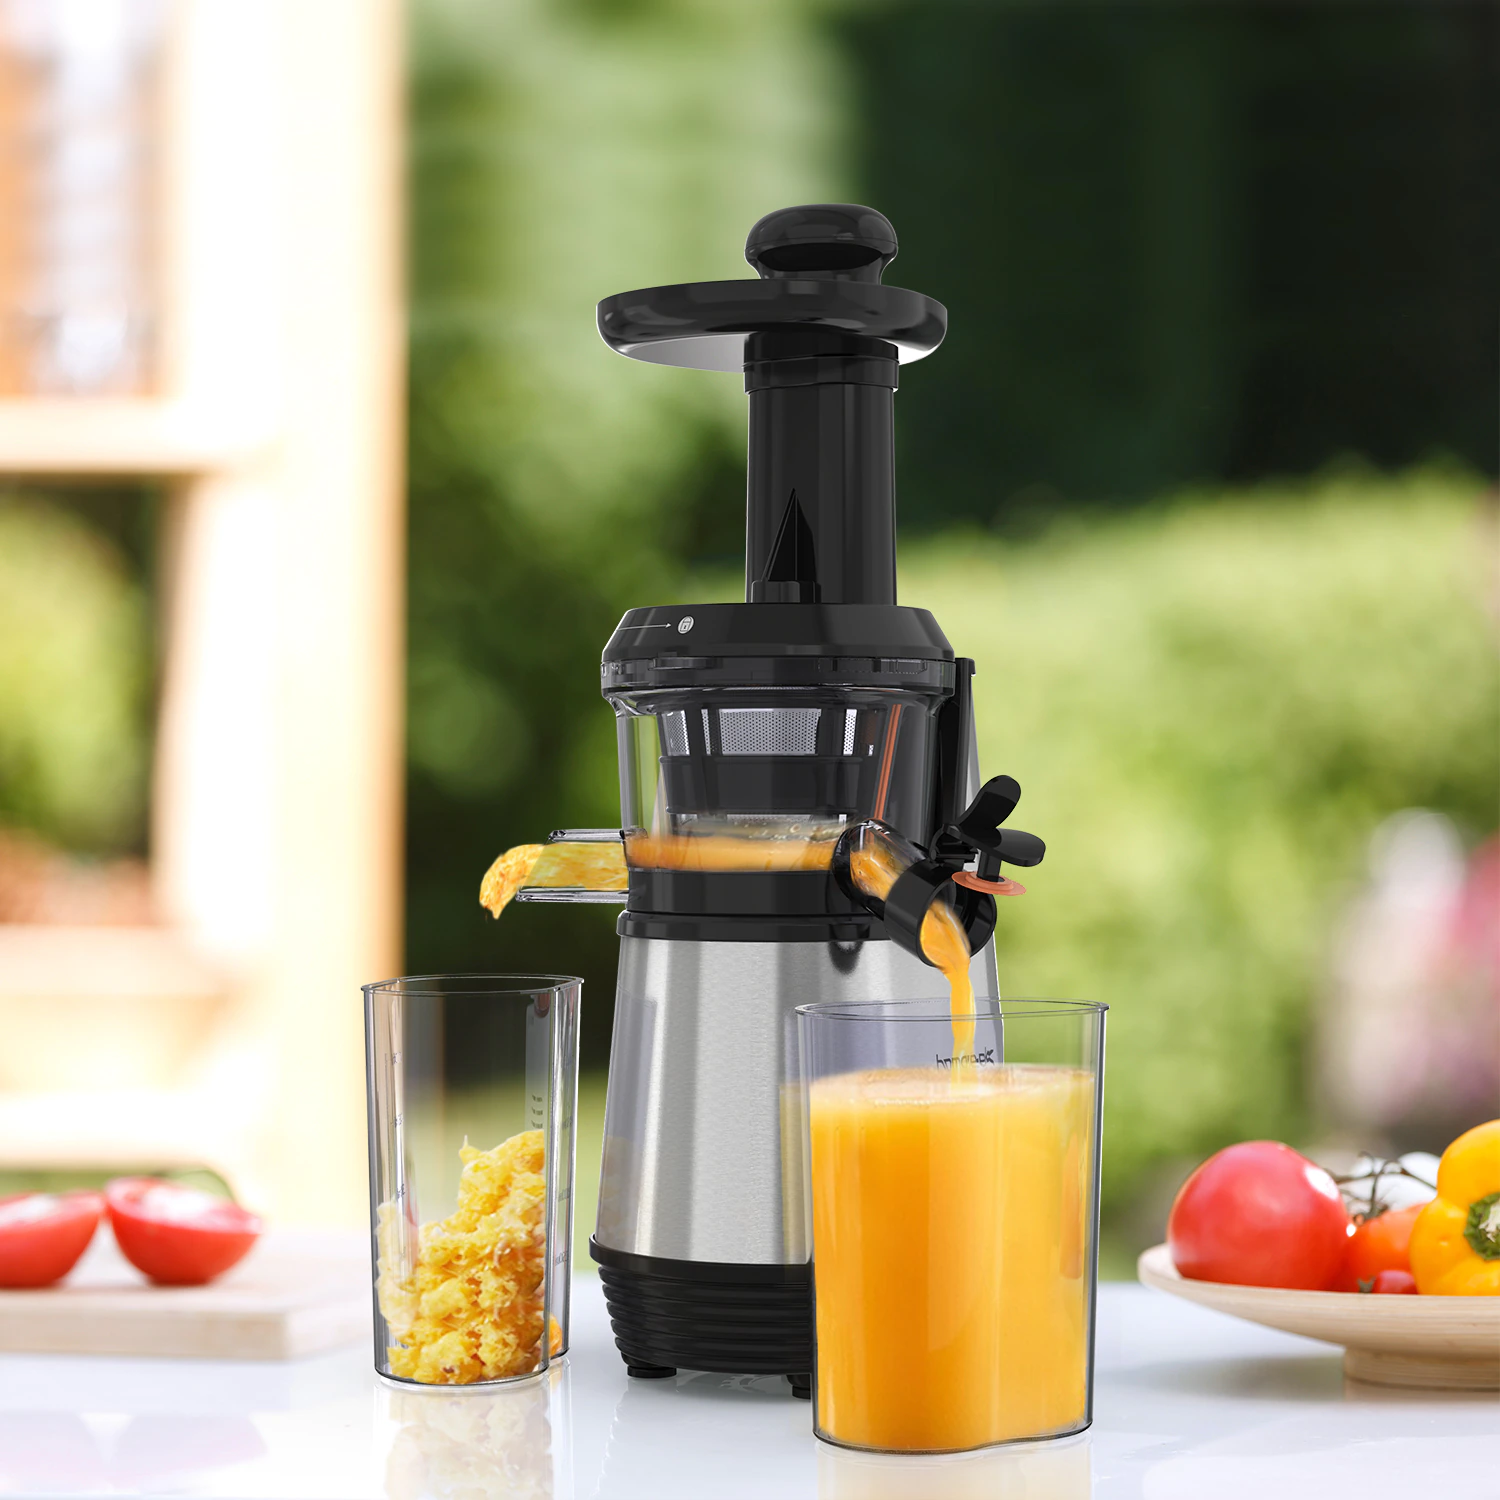
- A juicer: There are various types of juicers available, including centrifugal juicers and masticating juicers. Choose one that best suits your needs and budget.
- A knife: To core and slice the apples.
- A cutting board: To safely cut the apples on.
- A pitcher or glass bottles: To collect and store the freshly made apple juice.
Once you have gathered all the necessary ingredients and equipment, it’s time to move on to the next step: preparing the apples for juicing.
Step 2: Prepare the Apples
Now that you have all the necessary ingredients and equipment ready, it’s time to prepare the apples for juicing. Follow these simple steps:
- Wash the apples: Rinse the apples under cold water to remove any dirt or residues. Pat them dry with a clean towel.
- Core the apples: Use a knife or an apple corer to remove the core of each apple. You can choose to leave the skin on or peel it off, depending on your personal preference. Just keep in mind that the skin contains a lot of nutrients.
- Slice the apples: Cut the apples into small, manageable pieces that will fit into your juicer. This will help the juicer extract the maximum amount of juice from the apples.
With the apples prepared and ready to go, it’s time to move on to the juicing process.
Read more: How To Make Carrot Juice With A Juicer
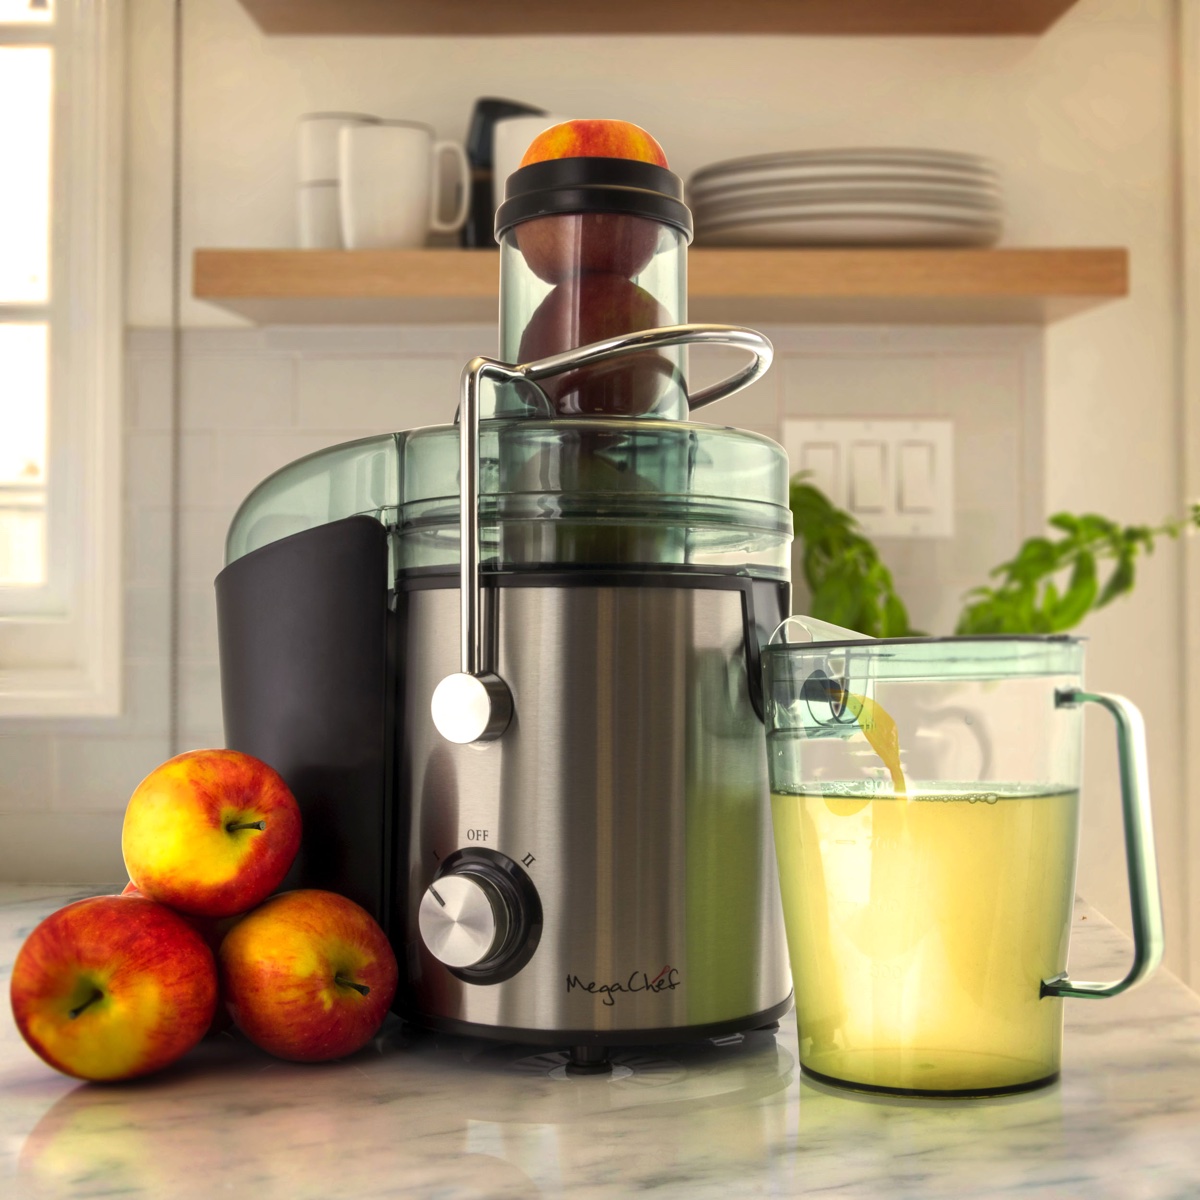
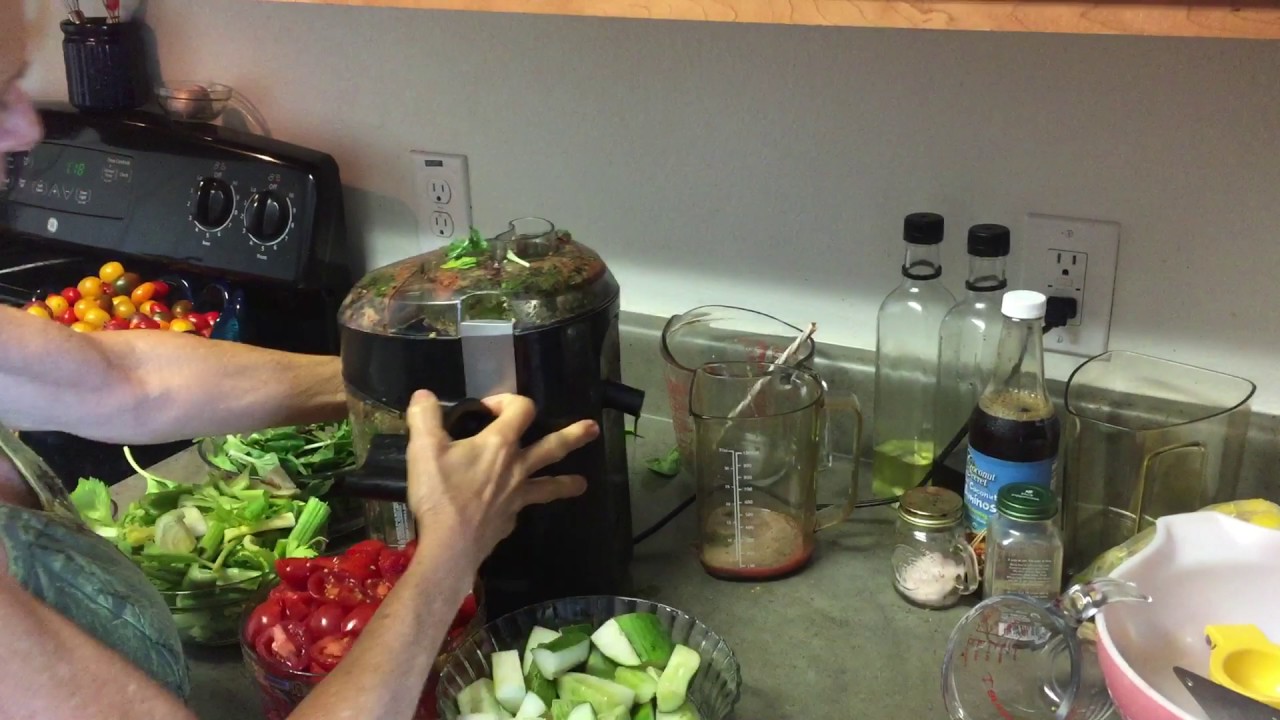
Step 3: Juice the Apples
Now that your apples are washed, cored, and sliced, it’s time to juice them. Follow these steps to extract the delicious apple juice:
- Set up your juicer: Refer to the user manual for your specific juicer model and follow the instructions to assemble it properly.
- Turn on the juicer: Plug in your juicer and turn it on to the appropriate speed setting for juicing apples.
- Feed the apples into the juicer: Take a handful of sliced apples and slowly feed them into the feed chute of the juicer. Use the plunger to push the apples down gently.
- Collect the juice: Place a pitcher or glass bottle under the juice spout to collect the freshly extracted apple juice.
- Continue juicing: Repeat the process with the remaining sliced apples until you have juiced all of them.
As the apples go through the juicer, it will separate the juice from the pulp. The juice will flow into the collection container, while the pulp will be expelled into a separate container or basket.
Once you have finished juicing all the apples, you can choose to strain the juice through a fine-mesh sieve or enjoy it as is. If you prefer a smoother texture, strain the juice to remove any pulp or solids.
With the apple juice freshly extracted, it’s time to move on to the final step: serving and enjoying your homemade apple juice.
When making apple juice with a juicer, be sure to wash the apples thoroughly before juicing to remove any dirt or pesticides. It’s also a good idea to remove the seeds and stems to avoid bitterness in the juice.
Step 4: Serve and Enjoy
Congratulations, you have successfully juiced your apples! Now it’s time to savor the fruits of your labor. Follow these steps to serve and enjoy your homemade apple juice:
- Transfer the juice: Carefully pour the fresh apple juice from the collection container into a serving pitcher or individual glass bottles.
- Chill the juice: If you prefer your apple juice cold, place it in the refrigerator for a few hours to chill.
- Dilute if desired: Depending on your taste preferences, you can choose to dilute the apple juice with filtered water. This will make it less concentrated and milder in flavor.
- Garnish and serve: For an extra touch of freshness and visual appeal, you can garnish the apple juice with a slice of apple or a sprig of mint. Serve it chilled and enjoy!
Homemade apple juice is best enjoyed fresh within a few days. Be sure to store any leftovers in the refrigerator in an airtight container to maintain its quality and flavor.
Now that you’ve learned how to make apple juice with a juicer, the options are endless. You can experiment with different apple varieties or even add a hint of other fruits for a unique twist. Get creative and enjoy the journey of discovering your favorite homemade apple juice recipes.
So go ahead, raise your glass, and toast to your newfound juicing skills. Cheers to a delicious and nutritious glass of homemade apple juice!
Conclusion
Making apple juice with a juicer is a rewarding and delightful experience. By following the steps outlined in this article, you can create a delicious and nutritious beverage right in the comfort of your own home.
From gathering the fresh apples and preparing them to juicing and serving, each step allows you to take control over the ingredients and enjoy the pure taste of apple juice without any additives or preservatives.
Not only does homemade apple juice offer a refreshing and satisfying flavor, but it also provides numerous health benefits. Apples are rich in vitamins, minerals, and antioxidants that can support digestion, boost your immune system, and promote overall well-being.
Remember to use a variety of sweet and tart apples to achieve a well-balanced flavor profile, and feel free to experiment with different combinations to discover your favorite apple juice blend.
Whether you enjoy your apple juice straight up, chilled, or diluted with water, it’s a versatile beverage that can be enjoyed on its own or used as a base for other creative drinks and recipes.
So, why settle for store-bought apple juice when you can make your own at home? Grab your juicer, some fresh apples, and get ready to experience the pure goodness of homemade apple juice.
Cheers to your juicing adventures and the endless possibilities of enjoying homemade apple juice!
Frequently Asked Questions about How To Make Apple Juice With Juicer
Was this page helpful?
At Storables.com, we guarantee accurate and reliable information. Our content, validated by Expert Board Contributors, is crafted following stringent Editorial Policies. We're committed to providing you with well-researched, expert-backed insights for all your informational needs.


0 thoughts on “How To Make Apple Juice With Juicer”