Articles
How To Make Juice In A Juicer
Modified: March 25, 2024
Learn how to make delicious and nutritious juice in a juicer with these expertly written articles. Discover useful tips and recipes to satisfy your juicing cravings!
(Many of the links in this article redirect to a specific reviewed product. Your purchase of these products through affiliate links helps to generate commission for Storables.com, at no extra cost. Learn more)
Introduction
Welcome to the world of juicing! Juicing has become increasingly popular as a way to incorporate more fruits and vegetables into our diets. With the help of a juicer, you can easily extract the nutritious juices from fresh produce and enjoy a delicious and refreshing beverage. Whether you are a health enthusiast looking to improve your overall well-being or simply want to explore new ways of consuming fruits and vegetables, juicing is a fantastic option.
In this article, we will guide you through the process of making juice in a juicer. From choosing the right juicer to selecting the best fruits and vegetables, we will cover all the essential steps to ensure you get the most out of your juicing experience.
Before we dive into the details, it’s important to understand that not all juicers are created equal. There are different types of juicers available in the market, each with its own advantages and limitations. Some juicers are better suited for juicing hard fruits and vegetables, while others work best with leafy greens. By choosing the right juicer for your needs, you can ensure optimal juicing results.
Once you have the juicer that suits your requirements, the next step is to select fresh fruits and vegetables. The quality of your ingredients plays a crucial role in the taste and nutritional value of your juice. We will provide tips on how to choose the best produce and how to properly prepare them for juicing.
Assembling the juicer correctly is essential to ensure smooth and efficient juicing. We will walk you through the process of setting up your juicer, from assembling the different parts to placing the fruits and vegetables in the appropriate chute.
Now comes the main event: the juicing process itself. We will guide you on how to operate the juicer to extract the maximum amount of juice while preserving the nutrients. From adjusting the juicer settings to achieving the desired consistency, we will cover all the necessary steps to prepare a perfect glass of juice.
After you have enjoyed your freshly made juice, cleaning and maintaining your juicer is essential for its longevity. We will provide you with tips on how to properly clean different parts of the juicer and ensure its optimal performance for years to come.
Lastly, we will share some tips and tricks to enhance your juicing experience. From flavor combinations to storage and serving suggestions, you will discover new ways to get creative with your juices.
By the end of this article, you will have all the knowledge and guidance needed to make juice in a juicer like a pro. So, let’s get started on this juicy journey and transform your fruits and vegetables into vibrant, flavorful, and nutritious concoctions!
Key Takeaways:
- Choosing the right juicer and selecting fresh, high-quality produce are crucial for a successful juicing experience. Experiment with different fruits and vegetables to create unique and nutritious juice blends.
- Properly preparing ingredients, assembling the juicer, and following the juicing process are essential steps to ensure efficient and enjoyable juicing. Embrace creativity and have fun exploring new flavor combinations!
Read more: How To Make Guava Juice With A Juicer
Choosing the Right Juicer
When it comes to choosing the right juicer, there are a few factors to consider. The type of juicer you choose will depend on your preferences, as well as the types of fruits and vegetables you plan to juice. Here are some key aspects to consider:
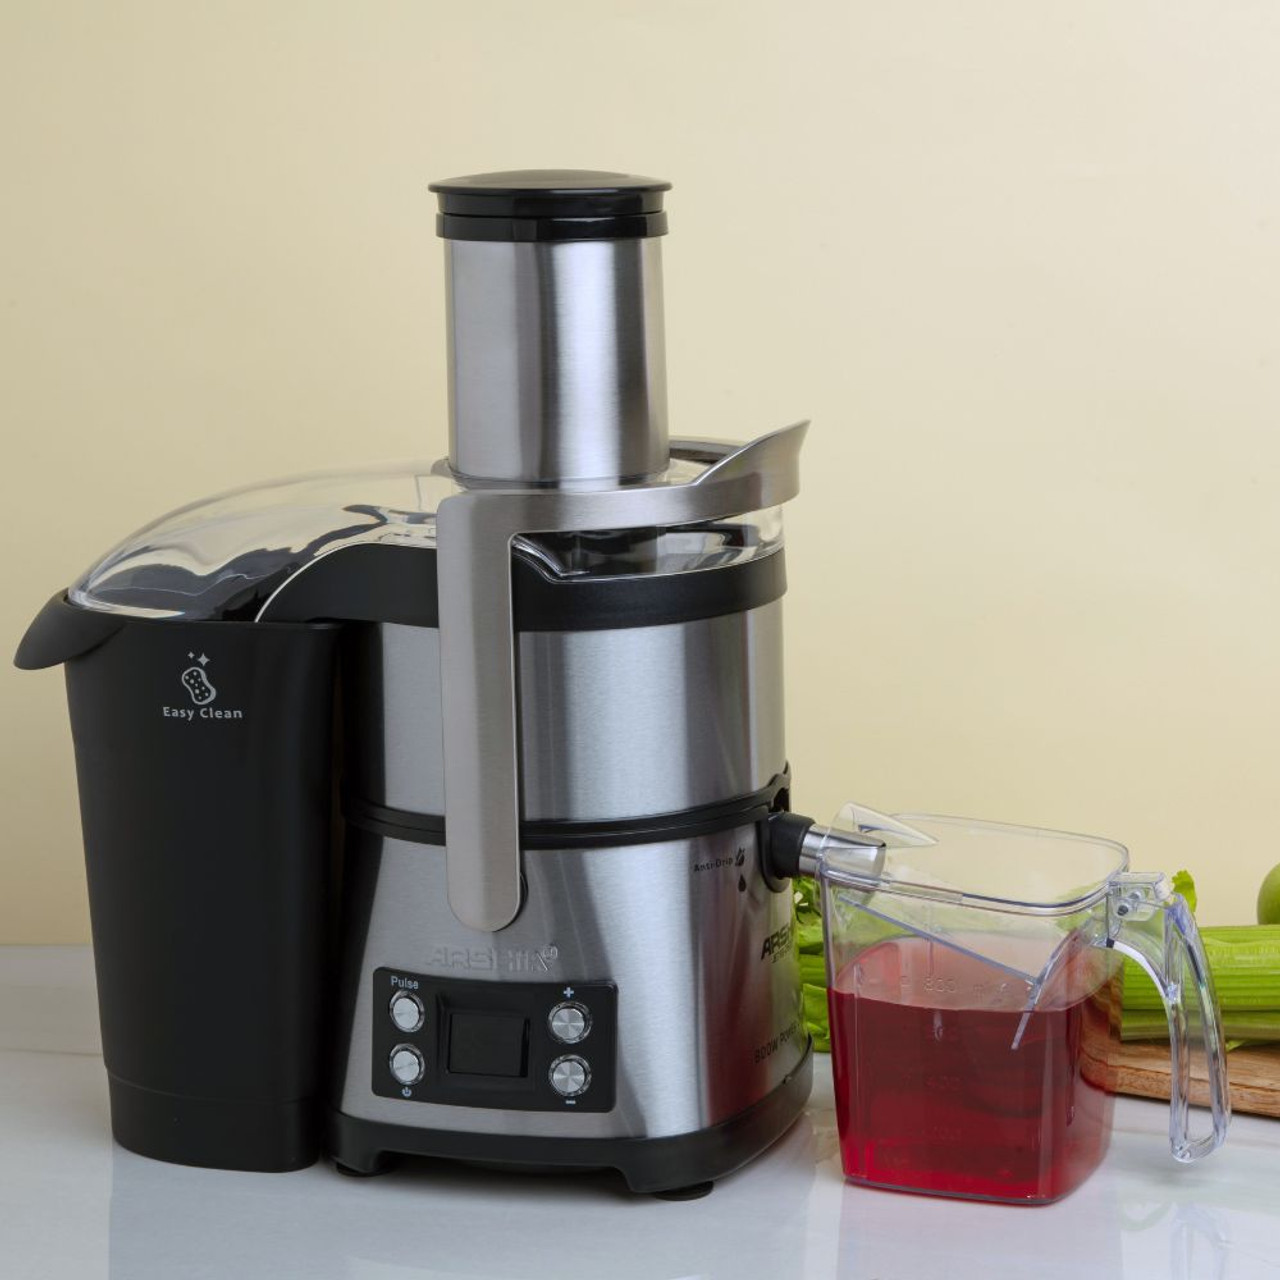
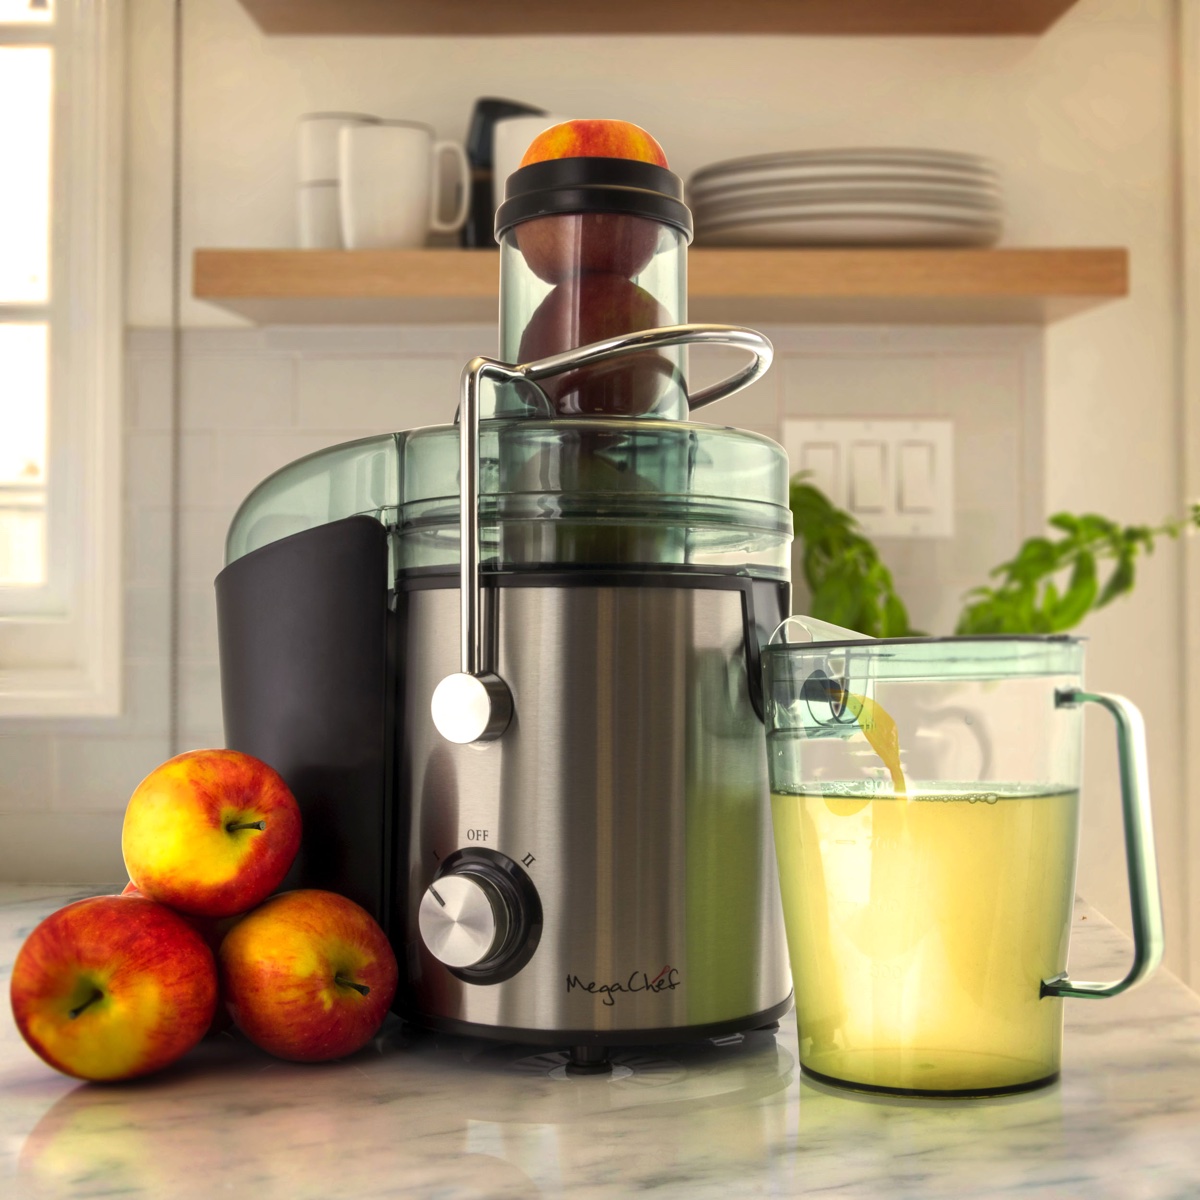
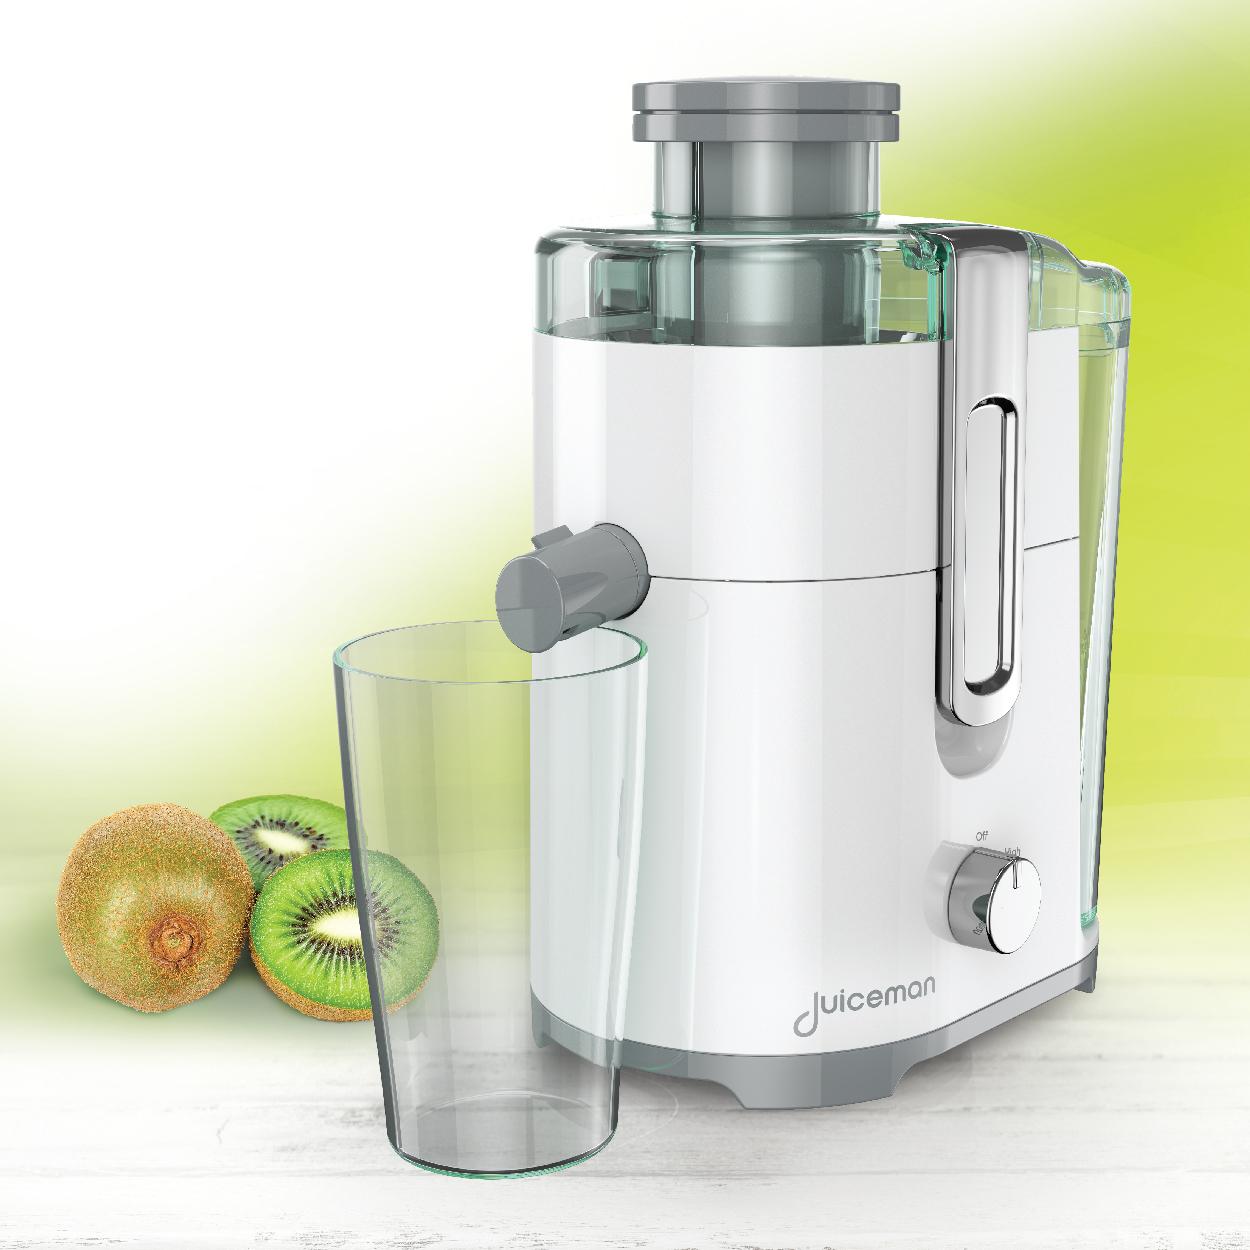
1. Centrifugal Juicers: These juicers are the most common and widely available. They work by using a spinning blade to extract juice from the produce. Centrifugal juicers are generally more affordable and easy to use, making them a popular choice among beginners. However, they may not be as effective in juicing leafy greens and tend to produce less juice than other types of juicers.
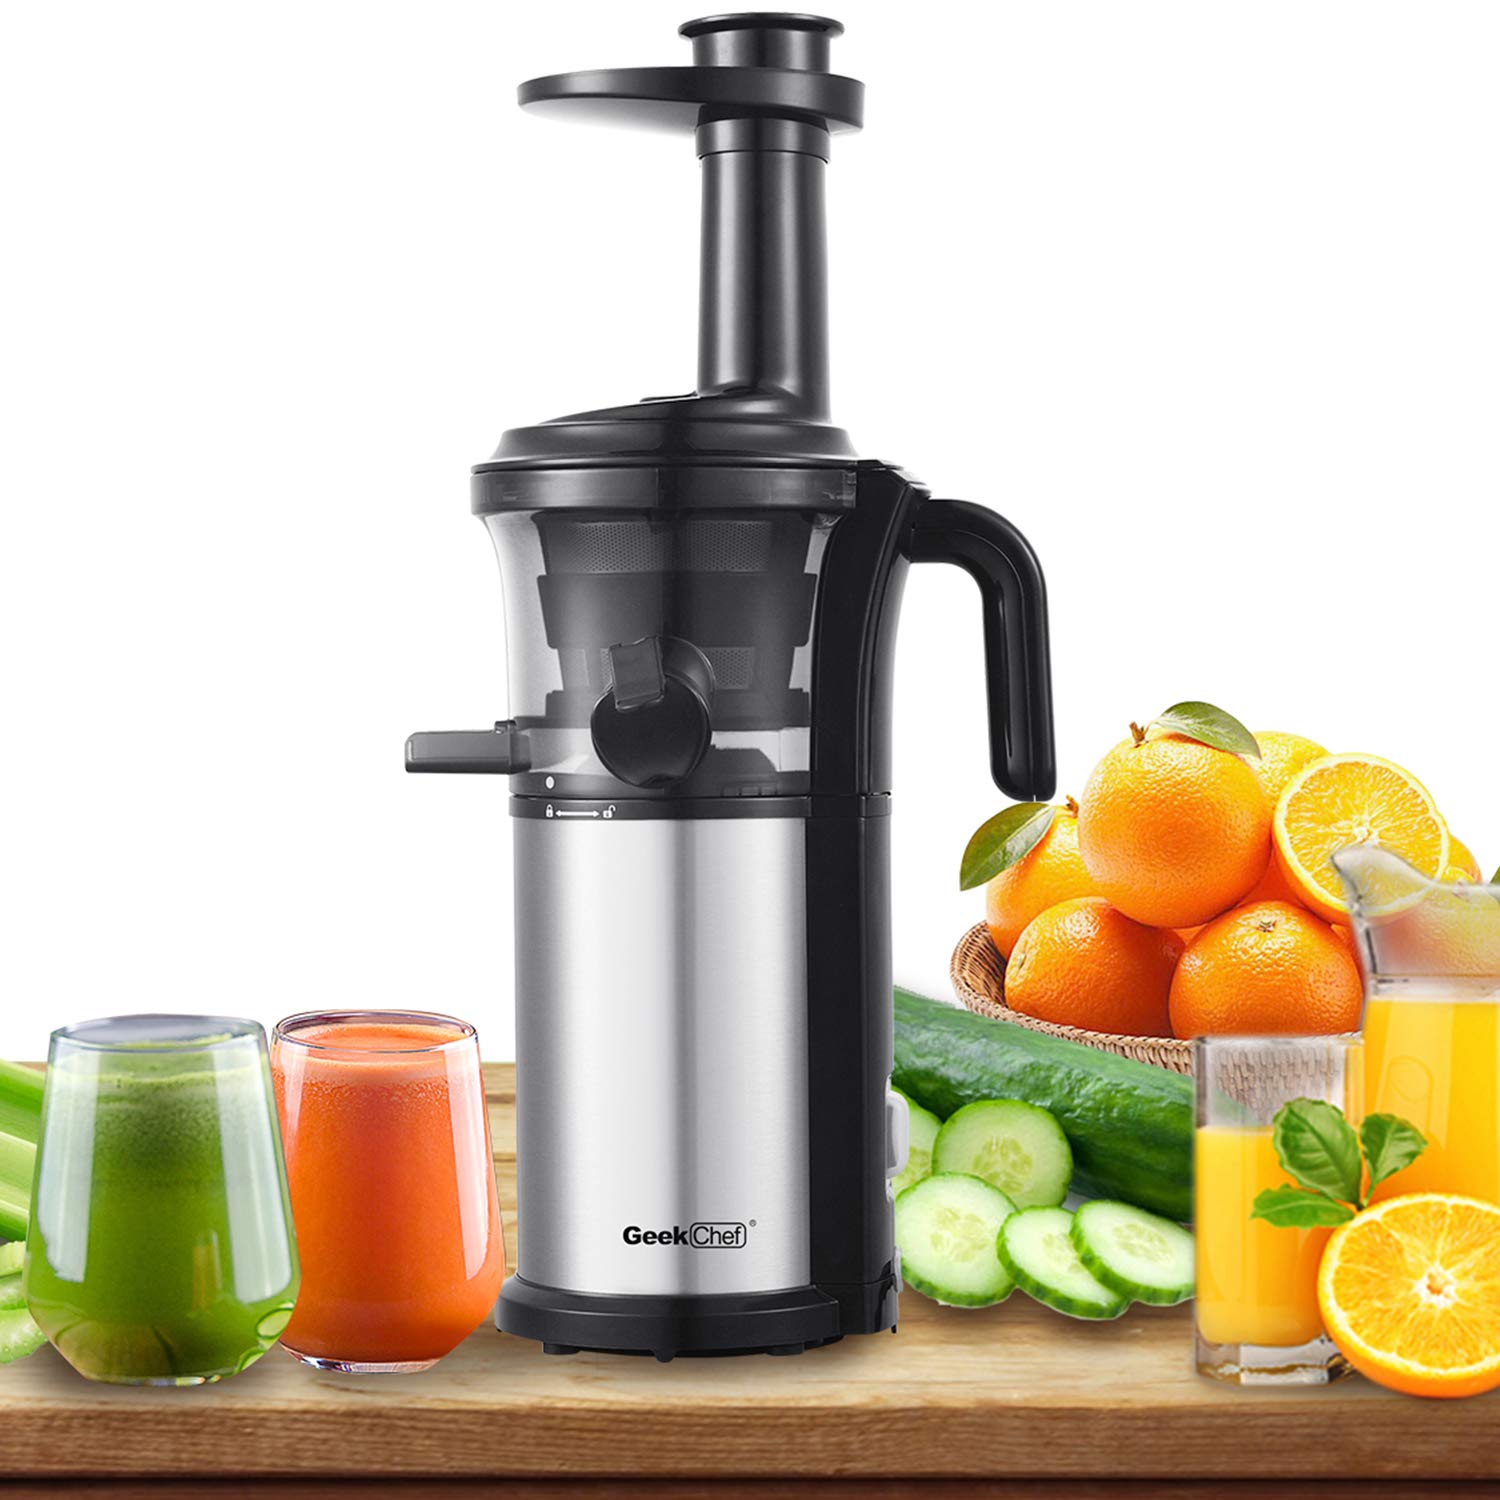
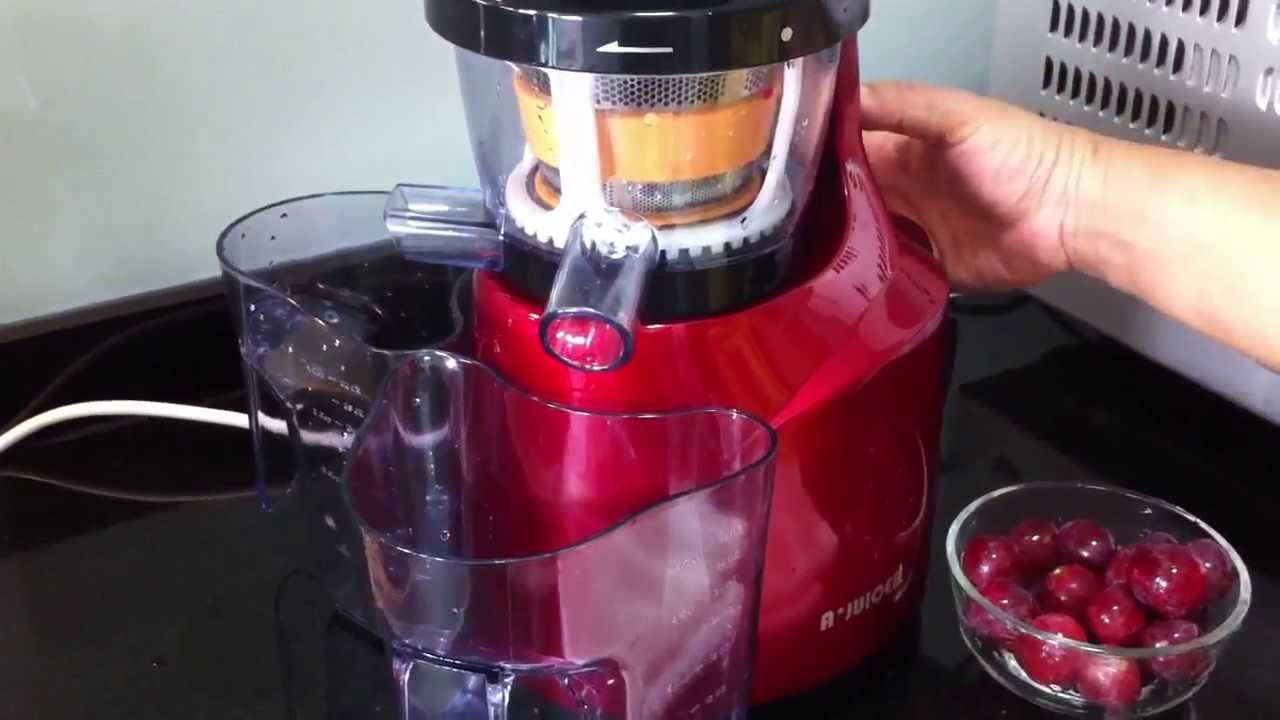
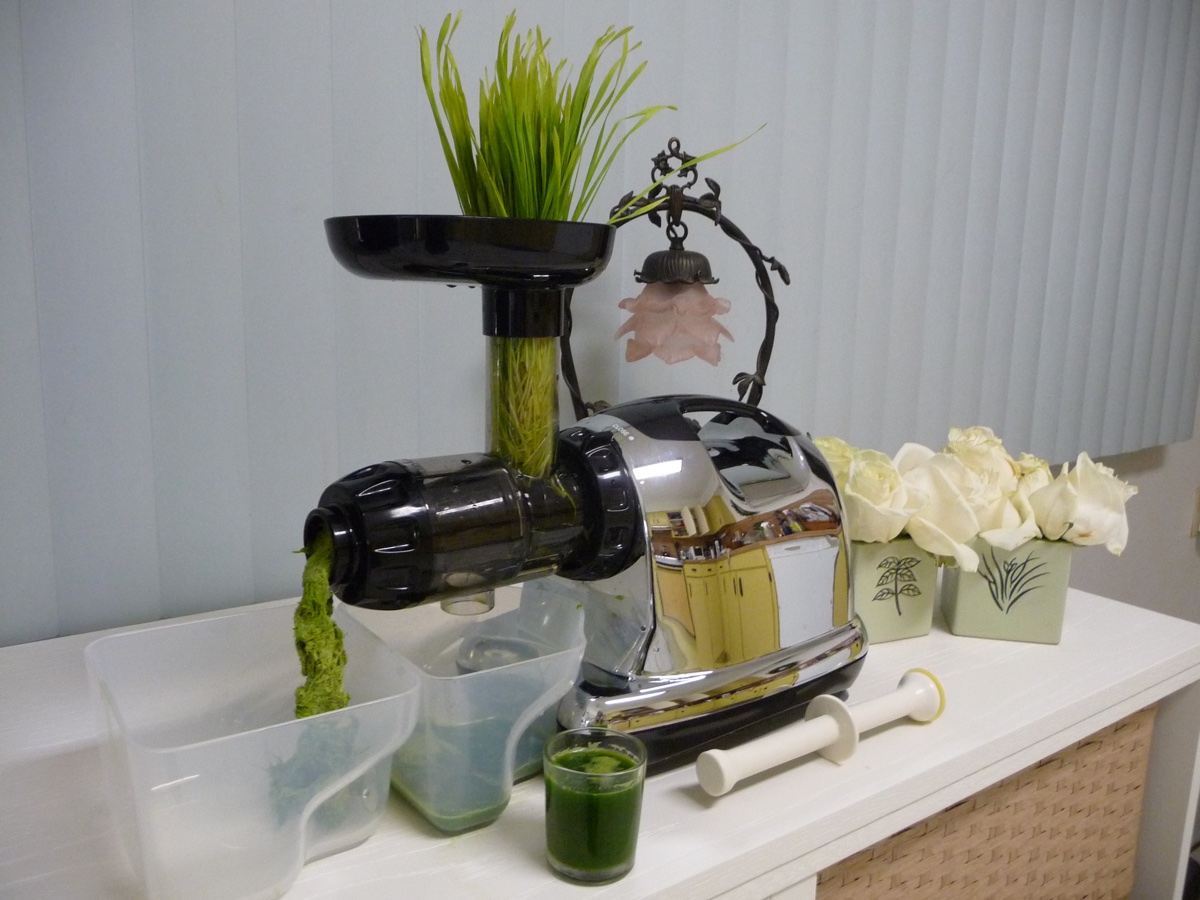
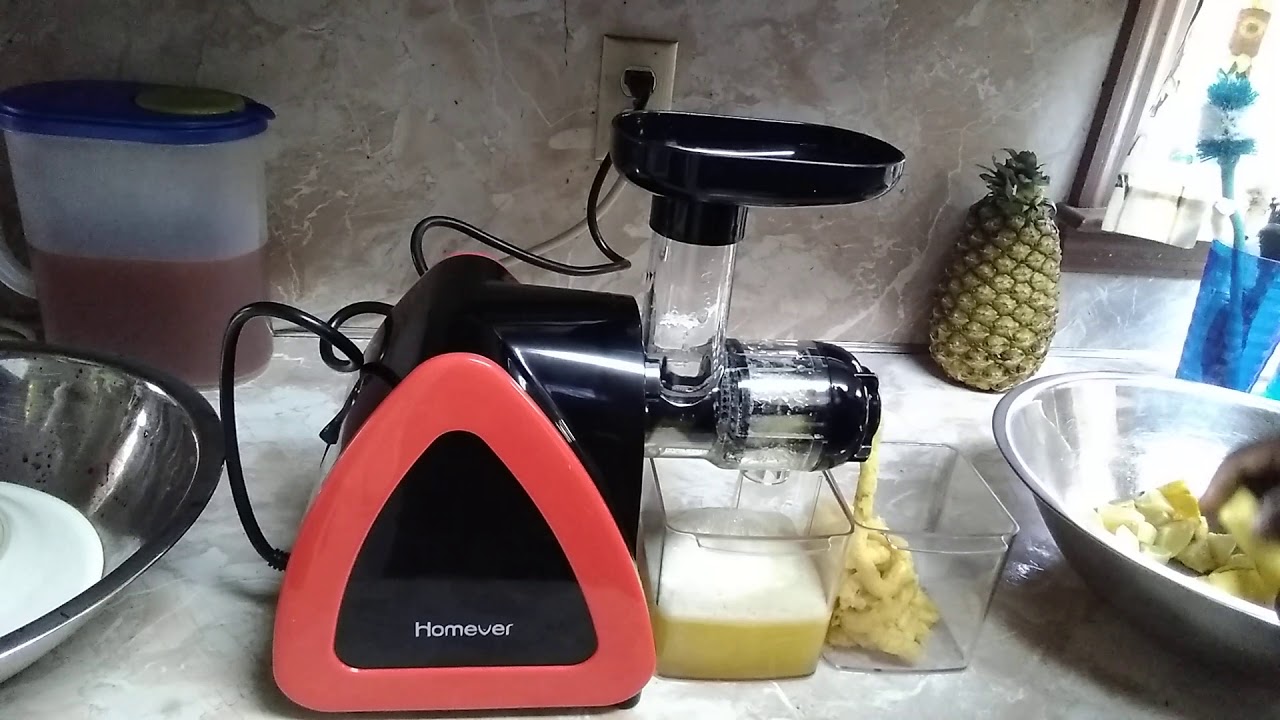
2. Masticating Juicers: Also known as slow juicers or cold press juicers, masticating juicers operate at a slower speed and use a chewing or grinding motion to extract juice. They are more efficient in extracting juice from leafy greens and can also handle a variety of fruits and vegetables. Masticating juicers produce juice with higher nutrient content and have less oxidation, resulting in a longer shelf life. However, they tend to be more expensive and require more time for juicing.
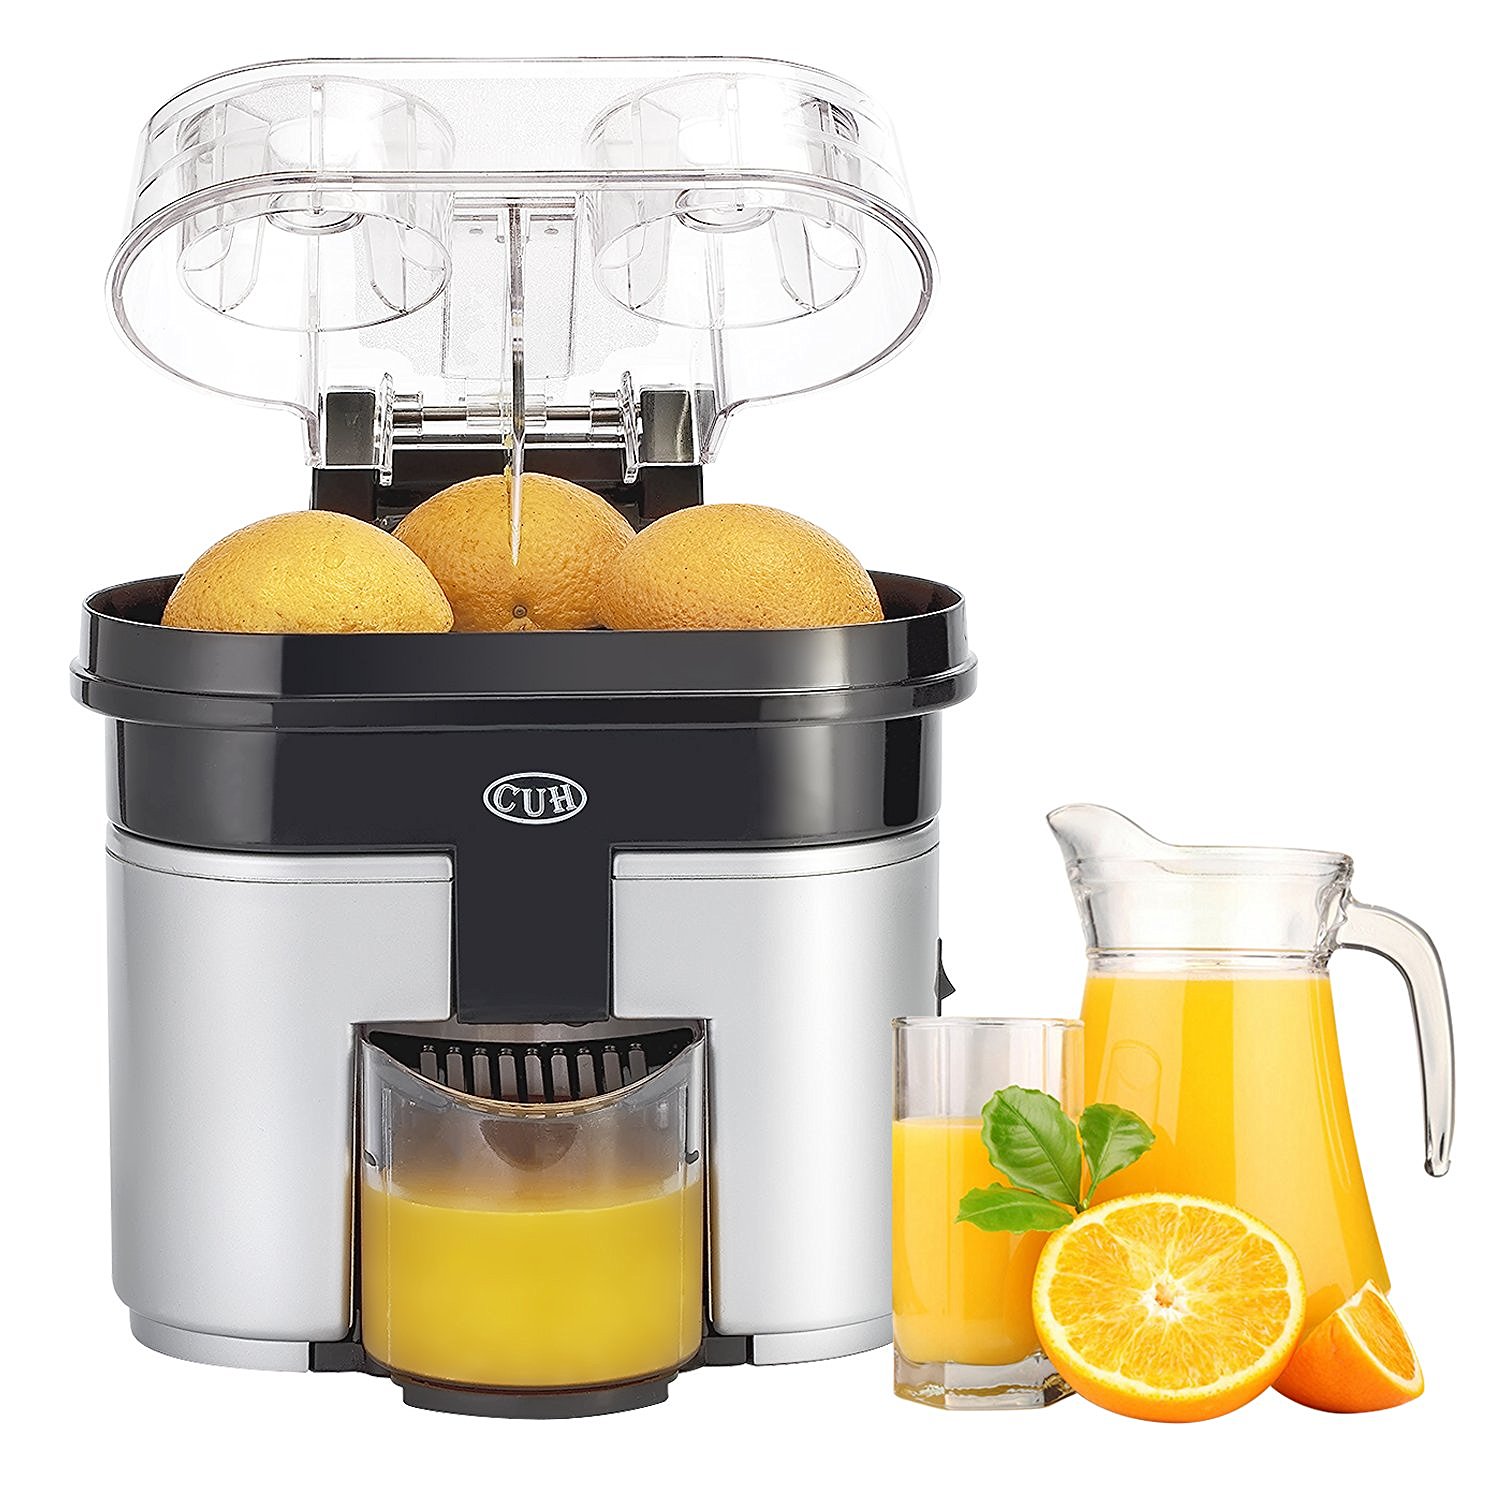
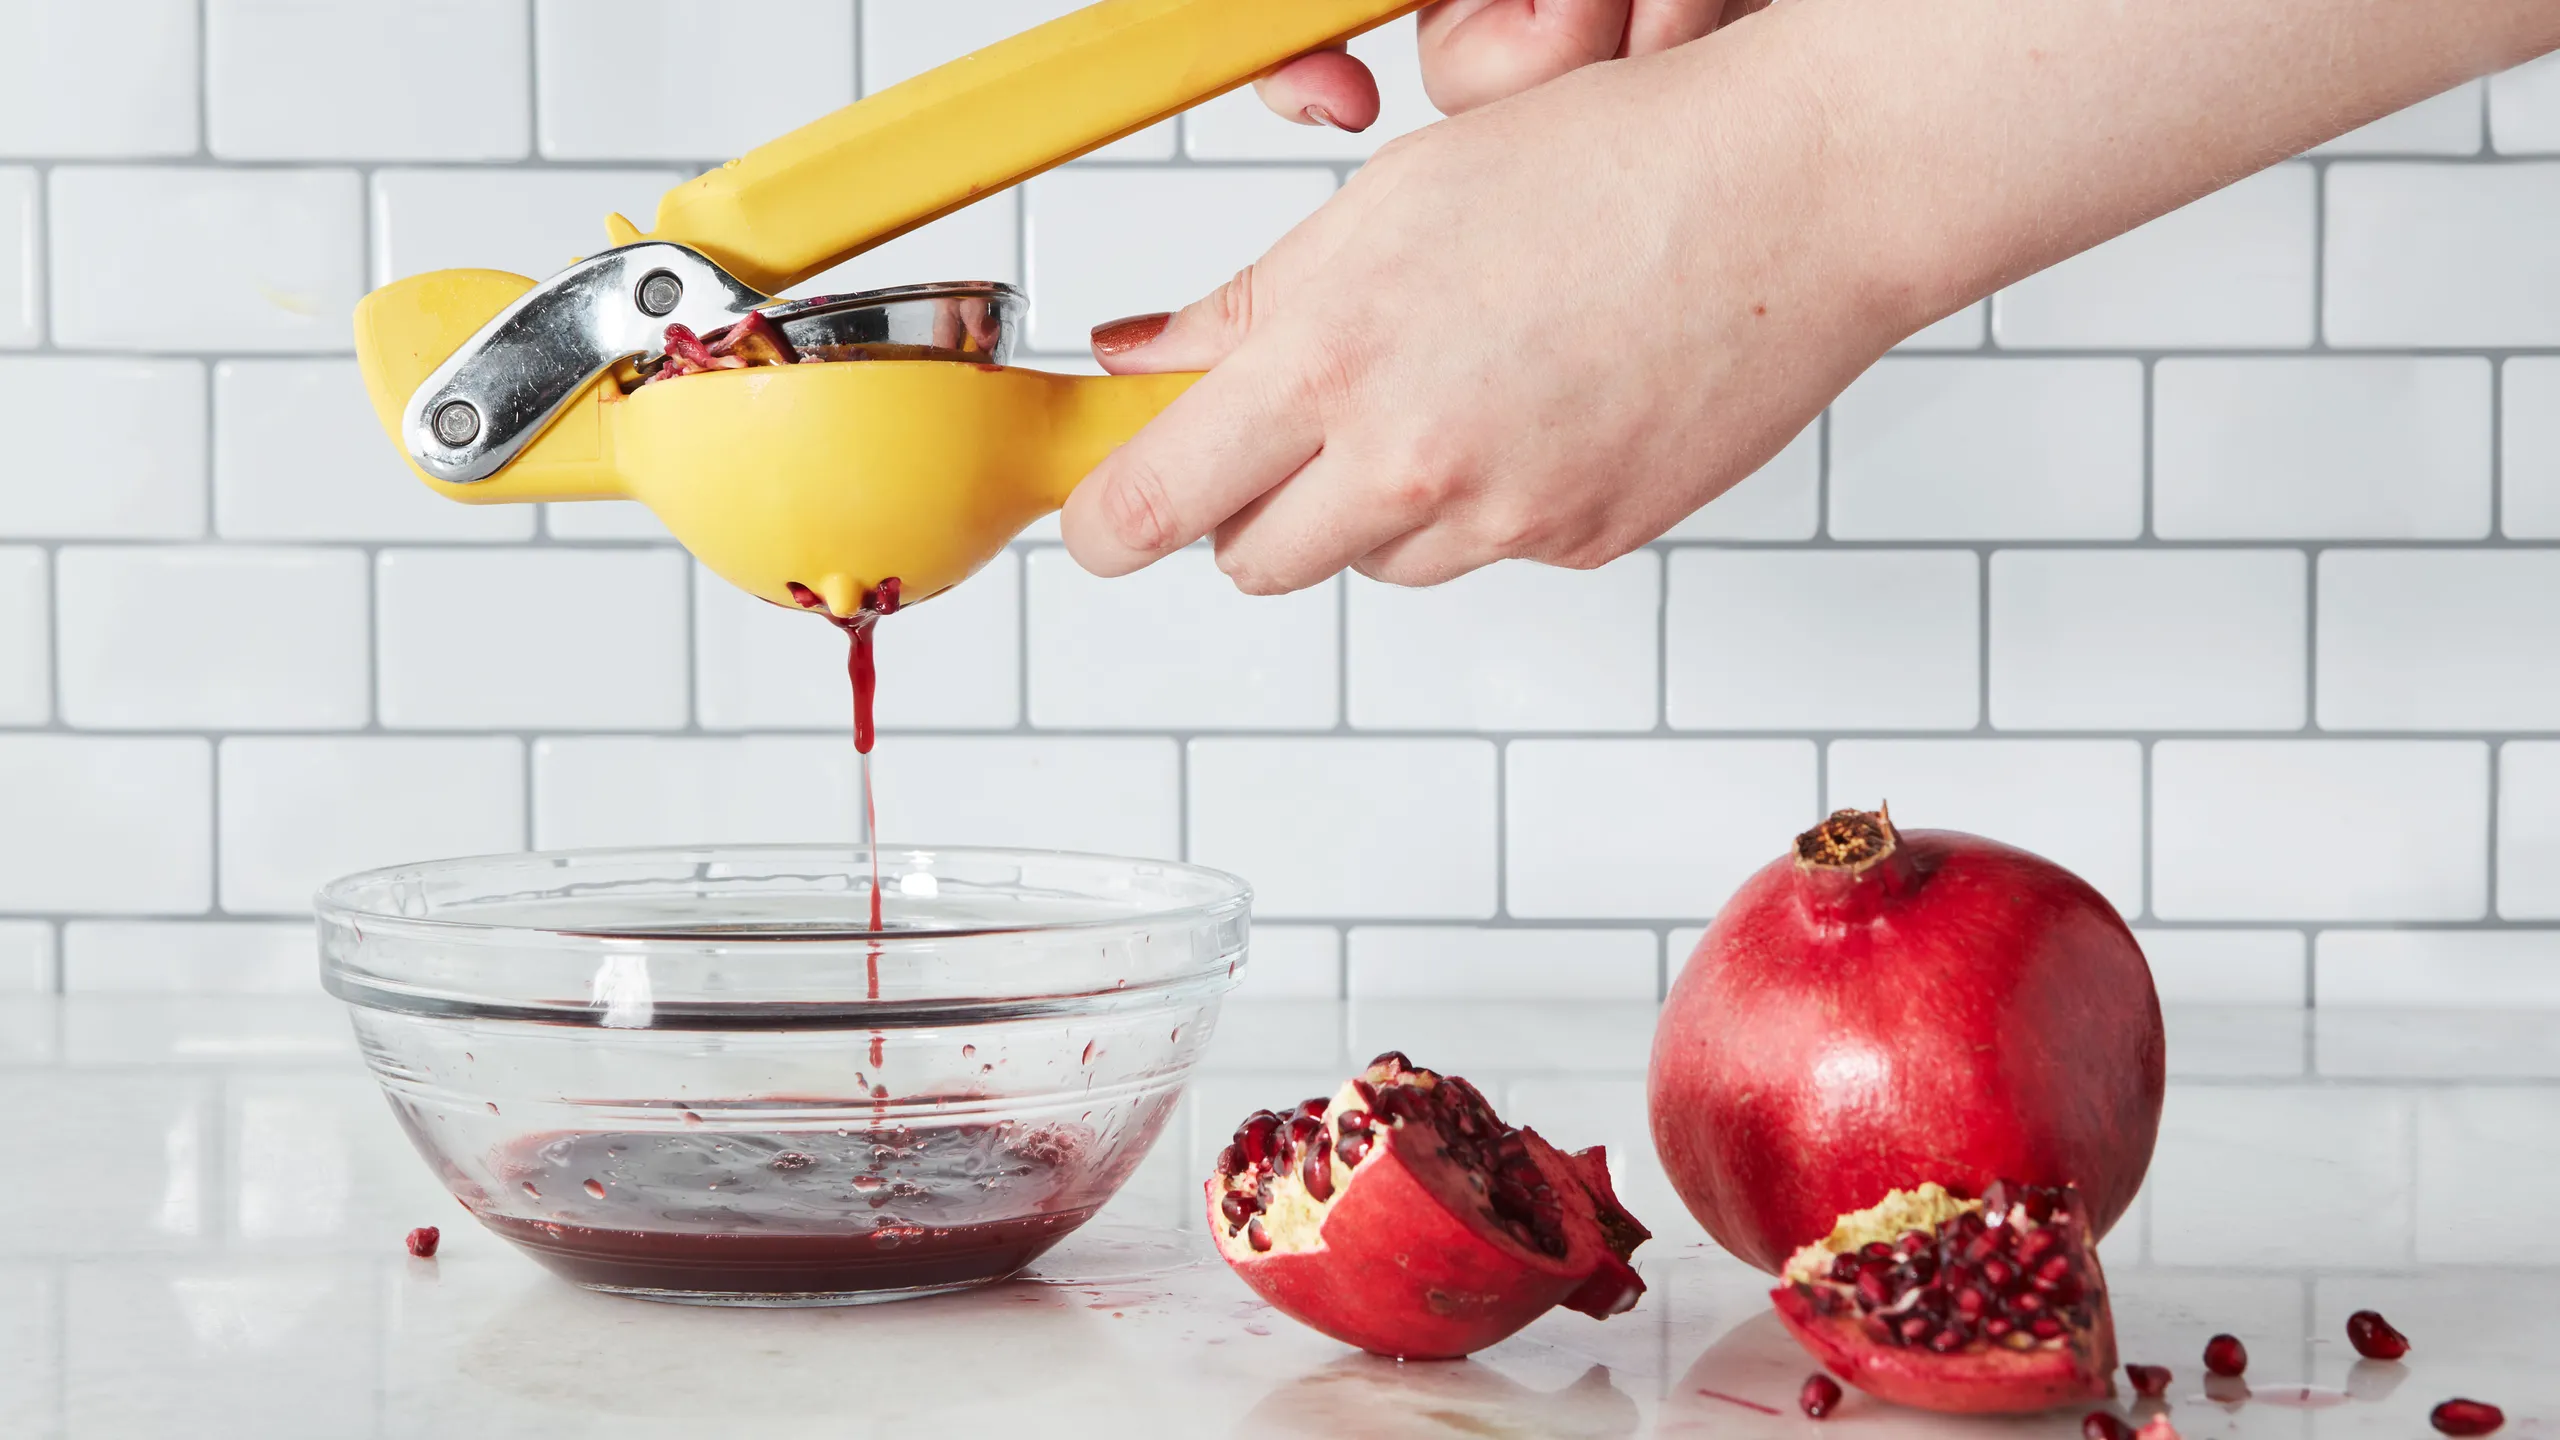
3. Citrus Juicers: If you primarily want to juice citrus fruits like oranges and lemons, a citrus juicer is a great option. These juicers are specifically designed for extracting juice from citrus fruits, making the process quick and easy. They come in both manual and electric versions.
Consider your budget, juicing preferences, and the types of produce you plan to juice when choosing a juicer. If you are unsure, you can also opt for a versatile juicer that can handle different types of fruits and vegetables.
It’s also worth considering the size and noise level of the juicer. If you have limited countertop space or prefer a quieter appliance, look for compact or silent models. Additionally, check the warranty and customer reviews to ensure the juicer is durable and reliable.
Once you have chosen the right juicer for your needs, you will be ready to embark on your juicing journey and enjoy a wide variety of fresh and nutritious juices!
Selecting Fresh Fruits and Vegetables
The key to making delicious and nutritious juice lies in selecting fresh and high-quality fruits and vegetables. Here are some tips to help you choose the best produce for juicing:
1. Look for Freshness: Opt for fruits and vegetables that are ripe and firm, with vibrant colors. Avoid produce that is bruised, discolored, or mushy, as it may affect the taste and quality of your juice.
2. Prefer Organic: Whenever possible, choose organic fruits and vegetables. Organic produce is grown without the use of harmful pesticides and chemicals, reducing your exposure to potentially harmful substances.
3. Seasonal Options: Select fruits and vegetables that are in season. Not only will they be fresher and tastier, but they will also likely be more affordable. Check local farmer’s markets or grocery stores for seasonal options.
4. Mix it Up: Experiment with a variety of fruits and vegetables to get different flavors and nutritional benefits. Consider including a mix of leafy greens, citrus fruits, berries, root vegetables, and other favorites in your juicing routine.
5. Quantity Matters: Buy the right quantity of produce based on your juicing needs. If you plan to juice regularly, it’s better to buy smaller amounts more frequently to ensure freshness.
6. Blemish-Free Skin: For fruits with edible skin, such as apples or cucumbers, choose ones with smooth and blemish-free skin. Alternatively, you can peel the skin off if you prefer.
7. Ripeness of Bananas and Berries: When it comes to bananas, select ones that are ripe but not overly soft. As for berries, choose ones that are plump and brightly colored.
8. Storage Conditions: Properly store your fruits and vegetables to maintain their freshness. Some produce can be stored at room temperature, while others may need refrigeration. Follow storage guidelines to preserve their quality for juicing.
Remember, the quality of your ingredients will greatly impact the taste and nutritional value of your juice. So, take your time to select the freshest and best-quality produce for a truly delightful juicing experience.
Preparing Ingredients
Properly preparing your fruits and vegetables is an important step in the juicing process. Here are some tips to ensure you get the most out of your ingredients:
1. Wash Thoroughly: Before juicing, make sure to wash your fruits and vegetables thoroughly. This helps remove any dirt, pesticides, or other contaminants that may be present on the skin.
2. Remove Unwanted Parts: Remove any stems, seeds, and pits as needed. For instance, when juicing apples, remove the core and seeds. When juicing citrus fruits, remove the peel but keep the white pith as it contains beneficial nutrients.
3. Leafy Greens: If you’re including leafy greens, like kale or spinach, remove any tough stems or spines to ensure a smoother texture in your juice.
4. Peel or Not to Peel: The decision to peel certain fruits and vegetables is up to personal preference. For example, you may choose to leave the skin on cucumbers or ginger for added flavor, but peel oranges or carrots for a smoother texture.
5. Cutting into Smaller Pieces: To make juicing more efficient, cut larger fruits and vegetables into smaller pieces that fit easily into the juicer’s chute. This also helps prevent any strain on the motor of your juicer.
6. Frozen Ingredients: Frozen fruits and vegetables can be added directly to the juicer, eliminating the need for additional ice. This can be especially refreshing in the summer months.
7. Juice Yield: Keep in mind that different fruits and vegetables have varying juice yields. Some produce, like citrus fruits, yield a lot of juice, while others, like leafy greens, may yield less. Consider these differences when planning your recipes.
8. Juicing Leftovers: Don’t let the pulp go to waste! You can use the leftover pulp in creative ways, such as incorporating it into baked goods, adding it to smoothies, or using it in homemade vegetable broth.
By properly preparing your ingredients, you can ensure an efficient and enjoyable juicing experience. So, take a few extra minutes to wash, trim, and cut your fruits and vegetables, and get ready to create some delicious and nutritious juice!
Assembling the Juicer
Before you can start juicing, it’s important to assemble your juicer correctly. While the specific steps may vary depending on the model you have, here are some general guidelines to help you put it together:
1. Read the Manual: Start by reading the manual provided by the juicer manufacturer. This will provide specific instructions for your particular model and ensure that you assemble it correctly.
2. Clean the Parts: Before assembly, make sure all parts of the juicer are clean and dry. This ensures that your juice remains hygienic and free from any debris left from the manufacturing process.
3. Align the Parts: Begin by aligning the main body of the juicer with the motor base. The motor base is usually the bottom part of the juicer and houses the power button or control panel.
4. Attach the Juice Collector: Next, attach the juice collector or juice container to the designated spot on the juicer. This is where the extracted juice will flow into as you juice your fruits and vegetables.
5. Place the Pulp Collector: Depending on your juicer model, there may be a separate pulp collector or pulp container. Attach it in the designated area, as this is where the leftover pulp will accumulate.
6. Install the Juicing Bowl: Locate the juicing bowl or chamber, which is where the fruits and vegetables are inserted and juice is extracted. Align it properly and securely attach it to the main body of the juicer.
7. Fit the Strainer or Filter: Many juicers come with a strainer or filter to fine-tune the texture of the juice and remove any unwanted pulp. Attach the strainer or filter correctly on top of the juicing bowl.
8. Attach the Feeding Chute: The feeding chute is where you will insert the prepared fruits and vegetables for juicing. Make sure it is properly aligned and securely attached to the juicer to avoid any accidents during operation.
9. Additional Attachments: Some juicers come with additional attachments, such as a foam separator or different-sized juicing screens. Attach these extras if desired, following the instructions provided.
10. Safety Lock: Finally, check if your juicer has a safety lock feature. If it does, ensure that all the parts are securely locked in place before turning on the juicer.
Remember to refer to your juicer’s manual for specific instructions and any additional steps required for assembly. Once your juicer is all set up and ready to go, you are just a few steps away from enjoying your fresh homemade juice!
When making juice in a juicer, always remember to wash and prepare your fruits and vegetables before juicing. This includes removing any seeds, pits, or tough skins that may not juice well.
Read more: How To Make Tomato Juice With A Juicer
Juicing Process
Now that you have assembled your juicer, it’s time to juice your fruits and vegetables and extract that fresh, nutrient-packed juice. Follow these step-by-step instructions for a successful juicing process:
1. Prep Your Ingredients: Make sure your fruits and vegetables are cleaned, trimmed, and cut into smaller pieces, as per your juicer’s guidelines. This will help ensure smooth and efficient juicing.
2. Turn on the Juicer: Plug in your juicer and turn it on. Some juicers have a power button, while others may require you to twist or push a knob to start the juicing process.
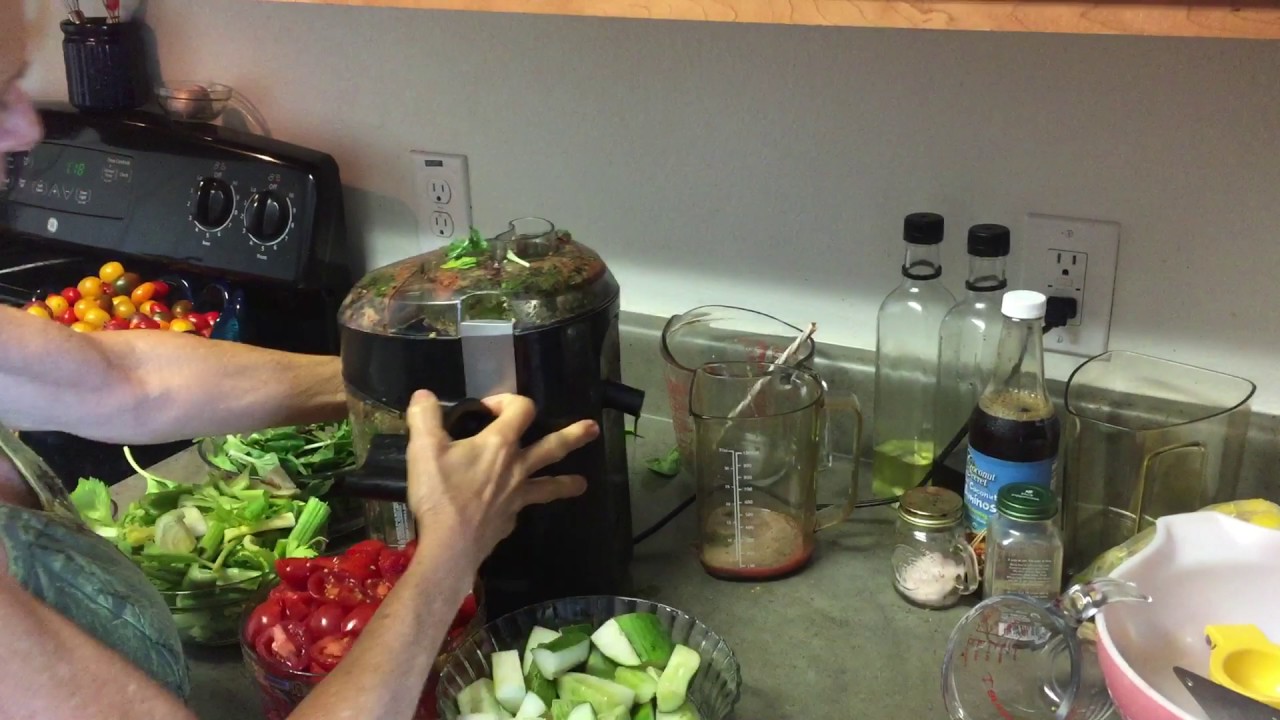
3. Start with Harder Ingredients: Begin by juicing harder fruits and vegetables, such as apples, carrots, or beets. Insert them into the feeding chute slowly, allowing the juicer’s blades or gears to extract the juice.
4. Follow with Leafy Greens: Once the harder ingredients are juiced, add your leafy greens, like spinach or kale, into the chute. It’s important to push them through gently to avoid clogging the juicer. If needed, alternate between harder and leafy greens to prevent congestion.
5. Juice Soft Fruits and Citrus: If you want to include soft fruits like berries or citrus fruits in your juice, add them after the leafy greens. Soft fruits can be easily juiced, and citrus fruits can add a refreshing flavor to your concoction.
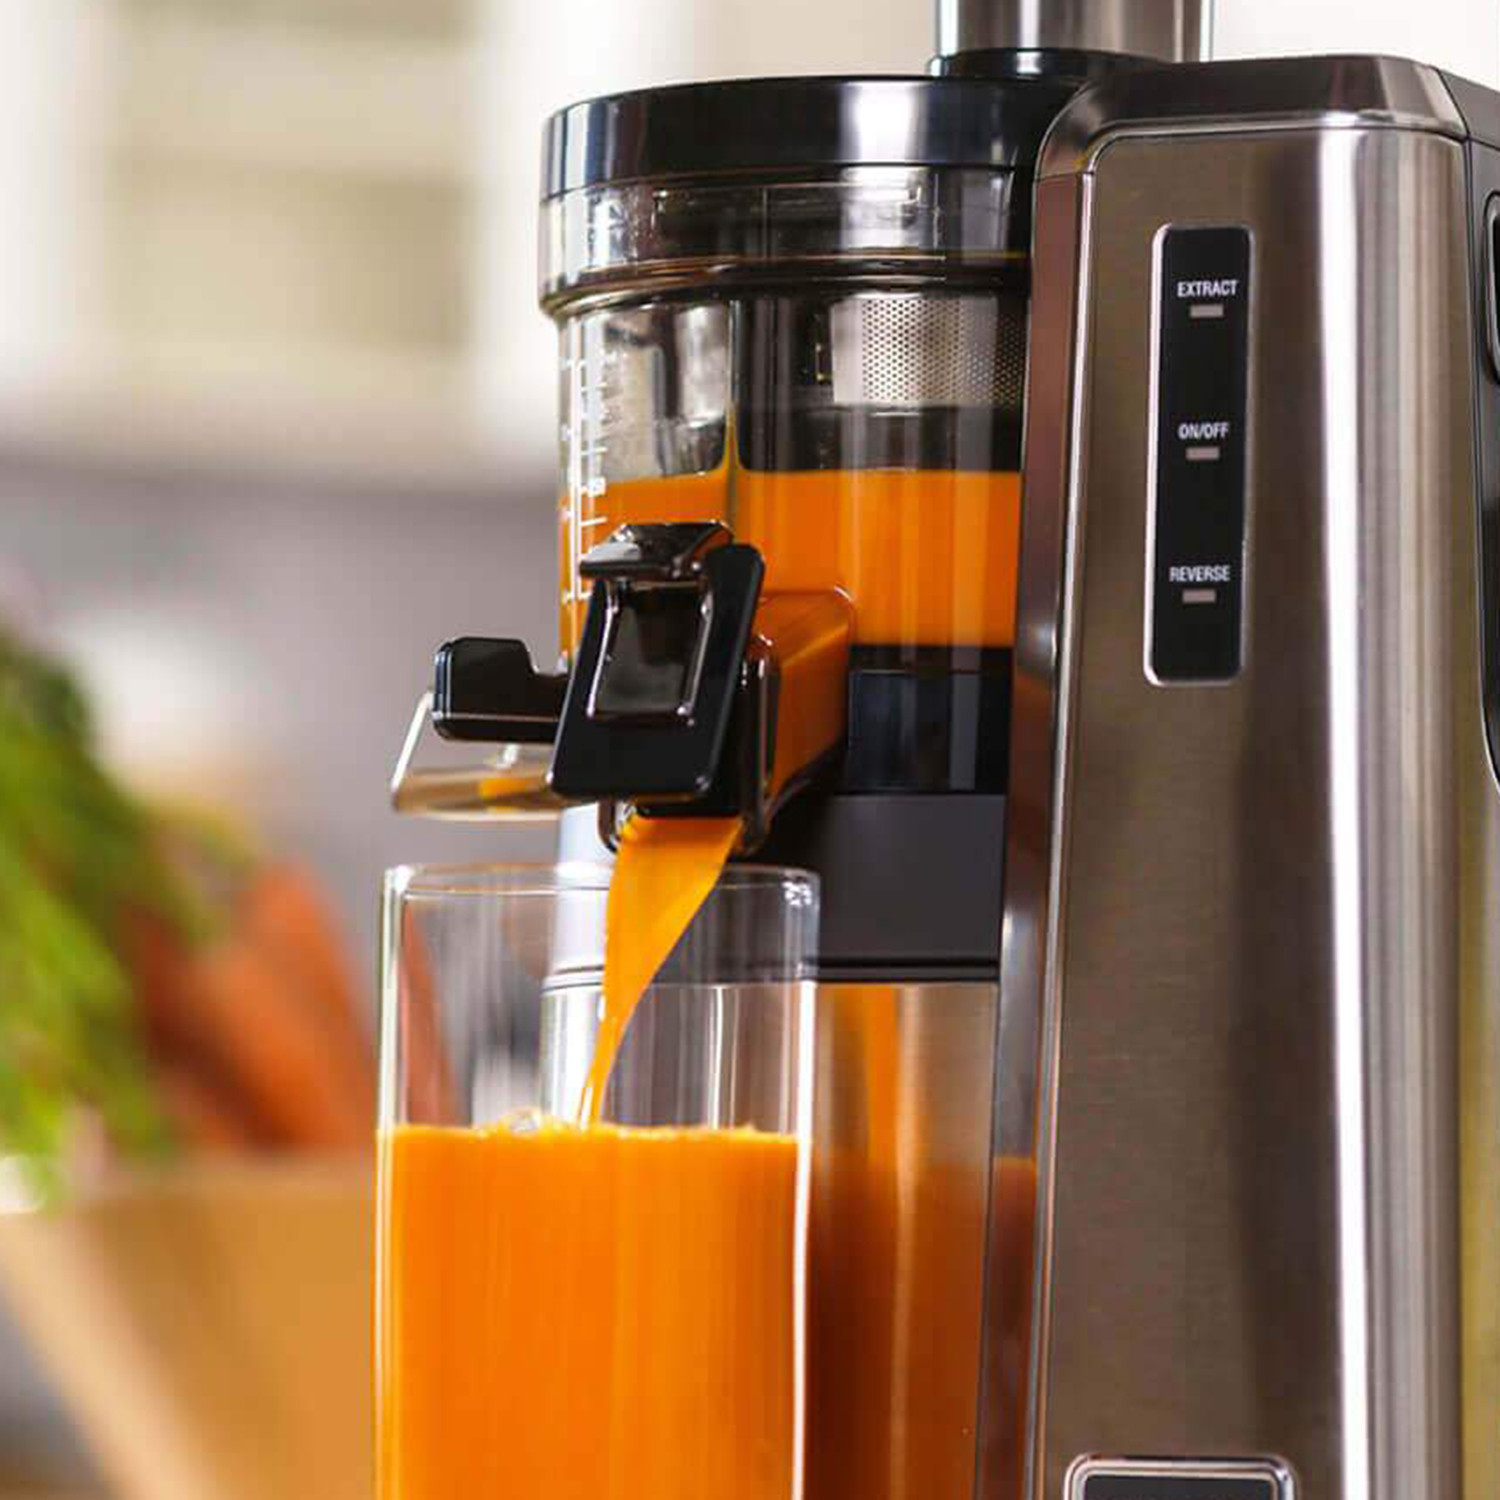
6. Adjust Juicer Settings: Depending on your juicer, there may be settings that allow you to control the speed and consistency of the juice. Adjust the settings as desired to achieve the desired texture and pulp level.
7. Collect the Juice: As you juice, the extracted juice will flow into the juice collector or container that you attached earlier. Ensure that the container is properly positioned to collect all the juice as it is being released.
8. Monitor Pulp Collector: Keep an eye on the pulp collector or container to ensure it doesn’t overflow. If it gets full, pause juicing and empty the pulp before continuing.
9. Pause and Stir: If you notice that the juice flow is slowing down or the pulp seems to be building up, pause the juicing process to give the juicer time to catch up. Use a spatula or spoon to stir the pulp in the chute and clear any obstructions.
10. Complete the Juicing Process: Continue adding the remaining fruits and vegetables until you have juiced everything you planned to use. Turn off the juicer once you have extracted all the juice.
Remember, different juicers may have slight variations in operation, so always refer to the specific instructions provided by the manufacturer. With practice, you will become more familiar with your juicer and achieve the perfect balance of flavors and textures in your homemade juice creations.
Cleaning and Maintenance
After enjoying a glass of fresh juice, it’s essential to properly clean and maintain your juicer. Regular cleaning not only ensures the longevity of your appliance but also promotes hygiene and prevents any residue build-up. Follow these simple steps for effective cleaning and maintenance:
1. Unplug the Juicer: Before you begin cleaning, always make sure to unplug the juicer from the power source. This ensures your safety during the cleaning process.
2. Disassemble the Juicer: Carefully disassemble the juicer, separating the different parts such as the juicing bowl, strainer or filter, feeding chute, juice collector, and pulp collector. Refer to your juicer’s manual for specific guidelines on disassembling.
3. Rinse Immediately: To prevent any stubborn stains or residue from forming, rinse each part of the juicer with warm water immediately after use. This helps remove excess pulp or juice before it dries and becomes more difficult to clean.
4. Use a Cleaning Brush: Utilize a cleaning brush or a soft-bristled brush provided with your juicer to gently scrub away any residue or pulp stuck on the parts. Pay extra attention to the strainer or filter, as it tends to accumulate particles.
5. Soak in Warm Soapy Water: If needed, soak the juicer parts in warm soapy water to help loosen any stubborn residue. Allow them to soak for a few minutes before gently scrubbing again. Avoid leaving the parts immersed in water for an extended period, as it can damage certain components.
6. Remove Stains Naturally: For any stubborn stains, you can create a paste of baking soda and water and apply it to the affected areas. Let it sit for a few minutes before rinsing it off. Alternatively, you can use lemon juice or white vinegar to remove stains naturally.
7. Dry Thoroughly: After washing, make sure to dry each part of the juicer thoroughly. Use a clean cloth or allow the parts to air dry completely before reassembling. Moisture can lead to mold or rust, so proper drying is essential.
8. Store Carefully: Store the juicer parts in a clean and dry area, preferably in a designated space where they won’t get damaged or misplaced. This ensures that all the components are protected and readily available for your next juicing session.
9. Regular Maintenance: Follow the manufacturer’s guidelines on regular maintenance for your specific juicer model. This may include lubricating certain parts, replacing worn-out components, or scheduling professional servicing as recommended.
By incorporating regular cleaning and maintenance into your juicing routine, you’ll keep your juicer performing at its best and maintain the quality of your homemade juice. With proper care, your juicer can continue to provide you with fresh and delicious juice for years to come.
Tips and Tricks for Juicing
Unlock the full potential of your juicing experience with these tips and tricks that will take your homemade juice to the next level:
1. Mix and Match: Don’t be afraid to experiment and get creative with your juice recipes. Combine different fruits and vegetables to discover unique flavors and nutritional benefits. Try adding a splash of citrus to balance out the sweetness or a handful of leafy greens for added nutrients.
2. Add a Burst of Flavor: Enhance the taste of your juice with a dash of spices, such as ginger, mint, or cinnamon. These additions can provide a delightful and refreshing twist to your juice creations.
3. Consider Texture: If you prefer a smoother juice, strain it through a fine-mesh sieve or cloth to remove any remaining pulp. On the other hand, if you enjoy some texture, skip the straining process for a slightly thicker and more fiber-rich juice.
4. Control Oxidation: To minimize oxidation and preserve the freshness of your juice, consume it immediately after juicing. If you need to store it, transfer the juice to an airtight container and store it in the refrigerator for up to 24 hours.
5. Start with Small Amounts: If you’re new to juicing, start with smaller quantities of strong-tasting vegetables, such as kale or beetroot. Gradually increase the amounts as you become accustomed to the taste and adjust it to your liking.
6. Freeze for Later: If you have excess produce or want to prepare juice in advance, pour the juice into ice cube trays and freeze them. These juice cubes can be added to smoothies or thawed for a quick and nutritious burst of freshness.
7. Gradual Introduction of Leafy Greens: If you’re new to including leafy greens in your juice, start with milder greens like spinach or cucumber and gradually increase the amount over time. This allows your taste buds to adjust to the flavors of the greens.
8. Pre-chill Ingredients: For a refreshing and chilled juice, refrigerate or freeze your fruits and vegetables before juicing. Not only will this add a cooling effect, but it can also help maintain the nutrients and flavors of the produce.
9. Remove Excess Foam: If you find your juice has too much foam, simply skim it off using a spoon or wait for it to settle before pouring the juice into a glass. Foam does not affect the taste or nutrition of the juice.
10. Enjoy the Pulp: Don’t discard the leftover pulp! It can be used in a variety of ways, such as adding it to soups, muffins, or composting it for your garden. Get creative and explore ways to reduce waste and maximize the use of your produce.
With these tips and tricks, you’ll be able to make the most out of your juicing experience, delighting in delicious and nutritious homemade juices that suit your taste preferences and dietary needs.
Conclusion
Congratulations! You have completed your journey into the world of juicing. By now, you should feel equipped with the knowledge and skills to make delicious and nutritious juice in a juicer. From choosing the right juicer to selecting fresh ingredients, preparing them, and following the juicing process, you’ve learned the essential steps to create your own homemade juice.
Remember, juicing is a versatile and creative way to incorporate more fruits and vegetables into your diet. It allows you to explore different flavors, experiment with combinations, and customize your juices to suit your taste preferences and nutritional needs.
However, juicing is just one part of a healthy lifestyle. It’s essential to accompany your juice consumption with a well-balanced diet and regular exercise for optimal health and wellness.
As you continue on your juicing journey, keep in mind the importance of cleaning and maintaining your juicer. Regular maintenance ensures the longevity of your appliance and guarantees the quality and safety of the juices you prepare.
Lastly, don’t be afraid to get creative! Try out new recipes, discover flavor combinations that excite your taste buds, and have fun with the process. Juicing can be a joyful and refreshing experience that brings both health benefits and culinary delight.
So, embrace the power of juicing and enjoy the vibrant flavors and nourishing goodness that fresh fruits and vegetables have to offer. Cheers to a healthier and more vibrant lifestyle!
Frequently Asked Questions about How To Make Juice In A Juicer
Was this page helpful?
At Storables.com, we guarantee accurate and reliable information. Our content, validated by Expert Board Contributors, is crafted following stringent Editorial Policies. We're committed to providing you with well-researched, expert-backed insights for all your informational needs.


0 thoughts on “How To Make Juice In A Juicer”