Articles
How To Juice Kiwi In A Juicer
Modified: January 18, 2024
Learn how to juice kiwi in a juicer with our informative articles. Discover tips and tricks for extracting maximum flavor and nutrients.
(Many of the links in this article redirect to a specific reviewed product. Your purchase of these products through affiliate links helps to generate commission for Storables.com, at no extra cost. Learn more)
Introduction
Welcome to the world of juicing! Juicing has become a popular health trend, as it allows you to extract the natural goodness of fruits and vegetables in a convenient and delicious way. In this article, we will focus on one particular fruit: the kiwi. Known for its vibrant green color and tangy-sweet flavor, kiwi is not only a delightful fruit to eat but also a fantastic addition to your juicing repertoire.
With its high vitamin C content, kiwi is known to boost the immune system and provide a good source of dietary fiber. It is also rich in antioxidants, which help fight free radicals in the body. Juicing kiwi can be a refreshing way to enjoy its nutritional benefits and add a burst of flavor to your morning routine or afternoon pick-me-up.
However, juicing kiwi requires some preparation and the right equipment. In this article, we will guide you step-by-step on how to juice kiwi in a juicer. We will cover everything from choosing the right kiwi to cleaning up the juicer afterward.
So, before you fire up your juicer and get ready to embark on a kiwi-licious juice adventure, let’s dive into the world of juicing kiwi and discover the wonderful benefits and techniques to make the most out of this incredible fruit.
Key Takeaways:
- Juicing kiwi is a delightful way to enjoy its flavors and reap the benefits of vitamin C and antioxidants. Remember to choose ripe kiwis, prepare them properly, and experiment with flavor combinations for a refreshing and nutritious juice experience.
- Properly cleaning and maintaining your juicer is essential for its longevity and the hygiene of your juicing process. With the right techniques, you can create your own signature kiwi juice recipes and delight in vibrant flavors and health benefits.
Read more: How To Juice Wheatgrass With A Juicer
Choosing the right kiwi
When it comes to juicing kiwi, selecting the right kiwi is crucial to ensure optimal flavor and juice yield. Here are a few tips to help you choose the perfect kiwi for juicing:
- Look for ripe kiwis: Ripe kiwis are plump, firm, and yield slightly to pressure when gently squeezed. Avoid kiwis that are too soft or mushy, as they may be overripe and have a bland taste.
- Check the color: Kiwis with a vibrant green color are usually ripe and packed with flavor. Avoid kiwis that have a yellowish or brownish hue, as they may be overripe or past their prime.
- Size matters: Choose kiwis that are medium to large in size. They tend to have more juice and are easier to juice compared to smaller kiwis.
- Fragrance test: Give the kiwi a gentle sniff. Ripe kiwis have a sweet, fragrant aroma. If the kiwi has little to no scent, it may not be as flavorful when juiced.
When shopping for kiwis, it’s also essential to consider their organic status. If possible, opt for organic kiwis to avoid any potential exposure to pesticides. Organic kiwis are grown without synthetic fertilizers and pesticides, making them a healthier choice for juicing.
By selecting the right kiwi, you can ensure the best possible flavor and nutrient content in your homemade kiwi juice. With your kiwis in hand, let’s move on to the next step: preparing the kiwi for juicing.
Preparing the kiwi
Before juicing the kiwi, it’s important to properly prepare the fruit to ensure a smooth juicing process and maximize the yield. Here’s how to prepare the kiwi for juicing:
- Wash the kiwi: Start by rinsing the kiwi under cool water to remove any dirt or debris on the skin. Use a gentle scrub brush to lightly scrub the skin if needed.
- Peel the kiwi: Once the kiwi is clean, you have the option to either peel it or leave the skin on. The skin of the kiwi contains additional nutrients and fiber, so leaving it on can add nutritional value to your juice. However, if you prefer a smoother texture, it’s best to peel the kiwi using a sharp knife or a peeler.
- Cut the kiwi into small pieces: Regardless of whether you choose to juice with or without the skin, it’s recommended to cut the kiwi into small, manageable pieces. This will make it easier for your juicer to extract the juice efficiently.
Once the kiwi is prepped and ready, it’s time to set up your juicer for the juicing process. Let’s move on to the next step: setting up the juicer.
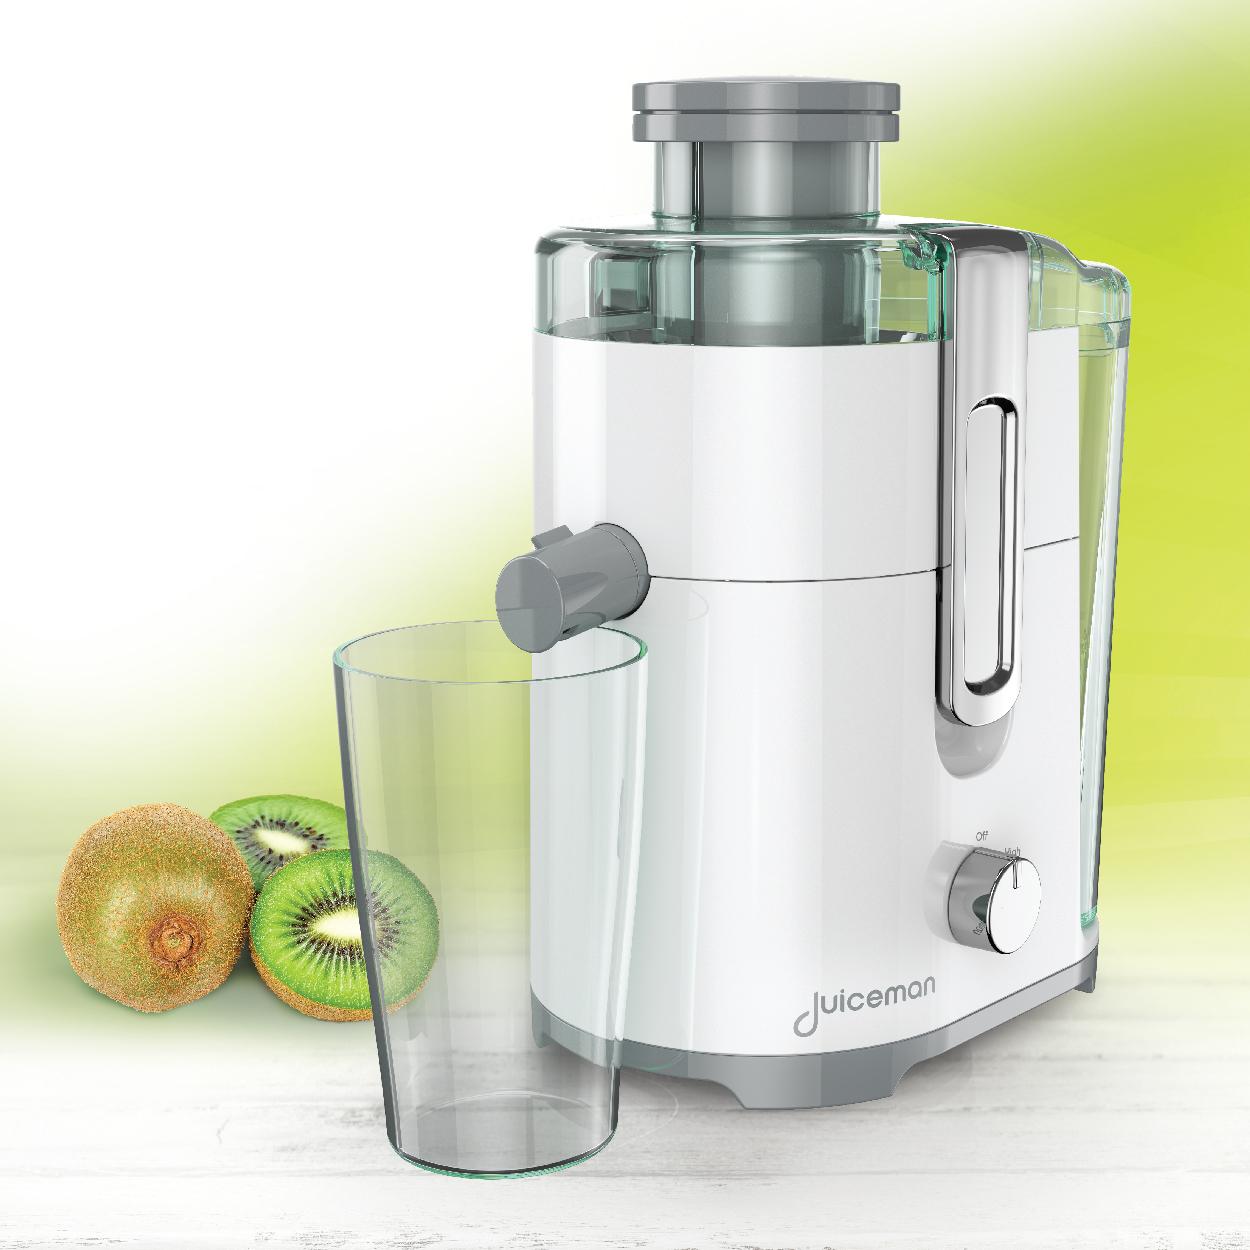
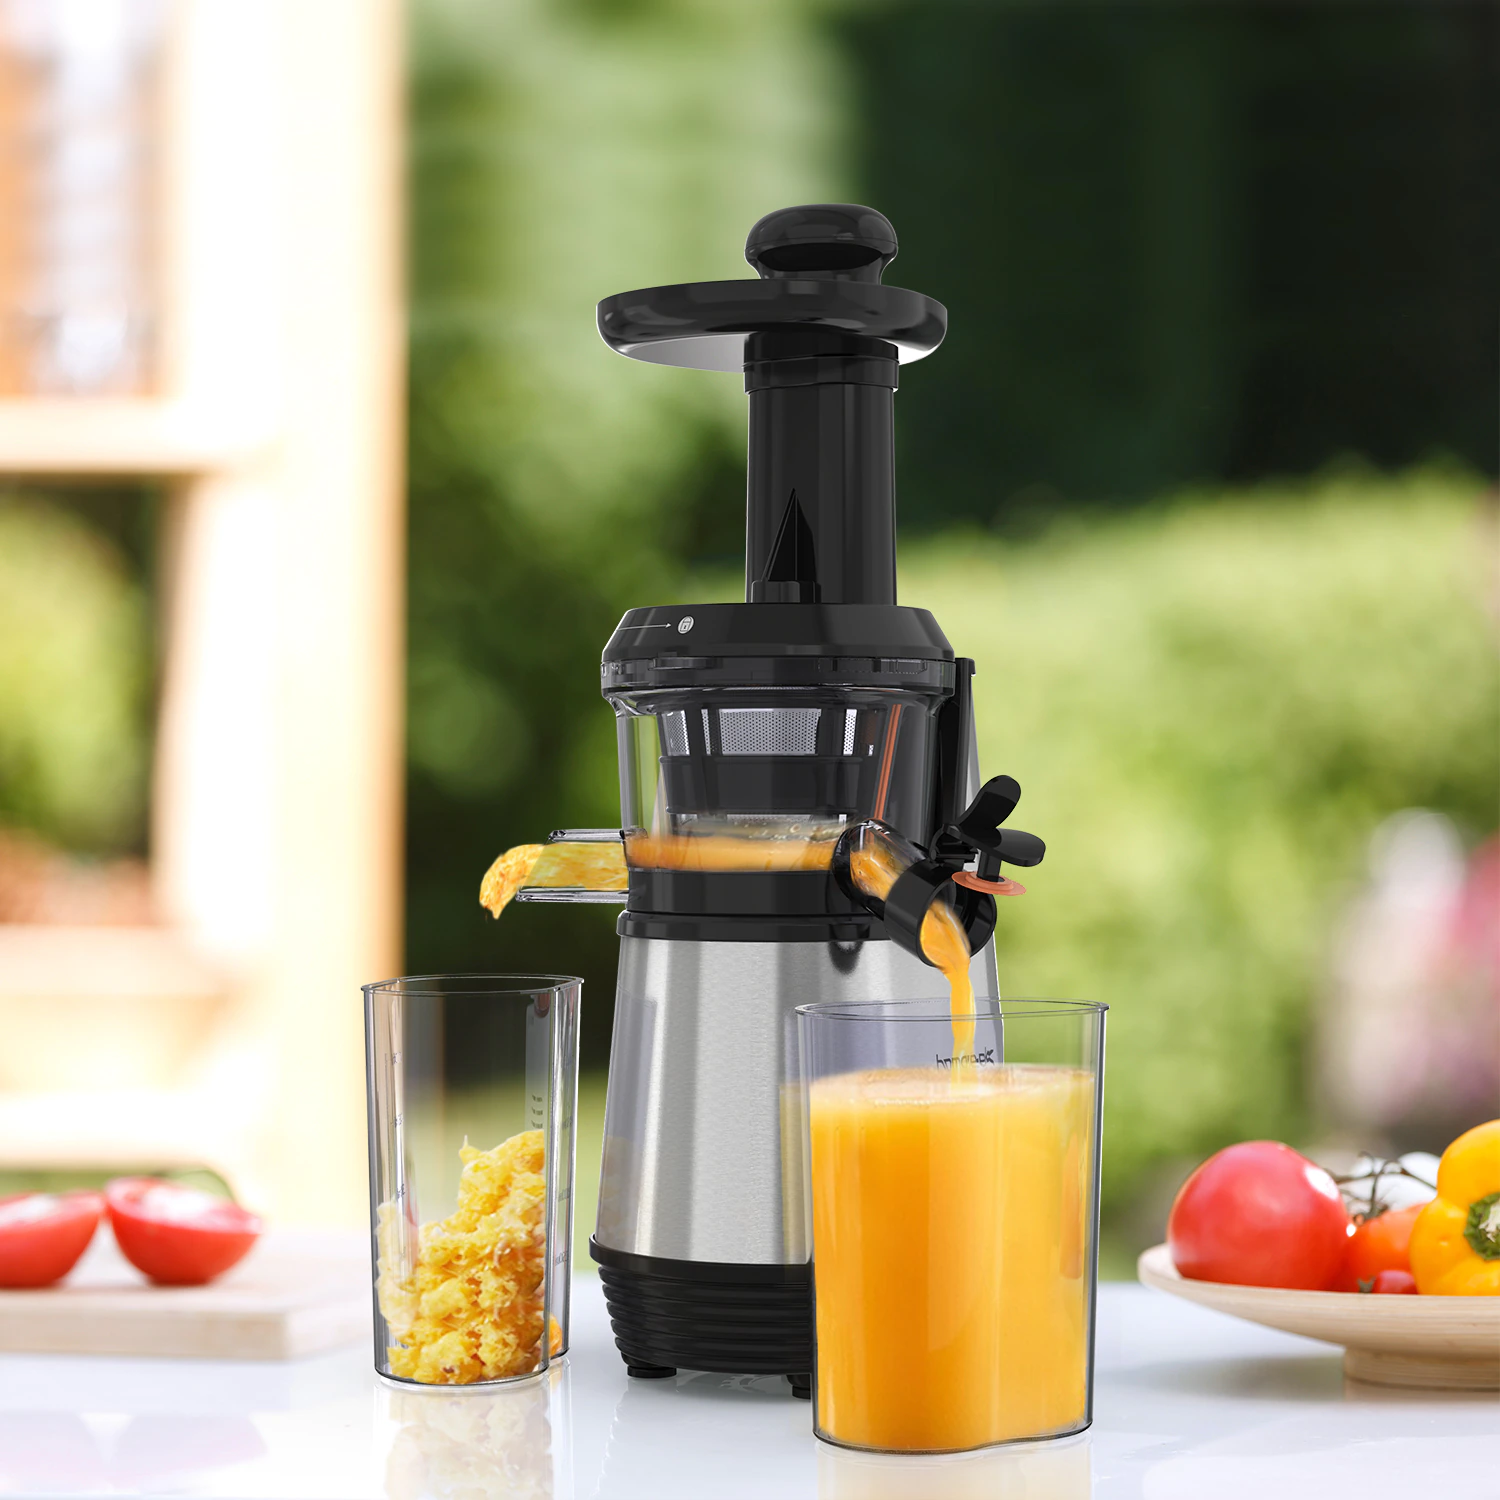
Setting up the juicer
Now that the kiwi is prepared, it’s time to set up your juicer for optimal performance. Here are the steps to follow when setting up your juicer:
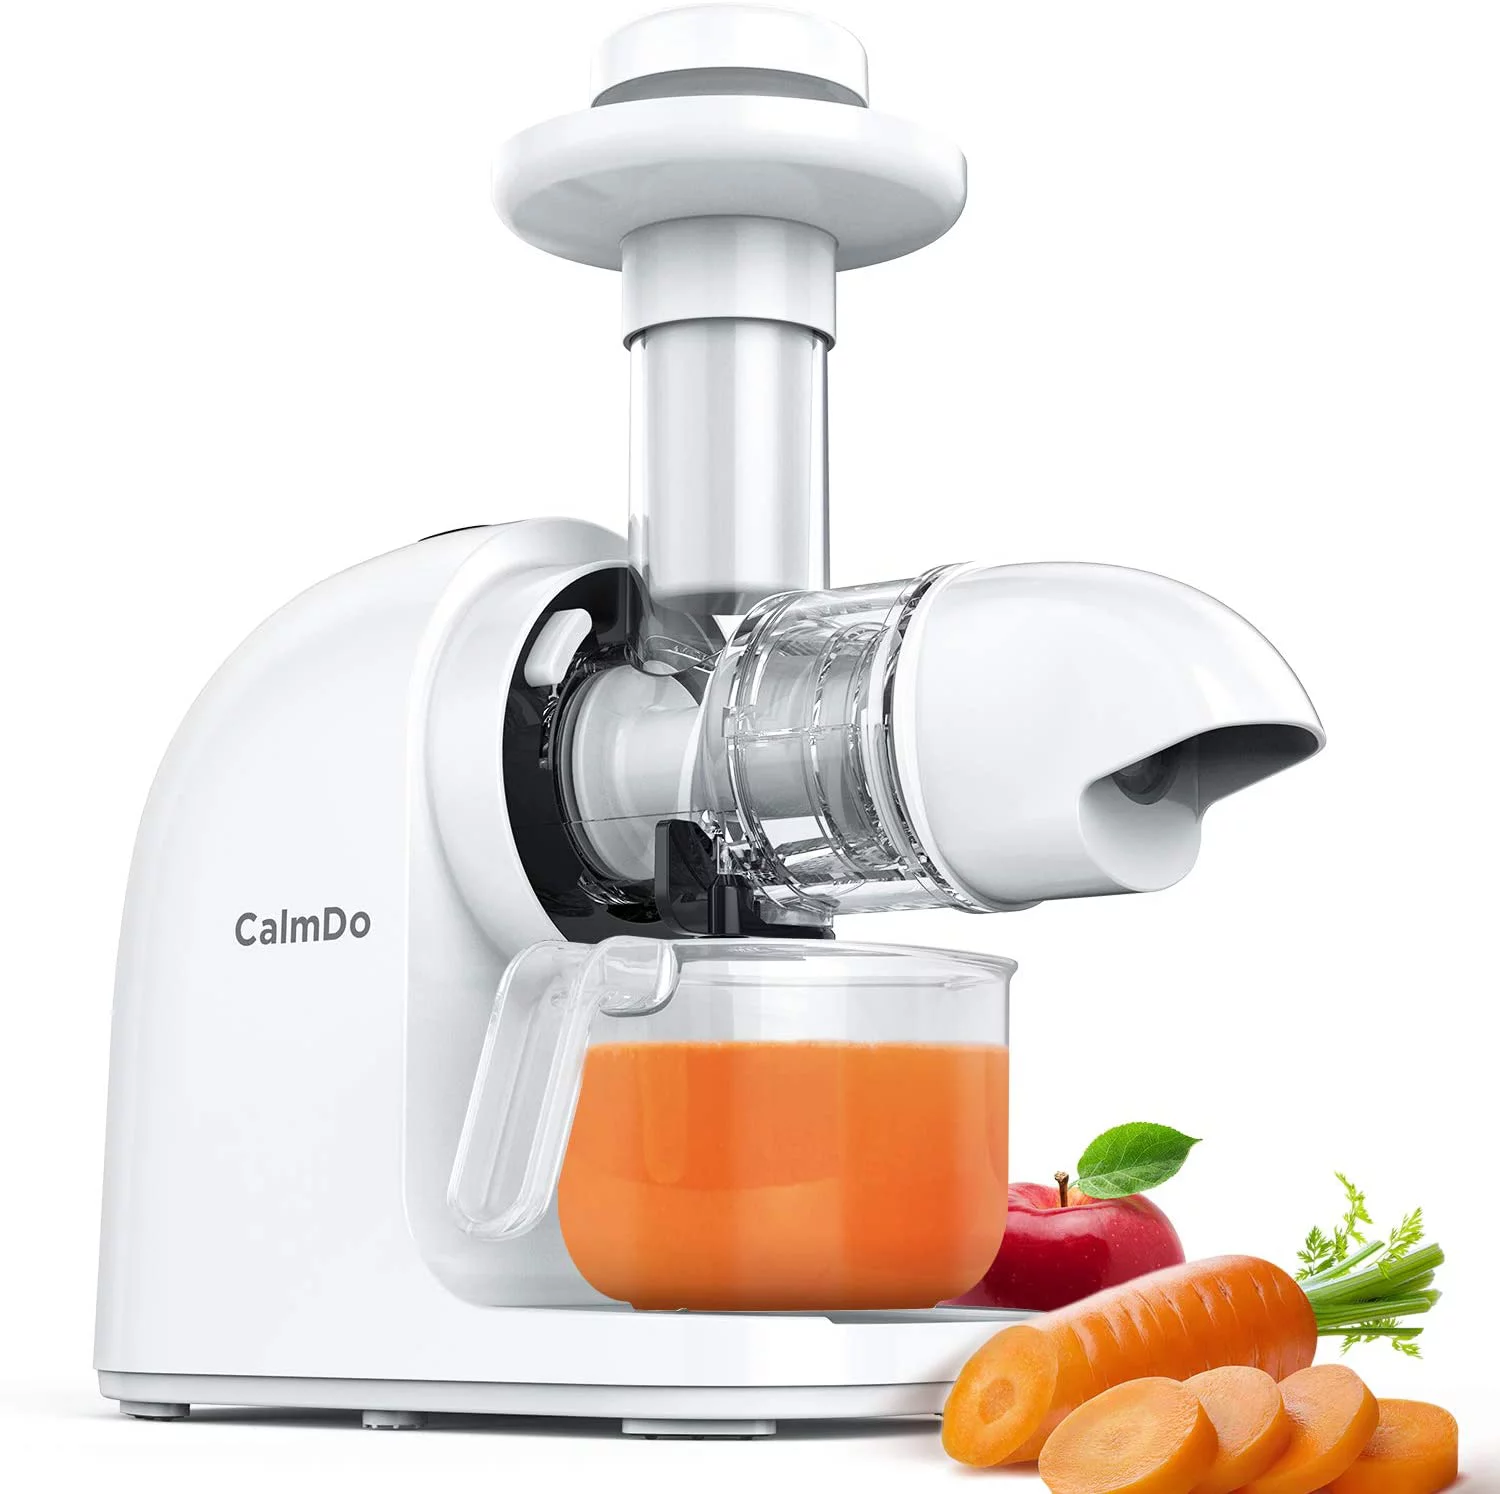
- Read the instruction manual: Before using your juicer, it’s important to familiarize yourself with the specific instructions and guidelines provided by the manufacturer. This will ensure that you use the juicer correctly and maximize its efficiency.
- Assemble the juicer: Depending on the type of juicer you have, there may be different components that need to be assembled. Follow the instructions in the manual to properly assemble the juicer.
- Place a container under the spout: To catch the freshly extracted kiwi juice, place a container or glass under the spout of the juicer. Make sure it is large enough to hold the volume of juice you plan to make.
- Position the pulp container: Most juicers have a separate container to collect the pulp that is extracted during the juicing process. Ensure that it is properly positioned and ready to collect the kiwi pulp.
- Plug in and power on the juicer: Once everything is set up, plug in the juicer and turn it on. Wait for it to reach the desired speed or setting before proceeding to juice the kiwis.
Once your juicer is properly set up, it’s time to move on to the exciting part – juicing the kiwi! Let’s explore the technique for juicing the kiwi in the next section.
To juice kiwi in a juicer, simply peel the kiwi and cut it into smaller pieces to fit into the juicer chute. Run the pieces through the juicer and enjoy the fresh kiwi juice!
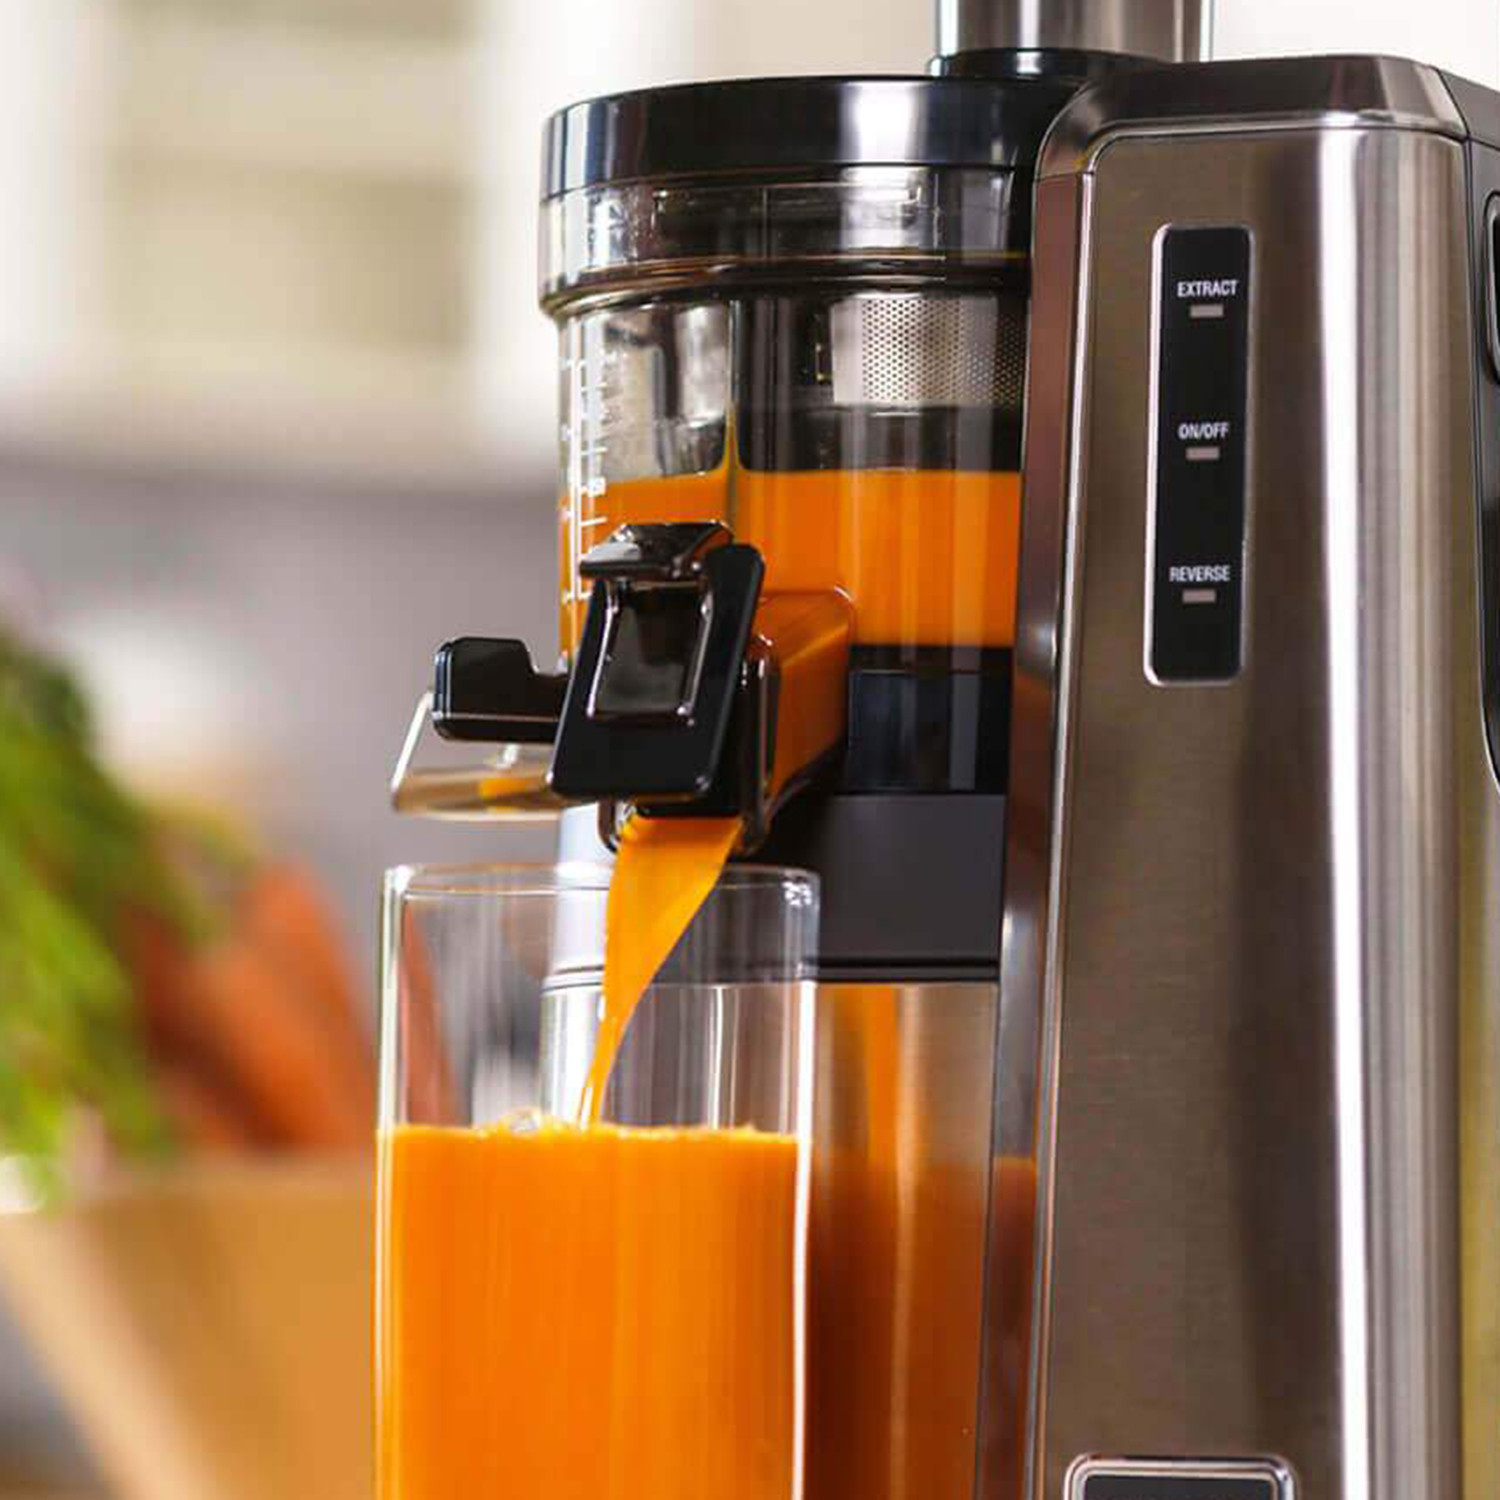
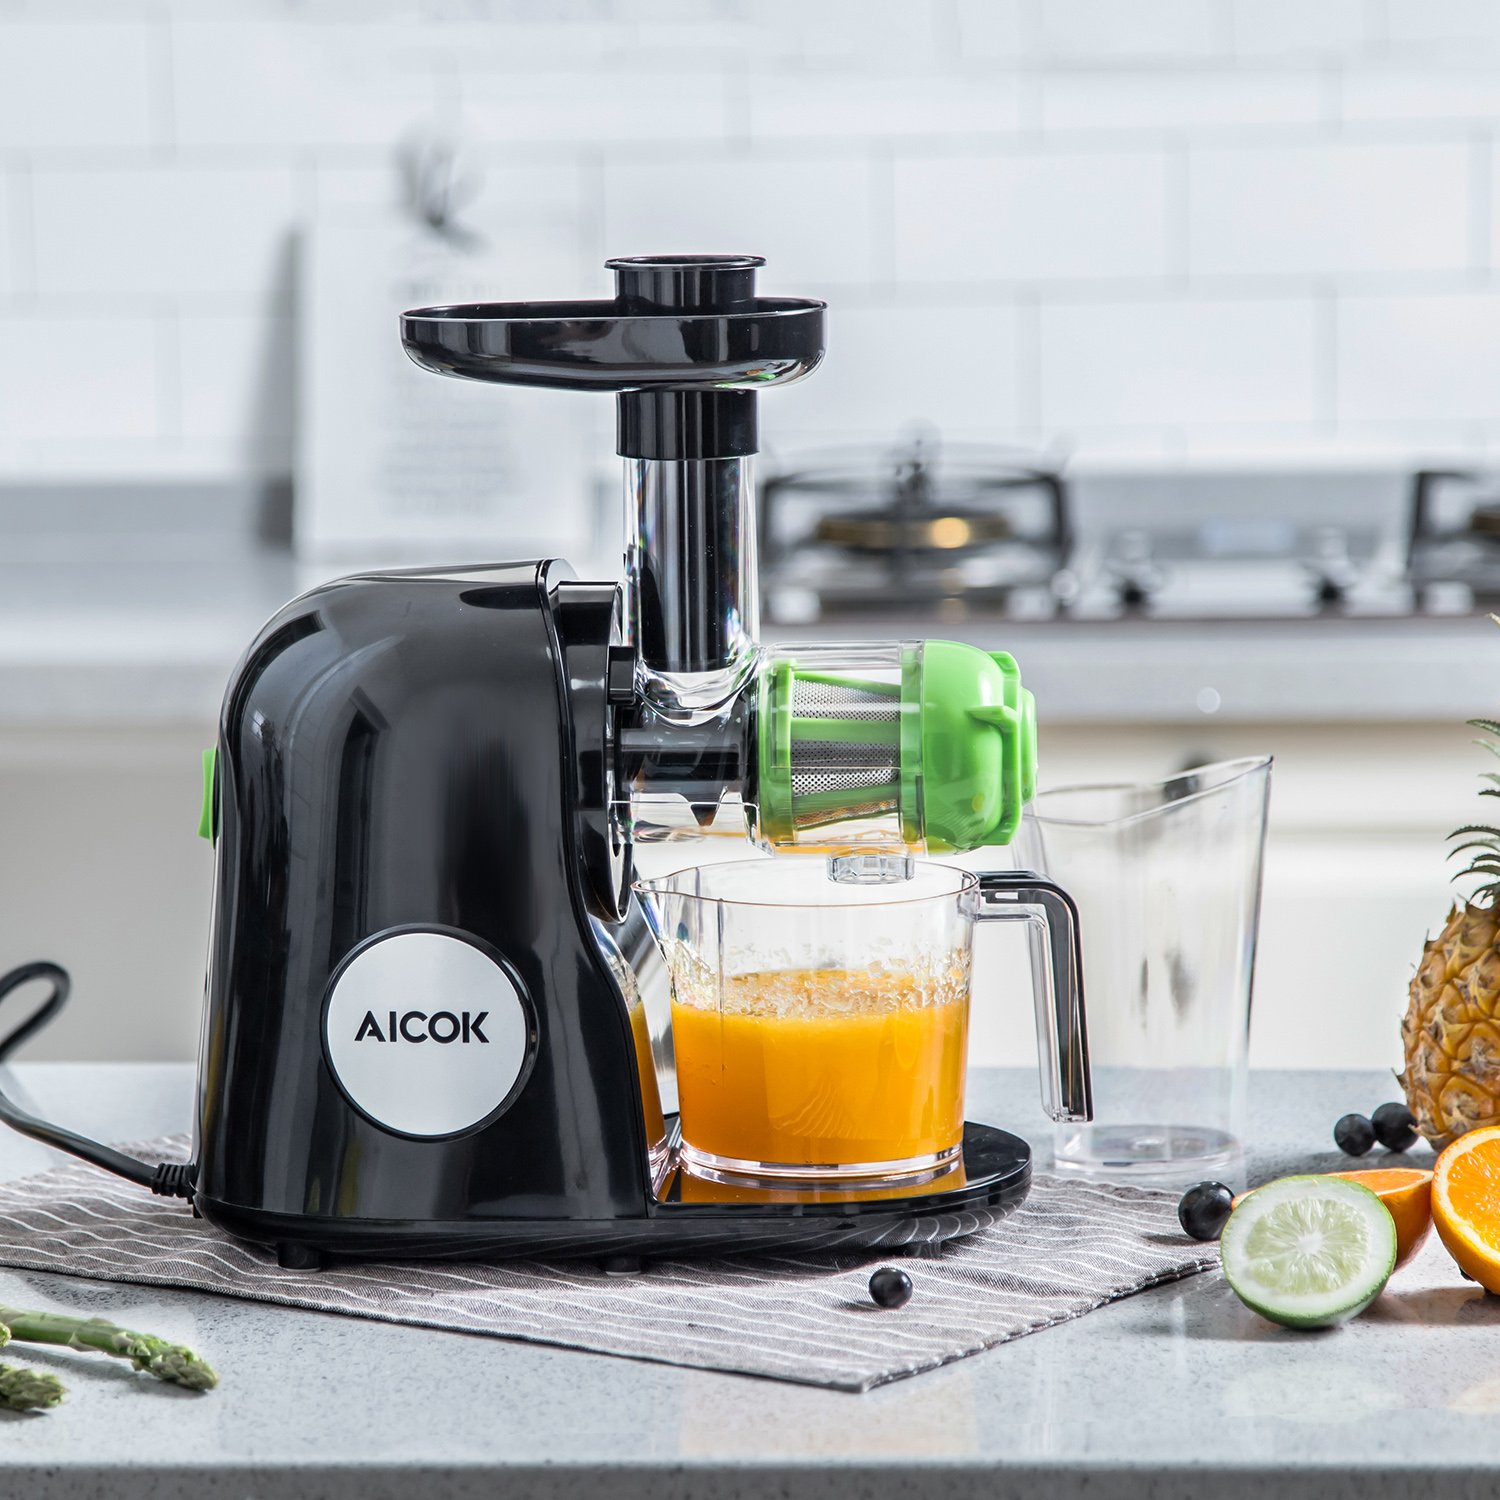
Juicing the kiwi
Now that your juicer is ready, it’s time to juice the kiwi and extract its delicious flavors. Follow these steps to juice the kiwi:
- Add the kiwi pieces: Take a handful of prepared kiwi pieces and add them to the juicer’s feeding chute. Be careful not to overload the chute to avoid clogging the juicer.
- Start the juicer: Turn on the juicer and let it process the kiwi pieces. Depending on the juicer model, it will extract the juice and separate the pulp from the juice.
- Collect the juice: As the juicer works its magic, you’ll see fresh kiwi juice flowing out of the spout and into the container you placed underneath. Watch as the vibrant green juice fills the container.
- Repeat the process: Continue adding kiwi pieces to the juicer until you have juiced all the desired kiwis. You can adjust the juicing speed and settings based on your preference and the juicer’s capabilities.
Once you have finished juicing the kiwi, you can either enjoy the juice immediately or store it in the refrigerator for later consumption. Fresh kiwi juice is best consumed within a day or two to retain its flavor and nutritional benefits.
Now that you know how to juice the kiwi, let’s explore some useful tips to enhance your kiwi juicing experience in the next section.
Read more: How To Juice Pineapple With A Juicer
Tips for juicing kiwi
Juicing kiwi can be a delightful and rewarding experience. To help you make the most out of your kiwi juicing endeavors, here are some useful tips to consider:
- Combine with other fruits: Kiwi juice can be enjoyed on its own, but you can also experiment with combining it with other fruits to create unique flavors. Try pairing it with citrus fruits like oranges or pineapple for a refreshing tropical twist.
- Include leafy greens: To add an extra boost of nutrition, consider adding a handful of leafy greens like spinach, kale, or parsley to your kiwi juice. This will enhance the nutrient content and provide a well-rounded juice blend.
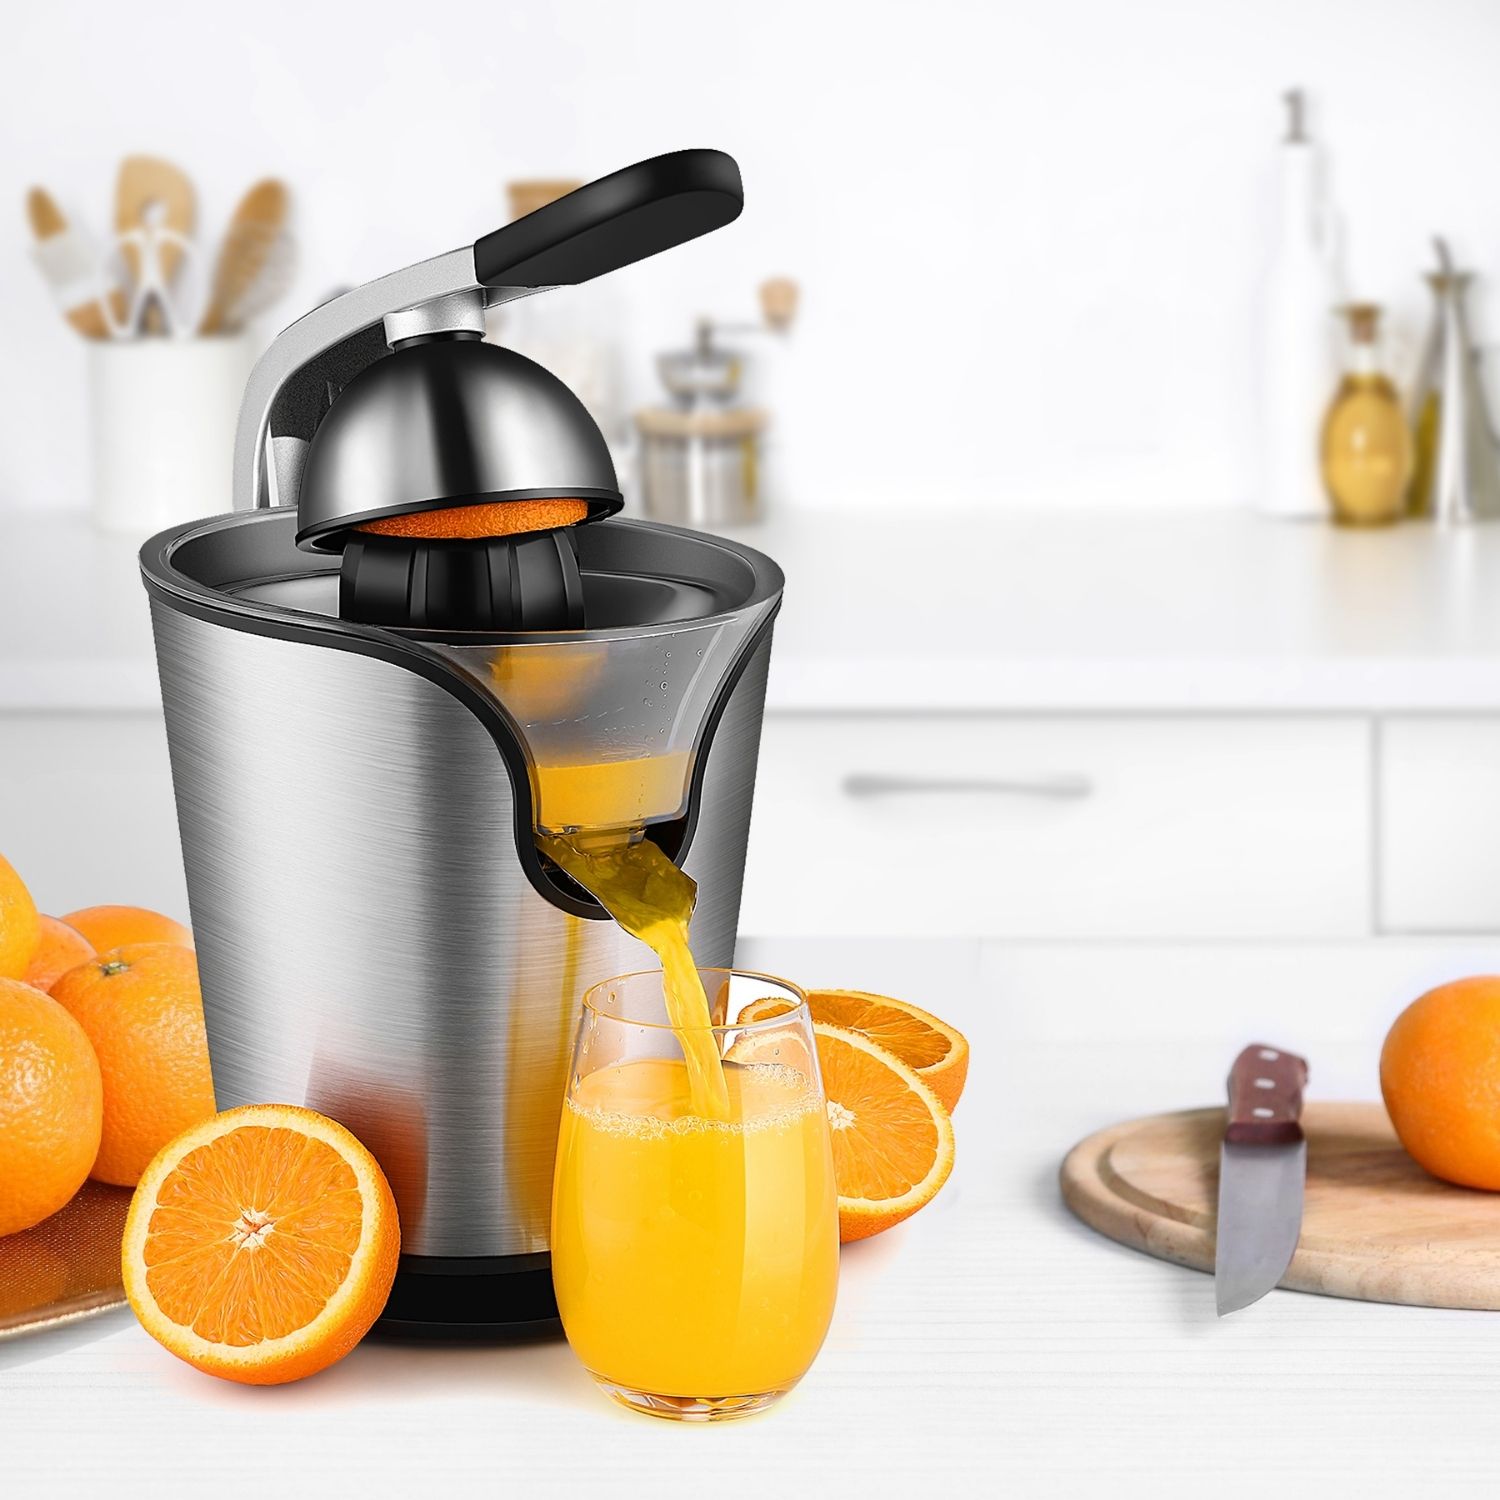
- Use a citrus juicer: If you find it challenging to juice kiwi using a regular juicer, consider using a citrus juicer instead. The juicer’s design is better suited for extracting juice from smaller fruits like kiwi.
- Chill the kiwi before juicing: For a refreshing and chilled juice experience, refrigerate the kiwi for a few hours before juicing. The cool temperature will enhance the overall taste and make for a more enjoyable juicing experience.
- Experiment with textures: If you prefer a smoother texture, strain the kiwi juice after juicing to remove any remaining pulp or seeds. If you enjoy a pulpy juice, simply skip the straining step and enjoy the natural texture of the kiwi.
- Adjust sweetness: Depending on the ripeness and sweetness of your kiwis, you may not need to add any additional sweeteners to your juice. However, if you prefer a sweeter flavor, you can add a touch of honey, agave syrup, or a sweet fruit like apple to balance the tartness of the kiwi.
With these helpful tips, you’re well-equipped to create delicious and nutritious kiwi juice. But remember, experimentation is key! Feel free to customize the juicing process according to your taste preferences and dietary needs.
Now that you’ve learned all about juicing kiwi, let’s talk about cleaning up the juicer in the next section.
Cleaning the juicer
After enjoying a delicious glass of kiwi juice, it’s important to properly clean your juicer to maintain its performance and longevity. Here’s how to clean your juicer effectively:
- Unplug the juicer: Before starting the cleaning process, make sure to unplug the juicer from the power source for safety reasons.
- Disassemble the juicer: Carefully disassemble the different parts of the juicer as per the manufacturer’s instructions. This usually involves removing the juicing chamber, pulp container, and any other detachable components.
- Rinse the parts: Take the removable parts of the juicer and rinse them under warm water. Use a gentle brush or sponge to remove any remnants of the kiwi pulp or juice. Avoid using harsh abrasives or chemicals that may damage the juicer’s surfaces.
- Soak in soapy water: Fill a sink or basin with warm soapy water and place the detachable juicer parts in the water. Allow them to soak for a few minutes to help loosen any stubborn residue.
- Scrub and rinse again: After soaking, use a brush or sponge to scrub the parts, paying attention to hard-to-reach areas. Thoroughly rinse each piece under running water to ensure all soap residue is removed.
- Finish with a sanitize: To ensure hygienic cleanliness, you can use a mild sanitizing solution or wipe down the juicer parts with a food-safe sanitizing solution. This step is especially important if the juicer comes in contact with raw fruits or vegetables.
- Dry and reassemble: Once all the parts are clean and dry, gather them and reassemble the juicer. Ensure each component is securely in place before storing or using the juicer again.
Cleaning your juicer after each use will not only prevent the buildup of residue but also maintain its performance and ensure the longevity of the appliance. By following these cleaning steps, you can continue creating fresh and nutritious juices with your juicer for a long time to come.
Now that you’re familiar with the juicer cleaning process, let’s wrap up our guide to juicing kiwi.
Conclusion
Congratulations! You’ve reached the end of our comprehensive guide on how to juice kiwi in a juicer. By following the steps outlined in this article, you are now equipped with the knowledge and techniques to create refreshing and nutritious kiwi juice right in the comfort of your own home.
From choosing the right kiwi to preparing it for juicing, setting up the juicer, and finally juicing the kiwi, we’ve covered every aspect to ensure a successful juicing experience. We’ve also provided useful tips to enhance your kiwi juice, including experimenting with flavor combinations and adjusting sweetness levels.
Remember, juicing kiwi is not only a delicious way to enjoy its flavors, but it also offers a significant boost of vitamin C, dietary fiber, and antioxidants. It’s a great addition to a healthy lifestyle and can support overall wellbeing.
After enjoying your kiwi juice, don’t forget the importance of cleaning your juicer thoroughly. Proper cleaning and maintenance will not only keep your juicer in optimal condition but also ensure the hygiene and safety of your juicing process.
So, what are you waiting for? Grab some fresh kiwis, fire up your juicer, and start juicing! With a little practice and experimentation, you’ll be able to develop your own signature kiwi juice recipes and delight in the vibrant flavors and health benefits.
Thank you for joining us on this juicing adventure. We hope this guide has inspired you to explore the world of juicing and discover the wonders of kiwi juice. Cheers to your health and happy juicing!
Frequently Asked Questions about How To Juice Kiwi In A Juicer
Was this page helpful?
At Storables.com, we guarantee accurate and reliable information. Our content, validated by Expert Board Contributors, is crafted following stringent Editorial Policies. We're committed to providing you with well-researched, expert-backed insights for all your informational needs.


0 thoughts on “How To Juice Kiwi In A Juicer”