Articles
How To Make Laundry Room Shelves
Modified: October 20, 2024
Discover practical articles on how to make laundry room shelves. Get DIY tips, step-by-step guides, and creative ideas for organizing your laundry space.
(Many of the links in this article redirect to a specific reviewed product. Your purchase of these products through affiliate links helps to generate commission for Storables.com, at no extra cost. Learn more)
Introduction
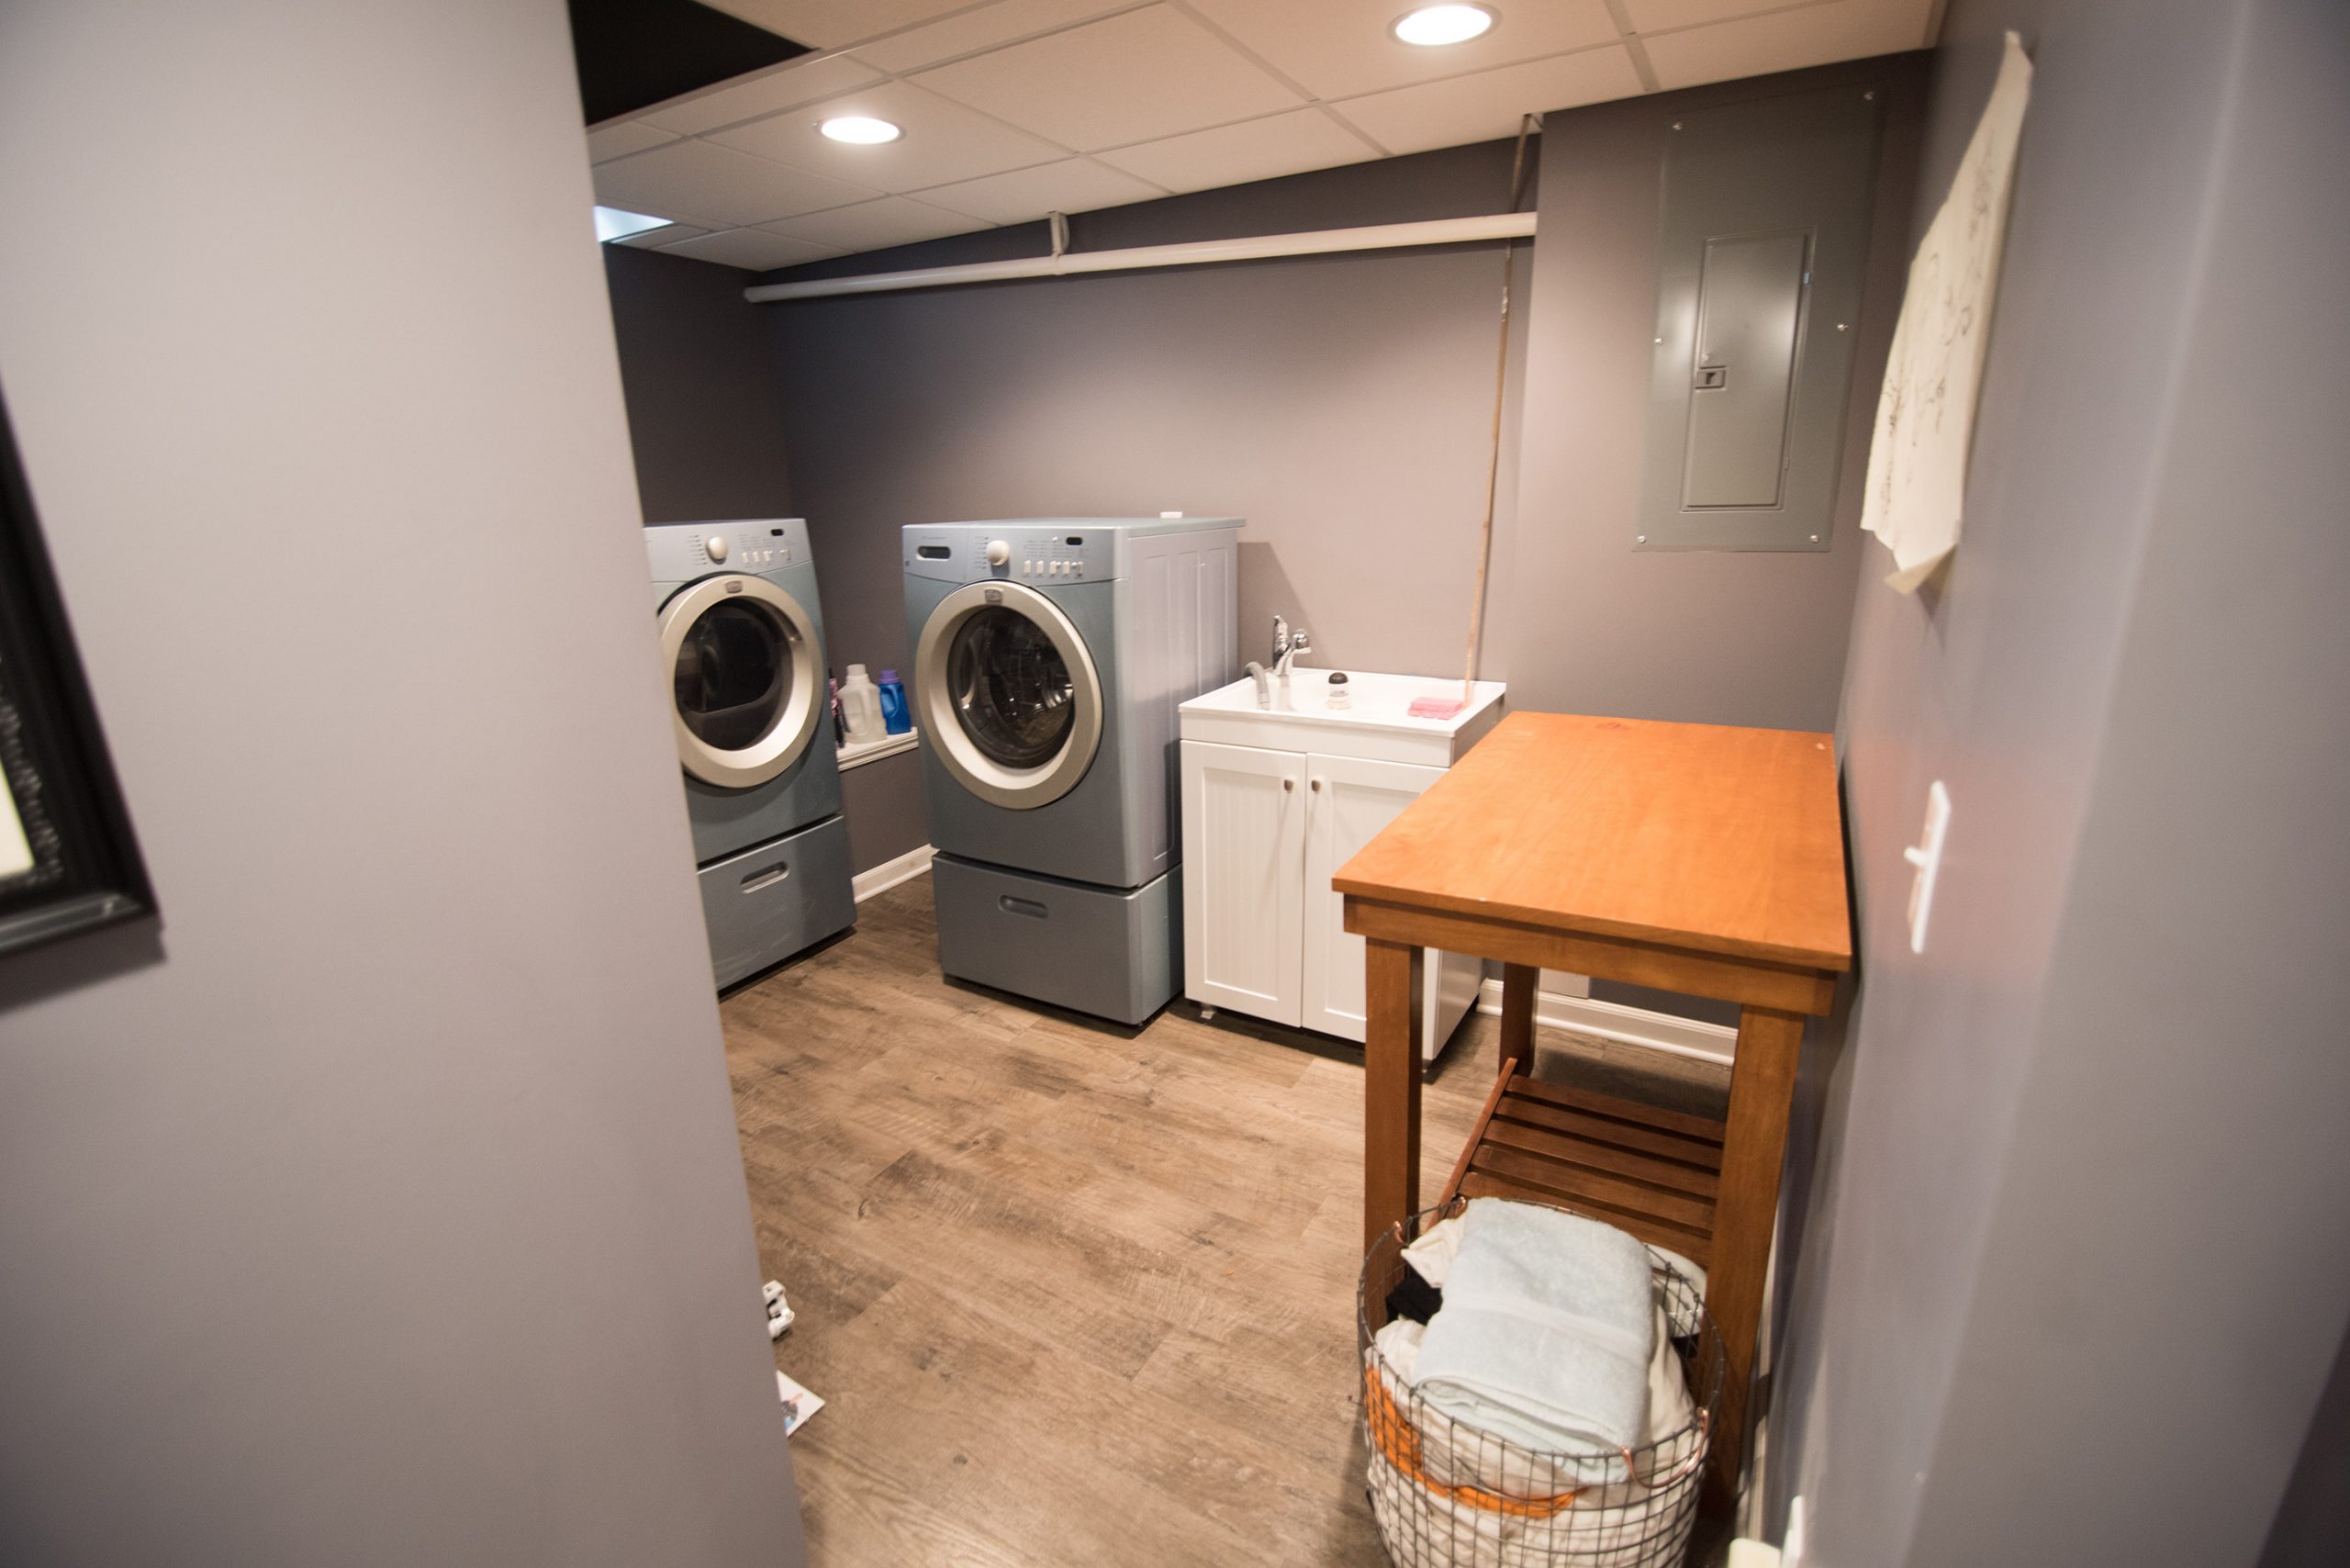
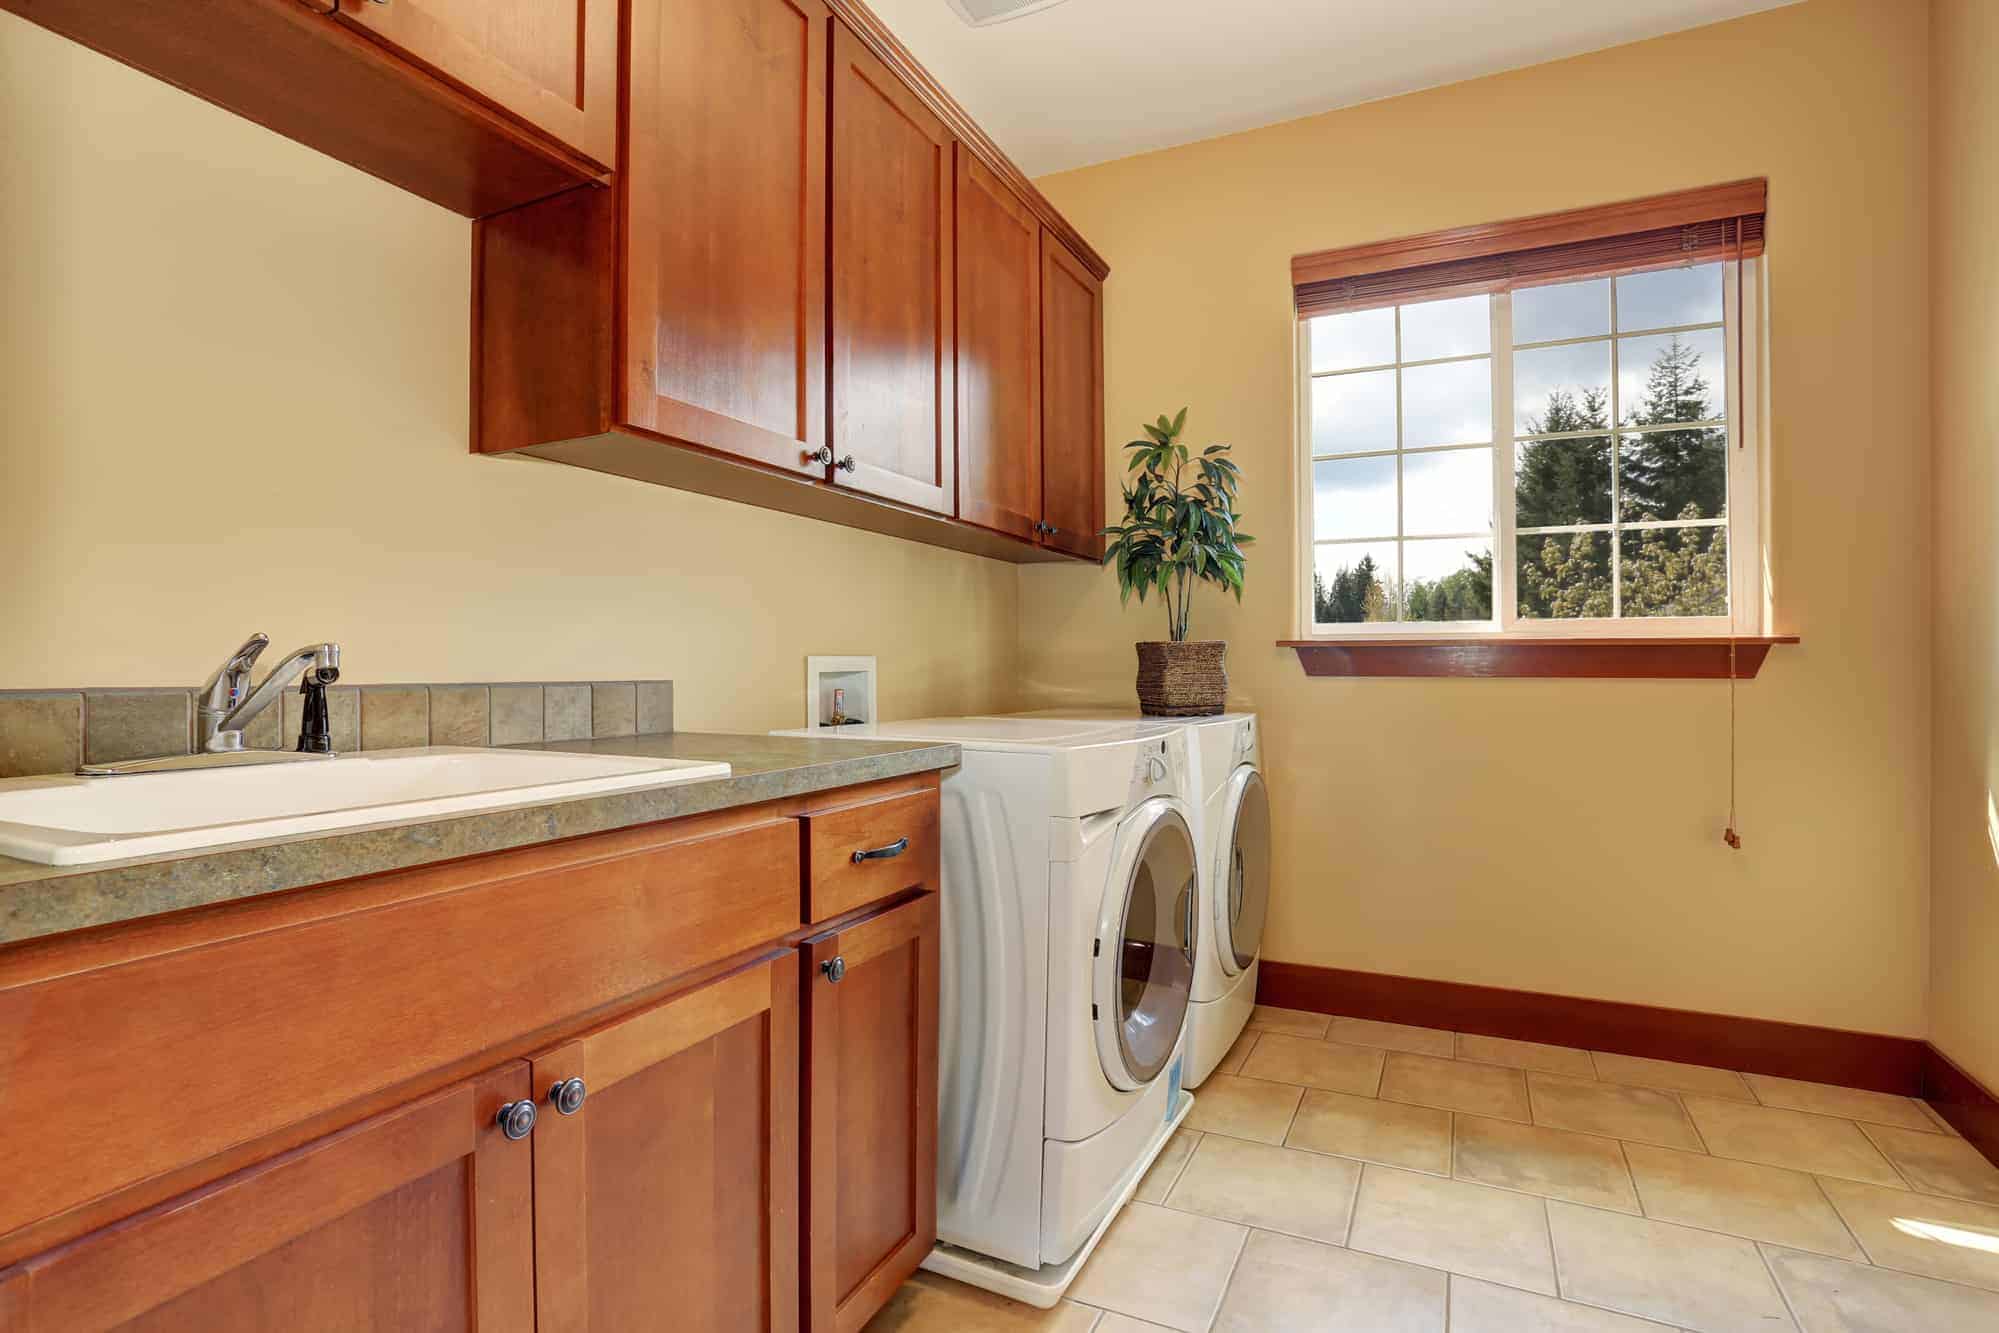
Welcome to our guide on how to make laundry room shelves! If you’re tired of the clutter and disorganization in your laundry room, creating shelves can be a great solution. Not only will shelves provide you with more storage space, but they will also help you keep your laundry room neat and tidy.
Having organized shelves in your laundry room is essential for storing laundry essentials such as detergent, fabric softener, cleaning supplies, and other items. With the right materials and a bit of DIY know-how, you can easily create custom shelves to fit your laundry room’s specific needs.
In this step-by-step guide, we will walk you through the process of making laundry room shelves. From measuring the space and planning the design to attaching the shelves to the wall, we will cover all the necessary steps. So grab your tools and let’s get started on transforming your laundry room!
Before we dive into the details, it’s important to note that this project may require some basic carpentry skills. If you’re not confident in your abilities, don’t hesitate to seek help from a professional or an experienced friend.
Now, let’s begin our journey of creating functional and stylish laundry room shelves!
Key Takeaways:
- Transform your laundry room with custom shelves to keep it neat and organized. Careful planning, sturdy materials, and finishing touches will create a functional and stylish storage solution for all your laundry essentials.
- Personalize your laundry room shelves with paint, organizational accessories, and decorative elements. Enjoy the convenience and neatness of a well-organized space while maintaining and re-evaluating functionality over time.
Read more: How To Add A Laundry Room
Step 1: Measure and Plan
The first step in making laundry room shelves is to carefully measure your space and plan the design. Start by taking accurate measurements of the area where you want to install the shelves. This includes measuring the height, width, and depth of the space.
Consider the items you intend to store on the shelves and their dimensions. It’s important to ensure that the shelves are wide and deep enough to accommodate your laundry supplies and any other items you plan to store. Take note of any obstacles like pipes or electrical outlets that you need to work around.
Once you have the measurements, it’s time to plan the design of your shelves. Decide how many shelves you want and how far apart you want them to be. This will depend on the height of the items you plan to store and the overall aesthetic you’re aiming for.
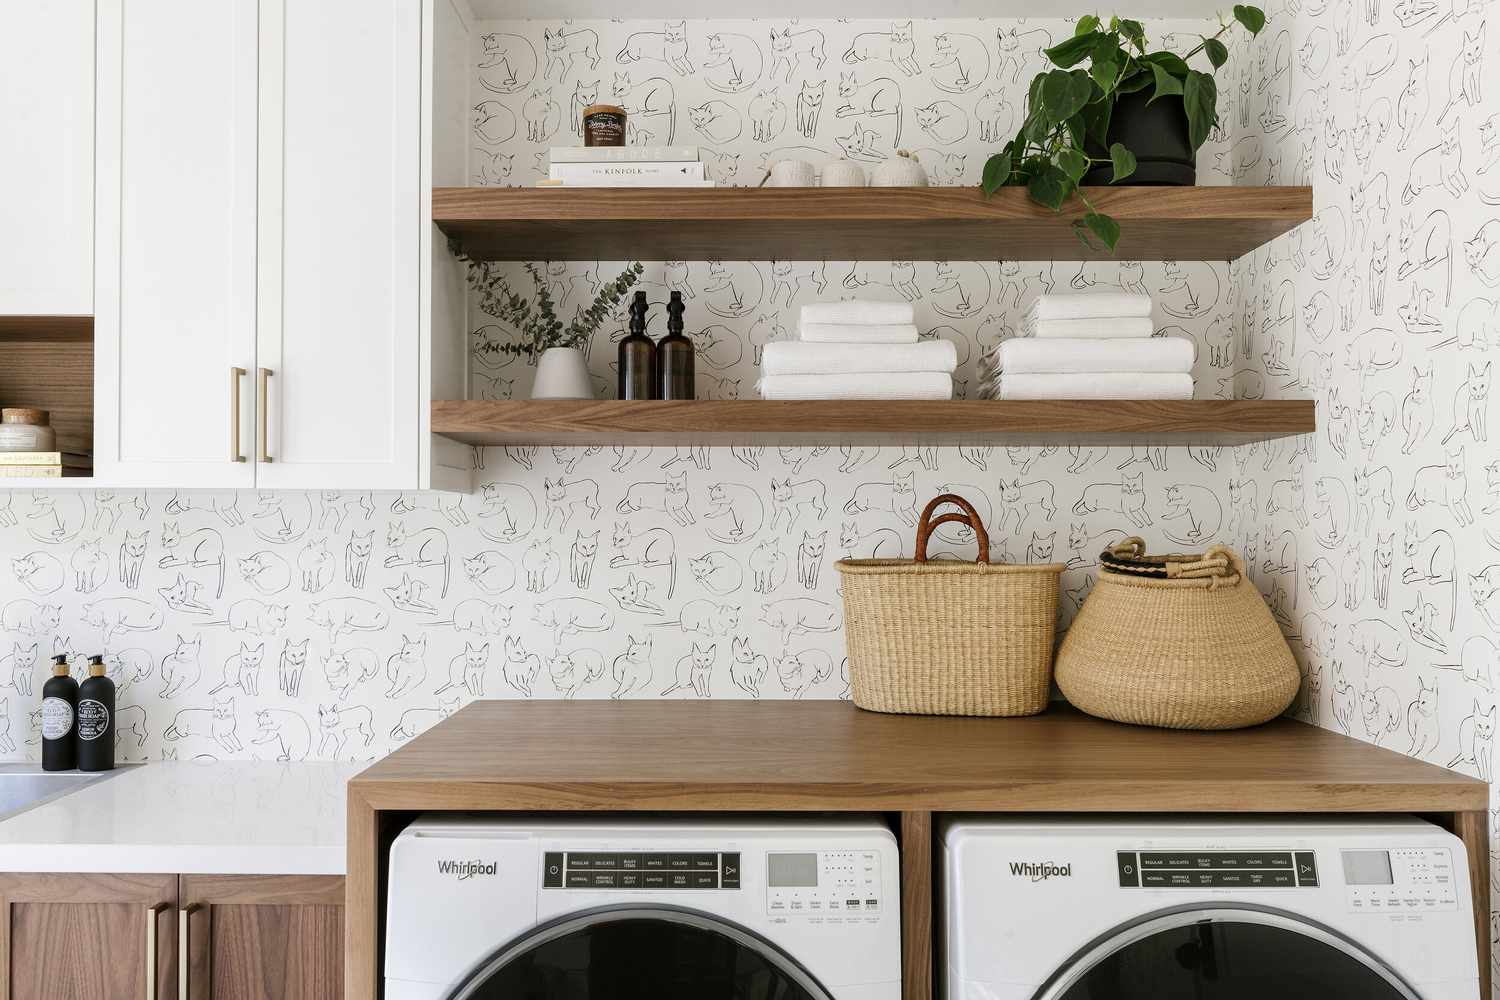
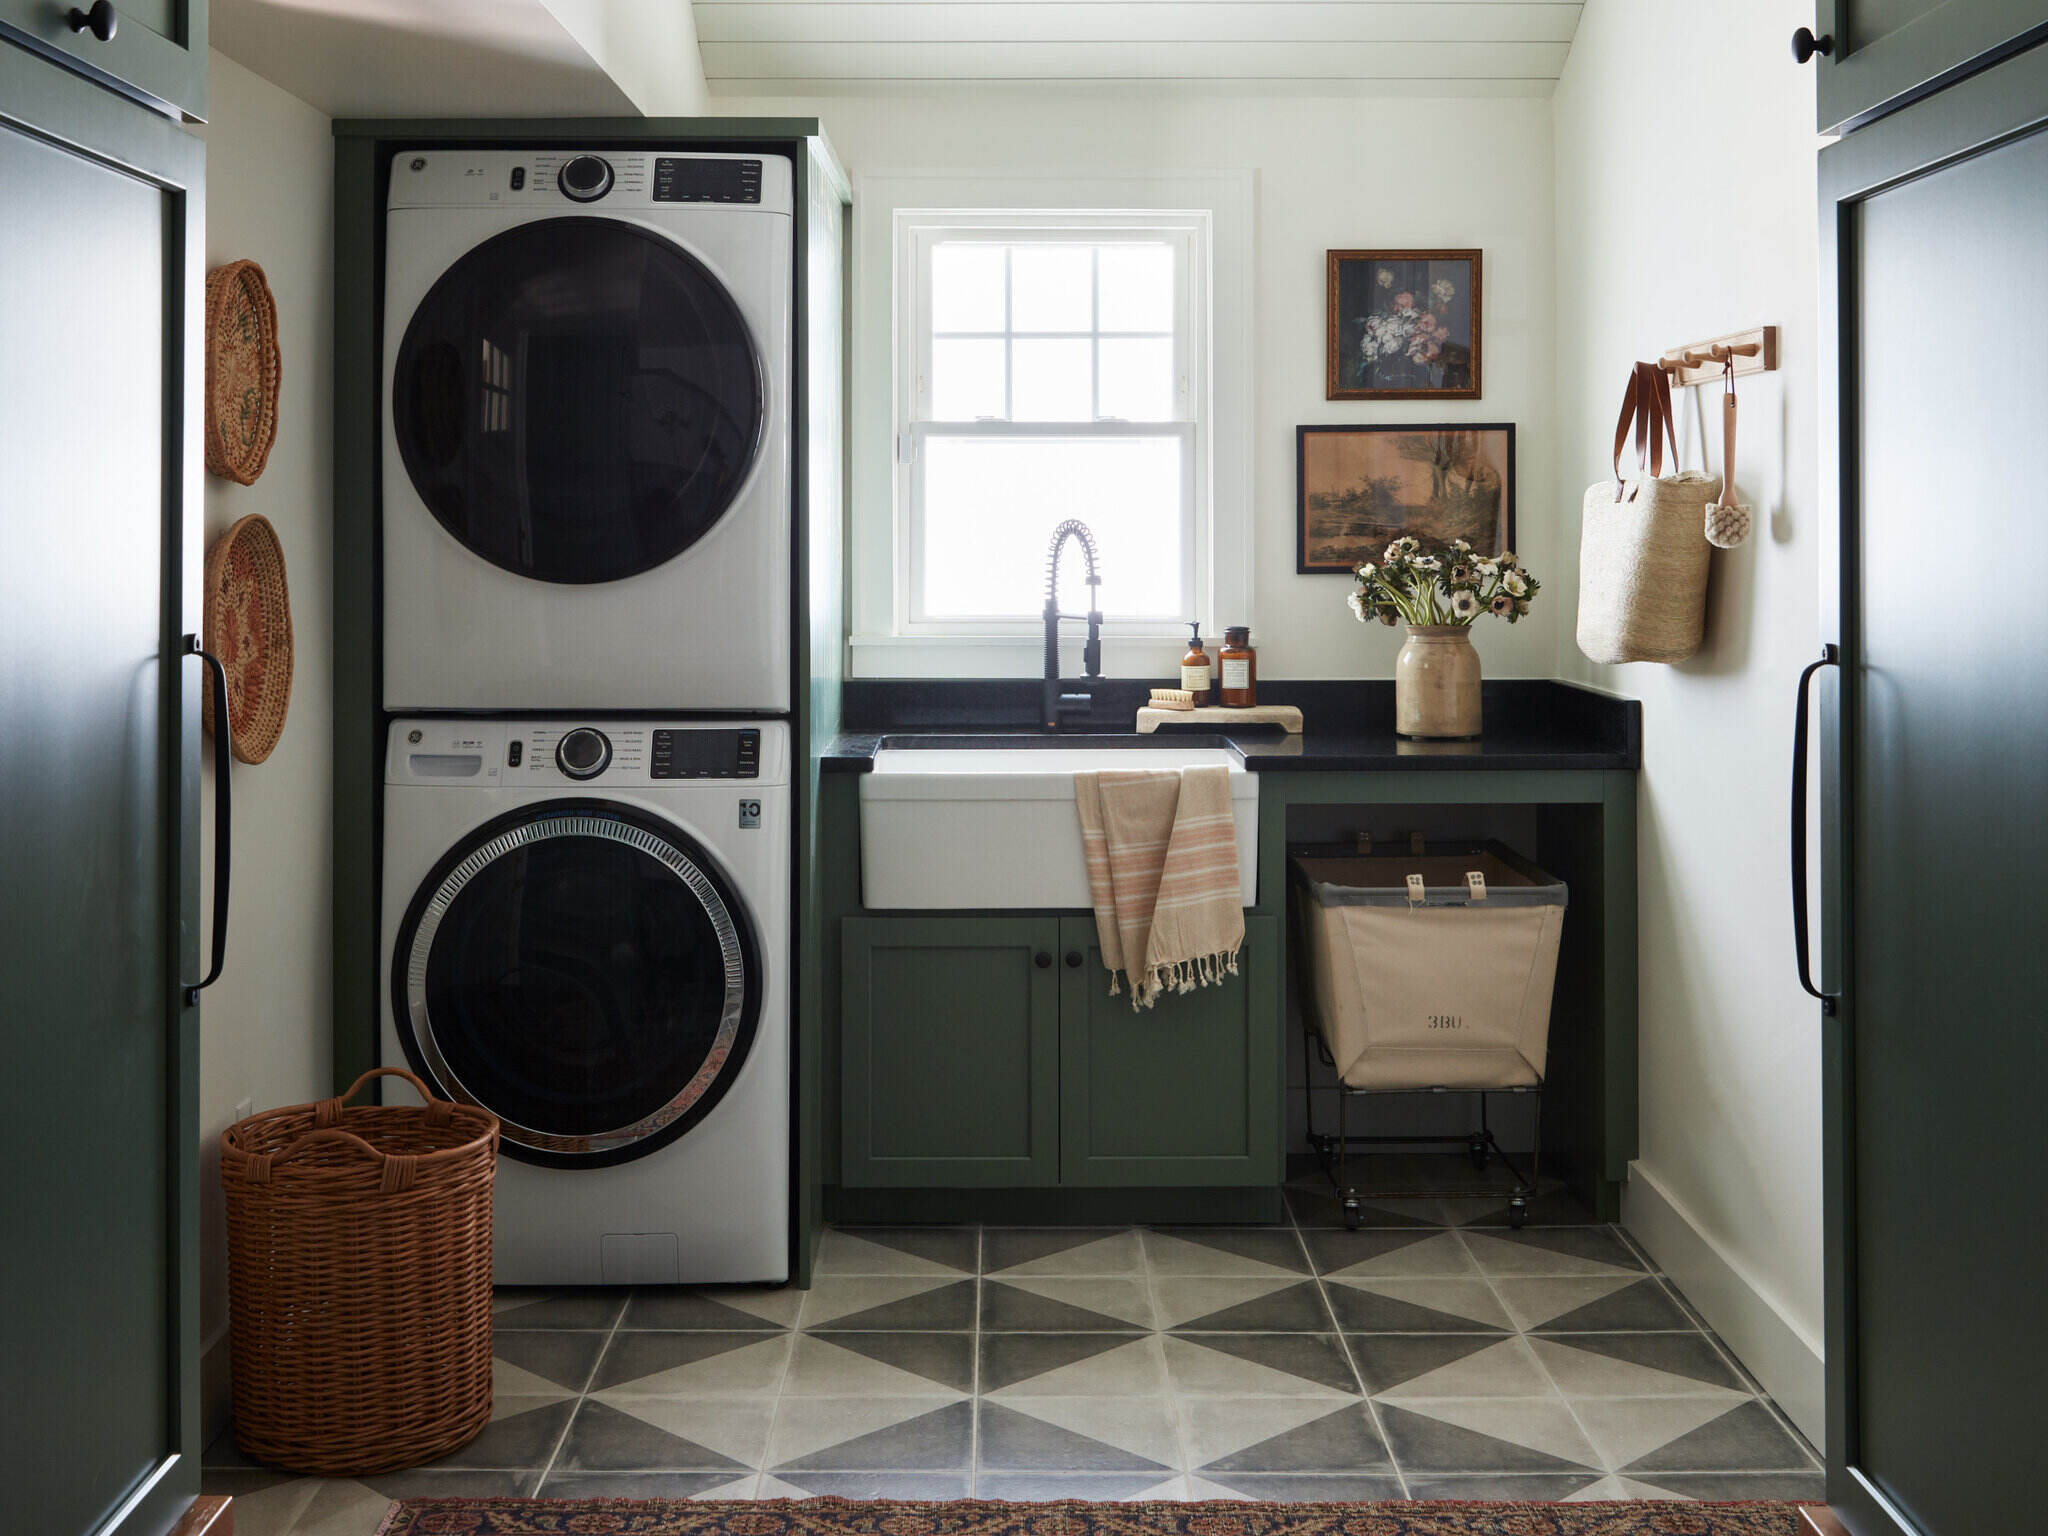
Consider whether you want open or closed shelves. Open shelves provide easy access to your items and create an open and airy feel in the space. On the other hand, closed shelves with doors or baskets can hide clutter and create a more streamlined look.
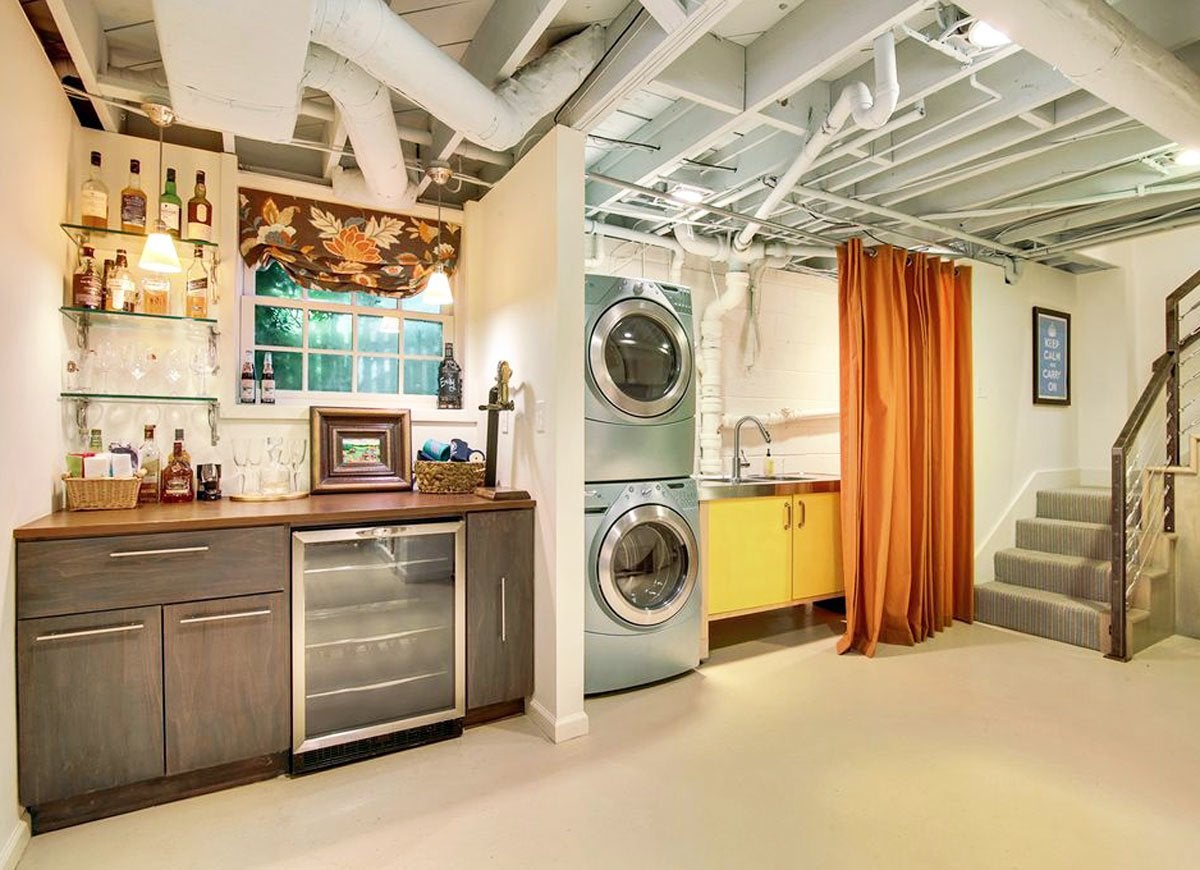
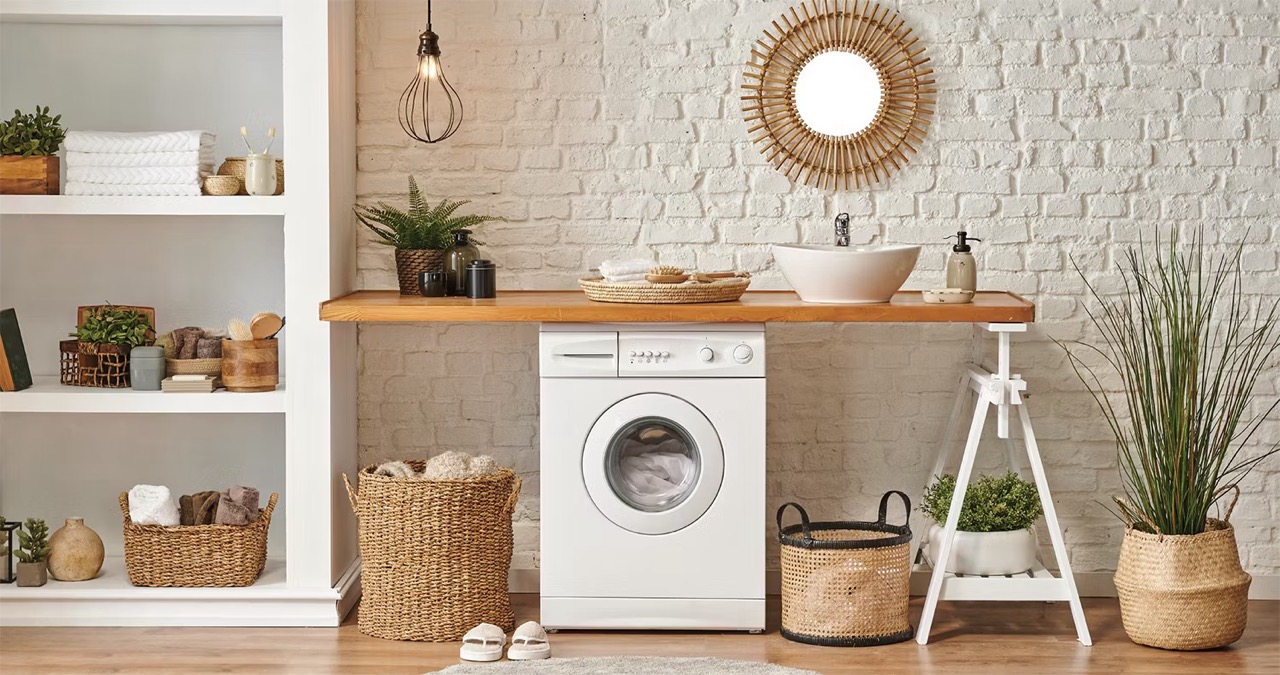
Take into account the style of your laundry room and choose materials that complement the existing decor. If you have a modern laundry room, sleek and minimalist shelves made of metal or glass might be the perfect fit. For a rustic or farmhouse-inspired laundry room, wooden shelves with a distressed finish can add charm and character.
Sketch out a rough plan of your shelves, taking into consideration all the measurements and design factors. This will serve as your guide throughout the project and help you visualize the final result.
By taking the time to measure accurately and plan your design, you’ll ensure that your laundry room shelves fit perfectly and meet your storage needs.
Step 2: Choose the Right Materials
Choosing the right materials is crucial for creating sturdy and durable laundry room shelves. You’ll want to select materials that can withstand the weight of your items and the moisture typically found in laundry rooms. Here are some options to consider:
- Wood: Wood is a popular choice for shelves as it is sturdy and can be easily customized to match your desired style. Opt for plywood or solid wood boards that are at least ¾ inch thick to ensure adequate support. You can choose from various types of wood, such as pine for a more economical option or hardwoods like oak or maple for added durability.
- Wire Shelving: Wire shelves are a practical choice for laundry rooms as they are resistant to moisture and allow for proper ventilation. They are also adjustable, making it easy to change the height of the shelves as needed. Look for wire shelving systems specifically designed for laundry rooms, as they often come with additional features like hanging bars for clothes or hooks for accessories.
- Metal: Metal shelves are another durable option for laundry rooms. Stainless steel or aluminum shelves are resistant to rust and moisture, making them ideal for this environment. They have a sleek and modern appearance that can complement contemporary laundry room designs.
- Glass: If you prefer a more elegant and modern look, consider glass shelves. Glass shelves can add a touch of sophistication to your laundry room while still providing functionality. Choose tempered or safety glass, which is more resistant to breakage, especially in areas where heavy items may be placed.
In addition to the main materials for the shelves themselves, you’ll also need to choose the right brackets or supports to attach the shelves to the wall. Depending on the chosen material, you’ll find various types of brackets, such as wooden brackets for wood shelves or metal brackets for metal or glass shelves.
Keep in mind the weight capacity of the materials you choose. Ensure that the brackets and supports are strong enough to hold the weight of your items without sagging or compromising the stability of the shelves.
By selecting the right materials, you’ll be on your way to creating sturdy and functional laundry room shelves that will withstand the demands of daily use.
Step 3: Cut the Shelf Boards
Now that you have your measurements and materials ready, it’s time to cut the shelf boards to the desired size. This step requires precision and accuracy to ensure that your shelves fit perfectly within the designated space. Here’s how to proceed:
- Prepare your workspace: Set up a clean and secure workspace where you can safely cut the shelf boards. Make sure you have all the necessary tools, such as a measuring tape, a pencil, a straight edge, and a saw. Safety goggles and gloves are also recommended to protect yourself.
- Mark the measurements: Use a measuring tape to measure and mark the length and width of each shelf on the boards. Measure twice to double-check the accuracy of your measurements before making any cuts. Use a pencil and a straight edge to create clear and straight lines for cutting.
- Cut the boards: Depending on the material you’re working with, choose the appropriate saw. A circular saw or a jigsaw can work well for cutting wood, while a hacksaw or a metal-cutting saw may be needed for metal shelves. Follow the marked lines and make steady and controlled cuts. Take your time to ensure precise cuts to achieve the desired dimensions.
- Smooth the edges: After cutting the boards, you may notice rough or uneven edges. Use sandpaper or a sanding block to smooth out any imperfections or splintered edges. Sand in the direction of the wood grain or metal surface to create a clean and polished finish.
- Double-check the fit: Once you have cut all the shelves, carefully place them in the designated space to ensure they fit properly. Make any necessary adjustments to the size or shape of the shelves if needed. Remember that it’s better to trim a little off rather than having shelves that are too large and won’t fit.
Remember to take your time during this step and prioritize accuracy. Mishaps during the cutting process can lead to ill-fitting shelves and compromise the overall stability of your storage system. Measure twice, cut once, and double-check your work before moving on to the next step.
When building laundry room shelves, make sure to use moisture-resistant materials such as treated wood or plastic. This will help prevent damage from damp laundry and humidity in the room.
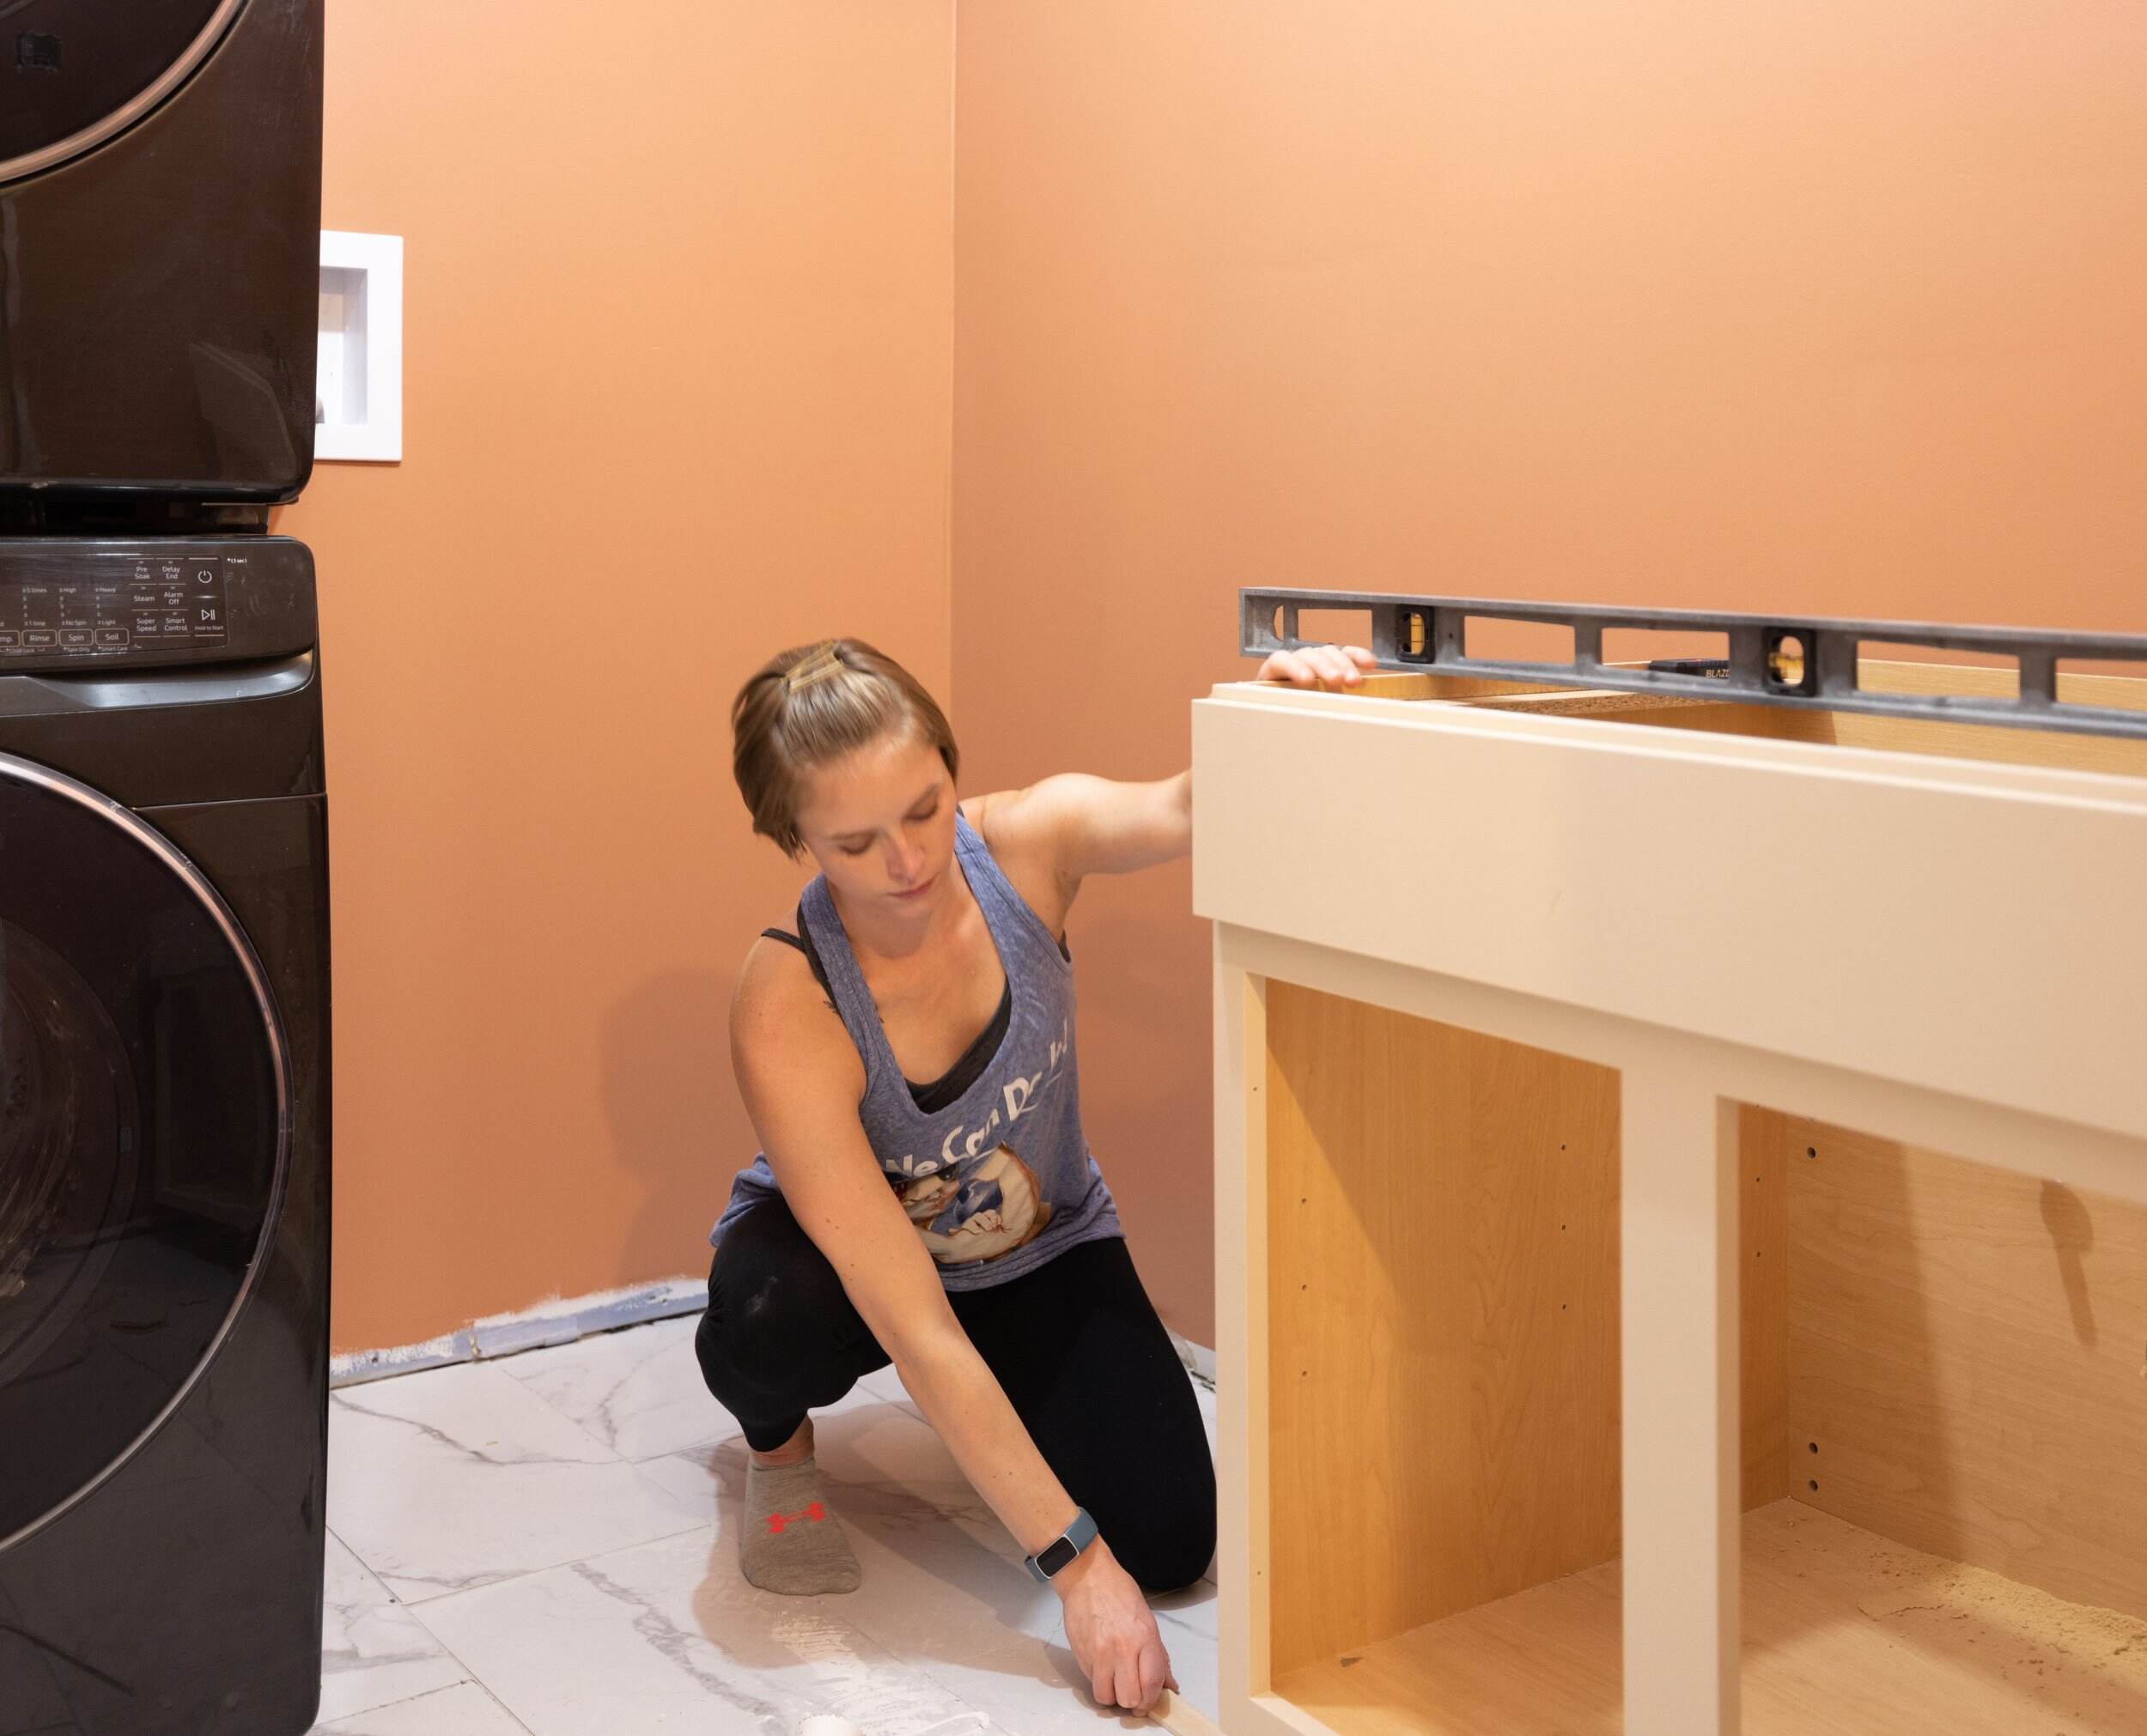
Step 4: Install Wall Brackets
With your shelf boards cut to the desired size, it’s time to install the wall brackets that will provide support and stability to your laundry room shelves. Follow these steps to ensure proper installation:
- Choose the right brackets: Select brackets that are suitable for the material and weight capacity of your shelves. Ensure that the brackets are sturdy and properly designed to hold the weight of your items. Consider the style and aesthetic of your laundry room as well, as brackets come in various designs.
- Mark the height and placement: Use a pencil and a level to mark the desired height and placement of the brackets on the wall. Consider the spacing between the brackets and the overall height of your shelves. Ensure that the brackets are level to avoid crooked shelves.
- Locate the studs: It’s important to anchor the brackets securely to the wall for maximum stability. Use a stud finder or tap lightly on the wall to locate the studs. Mark the positions of the studs on the wall to guide the placement of the brackets.
- Attach the brackets: Use a drill and screws to firmly attach the brackets to the wall. If you are drilling into studs, use long screws for added support. If you are drilling into drywall, use appropriate anchors to ensure secure attachment. Double-check that the brackets are level and properly aligned.
- Test the stability: Apply pressure or a light load to the brackets to test their stability. Make sure they are securely attached and can adequately support the weight of the shelves and items you plan to store.
Depending on the design and style of your shelves, you may need multiple brackets to provide sufficient support. Ensure that the brackets are evenly spaced and positioned to distribute the weight evenly along the length of the shelves.
Properly installed wall brackets are crucial for the stability and safety of your laundry room shelves. Take your time during this step to ensure the brackets are securely attached and aligned. Once the brackets are in place, you’re ready for the next step of attaching the shelf boards.
Read more: How To Clean A Laundry Room
Step 5: Attach Shelf Boards to Brackets
Now that the wall brackets are securely in place, it’s time to attach the shelf boards and bring your laundry room shelves to life. Follow these steps to ensure a strong and stable attachment:
- Position the shelves: Carefully place the cut shelf boards onto the installed brackets. Ensure that they are level and properly aligned, resting securely on the brackets. Make any necessary adjustments to the positioning of the shelves.
- Secure the shelves: Depending on the design of your brackets, there may be pre-drilled holes or slots to accommodate screws or other fasteners. Insert screws into the pre-drilled holes on the brackets or use appropriate fasteners to secure the shelves in place. Make sure the screws are tight, but be careful not to overtighten and damage the shelves.
- Verify stability: Test the stability of the shelves by applying gentle pressure and ensuring they are securely attached to the brackets. Shake and wiggle the shelves slightly to confirm that they are not loose. If any adjustments or reinforcement are needed, make them at this stage.
- Add additional supports (if necessary): Depending on the length and weight of your shelves, you may need to add additional supports. Consider installing additional brackets or support brackets in the middle of long shelves to prevent sagging or bending.
- Double-check the alignment: Once the shelves are securely attached, double-check the alignment and levelness. Use a level to ensure that the shelves are straight and even. Make any final adjustments as needed.
Take your time during this step to ensure the shelves are properly attached and aligned. It’s important to have secure and stable shelves to safely store your laundry room essentials and prevent any accidents or damage.
Once the shelves are attached, step back and admire your handiwork. Your laundry room now has functional and stylish storage space to keep everything organized and easily accessible!
Step 6: Add Finishing Touches
With the main construction of your laundry room shelves complete, it’s time to add the finishing touches to enhance both the functionality and aesthetics of the space. These final touches will ensure that your shelves are not only practical but also visually appealing. Here are some ideas to consider:
- Paint or Stain: If you have chosen wooden shelves, consider painting or staining them to match the decor of your laundry room. A fresh coat of paint or a rich stain can give the shelves a polished look and tie them into the overall design scheme.
- Sealant: If your shelves are made of wood or another material that may be susceptible to moisture, consider applying a sealant to protect the shelves from water damage or warping. This step is especially important in laundry rooms where spills or dampness may occur.
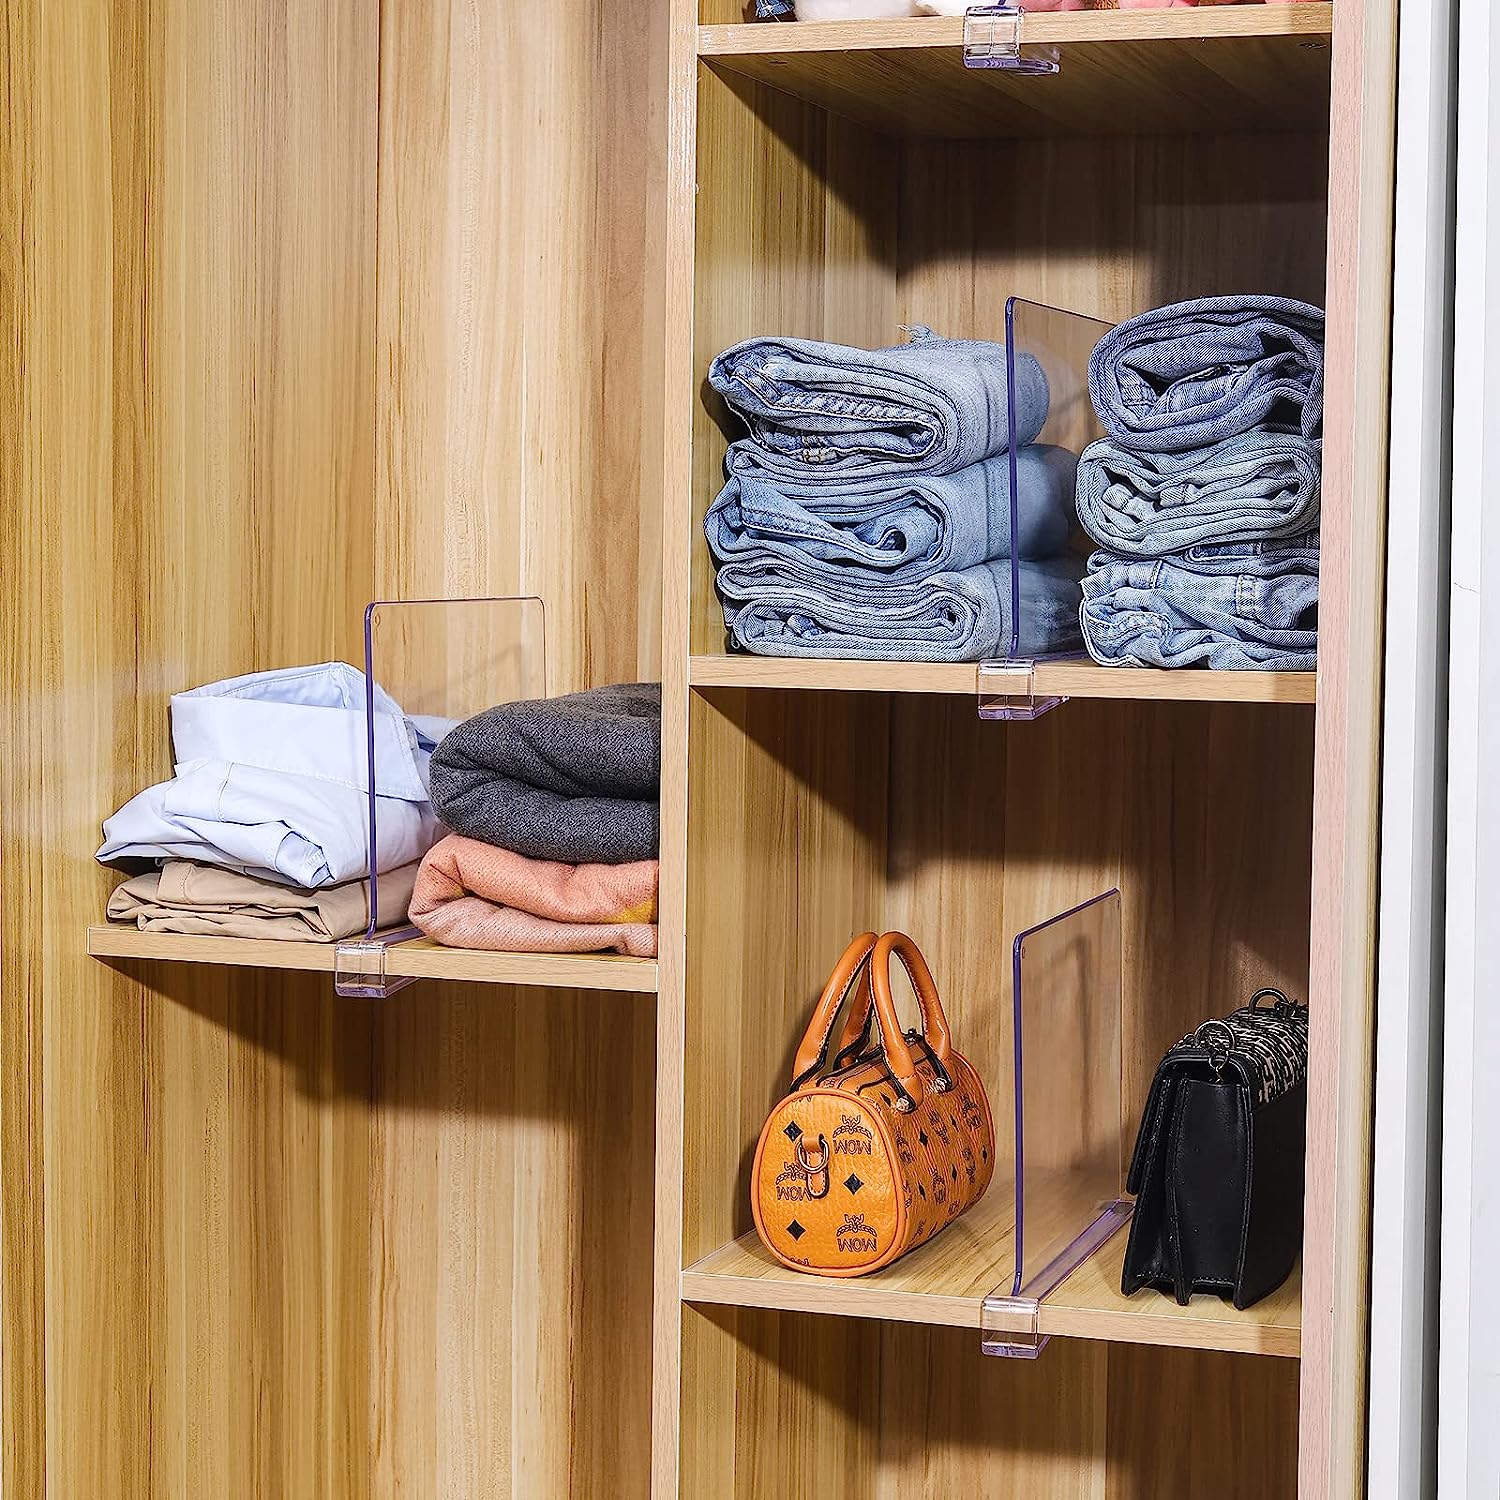
- Organizational Accessories: To make your laundry room shelves even more functional, consider adding organizational accessories such as storage bins, baskets, or dividers. These accessories can help you categorize and separate different items, making it easier to find what you need quickly.
- Labels: Adding labels to your storage bins or baskets can further enhance the organization of your laundry room. Use adhesive labels, chalkboard labels, or even a label maker to clearly mark the contents of each container.
- Lighting: Install under-cabinet lighting or LED strip lights to illuminate your shelves and provide better visibility. This can make it easier to find items and add a touch of ambiance to your laundry room.
- Decorative Elements: Don’t forget to add some decorative elements to personalize your laundry room shelves. This could include small potted plants, artwork, or decorative jars with laundry supplies. Be creative and incorporate elements that reflect your personal style and taste.
By adding these finishing touches, you’ll not only improve the functionality of your laundry room shelves but also create an inviting and organized space.
With the completion of Step 6, your laundry room shelves are now ready to be utilized. Step back and admire the transformation you’ve made, and enjoy the convenience and neatness that your new shelves bring to your laundry routine.
Remember to periodically clean and maintain your shelves to ensure their longevity and continued functionality. Regularly declutter and reorganize your items to keep your laundry room shelves in optimal condition.
Conclusion
Congratulations! You have successfully completed the process of making laundry room shelves. By following the steps outlined in this guide, you have transformed your laundry room into a more organized and functional space for storing all your laundry essentials.
Through careful measurement and planning, you ensured that the shelves fit perfectly within your laundry room and accommodated all your storage needs. By choosing the right materials and installing sturdy wall brackets, you created a stable foundation for your shelves. The careful cutting and attaching of the shelf boards ensured a secure and snug fit.
With the shelves in place, you added the finishing touches, such as paint or stain, to match the style of your laundry room. You incorporated organizational accessories and labels to enhance functionality and ease of use. The addition of lighting and decorative elements brought a personalized touch to your shelves.
Now, you can enjoy the benefits of your newly created laundry room shelves. You’ll have a designated space for all your laundry supplies, making it easier to locate items and keep them organized. The clutter that was once present in your laundry room is now replaced with an organized and visually appealing storage solution.
Remember to continue maintaining and organizing your shelves on a regular basis. Keep them clean and tidy, and re-evaluate their functionality from time to time. As your needs may change, you can adjust the height or spacing of the shelves or add additional supports if necessary.
Thank you for joining us on this DIY journey of creating laundry room shelves. We hope this guide has provided you with the knowledge and inspiration to tackle this project with confidence. Enjoy your newly improved laundry room and the convenience it brings to your daily laundry routine!
Now that you've mastered making laundry room shelves, why stop there? Dive into the world of DIY Projects, where creativity knows no bounds, and uncover why crafting your own projects is so rewarding. For those eager to declutter, Home Organization techniques using fabric storage cubes could transform chaos into order. Lastly, don’t miss out on enhancing your utility space with Laundry Room Ideas, offering luxurious and practical designs sure to inspire.
Frequently Asked Questions about How To Make Laundry Room Shelves
Was this page helpful?
At Storables.com, we guarantee accurate and reliable information. Our content, validated by Expert Board Contributors, is crafted following stringent Editorial Policies. We're committed to providing you with well-researched, expert-backed insights for all your informational needs.
0 thoughts on “How To Make Laundry Room Shelves”