Articles
How To Build Laundry Room Countertop
Modified: August 27, 2024
Learn how to build a stylish and functional laundry room countertop with our informative articles. Upgrade your space today for a more efficient laundry routine.
(Many of the links in this article redirect to a specific reviewed product. Your purchase of these products through affiliate links helps to generate commission for Storables.com, at no extra cost. Learn more)
Introduction
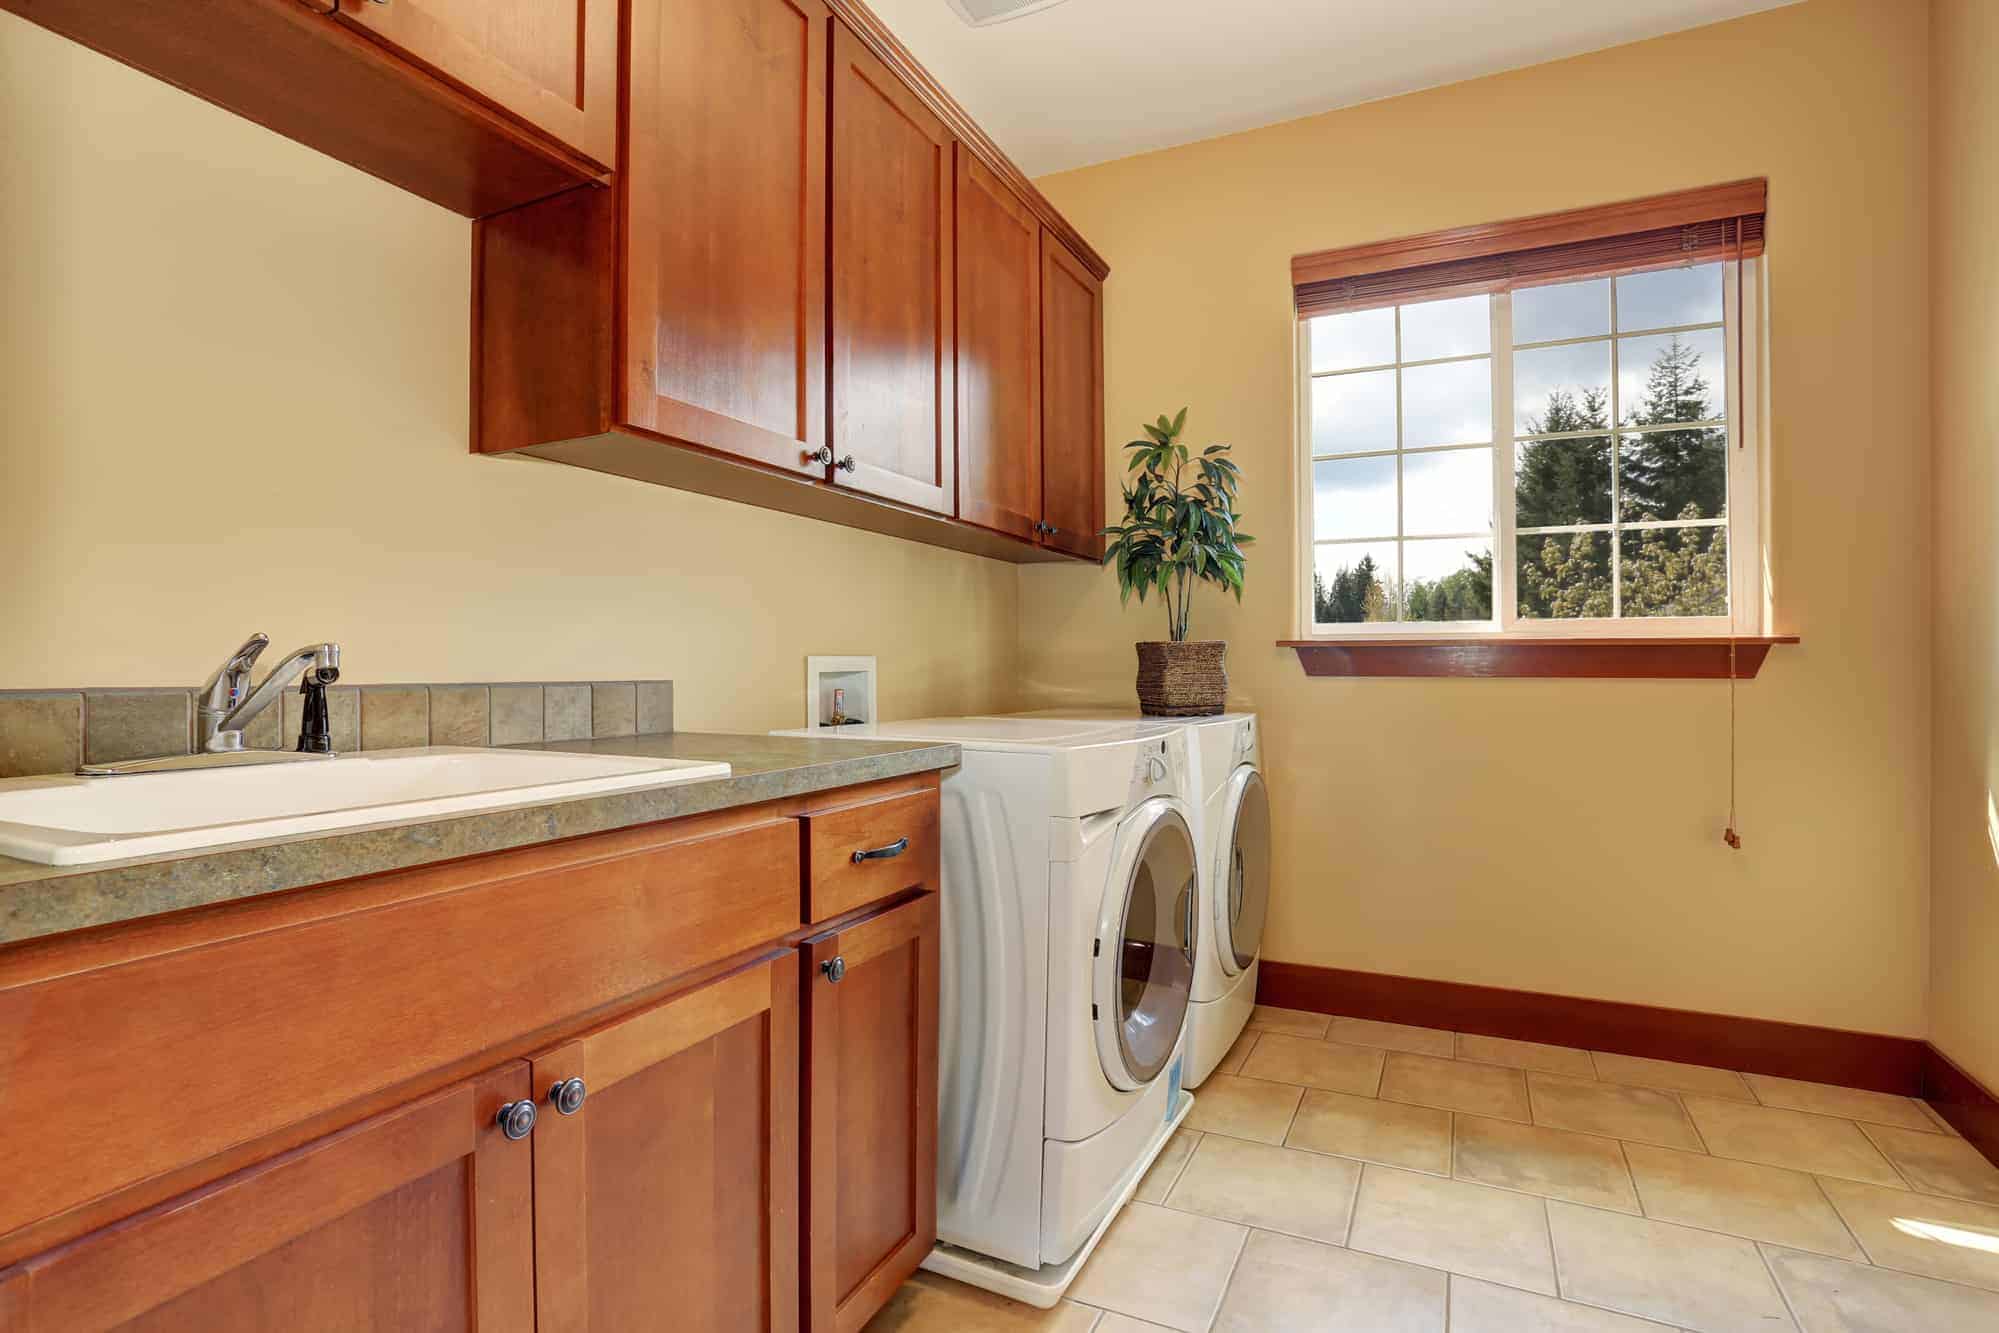
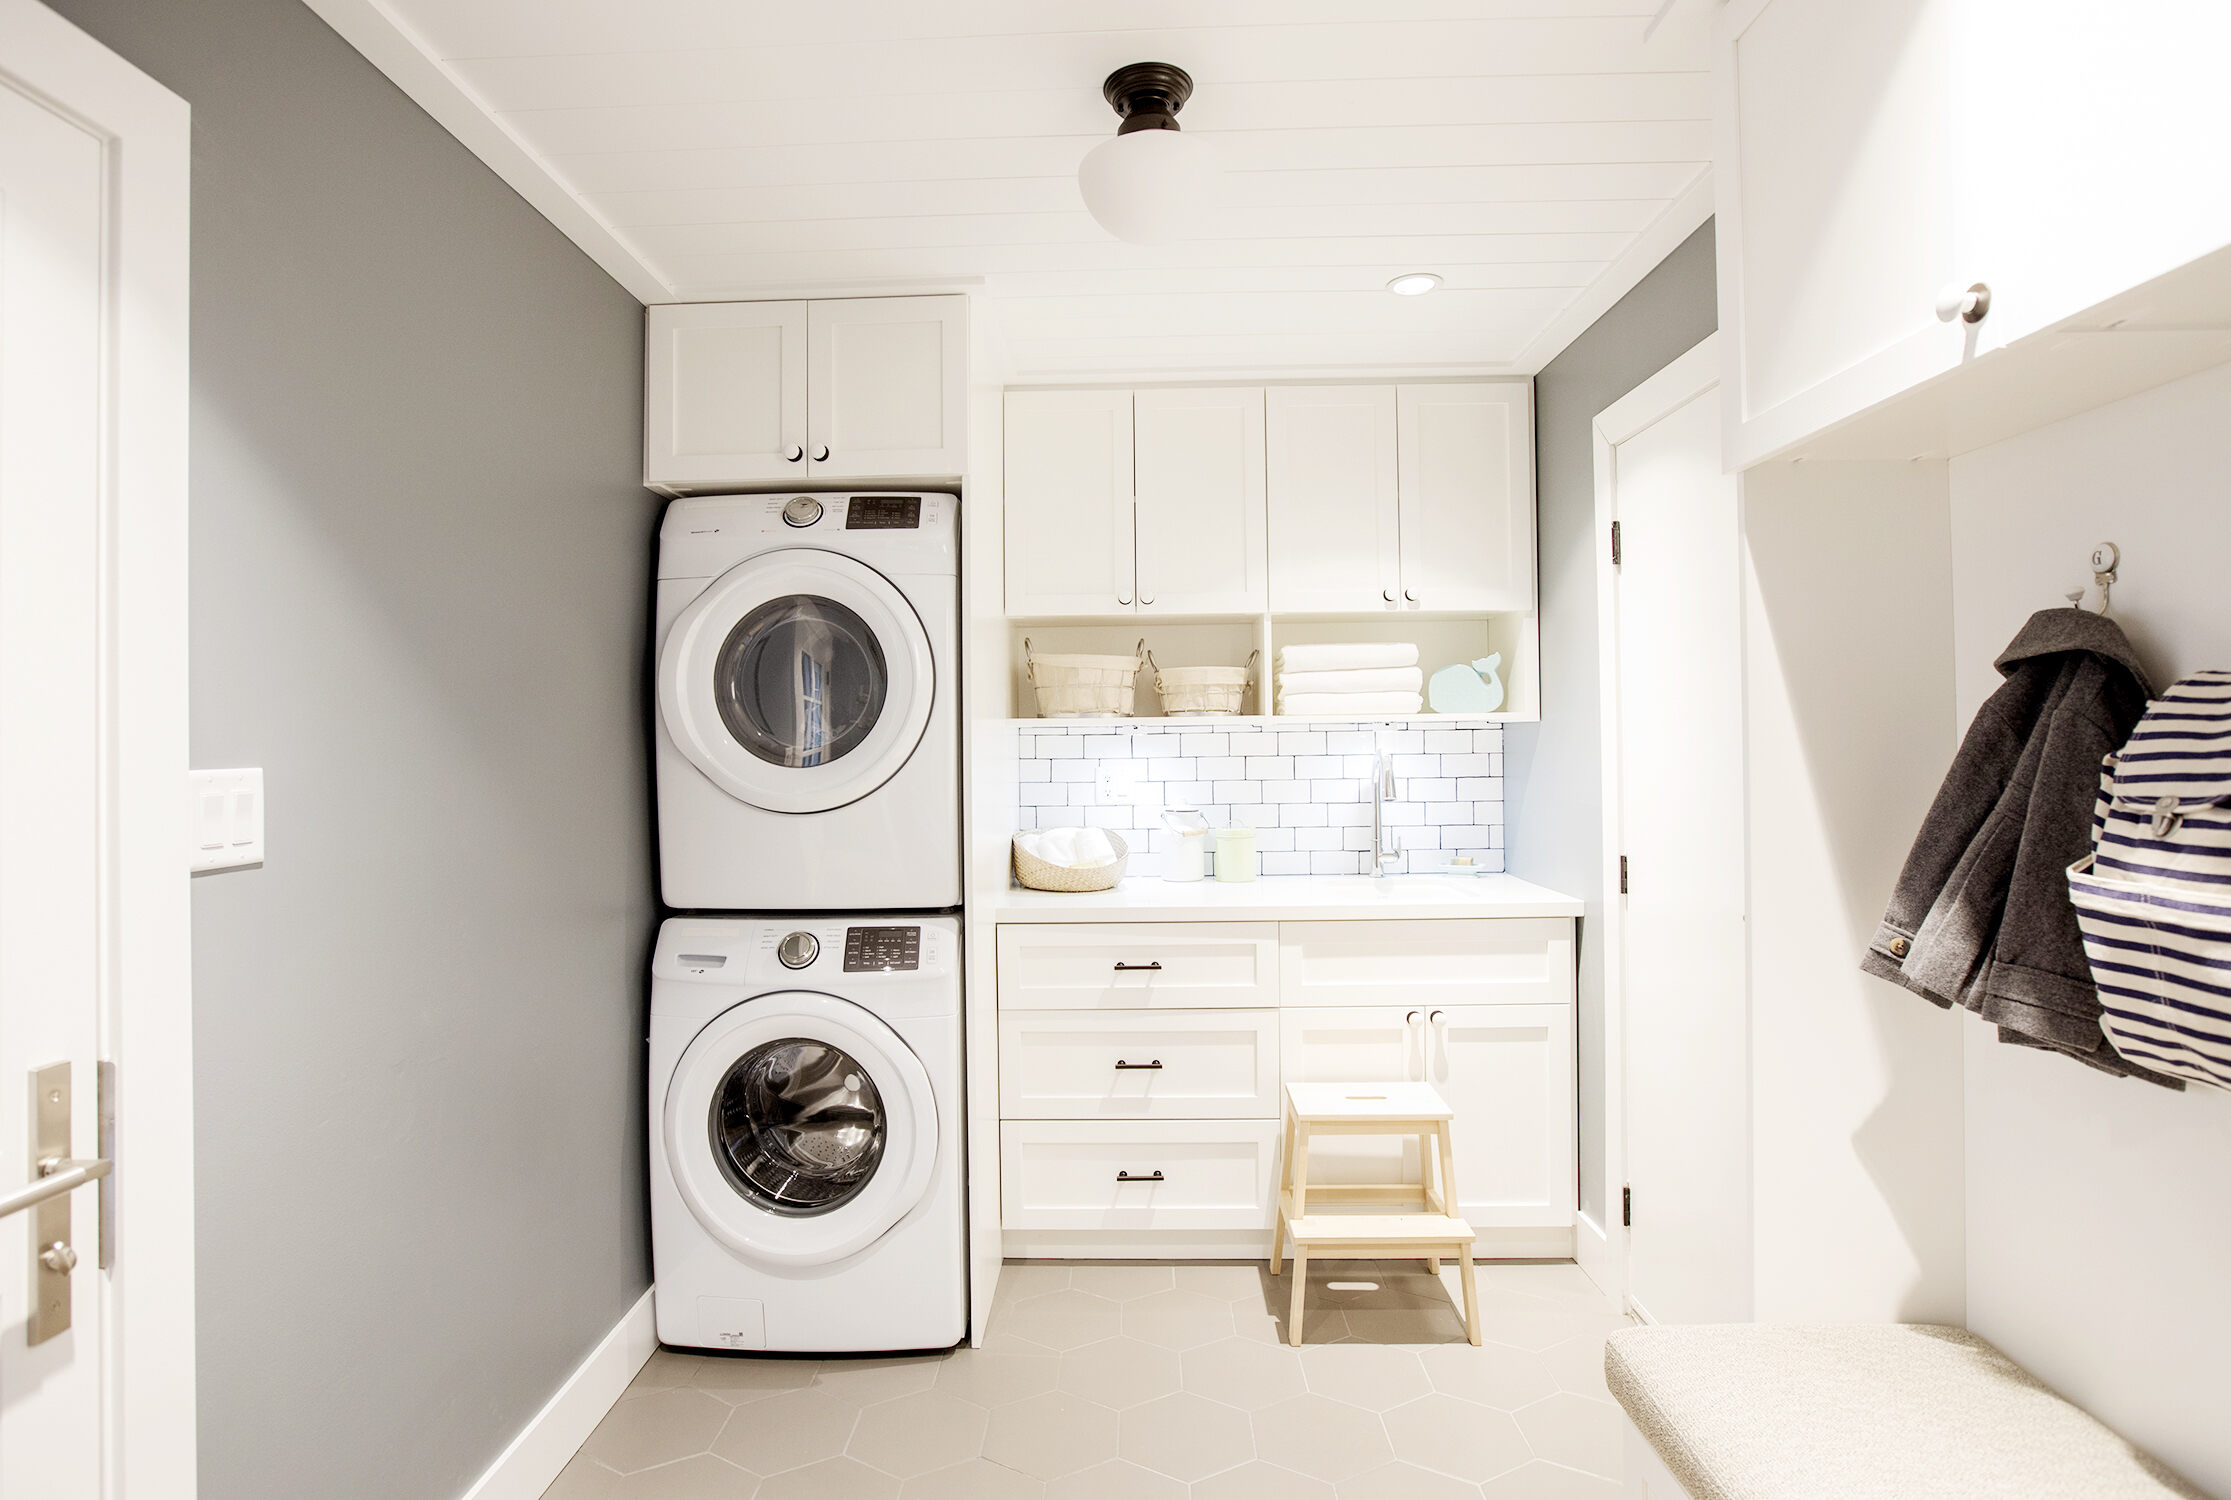
Welcome to our guide on how to build a laundry room countertop! If you’re tired of dealing with limited space and clutter in your laundry room, a custom-built countertop is the perfect solution. Not only will it provide you with a dedicated workspace for folding clothes, sorting laundry, and organizing supplies, but it will also add a touch of elegance to your laundry room.
In this article, we will take you through the step-by-step process of building your own laundry room countertop. We’ll cover everything from measuring and planning to choosing the right materials and installing the countertop. So grab your tools and let’s get started!
Before you begin, it’s important to note that this project requires some basic knowledge of woodworking and access to power tools. If you’re not comfortable with these tasks, it’s a good idea to enlist the help of a friend or hire a professional.
Now, let’s gather the materials and get ready to transform your laundry room!
Key Takeaways:
- Transform your laundry room with a custom-built countertop, adding functionality and elegance to your space. Follow the step-by-step process, prioritize safety, and enjoy the convenience it brings to your laundry routine.
- Choose the right countertop material based on budget, style, and maintenance requirements. Whether it’s plywood, laminate, butcher block, or granite, each option offers unique benefits to suit your needs.
Materials Needed
Before you start building your laundry room countertop, gather the following materials:
- Countertop material (such as plywood, laminate, or butcher block)
- Measuring tape
- Pencil
- Saw (such as a circular saw or table saw)
- Sander
- Sandpaper (various grits)
- Wood glue
- Wood screws
- Drill
- Countertop supports (such as brackets or wooden corbels)
- Screwdriver
- Level
- Stain or paint (optional)
- Brush or roller for staining/painting (optional)
Note that the specific materials needed will vary depending on the size and design of your countertop. Be sure to measure your laundry room space and consult the countertop material manufacturer’s recommendations for additional supplies.
Once you have all the necessary materials, you’ll be ready to move on to the next step: measuring and planning!
Step 1: Measuring and Planning
The first step in building your laundry room countertop is to measure the available space and plan out the dimensions. This will ensure that your countertop fits perfectly and maximizes your workspace. Here’s how to do it:
- Measure the width and depth of your laundry room countertop area using a measuring tape. Take into account any appliances or fixtures that may affect the dimensions.
- Transfer the measurements onto the countertop material of your choice. Use a pencil to mark the cutting lines.
- Consider the overhang. Decide on the desired overhang for your countertop. Typically, a 1-2 inch overhang is recommended.
- Plan for additional support. Determine where you will need to install countertop supports, such as brackets or corbels, to ensure stability.
- Double-check your measurements. Verify the accuracy of your measurements before proceeding to the next step. It’s better to be safe than sorry!
Once you have completed these steps, you will have a clear plan for the size and layout of your laundry room countertop. This will serve as a guide for the next stages of the building process.
Now that you have your measurements and plan in hand, it’s time to move on to Step 2: Choosing the Countertop Material.
Step 2: Choosing the Countertop Material
Choosing the right countertop material is an important decision that will determine the overall look, durability, and functionality of your laundry room countertop. Here are some popular options to consider:
- Plywood: Plywood is a cost-effective option that is easy to work with. It can be painted or covered with laminate for a polished finish.
- Laminate: Laminate countertops come in a wide range of colors and patterns, providing a versatile and budget-friendly choice. They are low maintenance and resistant to stains and water damage.
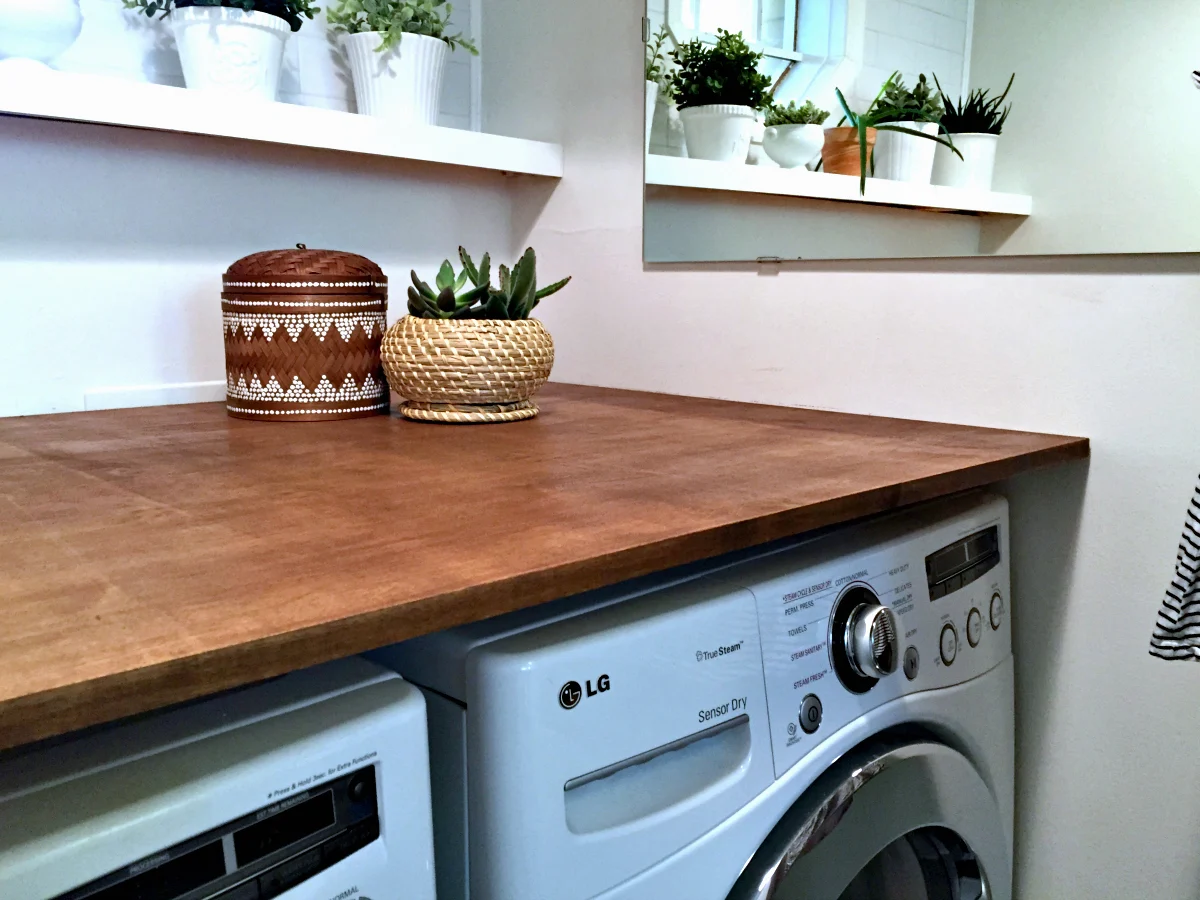
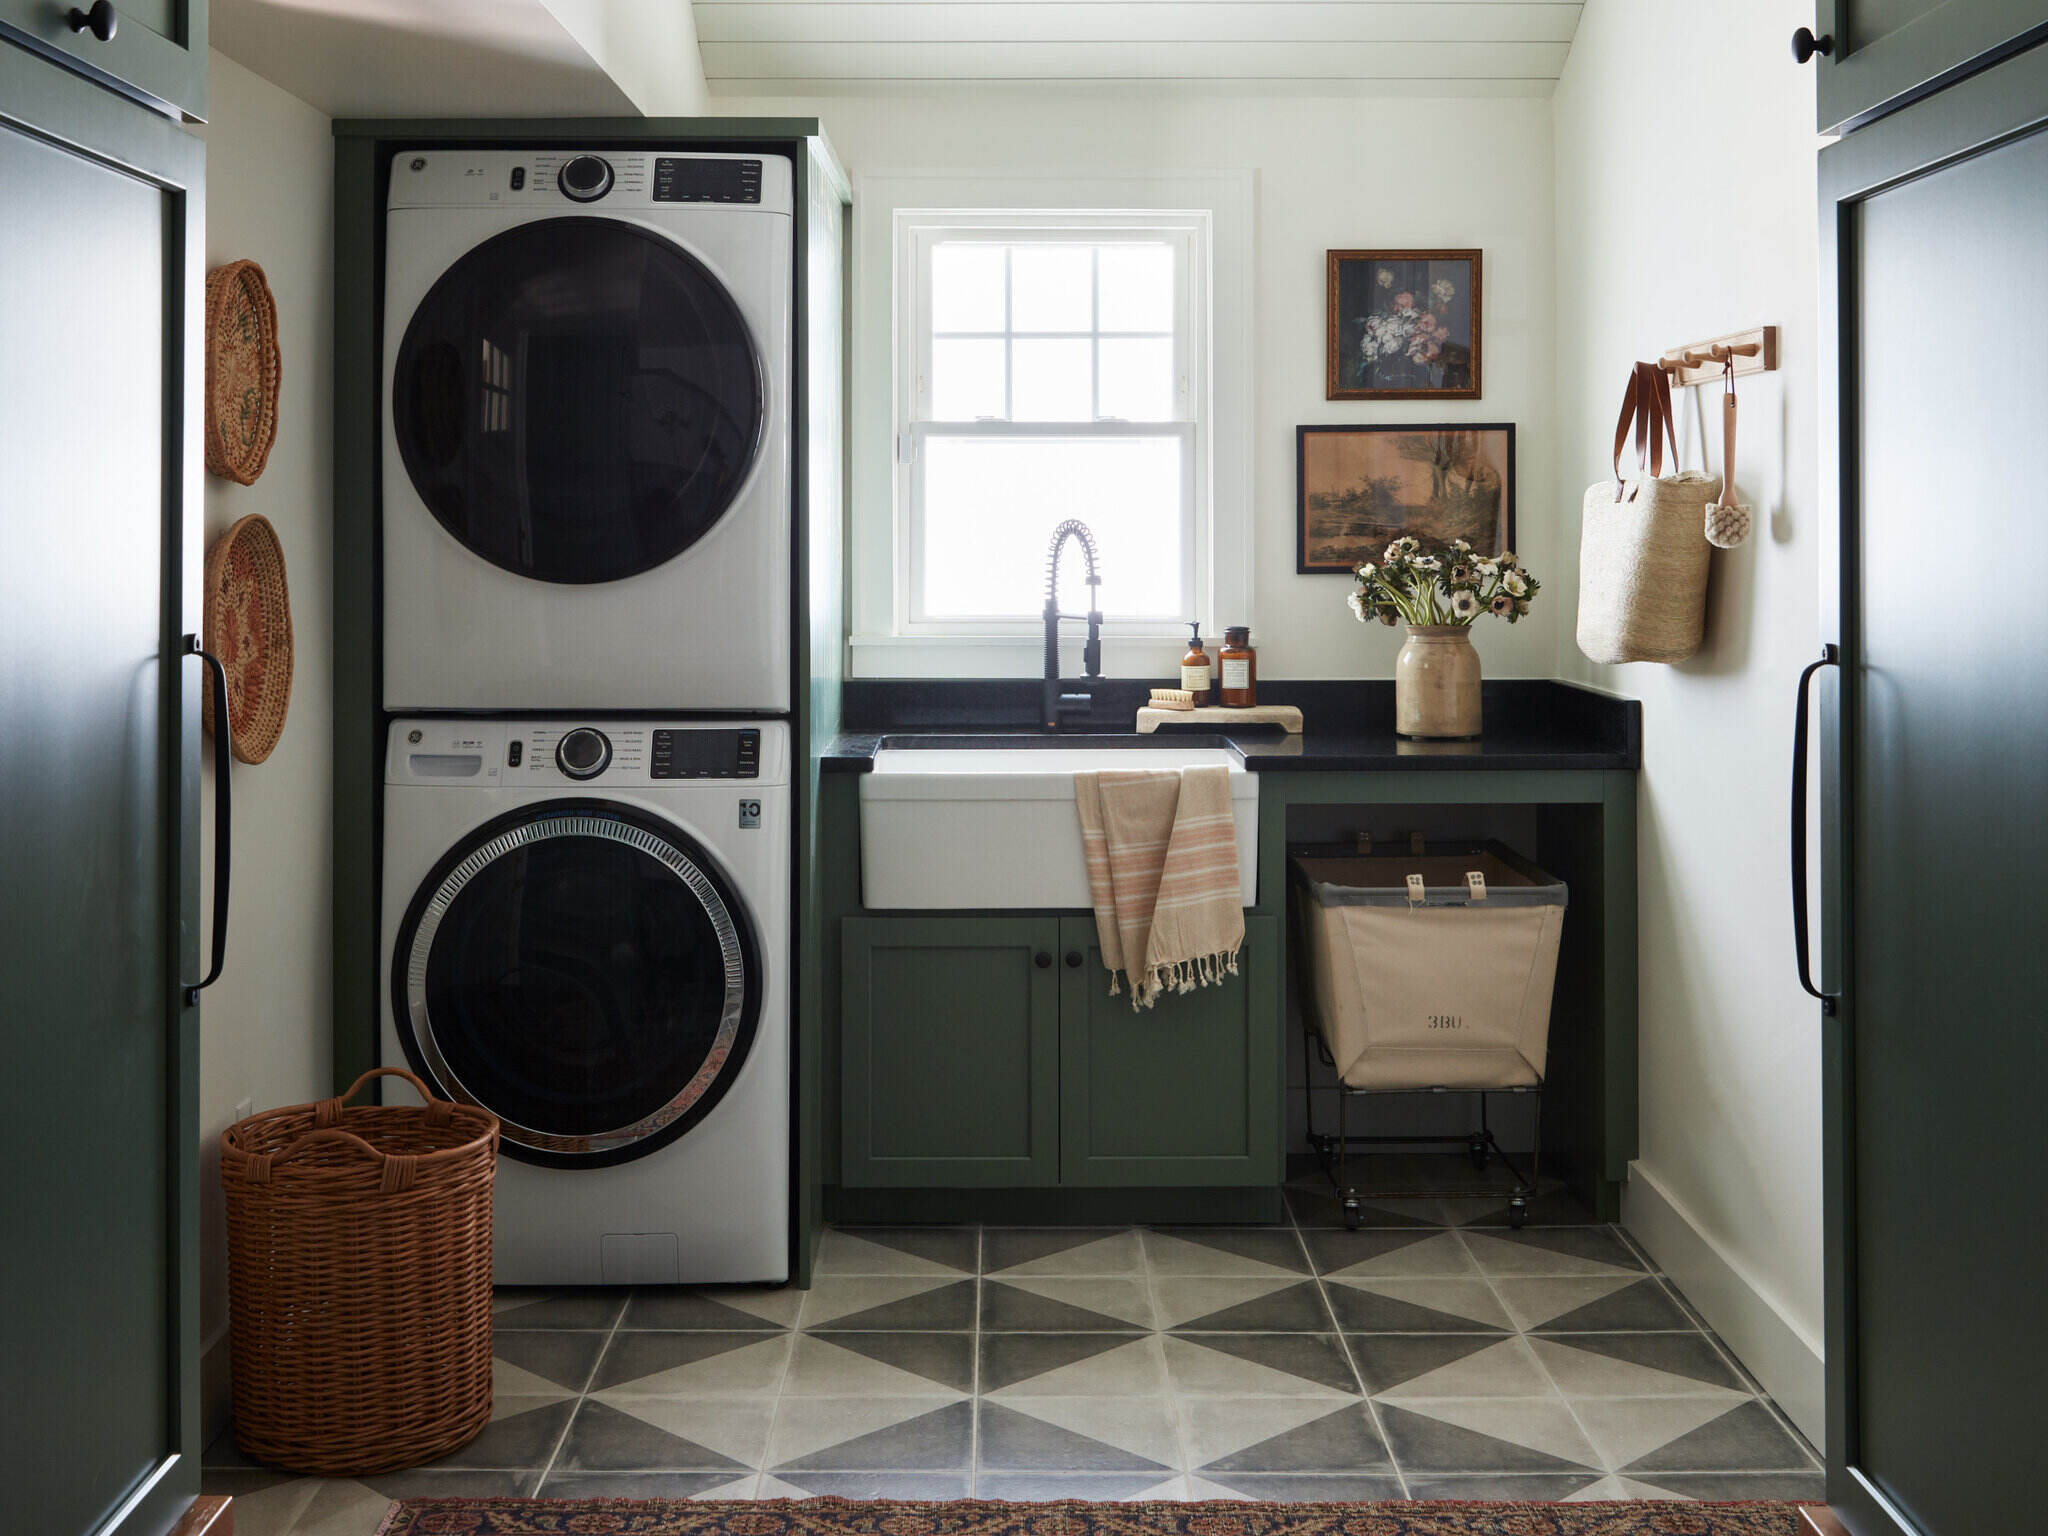
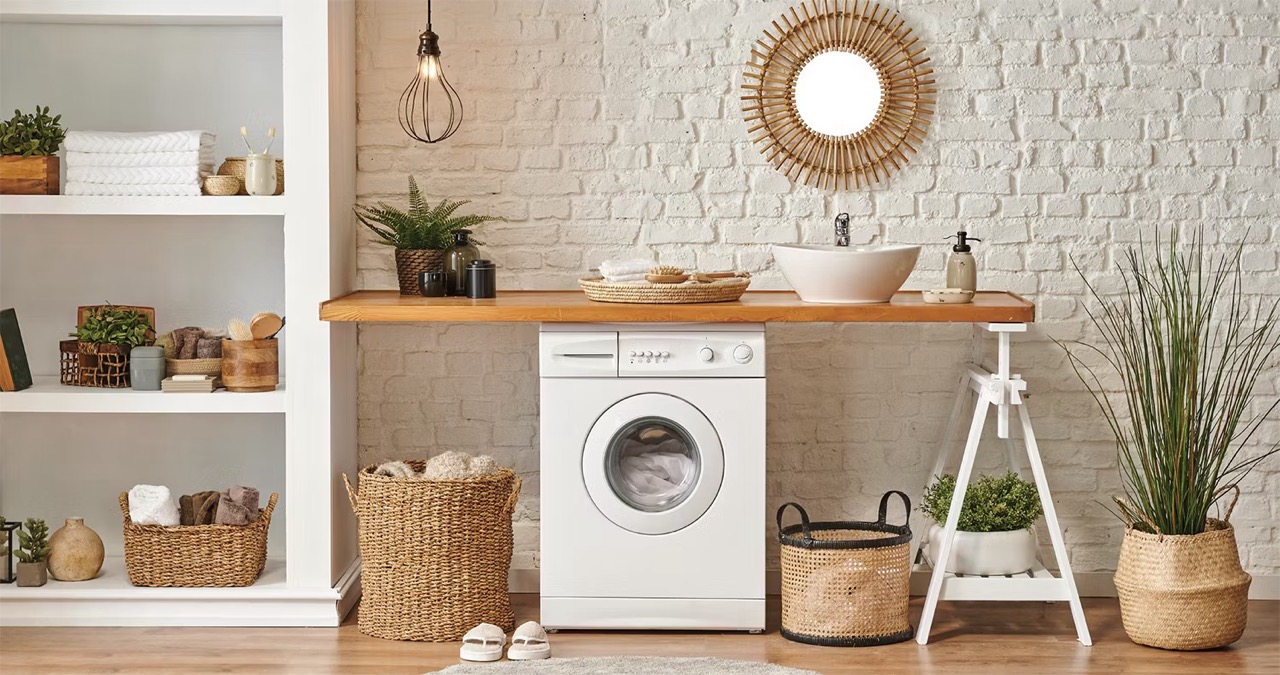
- Butcher block: Butcher block countertops offer a warm and natural look. They are made from thick strips of wood that are glued together, creating a sturdy and durable surface.
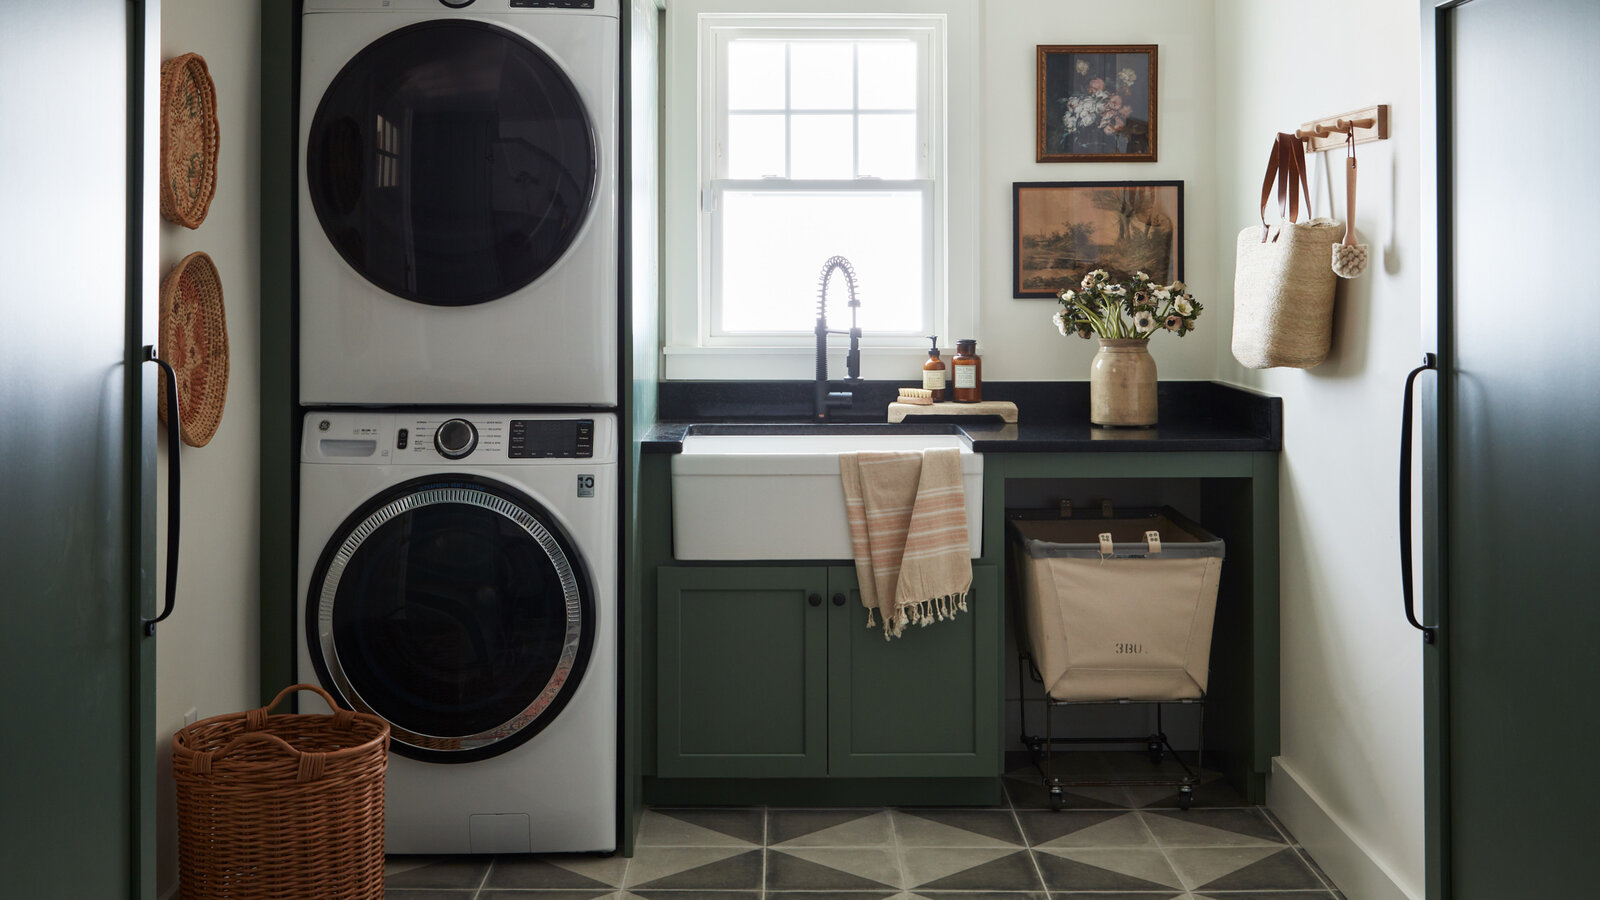
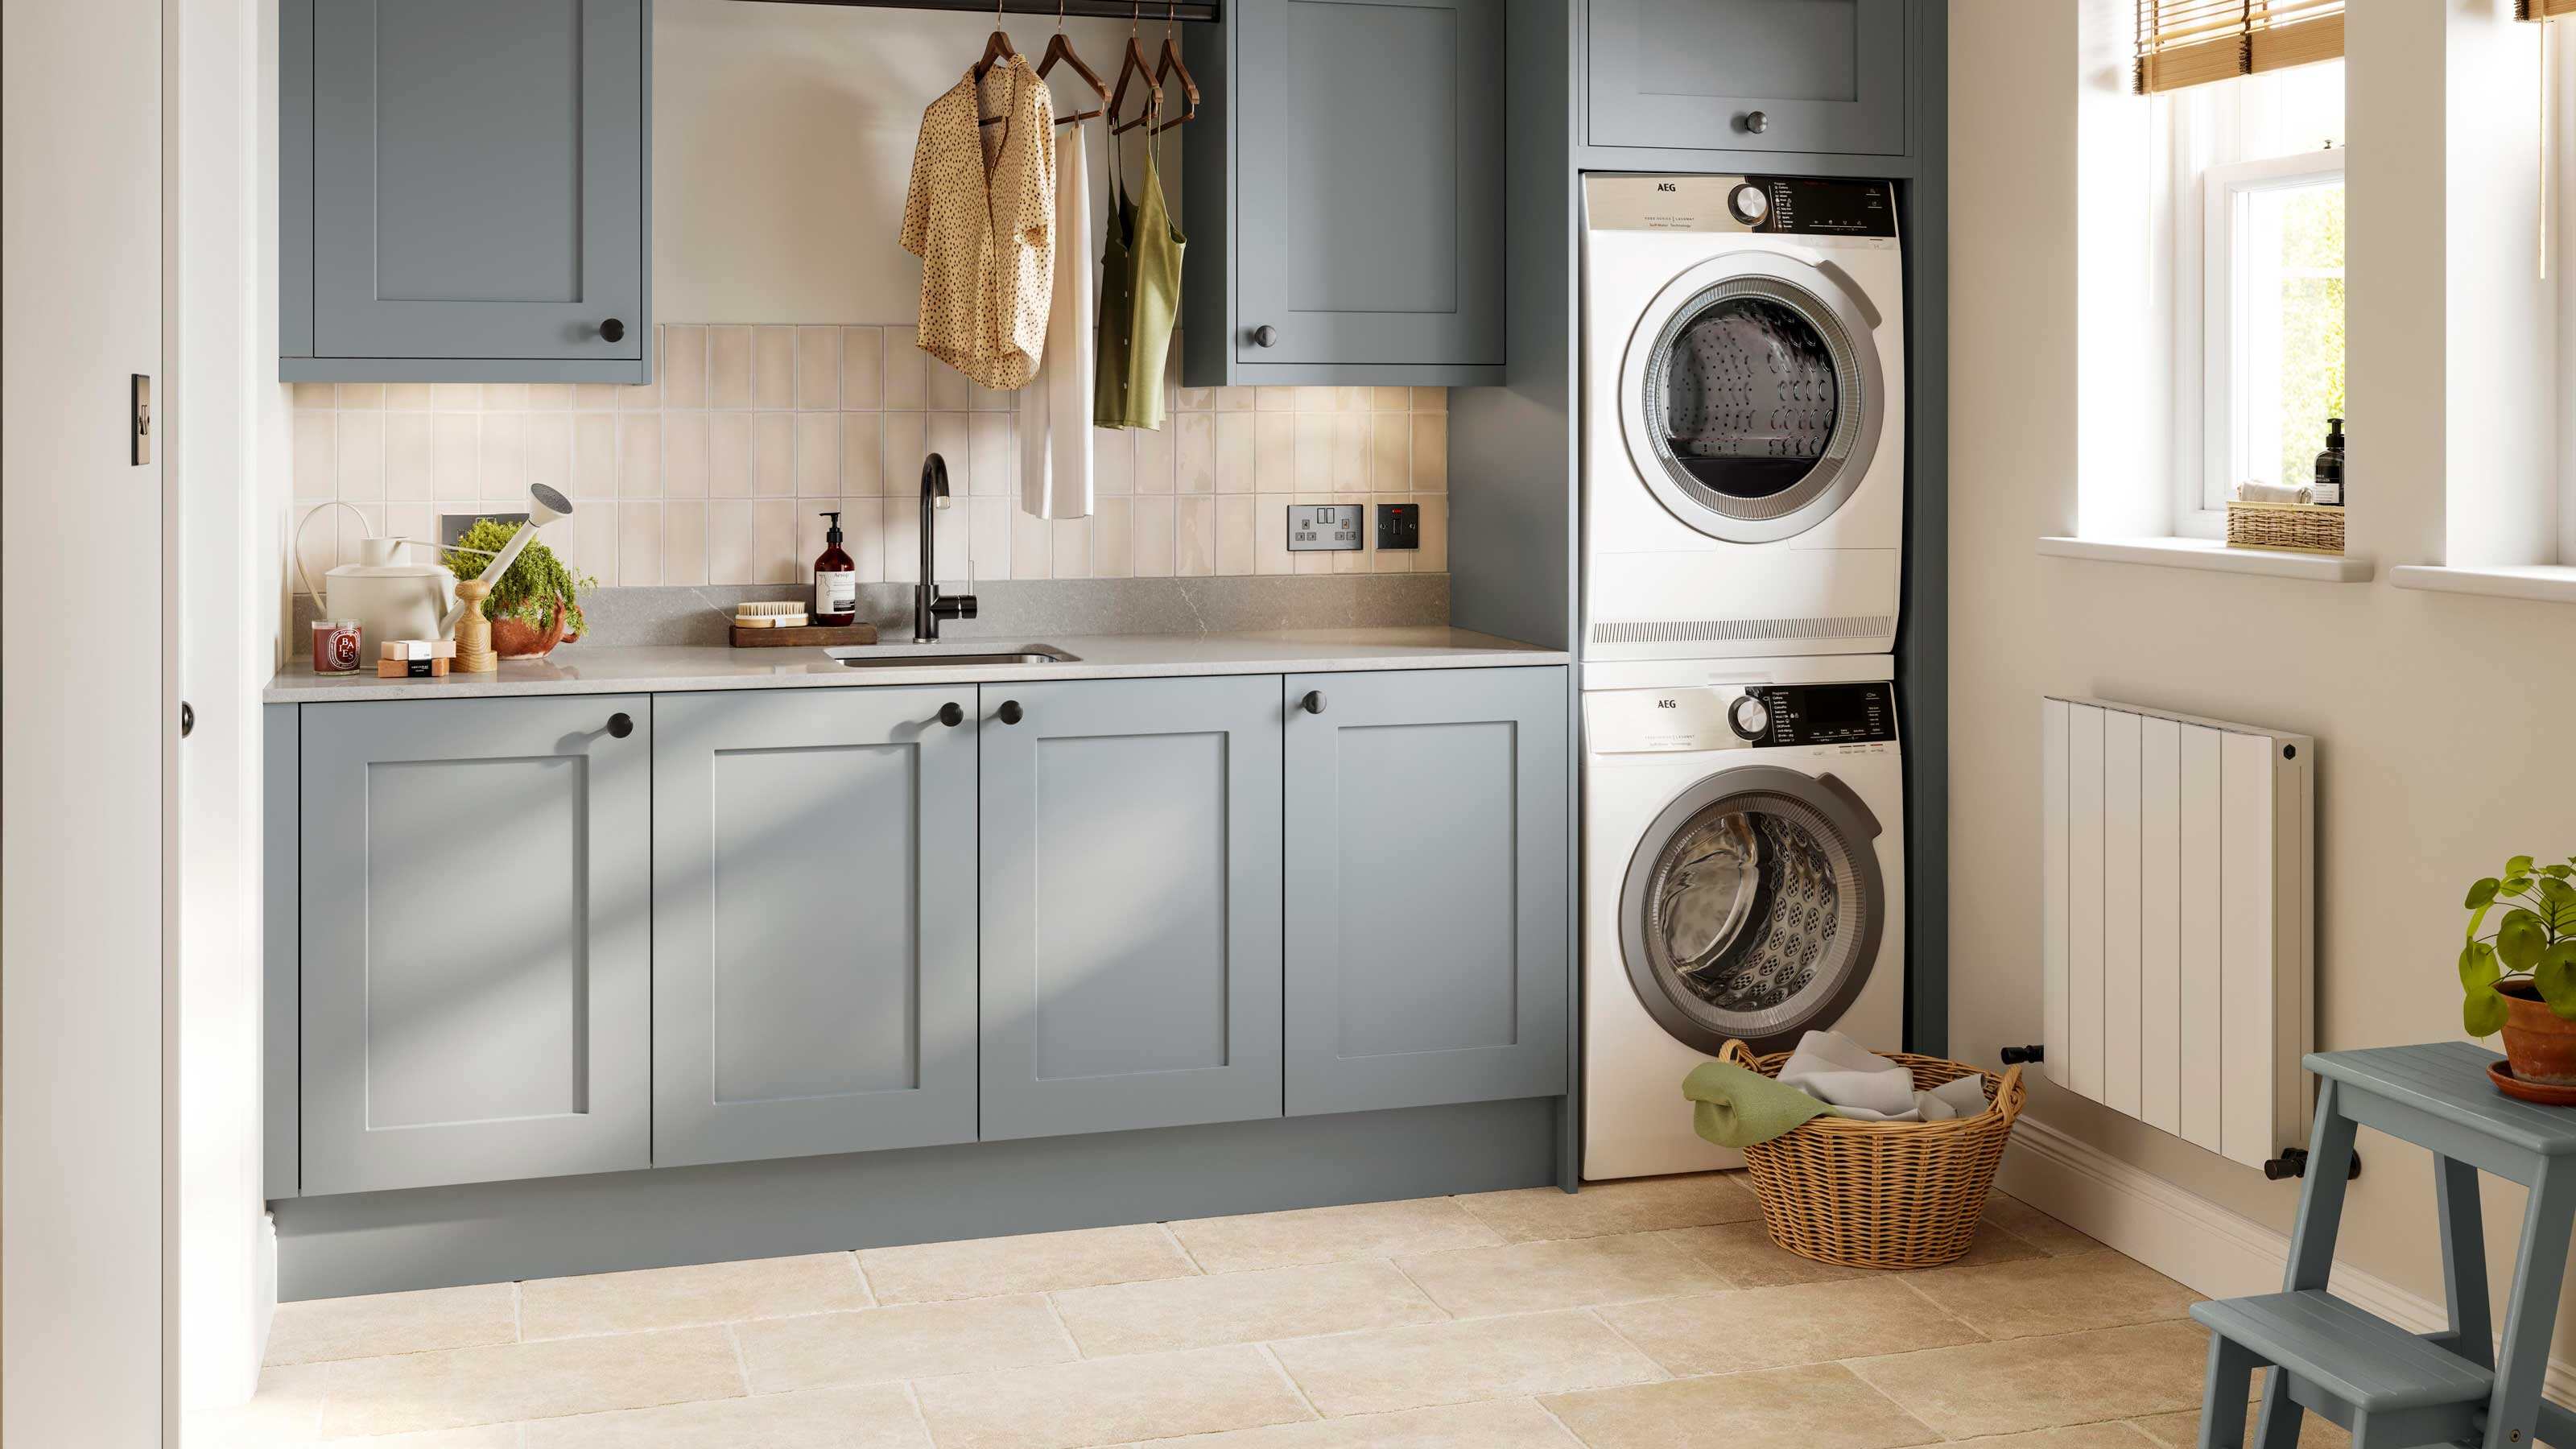
- Granite or quartz: For a more luxurious and durable option, consider granite or quartz countertops. These materials are known for their durability, heat resistance, and beauty.
Consider your budget, style preferences, and maintenance requirements when choosing the countertop material. Also, think about how the material will fit in with the overall design of your laundry room.
Once you have selected the countertop material, you can move on to the next step: cutting the countertop.
Step 3: Cutting the Countertop
Now that you have your countertop material and measurements ready, it’s time to cut the countertop to the desired size and shape. Follow these steps to ensure accuracy:
- Set up your saw. Depending on the type of saw you are using, make sure it is properly set up and secured. Follow the manufacturer’s instructions for safety precautions.
- Place the countertop material on a stable work surface. Ensure that it is securely held in place.
- Measure and mark the cutting line on the countertop material, based on your earlier measurements and plans.
- Use the appropriate saw to cut along the marked line. Take your time and follow a steady motion to achieve a clean and straight cut.
- If your countertop has any corners or curves, use a jigsaw or router to create the desired shape. Take extra care when cutting intricate designs.
Remember to wear protective eyewear and gloves while cutting the countertop material. Always prioritize safety when working with power tools.
Once you have finished cutting the countertop, move on to Step 4: Preparing the Supports.
When building a laundry room countertop, consider using a durable and water-resistant material such as laminate or quartz to withstand the wear and tear of daily use.
Read more: How To Add A Laundry Room
Step 4: Preparing the Supports
Before attaching the countertop, you’ll need to prepare the supports that will provide stability and strength. Here’s how to do it:
- Determine the locations for the countertop supports based on your earlier measurements and plans. Typically, supports are placed every 16-24 inches along the length of the countertop.
- If you are using brackets, mark the positions where they will be installed on the wall or cabinets. Use a level to ensure they are aligned properly.
- If you are using wooden corbels, mark their positions on the underside of the countertop. Make sure they are evenly spaced and centered beneath the overhang.
- Depending on the type of support you’re using, attach the brackets to the wall or cabinets using screws. Alternatively, attach the corbels to the underside of the countertop using wood screws.
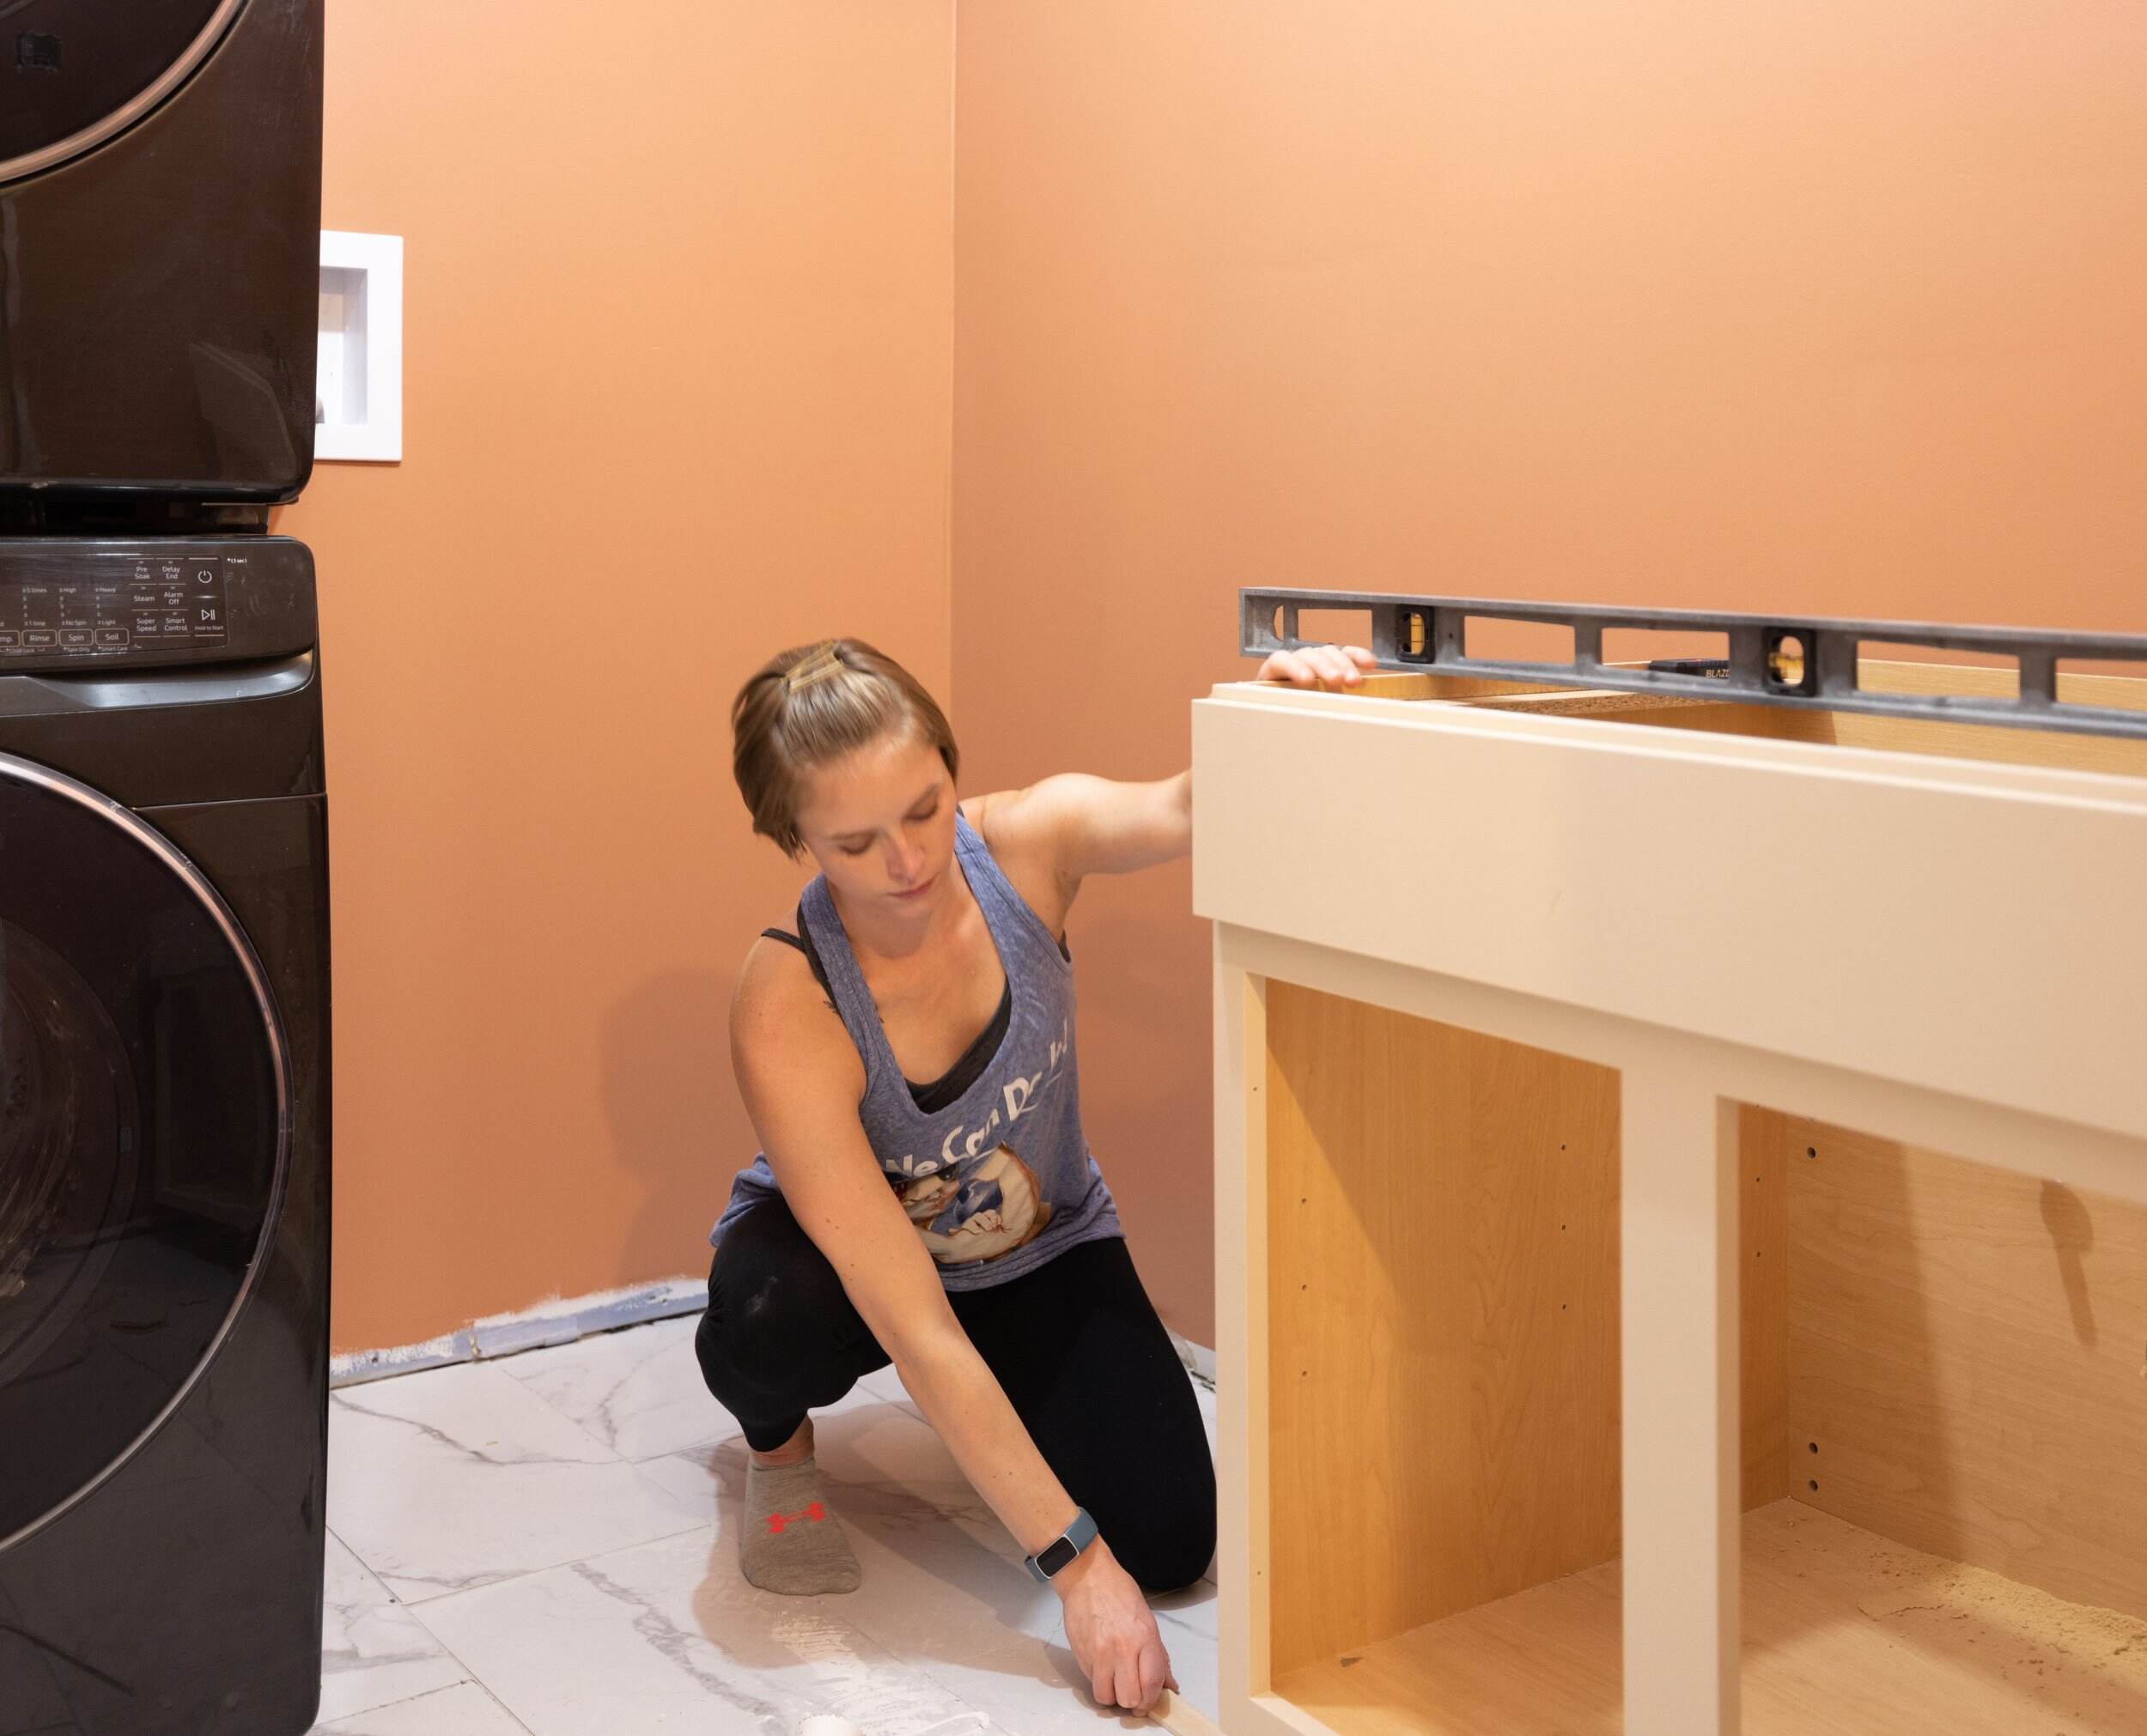
- Double-check the alignment and stability of the supports. They should be securely fastened and level to ensure proper weight distribution.
Proper support placement is crucial for preventing sagging or instability in your countertop. Take your time to ensure accuracy and seek assistance if needed.
With the supports in place, you’re now ready to move on to Step 5: Attaching the Countertop.
Step 5: Attaching the Countertop
Now it’s time to attach the countertop to the supports you have prepared. Follow these steps to ensure a secure installation:
- Enlist the help of a friend or family member to assist you in lifting and positioning the countertop onto the supports.
- Carefully place the countertop onto the supports, making sure it aligns with the markings and overhangs as planned.
- Using a drill, screw the countertop into the supports through the pre-drilled holes. Ensure that the screws are long enough to penetrate both the countertop material and the support brackets or corbels.
- Tighten the screws securely, but be cautious not to over-tighten and damage the countertop.
- Check the levelness of the countertop using a leveling tool. Make any adjustments if necessary by loosening the screws and repositioning the countertop.
Once you are satisfied with the placement and stability of the countertop, you can move on to the final step: sanding and finishing.
Note: If you are using a laminate countertop, follow the manufacturer’s instructions for attachment as they may have specific guidelines.
Step 6: Sanding and Finishing
After attaching the countertop, it’s time to give it a smooth and finished look. Follow these steps to sand and finish your newly installed laundry room countertop:
- Start by sanding the countertop surface using a sander and sandpaper. Begin with a coarse grit sandpaper and gradually move to finer grits to achieve a smooth finish.
- Be sure to sand the edges and corners of the countertop as well for a uniform look. Pay attention to any imperfections or rough spots and sand them down until they are smooth.
- Once the countertop is sanded to your satisfaction, wipe away any dust with a clean cloth or sponge.
- If desired, apply a stain or paint to enhance the appearance of the countertop. Make sure to choose a product that is suitable for your chosen countertop material.
- Apply the stain or paint using a brush or roller, following the manufacturer’s instructions. Ensure that the entire surface is evenly covered and allow it to dry completely.
- If using a wood countertop, you may want to apply a protective sealant or food-grade oil to enhance its durability and preserve its natural beauty.
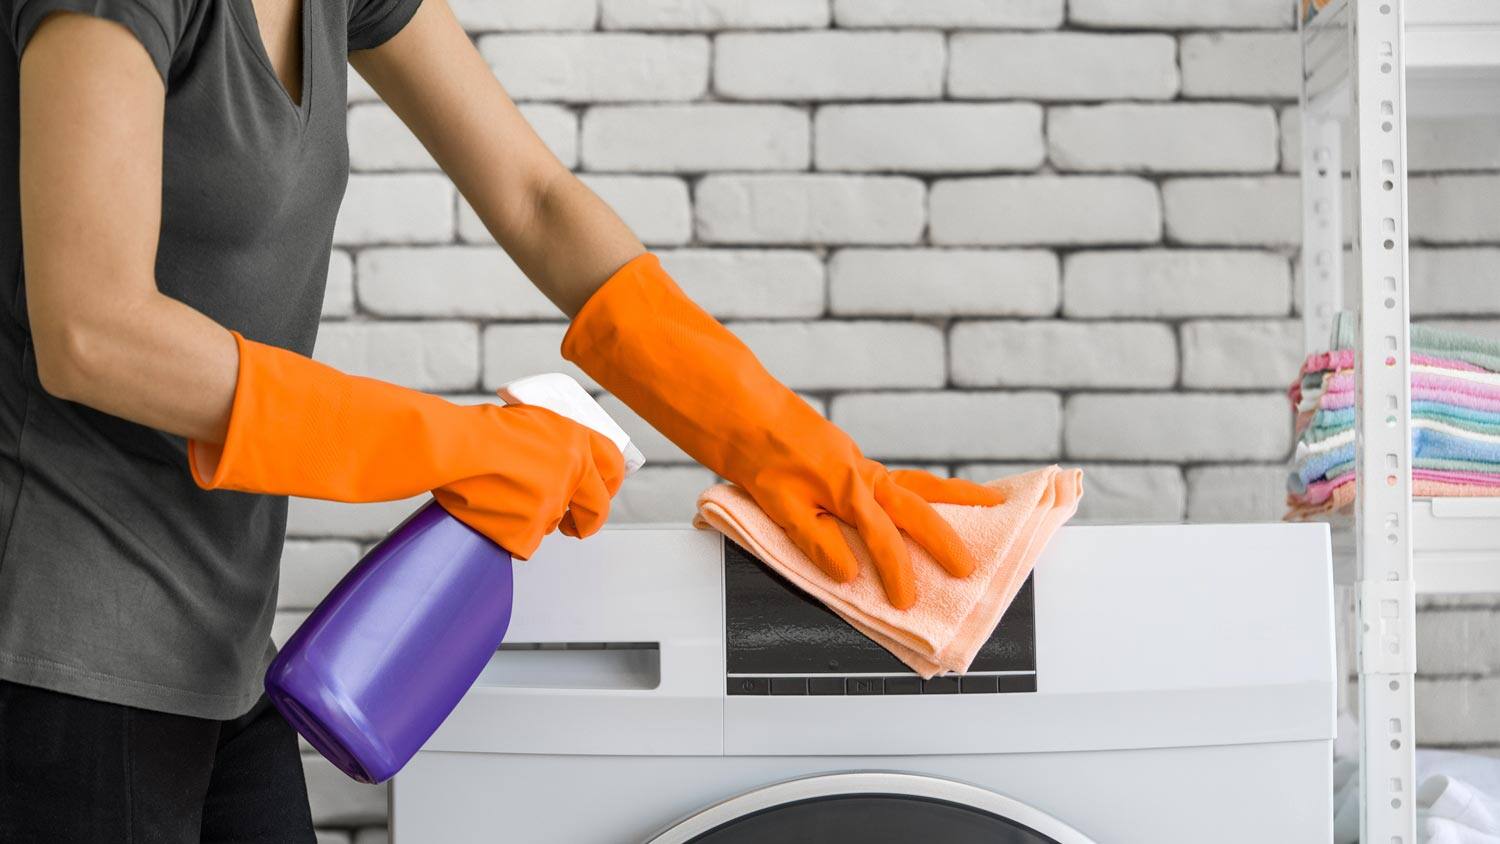
- Once the finish has dried, clean up any excess materials, and give your countertop a thorough cleaning before using it.
By sanding and finishing your countertop, you not only improve its aesthetic appeal but also protect it from daily wear and tear.
Congratulations! You have successfully built and finished your own laundry room countertop. Now you can enjoy a functional and beautiful workspace in your laundry room.
Conclusion
Building a laundry room countertop can transform your laundry space, providing you with a dedicated area for sorting, folding, and organizing your laundry. By following the step-by-step process outlined in this guide, you can create a custom countertop that not only adds functionality but also enhances the aesthetics of your laundry room.
From measuring and planning to choosing the right materials, cutting and attaching the countertop, and finally sanding and finishing, each step is essential for a successful project. Take the time to ensure accuracy and enlist the help of a friend or professional if needed.
Remember to consider your countertop material options, taking into account budget, style preferences, and durability. Plywood, laminate, butcher block, granite, and quartz are all viable options that offer different benefits depending on your needs.
Throughout the process, prioritize safety and always wear protective gear when working with power tools. Measure twice, cut once, and double-check your work to ensure a precise fit.
Once your countertop is installed and finished, take a moment to admire your handiwork. Enjoy the convenience and organization that it brings to your laundry routine.
So, don’t wait any longer – get started on building your laundry room countertop today and make your laundry room a functional and stylish space!
Frequently Asked Questions about How To Build Laundry Room Countertop
Was this page helpful?
At Storables.com, we guarantee accurate and reliable information. Our content, validated by Expert Board Contributors, is crafted following stringent Editorial Policies. We're committed to providing you with well-researched, expert-backed insights for all your informational needs.
0 thoughts on “How To Build Laundry Room Countertop”