Articles
How To Tile Laundry Room Floor
Modified: October 20, 2024
Learn how to tile your laundry room floor with this comprehensive guide. Browse our articles for step-by-step instructions and expert tips.
(Many of the links in this article redirect to a specific reviewed product. Your purchase of these products through affiliate links helps to generate commission for Storables.com, at no extra cost. Learn more)
Introduction
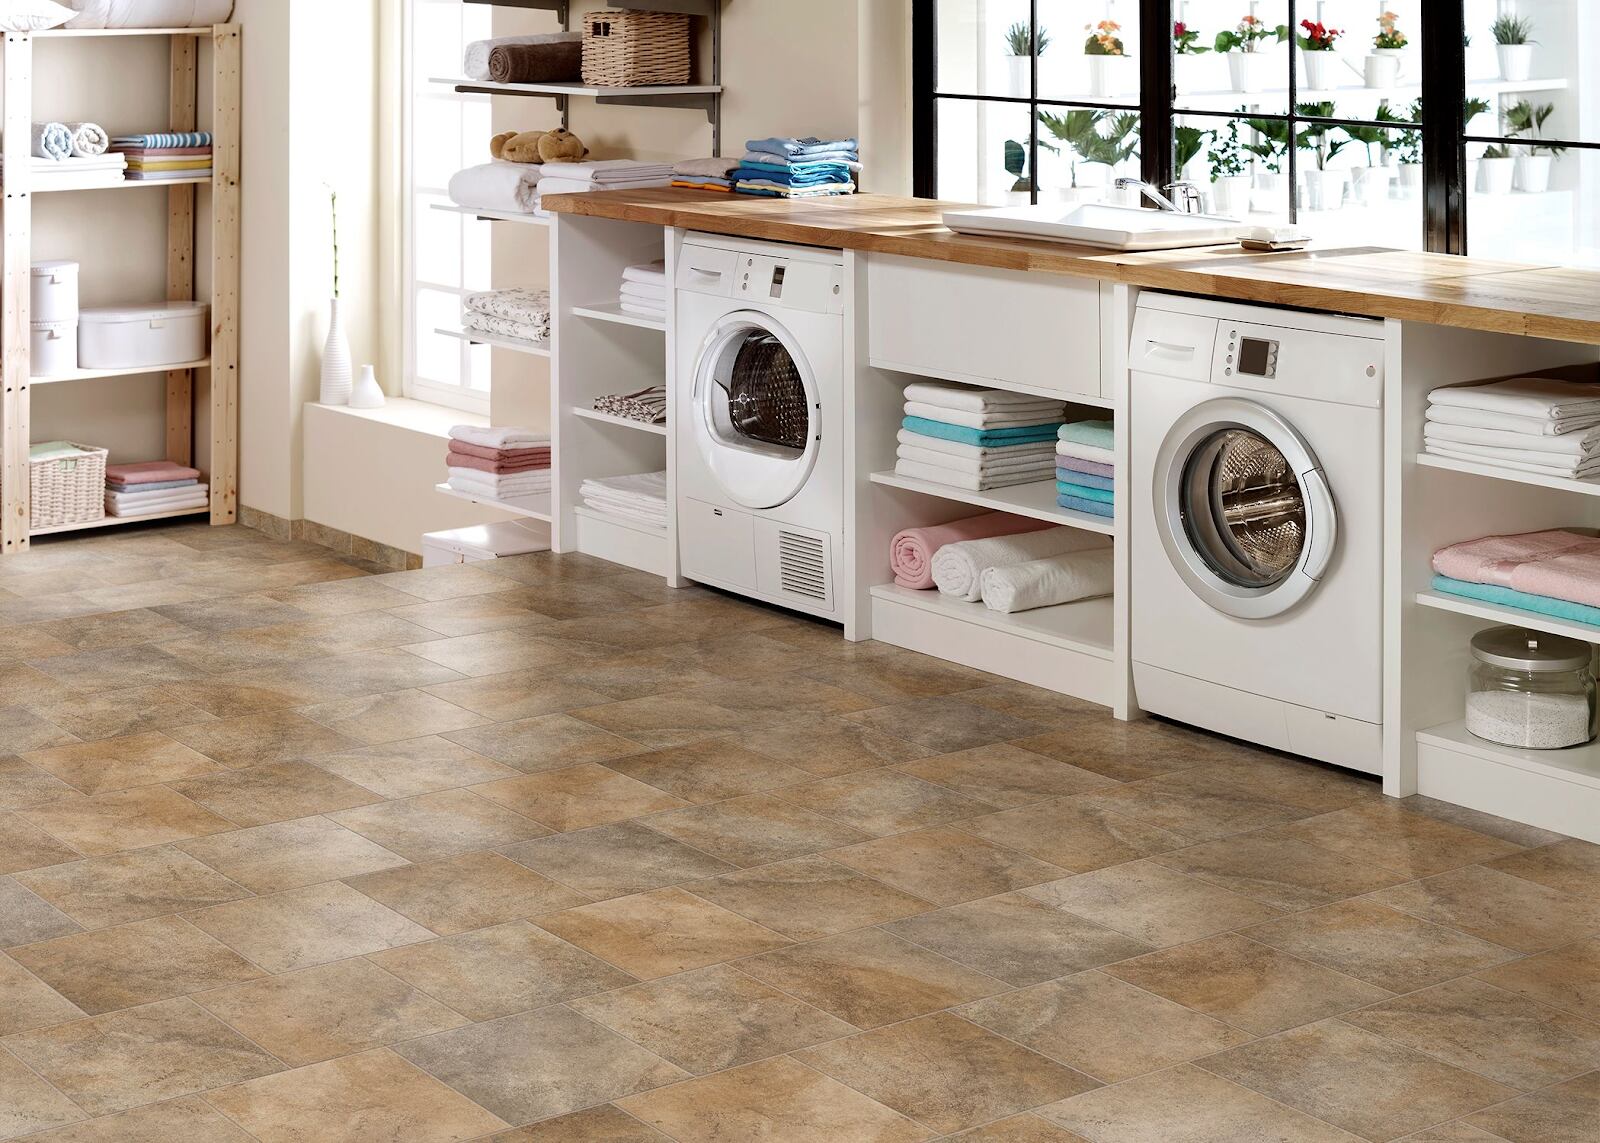
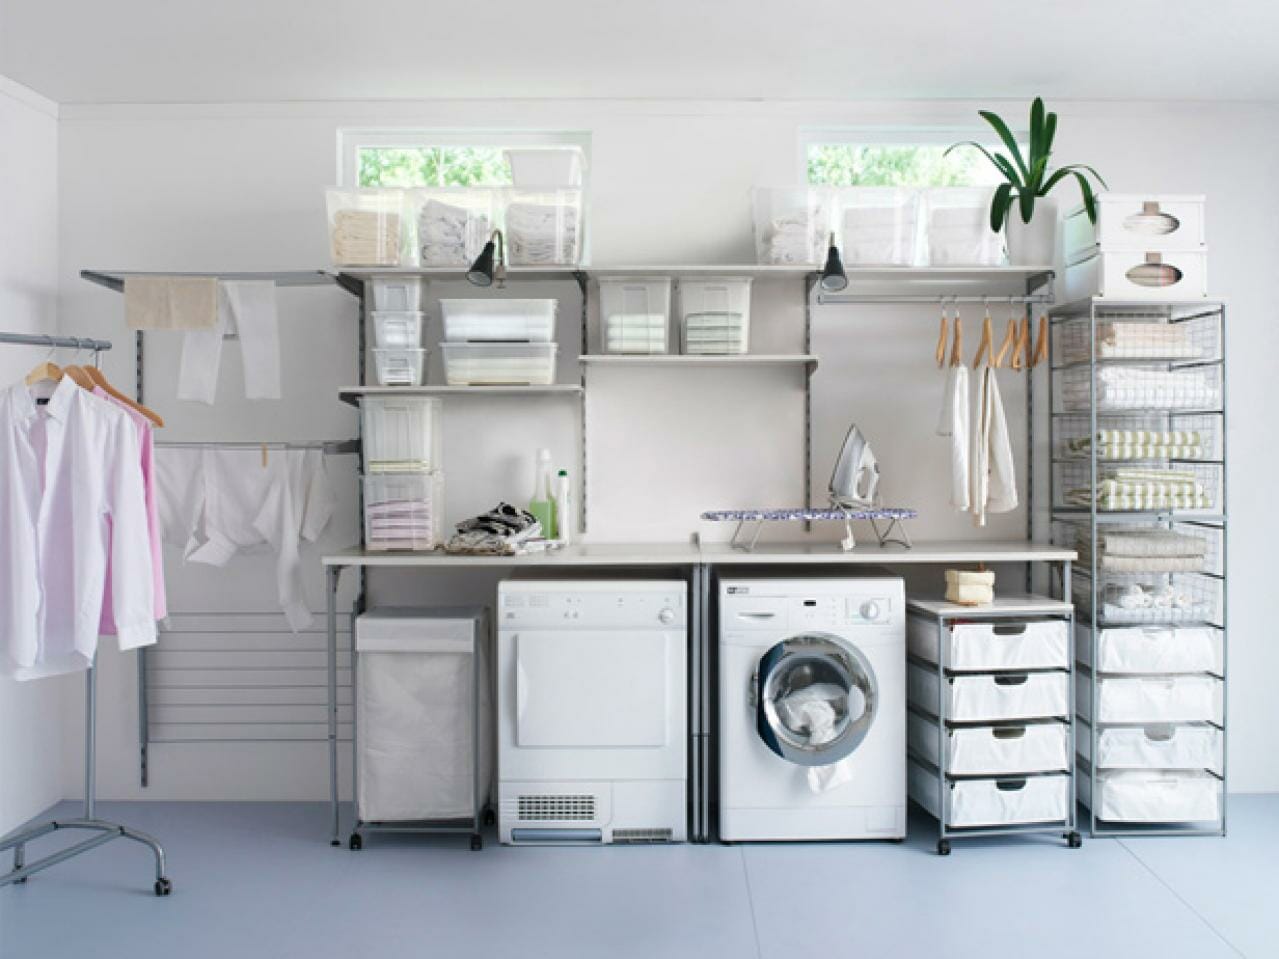
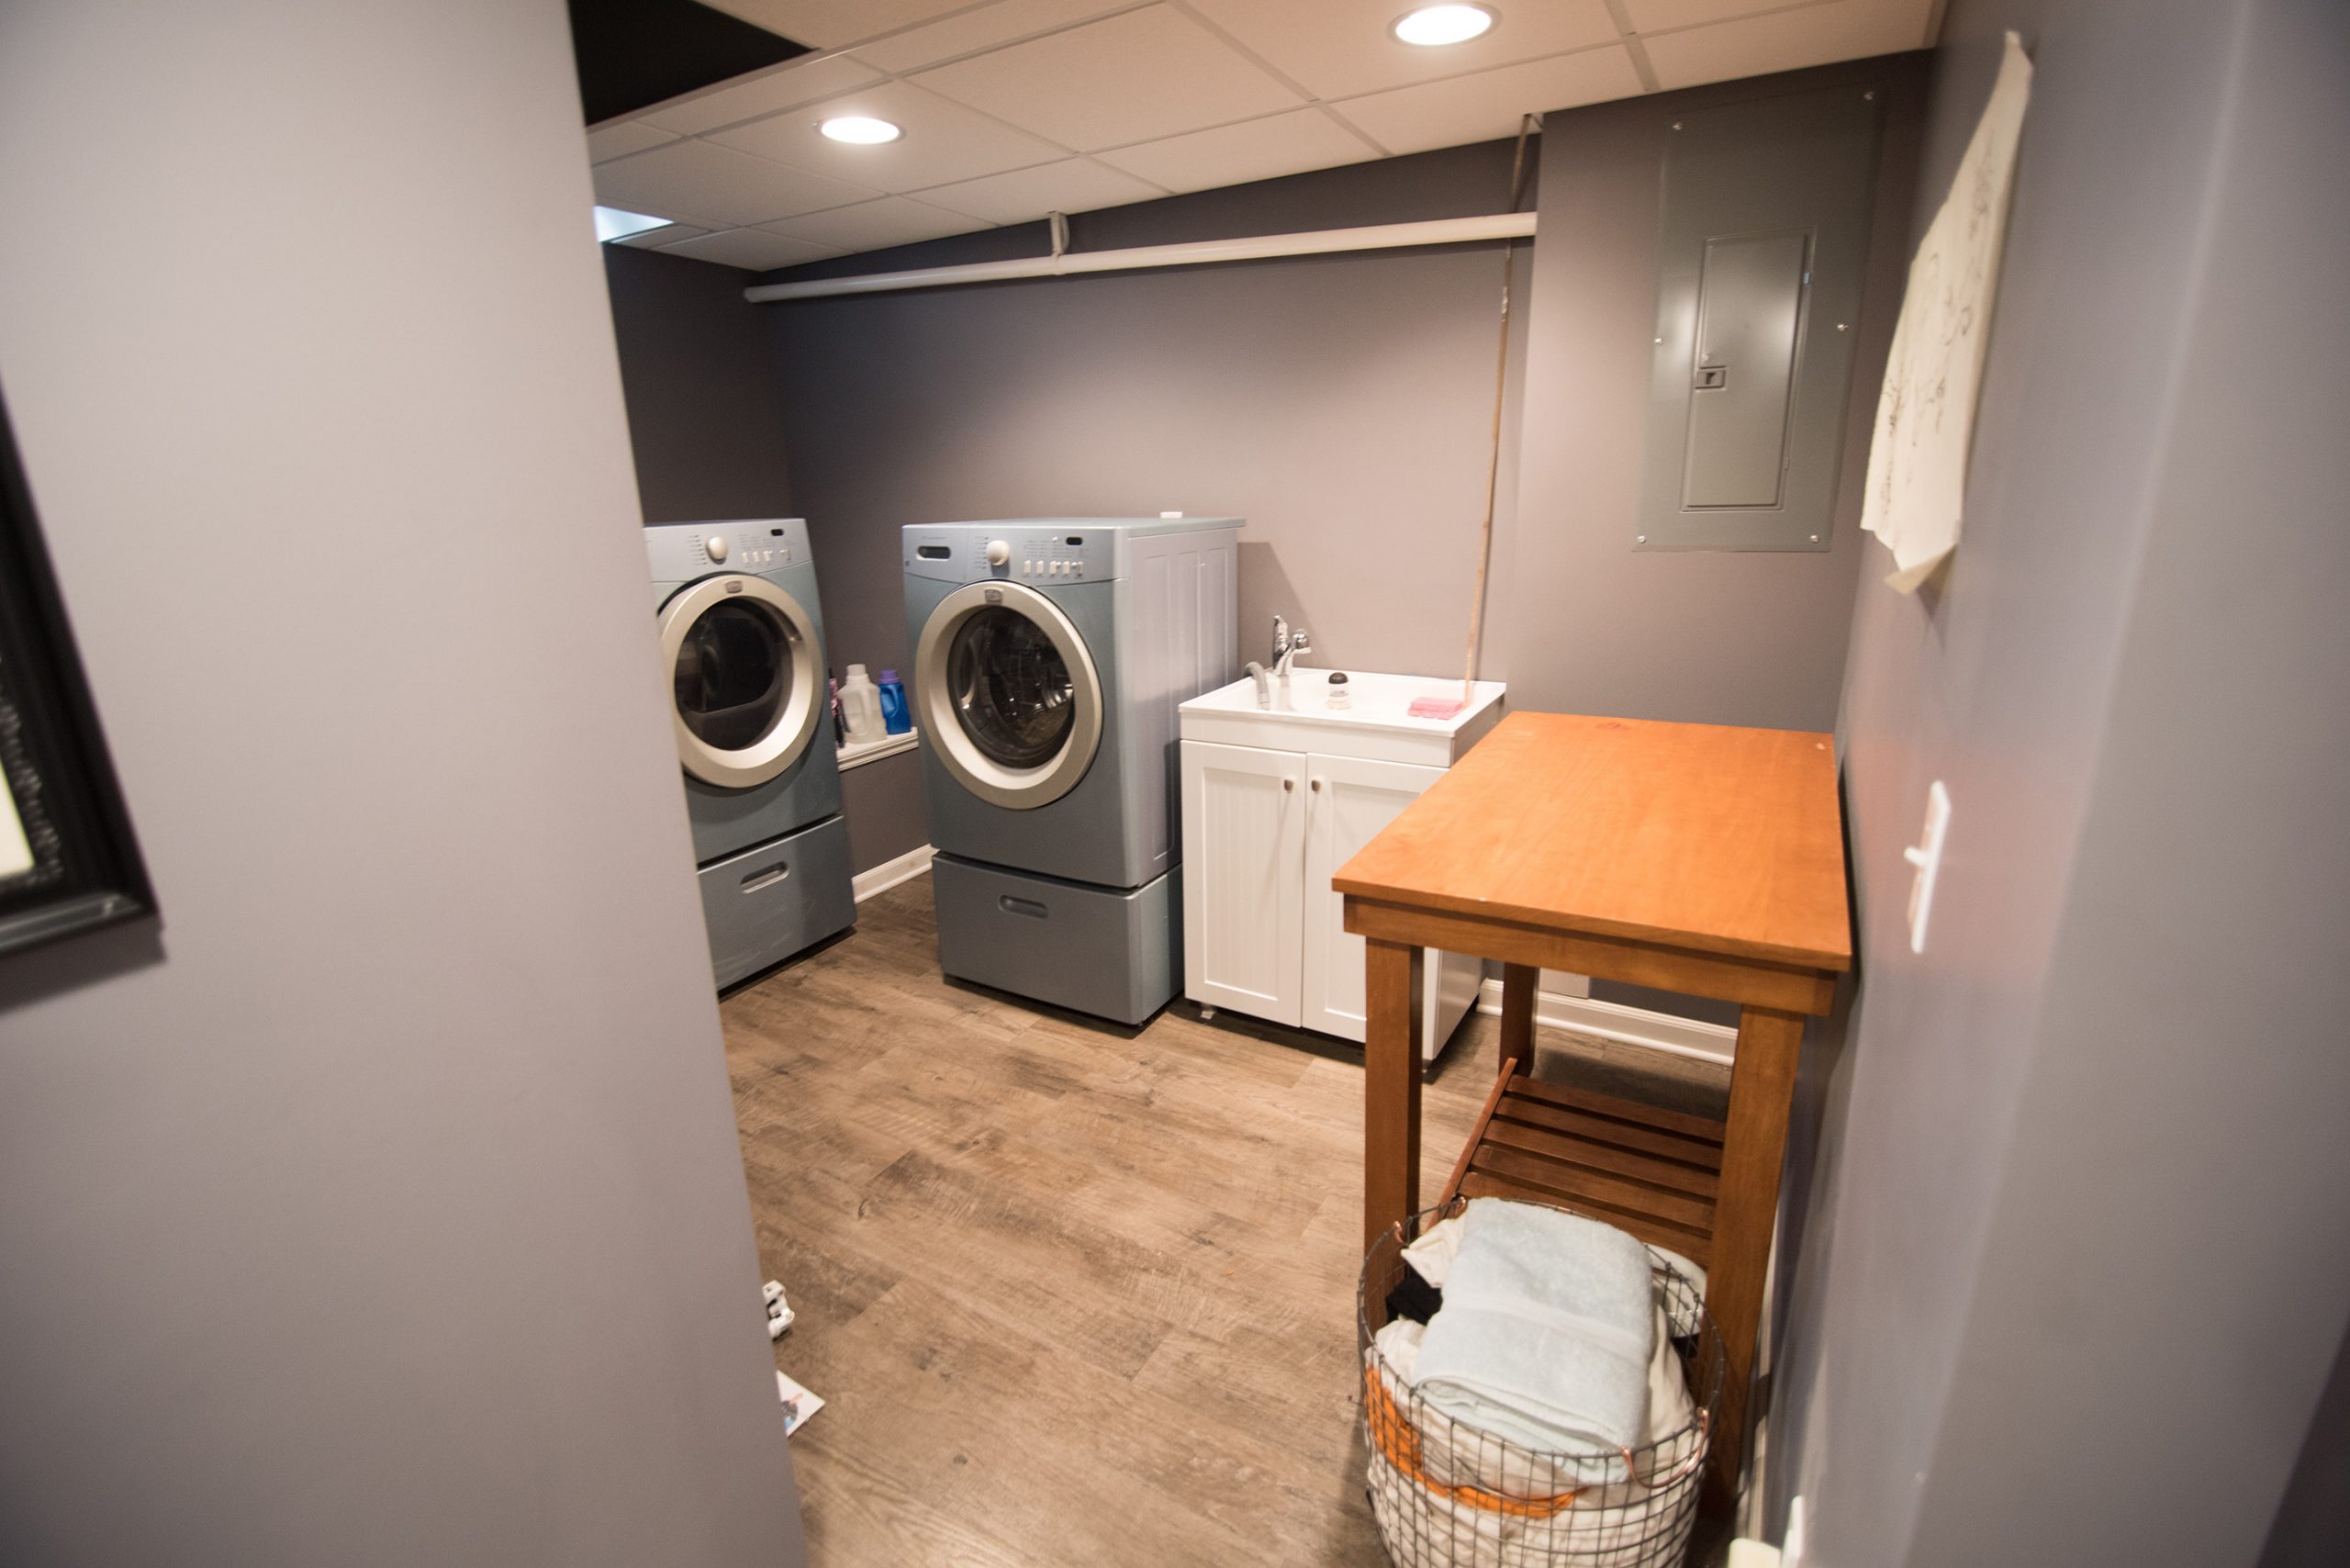
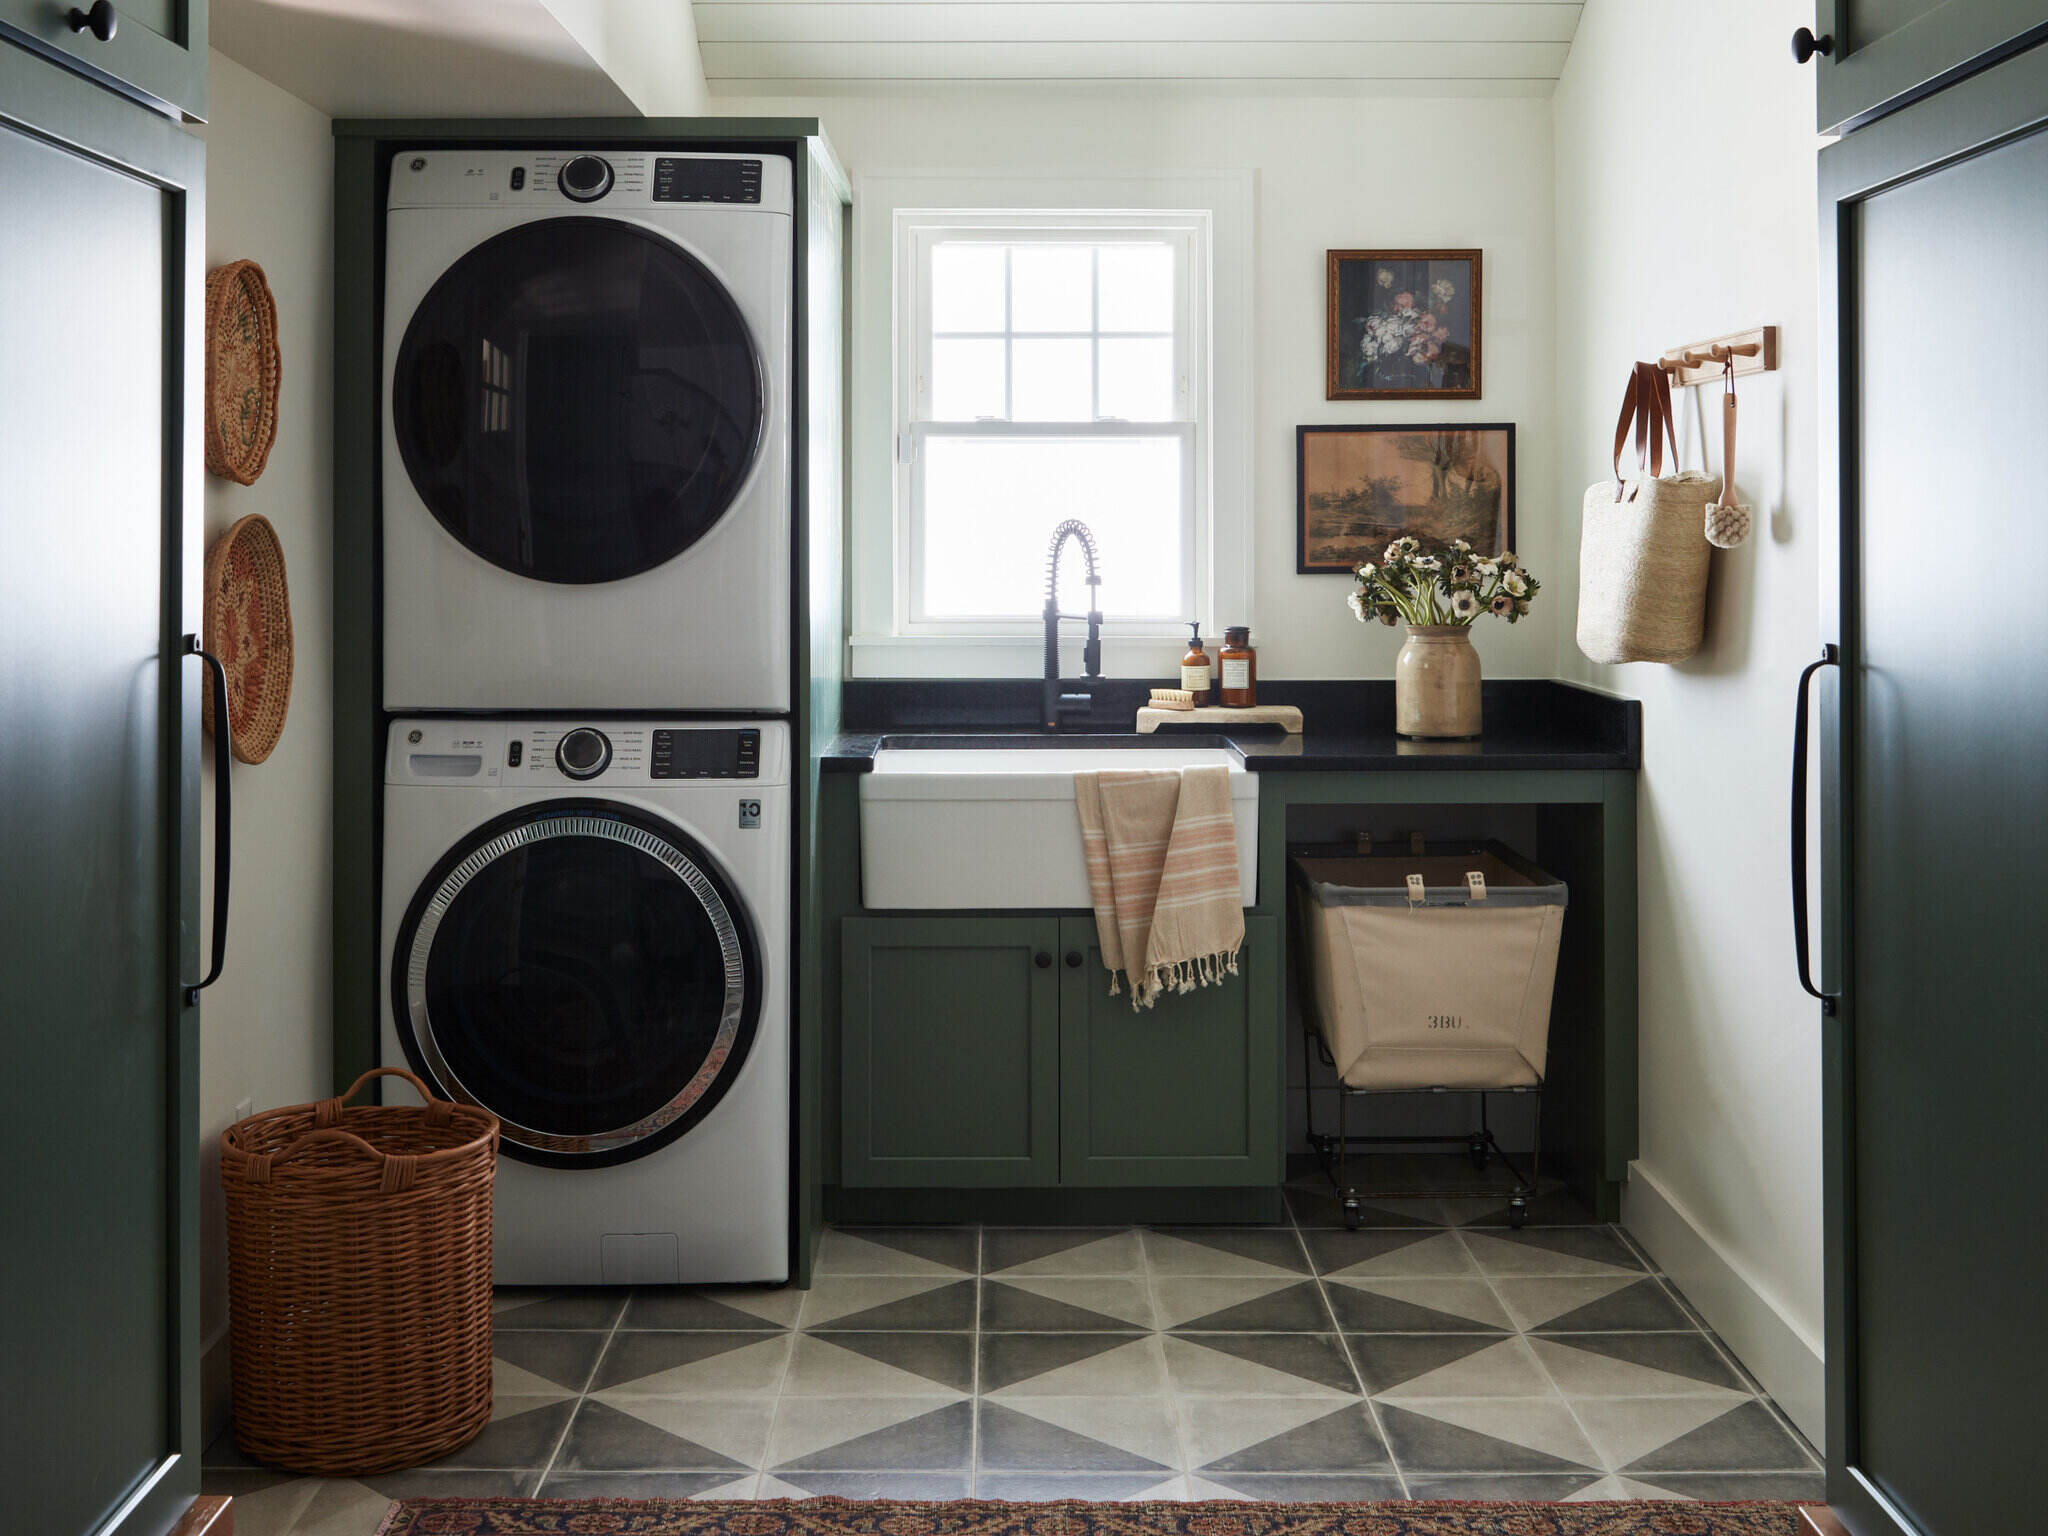
Tile flooring is a popular choice for laundry rooms, as it offers durability, easy maintenance, and a sleek appearance. Whether you are renovating your laundry room or starting from scratch, tiling the floor can give it a fresh and modern look.
In this article, we will guide you through the step-by-step process of how to tile a laundry room floor. We will cover everything from gathering materials to the final touches, ensuring that you have all the information you need to complete the project successfully.
Before we dive into the process, it’s essential to understand that tiling a floor requires careful planning and attention to detail. Whether you are a seasoned DIY enthusiast or a novice, following these steps will help you achieve professional-looking results.
So, let’s get started on transforming your laundry room floor into a stylish and practical space that you will love!
Key Takeaways:
- Transform your laundry room with a stylish and durable tile floor. Follow our step-by-step guide for professional results, from preparation to finishing touches.
- Achieve a visually appealing and symmetrical tile layout by starting from the center and adjusting as needed. Take your time for a polished finish.
Read more: What Flooring Is Best For Laundry Room
Step 1: Gather Materials
Before you begin tiling your laundry room floor, it’s essential to gather all the necessary materials. Having everything ready and within reach will save you time and ensure a smoother tiling process. Here is a list of materials you will need:
- Tile: Choose a type and design of tile that suits your personal style and complements your laundry room’s overall aesthetic.
- Tile Adhesive: Look for a high-quality tile adhesive that is suitable for your specific tile and floor type.
- Notched Trowel: This tool is used to spread the tile adhesive evenly on the floor.
- Tile Spacers: These small plastic pieces help create consistent spacing between tiles and ensure a professional finish.
- Tile Cutter: Depending on your tile layout, you may need a tile cutter to make precise cuts.
- Grout: Select a grout color that matches your tile and desired aesthetic.
- Grout Float: This tool is used to apply grout to the tiles.
- Sponge: A sponge is necessary for cleaning excess grout from the tiles during the installation process.
- Bucket and Water: You’ll need a bucket for mixing grout and water for cleaning.
- Level: Use a level to ensure that the floor is even and flat before tiling.
- Tape Measure: Precise measurements are crucial for a professional-looking installation. Use a tape measure to ensure accuracy.
- Knee Pads: Tiling involves kneeling for extended periods, so invest in a good pair of knee pads for comfort and protection.
It’s also important to read and follow the manufacturer’s instructions for each material you purchase. This will ensure that you use them correctly and achieve the best possible results. Once you have gathered all the necessary materials, you are ready to move on to the next step: preparing the floor.
Step 2: Prepare the Floor
Preparing the floor is a crucial step in tiling your laundry room. It lays the foundation for a successful installation and ensures that the tiles adhere properly. Follow these steps to prepare the floor:
- Clear the space: Remove any items, appliances, or furniture from the room to create an empty and clutter-free workspace.
- Clean the floor: Thoroughly clean the floor to remove any dirt, dust, or debris. Use a broom, vacuum, or mop to ensure a clean and smooth surface.
- Inspect for damages: Check the floor for any damages or cracks. If you spot any, repair them before proceeding with the tiling process. Fill in cracks with a suitable filler and level out any uneven areas.
- Ensure a level surface: Use a level to check the flatness of the floor. Uneven areas can cause tiles to crack or not adhere properly. If you find any uneven sections, you may need to use a self-leveling compound to create a smooth and level surface.
- Protect adjacent walls or cabinets: If there are any walls or cabinets near the floor, use painter’s tape or plastic sheeting to protect them from any potential damage or splatters during the tiling process.
By adequately preparing the floor, you will ensure that the tiles have a stable and clean surface to bond to. This step is crucial for the overall success and longevity of your tile installation.
Now that your floor is prepped and ready, it’s time to move on to the next step: laying out the tiles.
Step 3: Layout Tiles
Properly laying out the tiles is essential to achieve a visually appealing and symmetrical look for your laundry room floor. Follow these steps to ensure a successful tile layout:
- Find the center point: Measure the length and width of the room and find the center point by drawing two perpendicular lines. This will serve as your starting point for placing the tiles.
- Dry lay the tiles: Start from the center point and lay out a row of tiles without adhesive. Use tile spacers to maintain consistent spacing between the tiles. This will give you a visual representation of how the tiles will fit and allow you to make any necessary adjustments.
- Check for symmetry: Pay attention to the layout and make sure it is symmetrical. Adjust the starting point or make cuts at the edges if needed to ensure a balanced and visually pleasing pattern.
- Consider the grout lines: When dry laying the tiles, factor in the width of the grout lines. Adjust the positioning of the tiles if necessary to achieve evenly spaced grout lines.
- Measure and mark cuts: If you need to make cuts for the edges or irregular areas, measure the tiles and mark them accordingly. Use a tile cutter or a wet saw to make precise cuts.
By carefully laying out the tiles, you will have a clear plan for how they will be installed. This step is crucial for avoiding any issues or surprises during the actual tiling process.
Once you are satisfied with the tile layout, you are ready to move on to the next step: applying the tile adhesive.
Step 4: Apply Tile Adhesive
Now that you have laid out the tiles and finalized the design, it’s time to apply the tile adhesive. This step ensures that the tiles bond securely to the floor. Follow these steps to apply the tile adhesive:
- Begin at the center: Start at the center of the room, where you previously marked the center point. This will provide a balanced and symmetrical installation.
- Spread the adhesive: Use a notched trowel to spread a thin layer of tile adhesive on the floor, working in small sections at a time. Hold the trowel at a 45-degree angle and apply even pressure to create ridges in the adhesive.
- Apply the tiles: Place the tiles onto the adhesive, pressing them firmly and twisting slightly to ensure a good bond. Use tile spacers to maintain consistent spacing between the tiles.
- Check for levelness: Use a level to ensure that the tiles are level and even. Adjust them as needed to maintain a flat surface.
- Continue the process: Work in small sections, spreading adhesive and placing tiles until you cover the entire floor. Clean off any excess adhesive from the tiles with a damp sponge as you go.
- Allow the adhesive to set: Follow the manufacturer’s instructions for the recommended drying time of the adhesive. It is essential to allow the adhesive to set properly before moving on to the next step.
Applying the tile adhesive correctly is crucial for a secure and long-lasting installation. Take your time and ensure that the adhesive is applied evenly and thoroughly. This will ensure that your tiles adhere properly to the floor.
With the tiles in place and the adhesive set, you are now ready to move on to the next step: installing the tiles.
Read more: How To Clean Floor Drain In Laundry Room
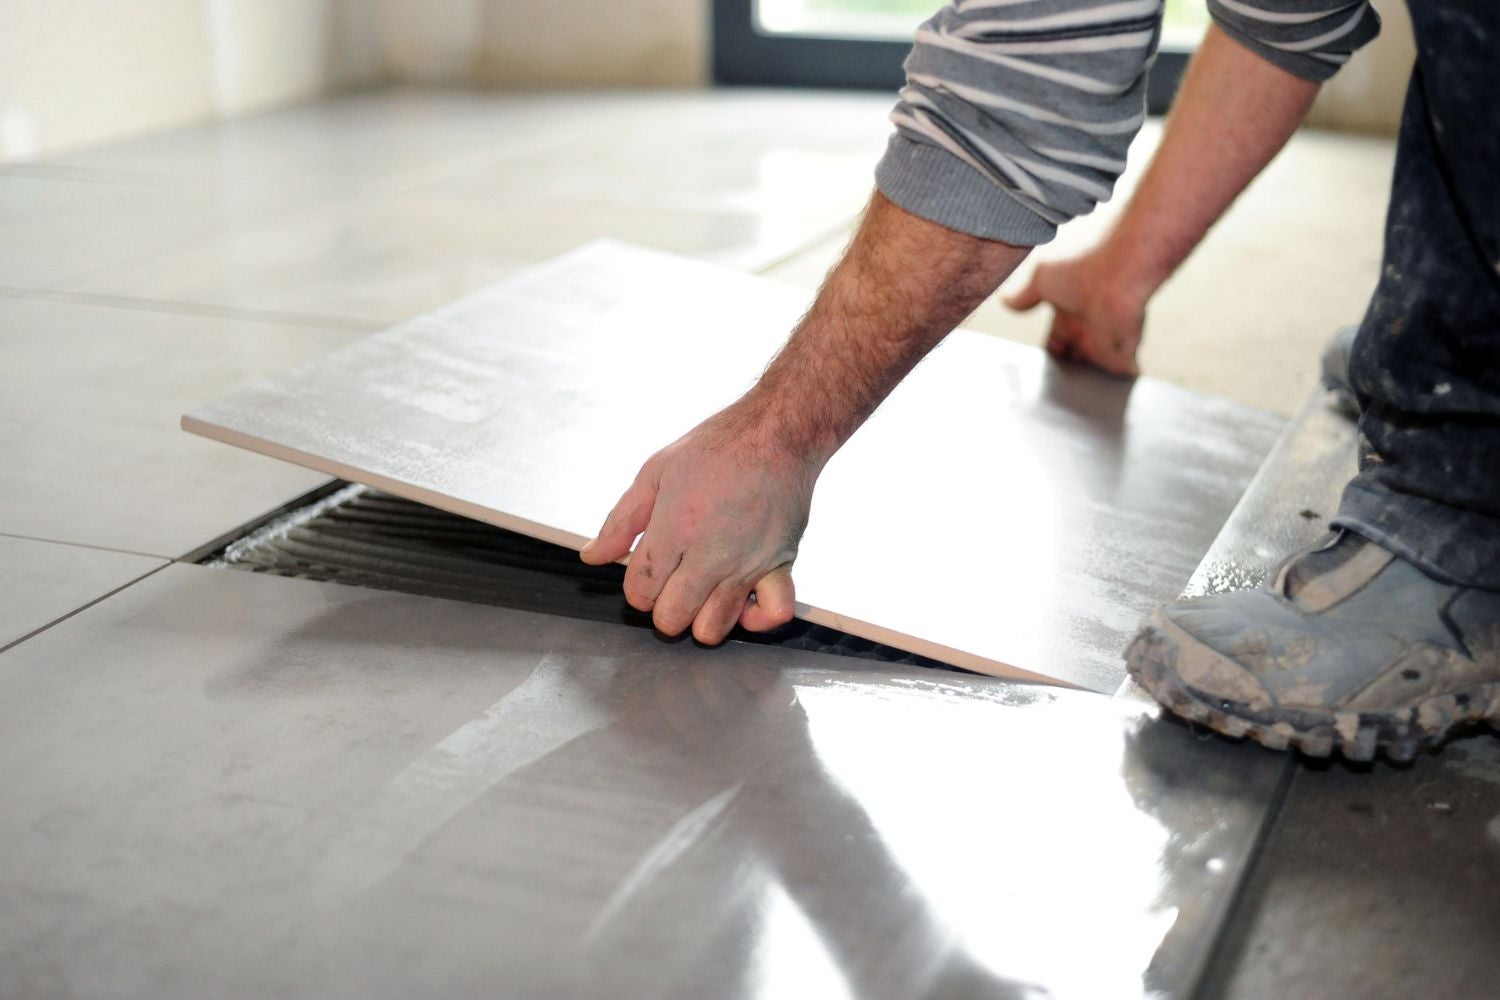
Step 5: Install Tiles
With the tile adhesive set, it’s time to install the tiles onto the floor. This step brings your design to life and transforms the space. Follow these steps to successfully install the tiles:
- Begin at the center: Start at the center of the room, where you previously marked the center point. This ensures a balanced and symmetrical installation.
- Place the tiles: Press each tile firmly into the adhesive, using a slight twisting motion to ensure a good bond. Make sure to align the edges of the tiles with the previously laid out pattern.
- Check for levelness: Use a level to ensure that each tile is level and even with the adjacent tiles. Make any necessary adjustments to maintain a flat surface.
- Secure with spacers: Place tile spacers between each tile to maintain consistent spacing. This will ensure even grout lines and create a professional finish.
- Continue laying tiles: Work your way out from the center, laying tiles and adjusting as needed. Clean off any excess adhesive from the tiles with a damp sponge as you go.
- Tile around obstacles: For areas around appliances or pipes, measure and cut the tiles to fit using a tile cutter or wet saw. Take your time to ensure precise cuts for a seamless look.
As you install the tiles, double-check your design and make sure everything lines up correctly. Take your time and pay attention to detail to achieve a beautiful and professional result.
Once all the tiles are installed, allow them to set according to the manufacturer’s instructions before moving on to the next step: cutting tiles for edges.
When tiling a laundry room floor, make sure to use a waterproof and durable tile material such as porcelain or ceramic. This will help protect the floor from water damage and ensure longevity.
Step 6: Cut Tiles for Edges
When tiling a room, there are often areas along the edges that require specially cut tiles to fit properly. These cuts ensure a neat and polished finish. Follow these steps to cut tiles for the edges of your laundry room floor:
- Measure the space: Use a tape measure to determine the dimensions of the area where the tiles need to be cut. Take precise measurements and double-check them for accuracy.
- Mark the tile: Transfer the measurements onto the tile that needs to be cut. Use a pencil or tile marker to make clear and precise marks on the surface of the tile.
- Use a tile cutter: If you are working with ceramic or porcelain tiles, a tile cutter is the most common tool for making straight cuts. Line up the marked line with the guide on the tile cutter, apply pressure, and score the tile along the line. Then, use the tile cutter’s lever to snap the tile along the scored line.
- Use a wet saw: For more intricate cuts or cutting through thicker tiles, a wet saw is a more suitable tool. It uses water to cool the blade and reduce friction. Follow the manufacturer’s instructions for operating the wet saw and ensure your safety while using this power tool.
- Test the fit: Once the tile is cut, place it in the designated area to test the fit. Make any necessary adjustments or modifications until the tile fits snugly without any gaps.
- Repeat for other edge tiles: Repeat the cutting process for any additional edge tiles that require special cuts.
Take your time when cutting the tiles to ensure accuracy and precision. It’s always better to cut slightly less initially and make additional trims if needed, as you can always remove more material, but you can’t add it back.
With the edge tiles cut and fitted, you are ready to move on to the next step: allowing the tiles to set before grouting.
Step 7: Allow Tiles to Set
After installing the tiles, it’s important to allow them sufficient time to set and bond to the floor before proceeding to the next step of grouting. This step ensures that the tiles are secure and stable. Here’s what you need to do:
- Refer to manufacturer’s instructions: Different tile adhesives have varying drying times, so it’s important to read and follow the guidelines provided by the adhesive manufacturer. The drying time can range from a few hours to several days.
- Minimize foot traffic: Avoid walking on the newly installed tiles during this setting period. Stepping on the tiles prematurely can cause them to shift or become dislodged, compromising the integrity of the installation.
- Keep the area dry: Moisture can interfere with the adhesion of the tiles, so keep the laundry room floor dry during the setting process. This includes avoiding any water spillages or mopping the floor.
- Allow ample time: Though it can be tempting to move on to the next step quickly, it’s crucial to be patient and allow enough time for the tiles to set fully. Rushing this process can lead to issues down the line.
By allowing the tiles to set as recommended, you ensure a strong and long-lasting tile installation. This step is crucial for the overall durability and functionality of your laundry room floor.
Once the tiles have sufficiently set, you can proceed to the next step: grouting the tiles.
Step 8: Grout the Tiles
Grouting is the final step in the tiling process and brings your laundry room floor together by filling the gaps between the tiles. Follow these steps to grout the tiles:
- Choose the right grout: Select a grout color that complements your tiles and desired aesthetic. There are different types of grout available, such as sanded and unsanded grout, so choose the one that is suitable for your tile spacing.
- Mix the grout: Follow the manufacturer’s instructions to mix the grout to the proper consistency. Use a bucket and a trowel or mixing paddle to create a smooth and lump-free mixture.
- Apply the grout: Use a grout float to spread the grout diagonally across the tiles, ensuring that all the gaps are filled completely. Hold the float at a 45-degree angle and apply firm pressure, working the grout into the spaces.
- Remove excess grout: Once the grout is applied, use the edge of the grout float to remove the excess from the surface of the tiles. Hold the float at a 90-degree angle and scrape diagonally across the tiles, being careful not to remove too much grout from the gaps.
- Clean the tiles: After removing the excess grout, use a damp sponge to lightly wipe the surface of the tiles, removing any grout residue. Rinse the sponge regularly and avoid applying too much water, as it can affect the overall strength of the grout.
- Allow the grout to cure: Follow the grout manufacturer’s instructions for the recommended curing time. This is typically around 24 to 48 hours. During this time, avoid stepping on the tiles or getting them wet to allow the grout to fully harden.
- Seal the grout (optional): If you want to further protect your grout from stains and moisture, consider applying a grout sealer once the grout is fully cured. Follow the sealer manufacturer’s instructions for application guidelines.
Grouting adds the finishing touch to your tiled laundry room floor, sealing the gaps and providing stability. Proper grouting and cleaning techniques are essential for achieving a polished and professional look.
Once the grout has cured, you can proceed to the final step: cleaning and finishing the floor.
Read more: Which Tile Is Best For Living Room Floor
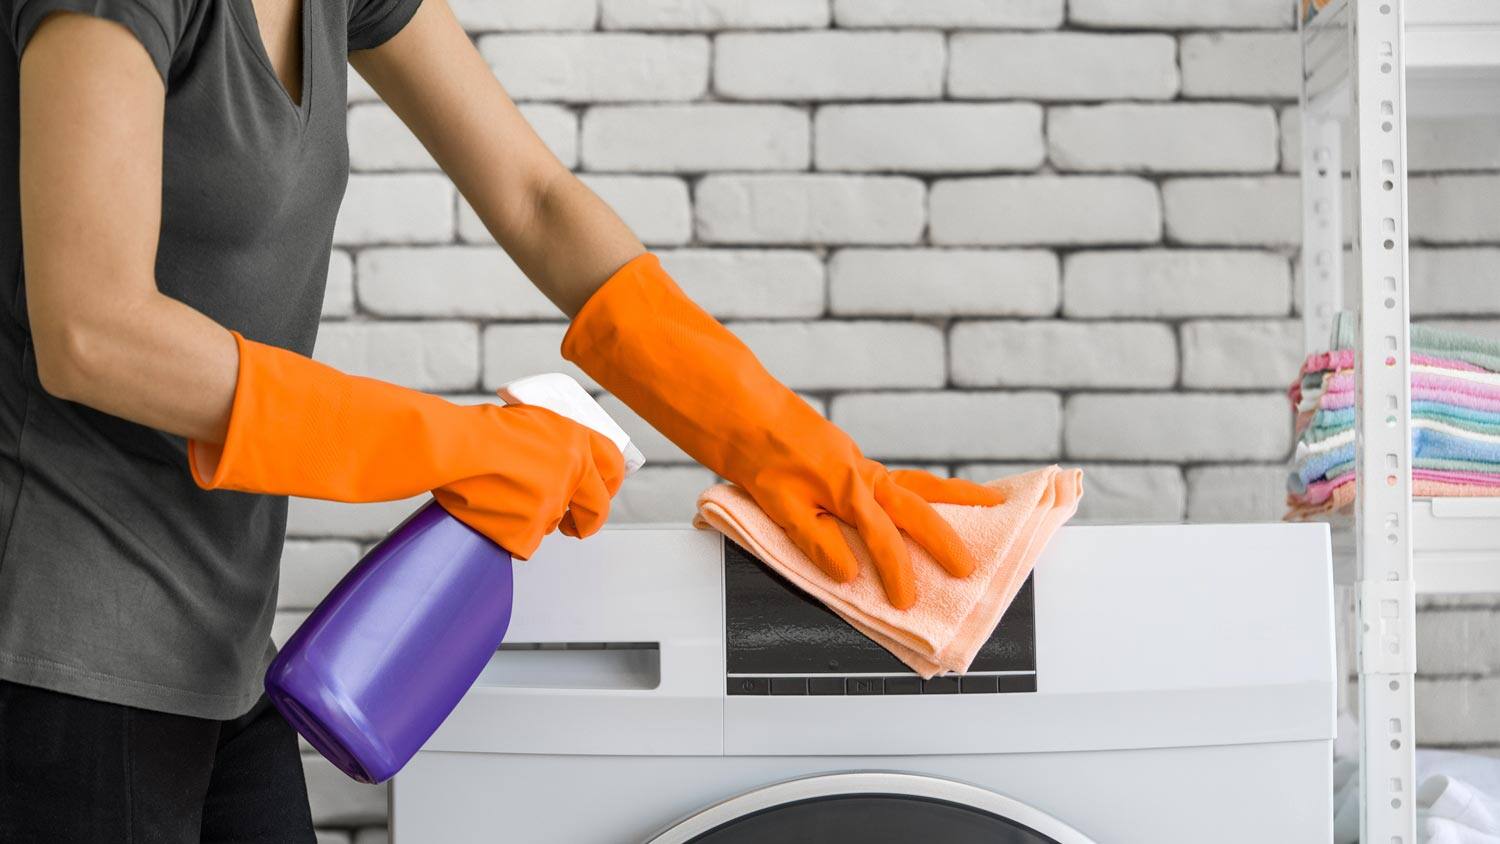
Step 9: Clean and Finish
Cleaning and finishing the newly tiled laundry room floor is the last step in the tiling process. This step ensures that your floor looks its best and is ready for use. Follow these steps to clean and finish your tiled floor:
- Remove haze and residue: After the grout has fully cured, you may notice a haze or residue on the surface of the tiles. Use a clean, dry cloth or a haze remover specifically designed for tile to remove any remaining residue.
- Clean the floor: Use a mild, non-abrasive tile cleaner and a mop or sponge to clean the floor. Follow the manufacturer’s instructions for the cleaning product and ensure that it is suitable for your specific tiles.
- Pay attention to the grout lines: Use a small brush or an old toothbrush to clean the grout lines thoroughly. Scrub gently to remove any dirt or grime that may have accumulated during the tiling process.
- Dry the floor: After cleaning, use a dry cloth or allow the floor to air dry completely. Ensure that there is no moisture left on the floor, as it can cause damage or create slipping hazards.
- Apply a tile sealer (optional): Depending on the type of tiles you have chosen, you may consider applying a tile sealer to protect them from stains and moisture. Follow the sealer manufacturer’s instructions for application guidelines.
- Reinstall any furniture or appliances: Once the floor is clean and dry, you can move furniture or appliances back into the laundry room. Use caution when placing them on the newly tiled floor to avoid scratching or damaging the tiles.
By properly cleaning and finishing your tiled floor, you ensure that it remains in optimal condition and retains its visual appeal for years to come.
Congratulations! You have successfully completed the process of tiling your laundry room floor. With the tiles clean and the floor finished, you can now enjoy your beautiful and functional laundry room space.
Before concluding, always remember to refer to the manufacturer’s instructions for specific guidelines and safety precautions for the materials and tools you use throughout the tiling process.
Happy tiling!
Conclusion
Tiling your laundry room floor can be a rewarding and transformative project. With the right materials, tools, and guidance, you can achieve a beautiful and functional space that enhances the overall aesthetics of your home.
In this article, we covered the step-by-step process of how to tile a laundry room floor. We started by gathering all the necessary materials, preparing the floor, and laying out the tiles to ensure a balanced and symmetrical design. Then, we applied the tile adhesive, installed the tiles, and made necessary cuts for the edges. After allowing the tiles to set, we grouted them to fill the gaps and finished the floor by cleaning and applying a sealer if desired.
Throughout the process, it’s crucial to pay attention to detail and follow the manufacturer’s instructions. This will ensure a professional-looking installation and a long-lasting outcome. It’s also important to exercise patience, as some steps require drying or curing time before proceeding to the next.
Remember, safety should always be a priority when working with tools and materials. Take necessary precautions and use protective gear such as gloves and goggles.
By following these steps and infusing your own personal style, you can create a laundry room floor that is not only durable and easy to maintain but also visually appealing.
So, don’t hesitate to embark on this exciting project and give your laundry room the upgrade it deserves. Happy tiling!
Frequently Asked Questions about How To Tile Laundry Room Floor
Was this page helpful?
At Storables.com, we guarantee accurate and reliable information. Our content, validated by Expert Board Contributors, is crafted following stringent Editorial Policies. We're committed to providing you with well-researched, expert-backed insights for all your informational needs.


0 thoughts on “How To Tile Laundry Room Floor”