Articles
How To Install Cabinets In Laundry Room
Modified: October 28, 2024
Learn how to install cabinets in your laundry room with these informative articles. Get step-by-step instructions and expert tips on maximizing space and functionality.
(Many of the links in this article redirect to a specific reviewed product. Your purchase of these products through affiliate links helps to generate commission for Storables.com, at no extra cost. Learn more)
Introduction
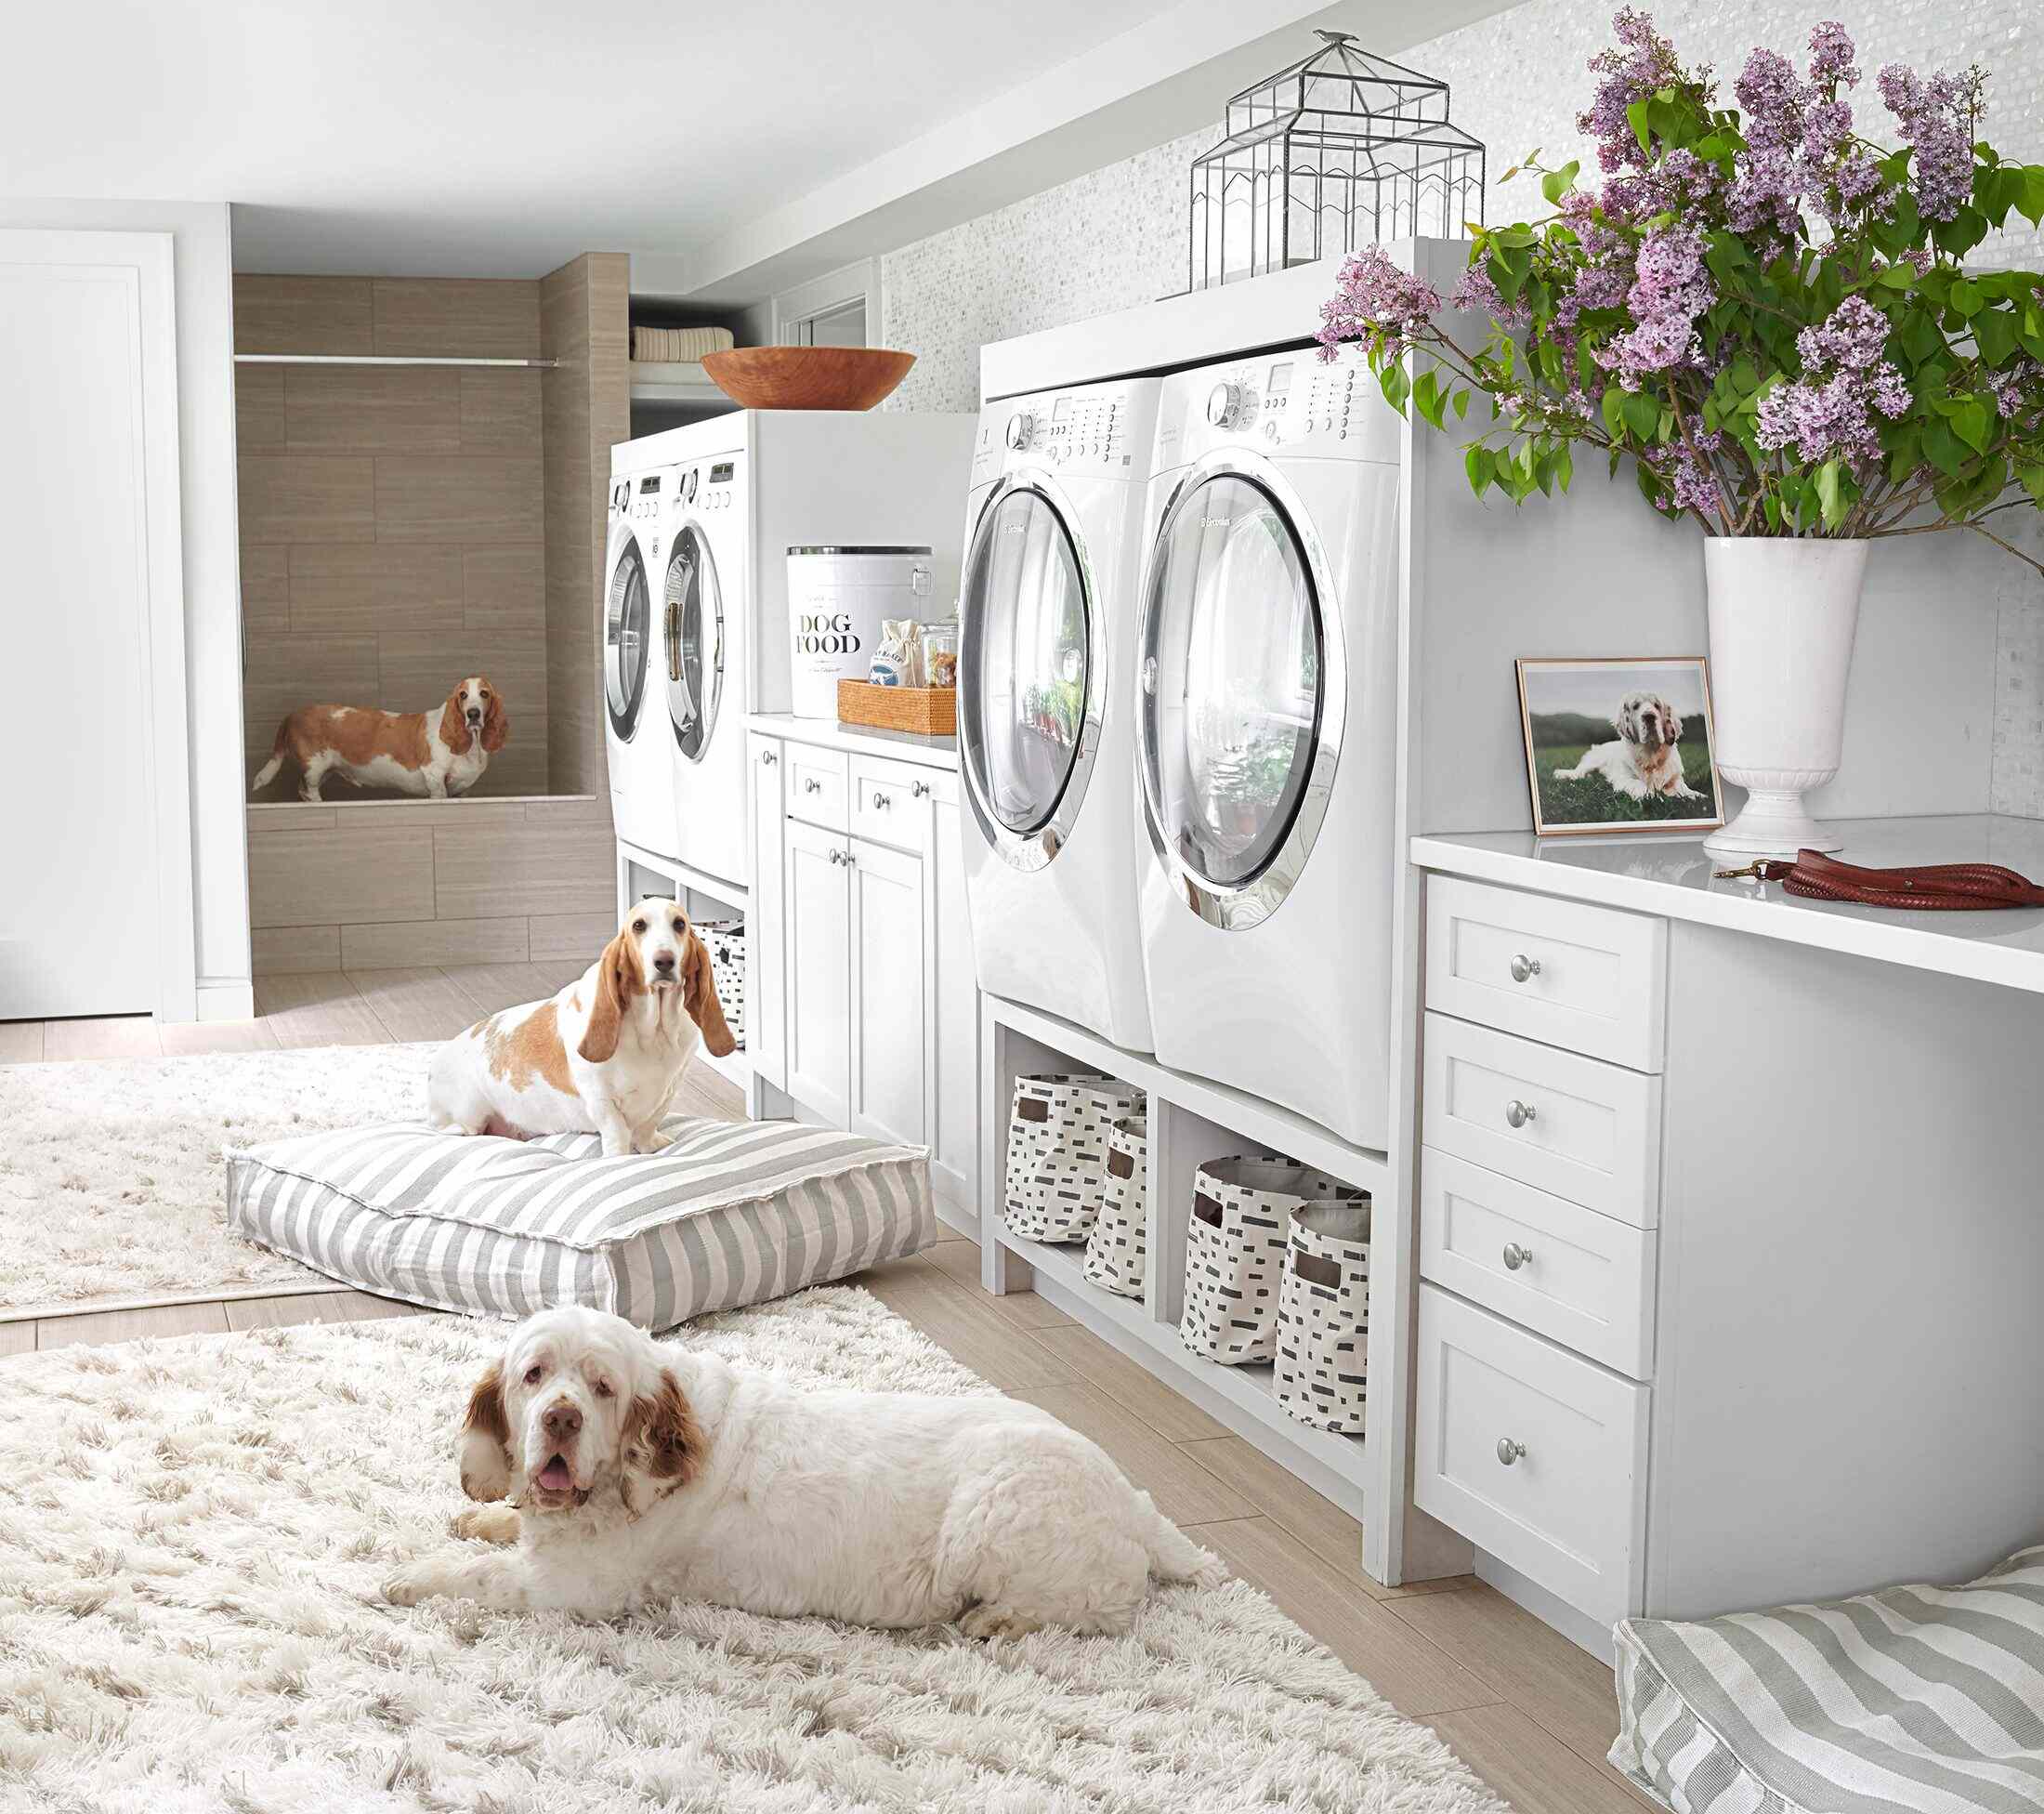
Are you looking to transform your laundry room into a functional and organized space? Installing cabinets in your laundry room is a great way to maximize storage and create a more efficient work area. Not only do cabinets provide additional space to keep your laundry essentials neatly organized, but they also add a touch of style and elegance to the room.
In this comprehensive guide, we will take you through the step-by-step process of installing cabinets in your laundry room. Whether you are a seasoned DIY enthusiast or just starting out, this article will provide you with the information and tips you need to successfully complete your cabinet installation project.
Before we dive into the installation process, it’s important to note that measuring the space accurately and planning the layout is crucial for a successful cabinet installation. By taking the time to measure your laundry room and determining the placement of the cabinets, you can ensure a seamless and visually pleasing result.
So, grab your measuring tape and let’s get started on transforming your laundry room with beautiful cabinets!
Key Takeaways:
- Proper preparation, accurate measurements, and secure attachment are crucial for successful cabinet installation in your laundry room. Take your time, follow the steps, and enjoy the transformation of your space.
- Organizing, decorating, and adding personal touches to your cabinets can optimize storage space and enhance the functionality and aesthetics of your laundry room. Create a space that is both efficient and visually pleasing.
Read more: Where To Buy Cabinets For Laundry Room
Step 1: Measure the Space
Before purchasing or assembling any cabinets, it is vital to take accurate measurements of your laundry room. This will ensure that the cabinets fit perfectly and make the most of the available space. Here’s a step-by-step guide to help you measure your laundry room:
- Measure the Walls: Start by measuring the length and height of each wall in your laundry room. Use a tape measure to determine the dimensions from corner to corner. Note down these measurements, as they will be crucial during the cabinet selection process.
- Measure the Doors and Windows: Take measurements of any doors or windows in your laundry room. Measure the width, height, and depth of each opening. Be sure to note the location of each door and window, as this will affect the placement of your cabinets.
- Measure the Appliances: If you have any appliances in your laundry room, such as a washing machine or dryer, measure their width, depth, and height. Take note of these measurements, as they will determine the placement of your cabinets in relation to the appliances.
- Consider Obstacles: Take note of any permanent fixtures or obstacles in your laundry room, such as electrical outlets, plumbing lines, or ventilation ducts. These will need to be accounted for when determining the placement of your cabinets.
- Create a Diagram: Using a pencil and graph paper, create a rough diagram of your laundry room. Include the measurements of the walls, doors, windows, and appliances. You can also mark the location of any obstacles. This diagram will serve as a visual reference when selecting and positioning your cabinets.
By measuring your laundry room accurately and creating a detailed diagram, you will have a solid foundation for selecting and installing the right cabinets. These measurements will help you determine the size and layout that will work best in your space, creating an efficient and visually appealing laundry room.
Step 2: Prepare the Room
Now that you have measured your laundry room and created a diagram, it’s time to prepare the space for cabinet installation. Proper preparation will help ensure a smooth and hassle-free installation process. Follow these steps to get your laundry room ready:
- Clear the Space: Remove any items, furniture, or clutter from your laundry room. This will provide you with a clean canvas to work with and make it easier to install the cabinets.
- Repair and Clean: Inspect the walls and floor for any damage or imperfections. Patch up any holes, cracks, or uneven surfaces with the appropriate filler or spackle. Once the repairs are complete, give the walls and floor a thorough cleaning to remove any dust or debris.
- Paint or Wallpaper: If you are planning to update the look of your laundry room, now is the perfect time to paint the walls or apply wallpaper. Choose a color or pattern that complements your cabinets and creates a harmonious atmosphere in the room. Allow the paint or wallpaper to dry completely before proceeding.
- Locate Studs: Use a stud finder to locate the wall studs in your laundry room. Mark the location of each stud with a pencil. This step is crucial, as you will need to anchor the cabinets securely to the studs for stability and durability.
- Check for Level: Use a level to ensure that the floor and walls are straight and level. If there are any uneven areas, you may need to make adjustments or use shims during the installation process.
- Gather Tools and Materials: Before you start installing the cabinets, gather all the necessary tools and materials. This may include a drill, screws, a screwdriver, a tape measure, a level, a stud finder, shims, and any additional hardware or accessories that come with your cabinets.
By properly preparing your laundry room, you can create an ideal environment for cabinet installation. Clearing the space, repairing and cleaning the walls, and locating studs will ensure a stable and secure installation. Additionally, painting or wallpapering the walls can add a fresh and stylish touch to your laundry room.
Step 3: Assemble the Cabinets
With your laundry room prepared, it’s time to start assembling the cabinets. Some cabinets may come pre-assembled, while others require assembly. Follow these steps to assemble your cabinets:
- Read the Instructions: Before you begin, carefully read the instructions provided by the manufacturer. Familiarize yourself with the assembly process and gather all the necessary components.
- Organize the Parts: Lay out all the cabinet parts and hardware in a clear and organized manner. This will make it easier to identify and access each component as you assemble the cabinets.
- Follow the Sequence: Start assembling the cabinets according to the instructions provided. Follow the specified order for attaching panels, securing joints, and installing hardware.
- Use Proper Tools: Use the recommended tools and equipment to assemble the cabinets. This may include a screwdriver, drill, hammer, or Allen wrenches. Using the correct tools will ensure a secure and durable assembly.
- Double-Check Measurements: As you assemble the cabinets, double-check the measurements to ensure they match the dimensions specified in your initial diagram. This will help maintain consistency and ensure a proper fit in your laundry room.
- Pay Attention to Detail: Take your time and pay attention to the details. Ensure that all joints are properly aligned and tightened. Any loose or misaligned parts can lead to instability or issues during installation.
- Test the Stability: Once the cabinets are assembled, test their stability and ensure they are level. If needed, make any adjustments or use shims to ensure the cabinets are steady and balanced.
By following the manufacturer’s instructions and taking care during the assembly process, you can ensure that your cabinets are sturdy, secure, and ready for installation. A well-assembled cabinet will not only enhance the functionality of your laundry room but also contribute to the overall aesthetics of the space.
When installing cabinets in a laundry room, make sure to measure the space accurately and secure the cabinets to the wall studs for stability. Use a level to ensure they are straight and evenly spaced.
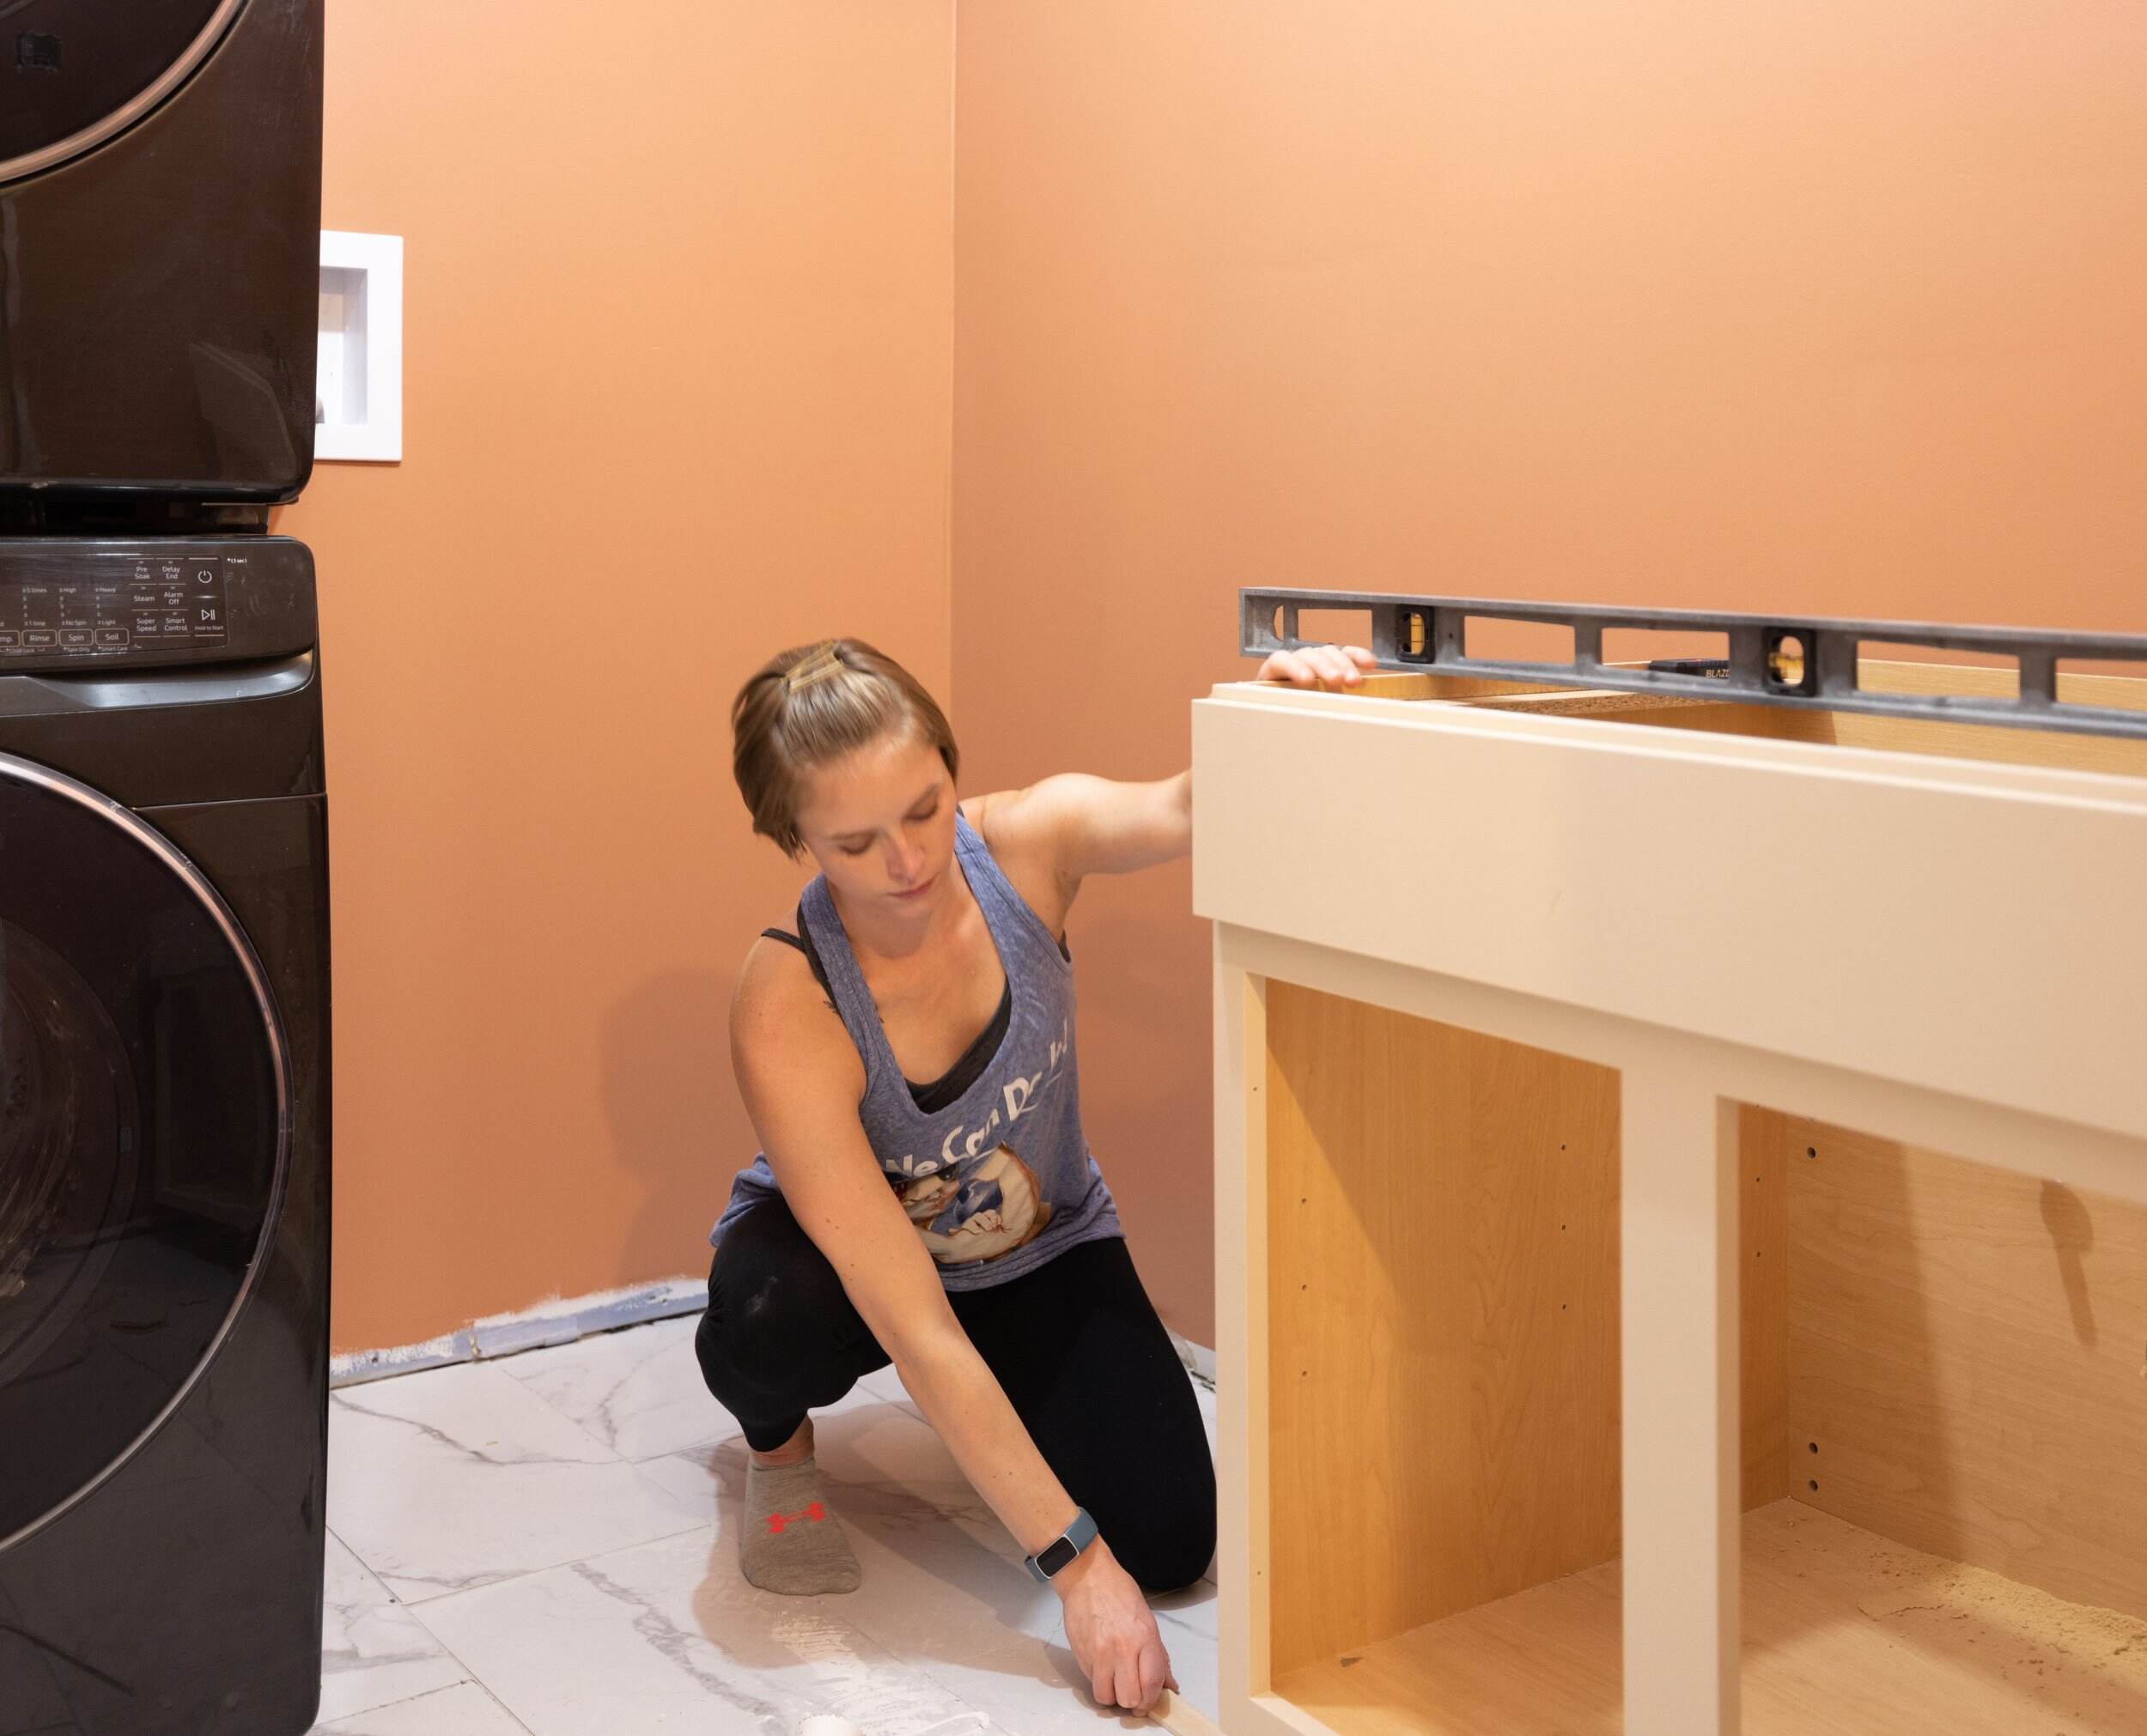
Step 4: Attach the Cabinets to the Wall
Now that you have assembled the cabinets, it’s time to attach them to the wall in your laundry room. Properly securing the cabinets will ensure stability and durability. Follow these steps to attach the cabinets:
- Mark the Placement: Refer to your initial diagram and use a pencil to mark the exact placement of each cabinet on the wall. Make sure to align the marks with the location of the wall studs for maximum support.
- Locate the Wall Studs: Use a stud finder to locate the position of the wall studs within the marked areas. Mark the stud locations with a pencil or masking tape.
- Attach the Hanging Rails: Start by attaching hanging rails to the wall. Position the rails according to the cabinet placement marks and secure them to the wall studs using screws. These rails will provide support for the cabinets.
- Hang the Cabinets: With the hanging rails in place, carefully lift each cabinet and align it with the rails. Gently lower the cabinets onto the rails, making sure they are level and properly aligned with the marks on the wall.
- Secure the Cabinets: Once the cabinets are in position, use screws to secure them to the hanging rails. Drive the screws through the back of the cabinet and into the rails, ensuring a tight and secure fit. Be careful not to overtighten the screws, as this can damage the cabinets.
- Check for Level and Alignment: Use a level to verify that the cabinets are level both horizontally and vertically. Make any necessary adjustments by loosening the screws and repositioning the cabinets. Also, ensure that the cabinets are properly aligned with each other for a seamless look.
- Secure Adjacent Cabinets: If you have multiple cabinets, secure them together using the provided hardware or connectors. This will help maintain their alignment and stability.
- Recheck Stability: After attaching all the cabinets, give them a final check for stability. Gently shake each cabinet to ensure there is no noticeable movement. If any cabinet feels loose, tighten the screws or make any necessary adjustments.
By securely attaching the cabinets to the wall, you can create a solid foundation for your laundry room storage. It is essential to properly align the cabinets and ensure they are level for a professional and visually pleasing result.
Read more: What To Store In Laundry Room Cabinets
Step 5: Install the Cabinet Doors and Handles
With the cabinets securely attached to the wall, it’s time to complete the installation by adding the cabinet doors and handles. This step will not only provide a finishing touch to your cabinets but also make them functional and easy to use. Follow these steps to install the cabinet doors and handles:
- Preparation: Lay out the cabinet doors and handles, ensuring that you have all the necessary hardware and components. Review the manufacturer’s instructions for any specific guidelines or recommendations.
- Door Hinges: Attach the door hinges to the cabinet frames according to the manufacturer’s instructions. Use a screwdriver or drill to secure them in place. Ensure that the hinges are aligned properly and allow the doors to open and close smoothly.
- Door Alignment: Place the cabinet doors on the hinges, ensuring they are correctly aligned with the cabinet frames. Make any necessary adjustments to achieve an even and consistent gap between the doors and frames. Use the adjustment screws on the hinges for precise alignment.
- Door Handles: Determine the desired placement of the door handles or knobs. You can follow the manufacturer’s recommendations for handle placement or use your personal preference. Use a measuring tape or template to ensure consistent placement of the handles on each cabinet door.
- Install Handles: Using a screwdriver or drill, attach the handles to the cabinet doors. Ensure that they are securely fastened, but be careful not to overtighten and damage the doors. Test the handles to ensure they are comfortable to grip and operate.
- Test Opening and Closing: Open and close each cabinet door multiple times to ensure smooth operation. Check for any sticking or misalignment issues and make any necessary adjustments to the hinges or door placement.
- Final Check: Once the doors and handles are installed, give your cabinets a thorough inspection. Ensure that all doors are aligned properly, open and close smoothly, and that the handles are securely attached.
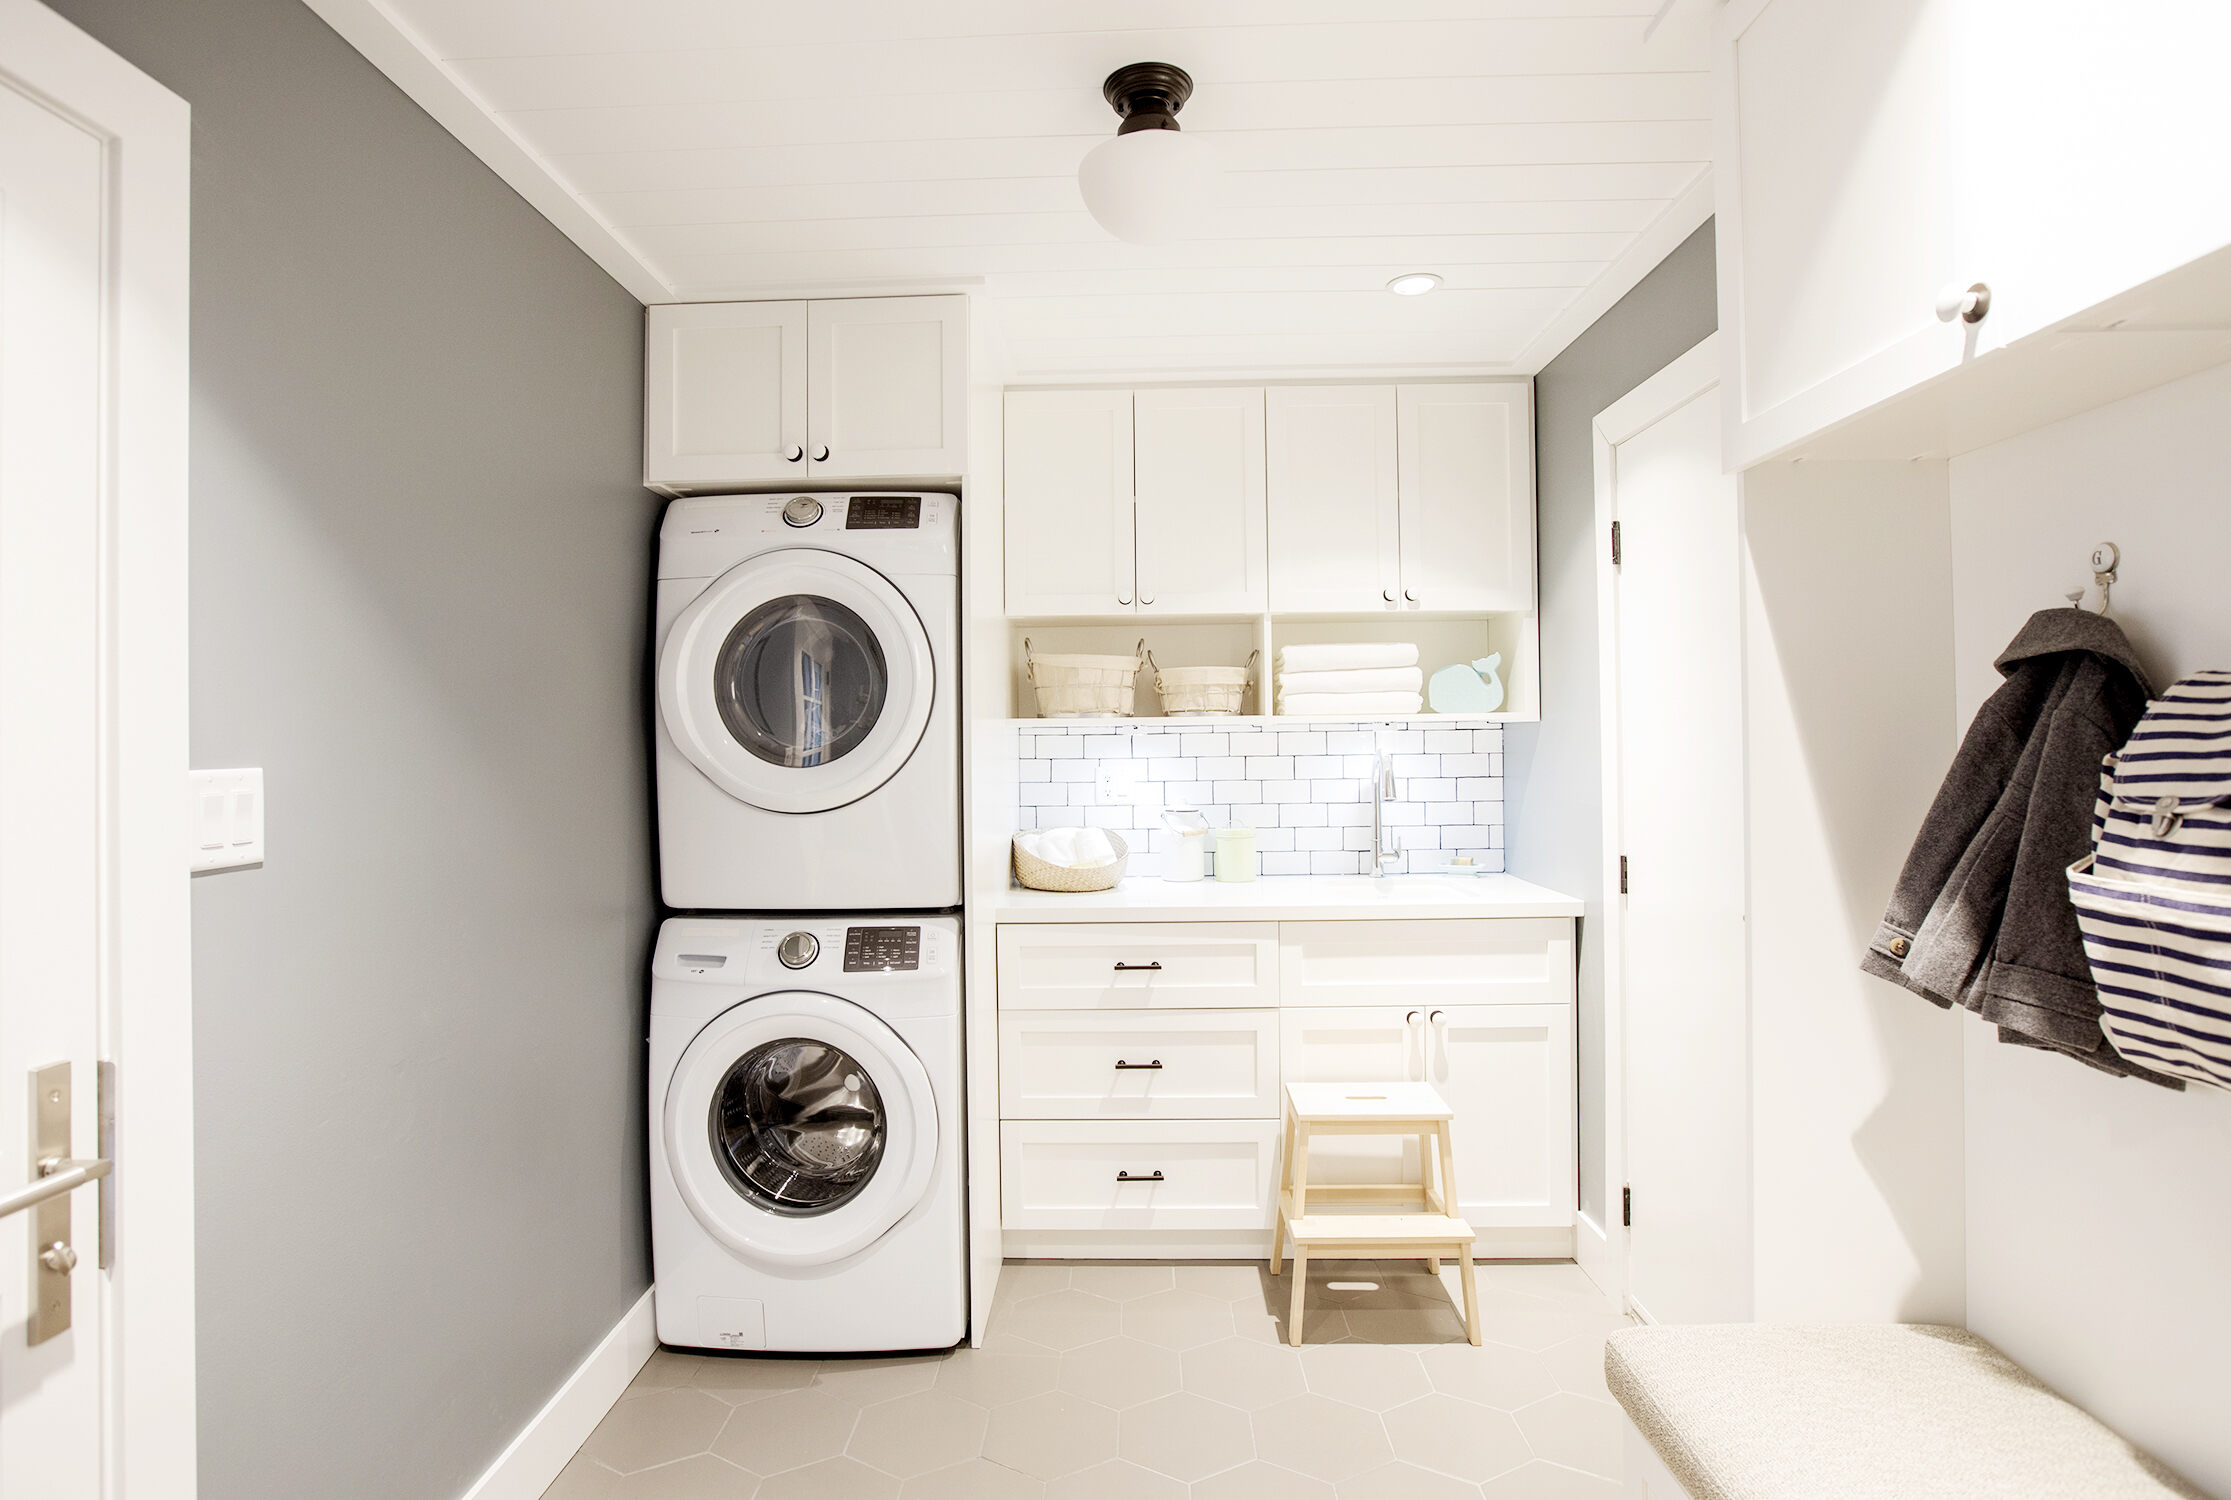
By properly installing the cabinet doors and handles, you can enhance both the functionality and aesthetics of your cabinets. The doors will provide a finished look while the handles will make it easy to access and use your laundry room essentials.
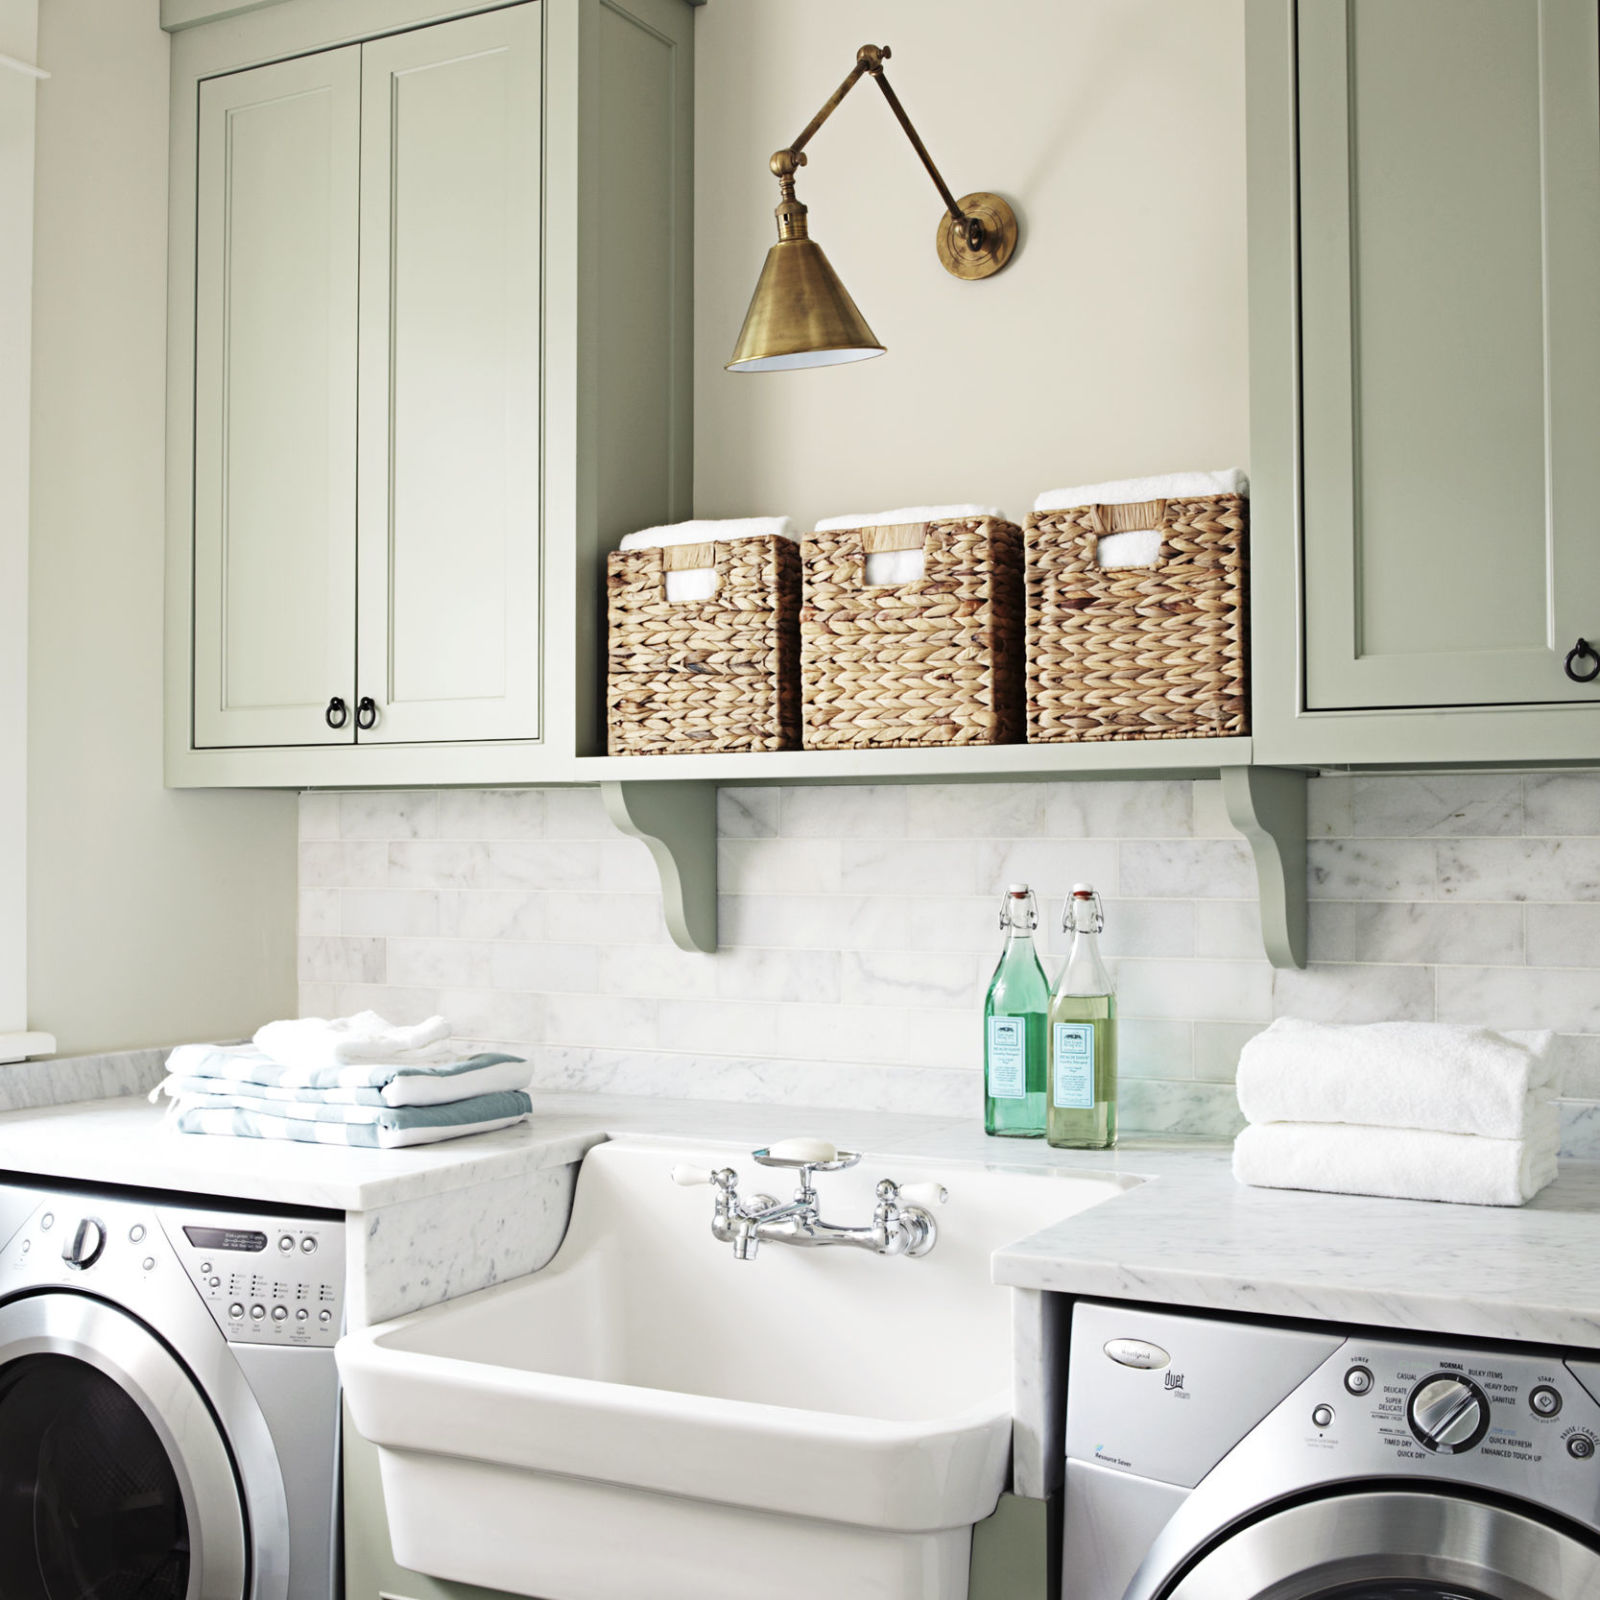
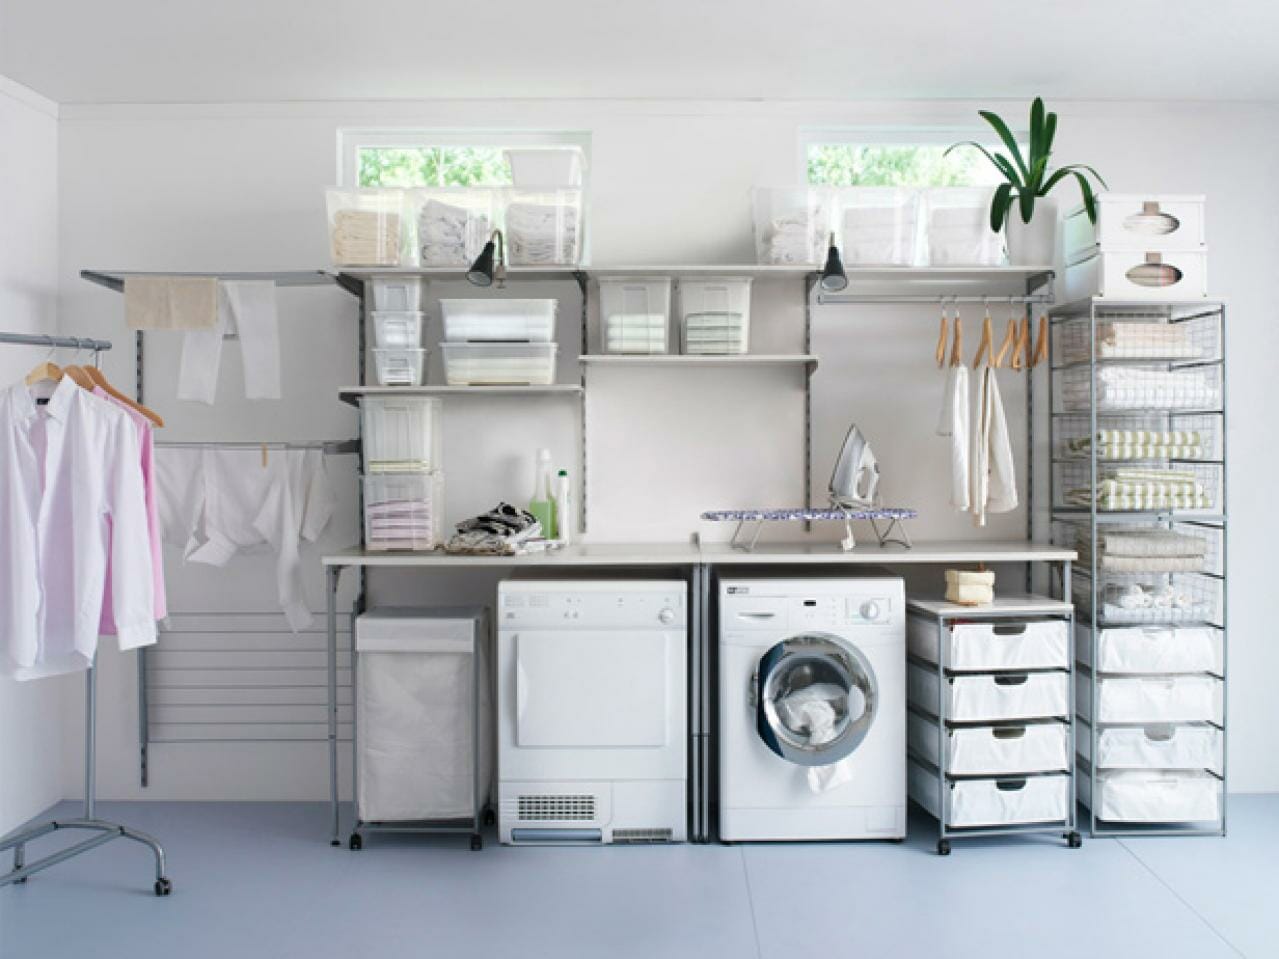
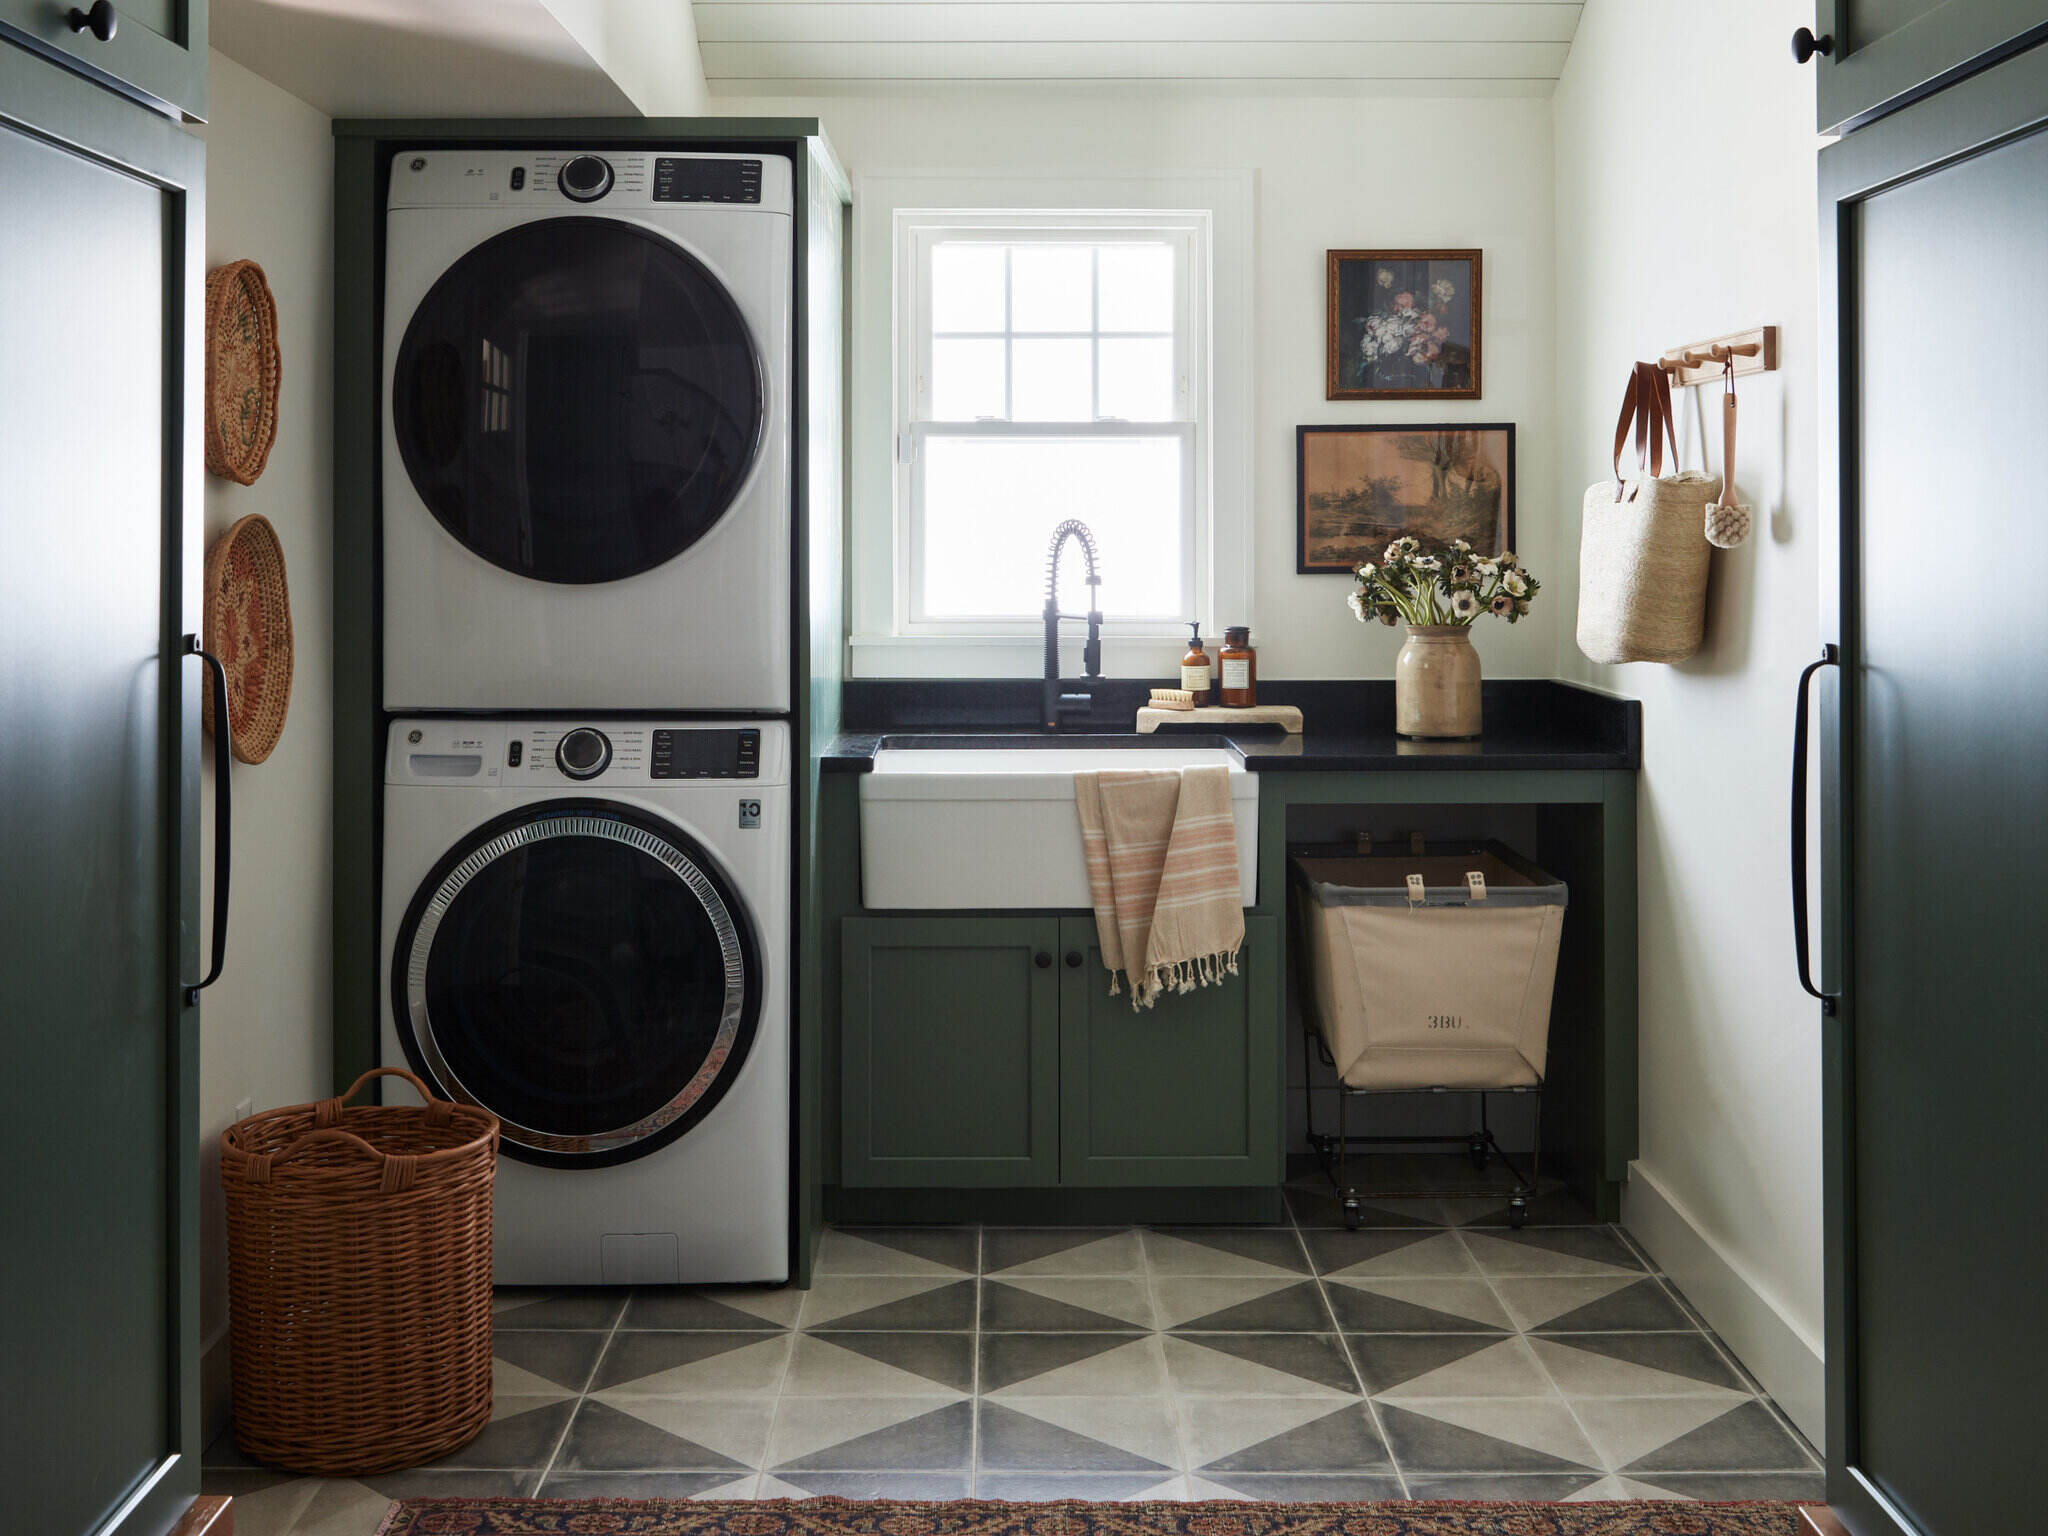
Step 6: Organize and Decorate the Cabinets
Now that your cabinets are installed and complete, it’s time to focus on organizing and decorating them to make your laundry room functional and visually appealing. Follow these steps to optimize your cabinet space:
- Sort and Purge: Begin by sorting through your laundry supplies, cleaning products, and other items you plan to store in the cabinets. Discard any expired or unnecessary items to declutter and maximize your storage space.
- Categorize: Group similar items together based on their purpose or frequency of use. This will make it easier to find what you need and maintain an organized cabinet.
- Utilize Storage Solutions: Consider using storage solutions such as baskets, bins, or drawer dividers to keep items neatly organized within the cabinets. Utilize vertical space by using hooks or hanging organizers for items like ironing boards or reusable bags.
- Create Zones: Assign specific areas within the cabinets to different categories of items. For example, designate one area for laundry detergents, another for cleaning supplies, and a separate section for fabric softeners and dryer sheets. This will help streamline your laundry routine.
- Label: Labeling your storage containers and shelves can make it even easier to find and access items. Use adhesive labels, chalkboard labels, or a label maker to clearly mark each section of your cabinets.
- Add Decorative Touches: Consider adding some personal touches to your cabinets to enhance the overall aesthetic of your laundry room. This could include artwork, decorative jars for laundry essentials, or plants to bring a touch of greenery.
- Maintain Organization: Regularly review and maintain your organized cabinet by decluttering, re-arranging, and keeping items in their designated spots. This will help ensure that your cabinets stay functional and well-organized over time.
By organizing and decorating your cabinets, you can optimize your storage space and create a visually pleasing and efficient laundry room. A well-organized cabinet not only makes it easy to find what you need but also enhances the overall functionality and aesthetics of your laundry space.
Conclusion
Installing cabinets in your laundry room is a fantastic way to maximize storage space, organize essentials, and add a touch of style to the room. By following the step-by-step guide outlined in this article, you can successfully install cabinets and create a functional and visually appealing laundry room.
Remember to start by measuring the space accurately and planning the layout to ensure a seamless fit. Preparation is key, so take the time to clear the room, repair any damage, and locate studs for secure installation. Assemble the cabinets carefully, paying attention to details and double-checking measurements for a sturdy and durable result.
Attaching the cabinets securely to the wall will provide a solid foundation, and installing the doors and handles will add the finishing touches. Ensure proper alignment, smooth operation, and comfortable access to enhance the functionality of your cabinets.
Finally, take the time to organize and decorate your cabinets to maximize storage efficiency and create an aesthetically pleasing space. Categorize and utilize storage solutions to keep items neatly organized, and consider adding personal touches to elevate the overall look and feel of your laundry room.
As you go through the installation process, keep in mind that patience and attention to detail are essential. Take pride in your work, and enjoy the transformation of your laundry room with beautiful cabinets.
By following these steps and infusing your own creativity, you can create a laundry room that is not only functional, but also a joy to work in. So, roll up your sleeves, grab your tools, and get ready to install cabinets that will transform your laundry room into a space you love.
Frequently Asked Questions about How To Install Cabinets In Laundry Room
Was this page helpful?
At Storables.com, we guarantee accurate and reliable information. Our content, validated by Expert Board Contributors, is crafted following stringent Editorial Policies. We're committed to providing you with well-researched, expert-backed insights for all your informational needs.


0 thoughts on “How To Install Cabinets In Laundry Room”