
Articles
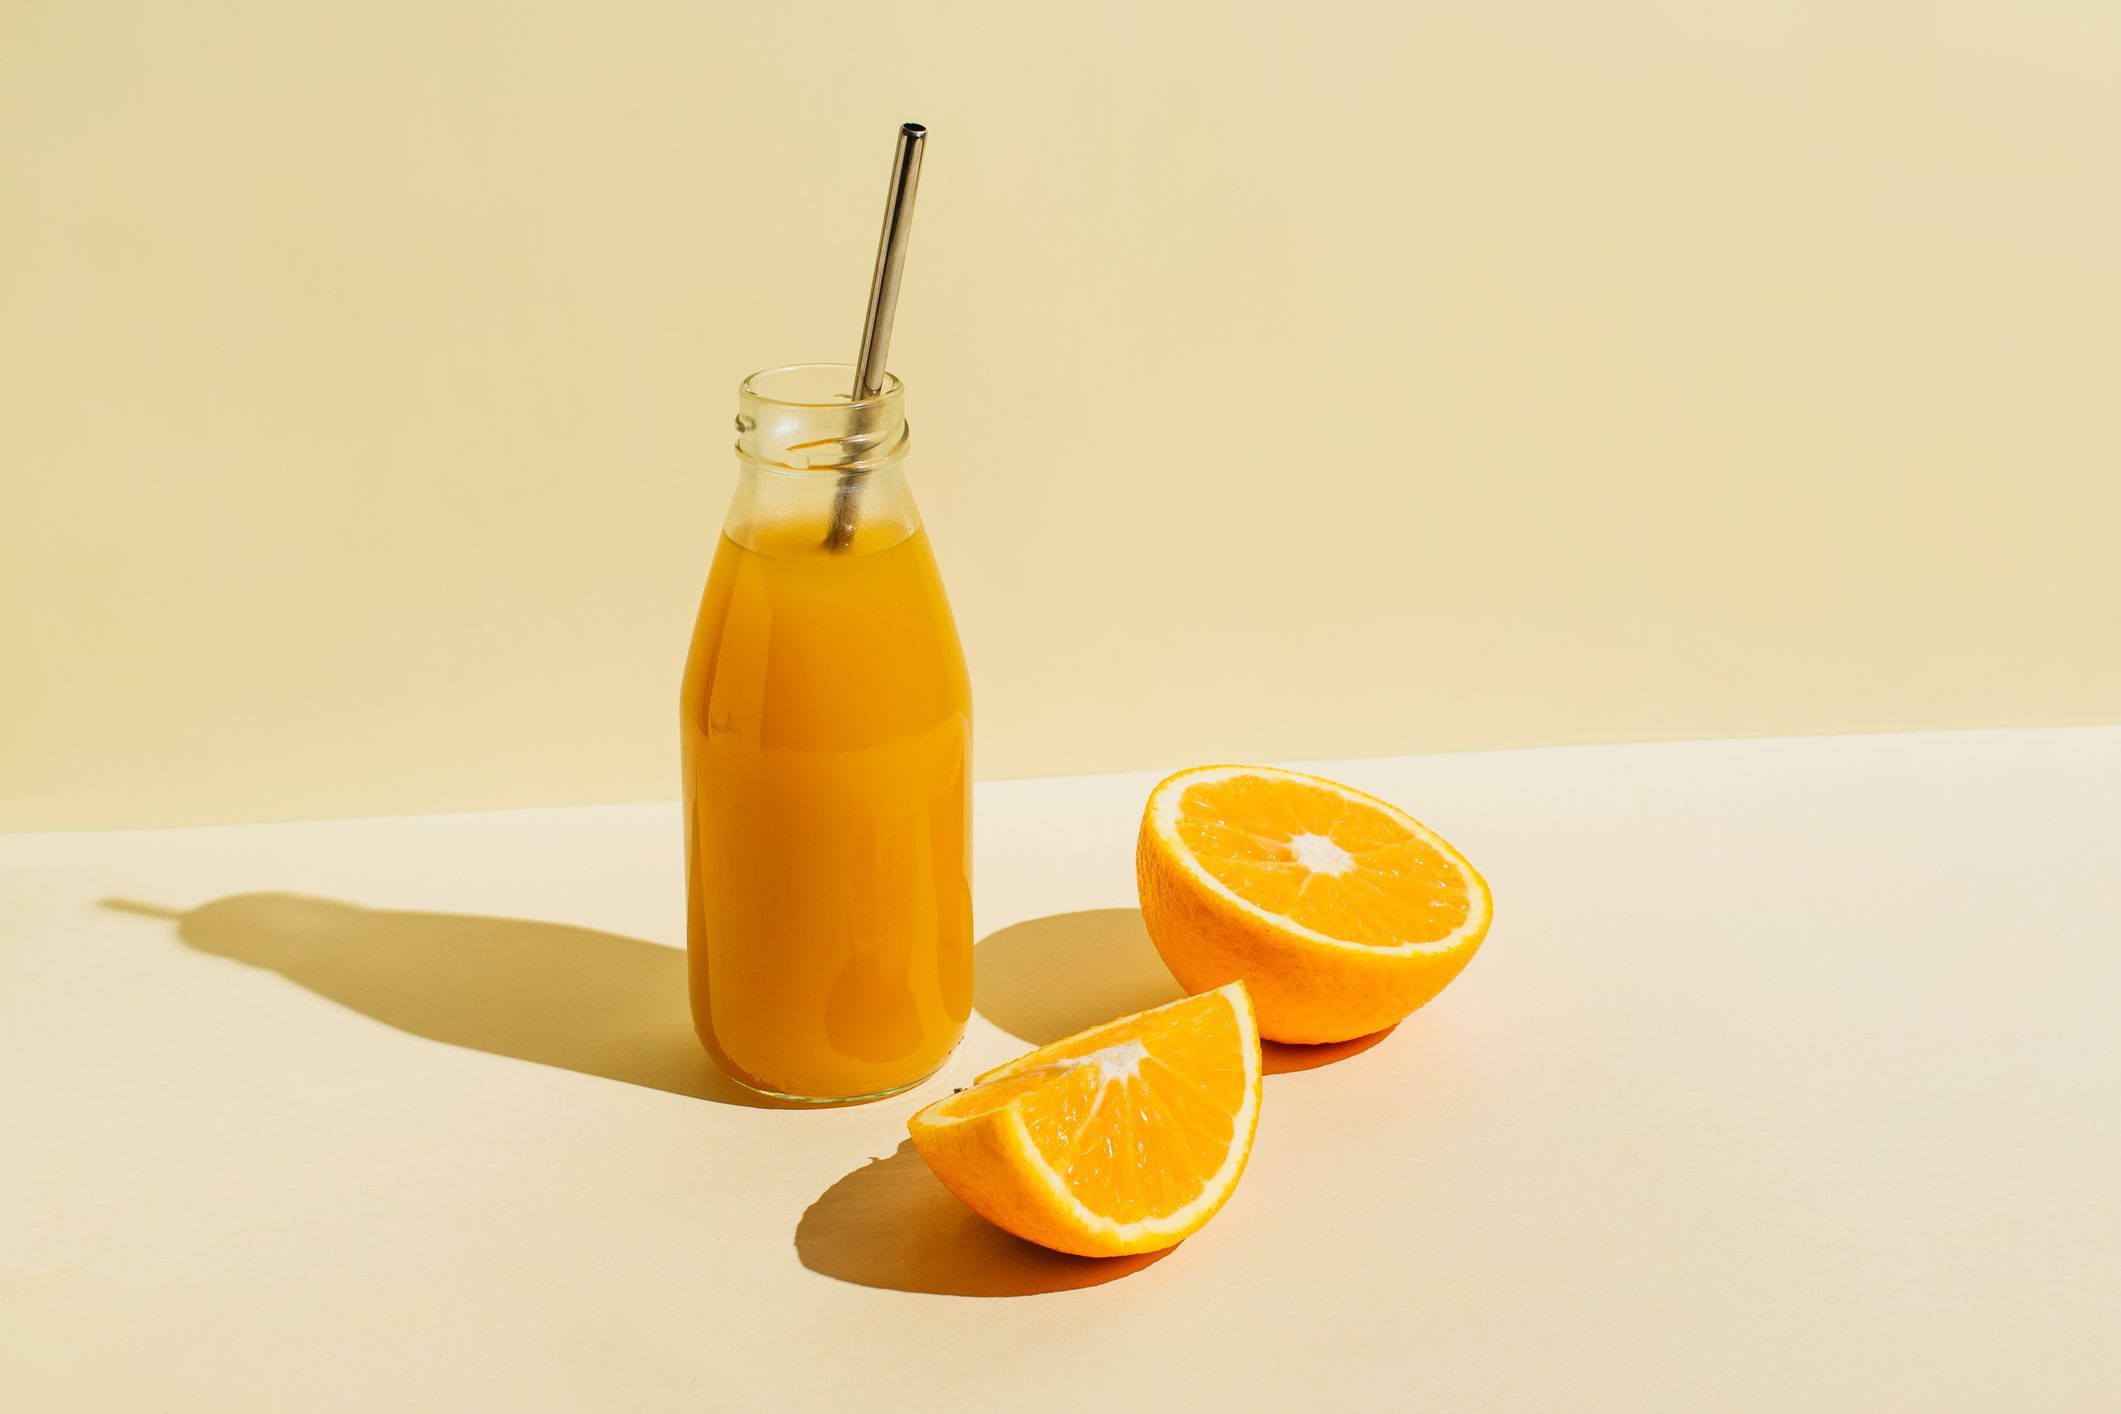
How To Make Orange Juice In A Blender
Modified: February 27, 2024
Learn how to make fresh orange juice in a blender with this step-by-step guide. Easy and delicious homemade citrus drink using Articles techniques.
(Many of the links in this article redirect to a specific reviewed product. Your purchase of these products through affiliate links helps to generate commission for Storables.com, at no extra cost. Learn more)
Introduction
Have you ever wanted a refreshing glass of orange juice but didn’t have a juicer? Don’t worry, because you can make delicious orange juice right in your blender! Making orange juice in a blender is a quick and easy way to enjoy the natural sweetness and tanginess of freshly squeezed oranges. Plus, it allows you to have control over the ingredients and sweetness level, making it a healthier and more customizable option than store-bought juice.
In this article, we will guide you through the step-by-step process of making orange juice in a blender. Whether you’re a seasoned blender user or a beginner in the kitchen, you’ll find this method simple and efficient. So grab your favorite oranges and let’s get started!
Key Takeaways:
- Enjoy the natural sweetness and tanginess of freshly squeezed oranges by making orange juice in a blender. It’s a quick, easy, and customizable way to savor the goodness of homemade juice.
- Control the taste and texture of your orange juice by following the simple steps outlined in this article. From blending to serving, embrace the convenience and joy of homemade citrus goodness.
Read more: How To Make Pineapple Juice With Blender
Step 1: Gather Ingredients
The first step in making orange juice in a blender is to gather all the necessary ingredients. Here’s what you’ll need:
- Fresh oranges: Choose ripe oranges that are juicy and fragrant. The number of oranges will depend on how much juice you want to make.
- Water: You’ll need cold water to help blend the oranges into a liquid consistency.
- Sweetener (optional): If you prefer a sweeter juice, you can add a natural sweetener like honey, maple syrup, or agave nectar. However, the natural sweetness of the oranges is usually sufficient.
- Ice cubes (optional): If you like your orange juice chilled, you can add a few ice cubes to the blender.
Once you have gathered all the ingredients, you’re ready to move on to the next step!
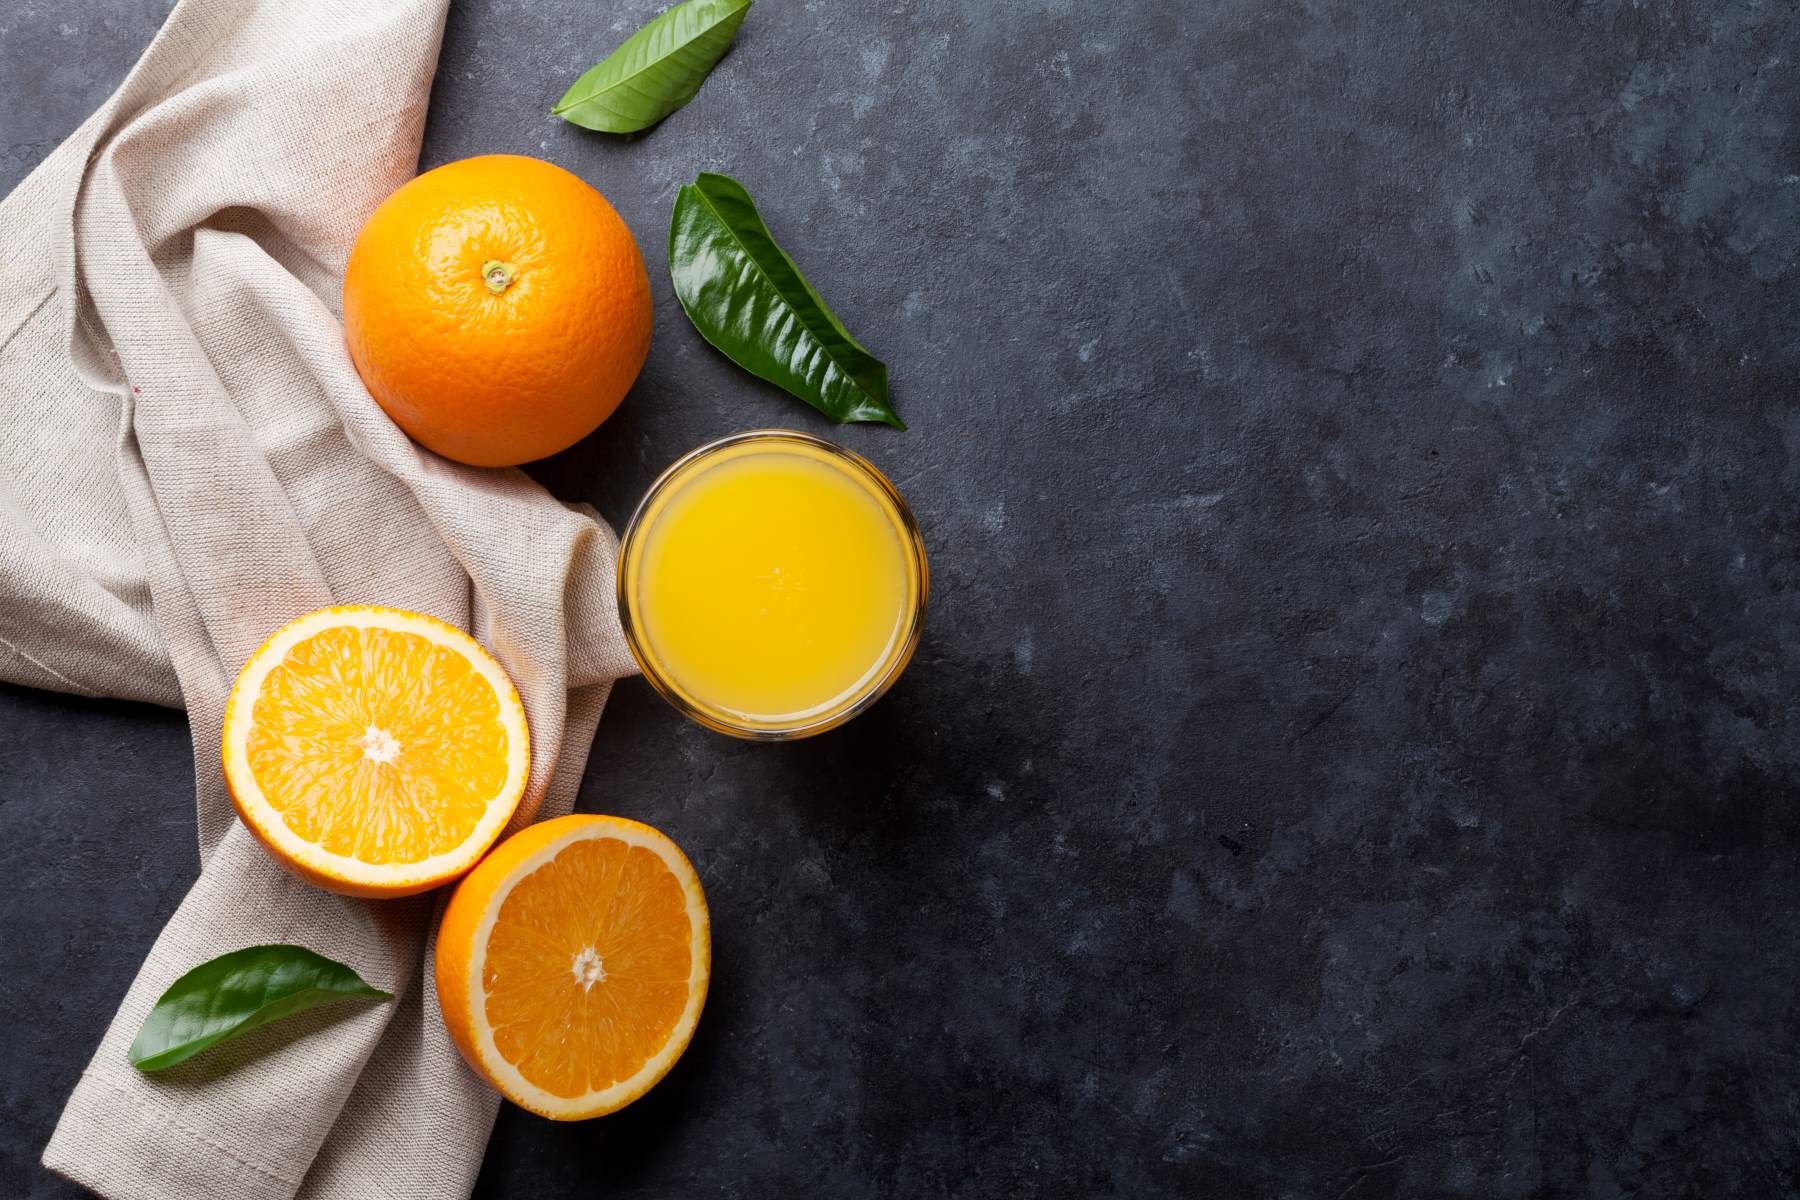
Step 2: Prepare Oranges
Now it’s time to prepare the oranges for blending. Here’s what you need to do:
- Wash the oranges: Rinse the oranges under cold water to remove any dirt or residue on the surface. This step is important to ensure that the juice is clean and free from any contaminants.
- Peel the oranges: Use a sharp knife to cut off the top and bottom of each orange. Then, starting from the top, run the knife along the curve of the orange to remove the peel. Try to remove as much of the white pith as possible, as it can give the juice a bitter taste.
- Segment the oranges (optional): If you prefer a pulp-free juice, you can also segment the oranges by cutting along the membranes to remove the individual orange segments. However, if you don’t mind a bit of pulp in your juice, you can skip this step.
Once the oranges are prepared, you’re ready to move on to the next step!
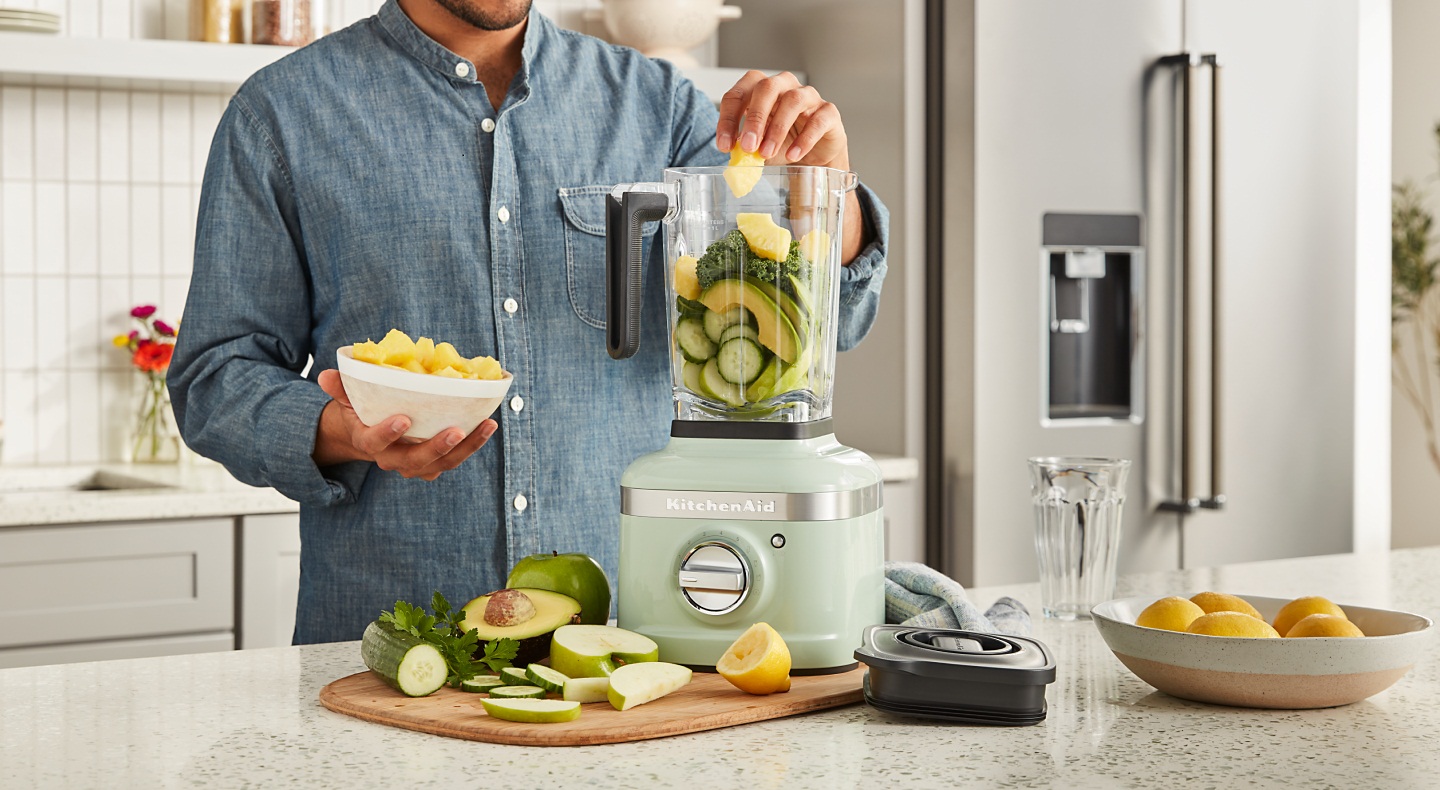
Step 3: Blend Oranges and Add Sweetener
Now it’s time to blend the prepared oranges to extract the juice. Follow these steps:
- Add the oranges to the blender: Place the peeled and segmented oranges into the blender jar.
- Add water: Pour in a small amount of cold water to help loosen the oranges and facilitate blending. The exact amount will depend on the desired consistency. You can start with 1/4 cup of water and add more if needed.
- Blend until smooth: Secure the lid on the blender and blend the oranges on high speed until you achieve a smooth and liquid consistency. This typically takes around 1-2 minutes, depending on the power of your blender. If you prefer a pulpy juice, blend for a shorter time.
- Add sweetener (if desired): Taste the freshly blended orange juice and assess its sweetness. If you feel it needs a touch of sweetness, you can add a natural sweetener such as honey, maple syrup, or agave nectar. Start with a small amount and gradually add more to achieve your preferred level of sweetness. Blend again for a few seconds to incorporate the sweetener.
At this point, your orange juice is ready to be enjoyed. However, if you prefer a smoother juice without pulp, you can proceed to the next step.
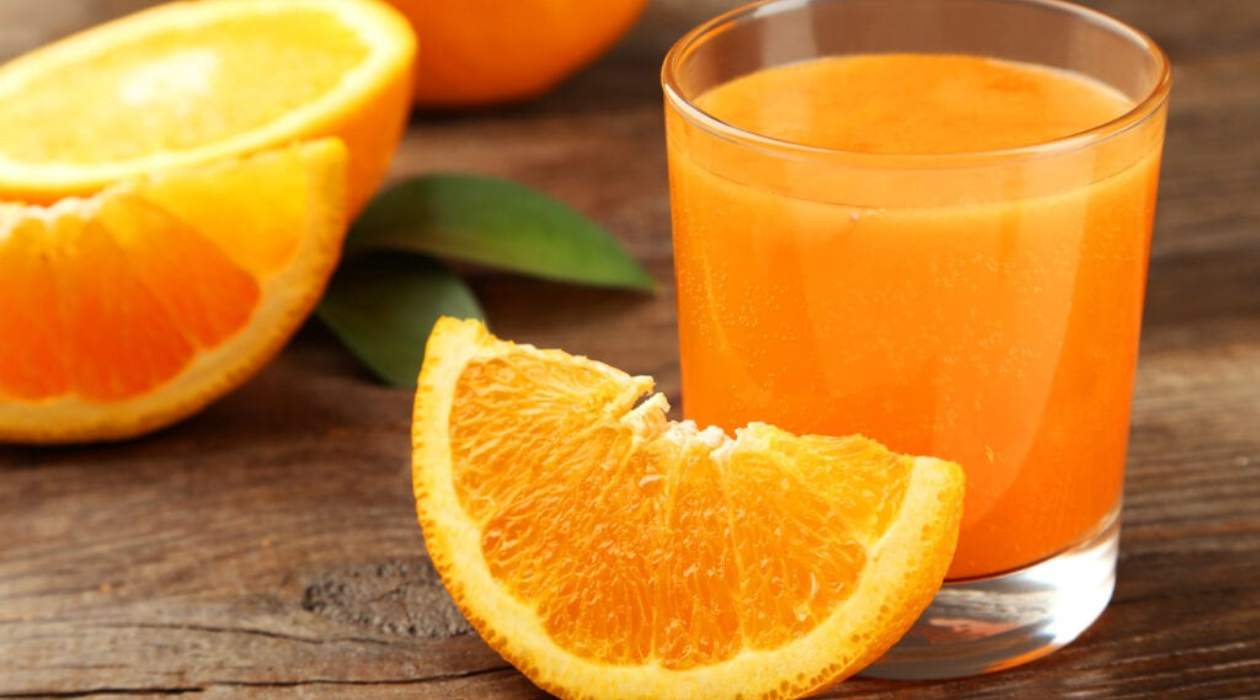
To make orange juice in a blender, simply peel and segment the oranges, removing any seeds. Place the orange segments in the blender and blend until smooth. Strain the juice to remove any pulp, if desired. Enjoy fresh orange juice!
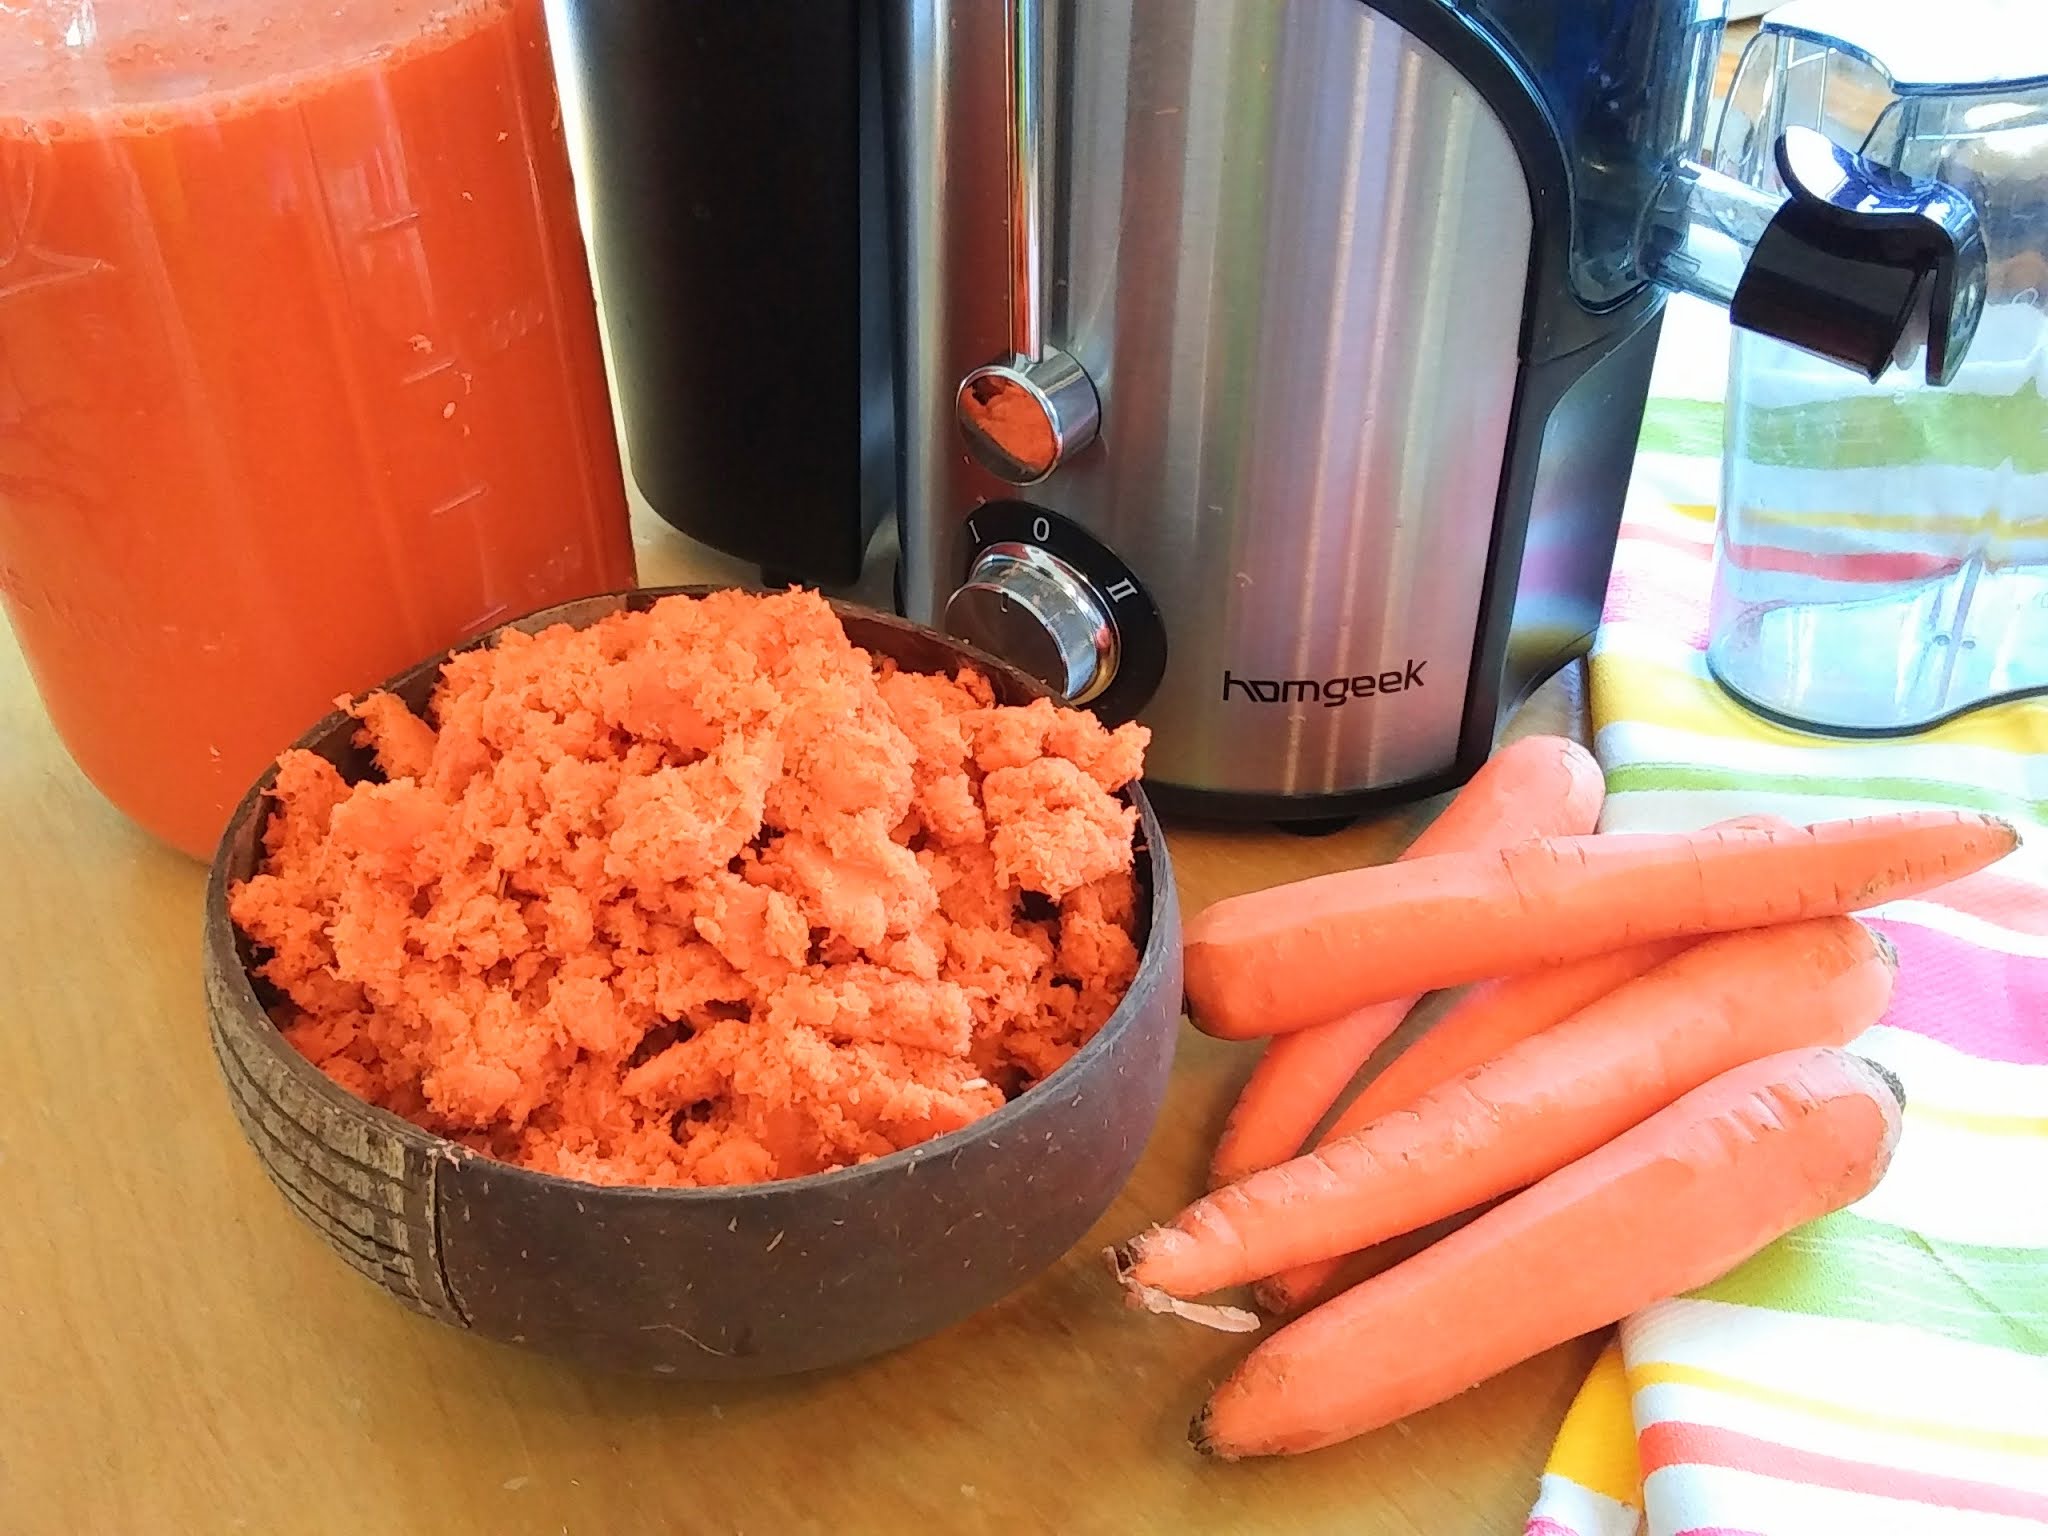
Step 4: Strain the Juice
If you prefer a smooth, pulp-free orange juice, you can strain the freshly blended juice. Follow these steps:
- Get a fine-mesh strainer or cheesecloth: Place a fine-mesh strainer or a piece of cheesecloth over a bowl or pitcher.
- Pour the orange juice: Slowly pour the blended orange juice into the strainer or cheesecloth, allowing it to pass through while catching any pulp or solids.
- Press or squeeze the mixture (optional): If using a cheesecloth, you can gently squeeze or press the mixture to extract any remaining juice. Be careful not to exert too much pressure, as it may force the pulp through the cloth.
By straining the juice, you will achieve a smooth and silky consistency, perfect for those who prefer a pulp-free orange juice. However, if you enjoy the texture and fiber of pulp, you can skip this step and proceed to the final step.
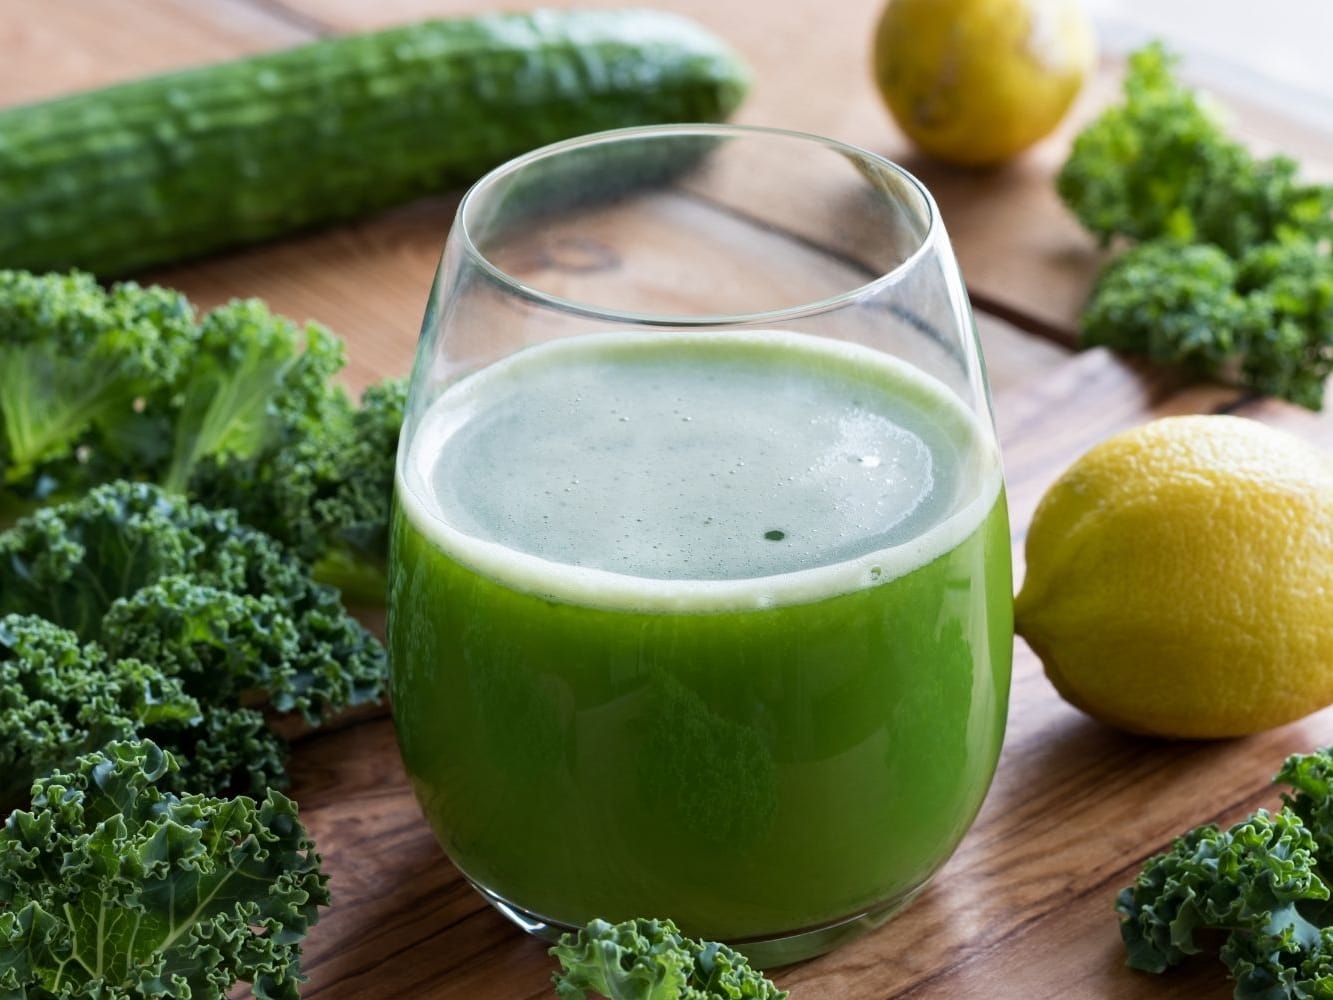
Read more: How To Make Cabbage Juice With A Blender
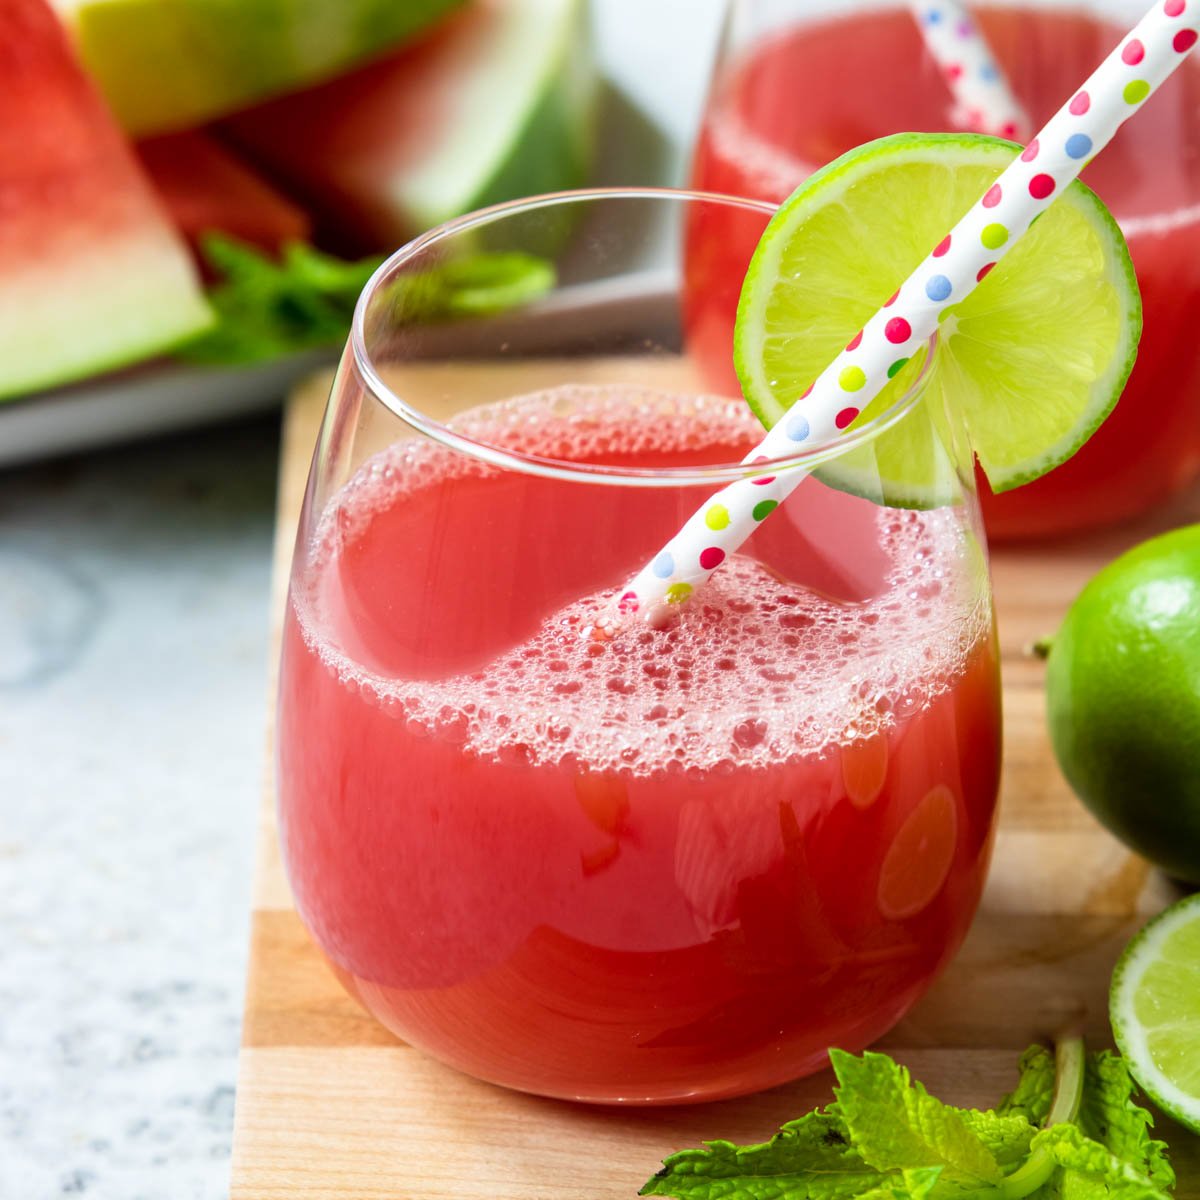
Step 5: Serve and Enjoy
Now that your freshly made orange juice is ready, it’s time to serve and enjoy it! Here’s what you need to do:
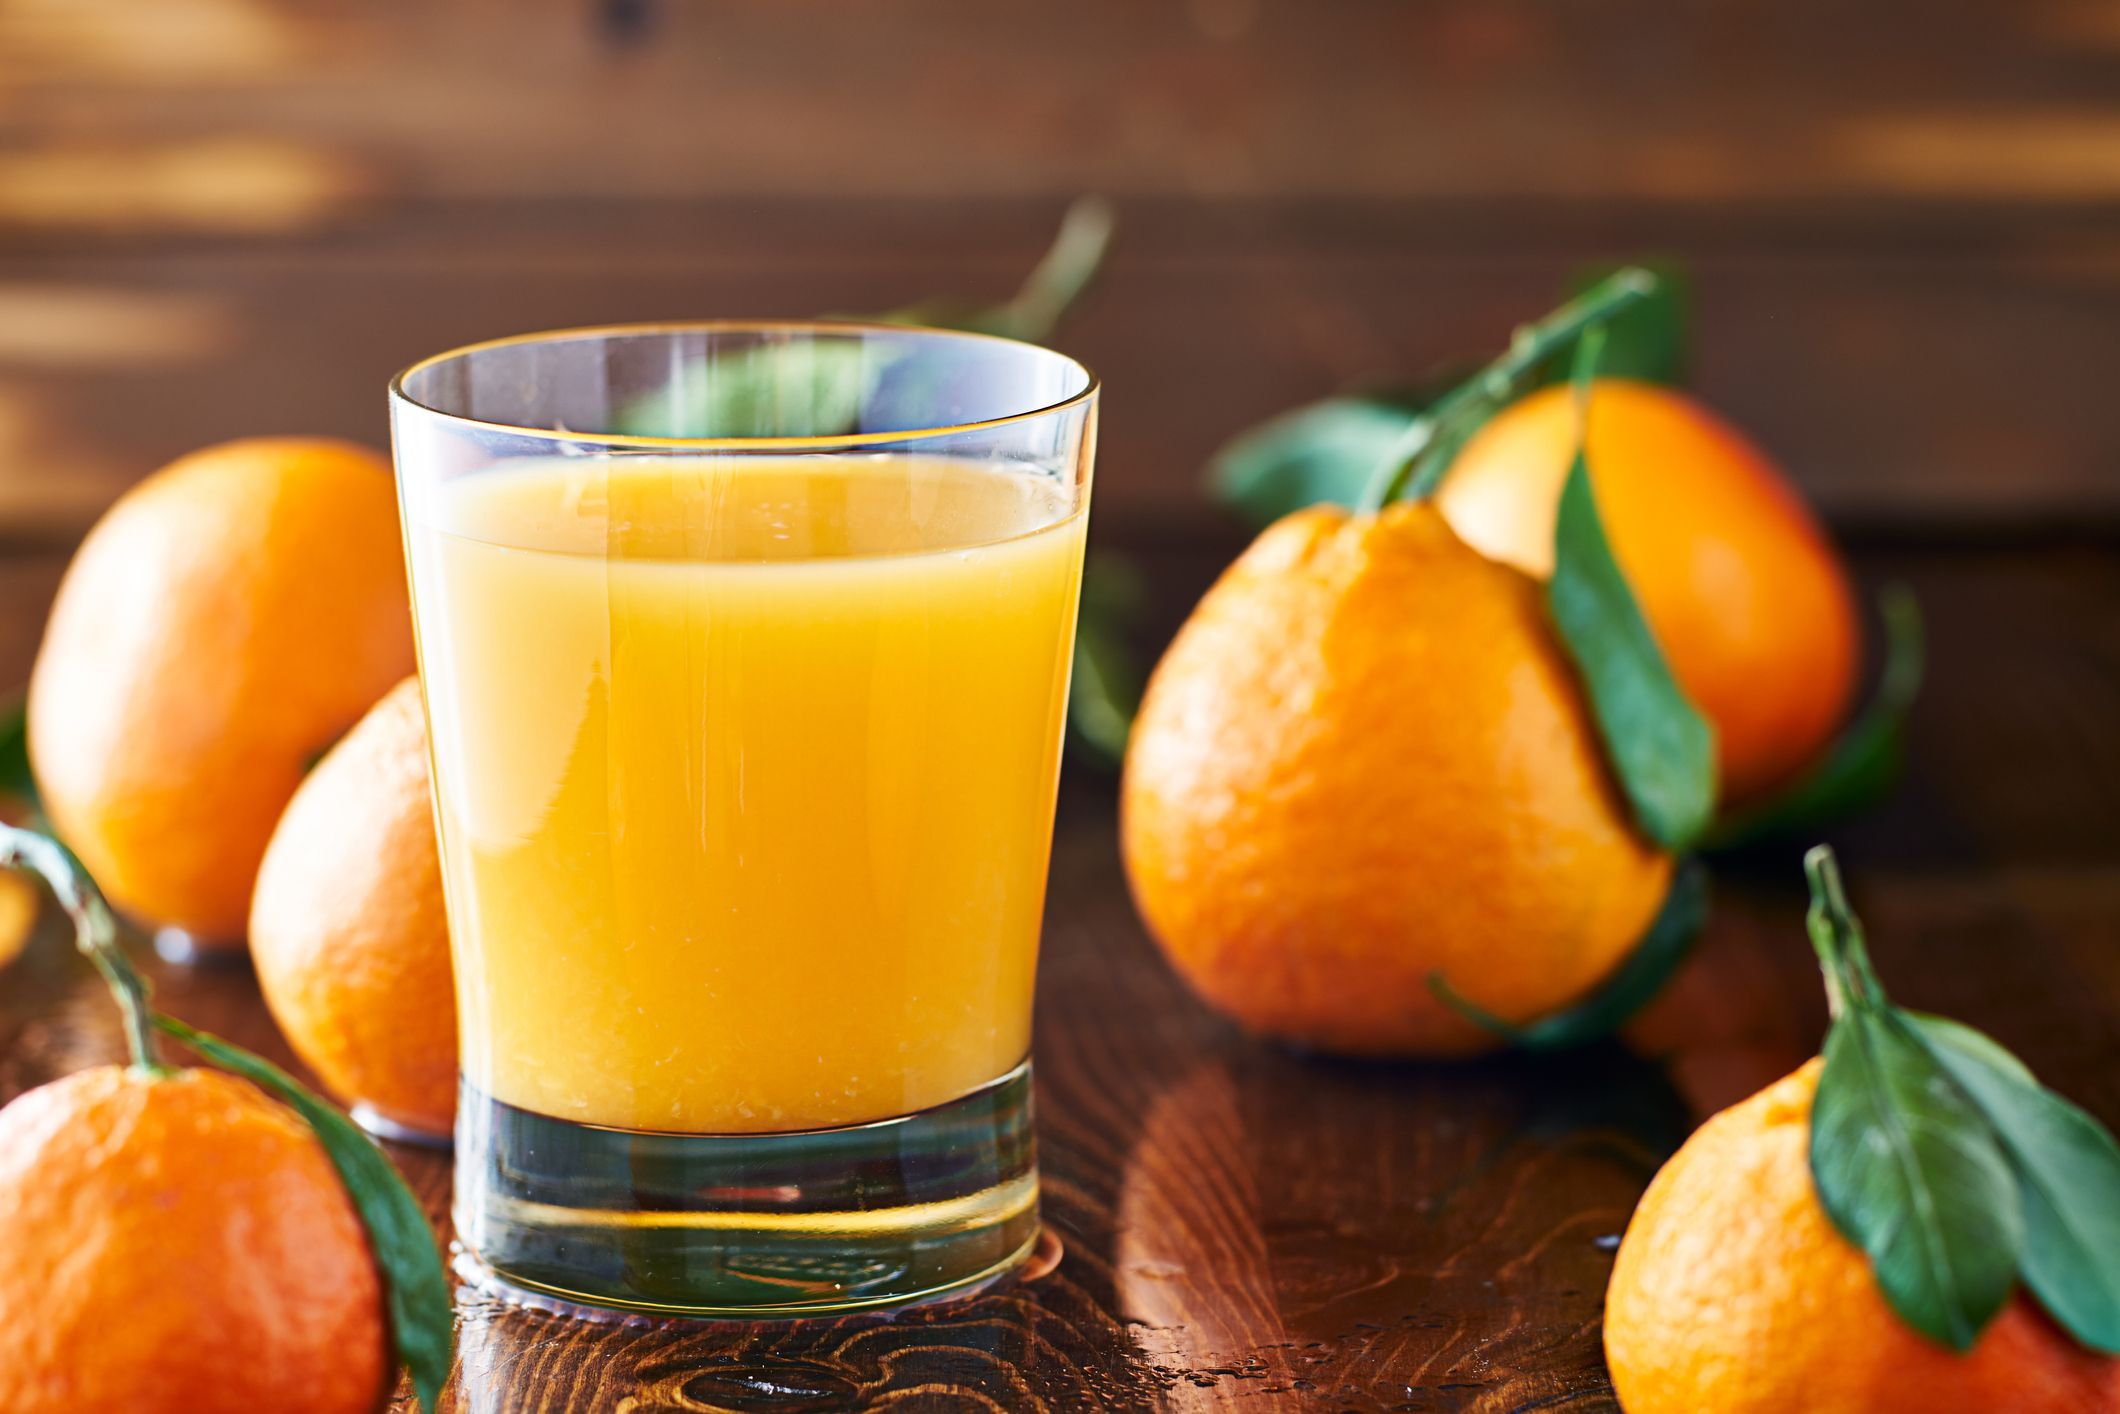
- Prepare glasses: Grab your favorite glasses and place them on the serving area. You can chill the glasses in the refrigerator beforehand if you prefer a colder juice.
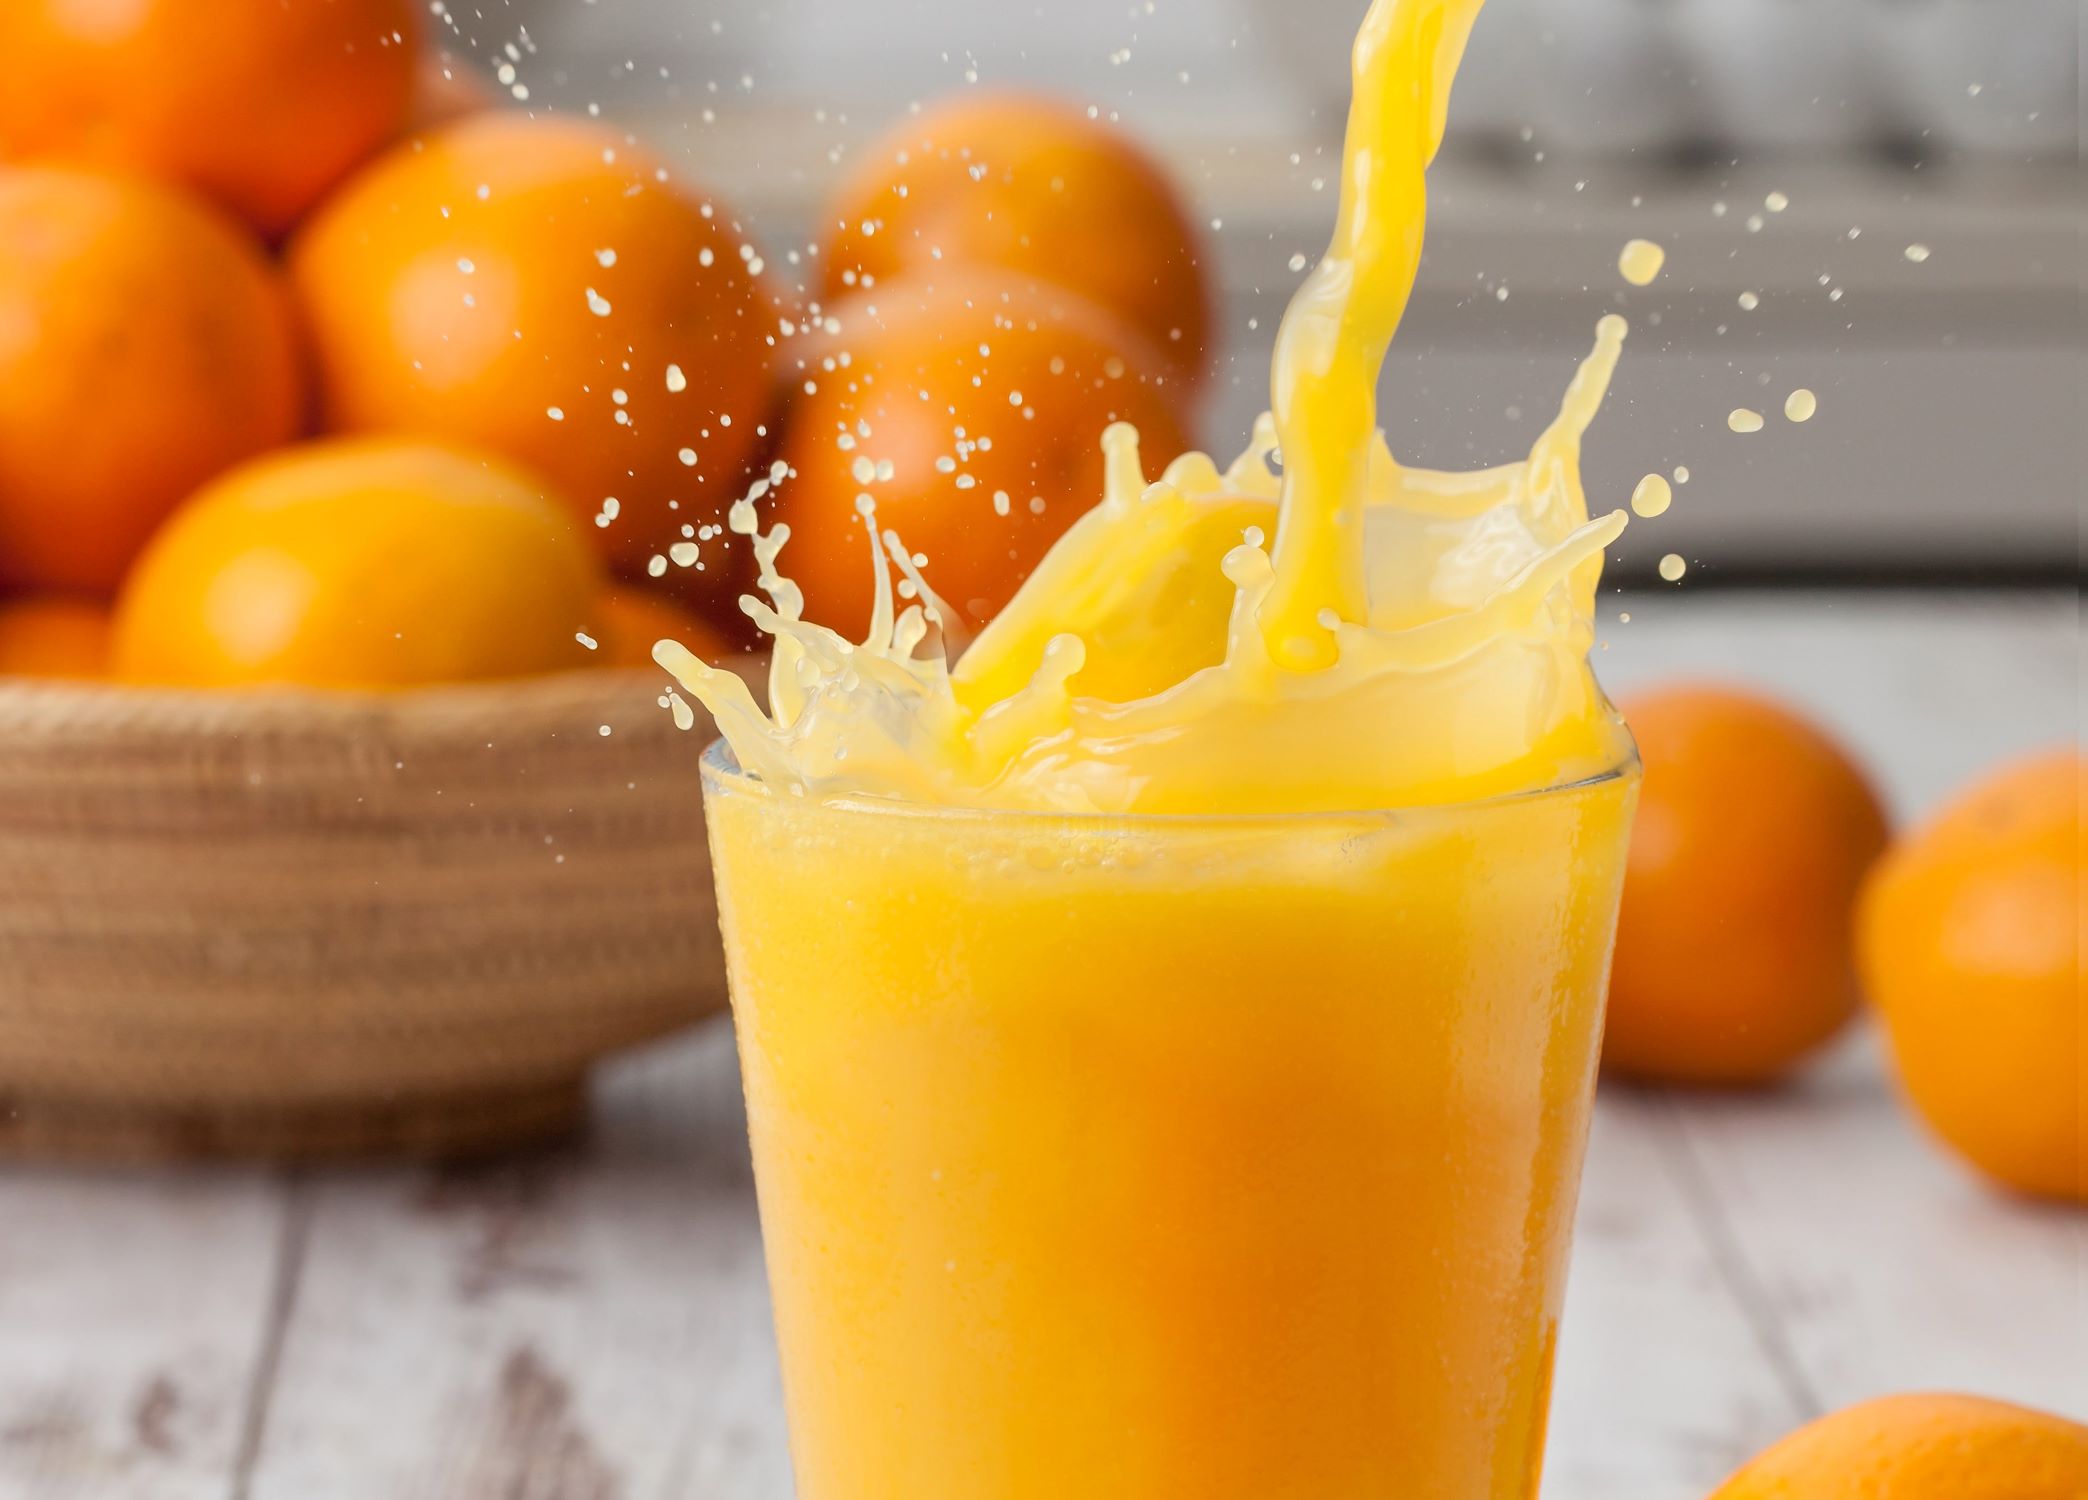
- Pour the juice: Slowly pour the freshly made orange juice into the glasses, filling them to your desired level.
- Add ice cubes (optional): If you prefer your orange juice chilled, you can drop a few ice cubes into each glass.
- Garnish (optional): For an extra touch of visual appeal, you can garnish the glasses with a slice of orange or a sprig of mint.
- Stir and serve: Give the juice a quick stir with a spoon to ensure it is well mixed and balanced in flavor. Then, serve the glasses to yourself and your guests.
- Savor the flavor: Take a moment to appreciate the vibrant color and enticing aroma of the homemade orange juice. Then, take a sip and let the refreshing citrus taste awaken your senses.
Orange juice made in a blender is best enjoyed fresh, as it retains the natural flavors and nutrients of the oranges. So sip slowly, savor each mouthful, and enjoy the goodness of your homemade orange juice.
Conclusion
Making orange juice in a blender is a simple and convenient way to enjoy the deliciousness of freshly squeezed oranges. By following the step-by-step process outlined in this article, you can create a refreshing and customizable beverage right in your own kitchen.
From gathering the ingredients to blending the oranges and adding optional sweeteners, each step allows you to have control over the taste and texture of your orange juice. Whether you prefer a pulpy juice or a smooth, pulp-free consistency, this method caters to your preferences.
Remember, the quality of your orange juice depends on the freshness and ripeness of the oranges you choose. Opt for juicy and fragrant oranges to ensure a flavorful juice.
Once your orange juice is ready, take a moment to admire its vibrant color and invigorating aroma. Pour it into a glass, add ice cubes if desired, and garnish for an extra touch. Then, let the taste of freshly squeezed oranges tantalize your taste buds as you sip and enjoy.
So, the next time you’re craving a glass of orange juice, reach for your blender and follow these steps. It’s a convenient and healthy way to enjoy the natural goodness of oranges without the need for a juicer.
Start your day with a refreshing burst of citrus flavor or quench your thirst with a glass of homemade orange juice. With the right ingredients and a blender, you can transform ordinary oranges into a delightful beverage that brings joy and vitality to your day.
So, go ahead, experiment with different variations, and make your homemade orange juice a staple in your kitchen. Cheers to the deliciousness of freshly made orange juice!
Frequently Asked Questions about How To Make Orange Juice In A Blender
Was this page helpful?
At Storables.com, we guarantee accurate and reliable information. Our content, validated by Expert Board Contributors, is crafted following stringent Editorial Policies. We're committed to providing you with well-researched, expert-backed insights for all your informational needs.

0 thoughts on “How To Make Orange Juice In A Blender”