Articles
How To Make Celery Juice With A Blender
Modified: January 19, 2024
Learn how to make refreshing celery juice at home using just a blender. Follow our step-by-step guide in this informative article.
(Many of the links in this article redirect to a specific reviewed product. Your purchase of these products through affiliate links helps to generate commission for Storables.com, at no extra cost. Learn more)
Introduction
Welcome to the world of homemade celery juice! Celery juice has gained immense popularity in recent years for its numerous health benefits and cleansing properties. When consumed regularly, celery juice can help detoxify the body, boost digestion, improve skin health, and promote overall well-being.
While many people use juicers to extract celery juice, not everyone has access to one. The good news is that you can still enjoy fresh celery juice right at home using a blender. This article will guide you through the step-by-step process of making celery juice with a blender, so you can enjoy all its health benefits without the need for specialized equipment.
Before we dive into the process of making celery juice, it’s important to note that choosing high-quality, organic celery is crucial. Organic celery is free from pesticides and harmful chemicals, ensuring that you get the maximum nutritional benefits from your juice.
So, let’s grab our blenders and get ready to embark on a simple and rewarding journey of making celery juice from the comfort of our own kitchens!
Key Takeaways:
- Embrace the simplicity of making celery juice with a blender and enjoy its health benefits without the need for specialized equipment. Choose organic celery, cut it into small pieces, blend, strain, and savor the refreshing green elixir for a nourished lifestyle.
- Elevate your homemade celery juice by adding creative flavor twists and making it a part of your daily routine. Consistency is key to experiencing the potential health benefits of this rejuvenating drink. Cheers to wellness and vitality!
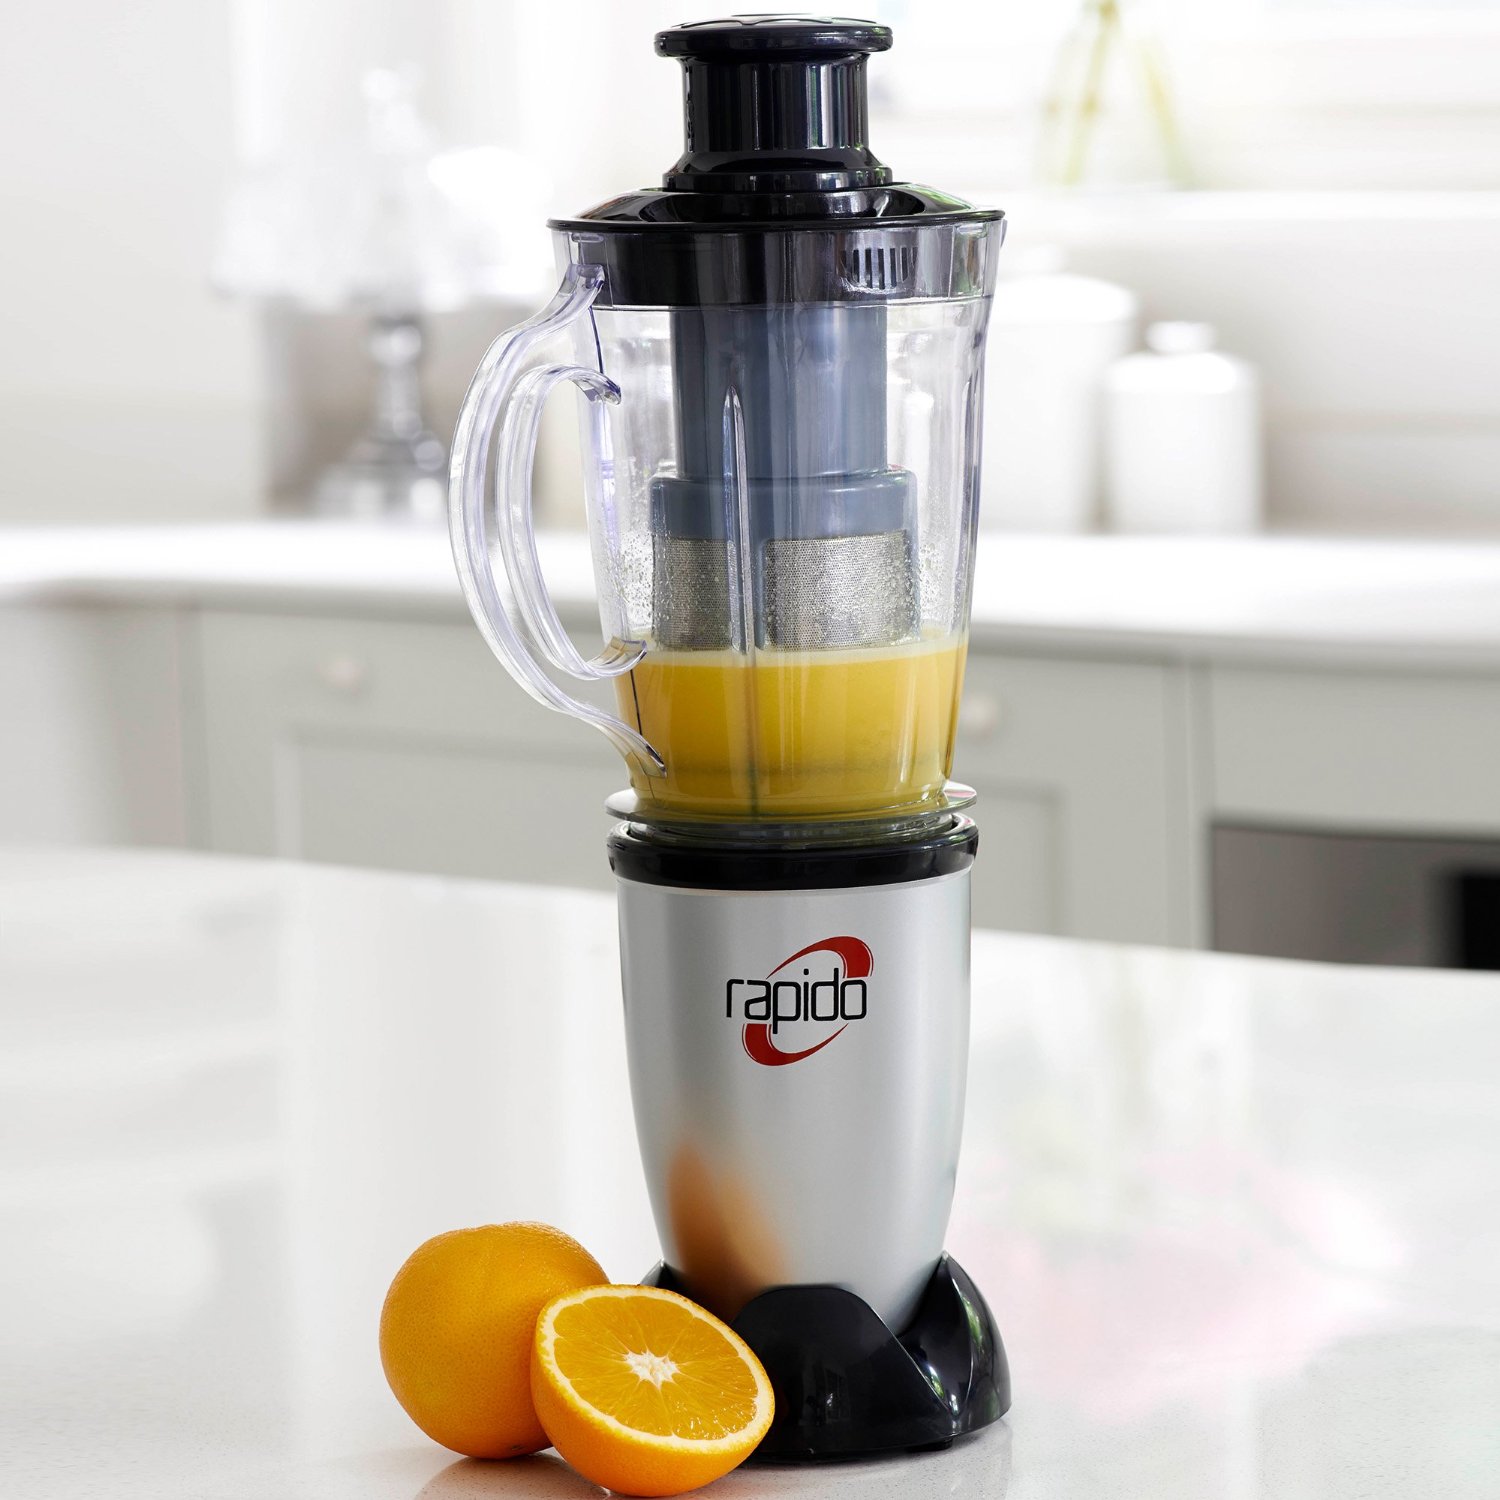
Read more: How To Make Orange Juice In A Blender
Step 1: Wash and prepare the celery
The first step in making celery juice with a blender is to wash and prepare the celery stalks. Start by selecting fresh, organic celery from your local grocery store or farmers’ market. Organic celery is not only healthier but also ensures that there are no unwanted chemicals or pesticides that can end up in your juice.
Once you have your celery, remove any rubber bands or packaging and separate the stalks. It’s essential to wash each stalk thoroughly to remove any dirt, debris, or residue. Fill a large bowl or your sink with water and place the celery stalks inside.
Gently swish the celery around in the water, ensuring that every stalk is thoroughly soaked. You can also use a vegetable brush to scrub away any stubborn dirt. Rinse the celery under running water to remove any remaining dirt or soap.
Once the celery is clean, pat it dry with a clean towel or paper towel. It’s crucial to ensure that the celery is completely dry before proceeding to the next step, as excess moisture can affect the blending process.
After drying the celery, trim off the ends of each stalk. Cut off the root end and any brown or damaged parts. This ensures that you have fresh, crisp celery ready for juicing.
Now that your celery is washed and prepared, it’s time to move on to the next step: cutting the celery into smaller pieces.
Step 2: Cut the celery into smaller pieces
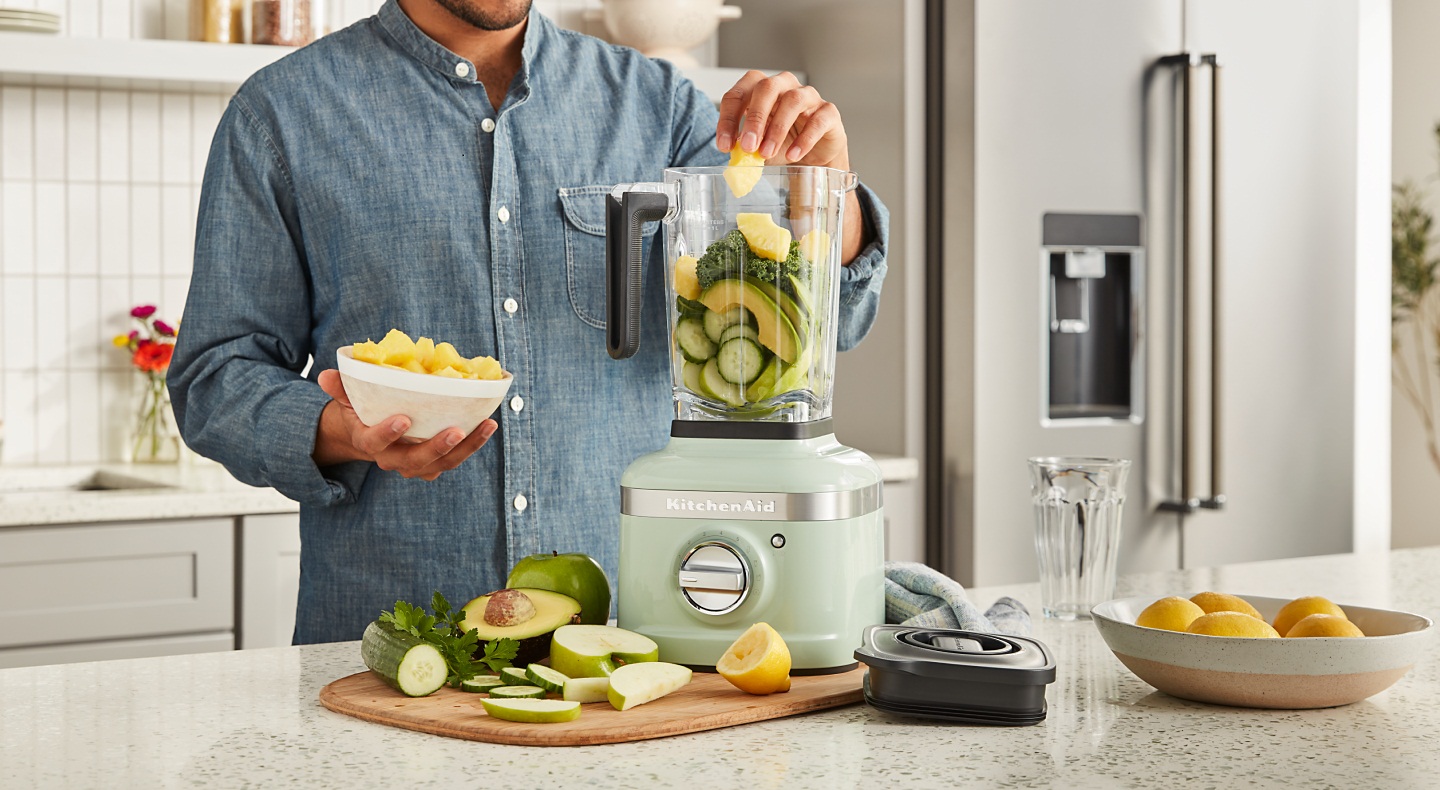
Now that you have your clean and trimmed celery stalks, it’s time to cut them into smaller pieces before blending. By cutting the celery into smaller pieces, you’ll make it easier for your blender to process and extract the juice effectively.
Start by taking one celery stalk at a time and cut it into smaller segments, approximately 1-2 inches in length. You can use a sharp knife or a kitchen scissors to make the cuts. Repeat this process with all the celery stalks until you have a pile of smaller celery pieces ready for blending.
When cutting the celery, it’s important to ensure that the pieces are relatively uniform in size. This helps in achieving consistent blending and juicing results. Also, keep in mind that the smaller pieces will blend more easily, resulting in smoother and more refined juice.
While cutting the celery, discard any leaves that may be attached to the stalks. While celery leaves are edible and can be used in cooking or garnishing, they may produce a bitter taste if included in your juice, so it’s best to remove them.
Once you have cut all the celery stalks into smaller pieces, it’s time to move on to the next step: blending the celery in a high-speed blender.
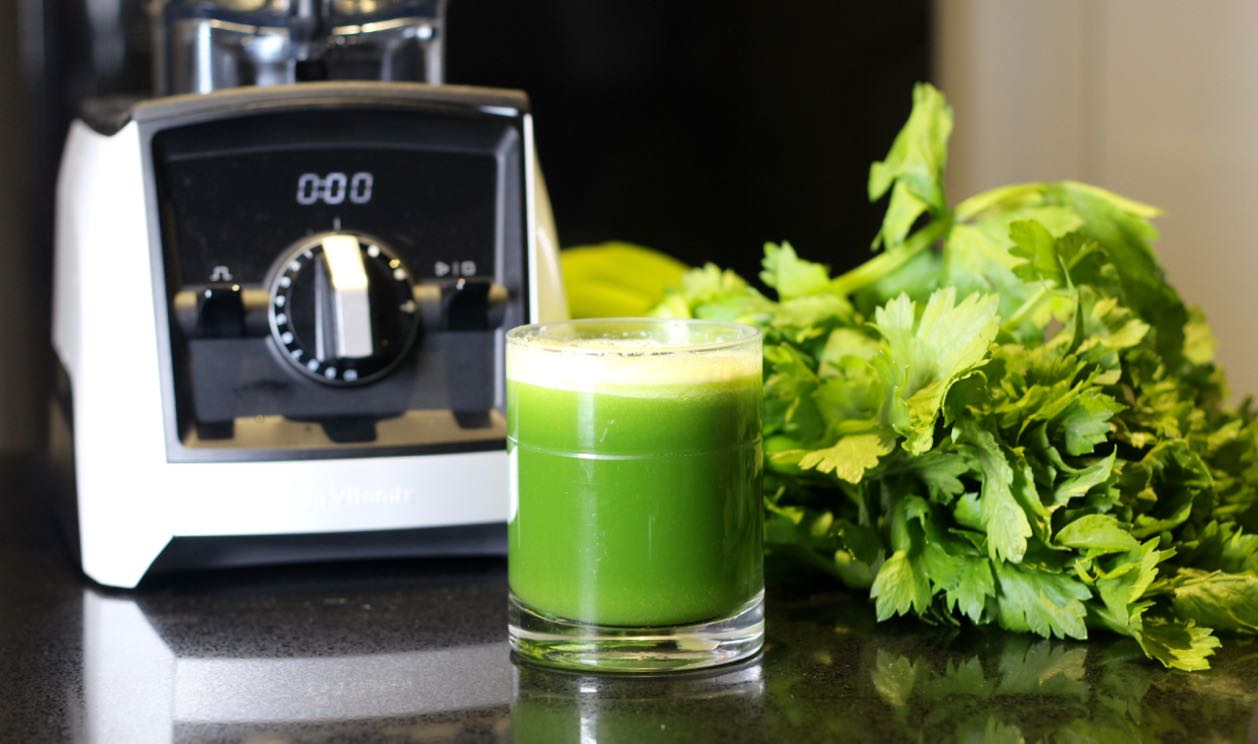
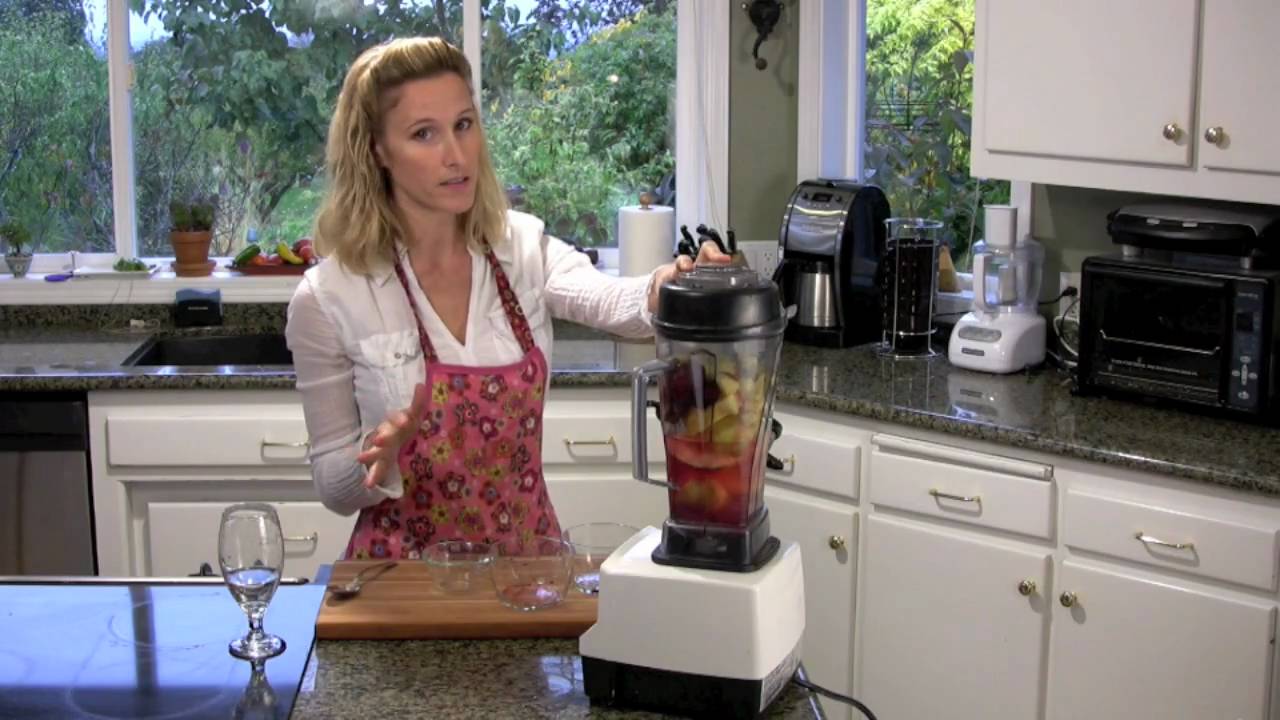
Step 3: Blend the celery in a high-speed blender
With your prepared celery pieces in hand, it’s time to blend them into a smooth and refreshing juice. For this step, you will need a high-speed blender capable of efficiently breaking down the celery fibers to extract the juice.
Place the cut celery pieces into the blender jar, ensuring that you don’t overcrowd it. Depending on the size and capacity of your blender, you may need to blend the celery in batches to ensure optimal blending and juicing.
If desired, you can add a small amount of filtered water to the blender to facilitate blending and achieve the desired consistency of your juice. However, it’s important to note that adding water is optional and may dilute the flavor slightly.
Once you have the celery pieces in the blender, secure the lid tightly to avoid any spills. Start blending on a low speed, gradually increasing it to high speed. The high-speed setting will help break down the celery fibers, ensuring a smooth and well-extracted juice.
Continue blending for approximately 1-2 minutes, or until the celery pieces have completely liquefied, resulting in a vibrant green juice. You may need to stop and scrape down the sides of the blender jar with a spatula to ensure a thorough blend.
It’s important to note that the blending time may vary depending on the power and efficiency of your blender. The aim is to achieve a smooth and homogeneous juice with minimal fiber residue.
Once the celery has been blended to a smooth consistency, it’s time to move on to the next step: straining the juice to remove any remaining fiber.
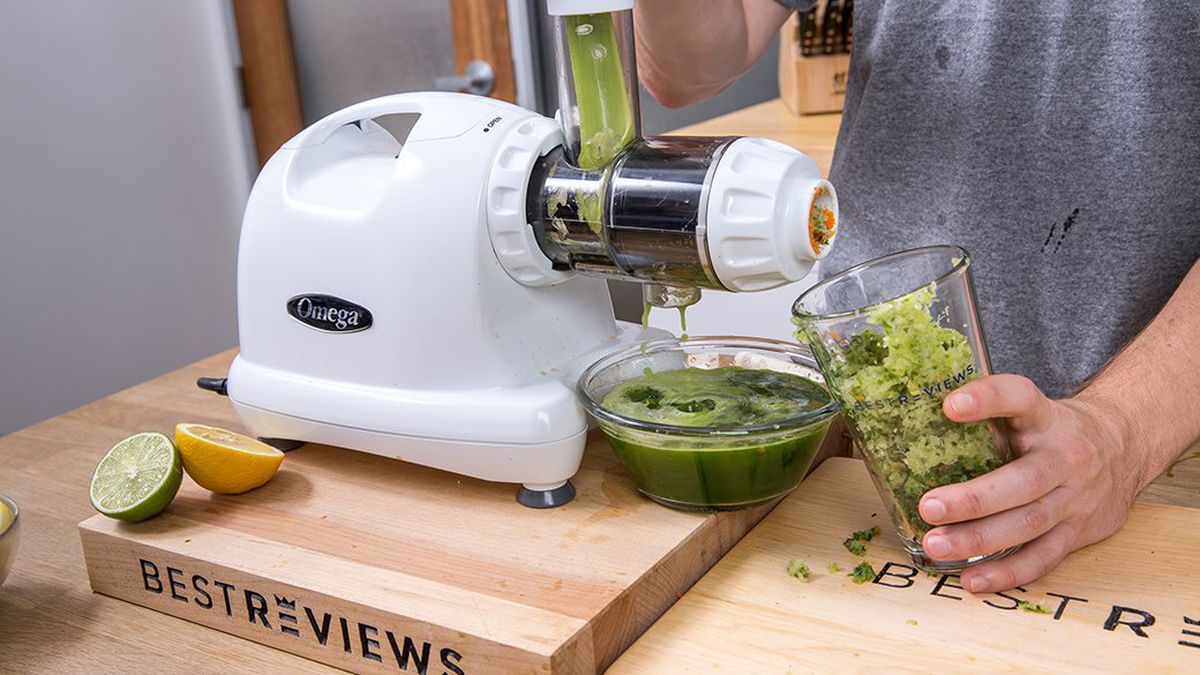
When making celery juice with a blender, it’s important to strain the blended celery through a nut milk bag or fine mesh strainer to remove the pulp and extract the juice. This will result in a smoother and more enjoyable juice.
Step 4: Strain the juice
After blending the celery into a smooth juice, the next step is to strain it to remove any remaining fiber or pulp. Straining the juice will result in a smoother texture, making it more enjoyable to drink.
To strain the celery juice, you will need a fine mesh strainer or nut milk bag. Place the strainer or bag over a large bowl or pitcher, making sure it is secure and stable.
Gently pour the blended celery into the strainer or bag, allowing the juice to pass through while trapping the fiber and pulp. Use a spoon or spatula to press down on the pulp to extract as much juice as possible.
Continue this process until all the juice has been strained into the bowl or pitcher, leaving behind the fiber and pulp in the strainer or bag.
Once the juice has been strained, you can discard the fiber or find creative ways to repurpose it in other recipes. The strained celery juice is now ready to be served and enjoyed!
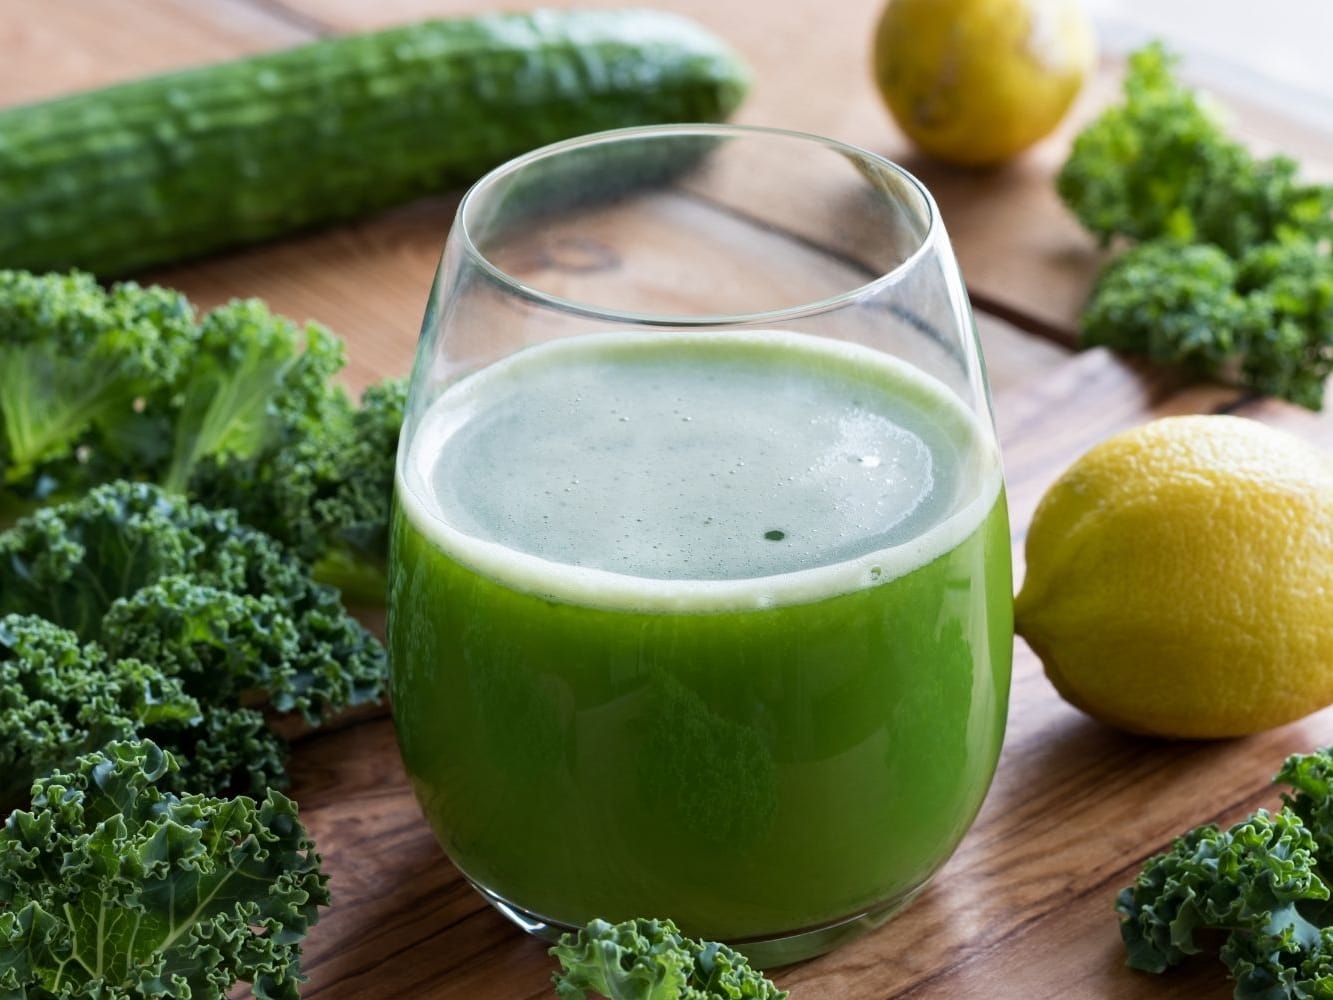
If desired, you can drink the celery juice as it is, or you can customize it to your taste by adding a splash of lemon juice, a pinch of sea salt, or even a handful of fresh herbs like parsley or cilantro.
Now that you have strained the juice, it’s time to move on to the final step: serving and enjoying your homemade celery juice.
Read more: How To Make Tomato Juice In A Blender?
Step 5: Serve and enjoy!
Congratulations! You have successfully made celery juice with a blender. Now it’s time to indulge in the refreshing and health-boosting drink you’ve created.
To serve the celery juice, pour it into a glass or jar of your choice. You can add ice cubes to make it even more refreshing, especially on hot summer days.
Take a moment to appreciate the vibrant green color of the juice and breathe in its fresh aroma. Now, it’s time to take your first sip and enjoy the benefits of your homemade celery juice.
Drinking celery juice on an empty stomach in the morning is often recommended to maximize its health benefits. The natural minerals, vitamins, and antioxidants in celery can help kickstart your day and provide you with a boost of energy.
While the taste of celery juice may be an acquired one for some, you can experiment with different flavors to suit your palate. Feel free to add a twist of lemon or ginger for added zing or even mix it with other fruit and vegetable juices for a unique blend.
Remember, consistency is key when it comes to experiencing the benefits of celery juice. It’s recommended to incorporate it into your daily routine for optimal results. Over time, you may start to notice improvements in your digestion, skin health, and overall well-being.
So, sit back, relax, and savor each sip of your homemade celery juice. Cheers to your commitment to a healthy and nourished lifestyle!
Now that you know how to make celery juice with a blender, you can continue to enjoy this refreshing and nutritious beverage whenever you please.
Tips for making celery juice with a blender
While making celery juice with a blender is a relatively straightforward process, here are some tips to enhance your experience and ensure great results:
- Choose fresh and organic celery: Using high-quality celery is the key to getting the most nutrients and flavor in your juice. Opt for organic celery to avoid harmful chemicals and pesticides.
- Thoroughly wash the celery: Cleaning the celery stalks thoroughly before juicing is essential to remove any dirt or residue. Soak the stalks in water, scrub them gently, and rinse well.
- Cut the celery into small pieces: Cutting the celery into smaller pieces makes it easier for the blender to process and extract the juice. Aim for uniform-sized pieces to ensure consistent blending.
- Use a high-speed blender: Investing in a high-speed blender will help in efficiently extracting the juice from the celery. The powerful blades will break down the fibers and yield a smoother juice.
- Blend in batches if needed: If you have a large quantity of celery, blend it in batches to avoid overcrowding the blender. This ensures optimal blending and a smoother juice consistency.
- Strain the juice for a smoother texture: Straining the juice helps remove any remaining fiber or pulp, resulting in a smoother texture. Use a fine mesh strainer or nut milk bag to strain the juice.
- Be creative with flavor additions: While celery juice can be enjoyed on its own, you can customize it by adding a splash of lemon juice, a pinch of sea salt, or other herbs and spices to suit your taste preferences.
- Drink it fresh: For maximum nutritional benefits, it’s best to consume celery juice immediately after making it. Freshly made juice retains more vitamins and enzymes compared to storing it for long periods.
- Make it a part of your routine: To experience the potential health benefits of celery juice, try to incorporate it into your daily routine. Consistency is key, and regular consumption over time may yield positive results.
By following these tips, you can ensure that your homemade celery juice is delicious, nutritious, and satisfying. So, grab your blender and start enjoying the benefits of this refreshing and rejuvenating green elixir!
Conclusion
Congratulations on mastering the art of making celery juice with a blender! With just a few simple steps, you can enjoy the numerous health benefits of this vibrant green drink right in the comfort of your own home.
Celery juice has become increasingly popular due to its detoxifying properties and potential to improve overall health. When consumed regularly, celery juice can aid in digestion, promote skin health, boost energy levels, and support overall well-being.
By following the step-by-step process outlined in this article, you can create a refreshing and nutritious celery juice using a blender. Remember to start by washing and preparing the celery stalks, cutting them into smaller pieces, blending them in a high-speed blender, straining the juice, and then enjoying the final product.
Throughout the process, it’s important to choose fresh, organic celery, as it ensures higher nutritional value and minimizes exposure to harmful chemicals or pesticides. Additionally, investing in a high-speed blender and straining the juice after blending will result in a smoother, more enjoyable texture.
Once you have your freshly made celery juice, feel free to get creative with flavor additions to suit your taste preferences. Additions like lemon juice, sea salt, or herbs can enhance the flavor and make your juice even more enticing.
Remember, consistency is key when it comes to experiencing the full benefits of celery juice. Consider incorporating this refreshing drink into your daily routine to maximize its potential health benefits over time.
Making celery juice with a blender is not only a convenient and cost-effective option but also allows you to have control over the ingredients and customize your juice to suit your preferences. By following the tips and steps provided in this article, you can create a delicious and nutrient-packed beverage that will leave you feeling refreshed and revitalized.
So, unleash the power of celery and discover the amazing benefits of homemade celery juice. Start juicing and embark on a journey of wellness and vitality!
Frequently Asked Questions about How To Make Celery Juice With A Blender
Was this page helpful?
At Storables.com, we guarantee accurate and reliable information. Our content, validated by Expert Board Contributors, is crafted following stringent Editorial Policies. We're committed to providing you with well-researched, expert-backed insights for all your informational needs.


0 thoughts on “How To Make Celery Juice With A Blender”