
Articles
How To Make Apple Juice With Blender
Modified: January 5, 2024
Learn how to make delicious apple juice at home using a blender with our informative articles. Discover step-by-step instructions and useful tips for a refreshing and healthy drink.
(Many of the links in this article redirect to a specific reviewed product. Your purchase of these products through affiliate links helps to generate commission for Storables.com, at no extra cost. Learn more)
Introduction
Welcome to the world of homemade apple juice! There’s nothing quite as refreshing and delicious as a glass of freshly made apple juice, and the best part is that you can easily make it yourself using a blender. Whether you’re looking to quench your thirst, boost your immune system, or simply enjoy a tasty and nutritious beverage, making apple juice at home is a great way to go.
In this article, we will guide you through the step-by-step process of making apple juice with a blender. From gathering the ingredients to serving up a glass of pure goodness, we’ve got you covered. So, let’s roll up our sleeves and get started!
Before we dive into the nitty-gritty of making apple juice, let’s take a moment to appreciate the benefits of this delectable drink. Apple juice is not only incredibly refreshing, but it’s also packed with vitamins, minerals, and antioxidants that promote good health. It’s a fantastic source of vitamin C, which boosts the immune system and protects against common illnesses. Additionally, apple juice is rich in dietary fiber, which helps aid digestion and promote a healthy gut.
When you make apple juice at home, you have full control over the ingredients, ensuring that you’re consuming a pure and natural beverage without any additives or preservatives. Plus, the aroma and flavor of freshly made apple juice are simply unmatched – it’s a sensory experience you won’t want to miss.
Now that you’re excited about making your own apple juice, let’s gather the ingredients needed for this delightful beverage. Keep reading to embark on a delicious journey!
Key Takeaways:
- Enjoy the natural goodness of homemade apple juice by following simple steps to create a delightful and wholesome beverage whenever the craving strikes. Impress your friends and family with your newfound skill and savor the joy of the process.
- Homemade apple juice offers a host of health benefits, fortifying your immune system, aiding in digestion, and promoting a healthy gut. With complete control over ingredients, experiment with different varieties of apples and add a touch of sweetness or spices to enhance the taste to your liking.
Read more: How To Make Apple Juice With Juicer
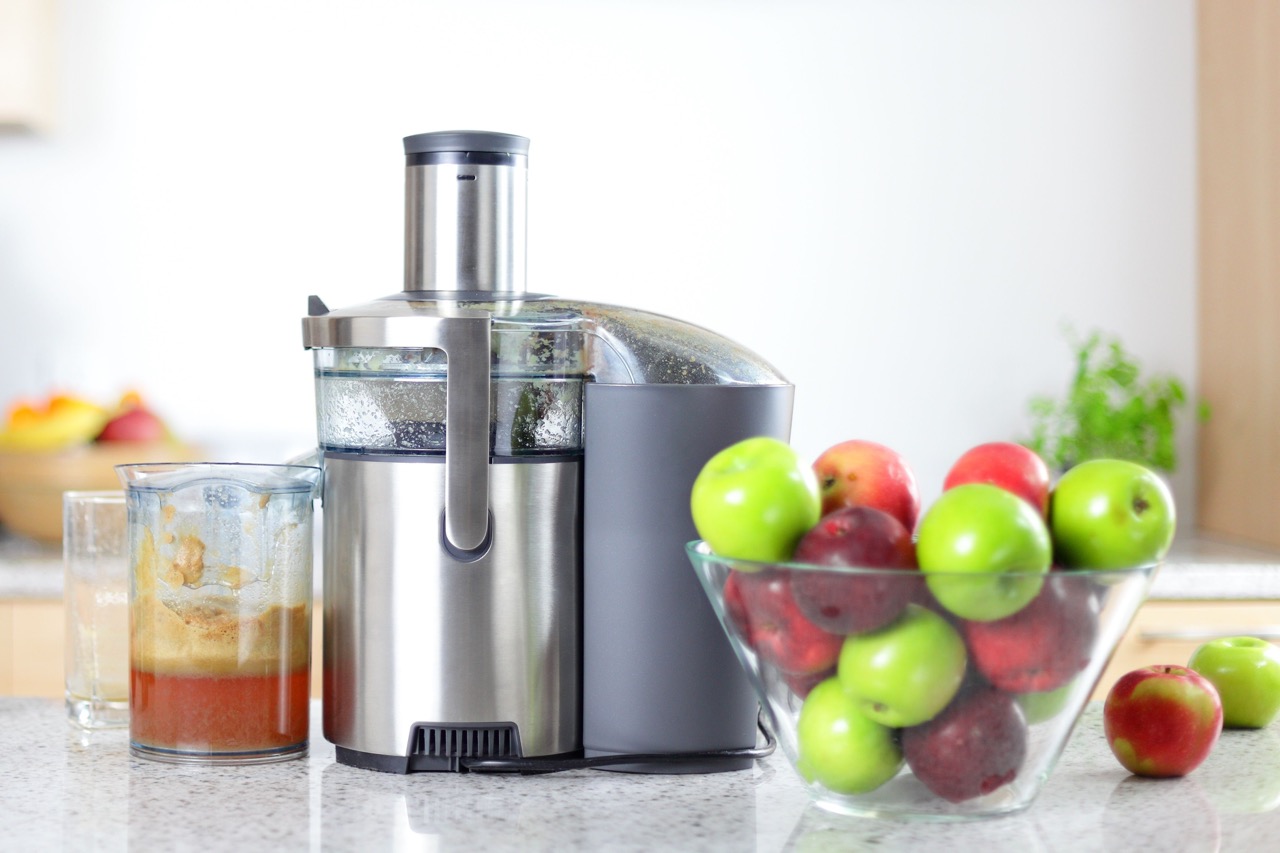
Step 1: Gather your ingredients
Before you can start making apple juice, it’s important to gather all the necessary ingredients. Here’s what you’ll need:
- Fresh apples – Choose apples that are ripe and preferably organic. Different varieties of apples can lend unique flavors to your juice, so feel free to experiment with different types.
- Water – You’ll need water to help blend the apples and achieve the desired consistency of your juice.
- Optional: Sweeteners – If you prefer your apple juice to be on the sweeter side, you can add a natural sweetener like honey, agave syrup, or even a few dates.
- Optional: Spices – If you want to add an extra flair to your apple juice, consider incorporating spices like cinnamon or nutmeg for a warm and cozy flavor.
Make sure to use fresh, quality ingredients to ensure the best taste and nutritional value in your apple juice. Now that you have everything ready, let’s move on to the next step: preparing the apples!
Step 2: Prepare the apples
Once you have gathered all your ingredients, it’s time to prepare the apples for juicing. Follow these steps:
- Wash the apples – Start by giving the apples a good rinse under cold running water to remove any dirt or residue.
- Peel or leave the skins on – Depending on your preference and the texture you desire in your apple juice, you can choose to either peel the apples or leave the skins on. Apple peels contain nutrients and fiber, so keeping them will add extra nutritional benefits to your juice.
- Core and slice the apples – Remove the cores of the apples using a knife or an apple corer. If you like, you can also dice the apples into smaller pieces to make the blending process easier.
Once the apples are prepared, it’s time to move on to the next step: blending!
Note: If you’re using organic apples, you can compost the apple peels and cores instead of discarding them, promoting environmental sustainability.
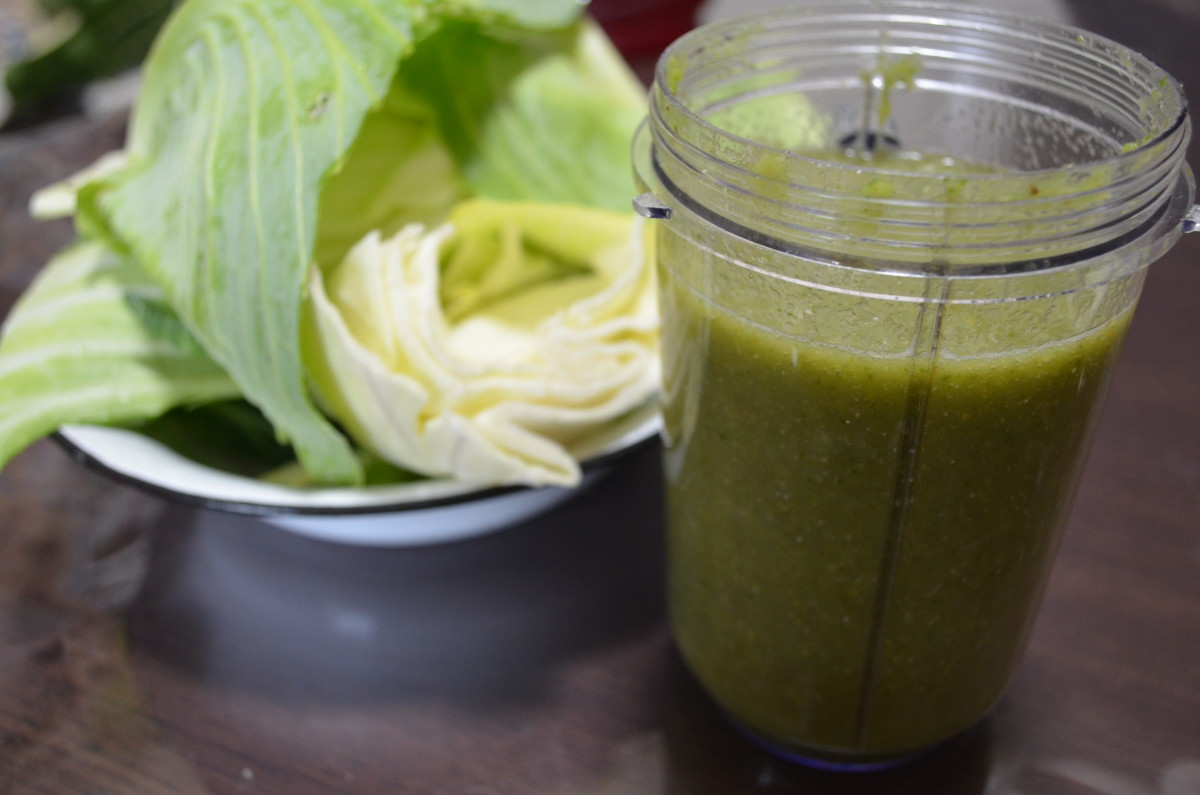
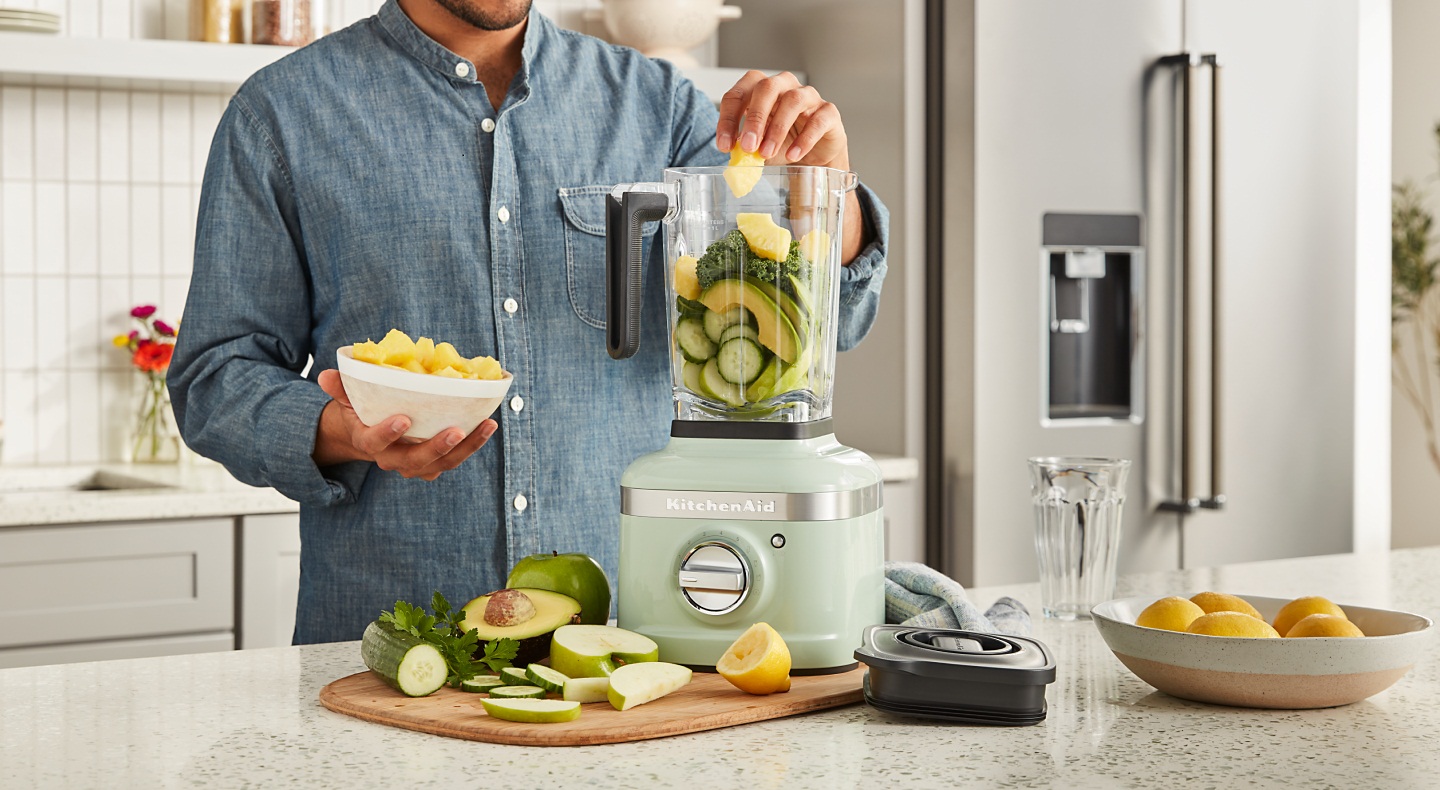
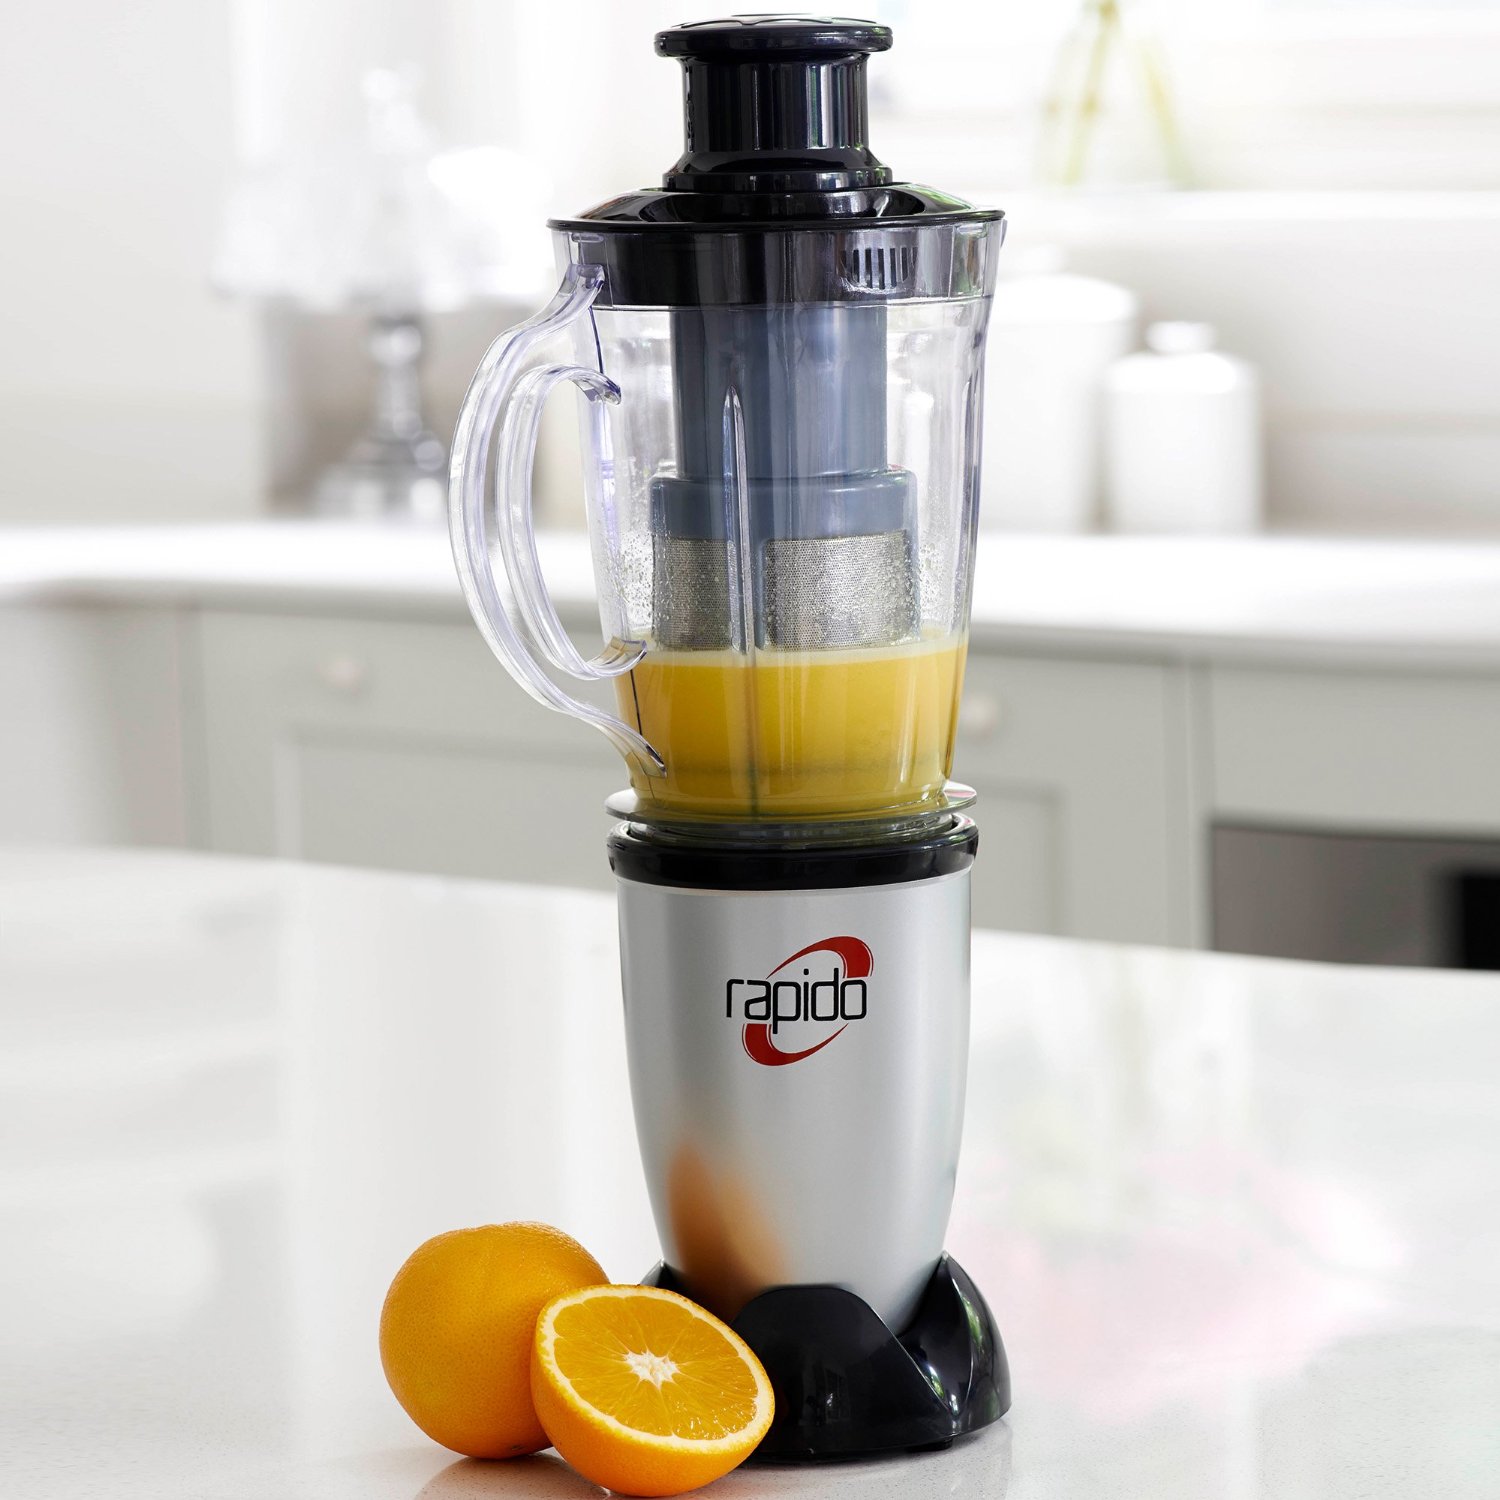
Step 3: Blend the apples
Now that your apples are prepared, it’s time to turn them into delicious juice using a blender. Follow these steps:
- Add the prepared apples to the blender – Transfer the sliced apples into the blender jug.
- Add water – Pour in a small amount of water to help with the blending process. The amount of water you add will depend on the desired consistency of your apple juice. If you prefer a thicker juice, use less water; for a thinner consistency, add more water.
- Optional: Add sweeteners or spices – If you want to enhance the flavor of your apple juice, this is the perfect time to include natural sweeteners like honey, agave syrup, or a sprinkle of cinnamon or nutmeg. Adjust the amount according to your taste preferences.
- Blend until smooth – Secure the blender lid tightly and blend the apples on high speed until you achieve a smooth and homogeneous mixture. The duration will depend on the power of your blender, but it should take around 1-2 minutes.
Once the blending is complete, you should have a fragrant and creamy apple juice base. But before serving, we need to strain the juice to remove any pulp or solids. Let’s move on to the next step!
When making apple juice with a blender, it’s best to use a high-powered blender to ensure a smooth consistency. Be sure to remove the apple seeds and core before blending, and consider adding a splash of lemon juice to enhance the flavor.
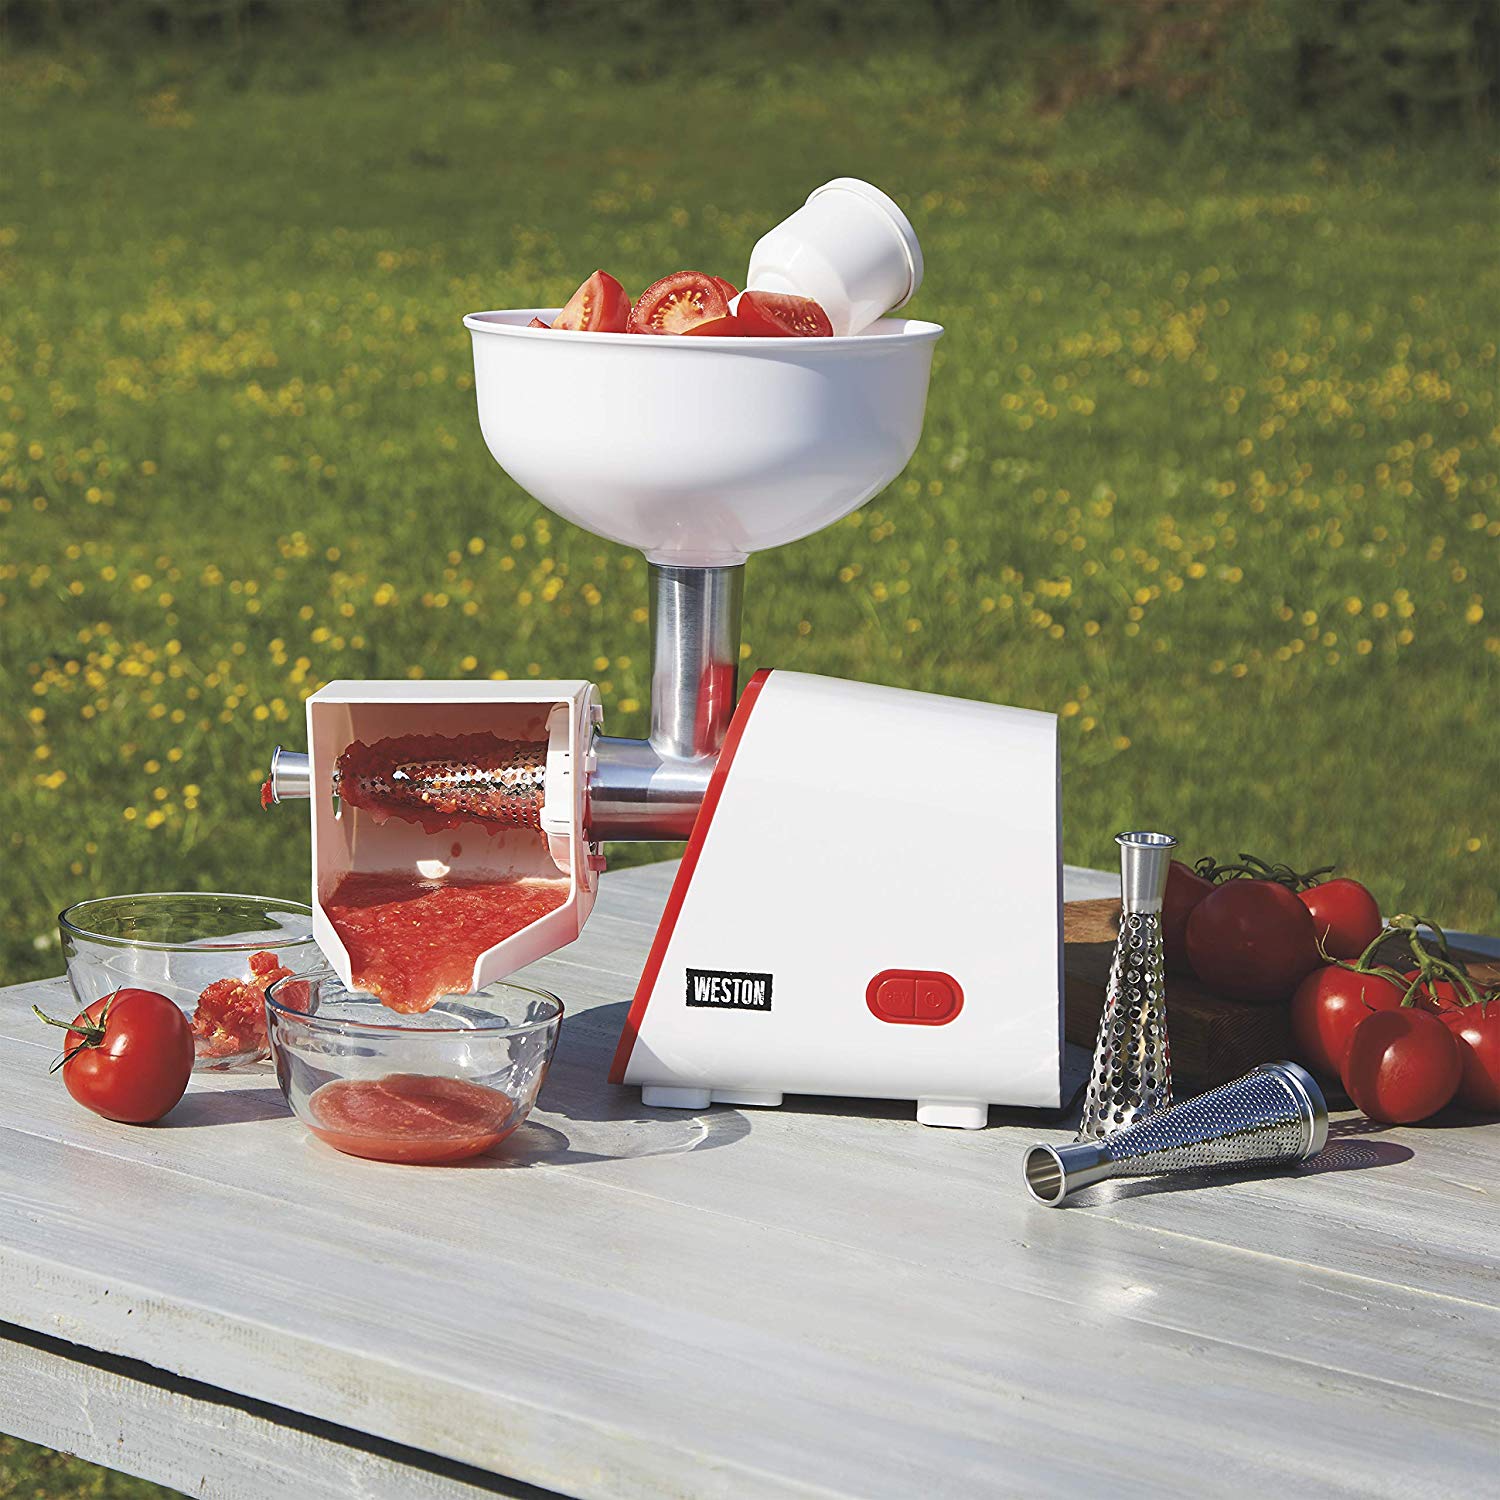
Step 4: Strain the juice
After blending the apples into a smooth mixture, it’s time to strain the juice to remove any pulp or solids and achieve a silky and refined texture. Follow these steps:
- Set up a strainer or cheesecloth – Place a fine-mesh strainer or a cheesecloth over a large bowl or pitcher. Make sure the strainer is big enough to hold all the blended apples.
- Pour the juice into the strainer – Carefully pour the blended apple mixture into the strainer or wrap the cheesecloth around the mixture.
- Press or squeeze the juice – Use a spoon or your hands to press down on the mixture in the strainer or squeeze the cheesecloth to extract as much juice as possible. This will separate the juice from the pulp, leaving you with a smooth and pulp-free liquid.
- Discard the pulp or reuse – Once you have strained all the juice, you can either discard the leftover pulp or reuse it in other recipes like apple bread or compost it for added sustainability.
Now that your apple juice is strained and pulp-free, it’s time for the final step: serving and enjoying your homemade creation!
Read more: How To Make Pineapple Juice With Blender
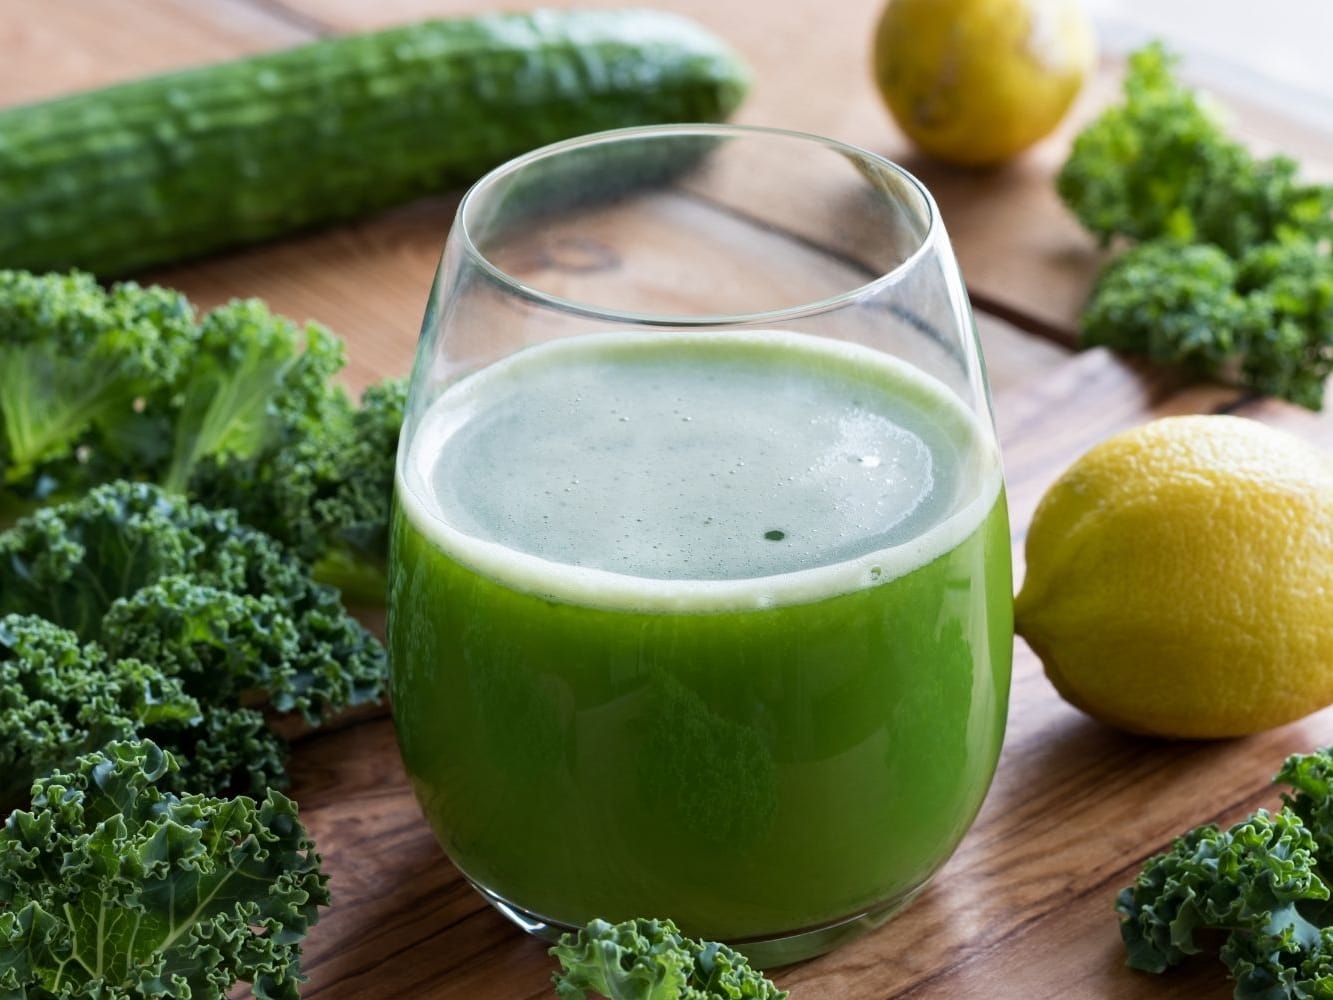
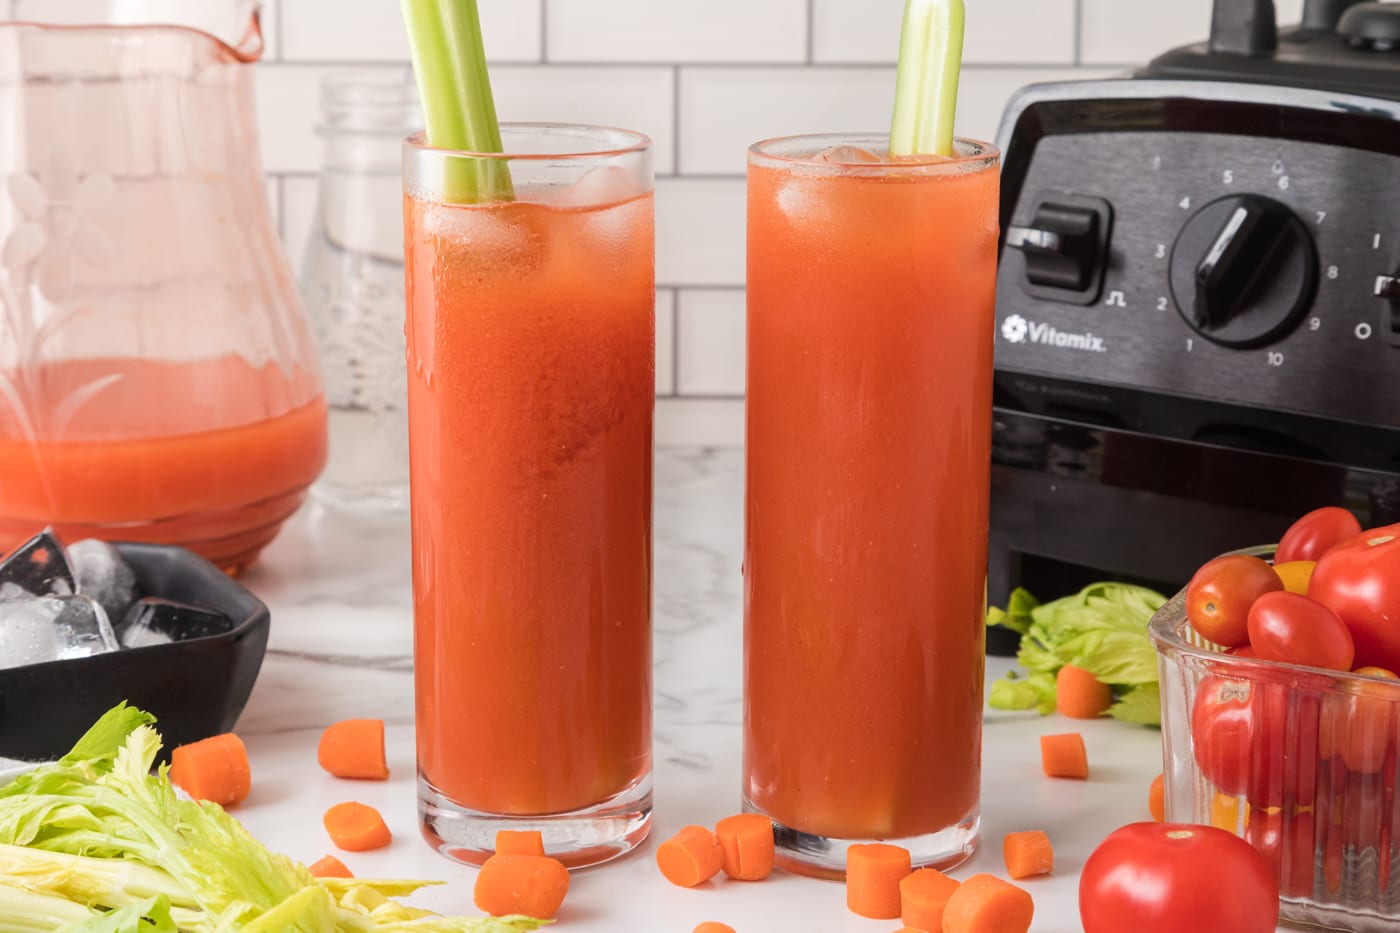
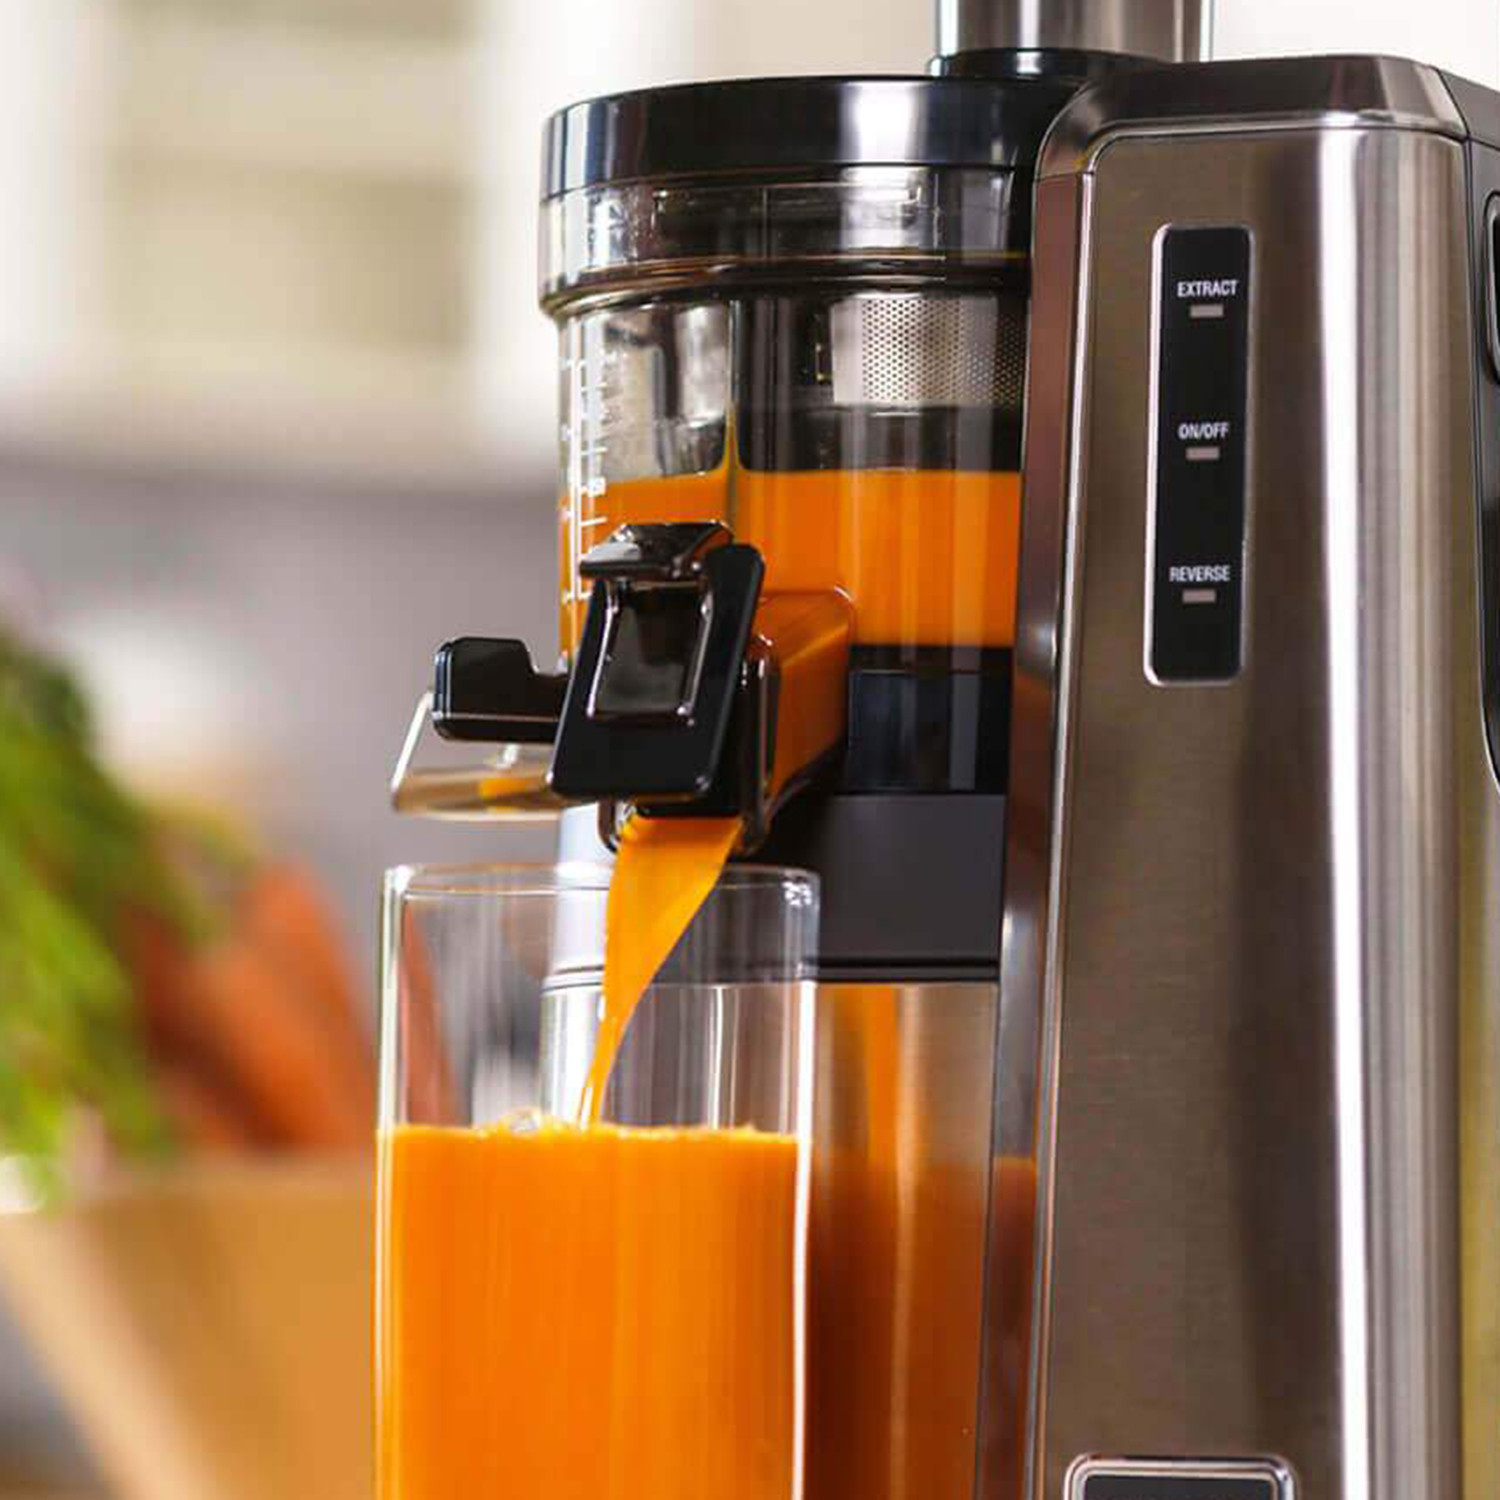
Step 5: Serve and enjoy
Congratulations! You have successfully made your own apple juice from scratch. Now it’s time to savor the fruits of your labor. Follow these steps to serve and enjoy your homemade apple juice:
- Transfer the juice to a serving pitcher – Pour the strained apple juice into a clean and attractive pitcher that is suitable for serving.
- Chill the juice (optional) – If you prefer your apple juice cold, you can refrigerate it for a couple of hours or add ice cubes to the pitcher before serving.
- Garnish (optional) – For an extra touch of beauty, you can garnish each serving glass with a thin apple slice or a sprinkle of cinnamon.
- Serve and enjoy – Pour the refreshing apple juice into individual glasses, sit back, and enjoy every sip. You can savor the juice on its own or pair it with a snack or meal of your choice.
Remember, homemade apple juice is best enjoyed fresh, so try to consume it within a day or two for optimal flavor and nutritional benefits. If you happen to have any leftovers, you can store them in a tightly sealed container in the refrigerator for up to 3-4 days.
Now that you’ve learned how to make apple juice with a blender, you have the power to create a delightful and wholesome beverage whenever the craving strikes. So, go ahead and impress your friends and family with your newfound skill, and enjoy the natural goodness of homemade apple juice!
Cheers to your delicious and nutritious creation!
Conclusion
Making apple juice with a blender is a fun and rewarding process that allows you to enjoy a fresh and healthy beverage right in the comfort of your own home. By following the simple steps outlined in this article, you can transform ripe and juicy apples into a delightful glass of homemade apple juice.
Not only is homemade apple juice incredibly refreshing, but it also offers a host of health benefits. Packed with vitamins, minerals, and antioxidants, apple juice helps fortify your immune system, aids in digestion, and promotes a healthy gut. Plus, making your own apple juice gives you complete control over the ingredients, ensuring you’re consuming a natural and additive-free beverage.
Remember to select fresh and quality ingredients for optimum results. Experiment with different varieties of apples to discover unique flavors and textures in your juice. Don’t be afraid to add a touch of sweetness or spices to enhance the taste to your liking.
As you embark on your apple juice-making journey, savor the joy of the process. From washing the apples to the blending, straining, and finally serving, each step brings you closer to a glass of pure deliciousness.
So, the next time you have a hankering for a crisp and flavor-packed beverage, skip the store-bought options and reach for your blender instead. Treat yourself to the freshness and goodness of homemade apple juice and relish every sip.
Cheers to a glass full of homemade goodness!
Frequently Asked Questions about How To Make Apple Juice With Blender
Was this page helpful?
At Storables.com, we guarantee accurate and reliable information. Our content, validated by Expert Board Contributors, is crafted following stringent Editorial Policies. We're committed to providing you with well-researched, expert-backed insights for all your informational needs.


0 thoughts on “How To Make Apple Juice With Blender”